Alps 2004 E55K

Page may contain affiliate links. Please see terms for details.

Alps

MB Enthusiast
SUPPORTER
Joined
Nov 29, 2002
Messages
7,627
Location
London\Essex
Car
E63s s213 2019, E55 2004 Silver-SOLD, E63 w212 Weistec AMG-SOLD, E55 2004-SOLD, C36 1997-SOLD
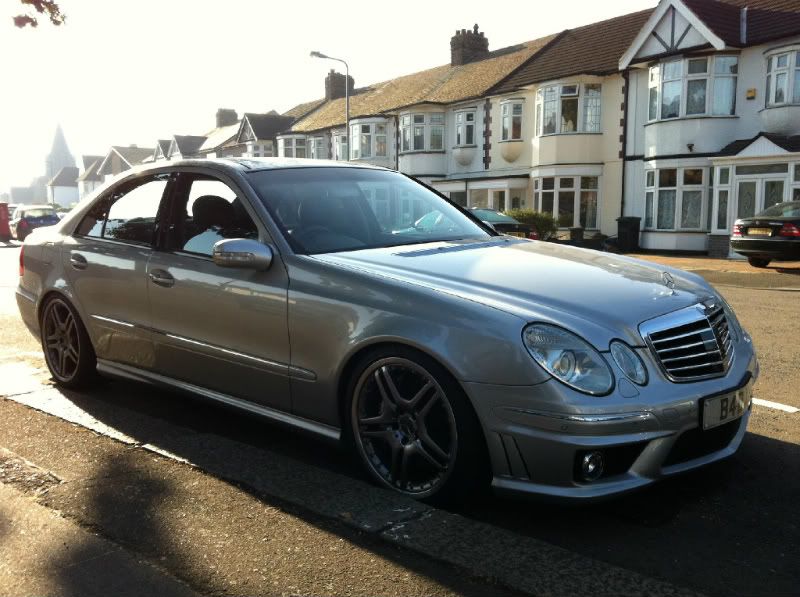
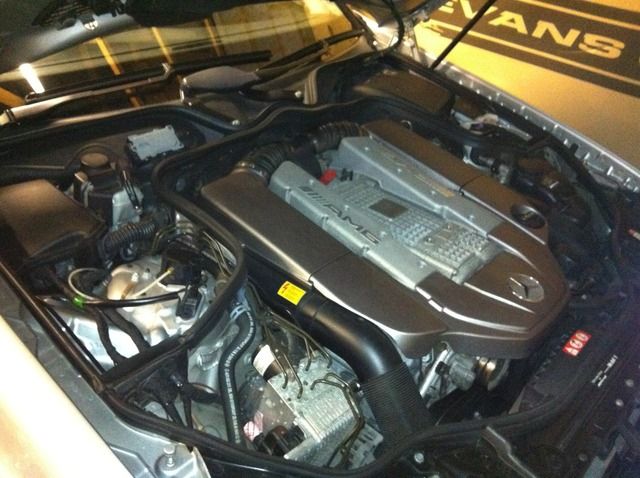
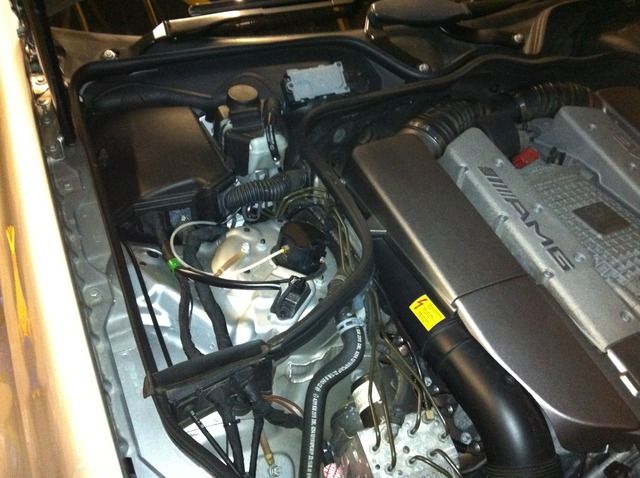
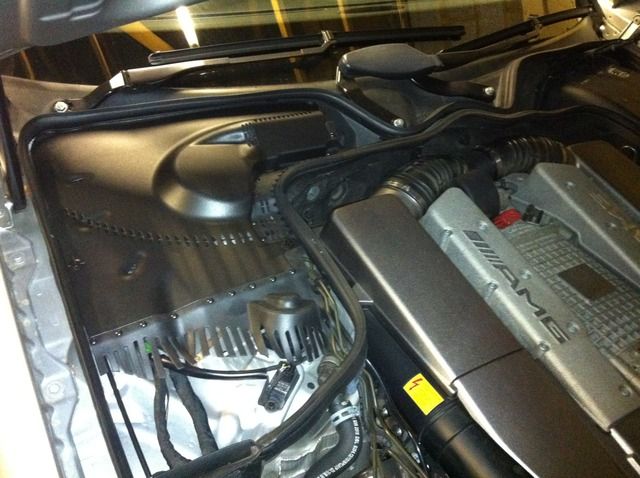
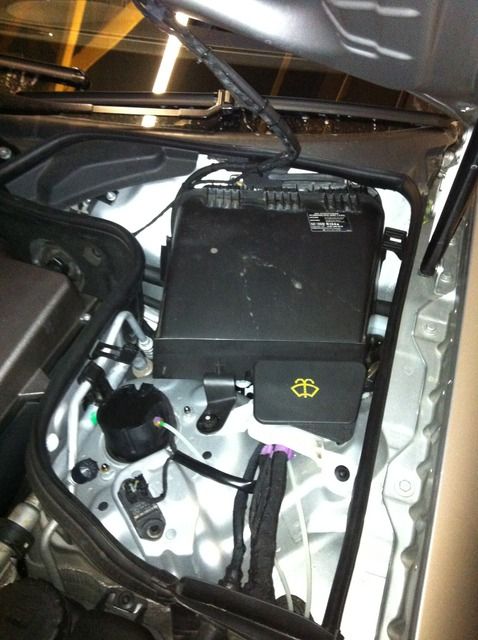
E55K 2004

Day1
alps-albums-alps-e55k-amg-picture1559-2004-e55k-amg-spec-keyless-go-command-pana-roof-distronic-parking-sensors-f-r-rear-ent-package-adaptive-bi-xenon-tpms-elec-rear-blind-int-door-blinds-comfort-seats-rear-heated-seats-garage-door-opener-power-boot-amg-lsd.jpg


alps-albums-alps-e55k-amg-picture1560-a.jpg


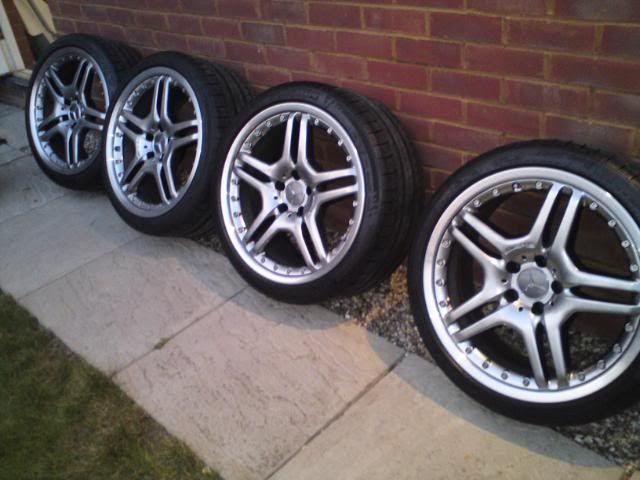
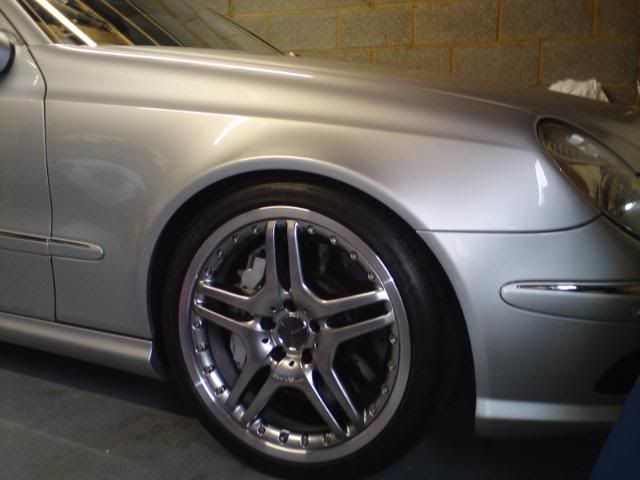
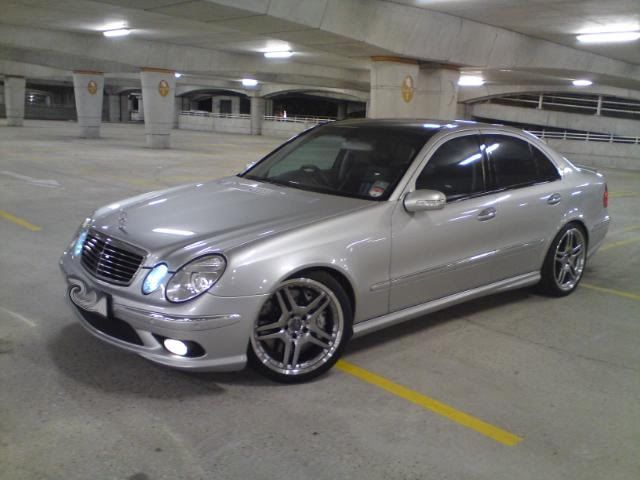
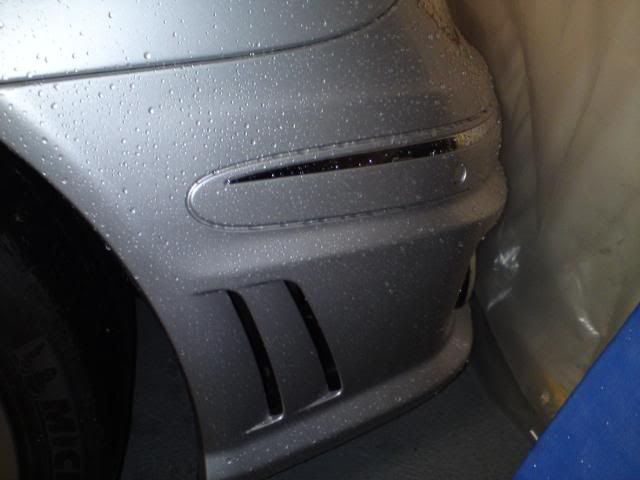
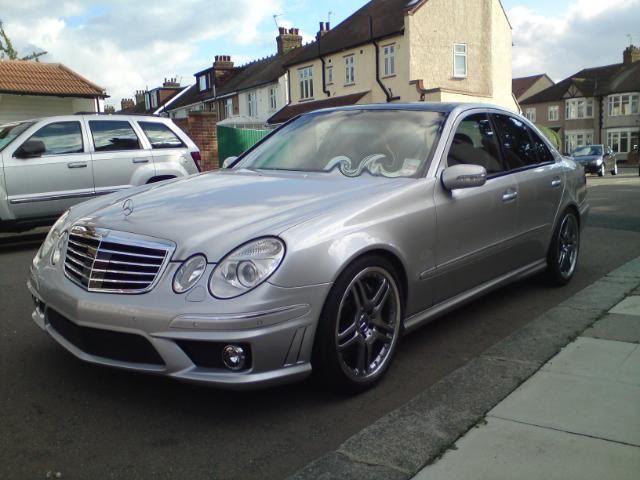
E63 Front End with E63 perf pack AMG Split titanium IV`s

alps-albums-alps-e55k-amg-picture2933-e63front2.jpg


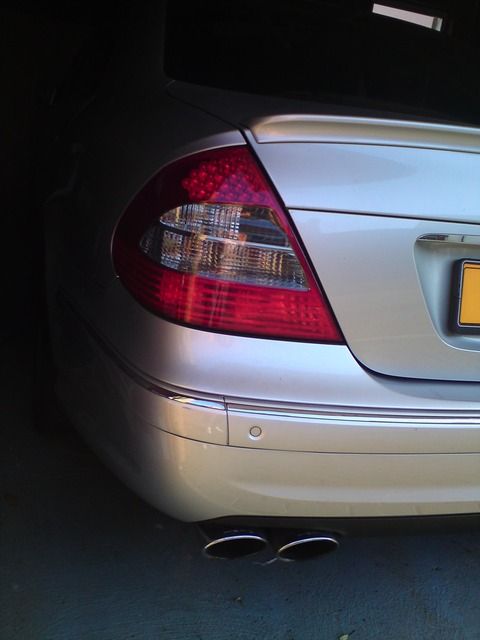
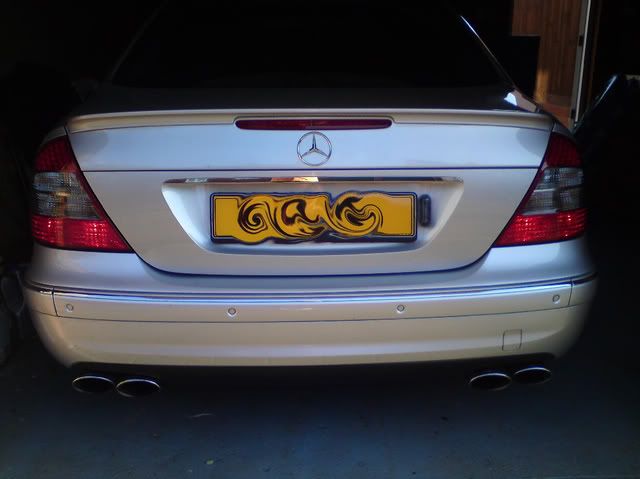
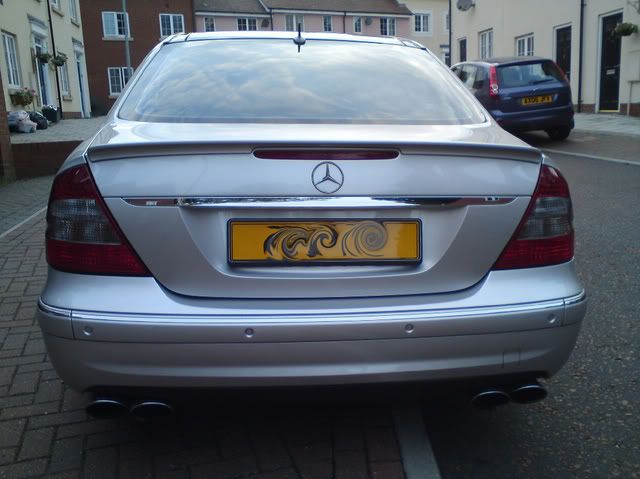
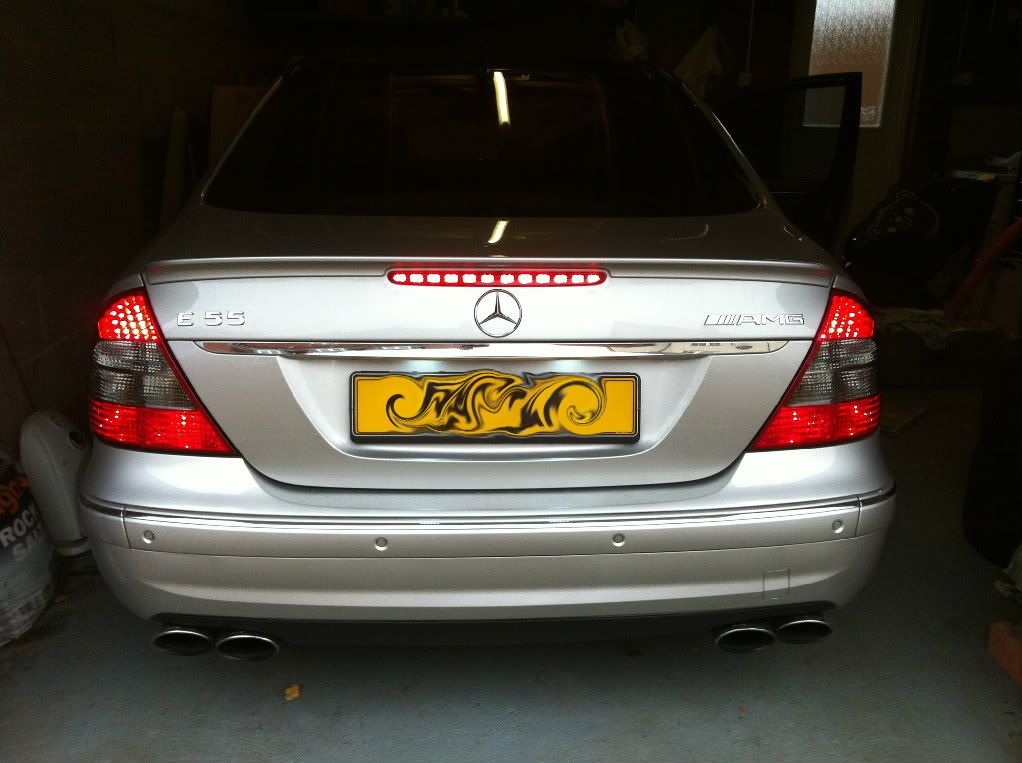
rear conversion to facelift inc E63 spoiler

alps-albums-alps-e55k-amg-picture2934-e63-spoiler-facelift-rear-conversion.jpg
 
Some info on the car

Car spec
2004 E55 AMG (facelift 2005 version)
1 prev owner
FMBSH All reciepts since new.
744 Silver
Black nappa Leather interior
MBSS remote total closure Alarm


Standard AMG spec with following additional options from factory
- Panoramic roof
- Keyless go
- Command - sat nav + tv(replaced) + 6 disc MP3 changer
-Rear Screen (entertainment package)
- Rear Electric blind
- Rear integrated door blinds
- Parktronic
- Garage Door Opener
- Front Heated(f+r)\Dynamic\Ventilated\massage (comfort) seats
- Rear Heated seats
- Split Rear seats
- Memory seats\mirror\column
- Power open\close boot
- Luxury (4 Zone) climate
- Telephone pre-wire
- HK sound upgrade
- Tyre pressure monitoring
- Distronic Cruise control
- Folding mirrors
- Auto Lights\Wipers
- Auto dim mirrors
- Airmatic
- Illuminated vanity mirrors
- Door puddle lights
- Electric Adjustable steering column
- High capacity battary
- Active cornering bi-xenon headlights (curvelights)
- Genuine AMG LSD Diff from factory (099)
- AMG Front back bumpers
- AMG Side skirts
- AMG Interior modifications

Original mercedes options added by myself to factory standards

- Genuine MB E63 Rear lip spoiler
- Genuine MB AMG Mats
- Genuine MB Illuminated AMG door sill plates
- Genuine MB MB sport Pedals
- Genuine MB Wheel valve caps (modified to fit TPMS Valves)
- Genuine MB Chrome indicator bulbs
- Genuine E63 Paddle shift Steering wheel + Aluminium paddles
- Genuine MB Kombi Digital\Analogue TV Tuner (put on VeDoc)
- Genuine MB Linguatronic (put on VeDoc)
- Genuine Facelift LED rear light Clusters
- Genuine Facelift lower bootlid Panel
- Genuine E63 Front bumper
- Genuine MB facelift Distronic grill
- Genuine MB IPOD kit


Mods done
- Viseeo MB-2 bluetooth Adaptor
- Video in motion
- STAR lowered
- Pentagon Light Smoke\Smoke tints
- LED sidelights


Parts replaced (all original Mercedes items unless specified)
- Secondary Air Injection relay (Goodwill)
- Drivers Side Door Handle
- Rear Ribbon cables for door lighting
- Rear Passenger side window
- Oil Cooler (Under warrenty
 
Mods pics

After just over a year of owning the beast I thought id share some of the mods ive done to it,. This should now be fully spec`d and some ... enjoy

The must have MBClub Pedals
Before
1-PedalOld.jpg


After
1-PedalNew.jpg


Genuine MB Valve caps modded to fit TPMS Valves
2-ValveCap.jpg


Silver indicator bulbs
Standard Egg
DSC00539.jpg


After
DSC00540.jpg


Genuine AMG Mats
DSC00933.jpg


Genuine Cup Holder (waste of money!)
DSC00947.jpg


Genuine AMG Door Pins
DSC00936.jpg


Viseeo
DSC00945.jpg


Pentagon Light smoke front and Smoke rear Tint
DSC00755.jpg


E63 Steering Wheel with facelift Airbag
Original
3-OldSteering.jpg


New
3-NewE63Steering3.jpg


Aluminium Paddleshifters
DSC00666.jpg


Genuine MB Facelift Rear lights + Genuine E63 spoiler
DSC00805.jpg

DSC00803.jpg


Genuine MB Facelift bootlid
DSC00858.jpg


Genuine AMG Illuminated Door Sills
DSC00771.jpg

DSC00910.jpg


Genuine MB Ipod kit
DSC00770.jpg


Linguatronic (Voice Control)

DSC00941.jpg


Genuine MB OEM Digital TV
Pic is naff as i took it inside the garage, its pretty clear otherwise
DSC00942.jpg


Genuine AMG 19” titanium IV 2 Piece
DSC00873.jpg

DSC00877.jpg


LED Sidelights
DSC00879.jpg


Genuine E63 Bumper update
PDC Bracket replacement
DSC00863.jpg

Bumper on with facelift Distronic Grill
DSC00906.jpg

DSC00900.jpg


AMG logo in Comand
DSC00932.jpg


STAR Mods
- Fuel Tank Remaining Display
DSC00927.jpg

- Date Display & Temp
DSC00928.jpg

- 1” Lower
- VIM


Still a few things on the List including
- HID Fogs
- Minor upgrades to sound system
 
with Renntech Lowering module
IMG_0333.jpg
 
done a few things over the weekend to the rear of the car

facelift LED third brakelight
IMG_0434.jpg


LED license plate lights
IMG_0392.jpg
 
Also finished the iphone to ipod cable install which is now fitted to the bottom of the armrest for the cradle to plug into and the remote for the Lowering module mounted in the armrest out of sight too, ignore the additional wires they are so i can take the remote out and lower when i want to, i may tuck them in more out of sight later.
IMG_0409.jpg


some shots of the Remote with current settings
IMG_0411.jpg

IMG_0412.jpg
 
Had a little time to play

carbon fibre gear surround, i hated the silver! SL65 facelift leather & Burlwood Keyless gearknob.

old vs new

IMG_0756.jpg


new with carbon
IMG_0755.jpg


Close up
IMG_0754.jpg
 
Well i finally found a few hours to carry out my next mod, got hold of a Brand new CLS63 cluster which i installed in the silver surround off my E55 cluster to make it look just like the newer 63 models. Mileage transferred from the car together with all the service settings

after abt 2 hours saving settings and coding the new one in here are the results!

total look
1b17011c.jpg


tank info coded
242388dd.jpg


tmps working
74a838ca.jpg


Distronic Coded
f00fec3e.jpg


trip working - ignore the mpg as you can see it hadnt moved but the car was on for about 30 mins
a5c83ba1.jpg


Phone
4d613142.jpg


new menu item battery meter
9681633a.jpg


new menu item oil temp
d7073710.jpg


new menu item Lap timer with gear position displayed
4a926a43.jpg


they were some examples, lighting is much better and fades on\off
 
Engine bay water protection panelling added

engine bay in its native form
IMG_0841.jpg


RHS without panel
IMG_0842.jpg


RHS with panel
IMG_0843.jpg


LHS without panel
IMG_0848.jpg


LHS with panel
IMG_0851.jpg


engine bay with panels
IMG_0852.jpg


part numbers
LHS panel - a2118320508
RHS Panel - a2118320608
Wide bracket - a2118310014 (x2)
narrow bracket - a2118310114 (x2)
fastners - a0029880542 (x4)

Part number for LHD cars
LHS panel - a2118320308
RHS Panel - a2118320408
 
Fitting of Easypack system option code 942 load compartment package

In my mission to add another option to the car the Easypack kit was next on the list. This is a system MB developed to stop stuff flying around in that huge boot!

To start off with you need to buy the following

- 2 x Floor Rails (L&R) (come with ends and guides)(2118400526/2118400626)
- 6 x screws to fit rails to brackets (000000003396)
- 2 x long brackets (L&R) (2118430514/2118430614)
- 2 x short brackets (L&R)(2118430314/2118430414)
- 6 x screw locks (0049941245)
- 16 x Rivets to fit brackets to floor(0009915532)
- 2 x Bolts for long brackets (000000003853)
- Easypack case with fittings
- Easypack adjustable cross rail

Tools needed
- Drill
- Good self centering metal drill bits (same size as the rivets)
- Stanley knife
- 10mm reverse torq
- Rivet gun (good one)
- 8mm Torq
- 10mm Torq

1. First start off with removing all the boot lining

IMG_0985.jpg


- Remove the plastic rivets
- Remove the luggage mounts x2 (10mm Torq)

IMG_0986.jpg


- Secure the hinge plastic
- Remove the lining
- repeat for opp side

2. Then cut the felt on both sides to make room for the long brackets
3. Bolt long bracket to where luggage mount was and use as guide
4. place both brackets in position by screwing rail to them and mark drilling holes
5. double\triple check hole positions
6. Use appropriate size drill bit to drill the x16 holes
7. dab a bit of undercoat or rust treatment on holes
8. Use good rivet gun to mount brackets to car (Air rivitor is best for this)

IMG_1004.jpg

IMG_1003.jpg


9. Replace the boot lining
10. Cut holes in lining to access screw holes

IMG_1023.jpg


11. Line up and screw Rails to car

IMG_1024.jpg

IMG_1025.jpg


The rest is in the manual!

IMG_1026.jpg

IMG_1028.jpg


Apologies for the state of the carpet, this has since been rectified and is spotless again!
 
As the pic links broke on the cluster post, here they are again!

Well i finally found a few hours to carry out my next mod, got hold of a Brand new CLS63 cluster which i installed in the silver surround off my E55 cluster to make it look just like the newer 63 models. Mileage transferred from the car together with all the service settings

after abt 2 hours saving settings and coding the new one in here are the results!

total look
IMG_0810_zps8ce02032.jpg


tank info coded
IMG_0809_zps8502bdf1.jpg


tmps working
IMG_0808_zpsb5de9ba3.jpg


Distronic Coded
IMG_0801_zpsacd3c81b.jpg


trip working - ignore the mpg as you can see it hadnt moved but the car was on for about 30 mins
IMG_0800_zpsaeb2ab4c.jpg


Phone
IMG_0799_zps59ad70b2.jpg


new menu item battery meter
IMG_0805_zps0d2fc820.jpg


new menu item oil temp
IMG_0806_zpsa0a0c65b.jpg


new menu item Lap timer with gear position displayed
IMG_0803_zps711001c5.jpg

they were some examples, lighting is much better and fades on\off
 
Coming to the end of 2013, I thought id list a few of the mods done over the last year and add it to the thread , more concentrated on power rather than looks this year.


First came the first visit to Acid at MSL, on went the Eurocharged Heat Exchanger to help with the cooling.

Original


EC HE


The oil cooler brackets were drilled out of the old HE and riveted into the new one


As you can see below because of the E63 front end, no bulge and all fits together like oem.


Next came the SC Pulley


Loved the home made tool to take the bolts off


After new fuel pumps


Best power run was


Next were the c63 rear exhaust boxes, these made a really big difference with the sound, rest of the exhaust was left as is.

IMG_0703_zpsf95d2faa.jpg


Final mod of the year just completed is the Alpine EZI-DAB unit, controller integrated into the ashtray and switch for Aux put in.


thats it for now, no idea what will come next, maybe concentrate on the audio side this year.....
 

Users who are viewing this thread

Back
Top Bottom