C43 Amg 2 tone interior seat colour matched

Page may contain affiliate links. Please see terms for details.

jgs600

Active Member
Joined
Feb 23, 2010
Messages
429
Location
salisbury wiltshire
Car
1998 c250 estate.. my weekend car
Well after sending off my headrest i have just had a batch of dye matched up to my 2 tone c43 amg seats ( silver/grey ) part.
will be getting the kit next week so will post the results up here and with the company info. they have made a note of the match so it can be re ordered if needed in the future.
Kit has cost me £50 for a dye kit and a leather colourant kit and postage.

will get some pictures up once i get started :)

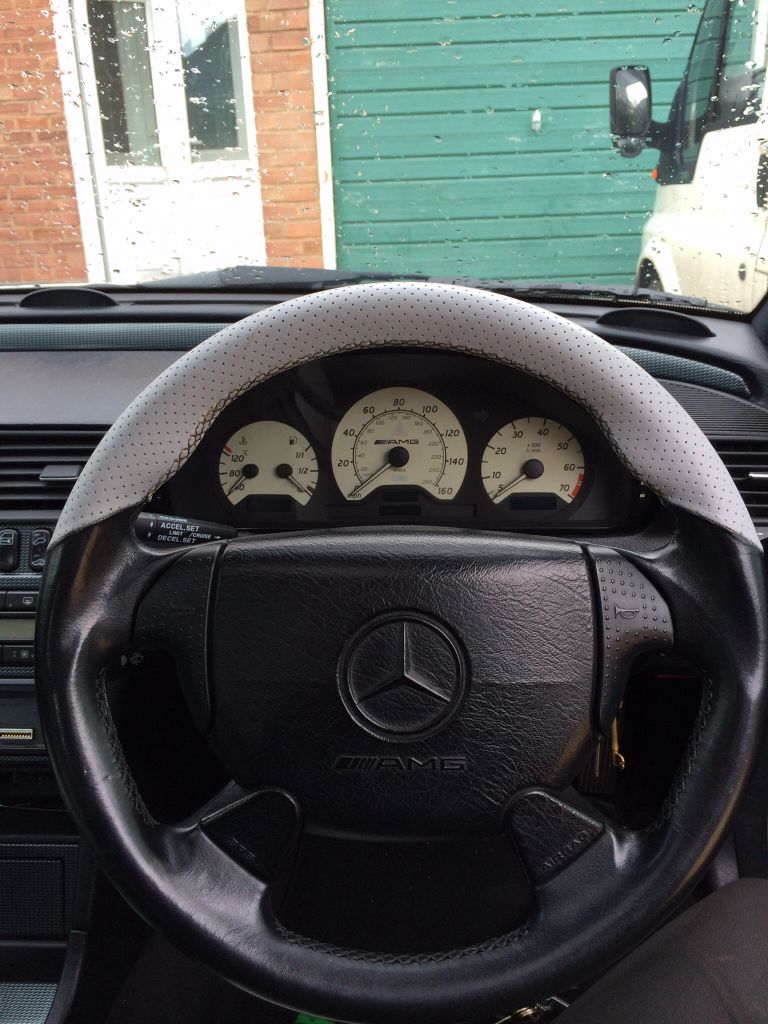
this is what the drivers one looks like at the moment.....
10458492_10204160757684360_3351402054013255276_n.jpg
10494519_10204160757364352_8775828327470393037_n.jpg
 
thank god my seats are in full black.

how is your steering wheel?
is it worn on bright part?
 
Op what is the mileage on your car? That seat looks very worn.
 
thank god my seats are in full black.

how is your steering wheel?
is it worn on bright part?

Mine is!!
 
i had mine re covered a while back
540151_10202186902339210_330754678_n.jpg

Where did you get this done? I'm thinking about getting mine done but worried about what a brand new looking steering wheel would look like in the 15 year old interior.

Not sure i could live with Alcantara though. I just want it plain black leather, not even perforated but then again there is something about the standard look that i really like!!
 
thats great, where did you manage to get the colour match from by the way
 
There is a guy local to me (only a small shop) that will mix and match dye I drove over to him and he spent maybe 10-15 minutes mixing up 250ml of dye (£30) and gave me a little demo.

I have done the steering wheel, gear knob and headrests need to find the time to do the front seats.
 
I'm in the process of dying my interior to.
2e4462fbbdf9c7fbd57d92598f56b580.jpg

If you have re-dyed the white on that you have made a cracking job of it, how did you manage to keep it out of the holes in the leather and off of the stitching.
 
The guy who supplied the dye gave me inch squared pieces of sponge for applying, he said apply a very little amount at a time, 3 coats in total, in doing this I only dyed the surface and not the holes, I did fill a couple of holes but opened them back up with a pin.

Regarding stitching I just went as close to it as possible, in a straight head position you can't really see the small amount I have missed.

Wasn't told about sealing? Just told to cover 3 times, will be interesting to see how long the seats last once dyed.
 
so here we go with an update.
got the kit back today..thank god it wasnt lost in the post i would have never been able to replace my headrest cover..!!!!
10417824_10204310868997049_7039287795496050395_n.jpg


so after taking out the front seat i got to work using the 2 cleaners first. one takes all the wax and crap off and the other actually takes the sealant off and a little bit of the dye on the seats but this was mentioned on the bottle..

10369907_10204310691432610_5700350531143969739_n.jpg

so here was the seat before starting out
10552380_10204310693152653_3539778721222728165_n.jpg


so i then decided it would be best to cover the black bits on the side and start with the concentrate stuff. i dabbed this all over the base of the seat and paid extra attention to the damaged/worn areas, at first i thought it was much lighter in colour but as it dried it matched up very well :)
10421177_10204310695592714_5772968940022879923_n.jpg


i then let this dry before using the aerosol can on the seat to give a much better finish.. so far so good and i was really pleased with the finish and colour match.
after this had dried i put on the first coat of sealant, this needs to go on in thin coats so i put the first coat on today and will leave it 24hrs before putting the next coat on, this seals in the dye and also gives you the shine you need to get the finished look. again i will probably put a few coats on but let each one dry 24hrs maybe as i dont want to rush this job. :)
here below is a pic of the seat with the first clear coat on
10547512_10204310860236830_1564214303322963848_n.jpg

10537180_10204310859796819_7956520753340977246_n.jpg
 
It makes such a difference, looks really good, can't wait to have a go at mine.
 
Looking good, far better than I thought it would and the match looks pretty spot on.
I will have to get myself some for my steering wheel as that's really losing its colour.
 
well at the moment its only had 1 coat of sealer on it, checked this morning and its dried really well, just not as shiny as the original part yet. another coat going on today :)
 
so here is the finished seat, ive yet to finish it off with some sheritons leather balm which really brings the shine up but overall its quite good. there is a slight colour difference but the finish is really good and i guess i might actually do the whole seat in the future but will see.
10563132_10204316923748414_6206226127532472706_n.jpg


also i noticed the rear bottom panel was slightly saggy where ones bottom has been sitting and over the years i guess it gets a little tired, so used a small offcut from a carpet tile to bolster the bottom up a bit, easy fix and works a treat :)
10478156_10204316922188375_6230471078757598156_n.jpg


10563135_10204316923348404_3032885637275149676_n.jpg

10550843_10204316921988370_7244661158095877841_n.jpg
 
Superb :)
 

Users who are viewing this thread

Back
Top Bottom