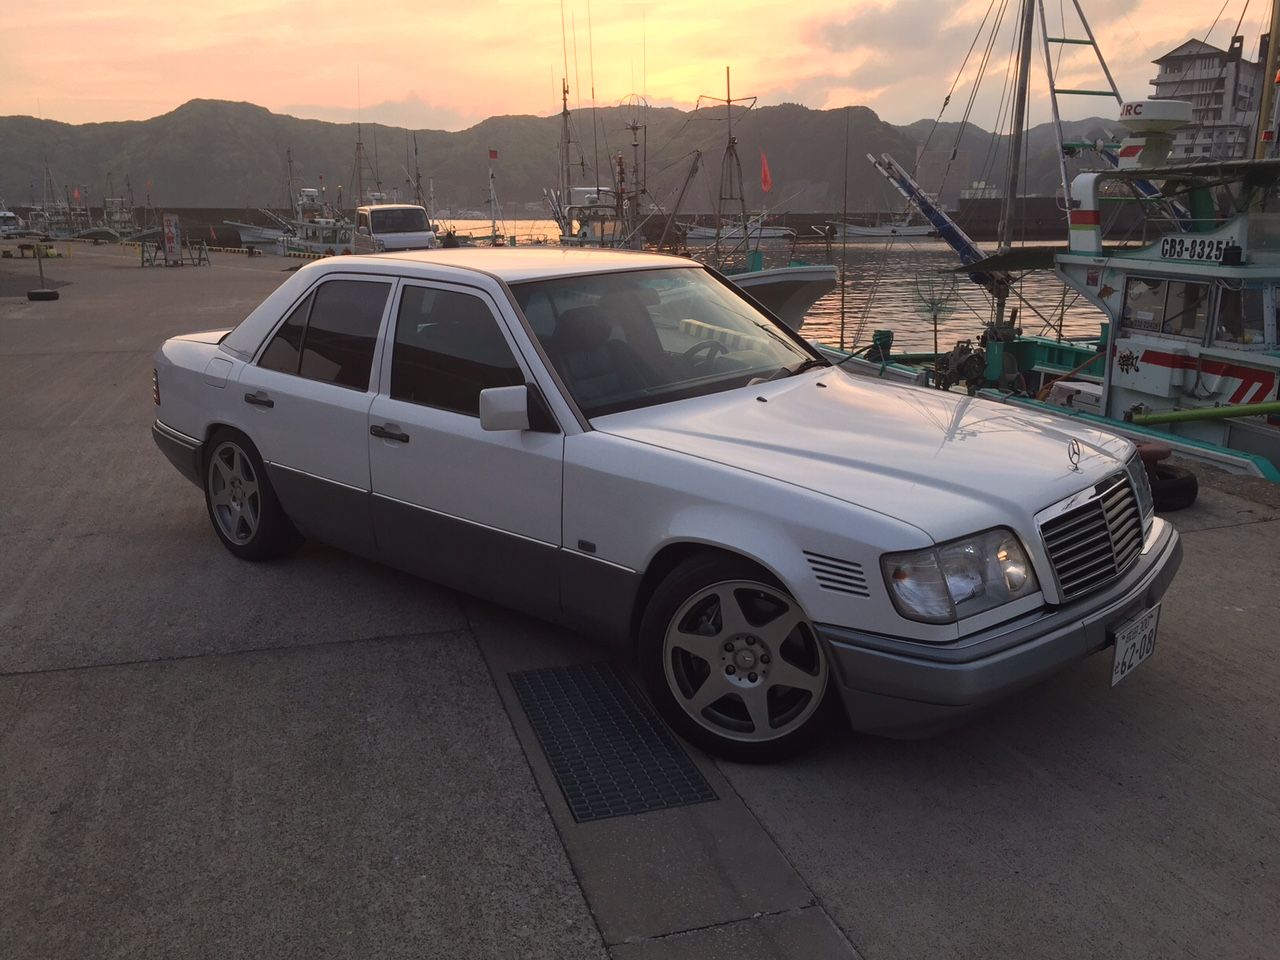
Modernising & perfecting a minty W124 300D Turbo!

Page may contain affiliate links. Please see terms for details.
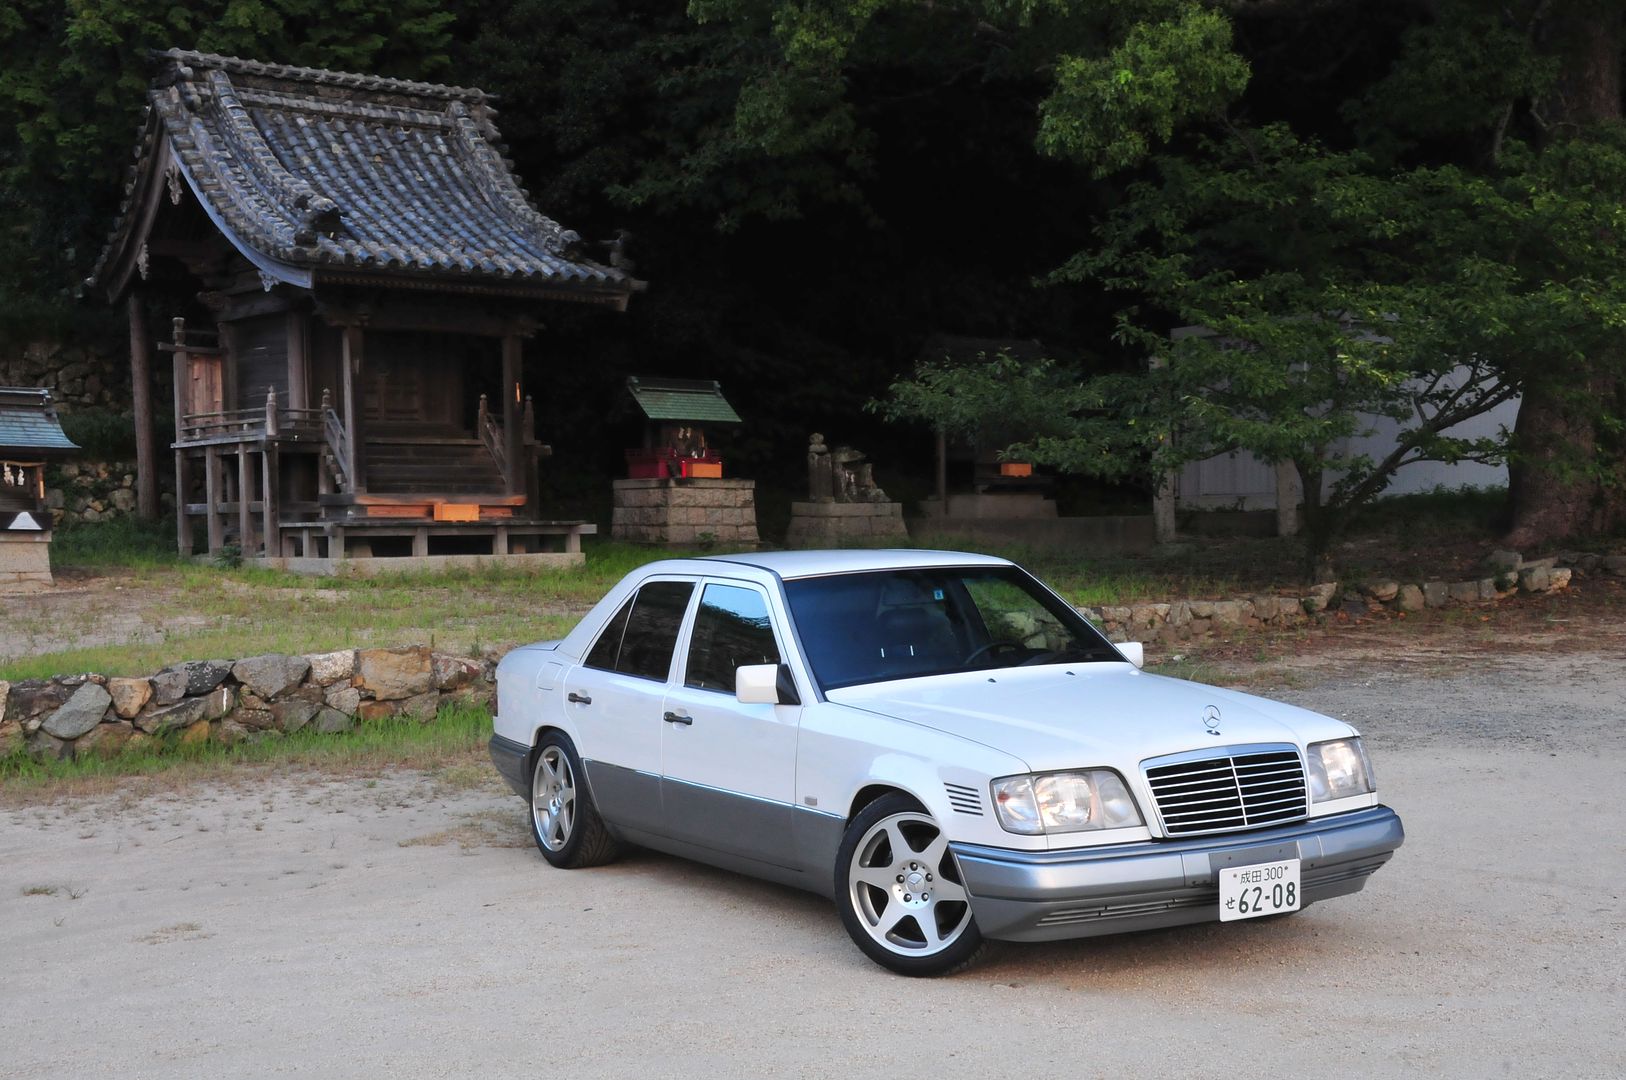
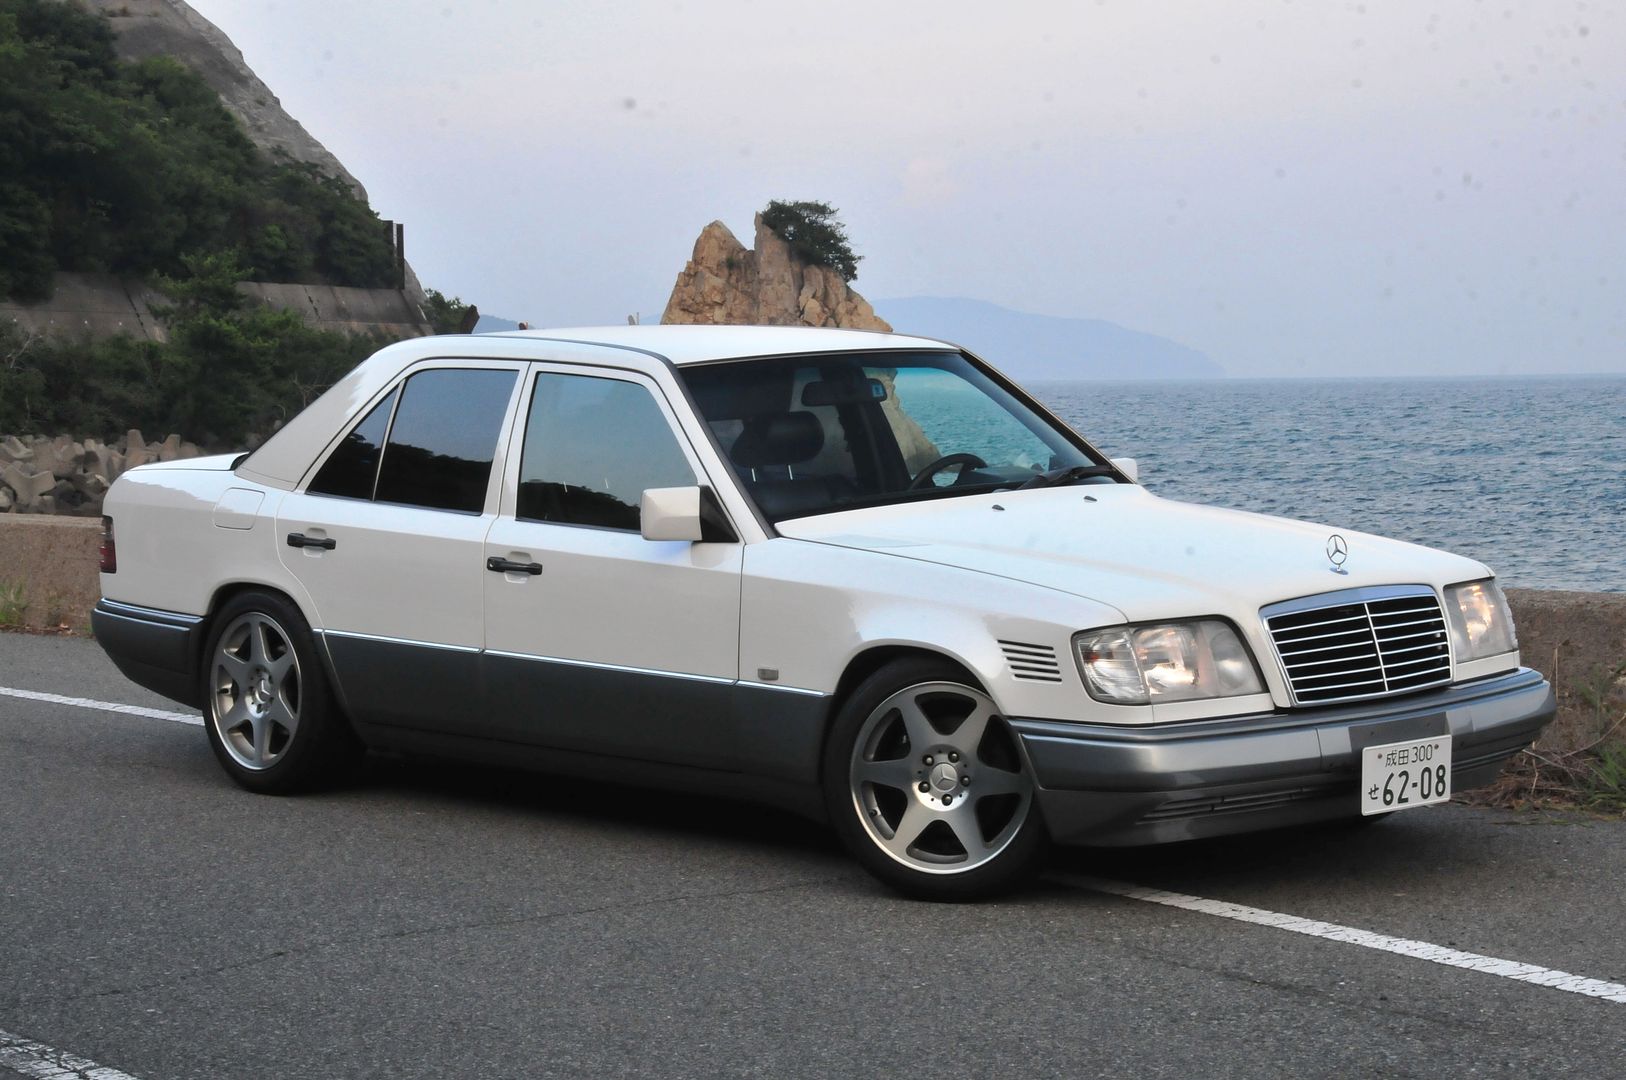
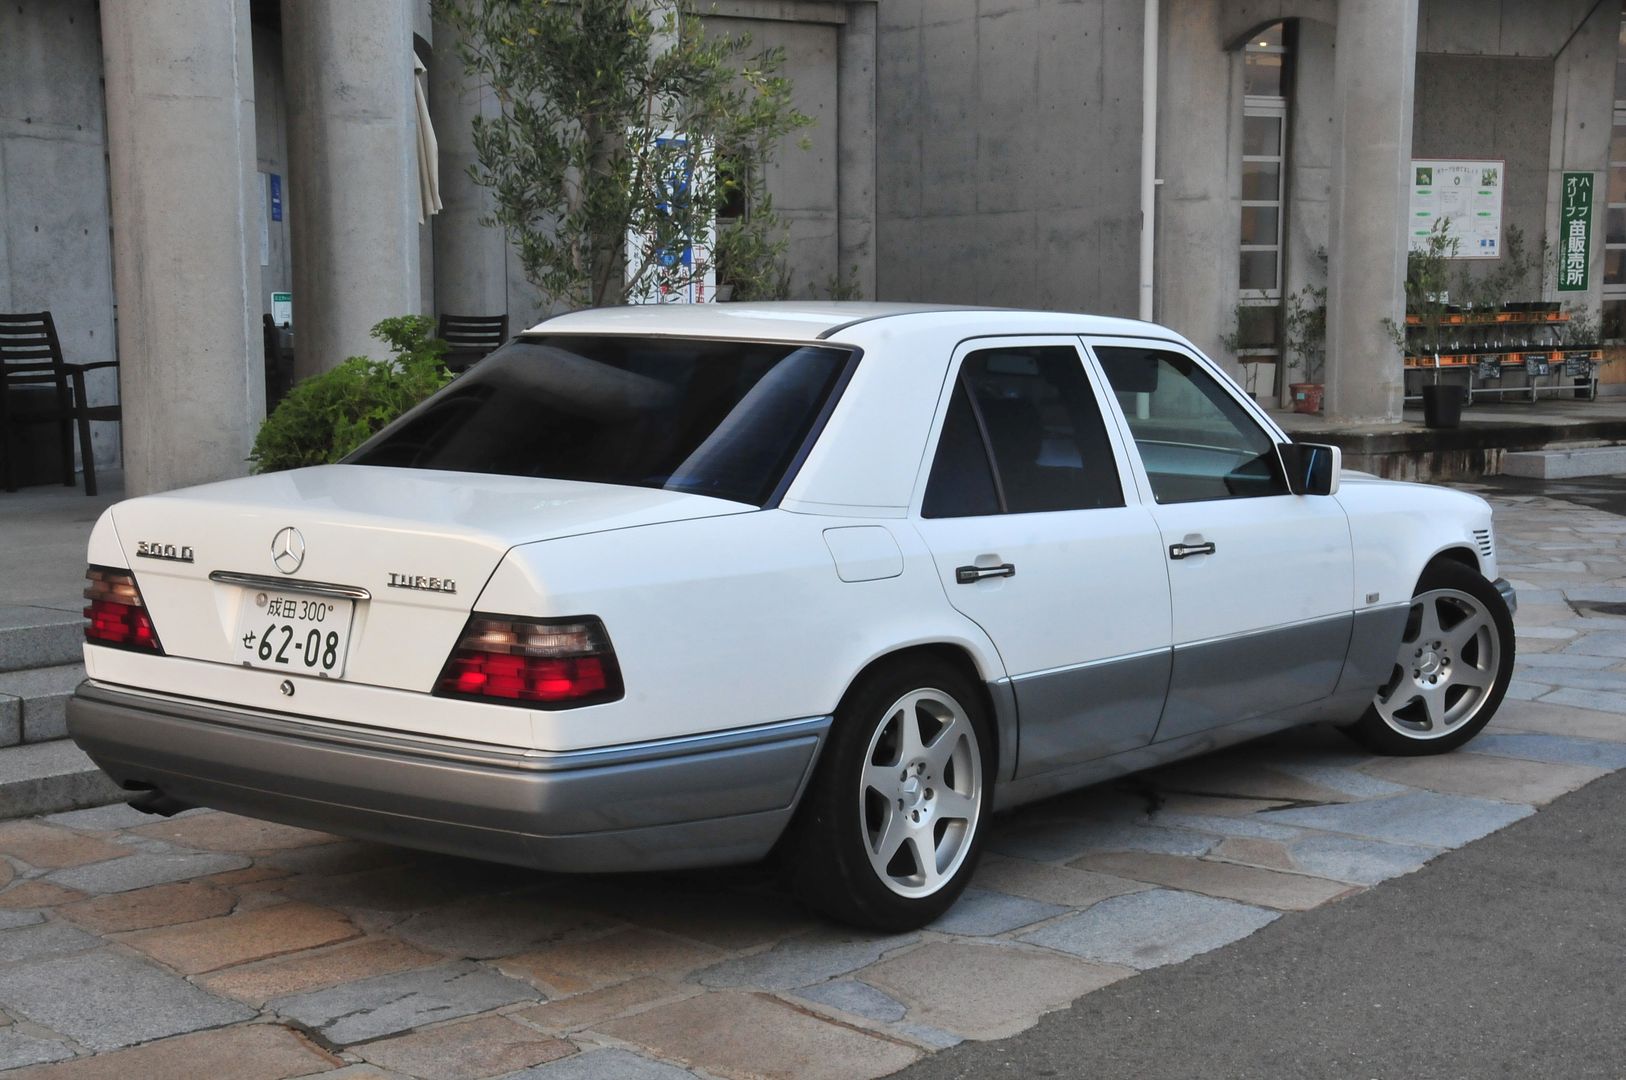
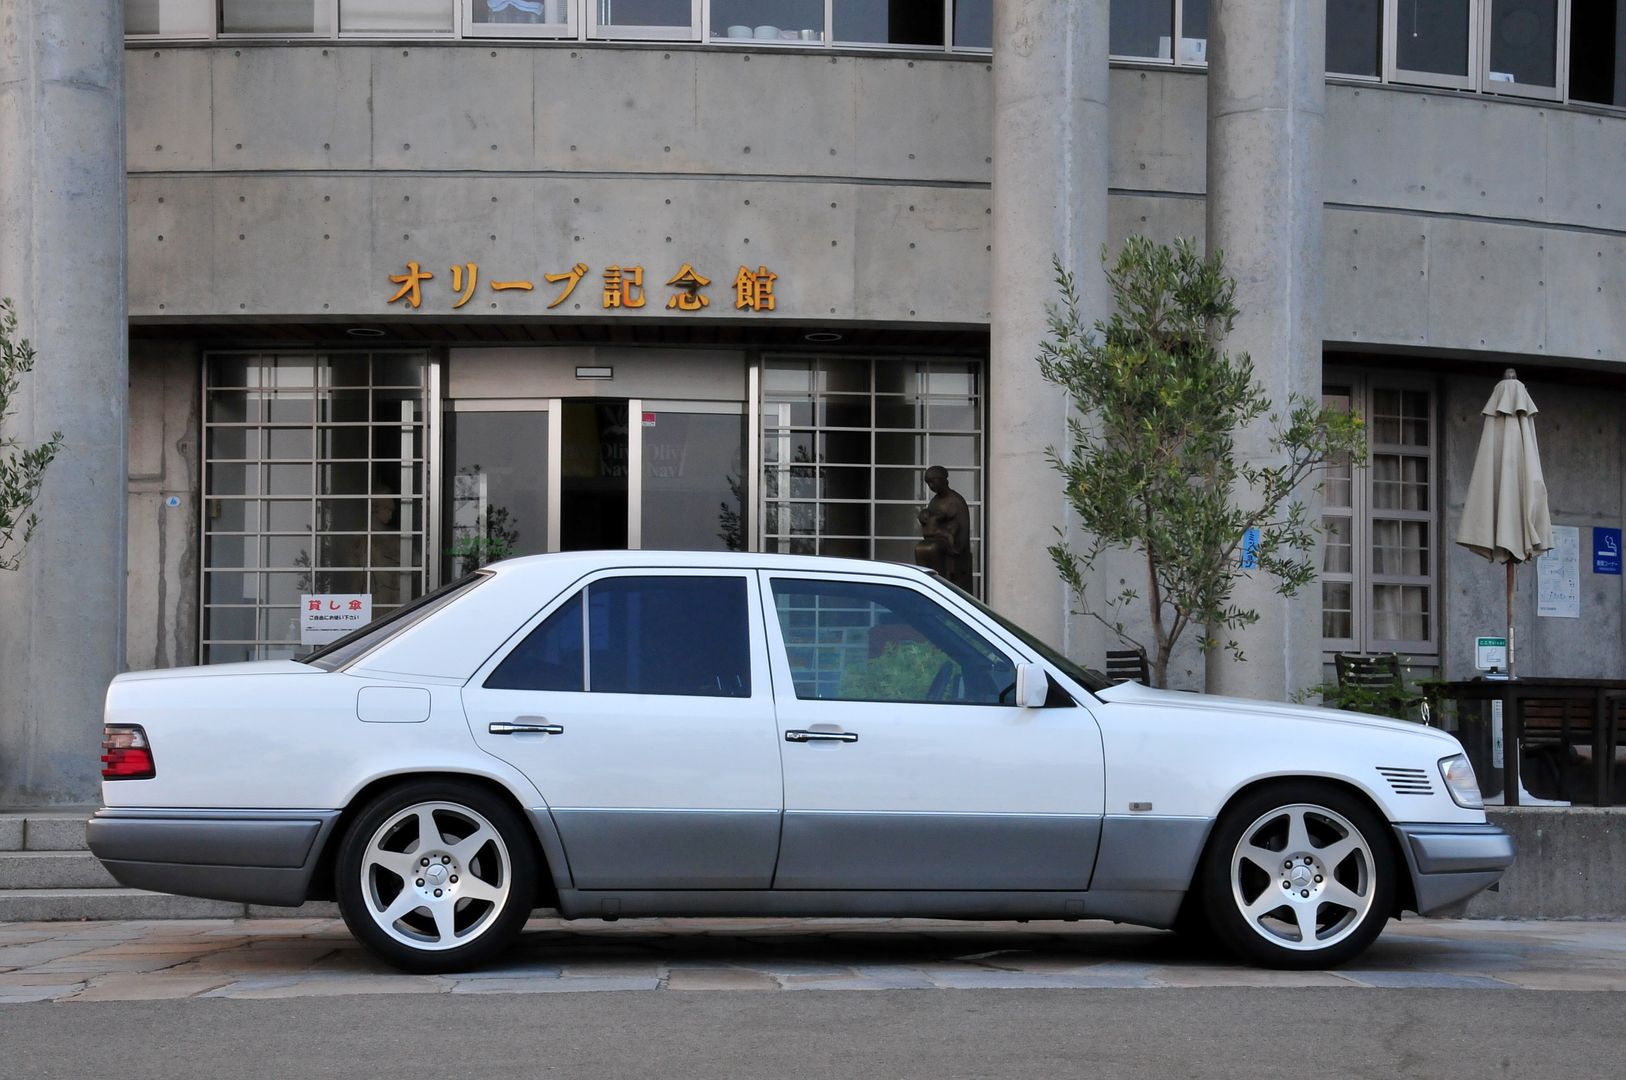
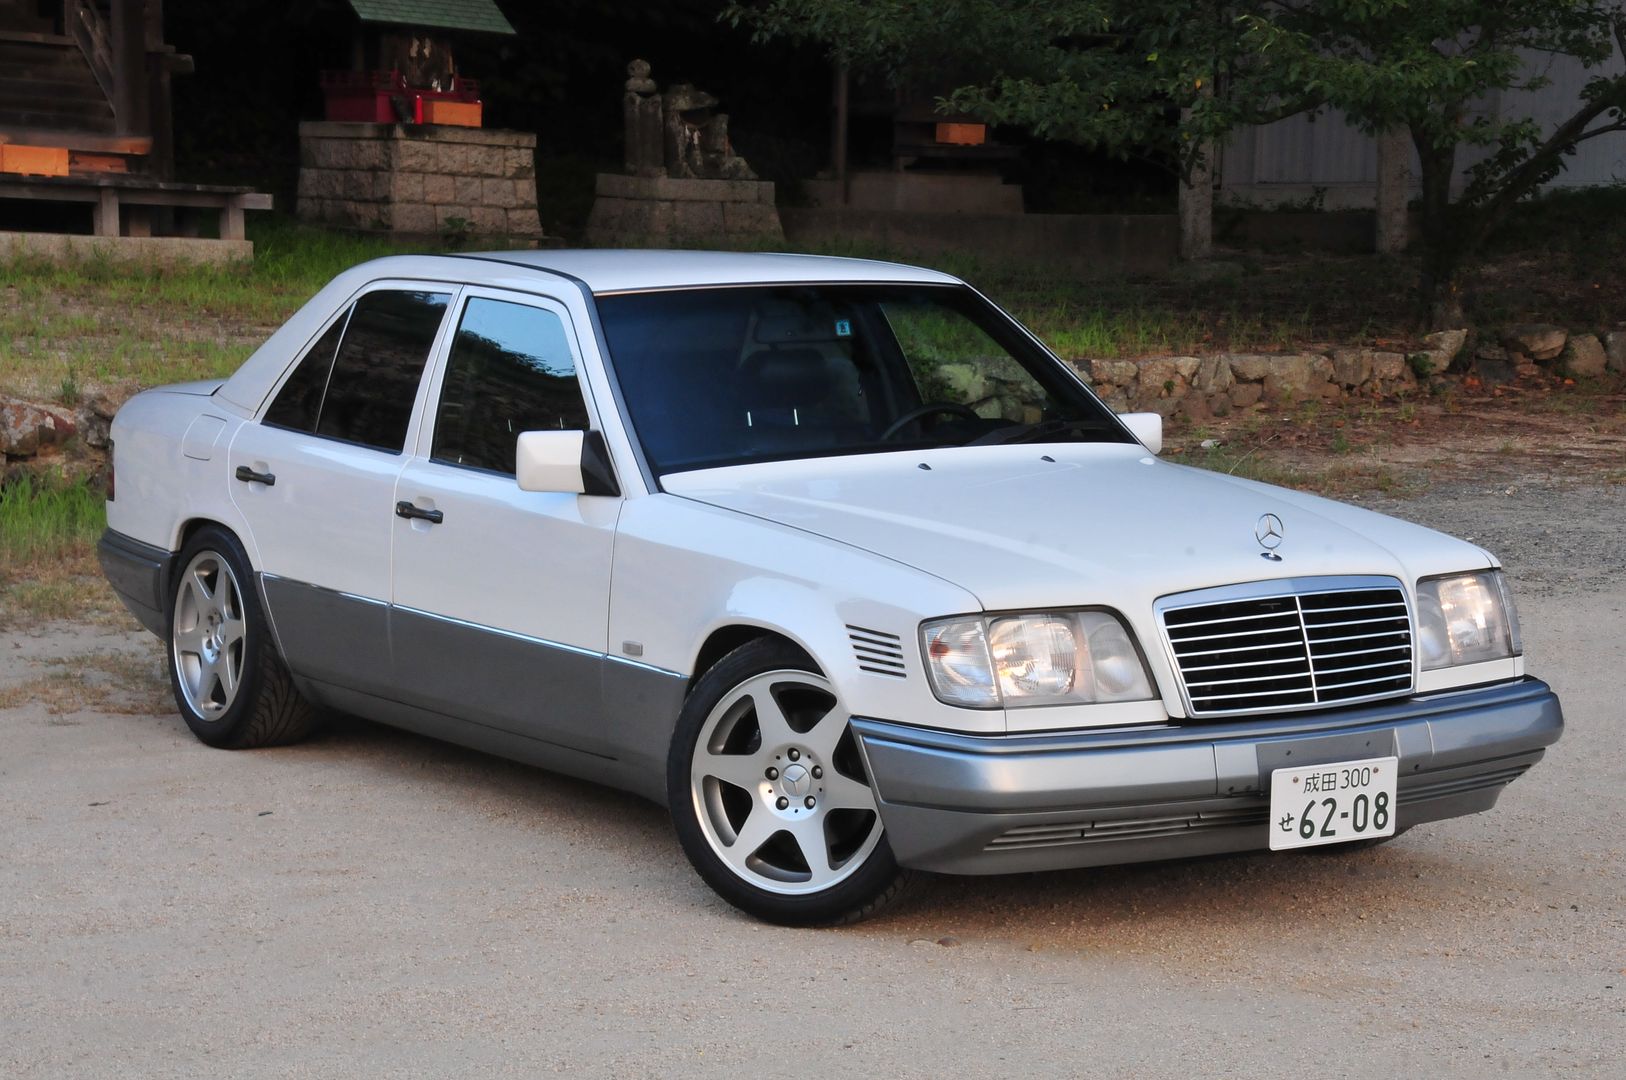
Recently fitted the E500 wheels I bought on Yahoo auctions. The front wings had already been widened with washers at the front and although the rims sit quite flush with the arches, there's been no rubbing at all.

I drove my family 700km yesterday (Non-stop except for toilet need) on one full tank of Diesel and although my wife & I had only slept 2 hours the previous night in preparation for 10 days away from home - we arrived without any discomfort, but happy to get an early night!

During some places with traffic I noticed the air-conditioning wasn't working too effectively. Researching the fan today I found it was turning the wrong way and blowing air out of the engine bay into the condenser. That would explain the poor cooling in traffic at 40 Deg C ambient temps!
I took the plug apart, reversed the connectors and re-assembled. Works in the right direction now. Tommorow will be another scorching hot day so I'll see how much better it is now.
Will wash the car & shoot some pics if we have a cooler day during the next week or so.
Looks less conspicuous with the E500 wheels if not a little OEM, but classy too. I prefer the look of these wider 5 spoke rims than the previous 6 spoke ones I think.
 
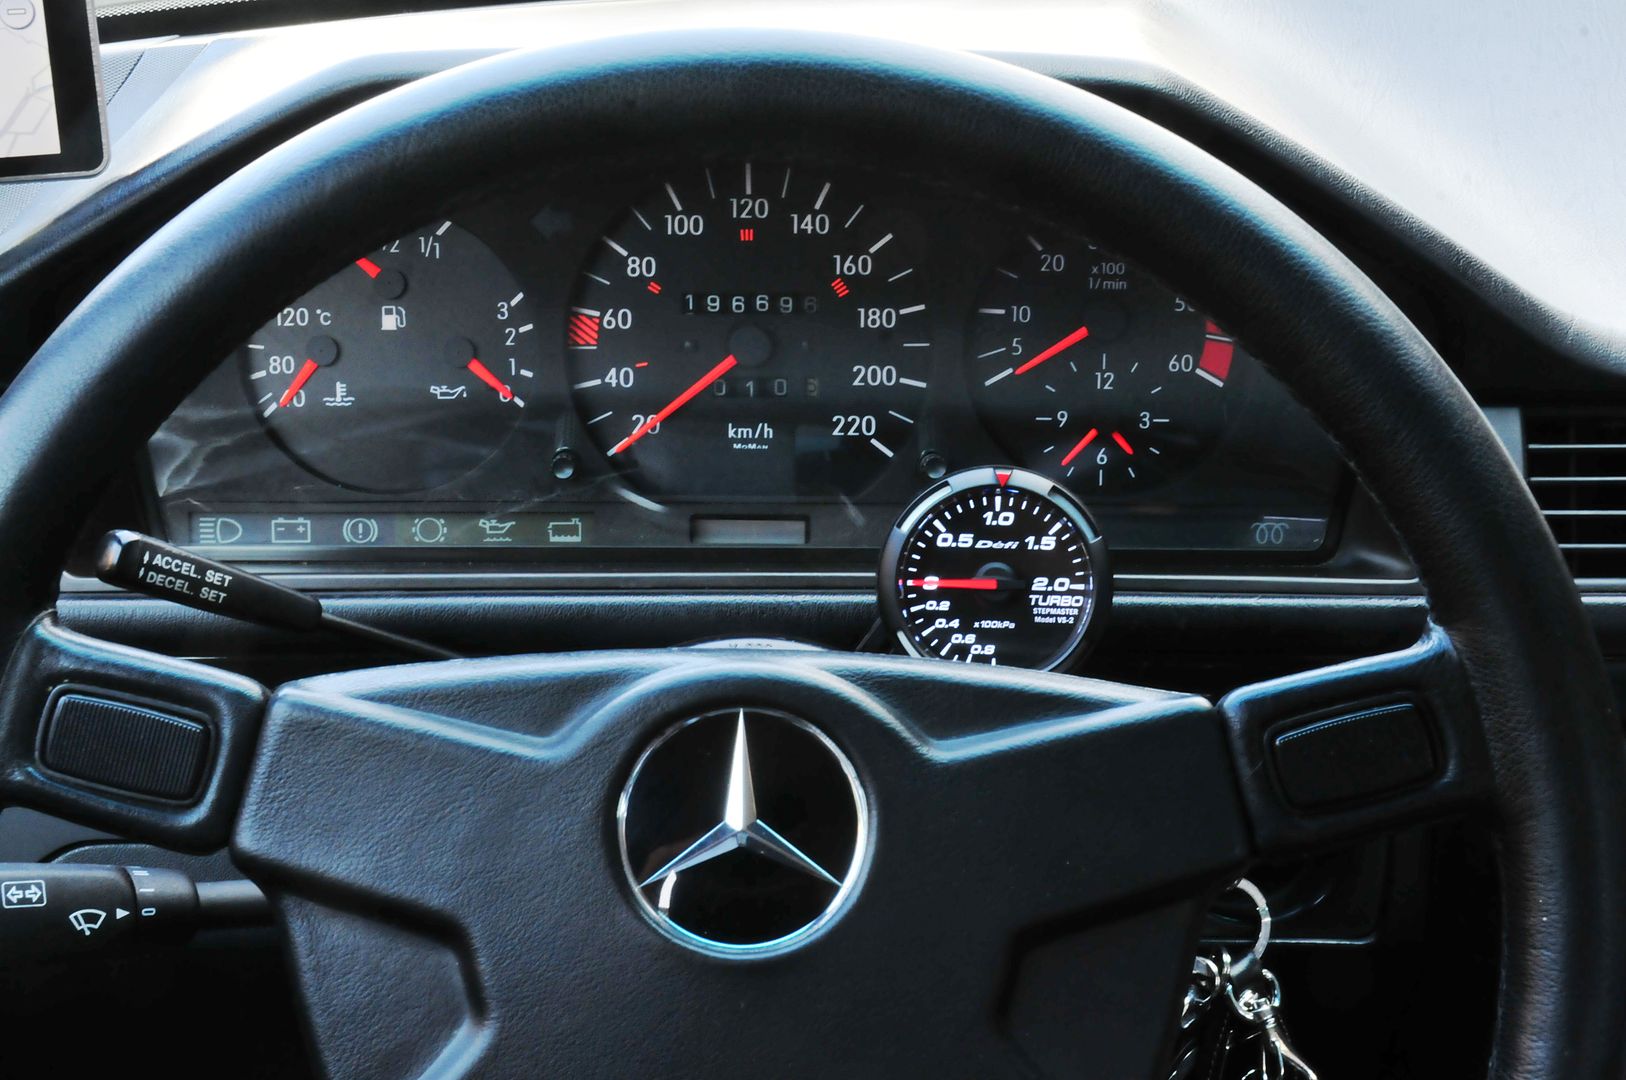
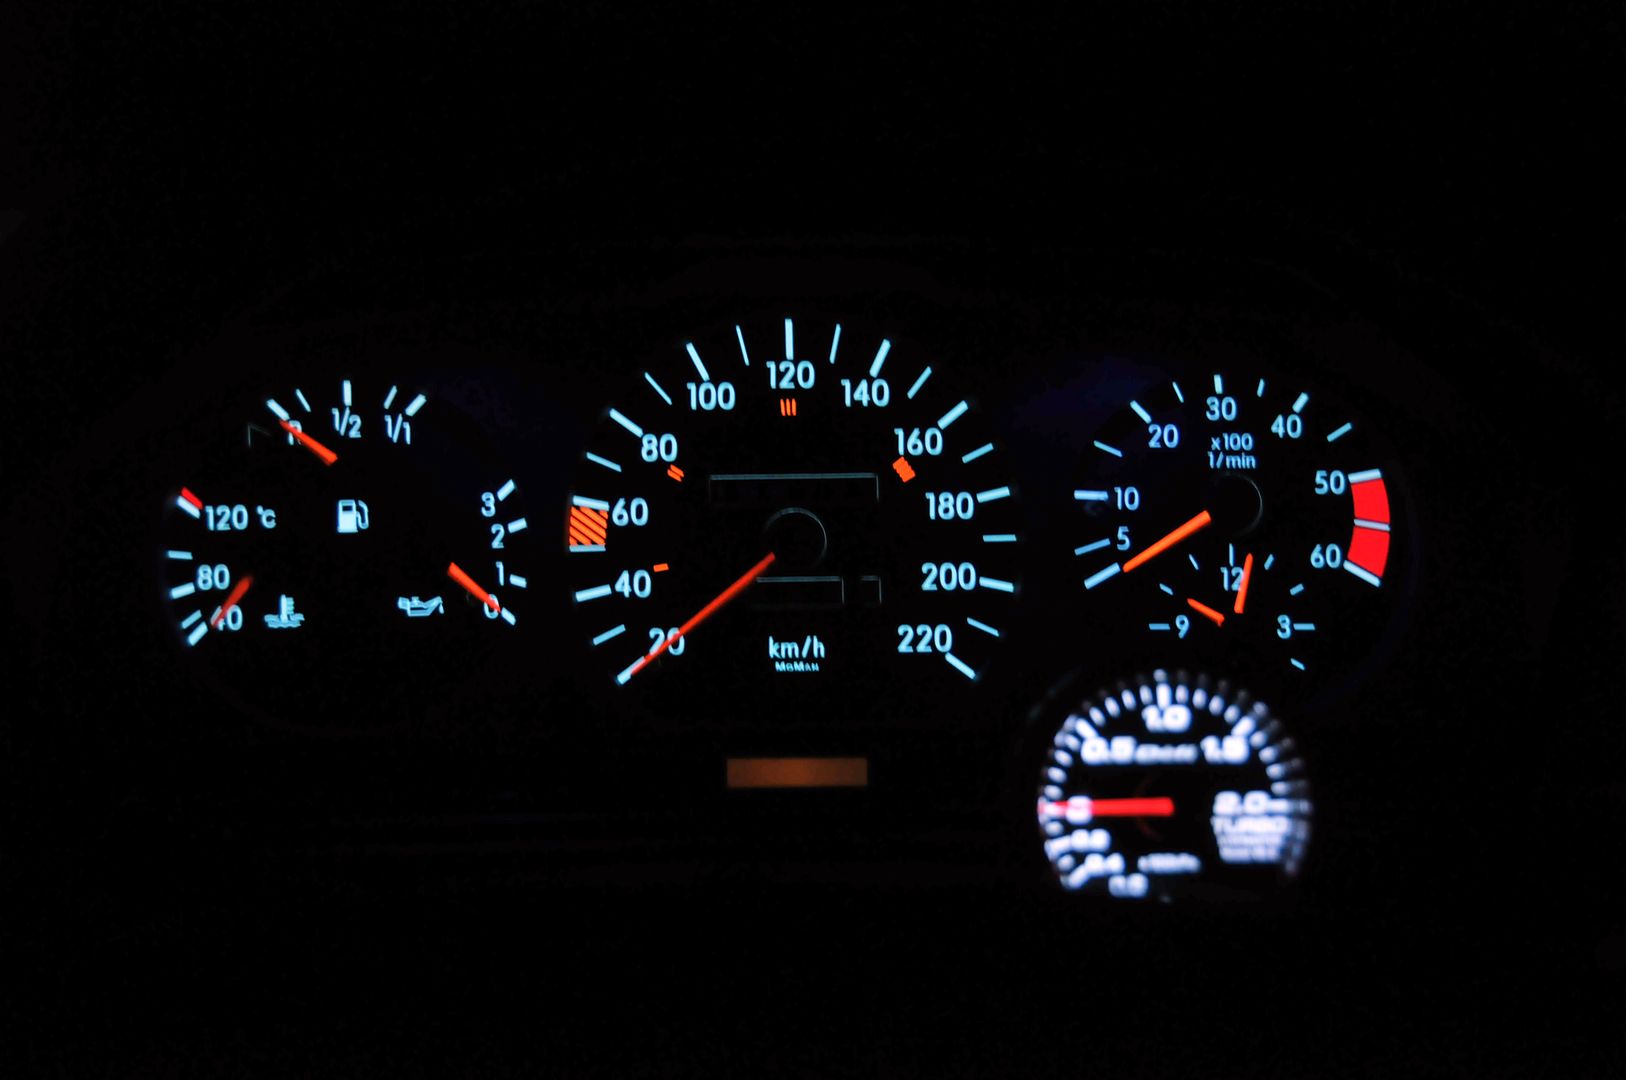
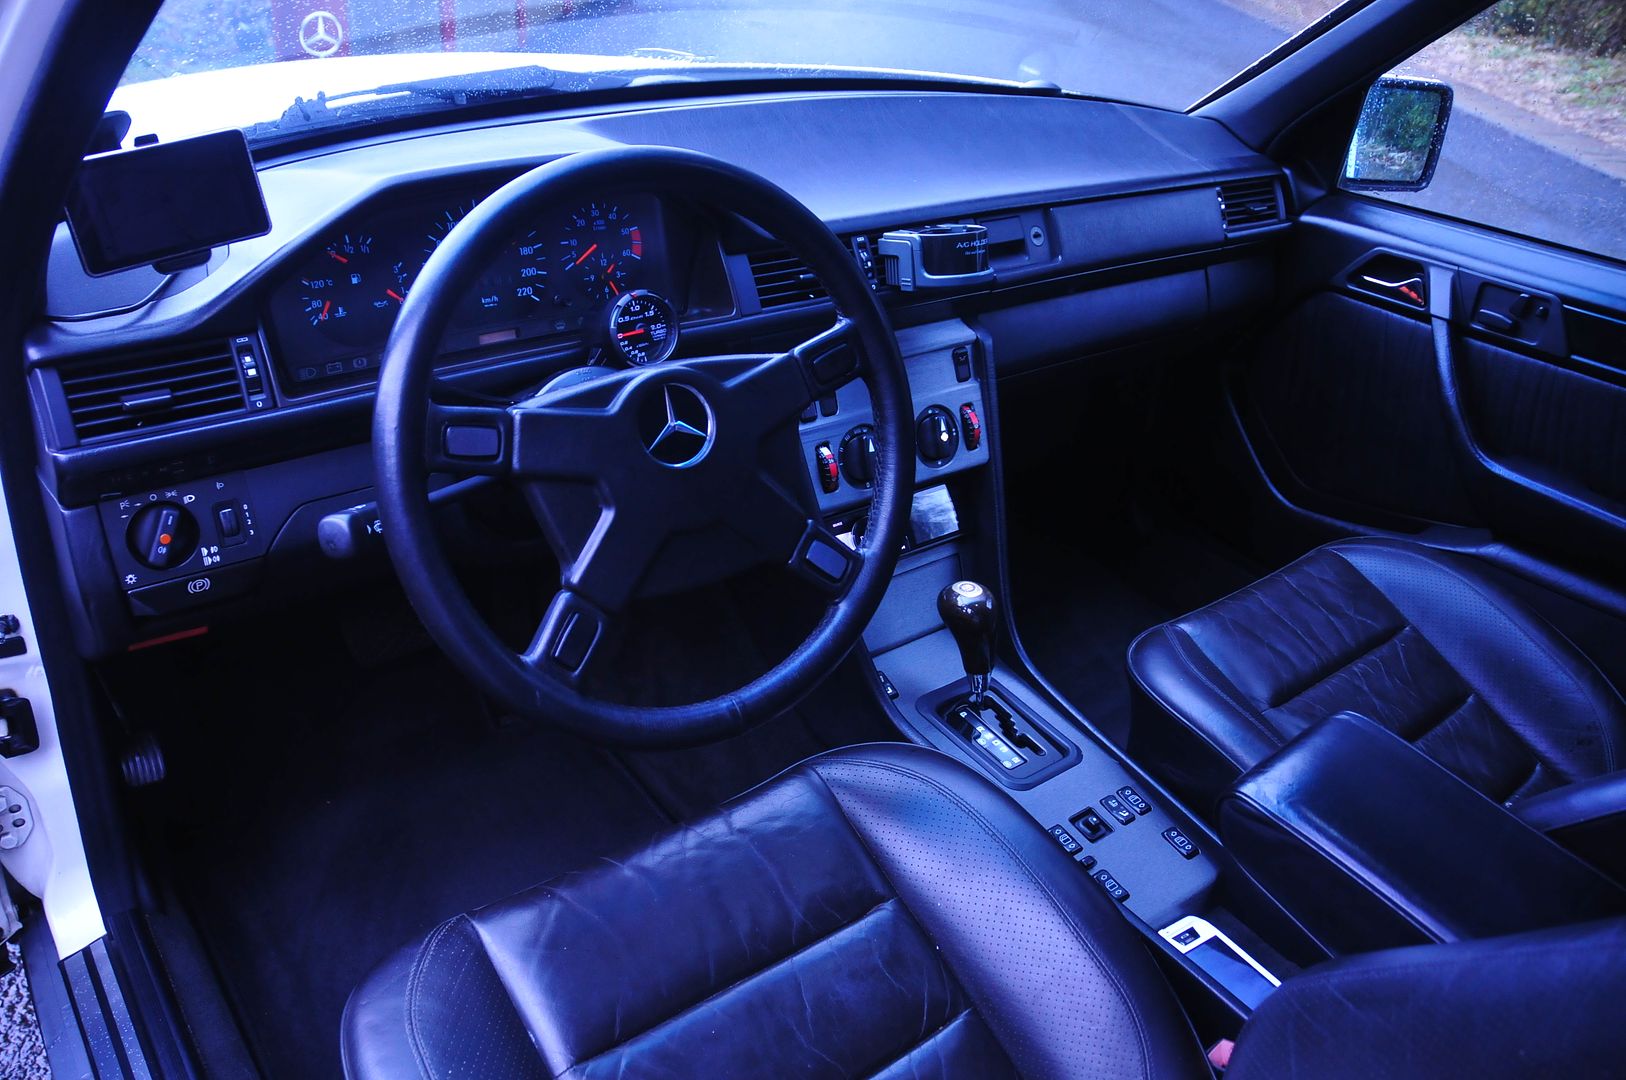
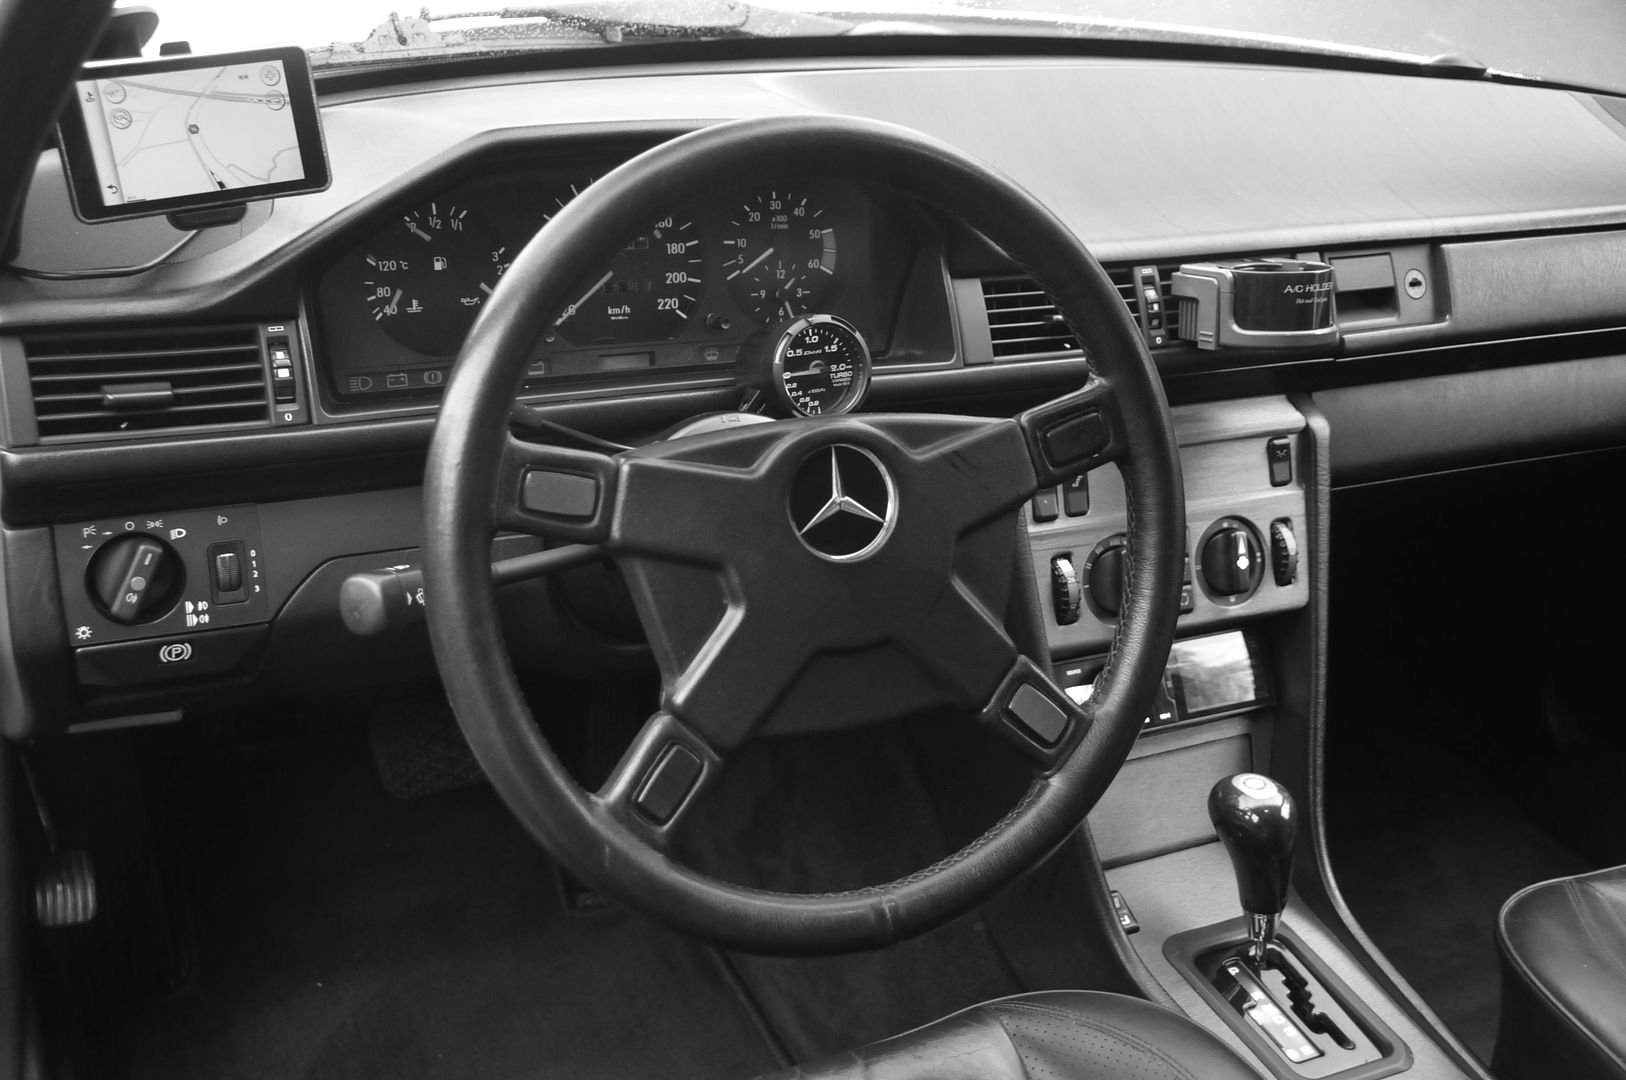
We're on a national 1 week holiday in Japan, so whilst at my inlaw's place with my family, today I took the opportunity to fit some electro-luminescent gauges, which will also better match the Defi boost gauge I installed recently.

From www.moman.eu I got Design 2,\ which closest matches the original design, incl. same rev counter & speedometer ranges as the 300DT.

Here's one of their library photos: Mercedes 124 & 126[pp_gal169]/2/

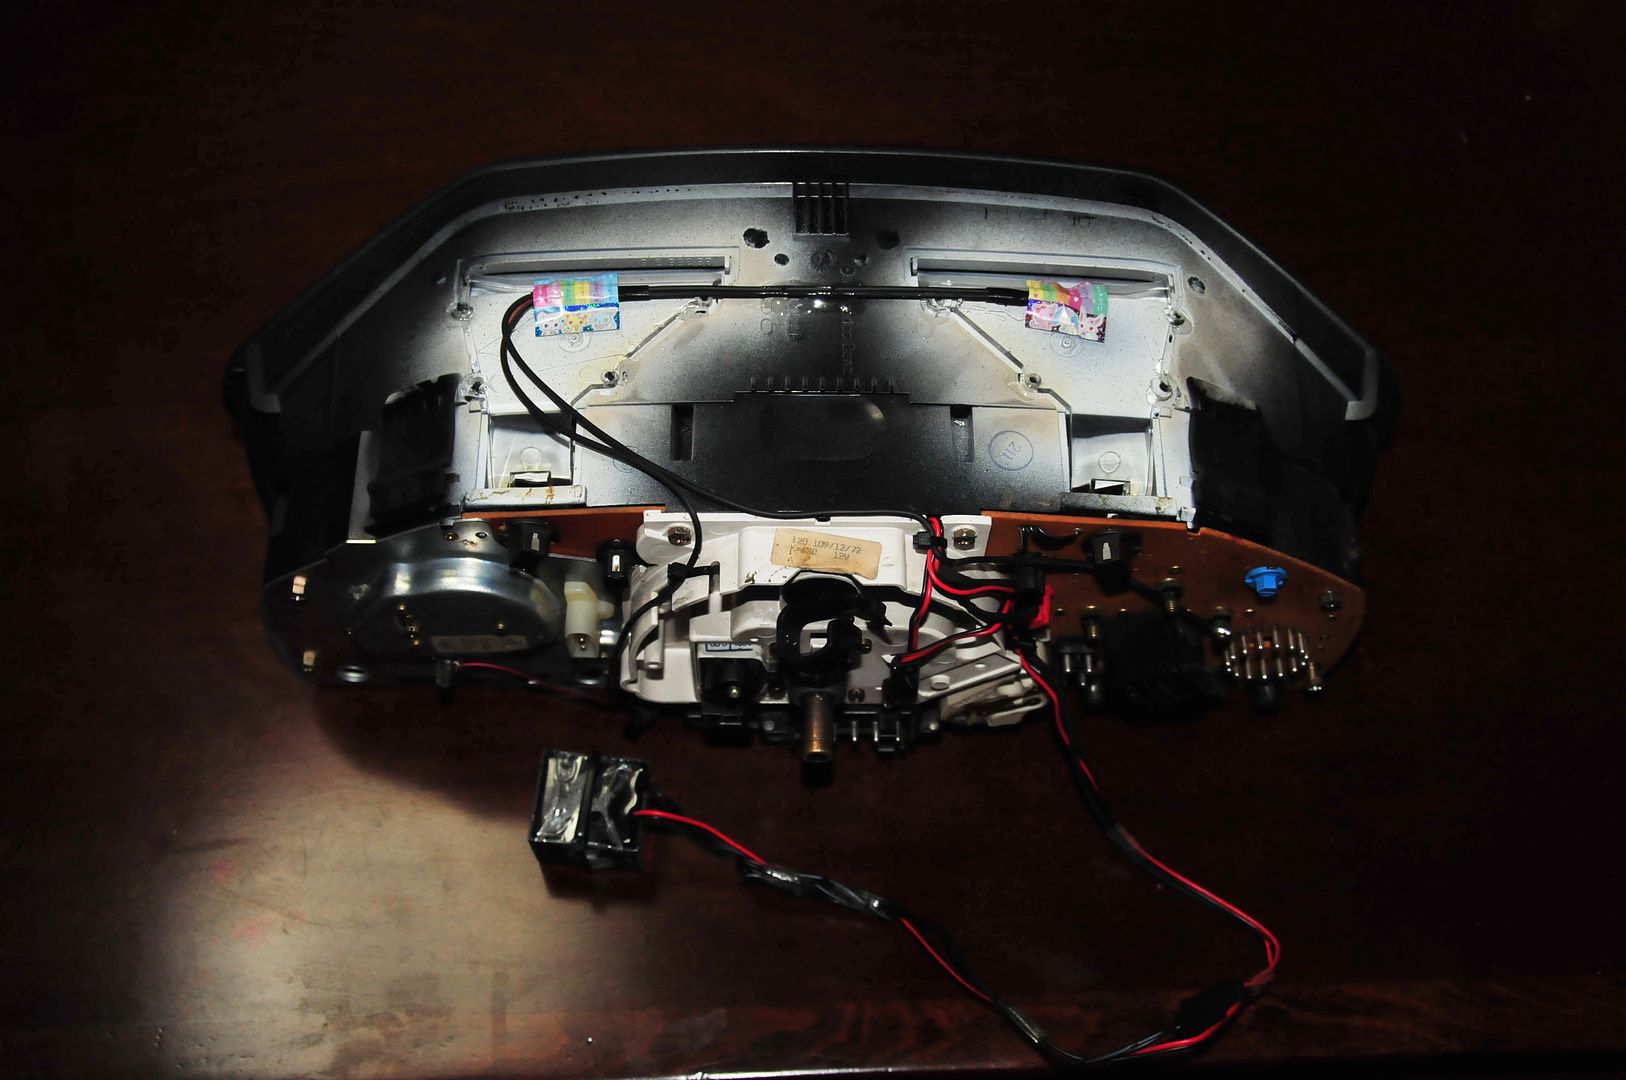
I also ordered some fluorescent paint with a harness & 2 UV diodes, fitted at top part of the cluster:
Needles lighting kit - 2x UV diode, Fluorescent Paint

Here's a useful link in case any of you with W124's (Or other older models) want to do a similar conversion:

MoMan Indiglo/Plasma gauges installation - Benzworld.org - Mercedes-Benz Discussion Forum

The description above's OK, but could use some improvement, but as I'm not a member there I can't add to the comments (If anybody else is, feel free to cut & paste the comments below so that someone else can use them in future if referring to that thread).

Here's some notes / tips:

(1). It's best to fill the tank to the brim before beginning, as the best way to refit the fuel pointer accurately is to power it up - by refitting the large round connector. At the same time you can also refit the oil pressure gauge's pointer - at 3 (I'll go there if only the round connector is fitted).

(2). Only the following pointer needles need removing to fit (Use two small spoons to gently prize them off - it's pretty easy): Fuel Level, Water Temp, Oil Pressure, Clock. I masked the black centres off with selo-tape (It's all they had here and I forgot to bring masking tape with my selected tools for this job).

(3). If you try to clean the inside of the perspex glass, don't use cotton buds - as little pieces of cotton woll can get caught in places & is a pain to remove afterwards!

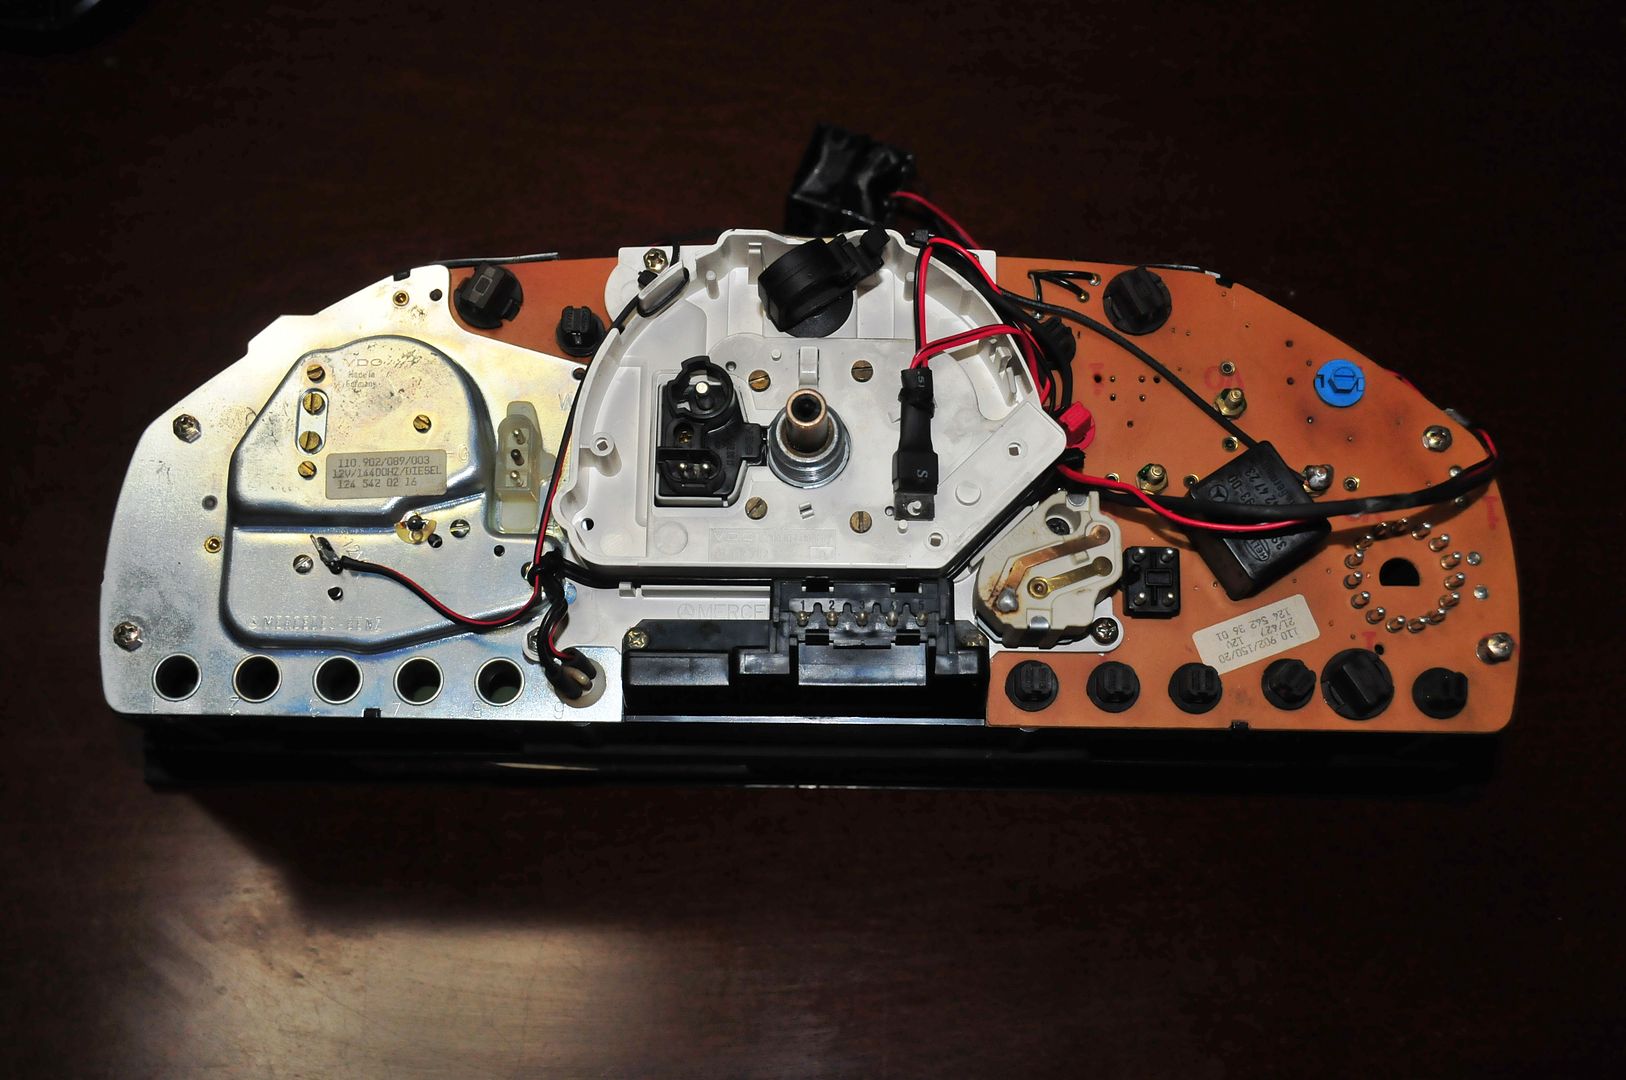
(4). The Moman kit is supposed to come with a "multiplier" for connectors. I couldn't find mine - but anyways a neater solution is to spice the wires together with solder and shrink wrap and have only one connector going to the inverter.

(5). For the UV lights (To make the needles glow red at night) at the top of the cluster - I obtained power by soldering to one of the brass (earth_ connectors at the back of the temp gauge and obtained 12V from the connector for the clock (Ah bugger!!.... Only just realised this'll make the UV LEDS always stay on... I'll have to get another 12V aux feed...A job to do tommorow... :eek:).
Careful when drilling holes with this - as it's easy to go through the plastic then have the drill bit hit the clear plastic facia. Having a short drill bit helps. :)
I took a couple of my daughter's sticky foil stickers and put them on the top of the UV LED's to help reflect their light back at the needles.
Used plastic glue (Dries in about an hour) to hold these LED's in place and also to attach wires to the top of the cluster.

(6). I obtained power for the inverter directly from the circuit board inside the cluster which gives varying voltage to the inverter (Confirm with a multimeter to know which terminal to solder to. It's easy to blow the inverter if the polarities are wrong!).

(7). I only cut away one area to feed wires through, as shown in picture below, then used small cable ties to secure the cables both inside the cluster and outside.

(8). Don't forget to remove the original illumination light bulbs from the cluster. You won't need those now the faces are lit with electro-luminescence.

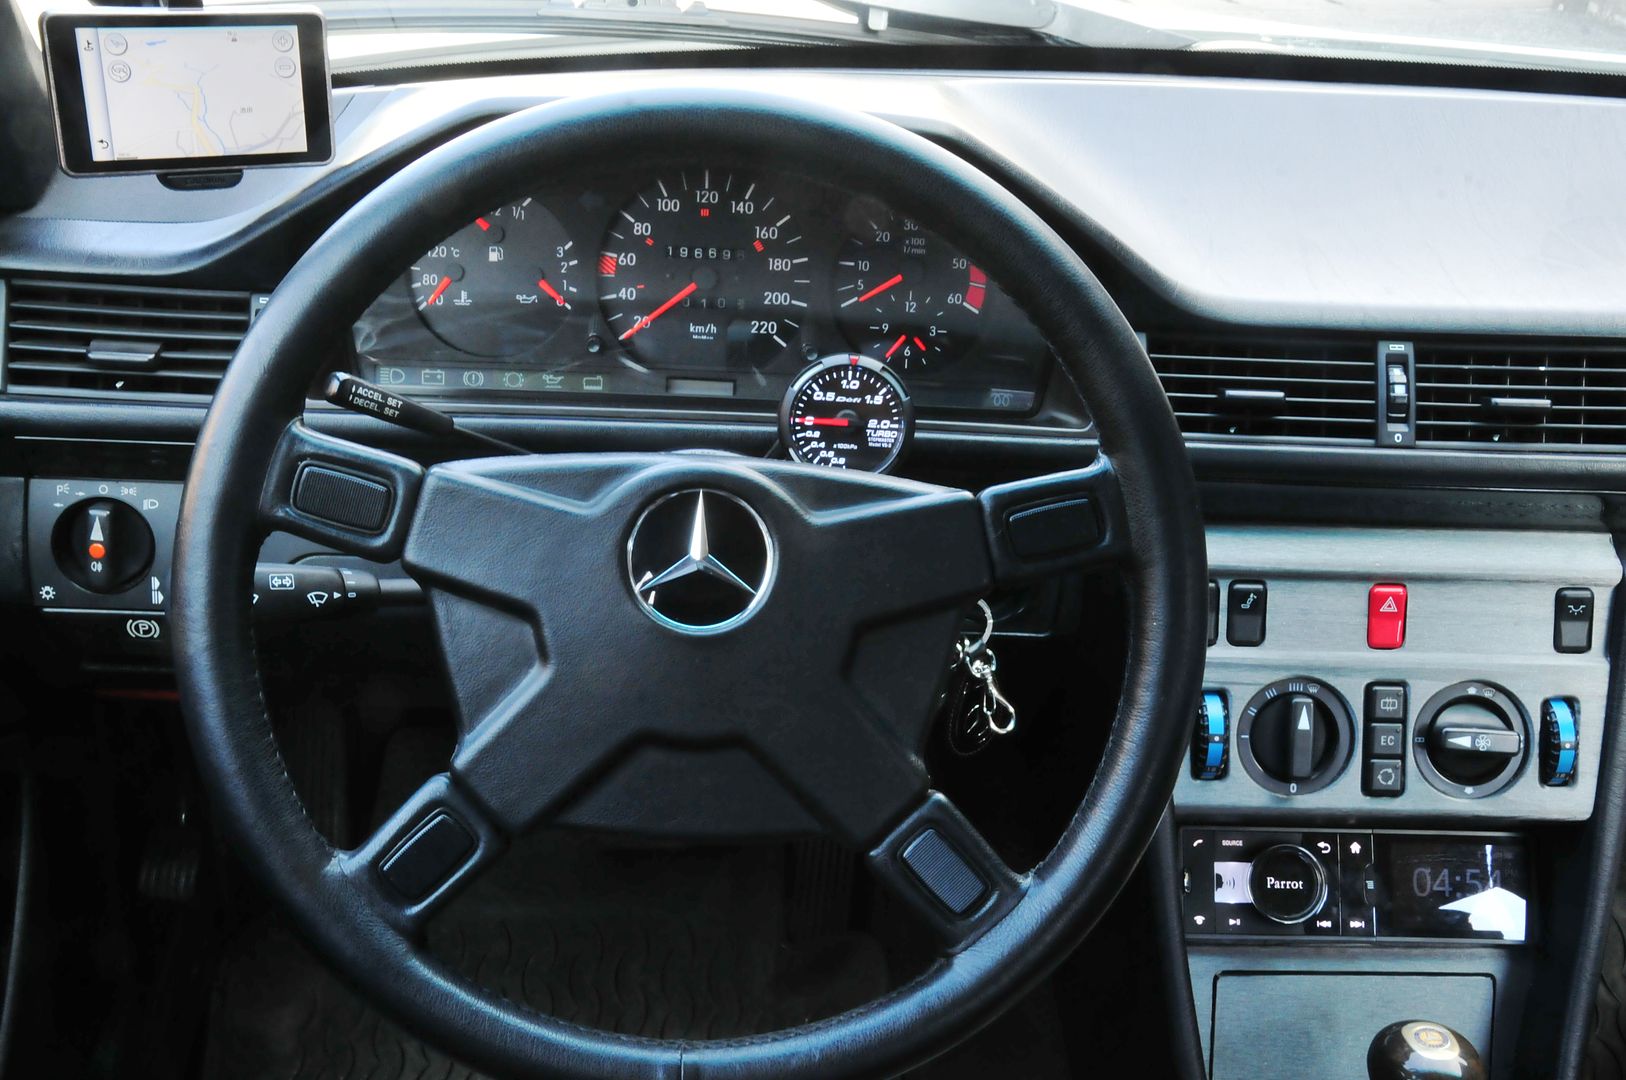
Anyways, it's all working OK now. I'll just need to re-do the power to the UV LED's tommorow. Below are some pics to show what it it looks like now.
Will be interesting to see the difference later tonight.

More pictures later....incl. some of the car with the E500 wheels now fitted.


Here's a pic of the EL cluster. I took the pic last night but exposure was so long, it came out a bit blurred. As you can see the needles are well lit by the hidden UV LED's too. Quite pleased with the result.


Today I re-fitted the illumination LED's in the original position, so that hopefully the odometer will be lit as before. I also re-wired the power for the UV LED's. Turns out that pin 13 on the large circular connector is the one to use. A little tricky to get at with a soldering iron, but I got there by bending the legs of a diode away a little. Careful not to burn the edge of the temperature gauge's face - as I did slightly! :p
 
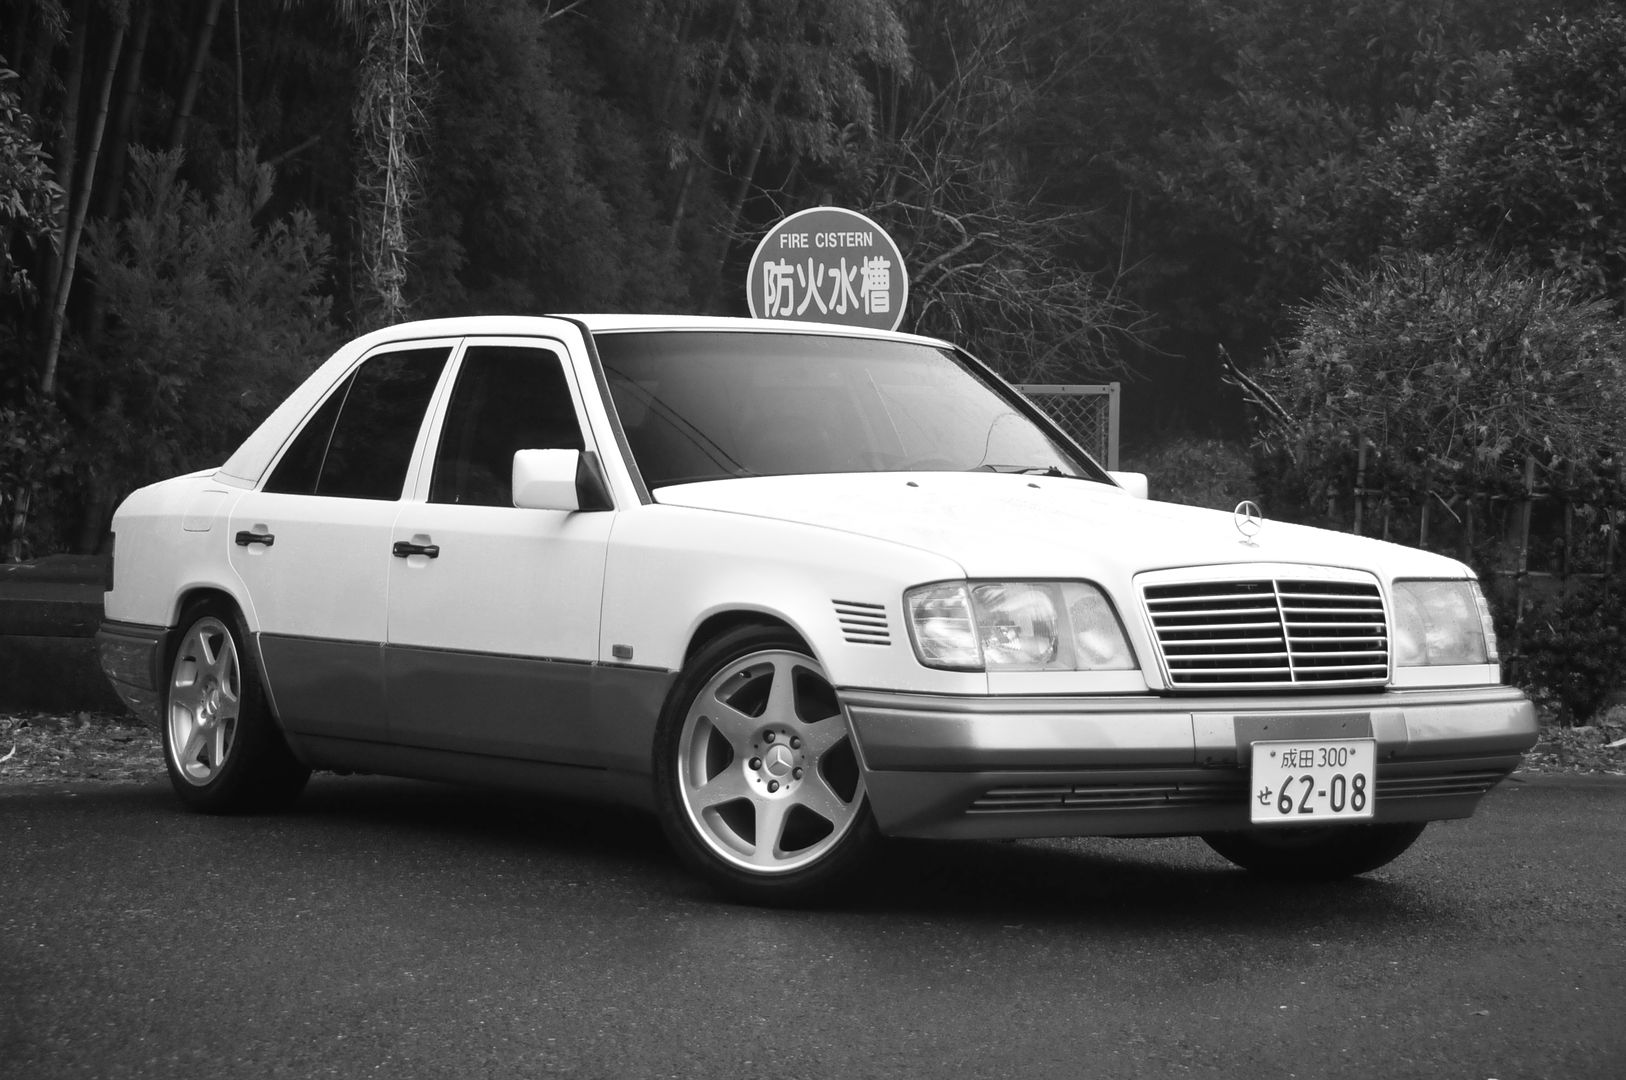
I gave the car a quick wash just before sunset and went out to take some pics - always hardest to shoot a white car. Reflection just over-exposes! :p

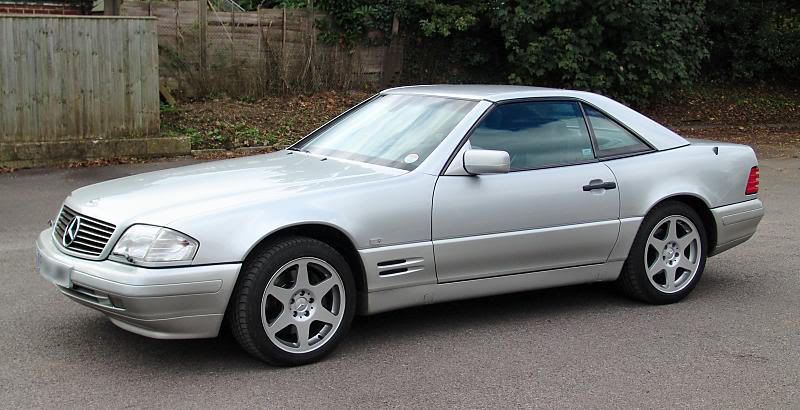
These are W124 E500 LTD wheels, but I hadn't realised till now, they're the same rims fitted to 2.5-16 Evo's as well. I think they suit it better than the
5 spokes I had on previously. :)


Looks nice. Love the gauges!
 
Lovely
 
Excellent.

This is quite brilliant!

In the UK speed camera's snap away once the car is passed the camera and will take the registration number from behind. I wonder if this trick will work for our rear number plate!

:wallbash::doh:
 
This is quite brilliant!

In the UK speed camera's snap away once the car is passed the camera and will take the registration number from behind. I wonder if this trick will work for our rear number plate!

:wallbash::doh:

Never seen Goldfinger? ;)
 
People seem to like this. In Japan cameras are forward facing, so they can take a picture of the driver. As such, each of my cars has one of these contraptions.
No problem driving by policecars either, although I avoid following them directly - in daylight, anyways. ;)

If I forget to slow for a speed camera, no problem. These are kinda outlawed in Japan but being in the car tuning business I know where to get them. Not sure how useful they'd be in England or Europe though we have supplied them to Skyline GT-R owners, which these kits are made specifically to fit. I just adapt 'em. :)
 
Those wheels look awesome. 18 or 19s?
 
The wheels are often referred to as "Evo" (from the 190 E Evo II, which had them) ... but officially they're called "Ceginus". I used to have them on my R129:

 
I know where there's a set of these Evo II wheels going cheap if anybody is interested...

Anyways, Picked up a couple of rare and useful parts today:
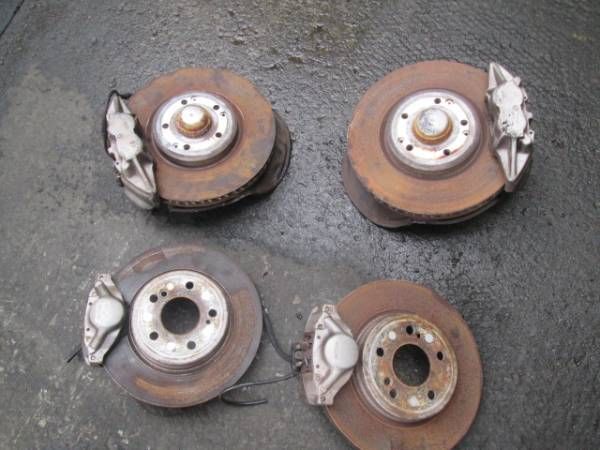
Genuine E500 Brake set.

As mentioned earlier - the car already has 500E brakes, but in 1993 Mercedes specified even larger and thicker discs and these will be noticeably larger but still fit well within the Evo wheels, which also came off an E500 facelift model. The existing brakes on the car can be sold to recoup the costs for the brakes bought today.
I also picked up the E500 front bumper (front the same car) which is rare to find. This will be a bit wider than the existing bumper, but I am confident I can make it fit, even if I have to modify the bumper a little bit to do so.
Now sorely tempted to buy a set of E500 (European) headlights, but I only replaced the reflectors & adjustment hinges in mine a couple of months ago, so I'm not keen on wasting these...
I guess I could switch the reflectors over to the E500 headlights? Don't know... I may just go with what I have, as the difference is only minor.
Here's the bumper as it will be to begin with. The vents in the bottom are much larger than on my bumper - better for the oil cooler.
I have a brand new towing eye cover which I never used, so that's handy. Once I start playing with this I'll put up more pictures of how an E500 bumper can fit onto a narrow bodied W124...
 
I would imagine the best factory upgrade would be the Silver arrow front brakes. I had them upgraded on my sl60 its a direct fit. 334mm I think and larger light weight alu calipers.
 
Just a bit of a light update on what's been changing on this car. Most of this was done over the break between Xmas and end of the year. Nice to find some time to work on things...

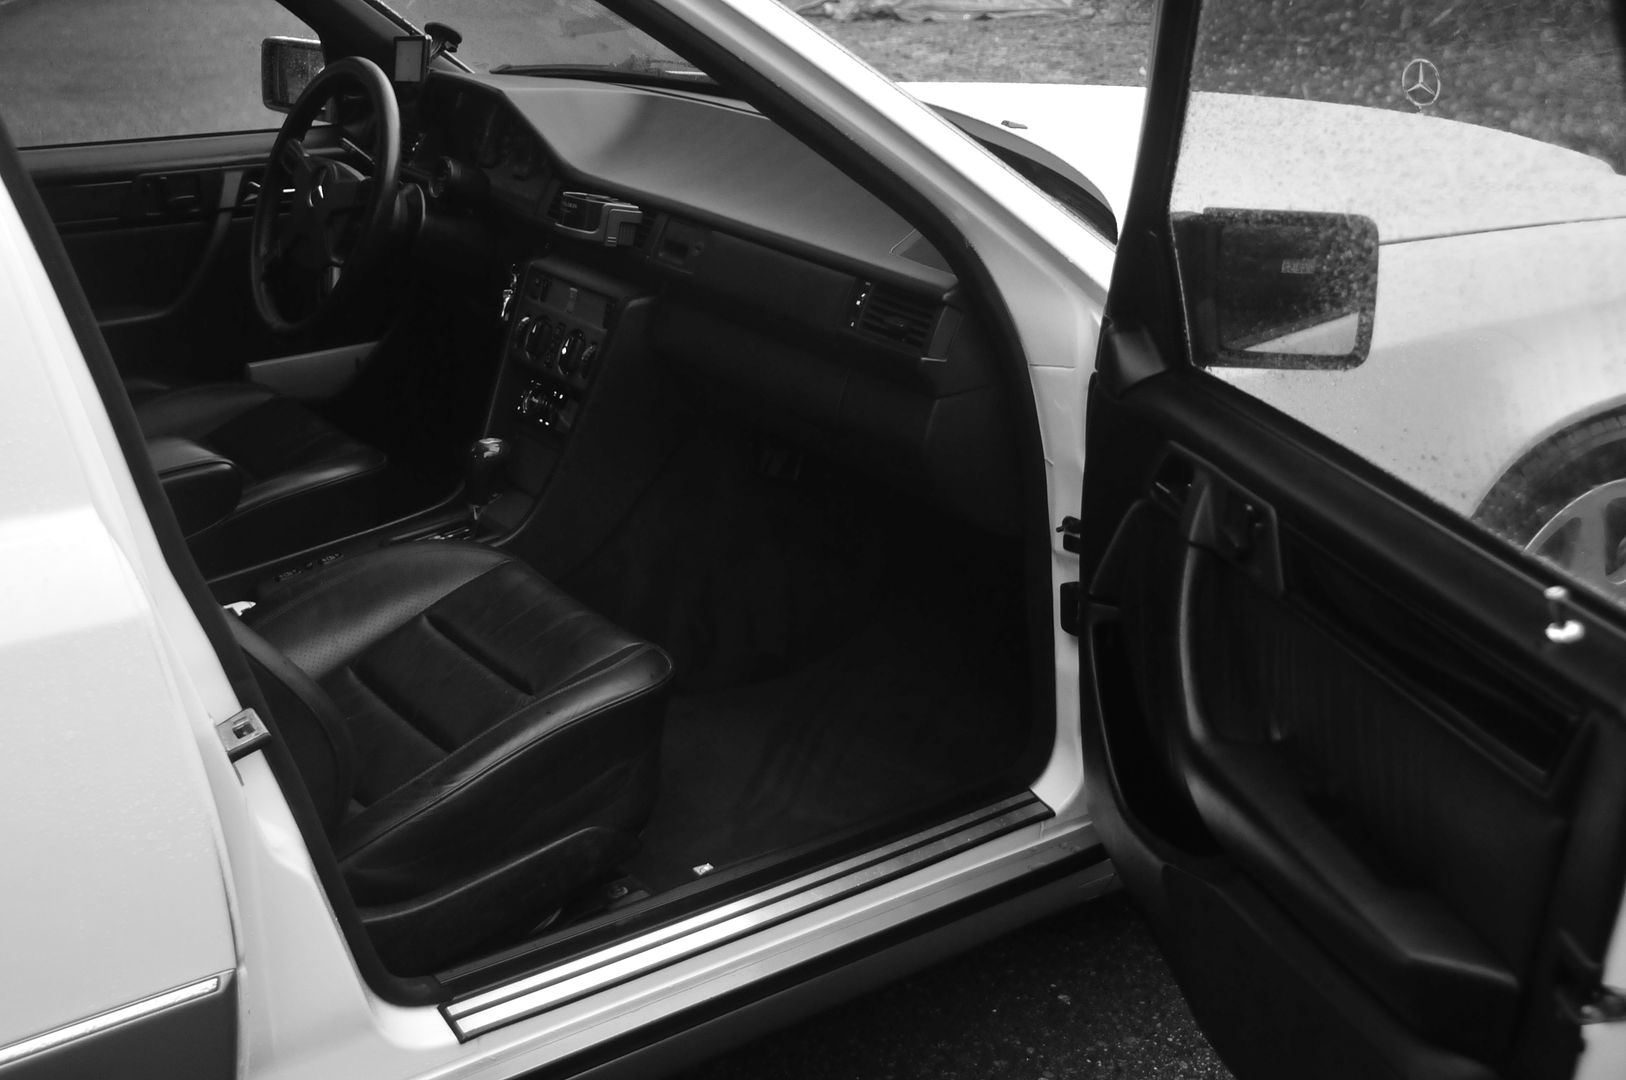
It now has E500 original seats (Recaro) complete with seat heaters, adjustment, etc.
Took a bit of fiddling and wiring but it all works perfectly although I didn't bother making the memory seat buttons a feature since we rarely adjust them anyways.


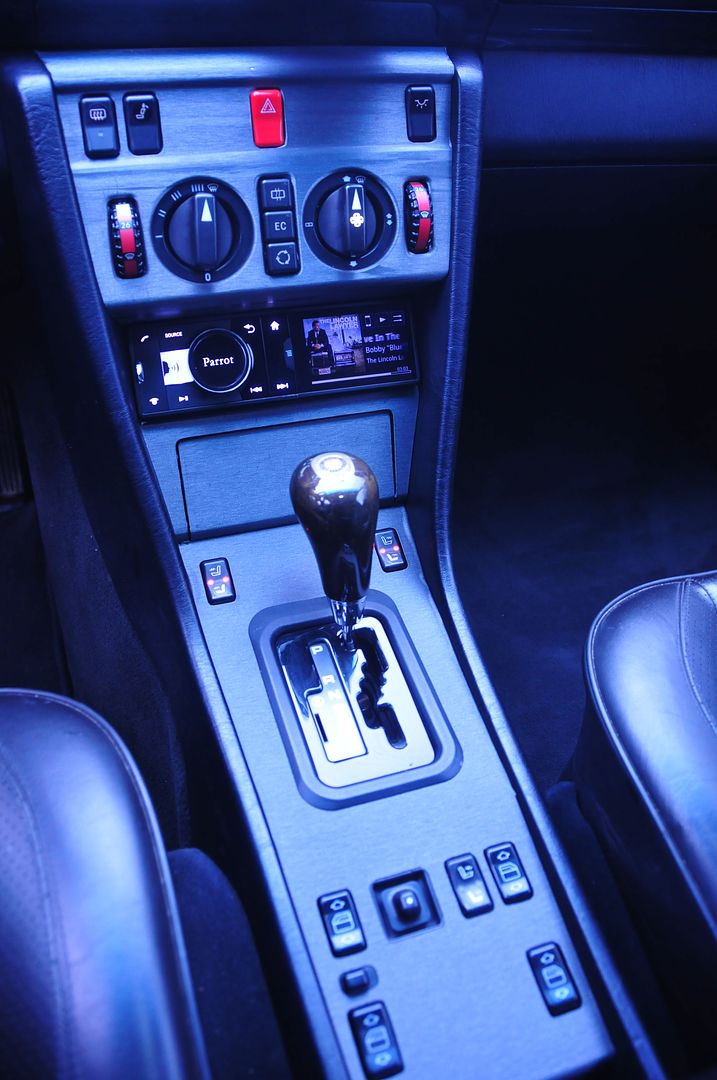
Will shortly be sending off the centre console panels to people we work with at - so they can carbon laminate these. Under the current 3M wrap is just original veneer which won't match the rest of the E500 dark wood trim. The E500's heater system & controls are completely different so that wasn't possible to retro-fit.

[URL=http://smg.photobucket.com/user/Miguel-Newera/media/Benz%20300D%20Turbo/DSC_8404_zpsd5aef1ed.jpg.html]


It's nice to warm the seats up on these winter mornings.


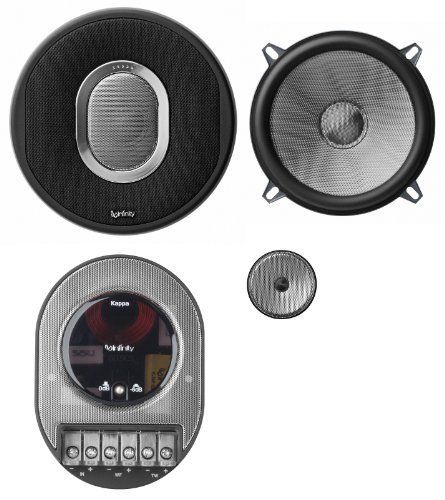
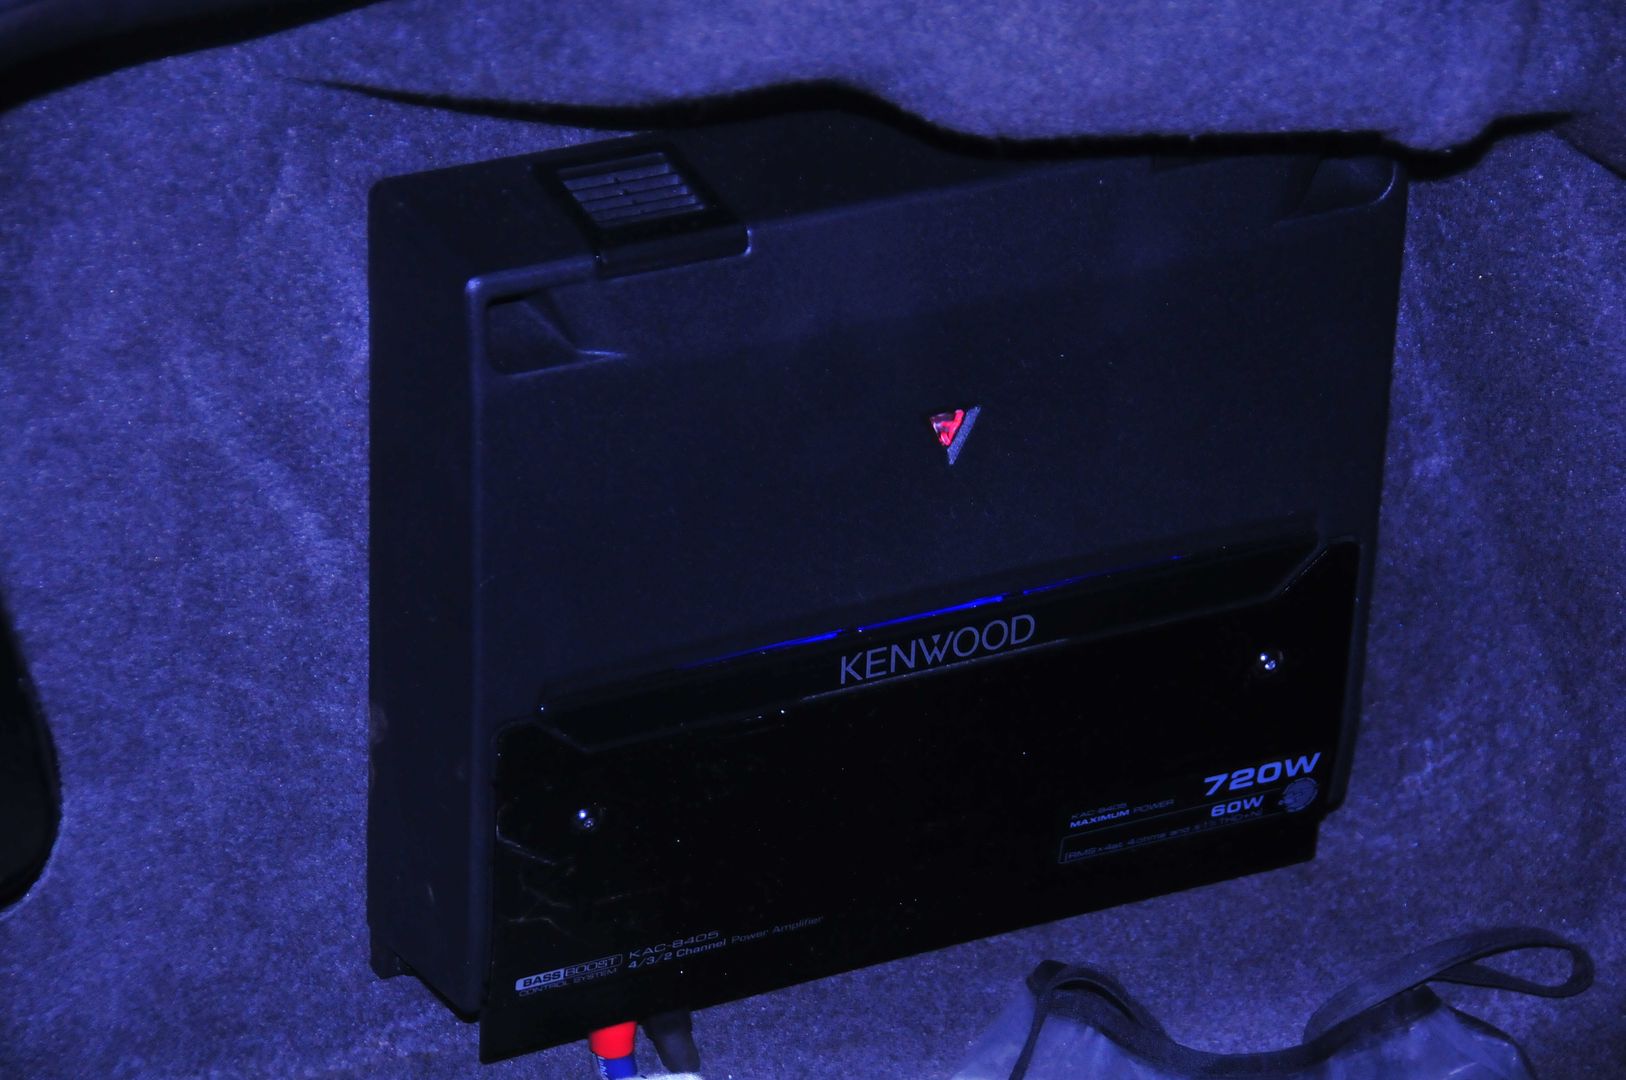
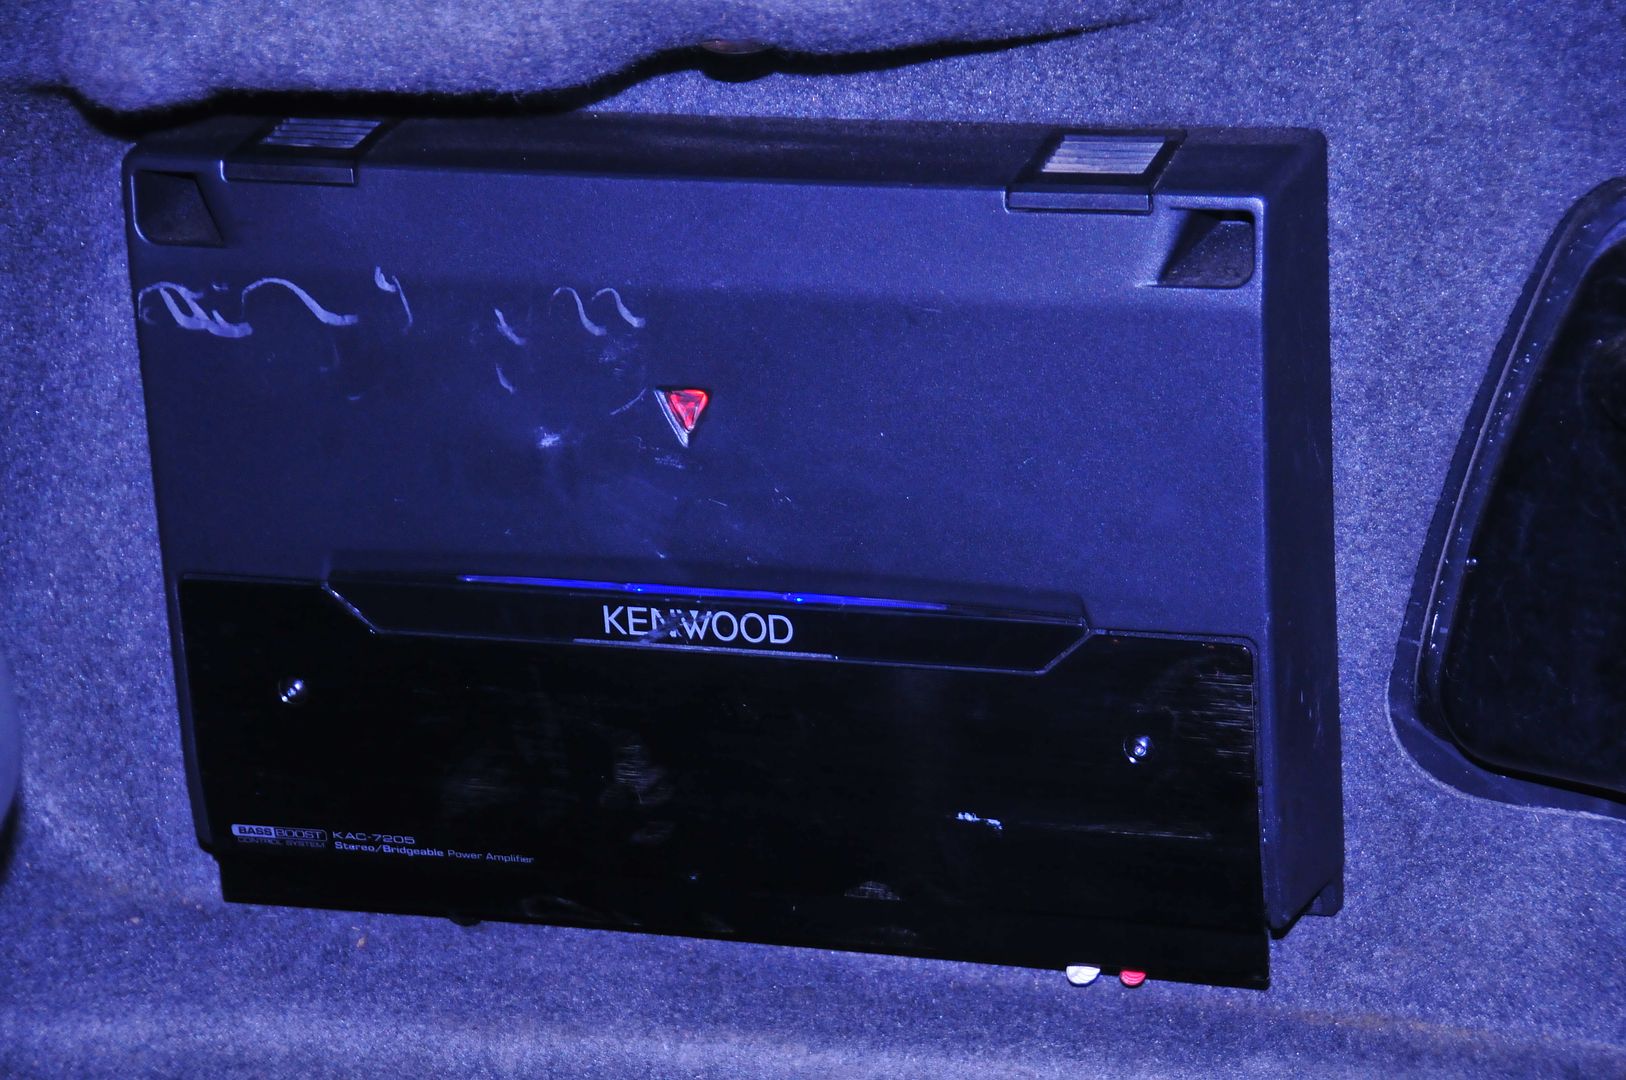
The Jenhert front speaker system's been working well - no problems at all, but the speakers I'd fitted for the rear were under powered. So I recently fitted a smaller matching Kenwood (720W peak) amp and adapted a set of Infinity 509CS 255W (Peak) 5-1/4 -Inch Two-Way Speakers.

For me the best way to make these fit as original was to dremmel the original plastic retainers wide enough for the woofers to sit inside, then I carefully glued them in place with chemical metal.


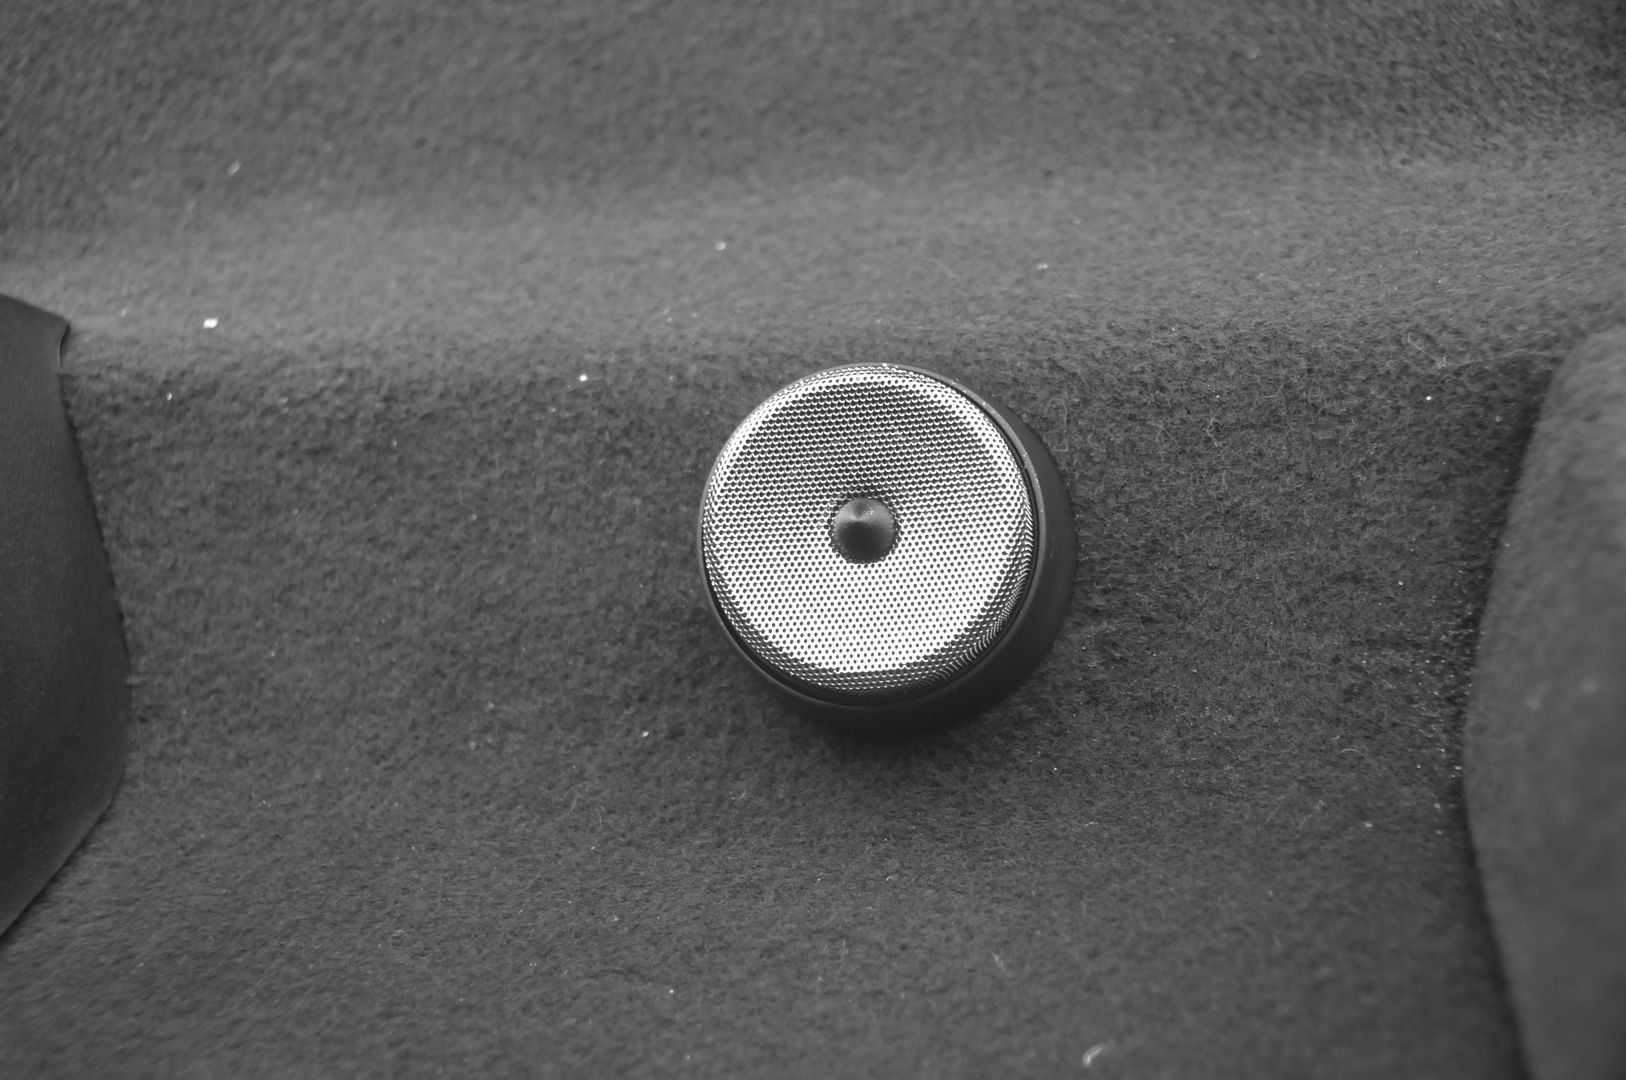
The woofers sit in the original location perfectly and only the tweeters are visibly different to original.


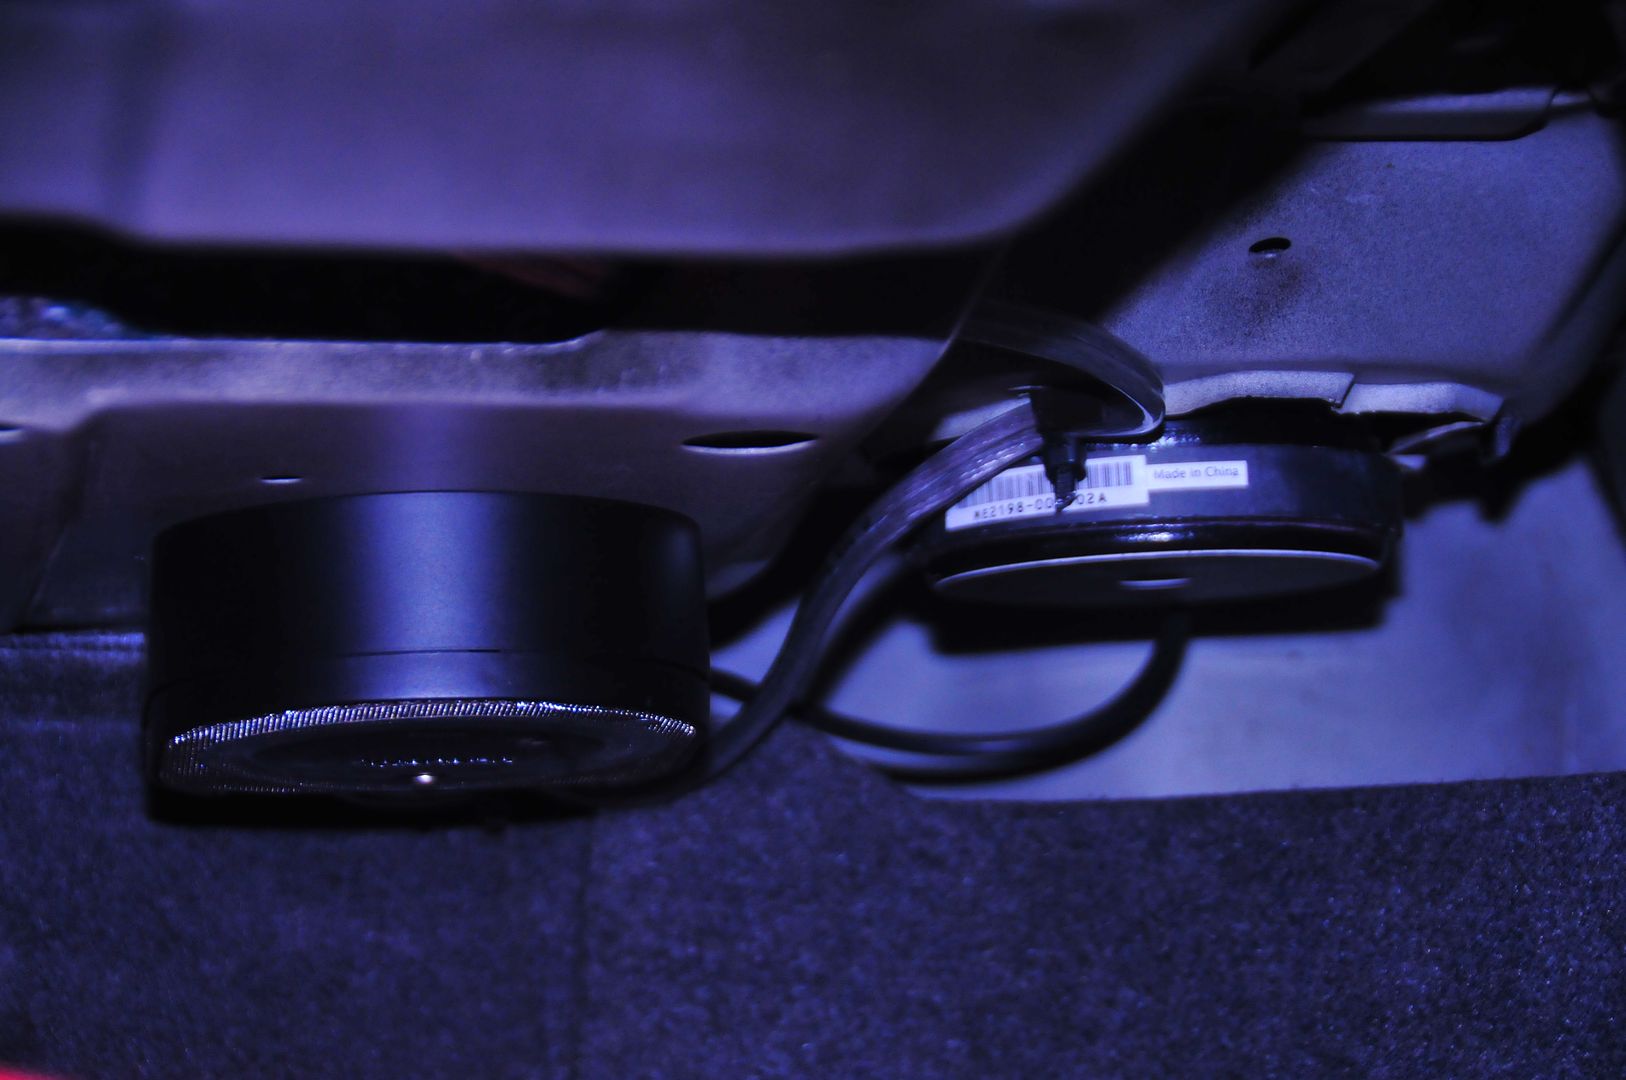
The crossovers are screwed into the underside of the parcel shelf steel panel.


This is the front amp. Even tucked away in the side recesses of the boot it takes a beating, but works fine.


Already the new amp has been scratched, etc. through normal family car use, but the whole system is wired in and well secured so there won't be any dodgy connections, etc. Happy with the way it all sounds now.

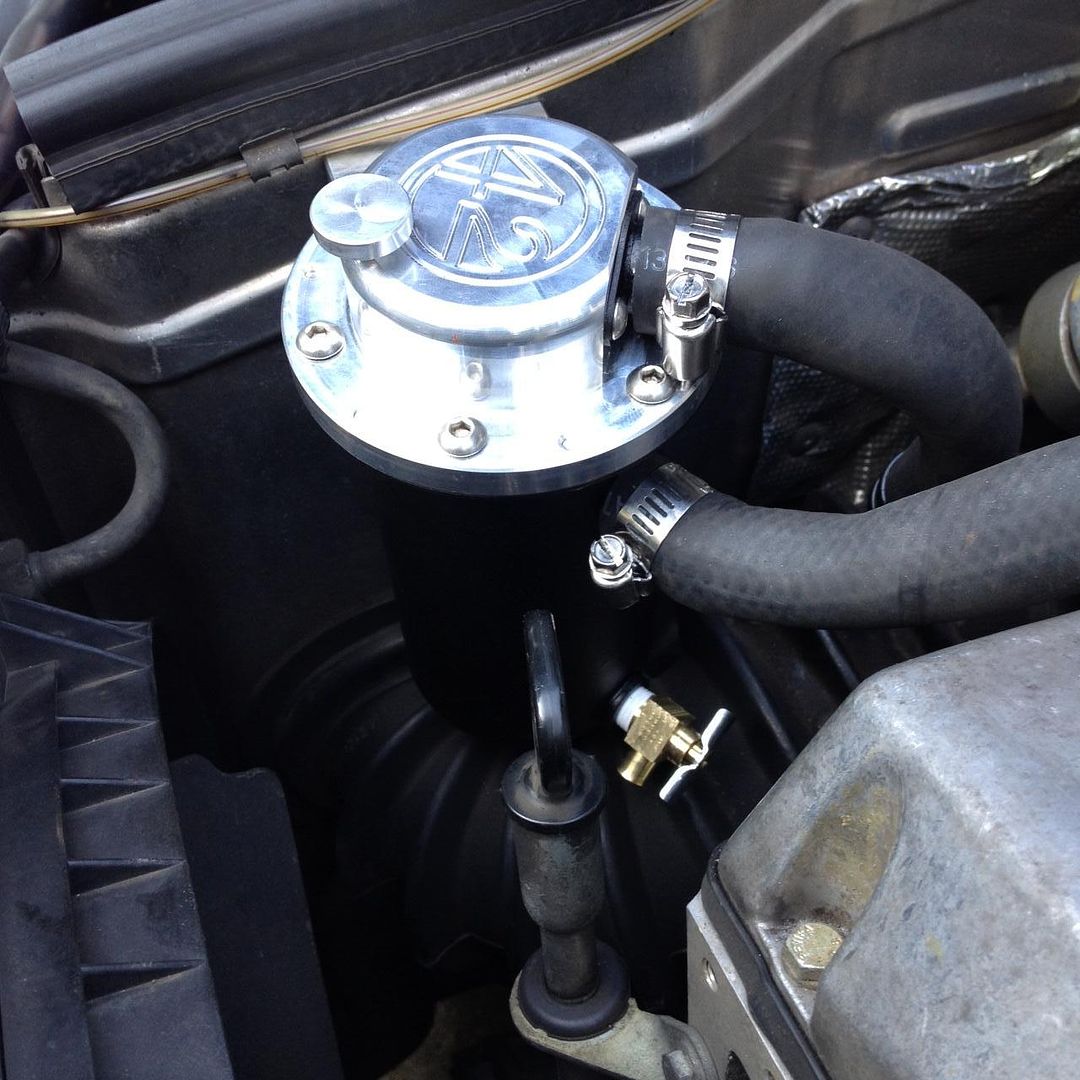
I found a nice oil catch tank kit online, so I bought it and made it fit.
Took a little fiddling to make it all secure and ensure it woukd be leak free, but now there is a decent oil mist trap between blowby gases & the turbo's intake. Did an oil change and fitted a new oil drain bolt, as the original was worn and damaged from someone's ham-fisted work.


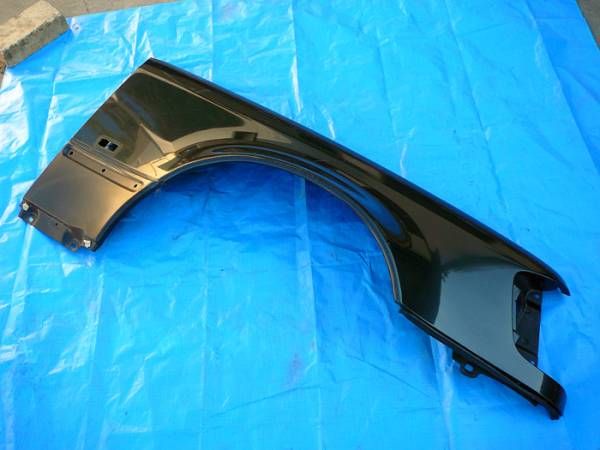
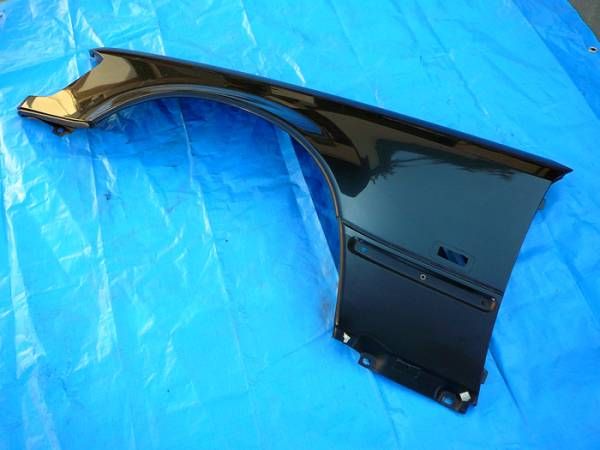
Also recently bought a new 300D vented fender, to hack up as I don't want to experiment with the original on the car...


The vented section will be made to work with this, an E500 original fender.


I bought a set, used.
I already have a complete E500 front bumper and headlights, together with a set of genuine AMG rear arches.


I still need to find a set of front fender moldings from a 500, but they pop up here sometimes...

Currently only the headlining is really letting the interior down (literally!) as the foam has aged and allowed the material to sag. So it'll be having it's rear window out and the roof re-trimmed in grey suede in a month or two, when Robson Leather are doing the centre console.

Back in the day they re-trimmed a fair few W124 interiors, so they're familiar with these.

Also just ordered a set of E500 front discs. My slightly smaller diameter 500E brakes will be coming off to make way for the E500 calipers, original (new) pads and used discs I have stashed away.

I reckon these last planned mods should complete the plans I have for it.

I did look into having the Diesel pump re-worked, but decided against it in the end. Performance is enough as standard and I don't want to affect this car's excellent reliability. We're at 233,000km now. Begun using it less than years ago with 165,000km, so we're well on track to getting to 500,000 within 5 years of ownership.

It's been such a good car, I now have 2 more mint examples I found & stashed away!
Not sure yet if I'll sell one, or just hoard away all 3 for years. One, an '89 is currently in use whilst our 2nd car is away for a few months. Amazingly it's still in like new condition and feels tighter than our main driver, but for some reason the white one is considerably quicker off the mark!
 
I now have a virtually complete set of used parts for the next stage of the project.

E500 side skirts, 2 front wings with plastic lower trim (need a left side, which I may have to order new), bumper with driving lights, a 300D spare vented wing from which to transfer the louvers, E500 headlights, Original AMG rear arch extensions.
Also got another set of Evo II wheels which are away being refurbished.

Plan is for the car to go in for a few minor blemish repairs, plus paint of the conversion items, then at last the exterior should be all finished.

It's also got to go away for the roof lining to be retrimmed in one piece of grey alcantara, along with the sun visors. The centre console will also be laminated in twill carbon. The company I use does a perfect job and used to re-trim complete leather W124 500's back in the day.

On another note, I bought a mint E500 with Porsche 993 brakes and Techno Magnesio E500 Ltd 18" wheels recently, for a very good friend in the UK. I'll post some pics on a separate thread sometime. It's a beautiful beast....
 
Fantastic looking car and a nice project! It will look awsome when converted to e500 body. Awaiting for a new thread of the new beast.
 
About a month ago I delivered the W124 to a friend's body shop along with all the parts I'd accumulated for the E500 body parts conversion.

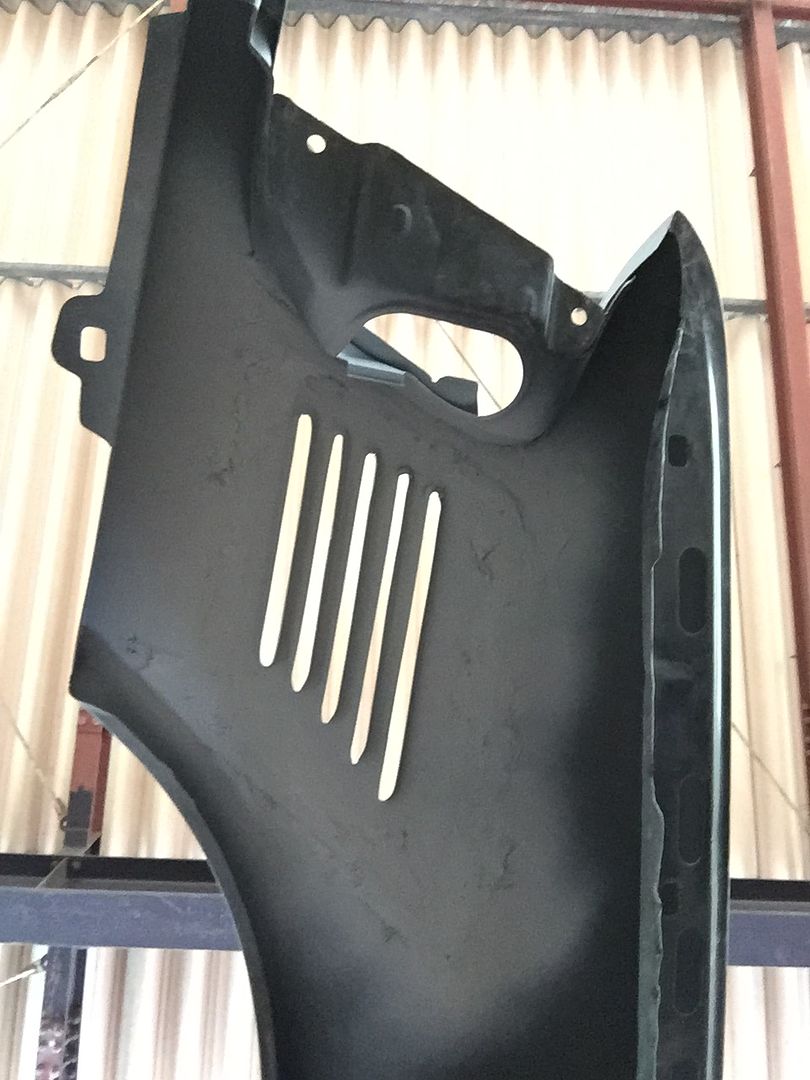
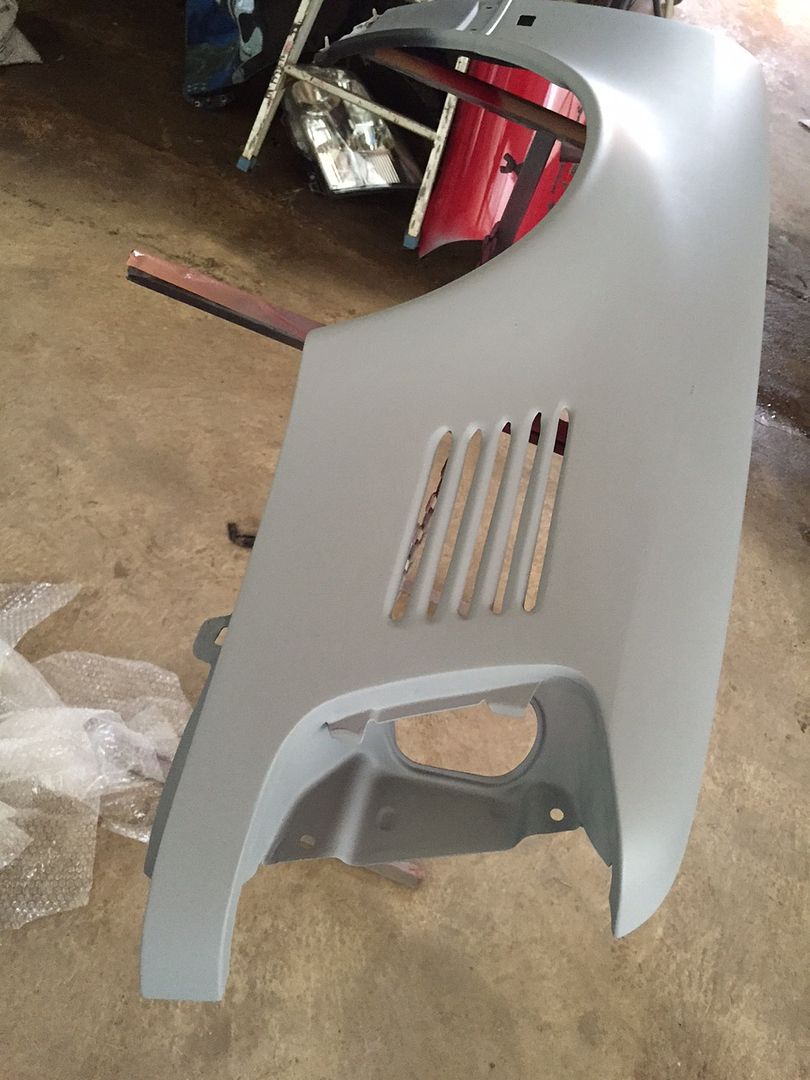
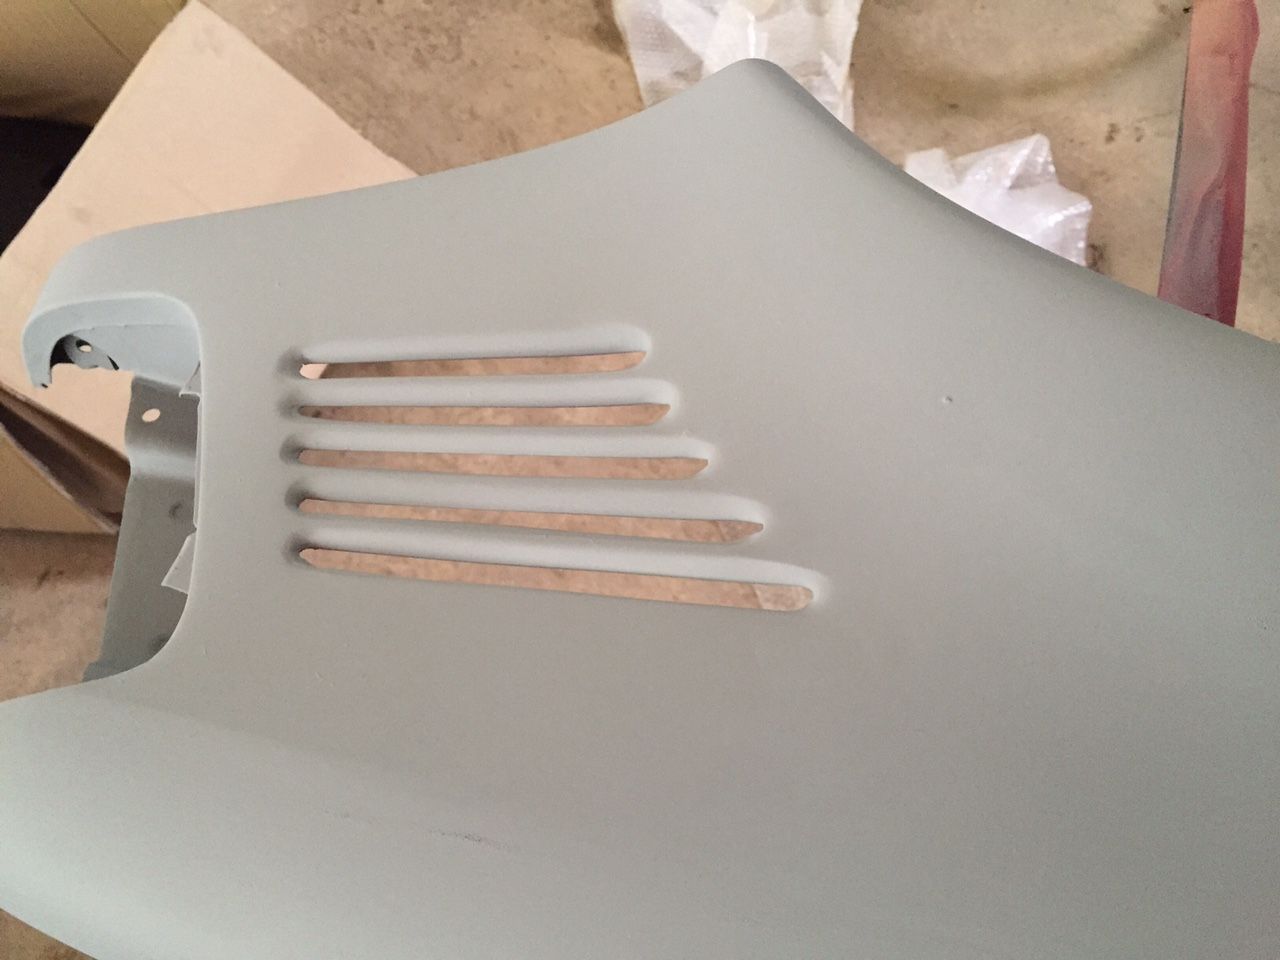
Transfer of a 300D's intake louvres was the first work to be completed on the E500 bodywork. There's a few pictures below. They carefully cut out the section needed from a new panel, then replaced a section cut from the E500 wing, of exactly the same dimensions, before shaping slightly for different curvature at the flared arch before welding. It was the hardest work for them to complete as the rest is basically preparing, repainting and replacing parts but I'm pleased with the progress so far, which took them several hours.

As widening the rear to E500 spec would have required replacing both quarter panels and doors, I took a simpler choice and it'll have original AMG W124 rear arch trims, which will offer a similar widening effect.

A few pics shot on my phone of the work on the front wing.


...This is the last picture I took of the car before it went to the body shop.


I'm away on holiday with my family now till end of August, but hope the E500 body transformation might be finished around the time we return. Won't have any pictures of work in progress, but looking forward to the finished result.

Might then have the roof lining and centre console work done, to complete intended improvements.
 
Last edited:

Users who are viewing this thread

Back
Top Bottom