190 2.5 16 Gauges part 2

Page may contain affiliate links. Please see terms for details.

Charles Morgan

MB Enthusiast
Joined
Feb 2, 2010
Messages
8,206
Car
Mercedes 250CE W114, Alfa Romeo GT Coupe 3.2 V6
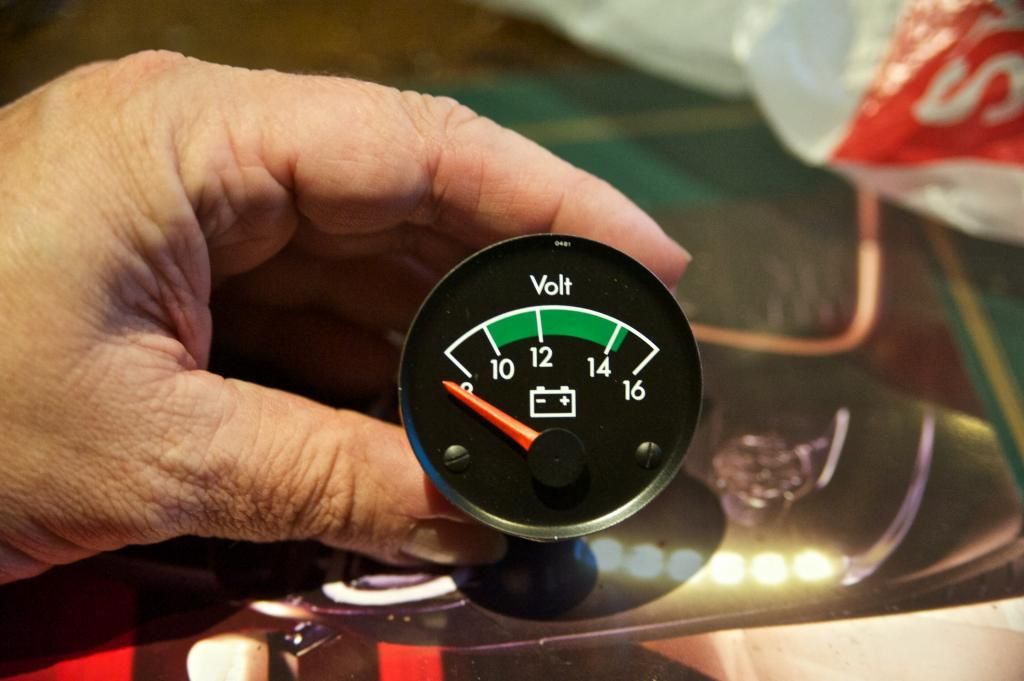
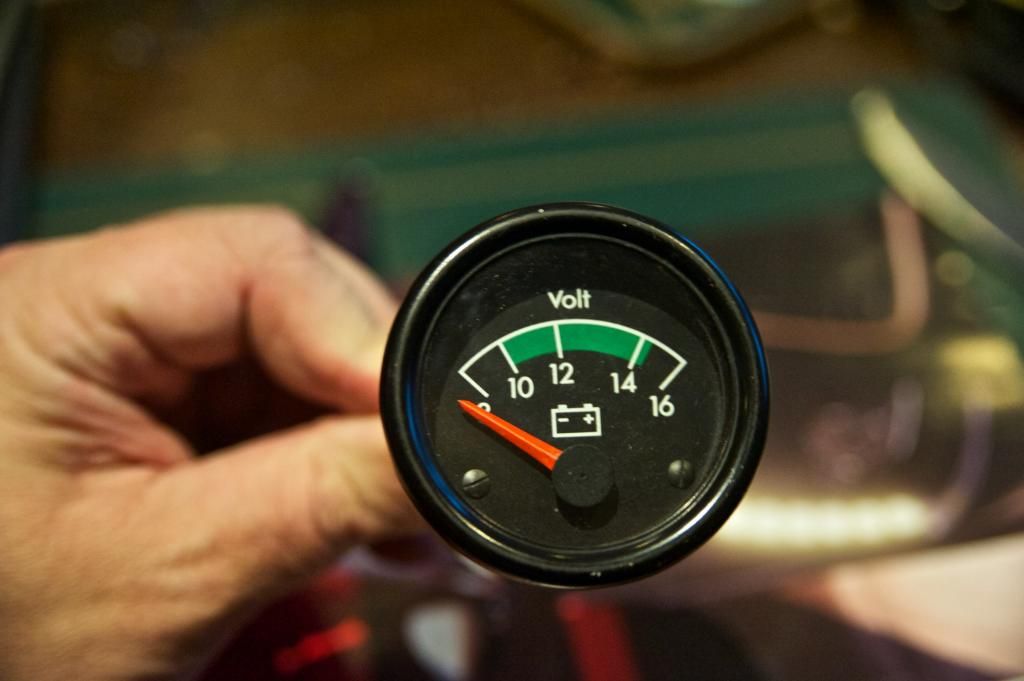
Having successfully re-coloured all the instrument needles in the main binnacle, I noticed the secondary 16 valve instrument console had nice bleached needles too.

190gauge1_zps61199350.jpg


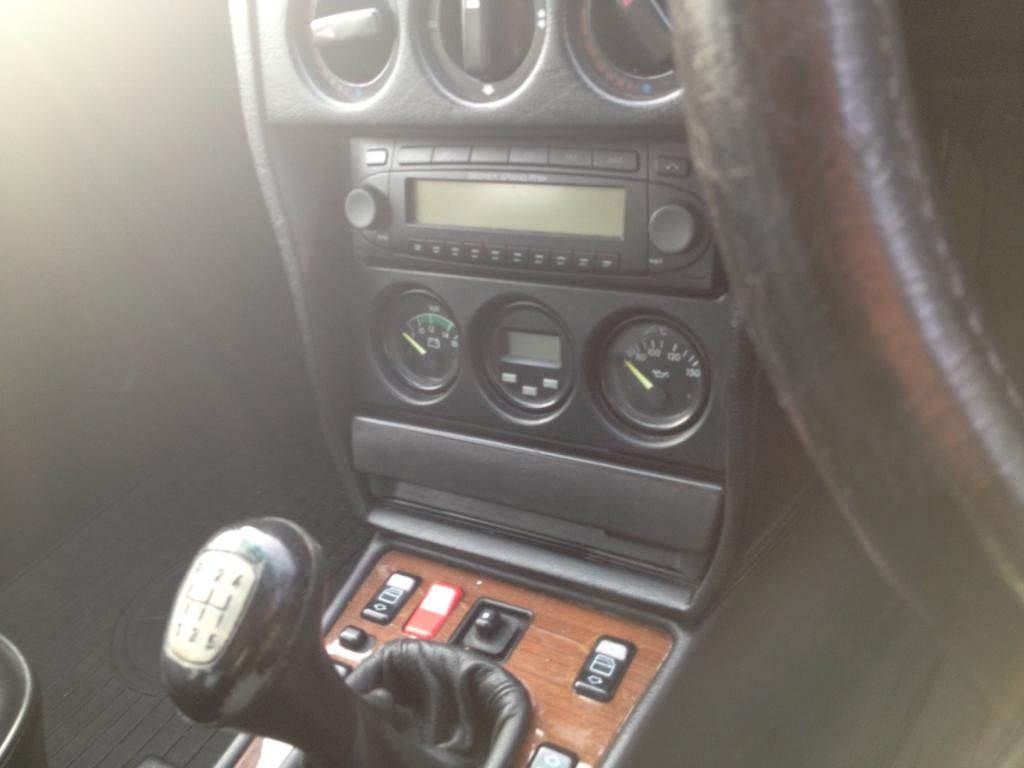
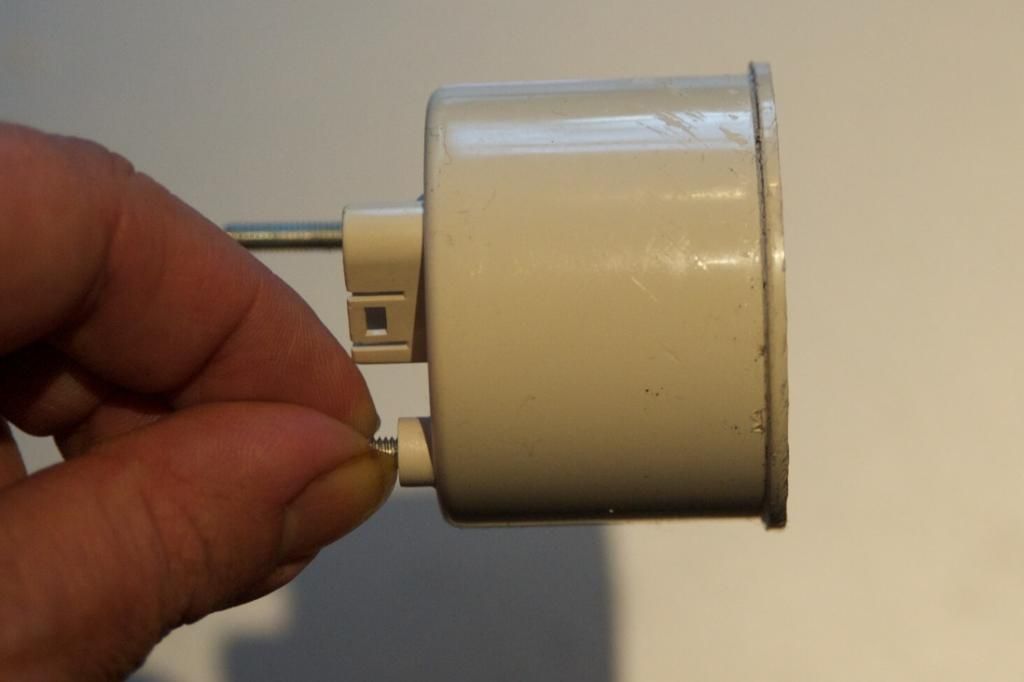
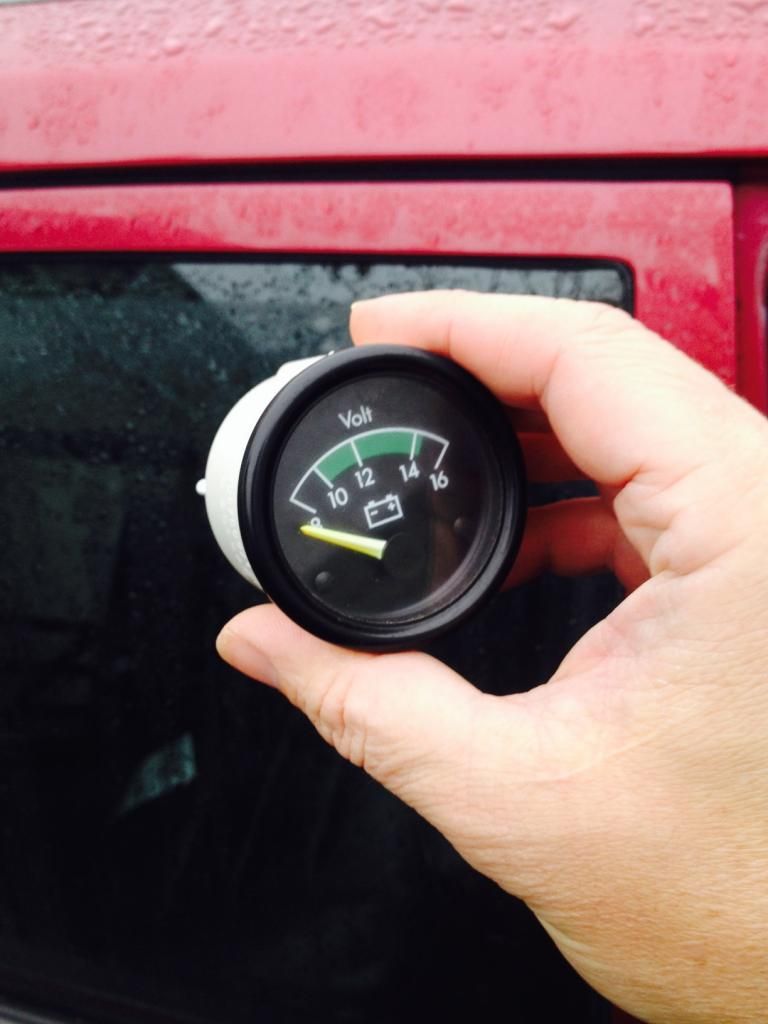
So I thought I'd re-colour these too. A few screws out and the console came out neatly, then a few more and no problem getting the individual gauges out. Then it became obvious that they are sealed and Eintritt Verboten. No amount of gentle wiggling or fiddling is getting the black front off and for obvious reasons I'd rather not break one. Anybody got any leads or clues to undoing this puzzle?

190gauge3_zpsa9aa9a87.jpg


190gauge2_zpsf6e4d160.jpg
 
Last edited:
Yes I couldnt do these either... ended up finding a better set from Neil RR but one is still off colour to the other.
 
Charles. Assuming that there are no obvious rivets or fixings? I would guess that they are glued. You could try a gentle heat then a twist in a vice. I would prepare for failure and ensure a back up plan just in case I have described the process to destroy them. Failing that they do look like universal gauges so may be wort a hunt on ebay for Volt and Pressure Gauges.
 
If Jay couldn't do it, muggins here will almost certainly destroy the thing in order to renovate it. I shall study it from numerous angles and think some more.
 
Can you tell the make - e.g VDO etc?
 
They are indeed VDO. It's the black bezel that needs to be removed. There are a few chaps over on the 190 forum that have done it. i shall see if I can find the threads and post back with the links if and when I find them.
 
I appreciate that there are many different models around, but Googling:

open a vdo gauge

Brings up some very illuminating articles.
 
Here's a little info.

Where the metal bezel (glass retainer) fits to the front of the gauge you will see that it has been bent over behind the plastic flange to retain it in place. You need to very carefully prise this open, with a suitable flat head screwdriver, until the bezel turns and allows the location flaps on the bezel to line up with the gaps in the flange. It should just pull off at this point although I have had a couple of them that need a little careful prying.
 
Initial success! Getting in a thin bladed knife just enough to form an opening which is expanded so the knife can get over the plastic lip, then use a stronger veg knife with a twisting forward motion of the blade around the plastic lip and it is just enough to widen the black gauge seal to slip over the lip.

190gauge4_zpsf52790d2.jpg


Typically I cannot now find my Orange sharpie marker, but the method has been established.

Not sure how to crimp it all closed again, but the difficult task has been achieved without damage.

Charles.

In terms of crimping it closed again: Do you have a vice (workbench not the personal type :D)?

If so then by protecting the main body with tape you may be able to gently crimp opposing edges of together and by rotating the gauge around secure all around? If not then a similar method with large Mole grips to gently squeeze it closed
 
Last edited:
I have a solitary vice in my garage (no jokes about autoeroticism please).

I'll have a fiddle around with it.
 
I would lay it face down on a teatowel and press the crimp back in with a screwdriver blade. It's not like it's going to take a lot of effort?
 
I did this with the instruments on my pagoda, the same prising process required.

Not something I wish to repeat as they never seem to go back perfectly.
 
Initial success! Getting in a thin bladed knife just enough to form an opening which is expanded so the knife can get over the plastic lip, then use a stronger veg knife with a twisting forward motion of the blade around the plastic lip and it is just enough to widen the black gauge seal to slip over the lip.

190gauge4_zpsf52790d2.jpg


Typically I cannot now find my Orange sharpie marker, but the method has been established.

Not sure how to crimp it all closed again, but the difficult task has been achieved without damage.

This is why God invented kitchens and cutlery.
 
I did this with the instruments on my pagoda, the same prising process required.

Not something I wish to repeat as they never seem to go back perfectly.

That's what I have just found.

Re-colouring perfect

190gauge5_zpsc3b9c602.jpg


To get the black surround back on I found I had to clamp the surround into the gauge with my hand as tightly as I could (soft so no damage to finish on the surround) and use a knife to roll the edge back in. The surround is now on well, but it can be moved a bit. Rather than try any harder I'll just put tiny amounts of tack to stop any movement but not prevent the surround coming back on.

(the below photo looks as though the rim of the surround has been damaged - it's dust!)

190gauge6_zps4e06e8b6.jpg
 
Brilliant job!
 
Great stuff, it's those details that make the difference imo. With the care and attention you've given it, presumingly it's a keeper & if so that car now deserves to be EFi'ed preferably on T/B's with de-cat too (if you have one).
 
It's a keeper certainly. Next job is to get the gearbox linkages overhauled as that's the last real part of the driving experience to be sorted. I'm very keen to improve the soundtrack on the thing and while I'd love ITBs and straight through exhaust, it's too much dosh!
 

Users who are viewing this thread

Back
Top Bottom