omega1
Active Member
Hi all,
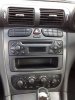
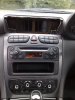
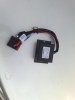
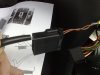
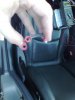
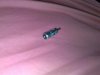
Apart from taking it apart and looking myself (which I'd rather only do the once to install the stereo), can anyone confirm if the Audio10 in my C220 W203 registered in 2003 will have a 10 way ISO on the stereo wiring or not, as I need to order one of the following adaptor kits for a Kenwood stereo I will be installing, details can be found here:
Mercedes Benz C Class fitting adaptor
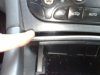
I dont know whether to order the steering control adaptor CAW-MB1070 or the CAW-MB1110 depending on whether it has the 10 way ISO or not...
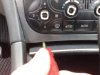
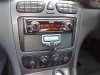
The Audio10 installed is the single CD version.
Thanks in advance.
Apart from taking it apart and looking myself (which I'd rather only do the once to install the stereo), can anyone confirm if the Audio10 in my C220 W203 registered in 2003 will have a 10 way ISO on the stereo wiring or not, as I need to order one of the following adaptor kits for a Kenwood stereo I will be installing, details can be found here:
Mercedes Benz C Class fitting adaptor
I dont know whether to order the steering control adaptor CAW-MB1070 or the CAW-MB1110 depending on whether it has the 10 way ISO or not...
The Audio10 installed is the single CD version.
Thanks in advance.


 )
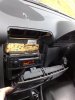
) ) and how you get round the obvious issues - post photos throughout the install