CL500 respray

Page may contain affiliate links. Please see terms for details.

Haylands

Active Member
Joined
May 22, 2012
Messages
72
Car
2000 CL500
Hi

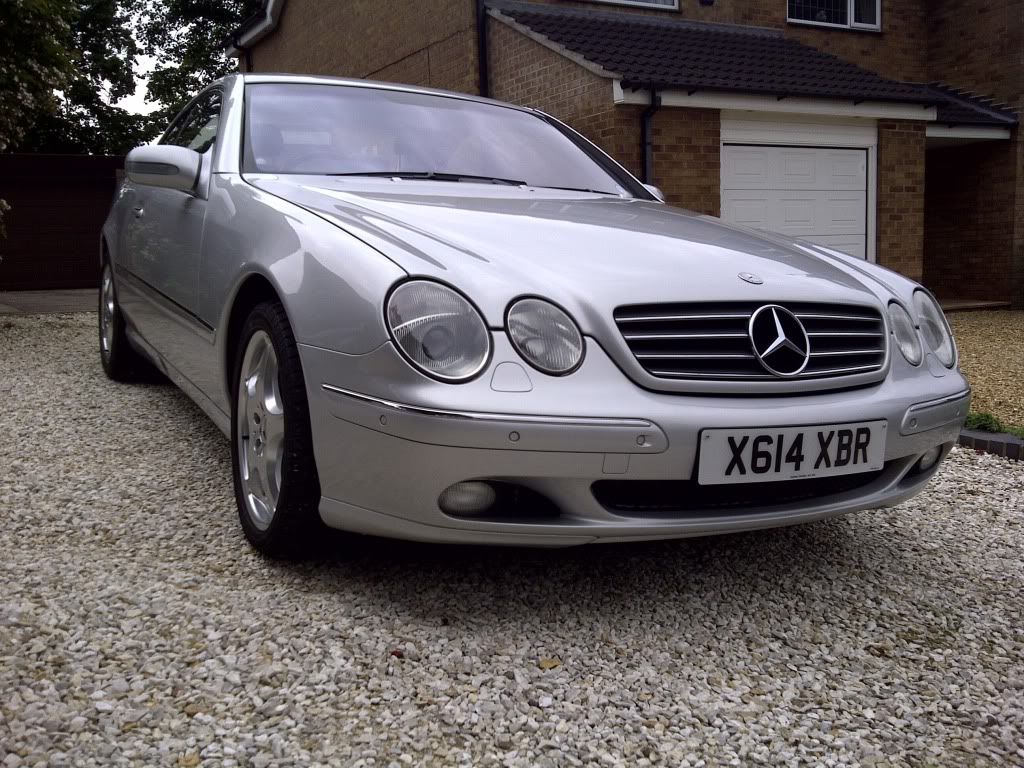
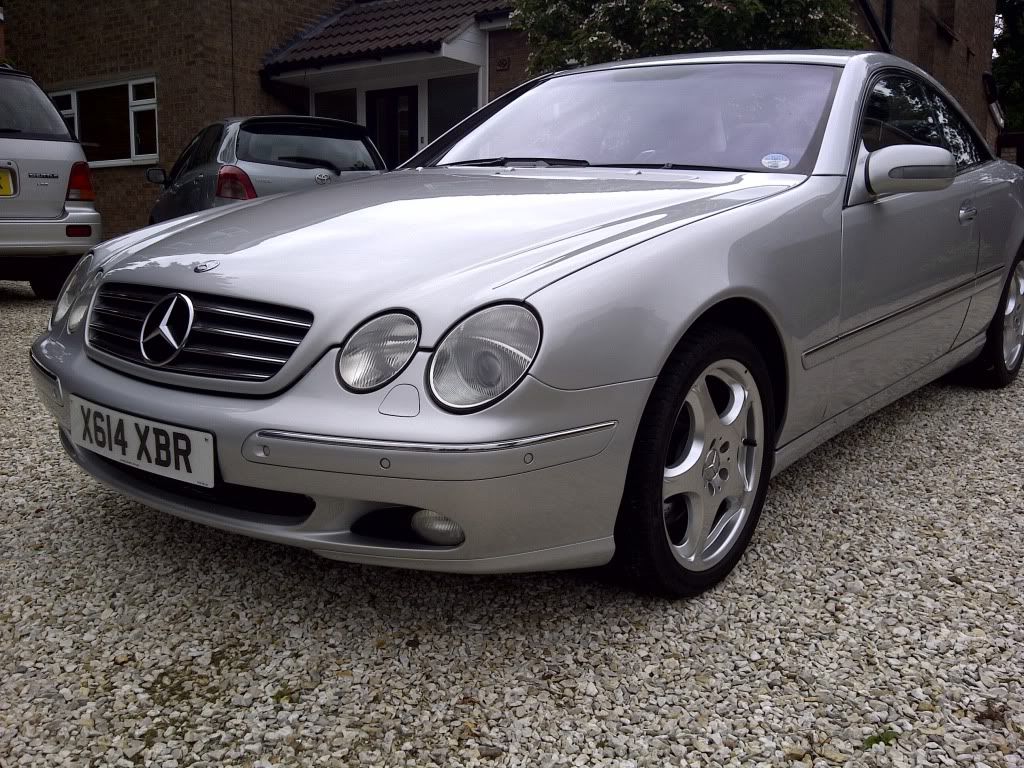
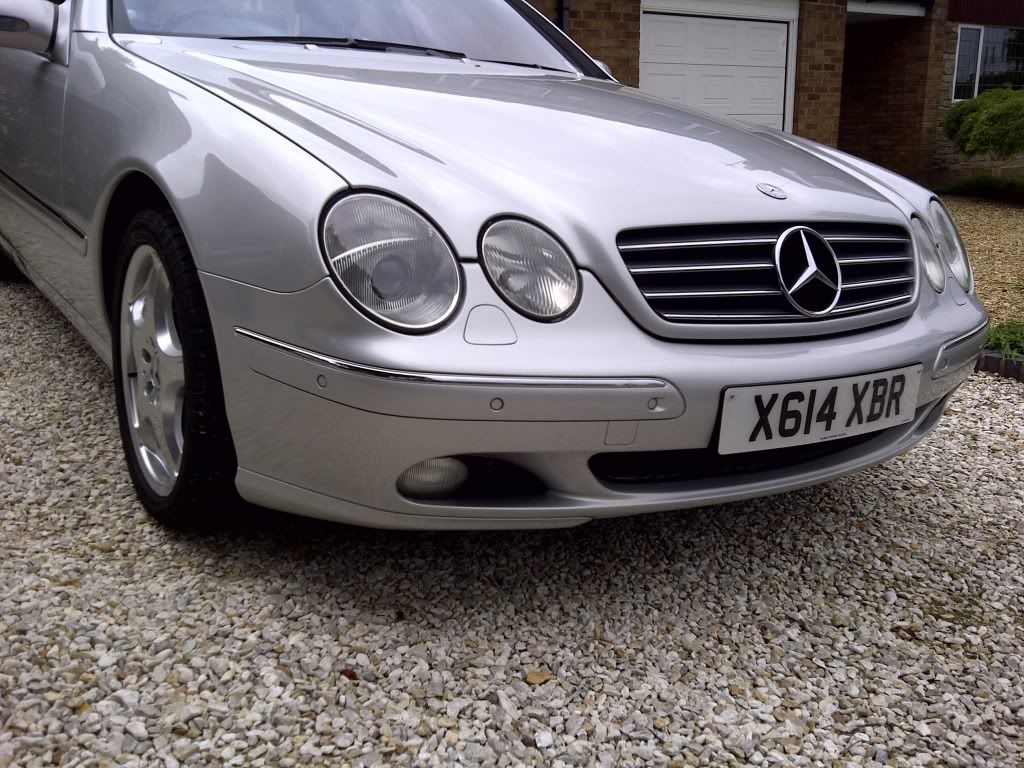
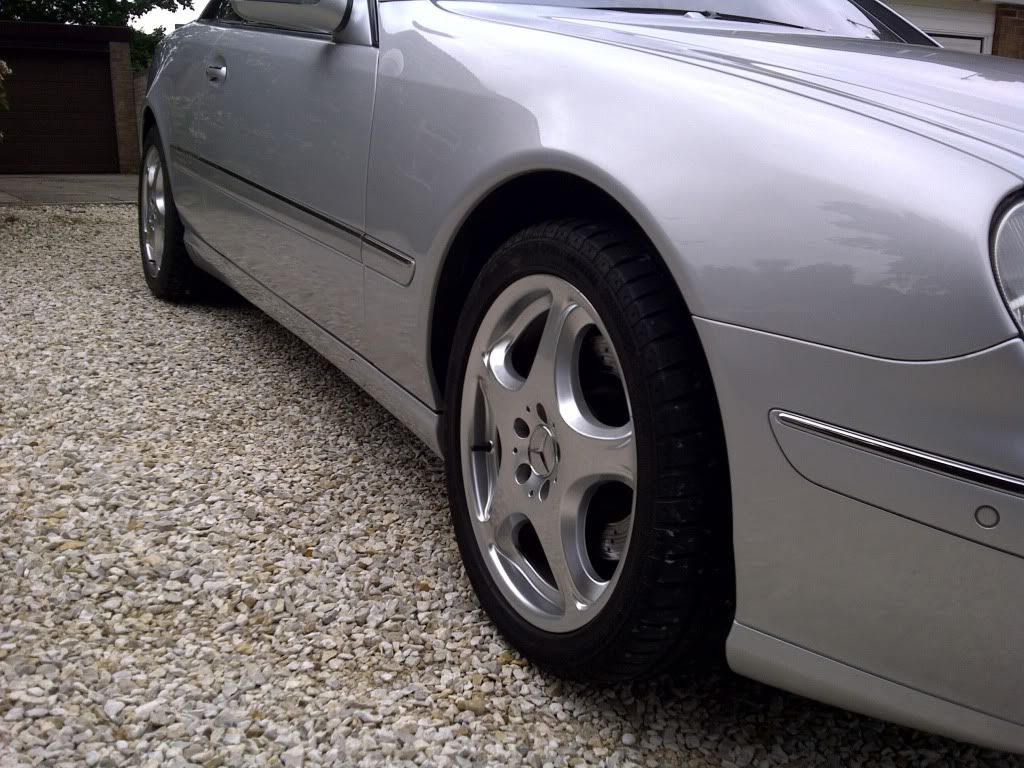
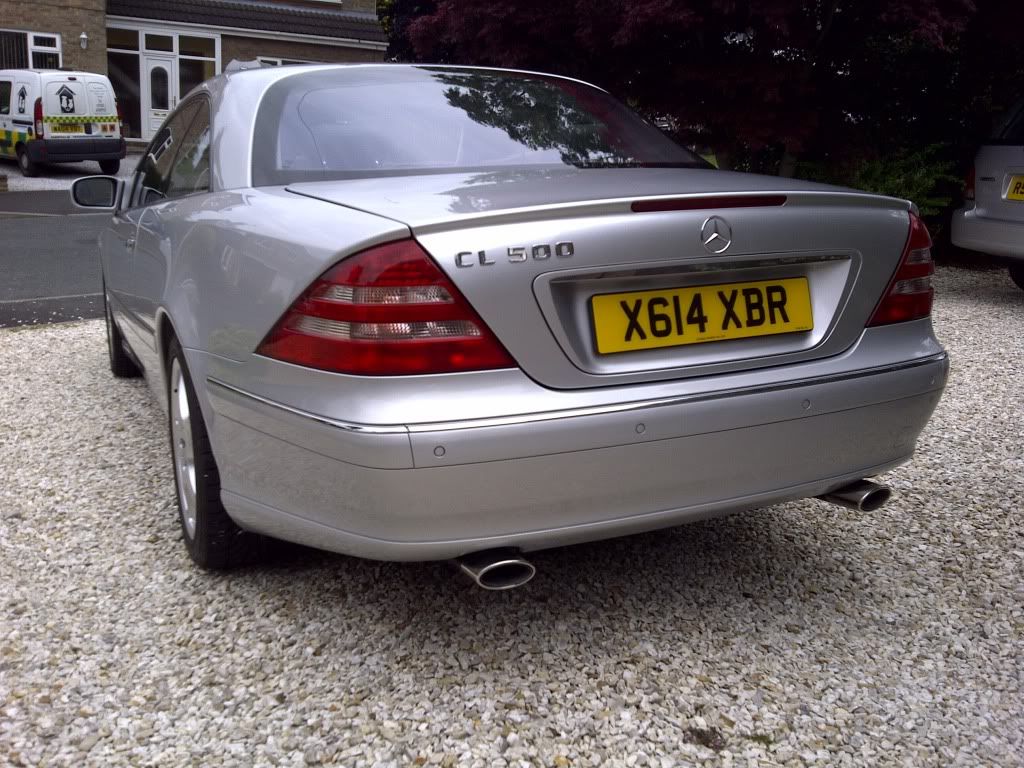
Bought the CL500 last week with a view to bringing it up to scratch, not a concourse job, just a smart useable car that we can use at weekends to tour in.

Found it locally and it's been cared for but not loved, mechanically it is very good with just a few small issues, everything works as it should apart from the CD player....

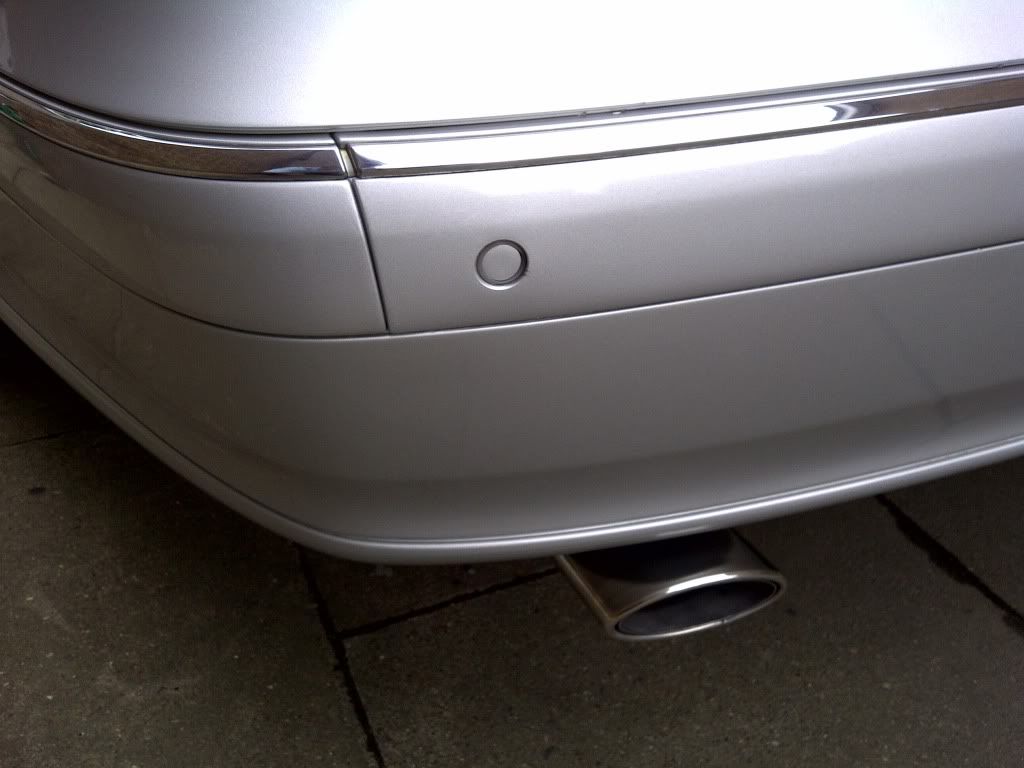
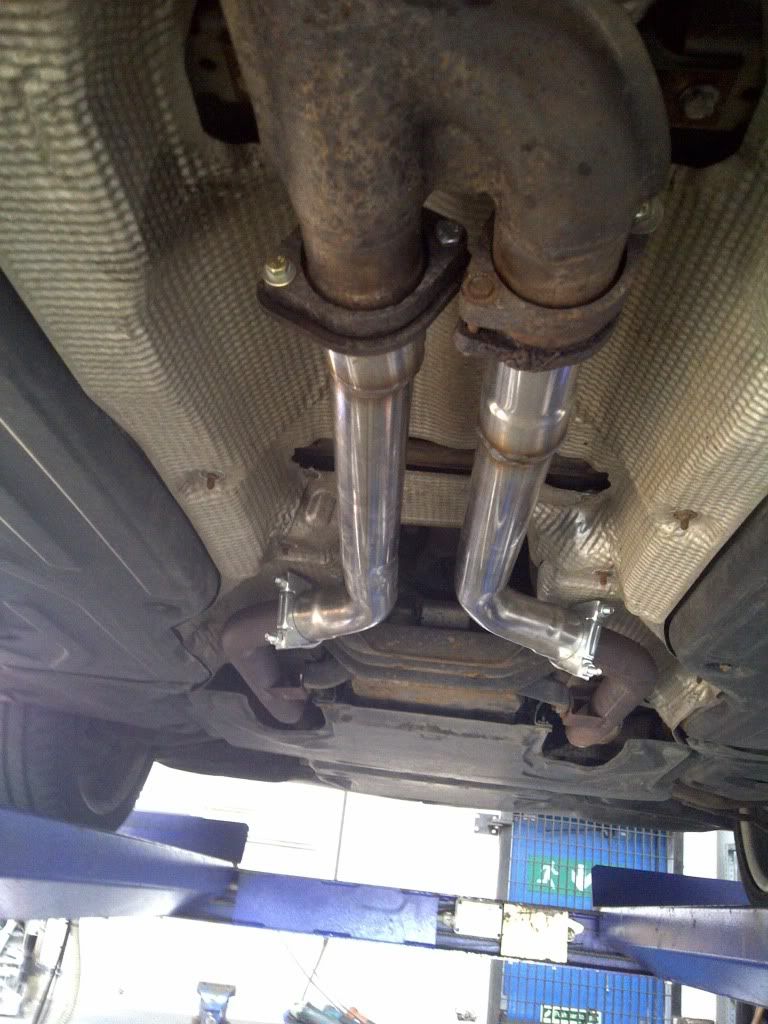
First job was to get the secondary cats removed, they were causing a resonance, so had them cut out and some stainless pipes made to fit...

IMG-20120525-00658.jpg


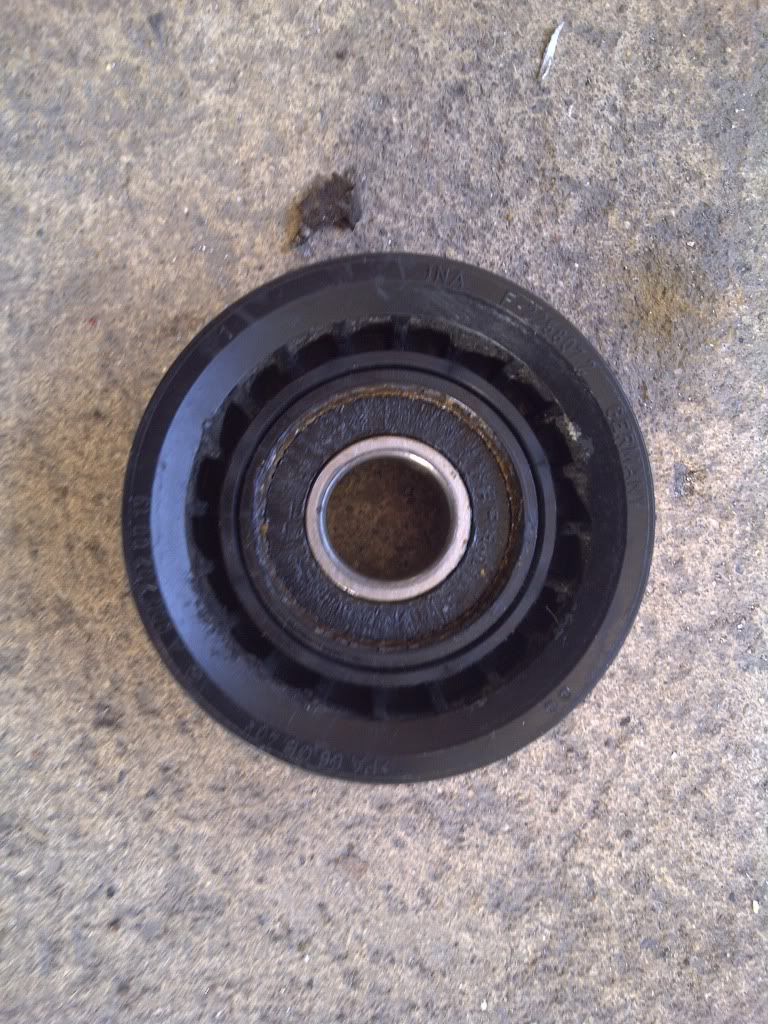
Then an easy 5min job replacing this, the serpentine top idler wheel, you can see where the grease has come out and it was rather noisy...

IMG-20120526-00660.jpg


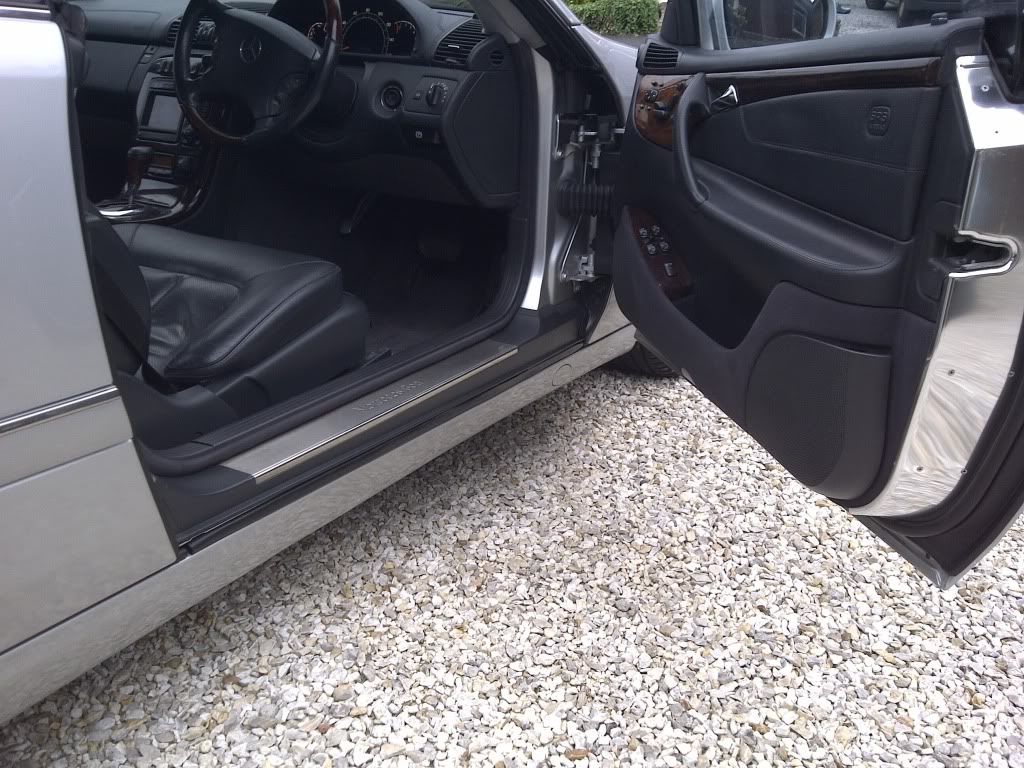
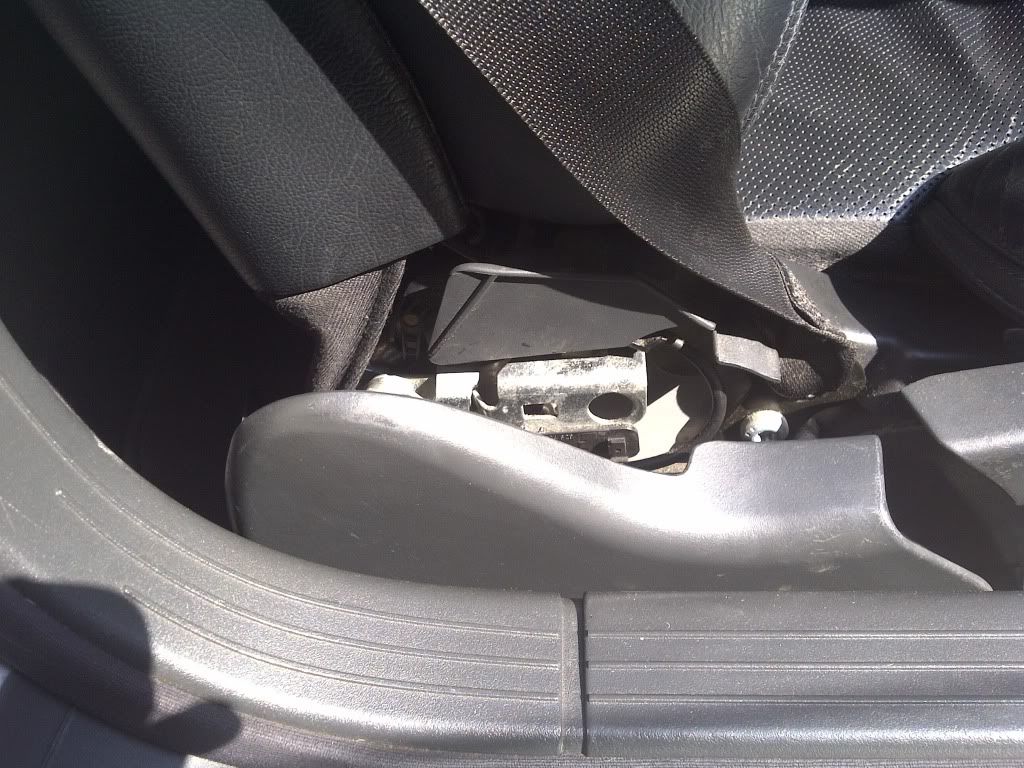
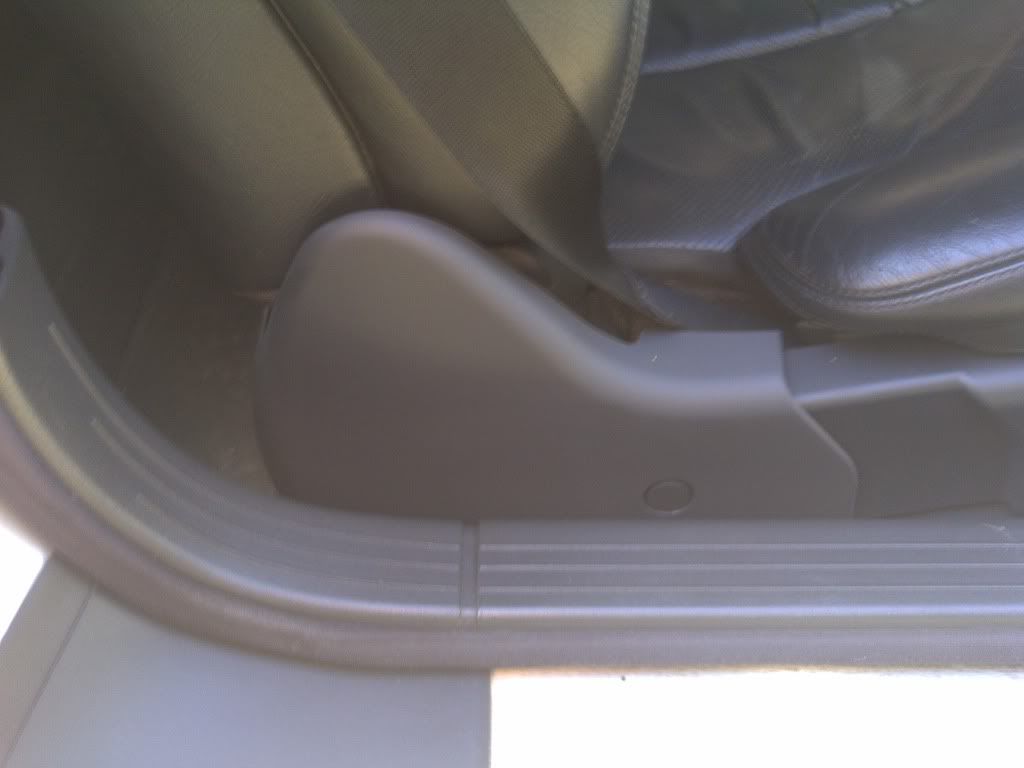
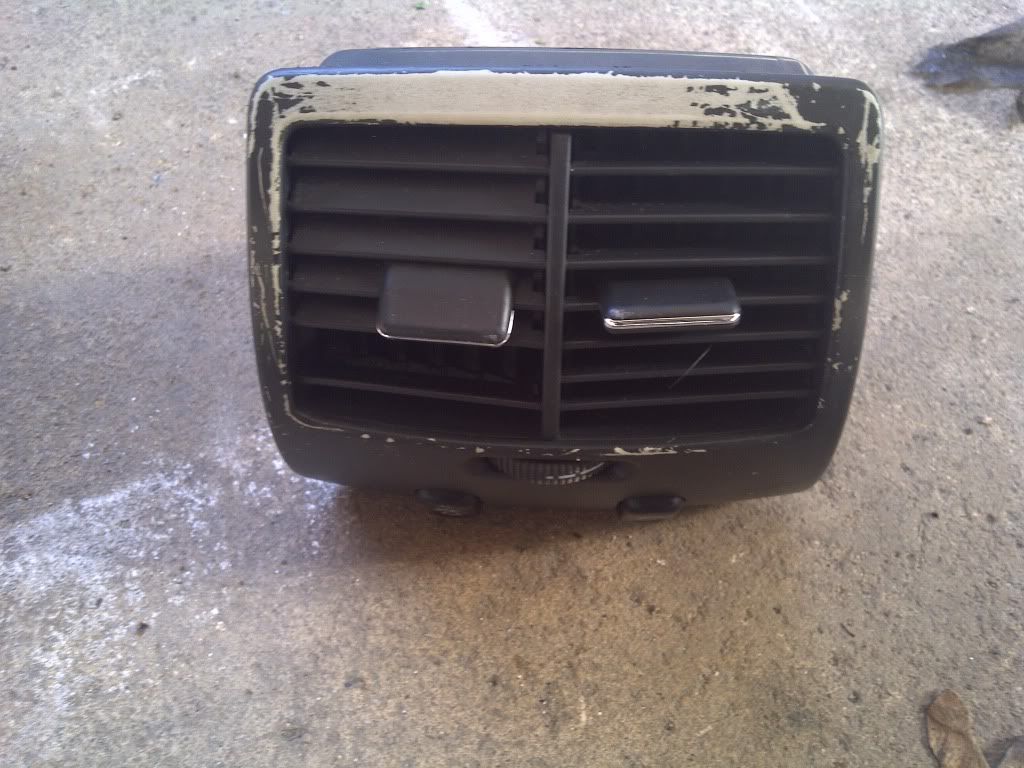
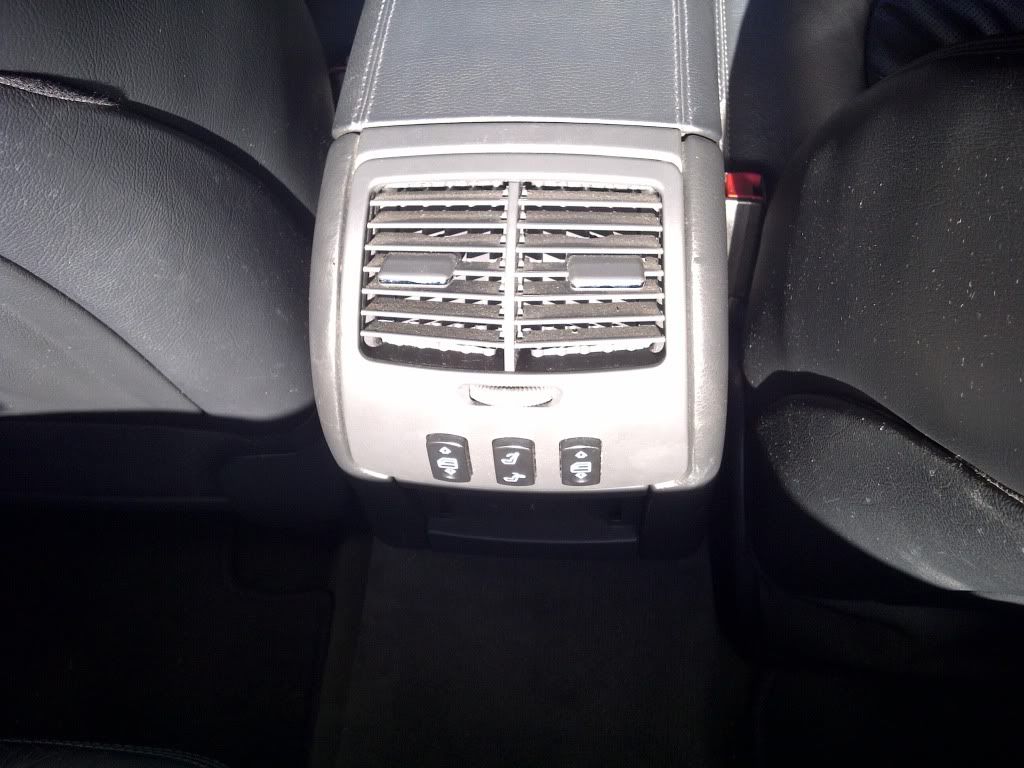
Had the aircon refilled and thats nice and cold now... Also got two side trims for the seats from the dealer and a second hand rear vent from ebay as the original had a broken fin and was in a bit of a state.

IMG-20120522-00649.jpg


IMG-20120526-00661.jpg


IMG-20120526-00659.jpg


IMG-20120526-00663.jpg


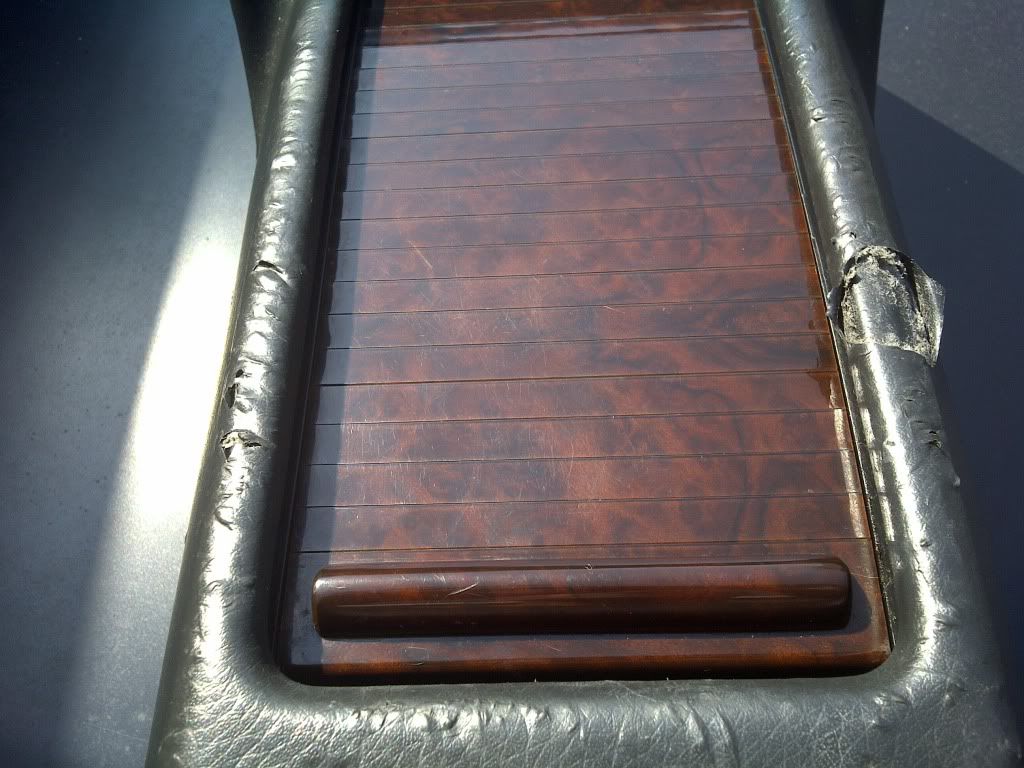
Removed the rear cubby box and sent it to my bro for him to retrim, he loves playing with bits like that and it will come back better than new... This looks like dog claw damage, it's the only bit covered in vynal!!! the rest of the rear trim is fine...

IMG-20120522-00652.jpg


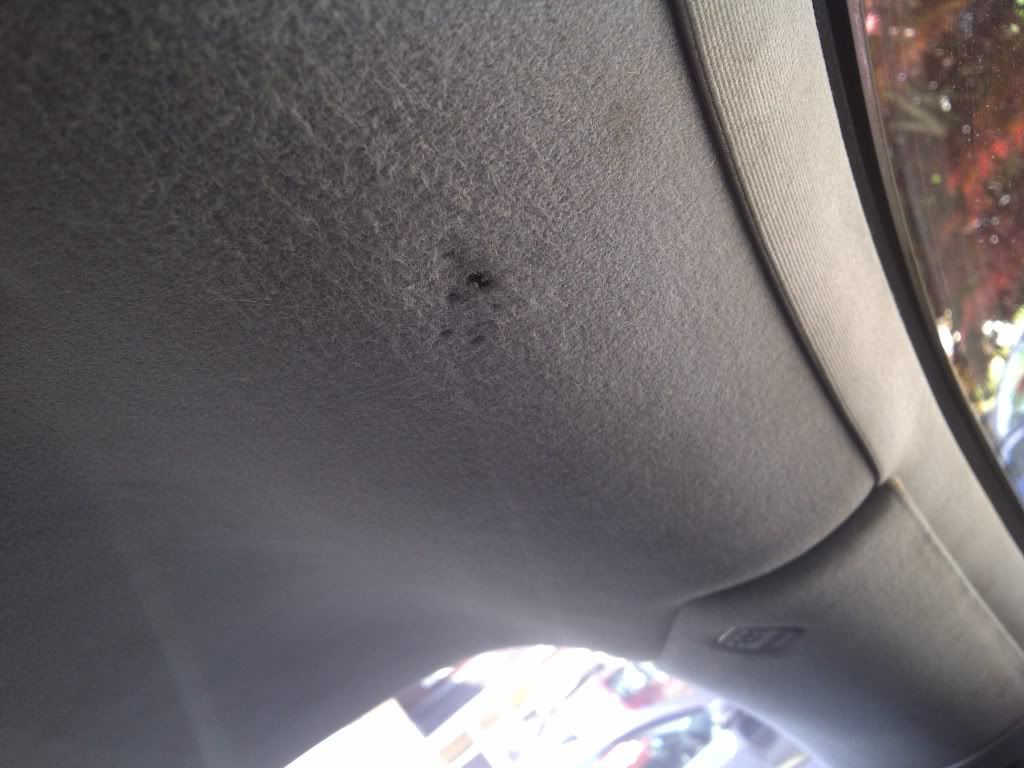
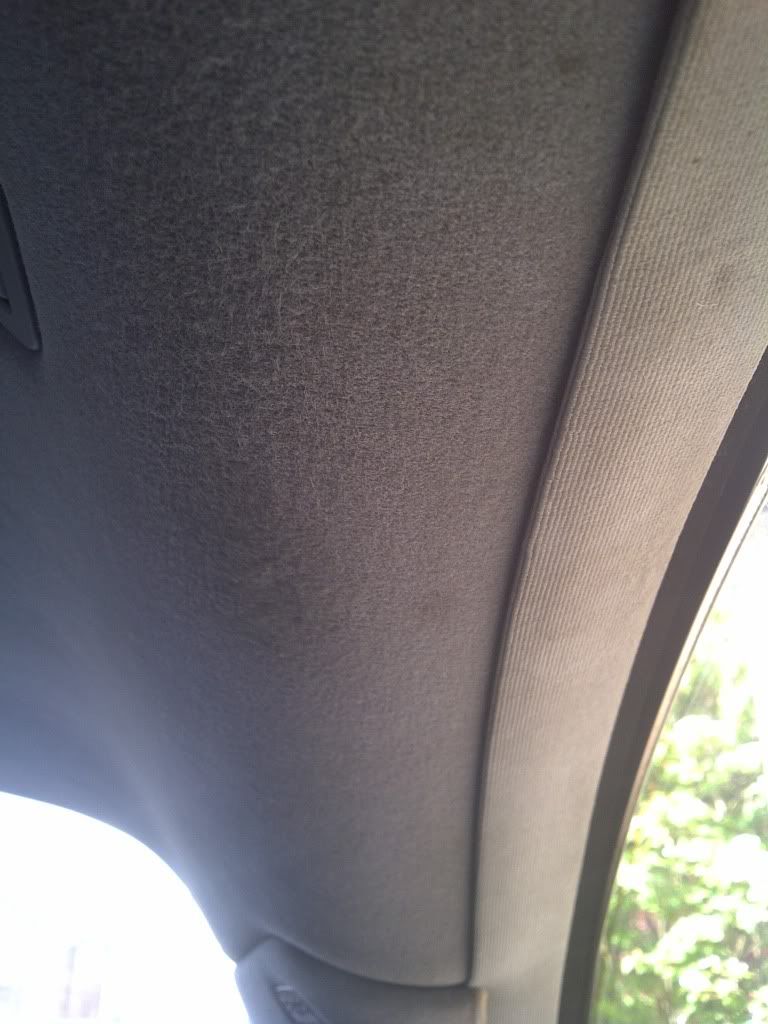
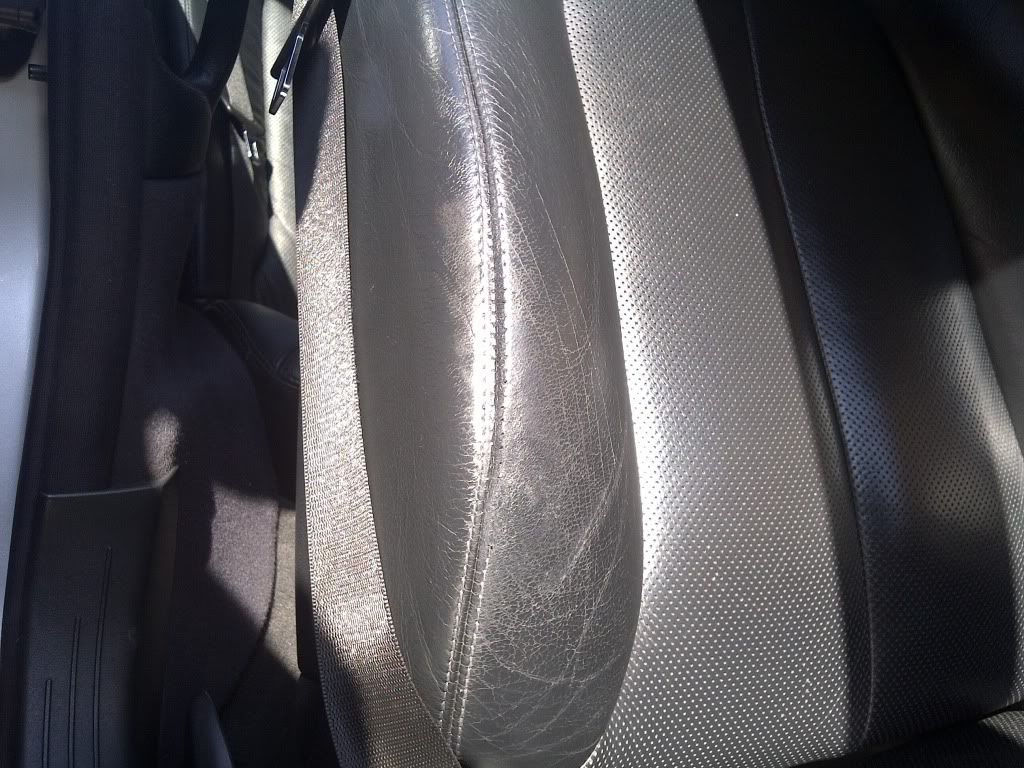
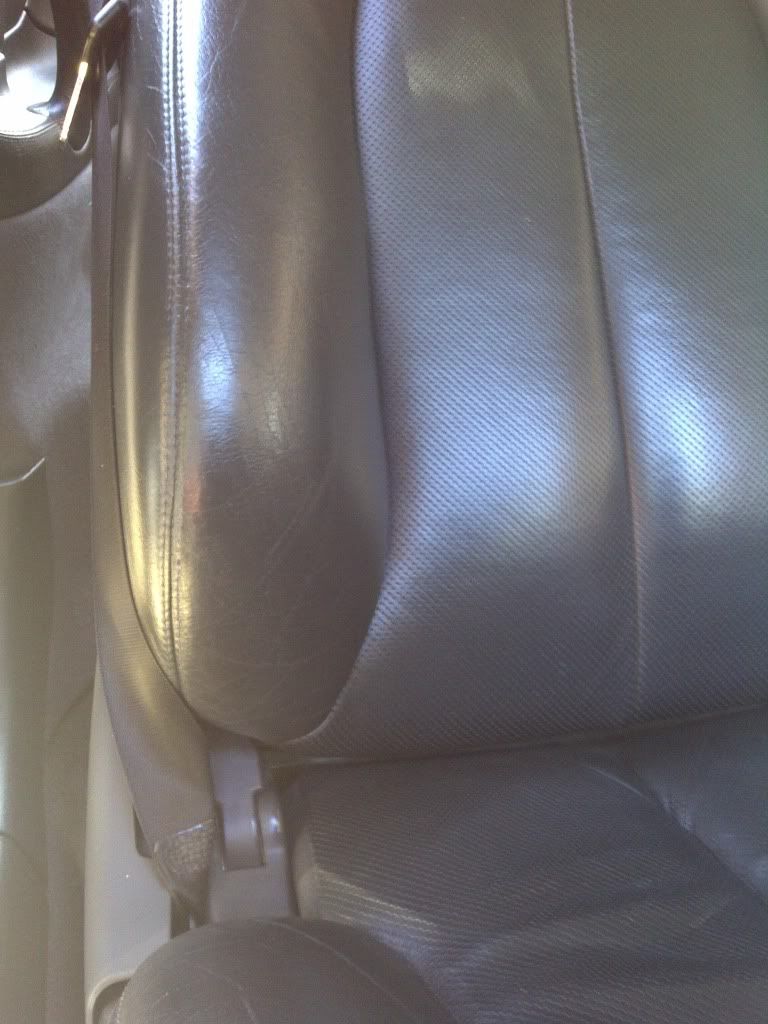
Got a smart repair done on a couple of fag burns on the headlining and the seat bolster repaired.

IMG-20120524-00653.jpg


IMG-20120524-00654.jpg


IMG-20120522-00648.jpg


IMG-20120526-00662.jpg


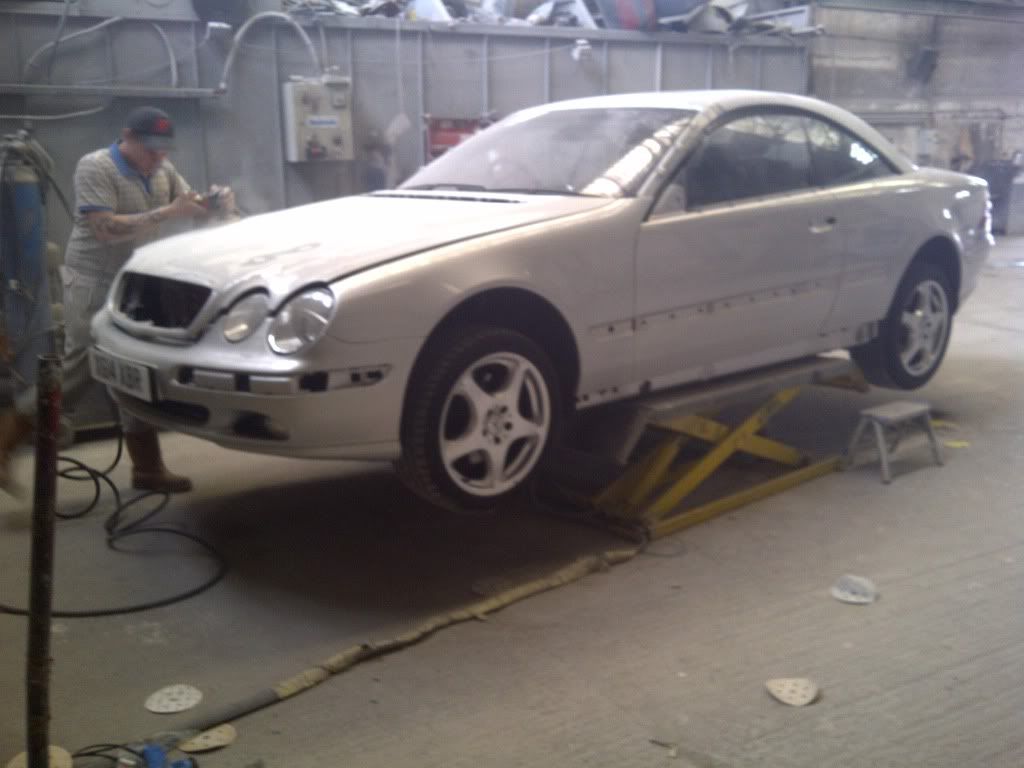
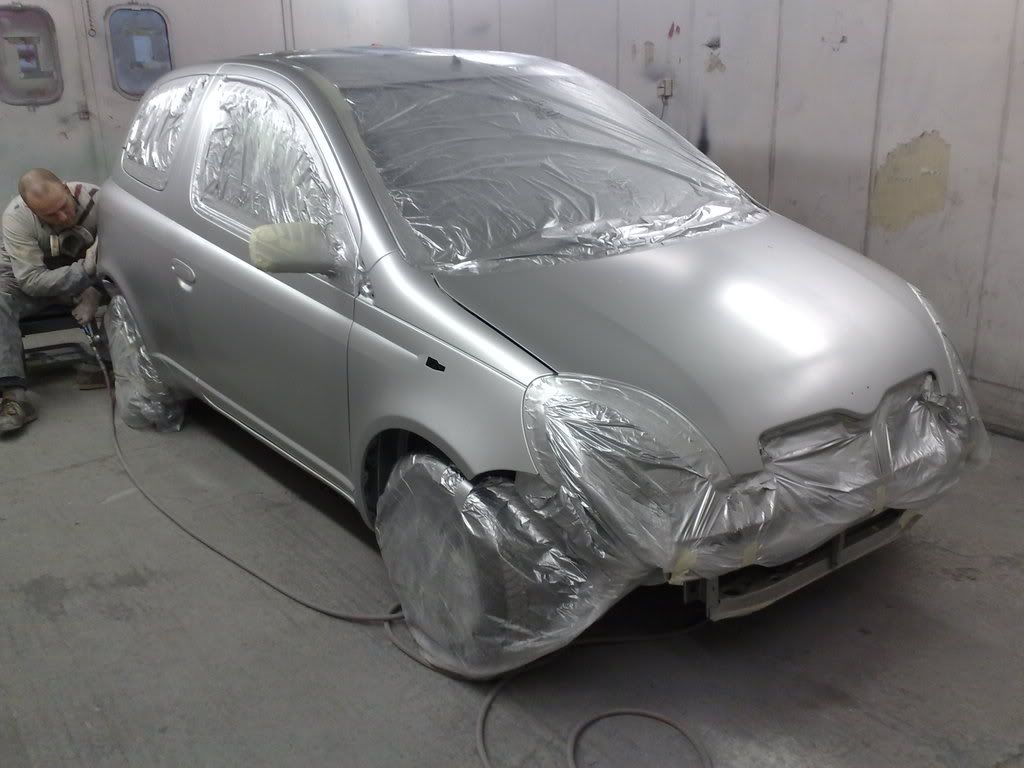
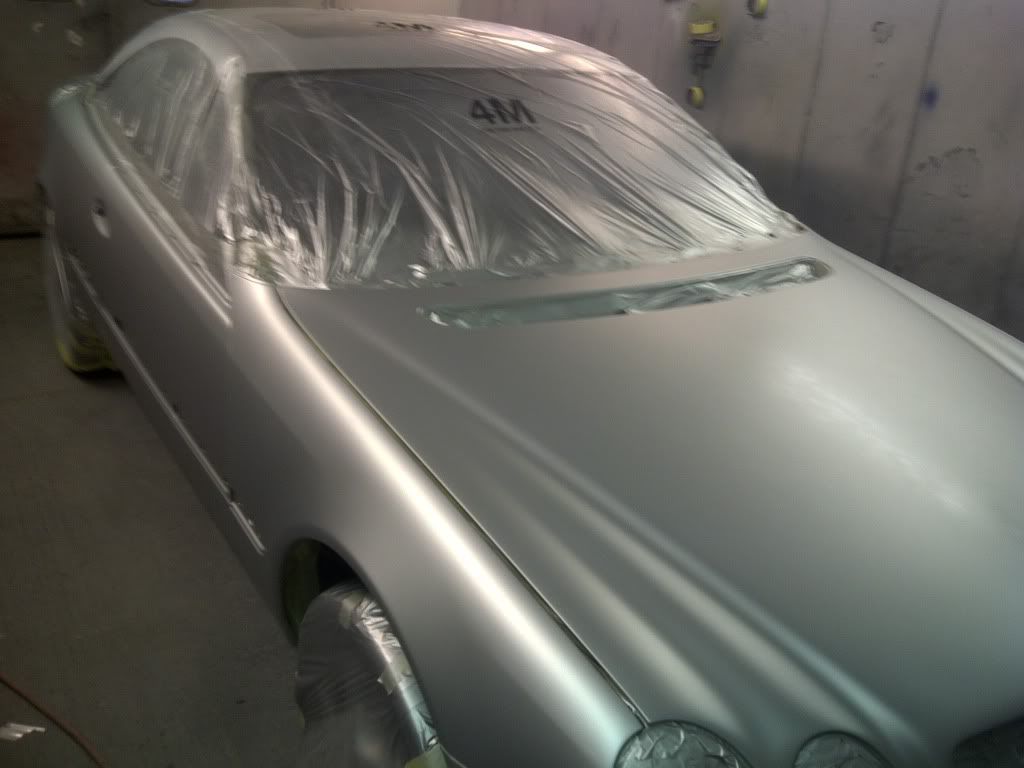
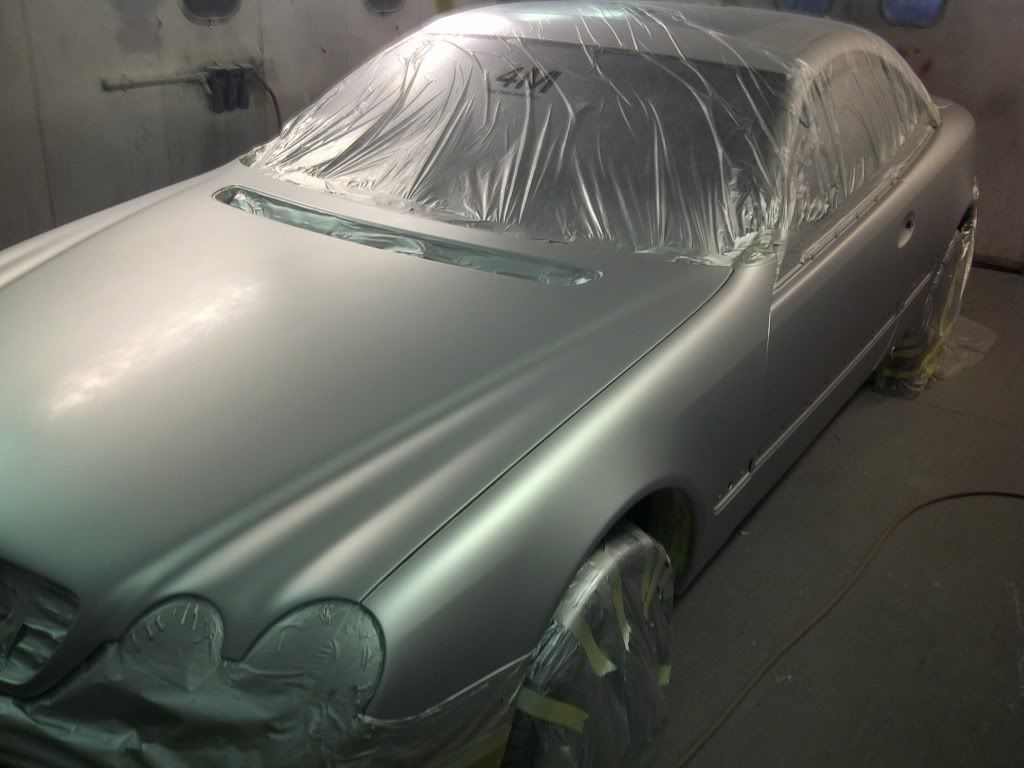
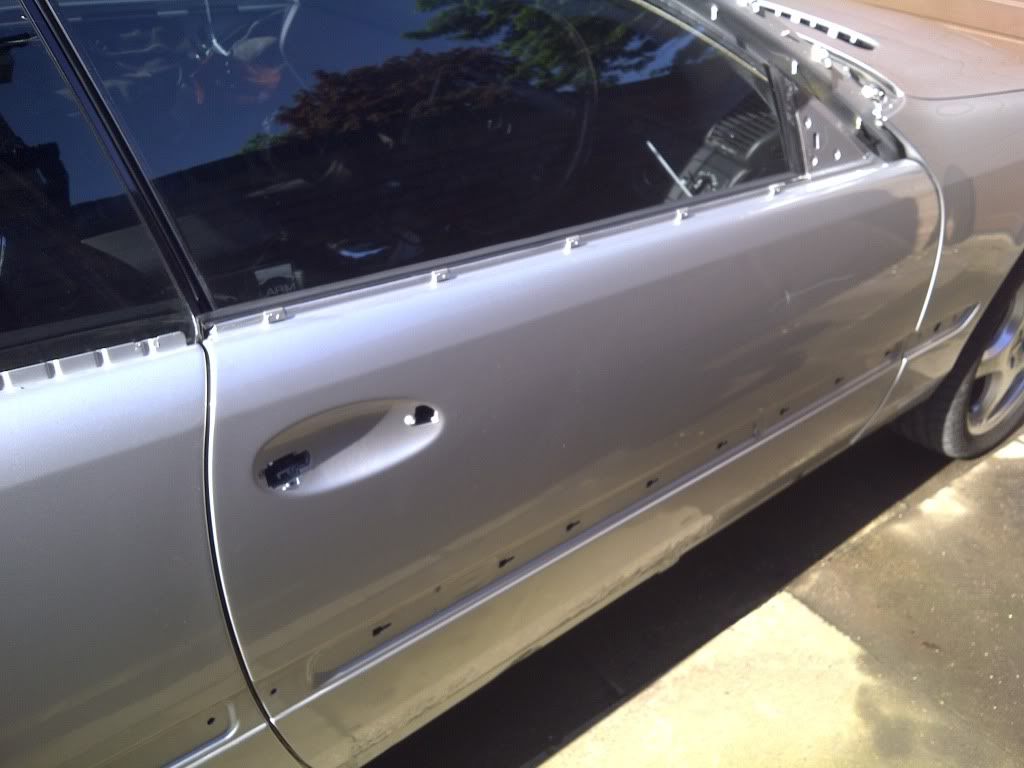
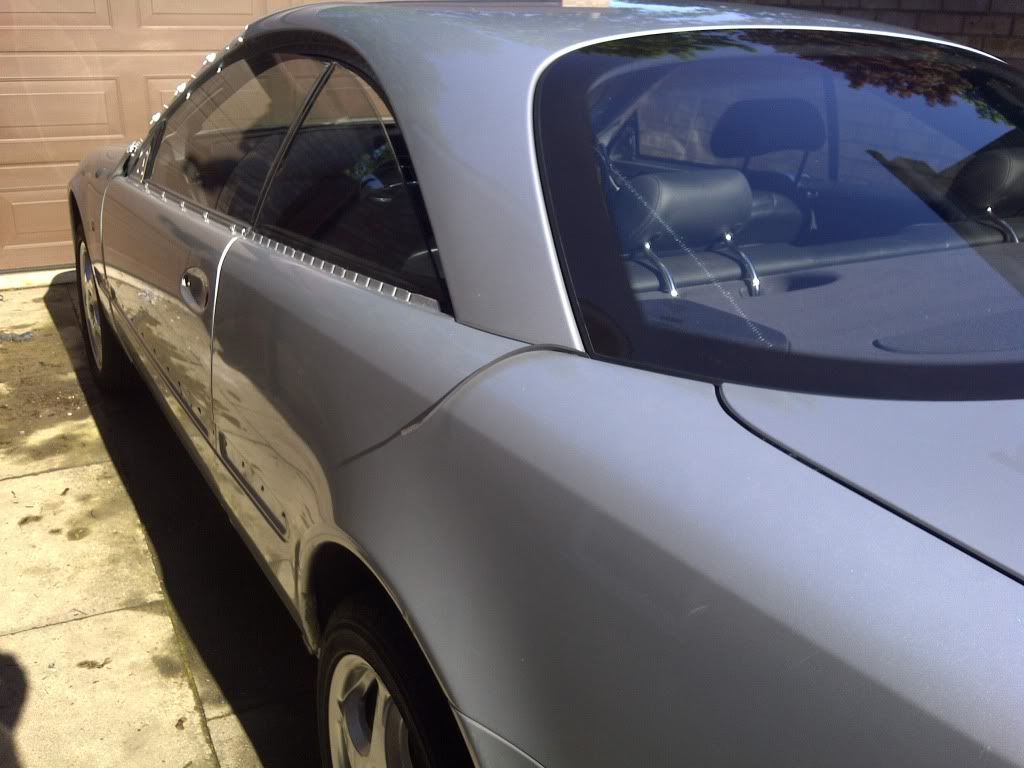
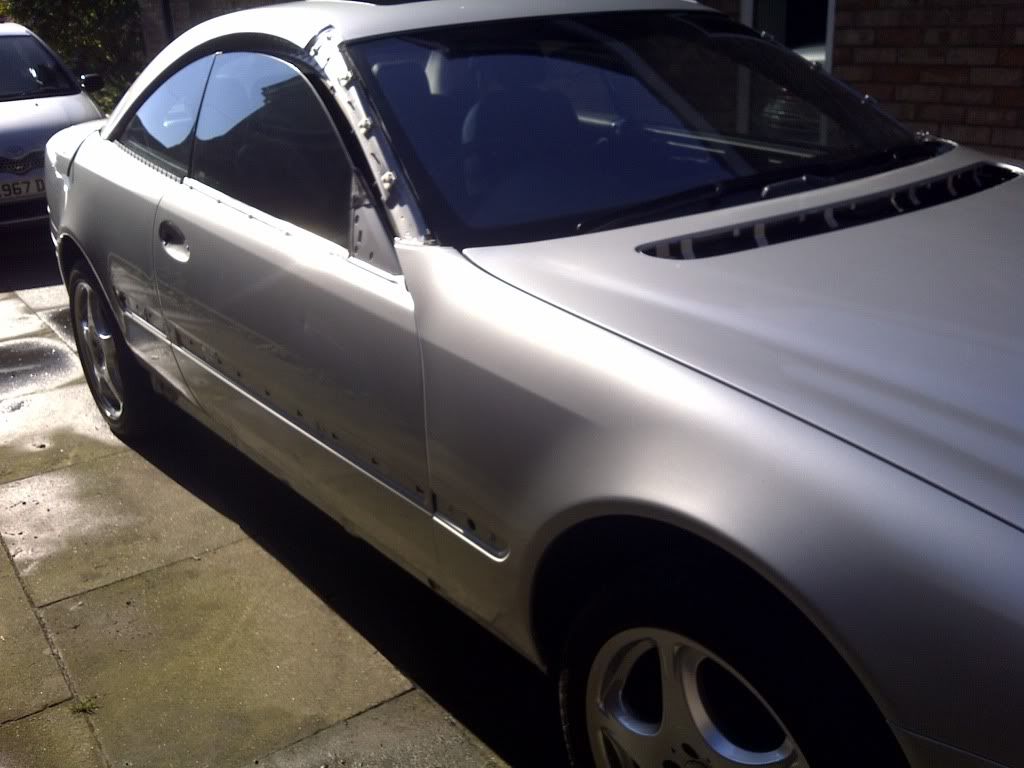
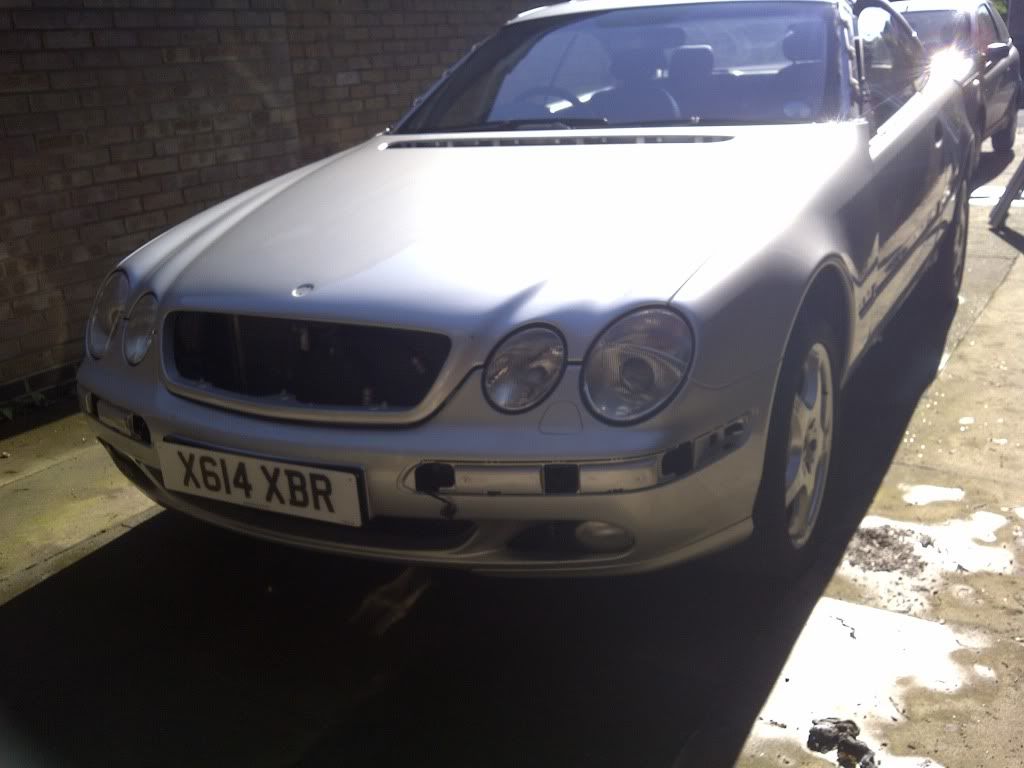
Then today started on the stripdown for the respray, had to remove loads of trim to get that "factory" look as the trim is so tight to the bodywork...

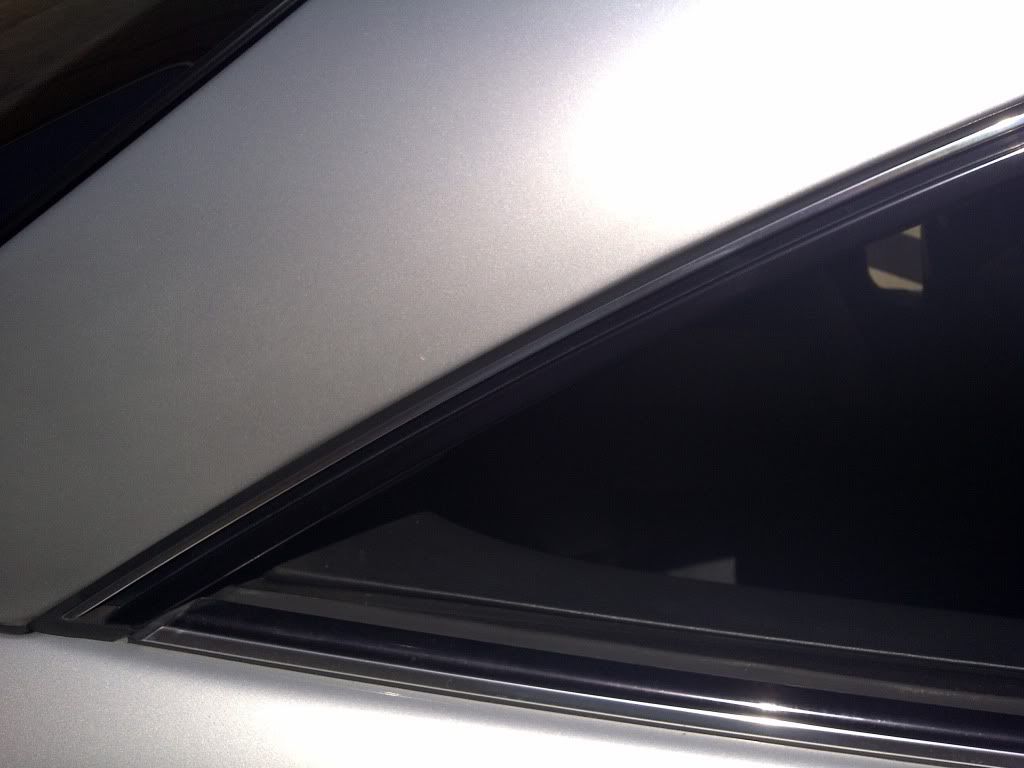
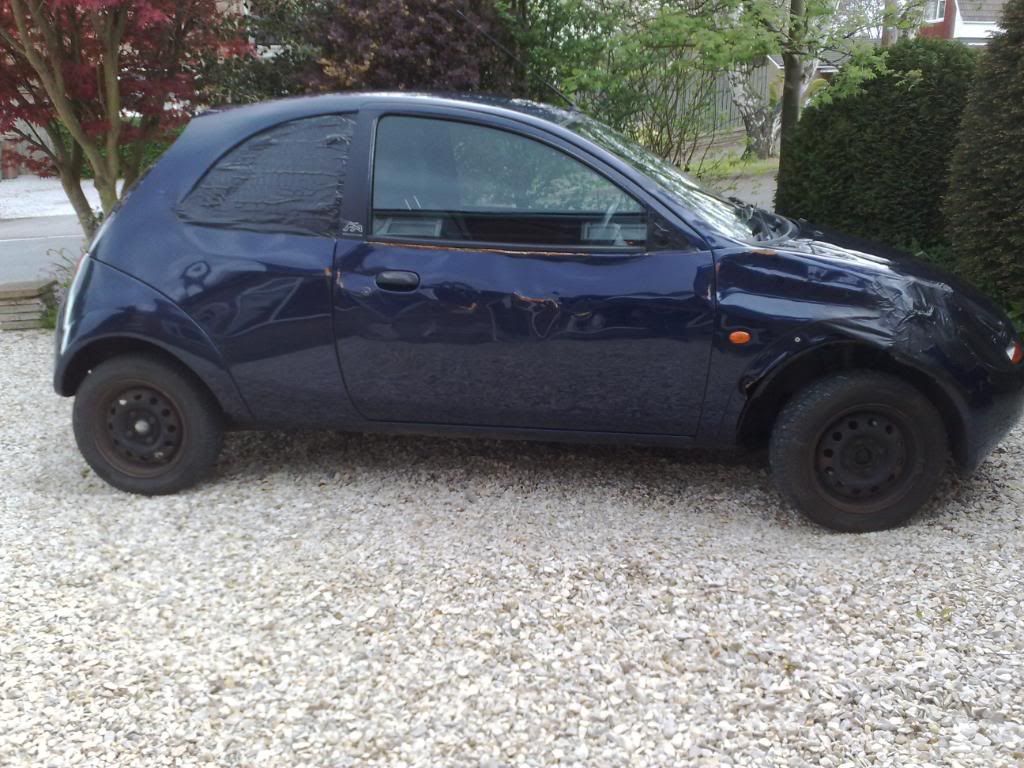
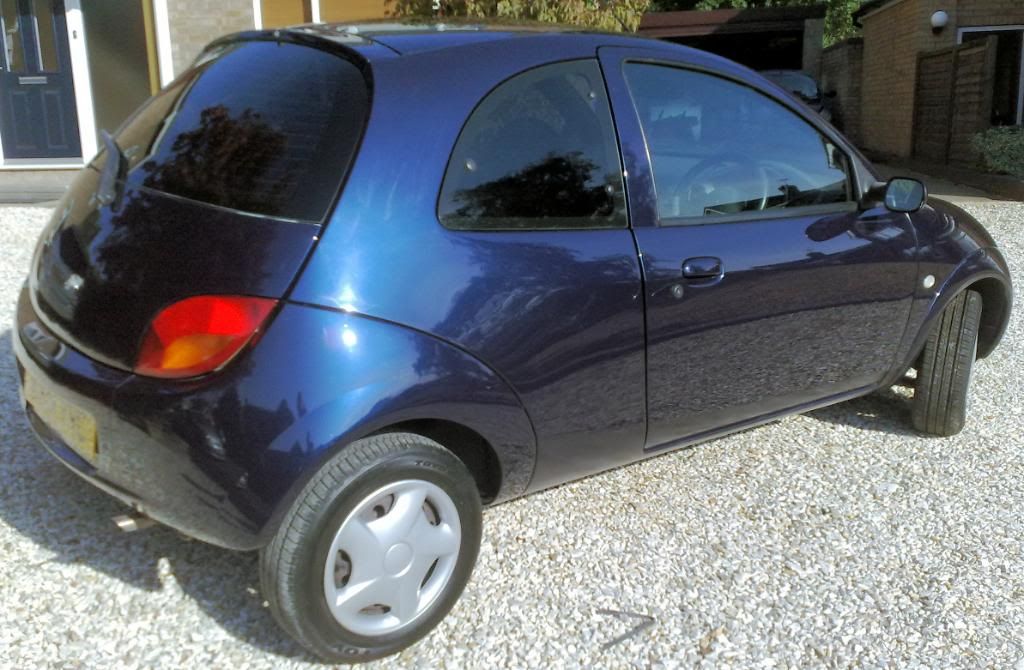
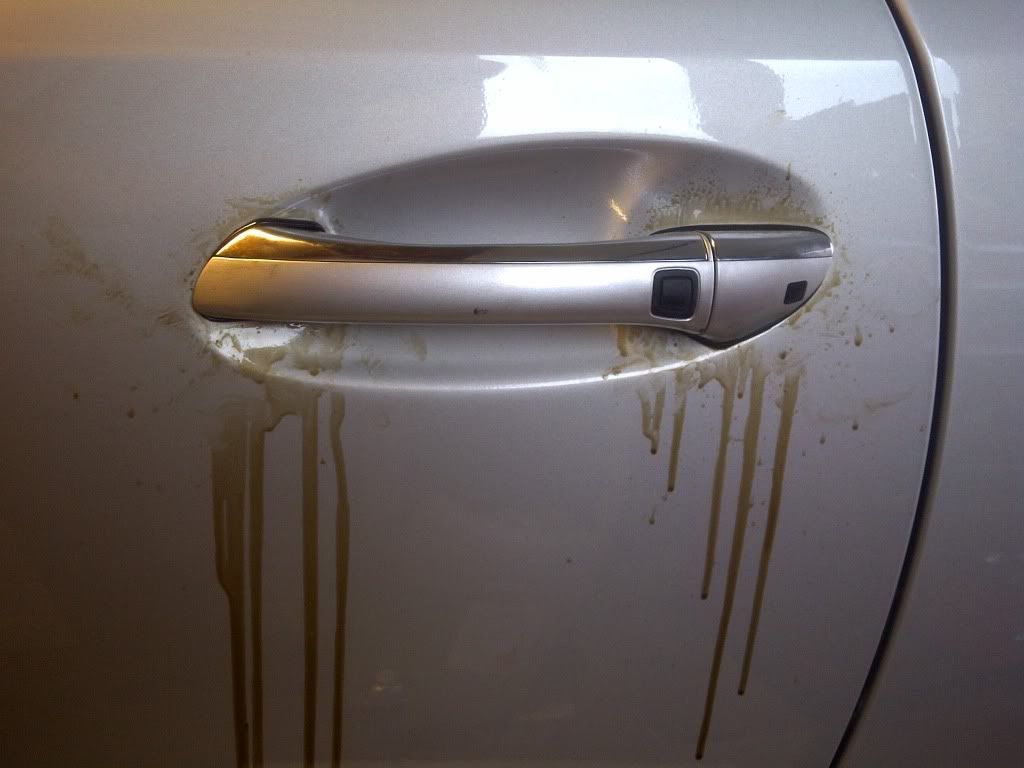
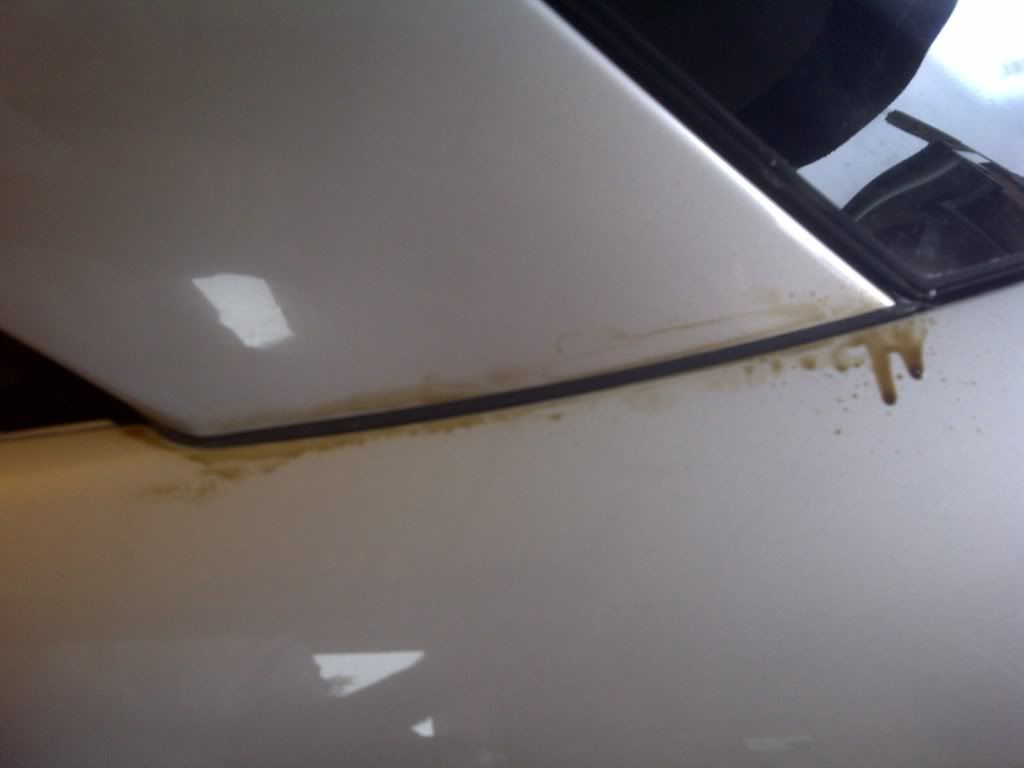
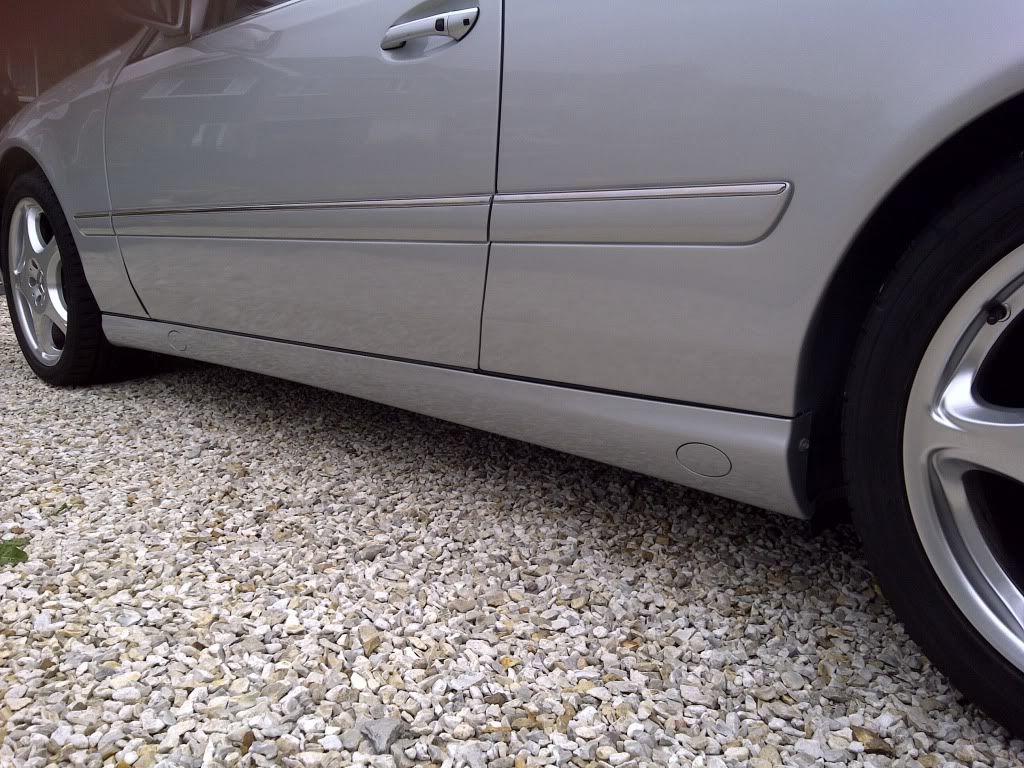
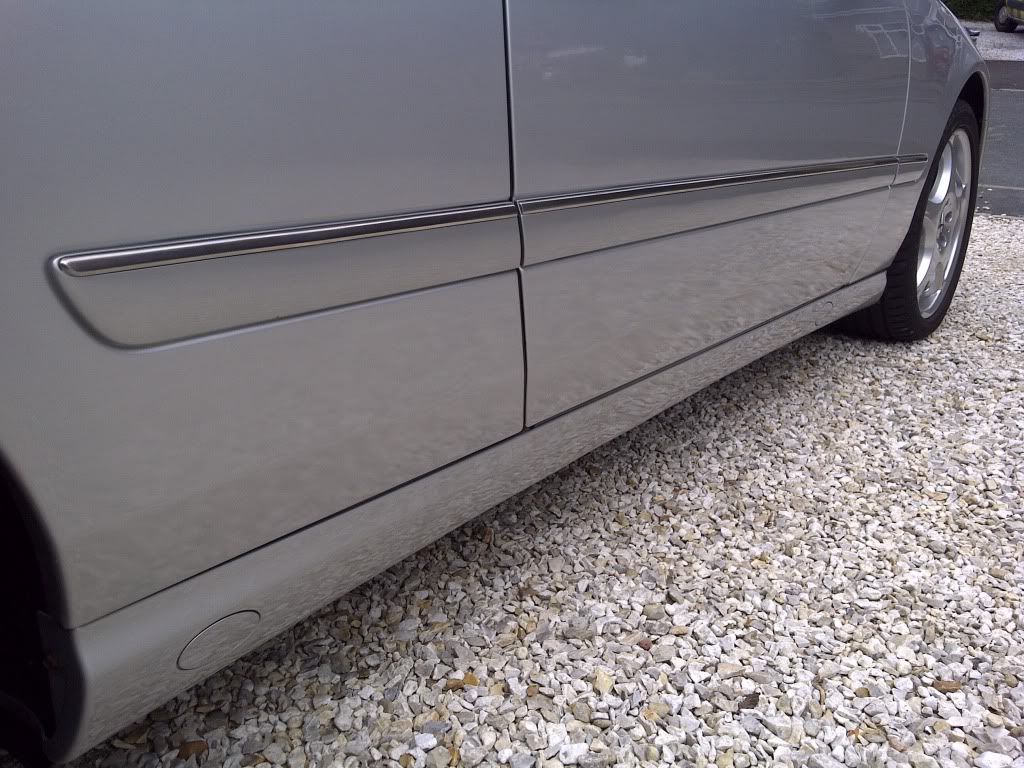
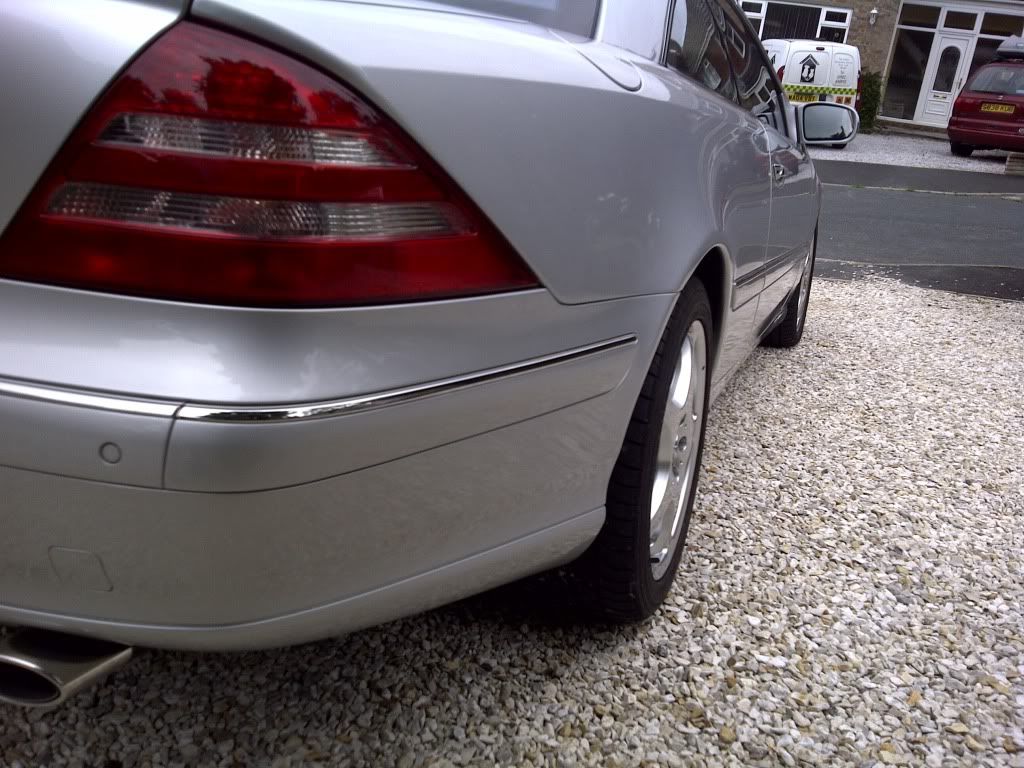
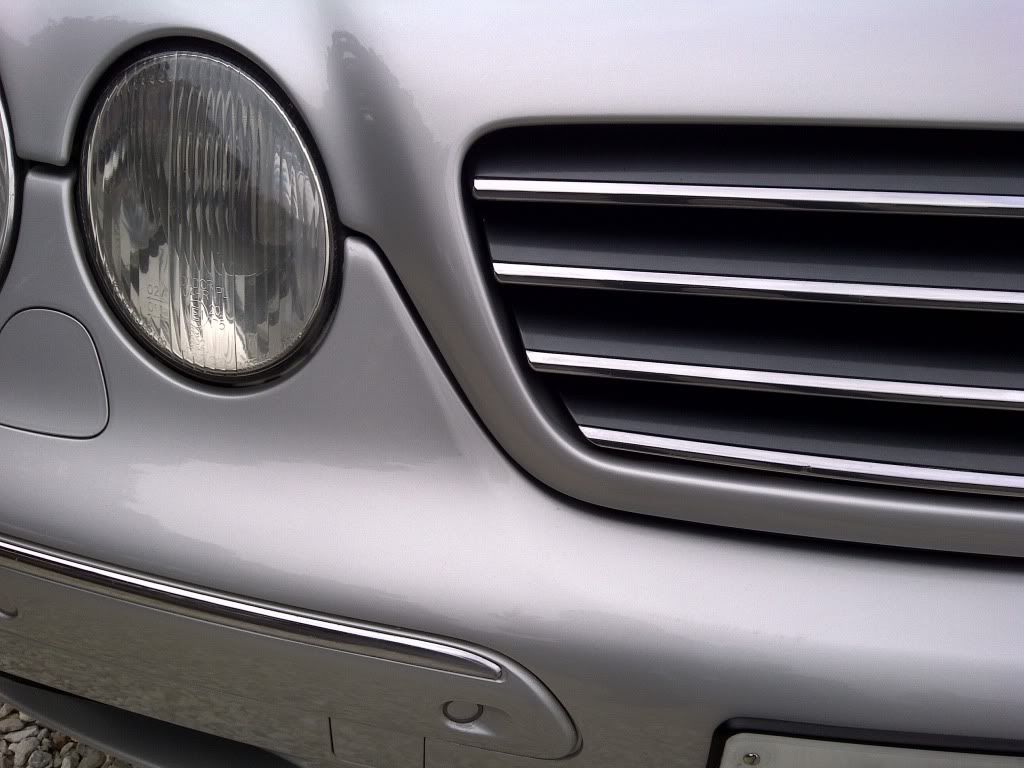
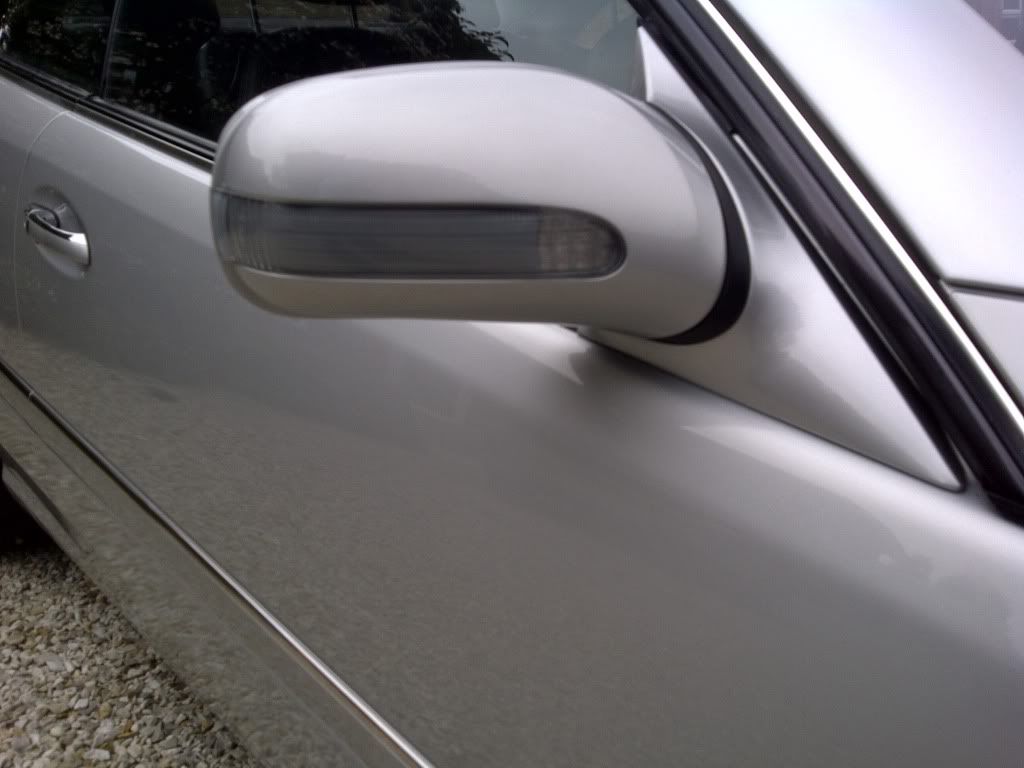
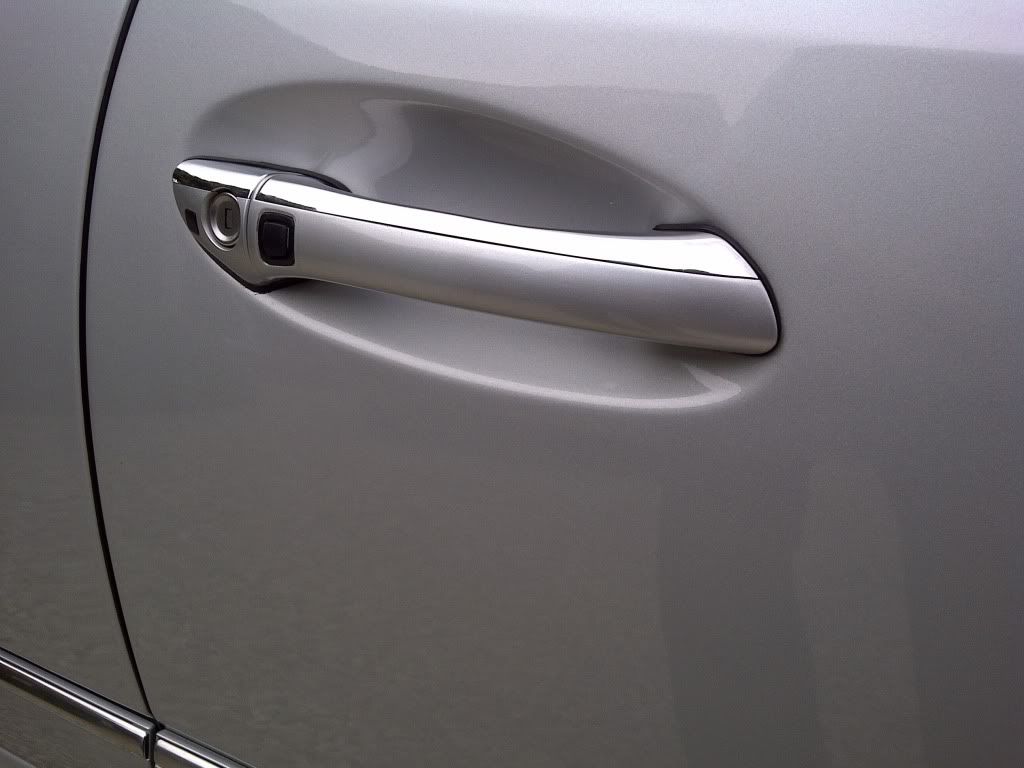
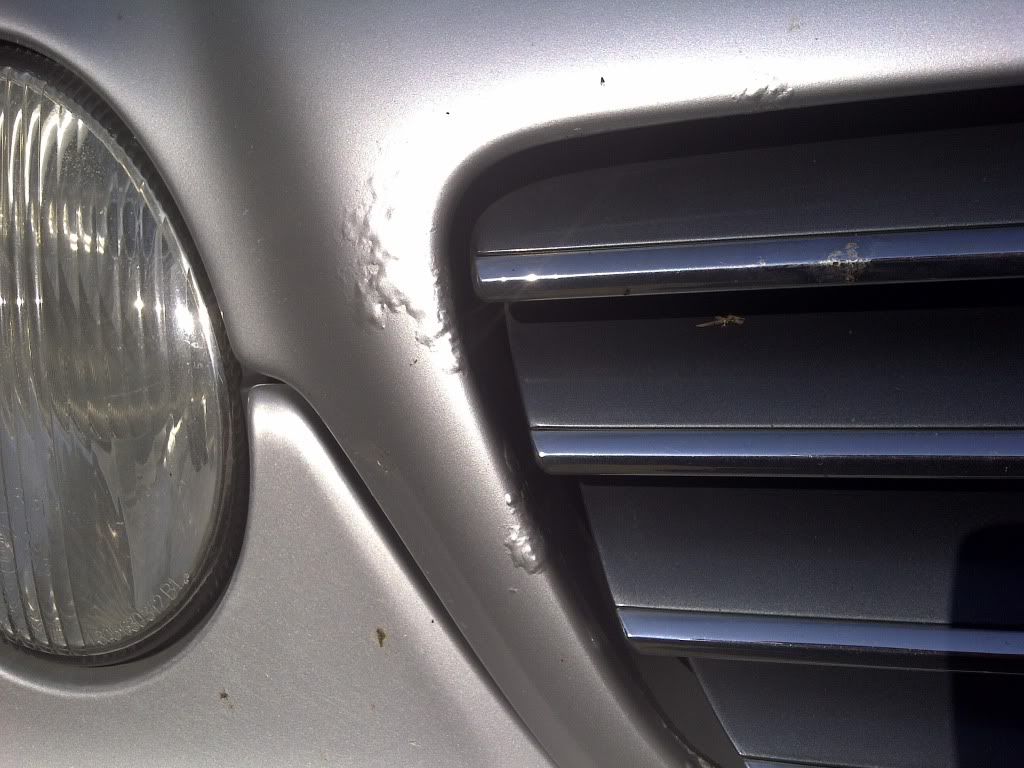
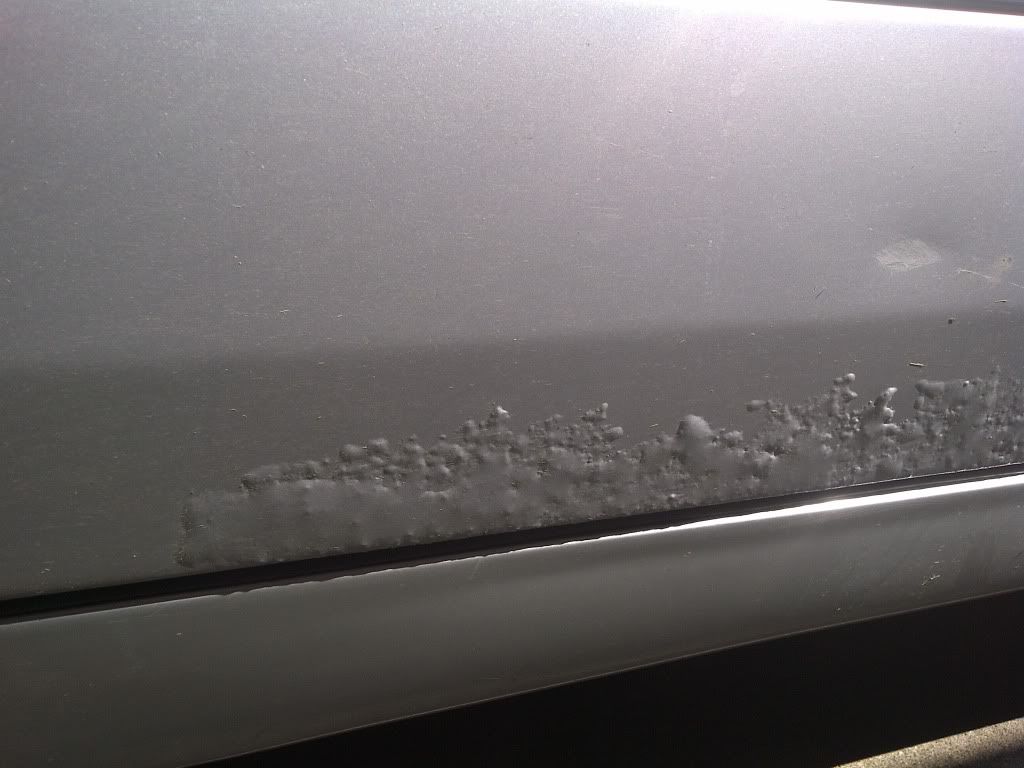
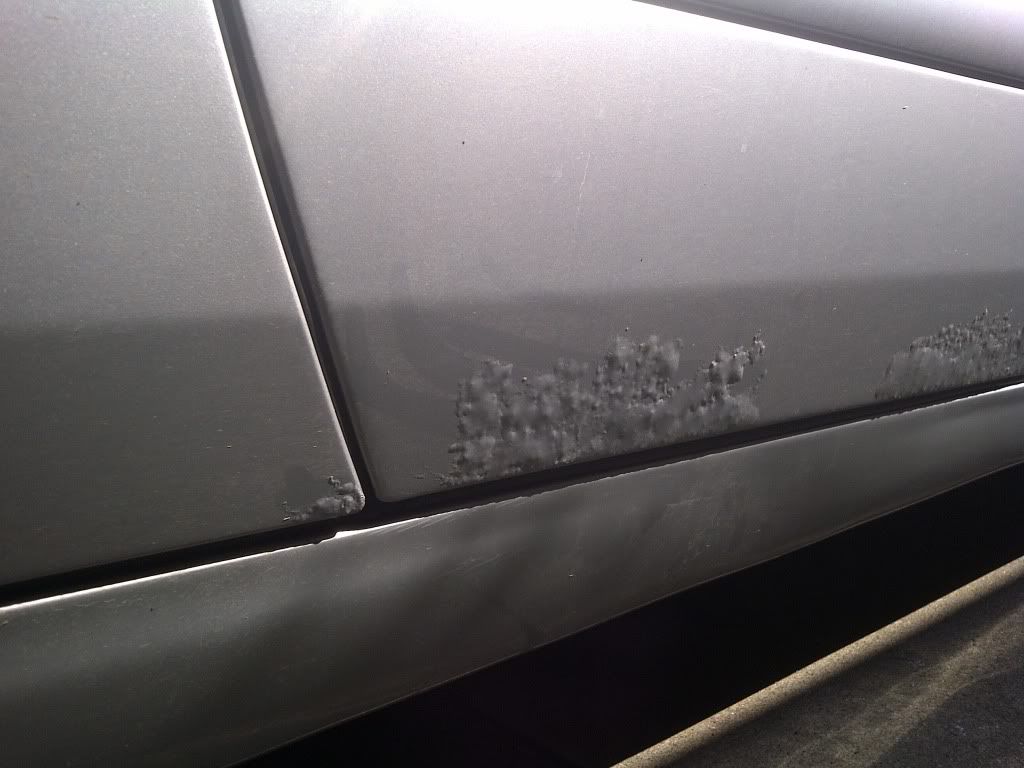
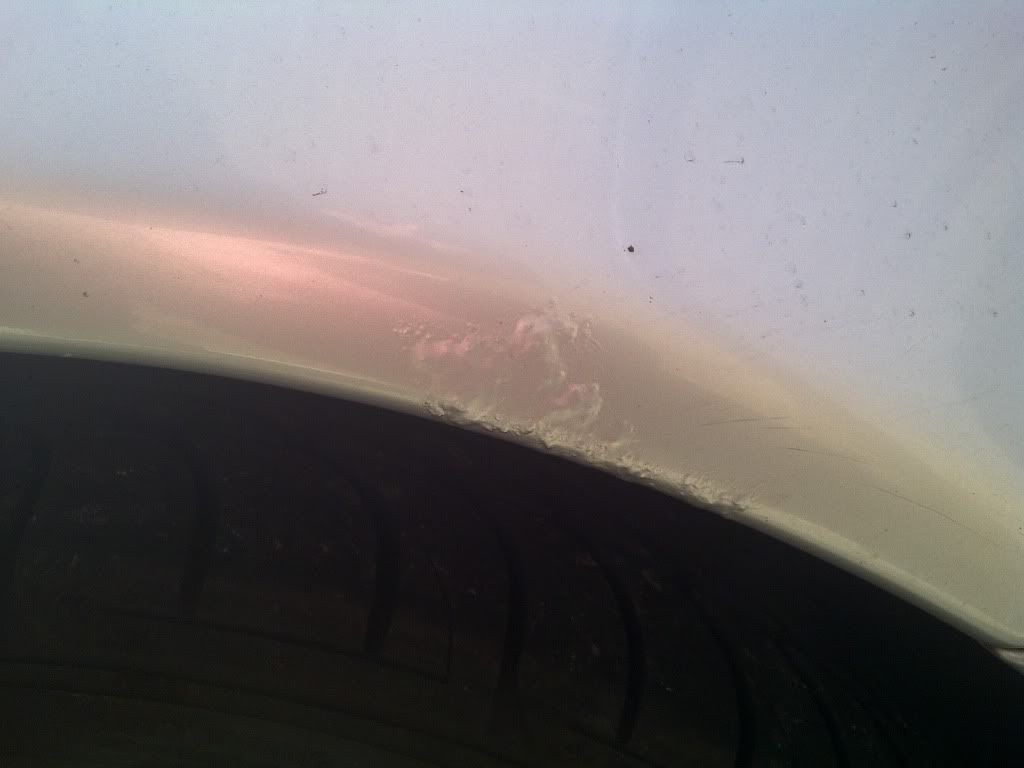
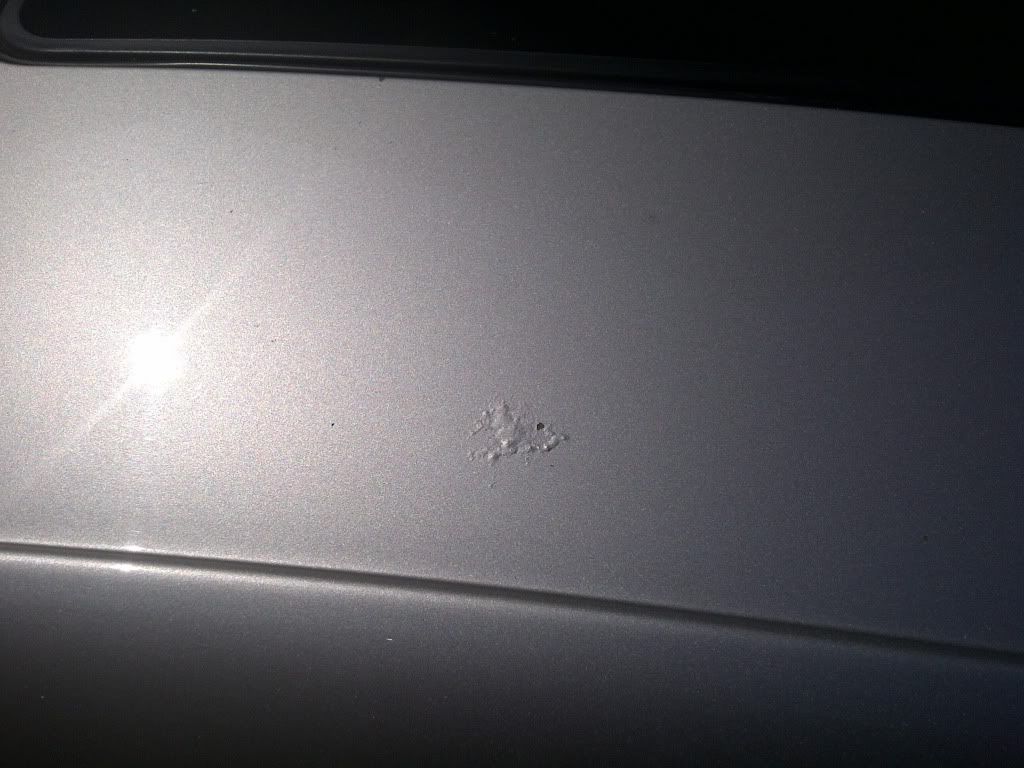
Here are a few pics to show why the respray is necessary, a fair bit of corrosion... most has started at panel edges where there is a hard panel edge and it has crept up the doors, around the rear arches and front grille, other bits are stone chips that have been left... I don't think MB bothered with etch primer as it shouldn't have gone this bad... there is no corrosion inside the doors or behind the panels it's all just crept about on it's own having a field day... should be fine once it's ground out and etch primered properly. The front and rear bumpers are a bit scuffer as well so it'c the whole car...

IMG-20120522-00638.jpg


IMG-20120522-00646.jpg


IMG-20120522-00645.jpg


IMG-20120522-00644.jpg


IMG-20120522-00642.jpg


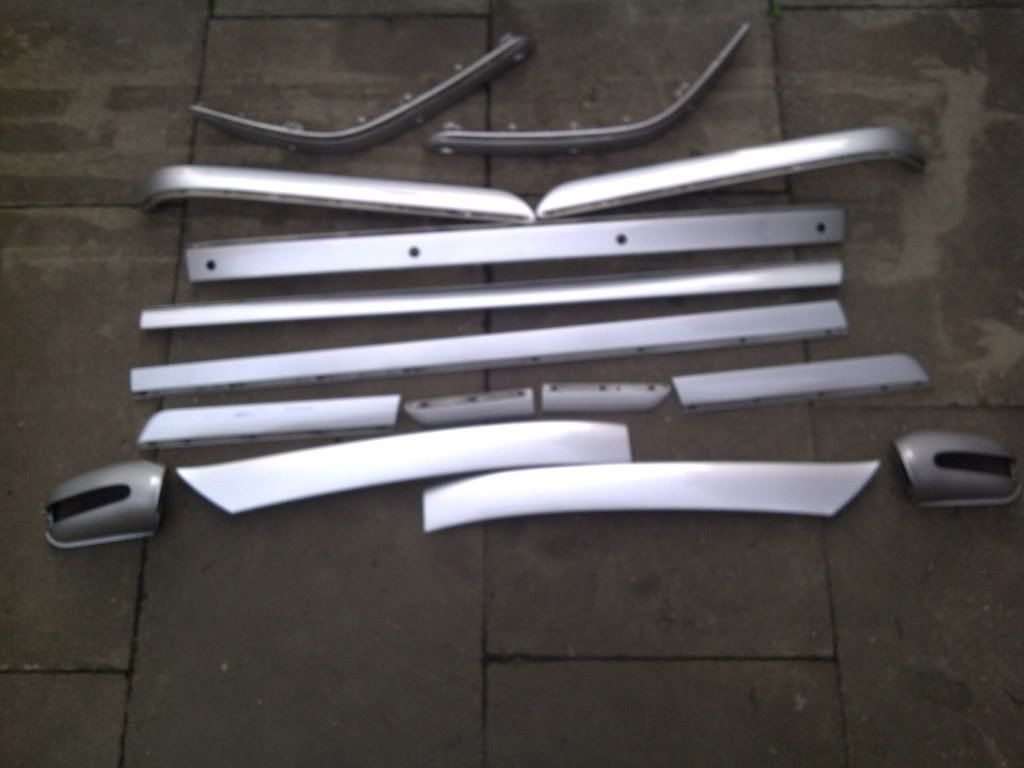
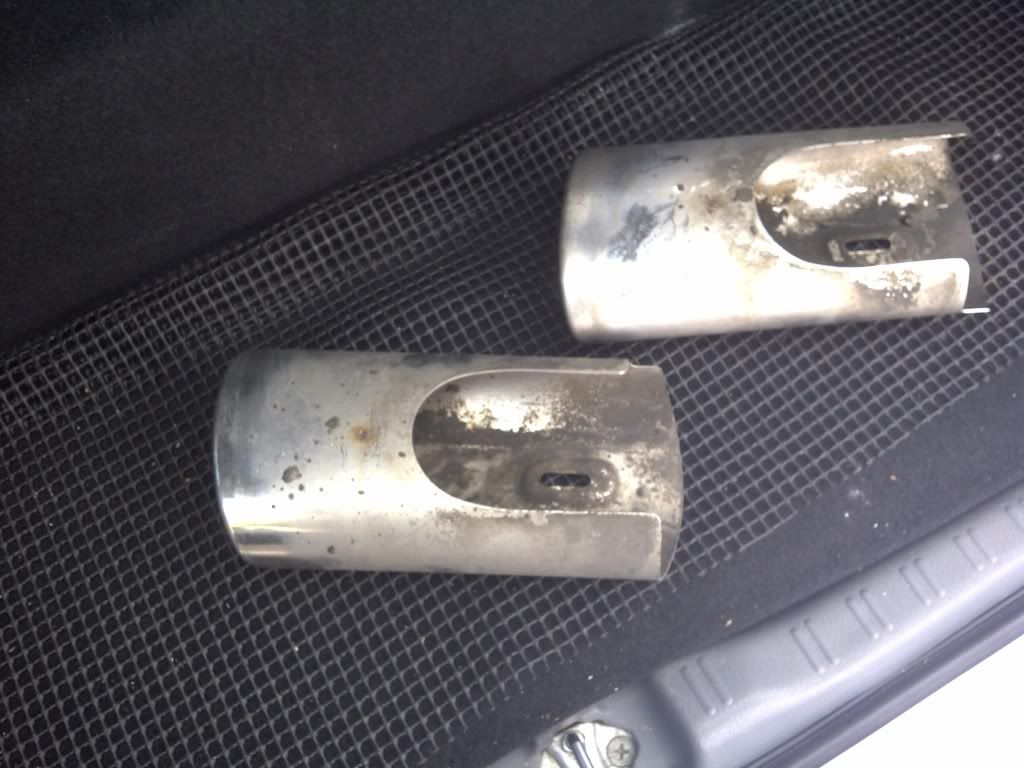
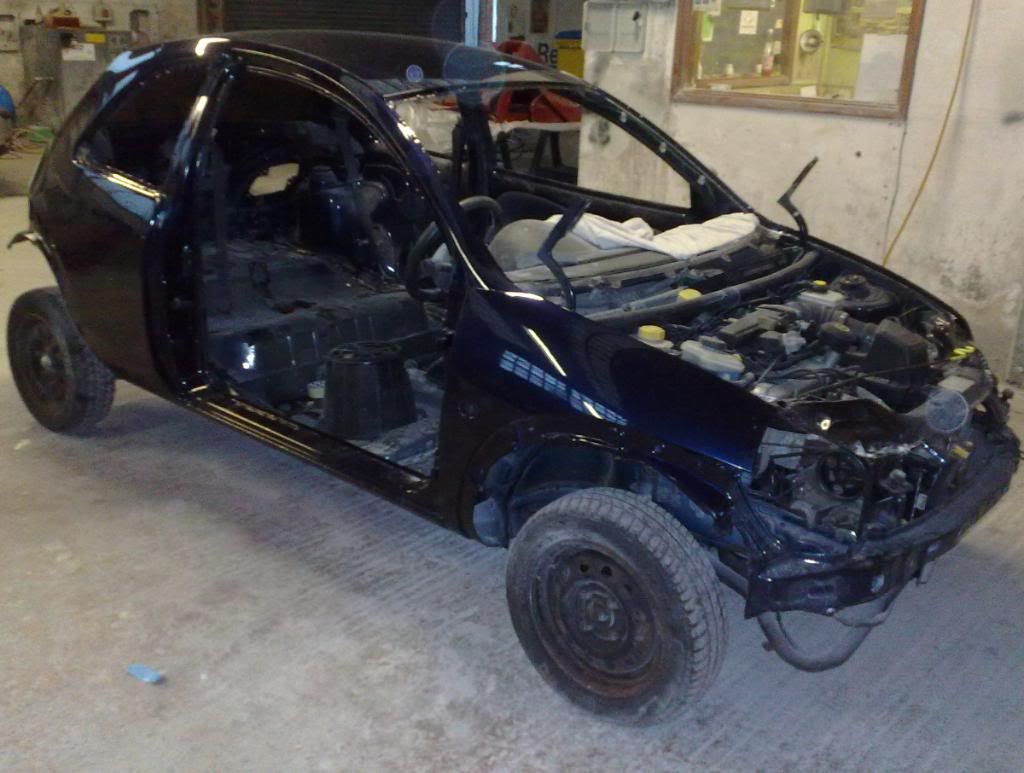
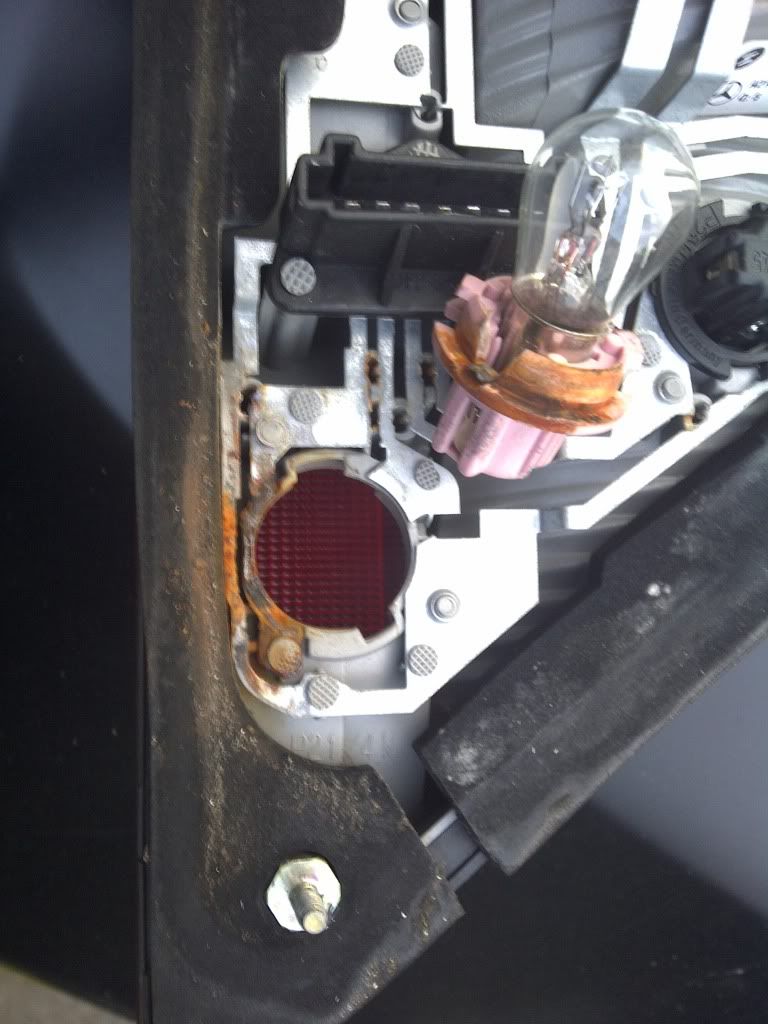
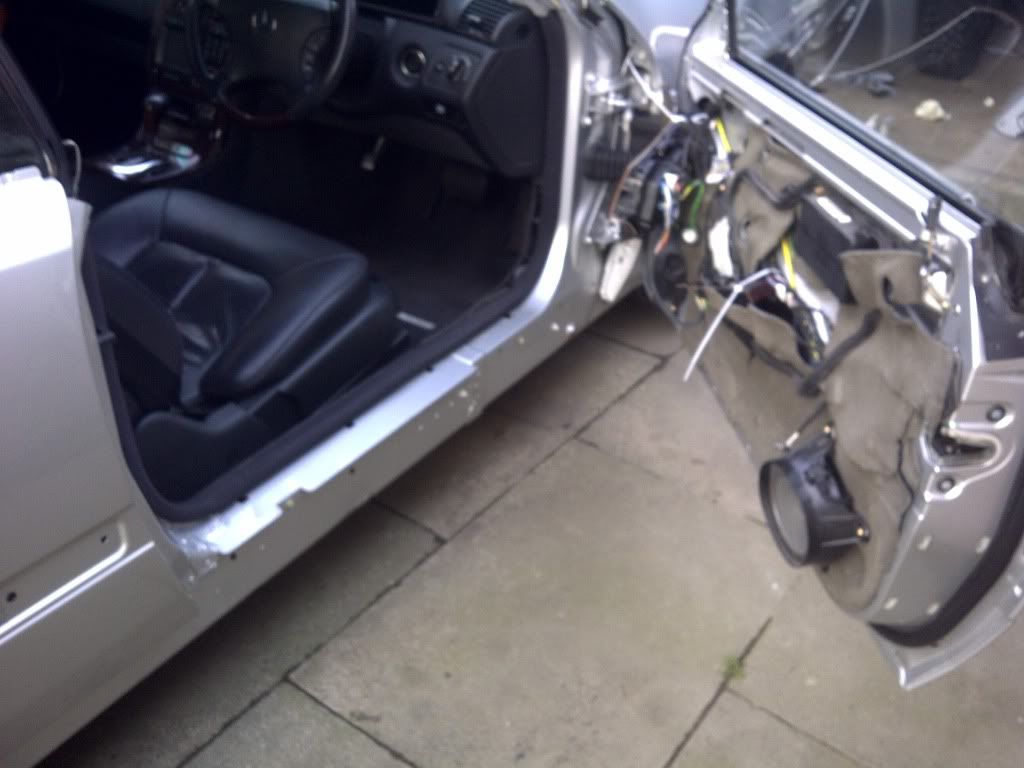
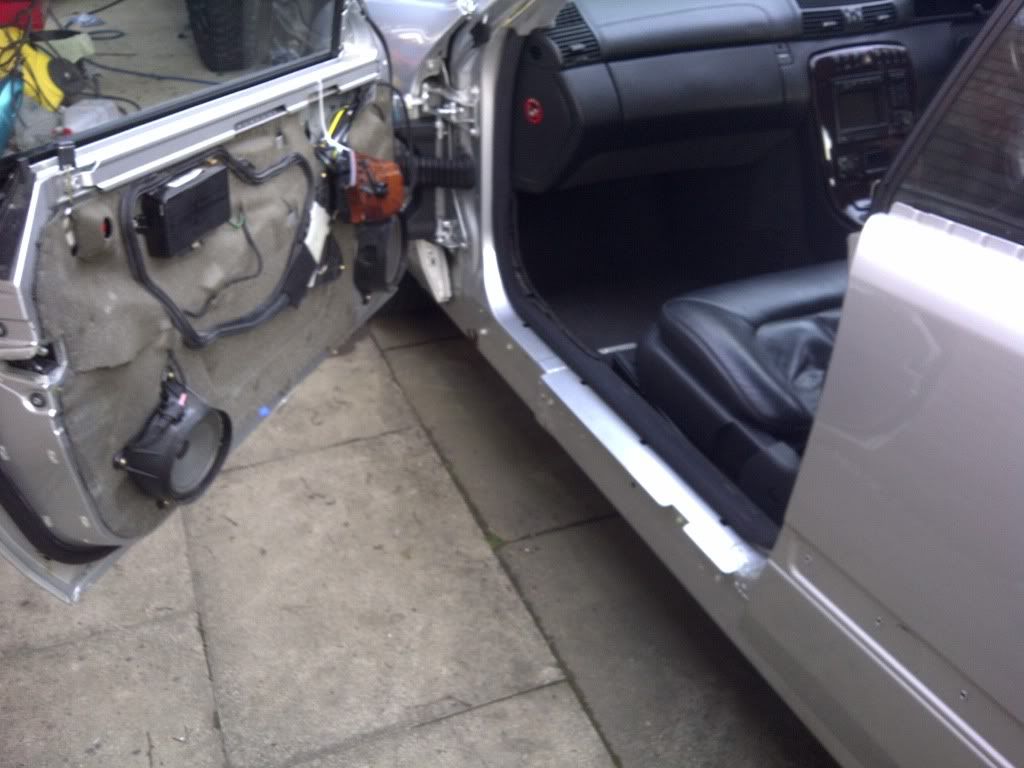
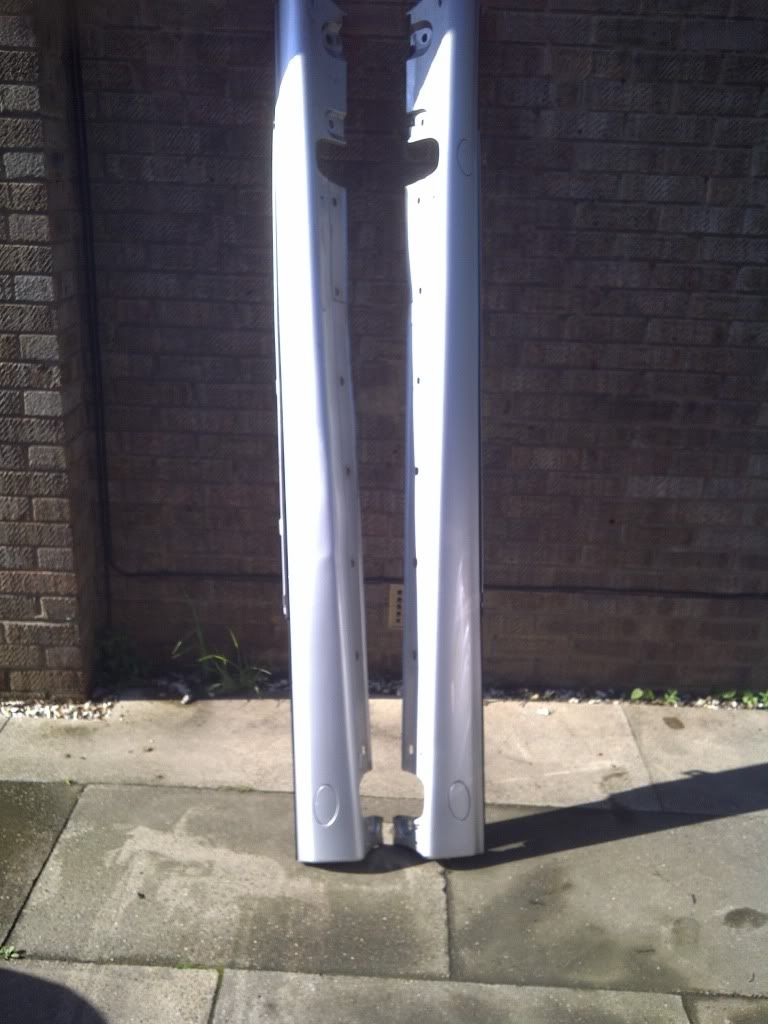
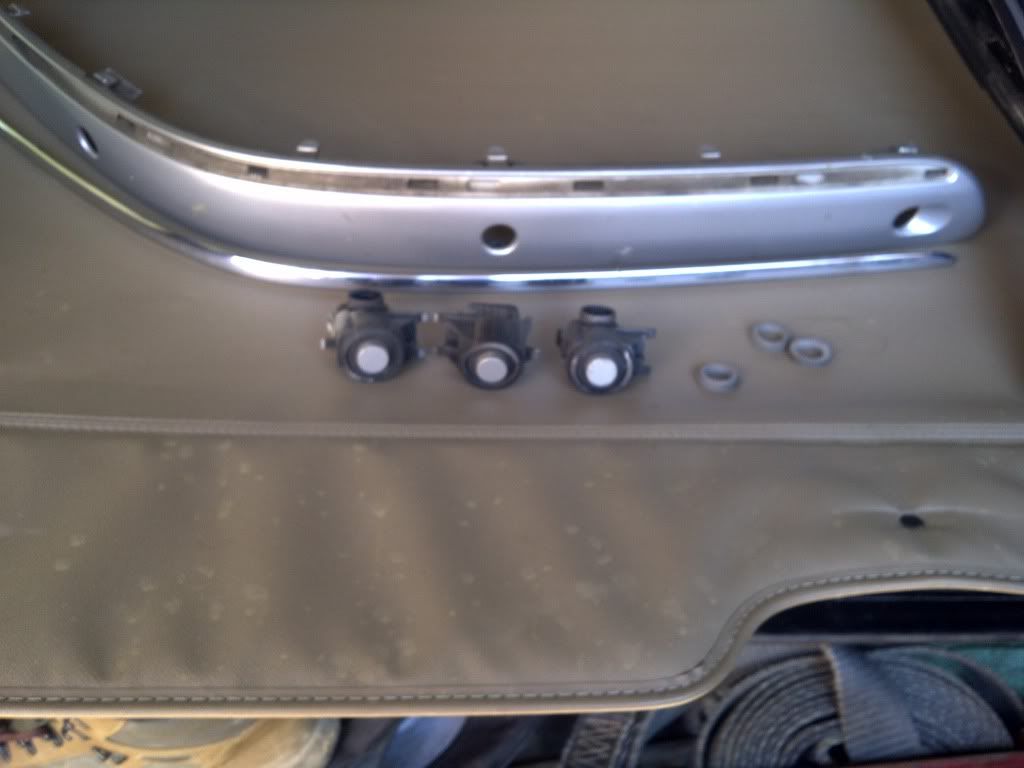
Started on the drivers side removed the top window rubber followed by the upper trim, then the A post cover, the door card followed to get the door mirror off and the outside handle out, then the door trims and cill covers, took a while to do this side as I had to work out how they put it all together... used a big hammer and a crow bar on most of it!!!??? well alright some plastic trim prybars and lots of torx bits.... Gutted the boot and removed the rear lights, then put them back in with one bolt as I'm going to drive it to the paintshop... then did the otherside which was much quicker, removed all the outer trims and the front and rear bumper trims, took them all apart, removed the chrome trims and parking sensors, dismantled the mirrors and then cleaned the whole lot up... stripped the bonnet.... and your left with a naked CL... just hope it doesn't rain tonight as theres a bit of a gap above the windows...!!

IMG-20120527-00680.jpg


IMG-20120527-00682.jpg


IMG-20120527-00683.jpg


IMG-20120527-00684.jpg


IMG-20120527-00678.jpg


IMG-20120527-00677.jpg


IMG-20120527-00676.jpg


IMG-20120527-00672.jpg
 
Con't

Quite a few trims, awaiting cleaning here

IMG-20120527-00685.jpg


This is why I had to remove so much... there is no way you would paint to this trim without it showing

IMG-20120527-00668.jpg


Should go to the paintshop tomorrow for them to start work, they will have it for two weeks, it's a fill in job to save me a few pennies!!!

And got right pi55ed off with my neighbour, he came to see how I was getting on and walked passed the drivers door, casually slamming it shut... right onto the electric window switch panel that I had hanging from it's wire when the door panel was off... got trapped in the door and smashed to bits.... so I need a new one of them now.... luckily I didn't notice till he'd gone or he would have been an ex neighbour!!!! grrr

Updates to follow....
 
Last edited:
Popped in this morning in my Honda(everyday car... boring but reliable...) to drop off the cill covers and the door handles that I managed to get to pieces to find they are very quiet, had a few jobs posponed or cancelled so they are cracking on with mine and recon it will be done by the end of the week:D

Gone up in the world!!

IMG-20120529-00687.jpg


Took the exhaust tips to a local chromers as the chrome is flaking, only to find they are cromed stainless steel so they are going to strip them off and mirror polish the stainless... must be a bit of a job as the car will be ready before they are!!!!!

Eleven years have taken their toll on these....
IMG-20120529-00688.jpg
 
i don't understand how your car had rust bubbles?
did 215 have poor protection from rust?
same crap is often seen on w210 cars but c215, that's strange?

you must have bought this car very cheap as it costs alot of money to resparay a car.
hope you use it during spring/summer only and not driving it in winter.
rust will eventually come back if you drive it in winter

c215 cars are beautiful
 
Thanks chaps

i don't understand how your car had rust bubbles?
did 215 have poor protection from rust?
same crap is often seen on w210 cars but c215, that's strange?

you must have bought this car very cheap as it costs alot of money to resparay a car.
hope you use it during spring/summer only and not driving it in winter.
rust will eventually come back if you drive it in winter

c215 cars are beautiful

It's alloy corrosion, not rust, all alloy body with plastic front wings and boot!!

It looks worse than it is, Merc had to save a billion dollars at the turn of the century and one way was to cut down on the bodywork, apparently they didn't use etch primer so a small chip in the paint or a hard edge where the paint shied away from, meant corrosion set in and crept up the panel, when sanded off you end up with bright alloy again, none of the pitting you get with rust on steel, so a good sand down and etch primer and it should be OK... this car has been let go abit by previous owners, keep on top of stone chips and they last pretty well... Will have tons of antirust all over it as soon as I get it back, the steel shell under the alloy panels is pretty good, minor surface rust around the front jacking points and thats about it... it will be sorted...

I looked at a fair few and they all had some form of corrosion, usually around the front screen and the rear arches, and were a lot more money, found a minter with a spotless body, it had more miles but was well over twice the price!!

I did get it very cheap and personally I'd rather have one that needed paintwork then mechanics... This one has no DTC's and no aircon faults and a reasonable service history...

I'm a southerner but I live in the north and I do have to say things are much cheaper up here, sometimes I don't know how they can do it for the price, the respray will not be that much and at the end of the day I wil have a decent car at a very reasonable price...

I'll do a breakdown of what it cost at the end (well, there never will be an end... always something else to do) so you can see what it cost..

Popped in this morning to see it sitting in primer, has been etch primed on all bare arears then 2pack primed where needed, 4 blokes working on it as I got there!!!

They have done both my daughters cars as well as a lot else over the years... we bought Cat C cars for them both and got them to repair them, get's them involved with the cars...

From this (had a light roll into a ditch)

Ka6.jpg


to this

240920102384.jpg


Finished

300920102406.jpg


Also this

dc09_3.jpg


to this

03022009167.jpg


Finished

Yaris47.jpg


So I know their work is good... Yaris has been done for nearly three years now and still looks tops...
 
Popped in this morning in my Honda(everyday car... boring but reliable...) to drop off the cill covers and the door handles that I managed to get to pieces to find they are very quiet, had a few jobs posponed or cancelled so they are cracking on with mine and recon it will be done by the end of the week:D

Gone up in the world!!

IMG-20120529-00687.jpg


Took the exhaust tips to a local chromers as the chrome is flaking, only to find they are cromed stainless steel so they are going to strip them off and mirror polish the stainless... must be a bit of a job as the car will be ready before they are!!!!!

Eleven years have taken their toll on these....
IMG-20120529-00688.jpg

At least on the 500 you can take them off unlike the 55. I had to have mine cut off then welded back on,wasn't to bad as i was having my secondary cats removed as well.

Many thanks for the write up,most informative. It's good to see a job being done properly. Look forward to seeing the end product.
 
Thanks

The rear window lower rubber sealing trim that wraps around the top front edge of the rear wing is a bit worn on both sides so I popped into MB this morning to see how much they are..... What a laugh.... you have to buy the outer trim as well and then because they can't guarantee the colour match you have to buy the front door trim as well.... Both sides £531 incl VAT... thats nearly 20% of the price I paid for the whole car..... I can repair them hopefully, just bought a 1mm thick rubber sheet from ebay 99p + £1.50 P+P.... should do the job....
 
Well it's all back together and looking very nice indeed...

Popped in on Thursday to find they had been quiet so had cracked on with it...

They had done the roof already, he wanted to paint this separately as it has a hard line to mask to and he then didn't stand the chance of marking the sides when leaning over to do the center of the roof...

IMG-20120531-00692.jpg


IMG-20120531-00693.jpg


Got it back Friday and started putting it back together... squirted lots of anti corrosion stuff everywhere I could!!!

IMG-20120531-00695.jpg


IMG-20120531-00696.jpg


Did this for everything.....

Finished it off today and then gave it a good clean.... got the exhaust tips back as well, now polished stainless so should last well... I'll let the pictures do the talking....

IMG-20120602-00699.jpg


IMG-20120602-00700.jpg


IMG-20120602-00697.jpg


IMG-20120602-00698.jpg


Remember that scabby arch...

IMG-20120602-00701.jpg


And the doors...

IMG-20120602-00702.jpg


IMG-20120602-00706.jpg


IMG-20120602-00703.jpg


IMG-20120602-00704.jpg


IMG-20120602-00705.jpg


IMG-20120602-00708.jpg


IMG-20120602-00710.jpg


IMG-20120602-00711.jpg


IMG-20120602-00712.jpg


See the little rubber trim around the parking sensors... had to clean a few off them off where it had been lazily painted before...

IMG-20120602-00714.jpg


The roof now looks gorgeous....

IMG-20120602-00713.jpg


It was my birthday yesterday and I got these as a prezzie... very bling??!!

IMG-20120602-00715.jpg


What it's cost so far...

Purchase price £2998 (I found £2 in it when I got home!!)
Respray, bearing in mind I did a lot of work £500
Trim bits to tidy interior £84
Polish exhaust tips £40
Replace cats with pipe £80
Idler pulley £18
Drivers window switch wood £40
Smart repair of interior trim £75
Air con recharge £45
Polish, antirust and sundries £80

So it comes in at £3960... not too bad for a nicely sorted CL....

There are a few little jobs left to do.... as always!!
 
Fantastic job,and superb attention to detail,very well done.:thumb:
 
I must say this thread has been a real pleasure to go through. Thanks and I'm sure all the guys will agree. The 215 cl is one of the most elegant shapes on the road.
 
Great job. Some face lift rear lights and blinking mirror covers would finish it off. IMHO of course.
 
Thanks chaps, I'm well pleased with it

Its been polished with the new Meguires polymer stuff... leather cleaned and fed, windows rainx'ed basically every surface has been done so is sorted for a while...

Great job. Some face lift rear lights and blinking mirror covers would finish it off. IMHO of course.

I was thinking about the rear lights, you can't see it on the pics but one has a small crack in it and the other was carelessly removed and the rubber seal was broken, it's let in water and coroded one of the light fittings... it's cleaned up alright with a Dremmel and th seal fixed and works now but I don't know how long it will last.... I'll keep an eye on ebay and hopefully pick up some at a bargain price.... What do you mean by blinking mirror covers... it's got the flashers in the housing... were the later ones different??

Amasing it was still working up to just before this point, and how clever is can bus... it put up the message, "check rear light" "alternative bulb in use" it ran the brake light at a reduced intensity....

IMG-20120524-00655.jpg
 
That is a stunning result. Well done
 

Users who are viewing this thread

Back
Top Bottom