First attempt at removing a top coat scratch by wet sanding

Page may contain affiliate links. Please see terms for details.

Sicario

Active Member
SUPPORTER
Joined
Mar 16, 2020
Messages
228
Location
Doncaster, South Yorkshire
Car
W212 2009 E350 Avantguarde
Sorry guys i didnt take photos on this occasion but just wanted to say how simple it was to (gently carefully slowly) wet sand a top coat scratch back to zero with 3000 grit then 5000 grit, and using a Lake Country micro fibre cutting pad with Menzerna 400 high cut compound with a DA, it took 30 seconds to polish out the 5000 scratches to a 100% perfect gloss. The whole process took 5 minutes.

I have other scratches i need to attend to so i will be sure to take before and after shots. Having done this though its given me the confidence to touch up a deeper scratch (through to base coat) with a Palladium grey touch up kit i just bought with seperate top coat (leave to cure for 5 days) and to sand it back and buff out, i will also take before & after shots of this.

And on another note, my roof is quite badly swirled and has very noticeable drive through car wash scratches so my plan is to (using my DA for the whole process) wet sand my entire roof with a 6" interface pad and 6" 3000 & 6000 grit Trizact pads and cut back with Menzerna HC400/microfibre cutting pad, polish with Auto Finesse Tripple, finish with Turtle wax Hybrid Ceramic polish & wax using a Lake Country finishing foam pad.

Extreme i know, softly slowly catchy monkey, but watch this space.
 
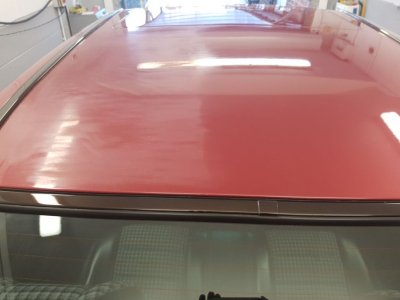
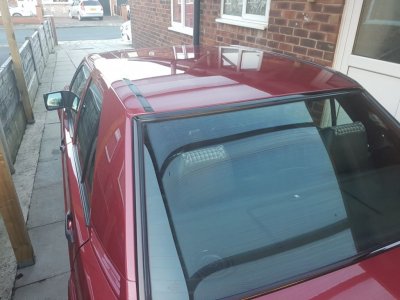
The roof on my old 190E was badly marked by the previous owner who was using the car as shelving...

I realised that the only way to get rid of the marks was to wet sand it. It took a good while to get it right but it paid off in the end, just a lot of checking with a gauge as I was quite worried about going too far and taking all the paint off.

I also had to do the boot lid and rear spoiler which also took a bit of time up. :(

Halfway through: -

Roof Sanded.jpg

And the finished article: -

Roof Polished.jpg
 
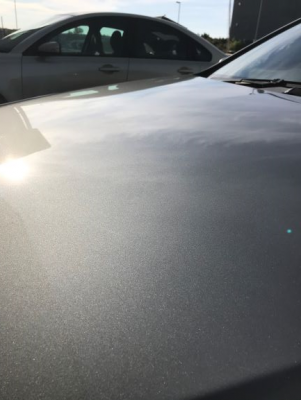
Nice job dude, I noticed that when i sanded the scratch on my bonnet that the surrounding edges of the sanding patch showed evidence of orange peel, which i believe is factory orange peel, this is a good sign, meaning plenty of top coat.

But the emphasis on wet sanding is, its much faster & easier to buff out sanding scratches with a guaranteed spotless mirror finish, than it is to compound swirl marks & scratches without sanding. Considering that Menzerna hc400 cuts back 1500 grit sanding scratches, it pi$$ed though 5000 grit sanding scratches.
 
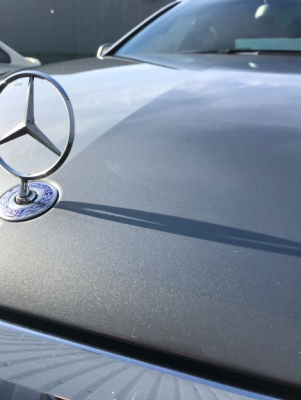
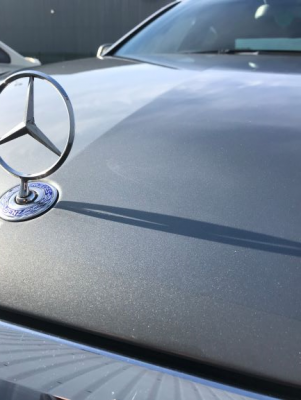
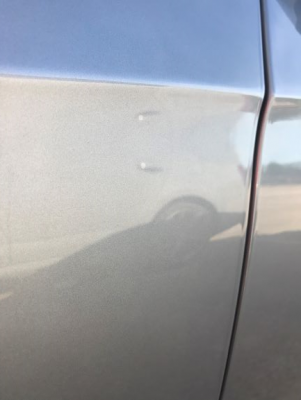
There was a 4" long scratch just a few mm below the shadow of the tristar, it ran from left to right starting next to the badge and you could feel the scratch with a thumbnail

1589527666777.png
 

Attachments

  • 1589527225865.png
    1589527225865.png
    387.8 KB · Views: 9
Last edited:
There was a 2" self inflicted scratch caused with a screwdriver when i slipped removing the gay Blue Efficiency badge using a screwdriver and a plastic strip, the scratch was vertical and wavey & quite deep and stopped my thumbnail in its tracks

1589527423813.png
 
Great results, but three things are needed before engaging in wet sanding lacquer or paint:
  1. Patience - go at it too hard or too fast and it will likely end in tears
  2. A paint depth gauge - so you can keep checking how close to the bone you are
  3. Acceptance that you will have to repaint the panel if you rub through - edges and swage-lines are particular bear traps
It's not a technique for the ham-fisted or the nervous.
 
Patience and common sense, the average Joe isnt going to spend £500 on a paint depth gauge just to detail his car though, the average Joe would spend that very same £500 on a Re-map

And like you say, whats the worst that could happen? Put it down as a bad job and respray the panel you f~@ked.
 
I don't think i'd ever attempt wet sanding o_O

Looks like you've made a good job of it though :)
 
I don't think i'd ever attempt wet sanding o_O

Looks like you've made a good job of it though :)
Me too. I like the idea of doing it but I know I would struggle with the all important execution!
 
Me too. I like the idea of doing it but I know I would struggle with the all important execution!
You are just sanding the laquer so if you go slowly & carefully and use plenty of water it is a very rewarding process using different grades of wet & dry. Recently painted the new front wing on my s210 and it did not take much to wet sand the laquer to a flat mirror finish.

Maybe try doing a test bit on a door jamb or something if you have never done it before.
 
Consider this when wet sanding, most will start with a 1500 grit or even 1000 grit when wet sanding, starting with 3000 is safe as houses, slower, but safer, finish with 5000 and sand a larger area than you did with the 3000 (to feather in) and any cutting compound will make mince meat out of it and give you a mirror finish.
 
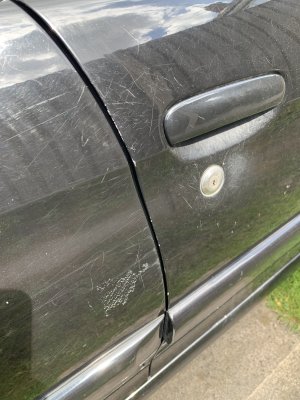
I’ve only just clocked you’re also in Doncaster - I’ve just weighed in a black Picasso you could have practised to your hearts content on!
 
You are just sanding the laquer so if you go slowly & carefully and use plenty of water it is a very rewarding process using different grades of wet & dry. Recently painted the new front wing on my s210 and it did not take much to wet sand the laquer to a flat mirror finish.

Maybe try doing a test bit on a door jamb or something if you have never done it before.
Or a neighbours car! 😁
 
I have a scrap wing from a VW Passat that i intend to scratch with the intention of sanding the whole wing and using my un-used Rotary Polisher to compound & polish. #WeekendWarrior.
 
Good work buddy. wet sanding is a real joy to do, and puts the clearcoat under far less stress than polishing..
Looking forwards to seeing your progress
 
I attempted to wet sand my roof today, started at 4pm (low sun) finished at 8.30 (too dark), i took some video which i havent seen yet but half way through i decided i was doing it wrong and stopped recording. To summarise, i started with a Trizact 3M 3000 grit sponge pad onto an interface with the DA, the first qtr of the roof i did i got ALL the scratches out, perfect 100% mirror finish, smooth and flat as glass, finished sanding with a 6000 grit pad, it compounded beautifully and polished amazingly, by this time i think i had worn out the 3000 grit pad as the 2nd qtr didnt finish so great, this is where i decided i was doing it wrong, i was asking too much of the 3000 grit pad, although the 2nd qtr flattened nicely it just wasnt enough.

Having spent all this time (many painful hours) compounding my bonnet and roof with the DA i feel its time to move on to my rotary, i have been approaching my paint correction too gently, its not cost effective and takes too long. But it has given me the chance to learn a few things and to get a feel for my paint & top coat, what works, what doesnt etc.

Plan B, im going to start again next weekend on the roof, this time starting with a 1500 grit pad and finishing with a 3000 grit pad, Menzerna HC400 with lake country high cut pad on the rotary. Today i used my old faithful AutoGlym super resin polish and ya know what, i like it, it sucks up all the oils and resins left by the cutting compound and wipes off effortlessly.

Ive also decided to bin the Turtle Wax hybrid ceramic polish & wax, its just too oily/greasy, im open to suggestions on protection paste waxes.

So today i have seen & achieved the kind of finish im looking for in the 1st qtr of the roof and realised what tools i actually need to do the rest, quickly & easily, its a good day.
 
I’ve got a gallon of Auto Smart Mirror Image polish that I’ll never get through if you want to try some of that?
 
Always willing to try different products, are you in Donny like?
 

Users who are viewing this thread

Back
Top Bottom