Evening all.
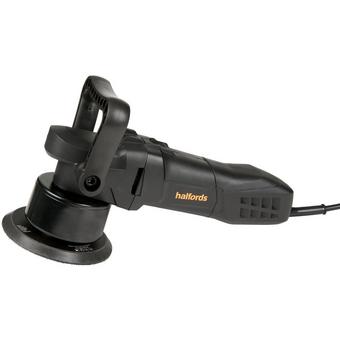
Had a rare day off today to myself so thought I would give the car a good compound and polish. I bought a dual action polisher a few weeks back in preparation. I have been watching loads of videos on how to do it and what not to do and have been inspired by @LeeJV 's recent posts in the detailing section.
I must say it took much much longer than anticipated. Before I put the pictures up I'll just run through my method.
1. Pre rinsed with the hose (lots of sandy dust on the car)
2. Sprayed fallout remover (Bilt Hamber korrosol) all around the lower half of the car.
3. Sprayed Bilt Hamber snow foam over the top of this and let dwel.
4. Rinsed with pressure washer.
5. Contact washed the car using Bilt Hamber car wash and the multi mitt method so that I was never putting grit back onto the paint work.
6. Hand dried.
7. Clay bar'd the entire car.
8. Used Auto Glym tar remover on the side skirts and the bottom of the rear bumper as these were still feeling rough even after clay.
9. Snow foamed the car again as it was now covered in a clay and lube mess, rinsed and dried.
So now the car was prepped I moved onto cutting. I used Meguiars ultimate compound and various pads to find which worked best. I ended up using a firmer pad for most of it as I was finding that it was taking ages to get any half decent results. Is Mercedes paint rock hard? I also found that it was really really messy. Loads of dust came off the pad and proceeded to cover the the rest of the car. Any way. Here are some before and afters. By no means perfect but I'm pretty happy with my first attempt.
Bonnet before

Bonnet after.

Boot lid before.

Boot lid after.

As I said. Pretty happy with my first go. Gave it a good coat of Meguiars ultimate liquid wax to finish off. Definitely more that can be done. All in time for it to chuck it down tomorrow!

Had a rare day off today to myself so thought I would give the car a good compound and polish. I bought a dual action polisher a few weeks back in preparation. I have been watching loads of videos on how to do it and what not to do and have been inspired by @LeeJV 's recent posts in the detailing section.
I must say it took much much longer than anticipated. Before I put the pictures up I'll just run through my method.
1. Pre rinsed with the hose (lots of sandy dust on the car)
2. Sprayed fallout remover (Bilt Hamber korrosol) all around the lower half of the car.
3. Sprayed Bilt Hamber snow foam over the top of this and let dwel.
4. Rinsed with pressure washer.
5. Contact washed the car using Bilt Hamber car wash and the multi mitt method so that I was never putting grit back onto the paint work.
6. Hand dried.
7. Clay bar'd the entire car.
8. Used Auto Glym tar remover on the side skirts and the bottom of the rear bumper as these were still feeling rough even after clay.
9. Snow foamed the car again as it was now covered in a clay and lube mess, rinsed and dried.
So now the car was prepped I moved onto cutting. I used Meguiars ultimate compound and various pads to find which worked best. I ended up using a firmer pad for most of it as I was finding that it was taking ages to get any half decent results. Is Mercedes paint rock hard? I also found that it was really really messy. Loads of dust came off the pad and proceeded to cover the the rest of the car. Any way. Here are some before and afters. By no means perfect but I'm pretty happy with my first attempt.
Bonnet before
Bonnet after.
Boot lid before.
Boot lid after.
As I said. Pretty happy with my first go. Gave it a good coat of Meguiars ultimate liquid wax to finish off. Definitely more that can be done. All in time for it to chuck it down tomorrow!


") .
.
