RaceDiagnostics
Active Member
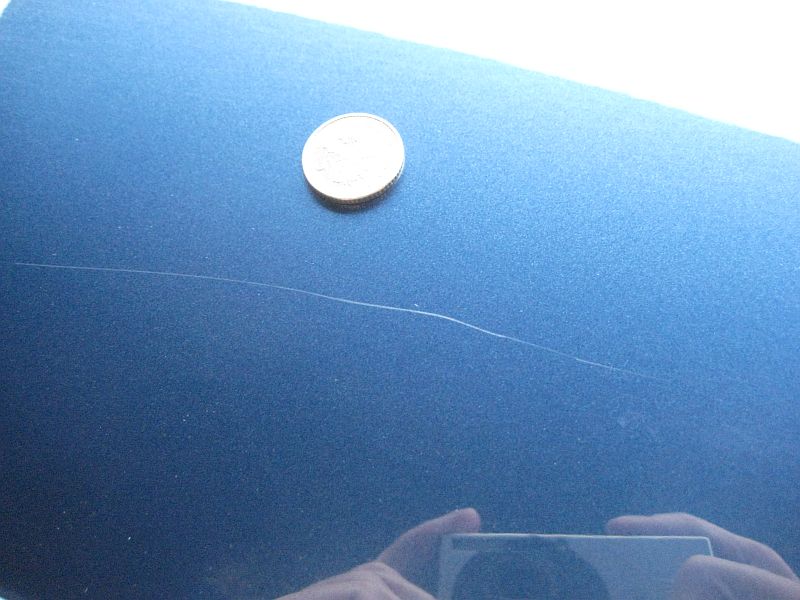
To start with, I call a deep scratch one that you can easily catch your finger nail with.
Here is my scratch.
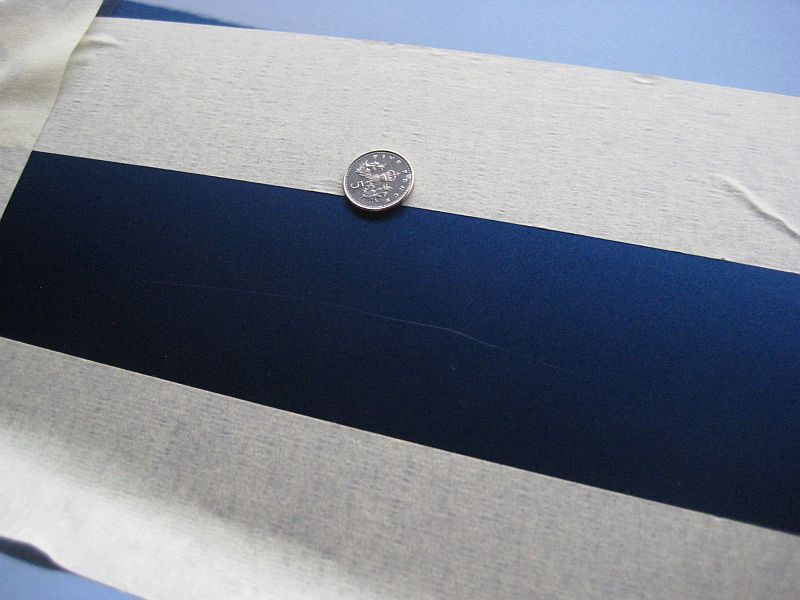
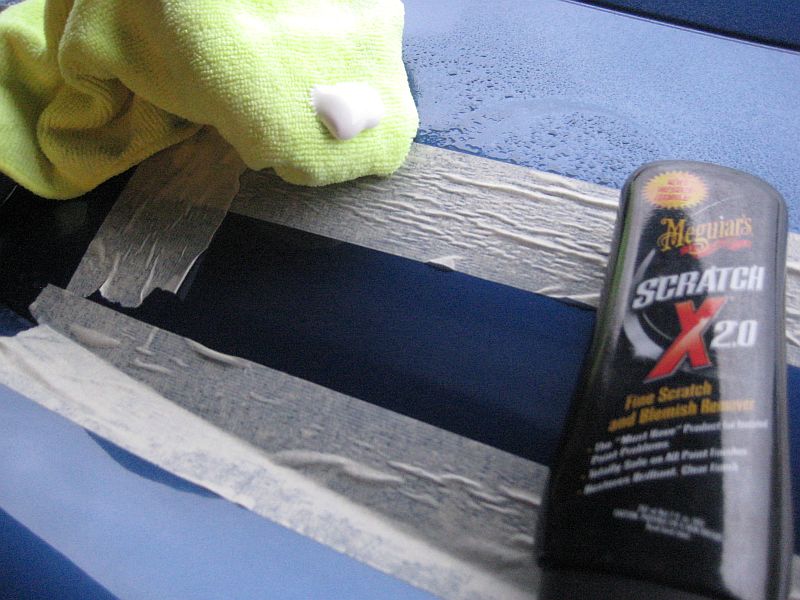
Next I masked it up to help me know where the scratch was when I start to sand it.
Here is what I use on scratches, 2000 grit wet and dry paper to remove the scratch, megs scratch X to remove the sanding marks, and then megs polish to give a nice finish. I don’t have a DA sander so do it by hand.
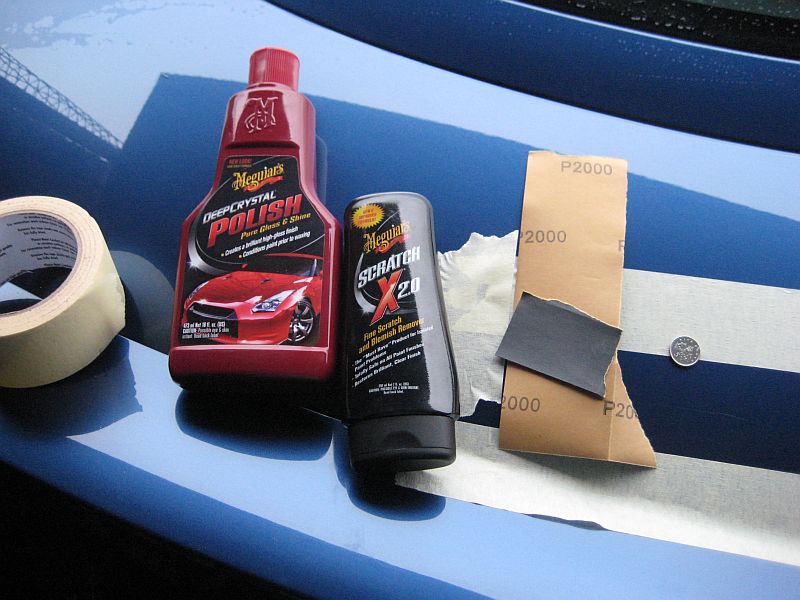
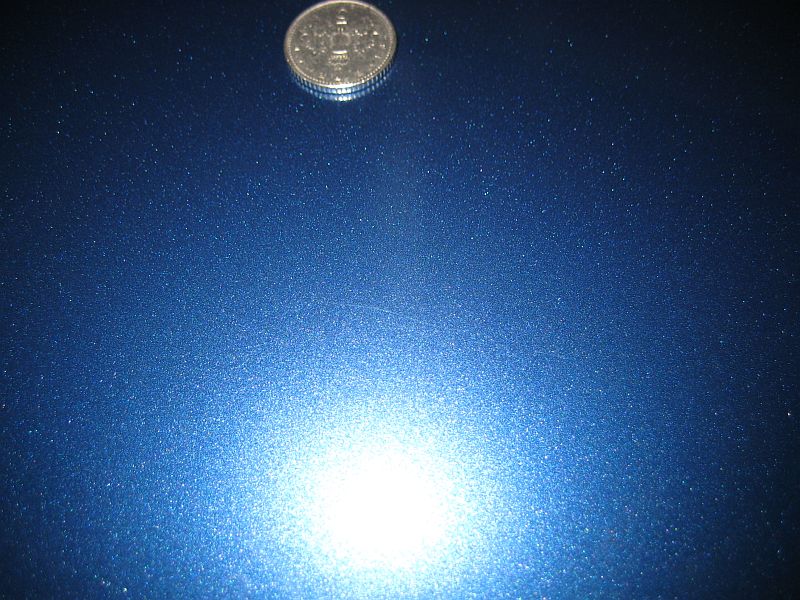
When doing the initial sanding just do it a tiny bit at a time, wipe it off and let it dry, the scratch will re-emerge, so do this iteratively until the scratch is gone or you lose your nerve over the clear coat thickness.
I use a magnifying glass to check on the scratch.
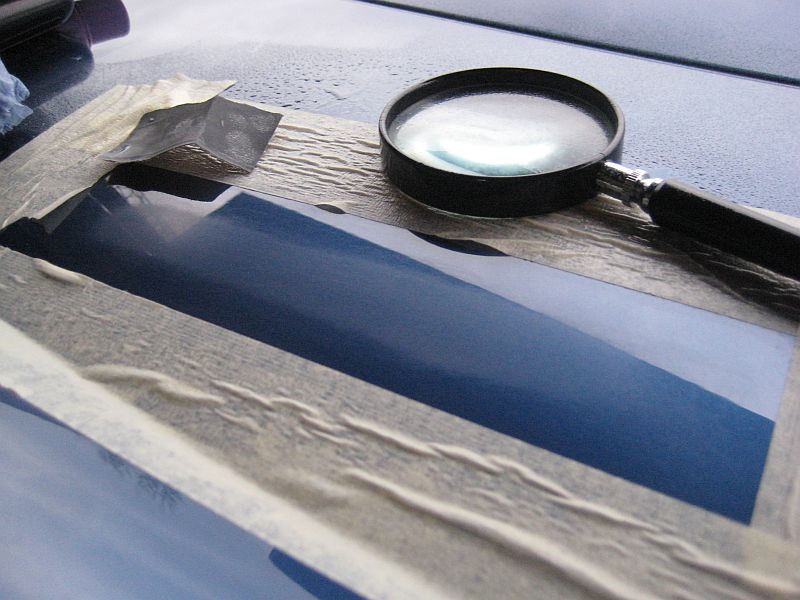
Once you are happy with the mark then rub out the sanding marks with the megs scratch X.
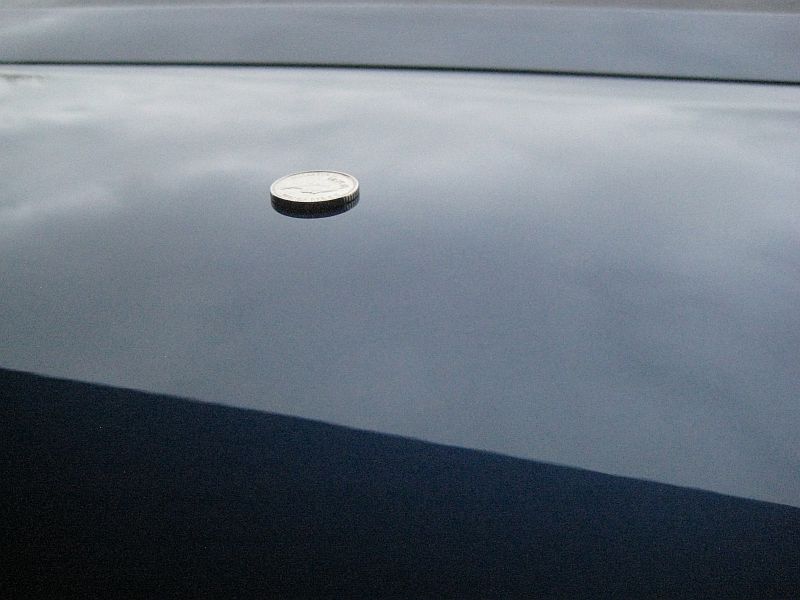
You can see from this pic that I lost my nerve before the scratch was completely gone but I am happy with the results, I had to try hard to get the camera to pick it out.
Finally I gave it a polish over with the megs polish, all in it took about 30 mins.
Here is my scratch.
Next I masked it up to help me know where the scratch was when I start to sand it.
Here is what I use on scratches, 2000 grit wet and dry paper to remove the scratch, megs scratch X to remove the sanding marks, and then megs polish to give a nice finish. I don’t have a DA sander so do it by hand.
When doing the initial sanding just do it a tiny bit at a time, wipe it off and let it dry, the scratch will re-emerge, so do this iteratively until the scratch is gone or you lose your nerve over the clear coat thickness.
I use a magnifying glass to check on the scratch.
Once you are happy with the mark then rub out the sanding marks with the megs scratch X.
You can see from this pic that I lost my nerve before the scratch was completely gone but I am happy with the results, I had to try hard to get the camera to pick it out.
Finally I gave it a polish over with the megs polish, all in it took about 30 mins.
