W1ghty
MB Enthusiast
You tease ! I’m still going to bed early thoughThread update later tonight.
")
Follow along with the video below to see how to install our site as a web app on your home screen.
Note: This feature may not be available in some browsers.
You tease ! I’m still going to bed early thoughThread update later tonight.


I just won't be able to sleep thinks W1ghtyYou tease ! I’m still going to bed early though
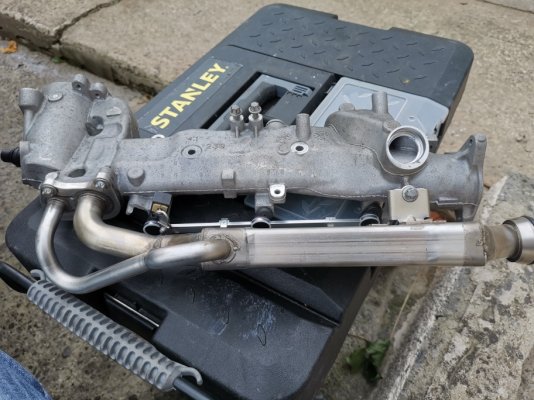


I have enjoyed learning how to do this and wish I had the time at the beginning to get this deep into repairing the car, I would have had time to organise getting the inlet ports blasted ( i found out the it is a service that Mercedes do on the diesel engines, there is even a video about it on you tube )
Will I return to a main dealer for a service, diagnostics again?? no not on your nelly it will be an independent merc specialist from now on.
Am I going to keep on working on the car as and when I need to? yes there is more to learn!!
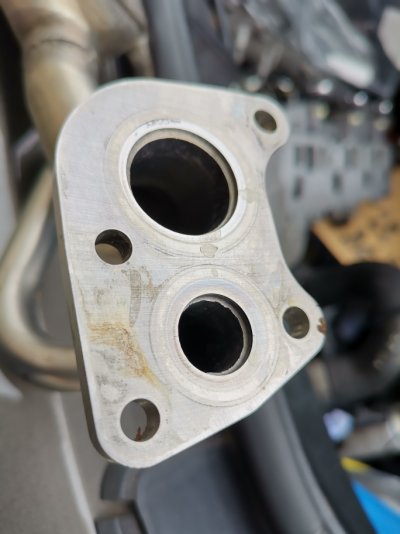
Whats next? I need to get the car up, take the undertrays off and give it a bloody good clean underneath where the oil probably sprayed about also I have a brand new set of front discs and pads that have been waiting to be put on, might do those on the weekend.
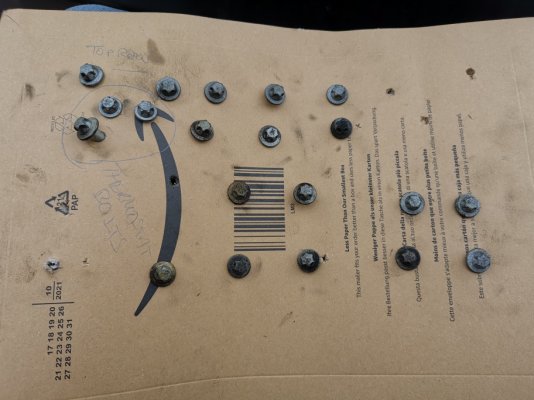
I have many more photos that I didn't include in the thread, its hard deciding what to put up, but if there is something you need a closer pic of or explanation let me know and I will add it.
There we go..
UB
Yes although I have not gone into sport mode yet and hit the boost. Going to take things easy the first couple of days, check it daily for leaks etc.fantastic write-up. Is the engine running well now?


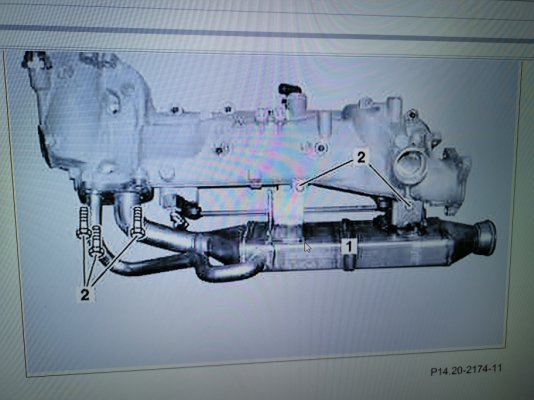
Update:
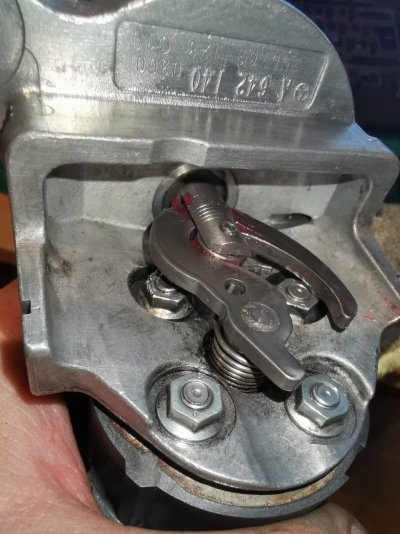
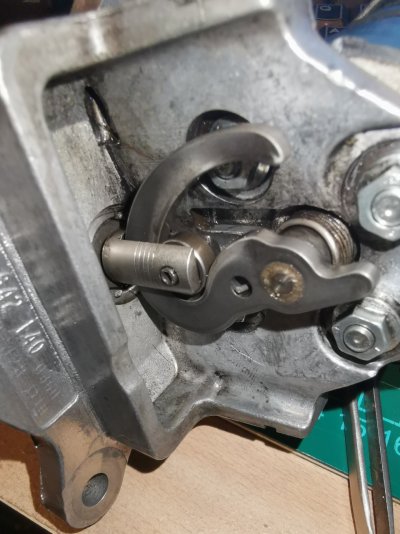
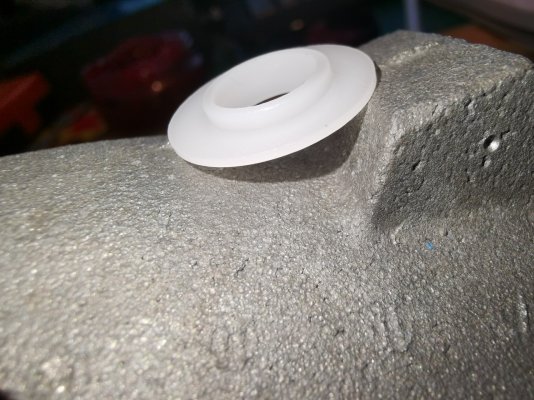
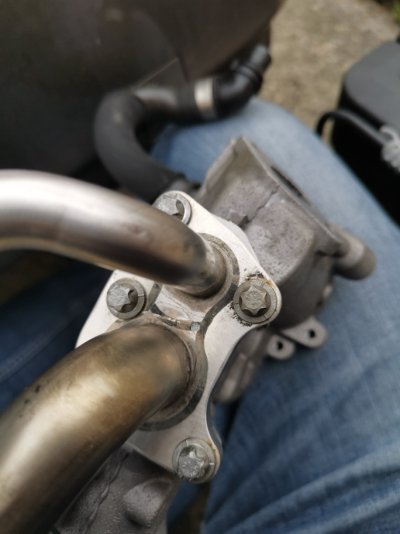
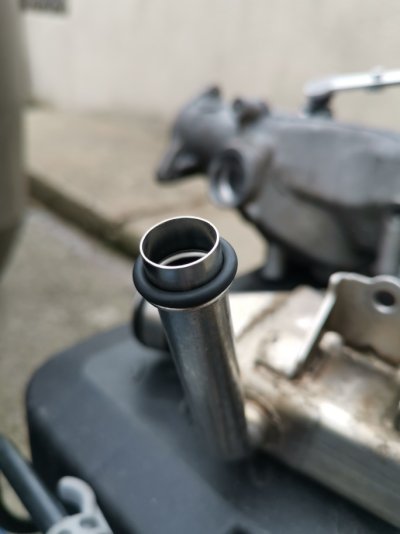
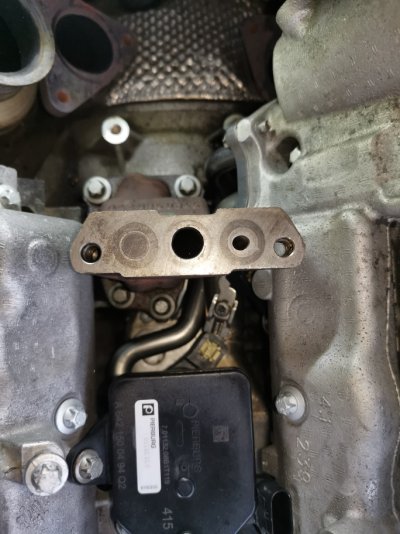
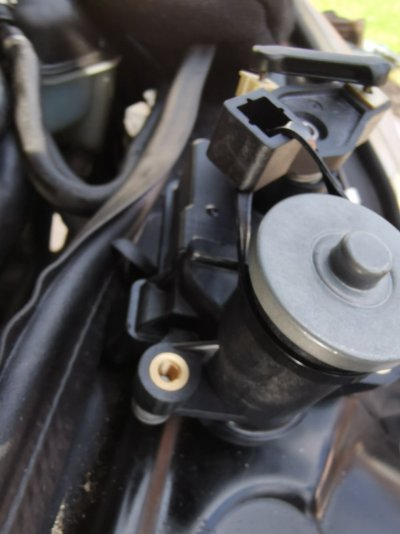
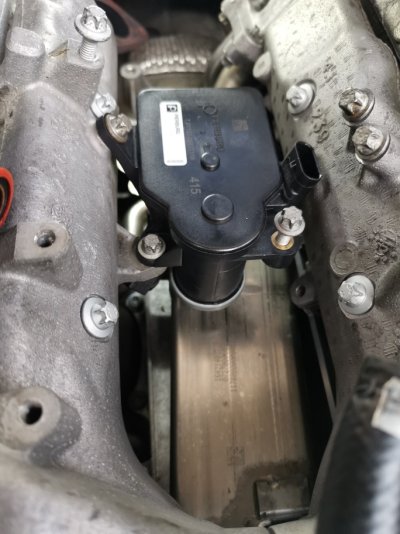
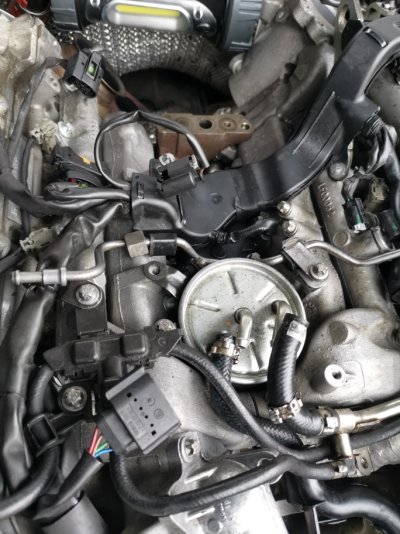
i have the egr valve off and I am checking it over now.
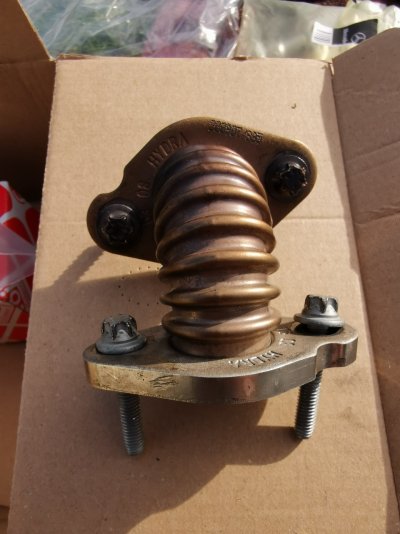
That egr dismantle is interesting , I haven’t ever seen one apart before . When I remove mine yearly I just spray clean the exposed bits to get the carbon off , I’ll have to strip mine down now .Update:
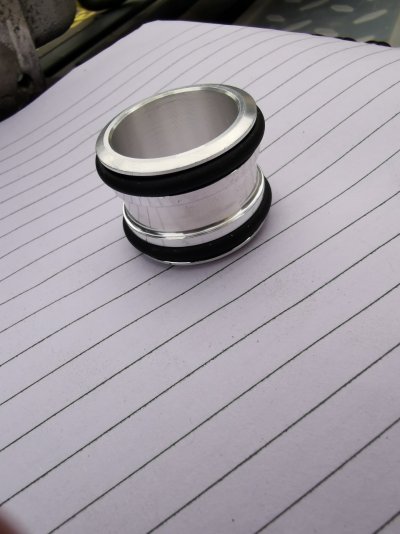
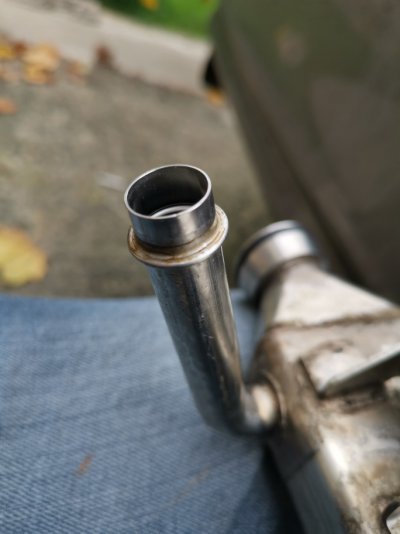
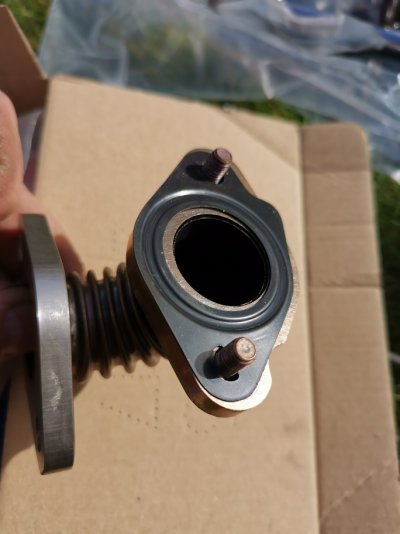
Right .... Sneaky bast*ard number 2 found!!!
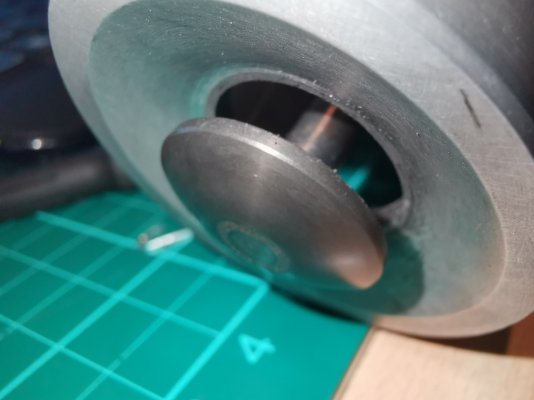
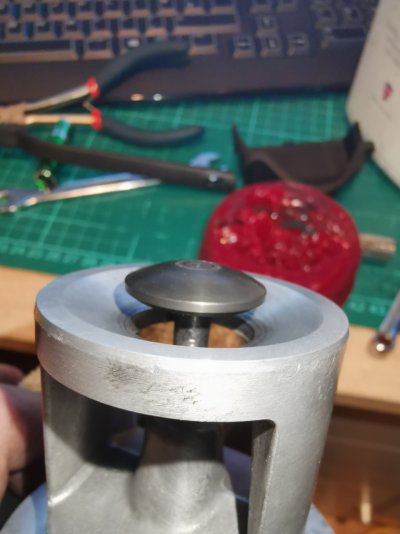
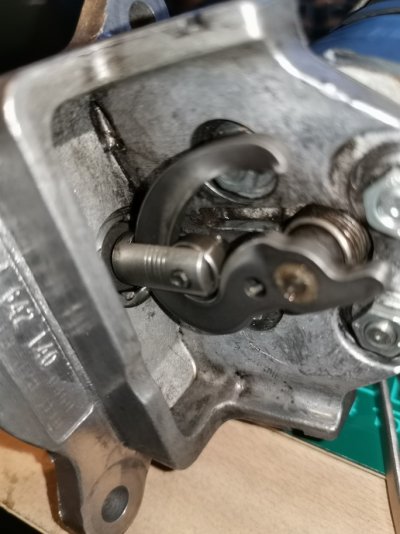
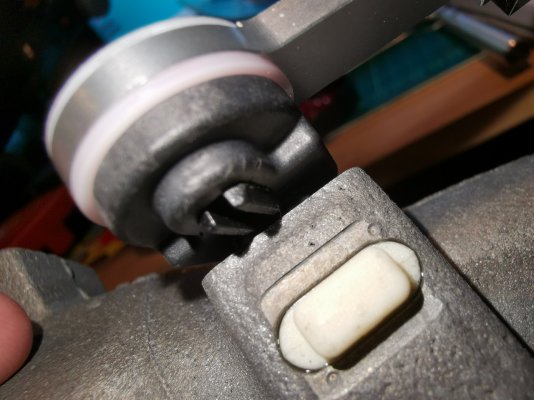
The egr valve randomly binds, the hook part to the mechanism sticks against the metal of the "U" section under the bearing, the valve rotates slightly back and fore and it seems to catch on the edge.
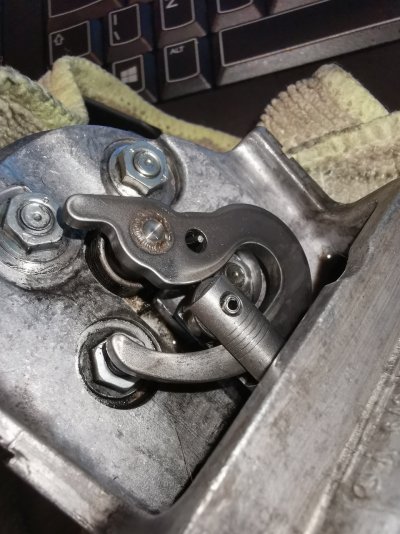
In the pic you can see the rubbing on the side of the hook face, needless to say a new egr valve has been ordered. On pic stuck egr two you can see 3 spots on the right hand side bottom of the hook where it has dug into the face/side
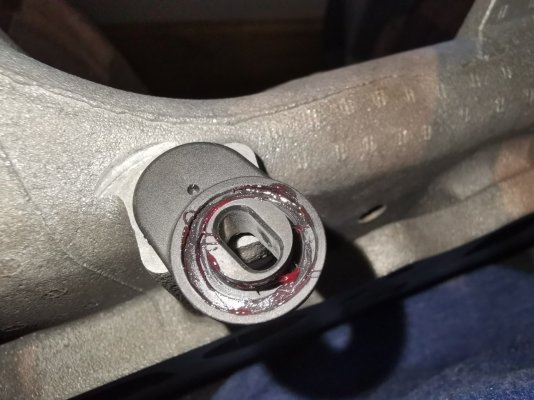
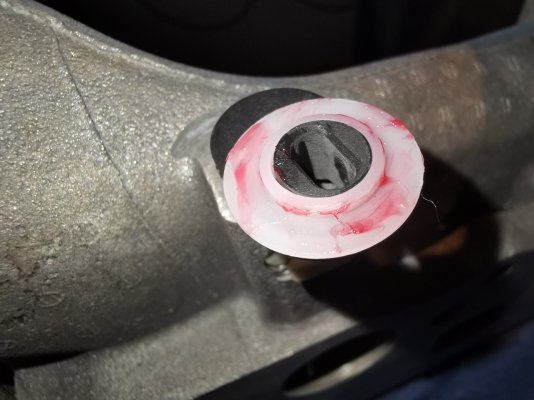
This is the valve stuck open, it sticks in various places and it takes some force and rotating the valve stem to free it, I even put some grease on there to see if it would help and it still randomly bound.
I have it working better for now but still it's getting changed.
Will this solve the issue???? I have no idea however, it is still going onto Avantguarde for a complete check up.
Oh well, there we go, it is the original valve.
UB
We use essential cookies to make this site work, and optional cookies to enhance your experience.