Markb
New Member
Hi folks,
New member here - joined a good while ago, but my Mercedes interest died down for a while!
A bit about myself - I'm a lifetime car fanatic, I've spent stupid amounts of time on the things and I have overcome any boundaries to own what I want. I will admit now, and get it out of the way, that I'm also a big BMW fan. I just like all cars that do something well!
Anyway, currently in my possession are:
2008 Saab 9-3 (company car)
1979 Mercedes 350SE in Charcoal Grey with Black Leather Interior - My next project
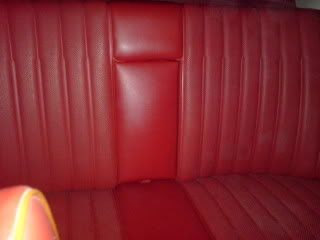
1978 Mercedes 230C in Red with brown interior - this is pretty much sold
1974 Mercedes
1974 Mini Clubman project
1969 Mini Miglia racing car with 120bhp - weekend warrior")
Also in my care (the gf's) is a 1998 Rover Mini which has been mechanically rebuilt by myself.
Anyway... on to the W115...
I think I posted pics when I bought it, but here is the full story:
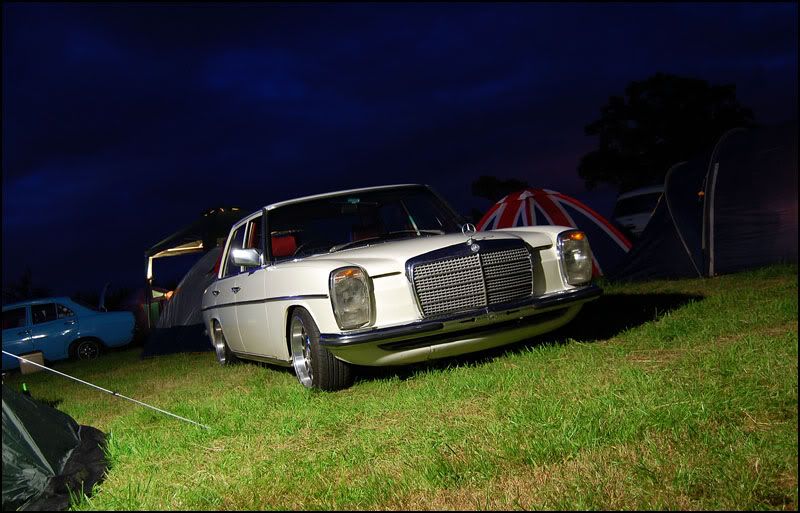
This is the first Mercedes I ever bought (Nov 2008), a car I've always admired and a bit of an Impulse buy if I'm honest. It's also my first complete restoration. I'd like to note now, that as you'll see, this clearly isn't a concours resto - I like to enjoy my cars!
Below are the quotes from another site I post on, hope you enjoy.
I bought new wheels for it:
Genuine Lorinser alloys from the 80s - awesome.
Then nothing really happened until last Monday....
July 9th:
New member here - joined a good while ago, but my Mercedes interest died down for a while!
A bit about myself - I'm a lifetime car fanatic, I've spent stupid amounts of time on the things and I have overcome any boundaries to own what I want. I will admit now, and get it out of the way, that I'm also a big BMW fan. I just like all cars that do something well!
Anyway, currently in my possession are:
2008 Saab 9-3 (company car)
1979 Mercedes 350SE in Charcoal Grey with Black Leather Interior - My next project
1978 Mercedes 230C in Red with brown interior - this is pretty much sold
1974 Mercedes
1974 Mini Clubman project
1969 Mini Miglia racing car with 120bhp - weekend warrior
Also in my care (the gf's) is a 1998 Rover Mini which has been mechanically rebuilt by myself.
Anyway... on to the W115...
I think I posted pics when I bought it, but here is the full story:
This is the first Mercedes I ever bought (Nov 2008), a car I've always admired and a bit of an Impulse buy if I'm honest. It's also my first complete restoration. I'd like to note now, that as you'll see, this clearly isn't a concours resto - I like to enjoy my cars!
Below are the quotes from another site I post on, hope you enjoy.
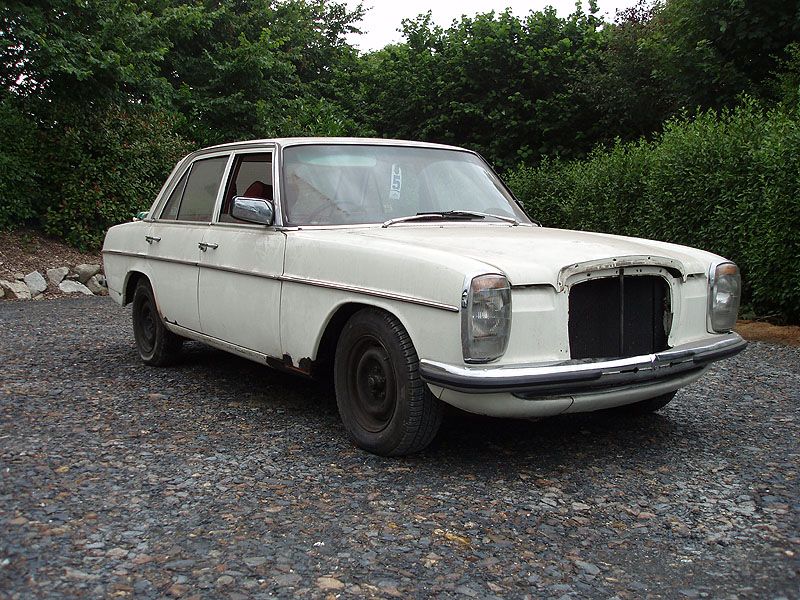
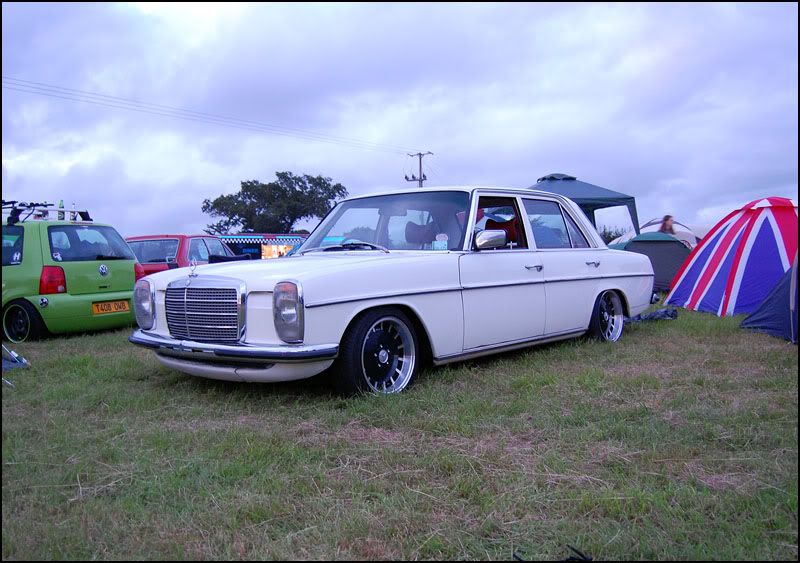
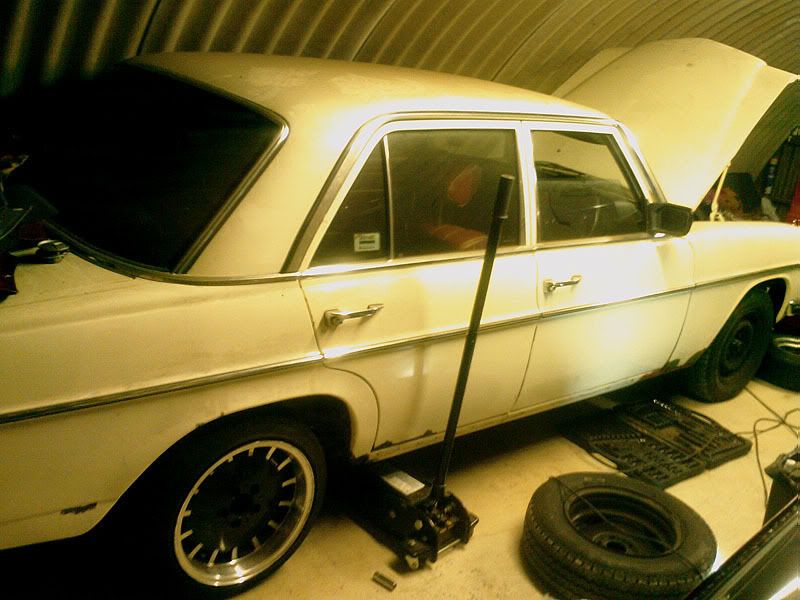
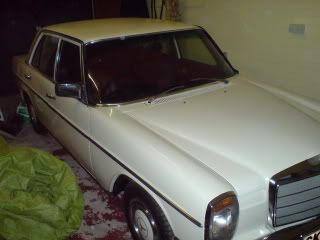
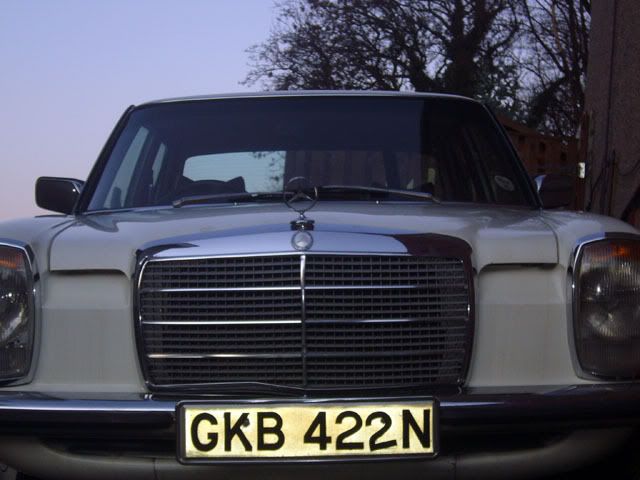
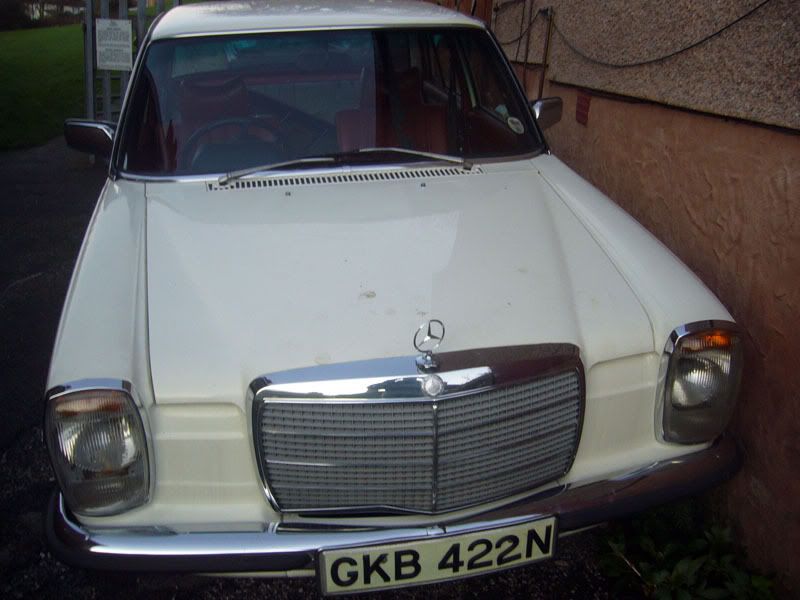
Had a couple of weeks of evenings doing this, and was about to go get a welder, but then my gf blew up her car and racing season started again.I present to you my 1974 W115 230.4 auto with 56k on the clock that I think is genuine (good bit of history).

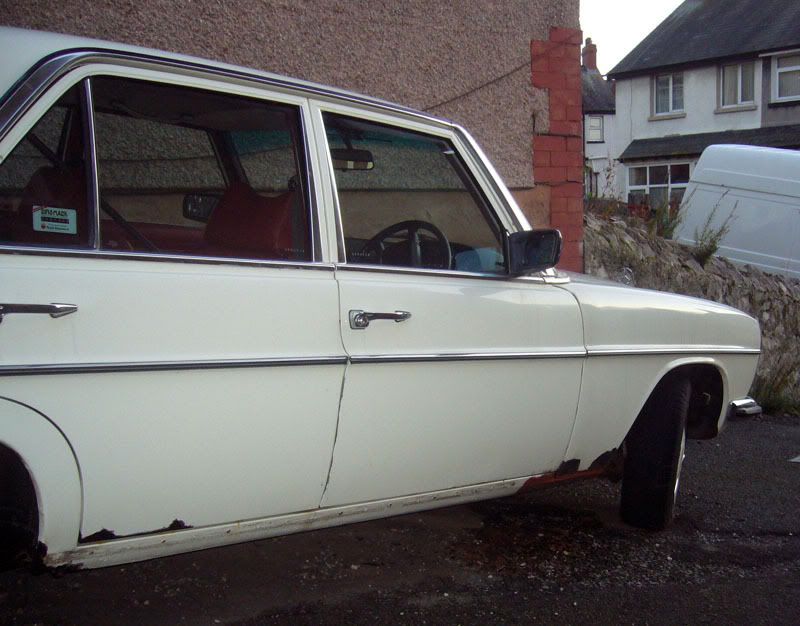
Needed the following work to get it on the road:
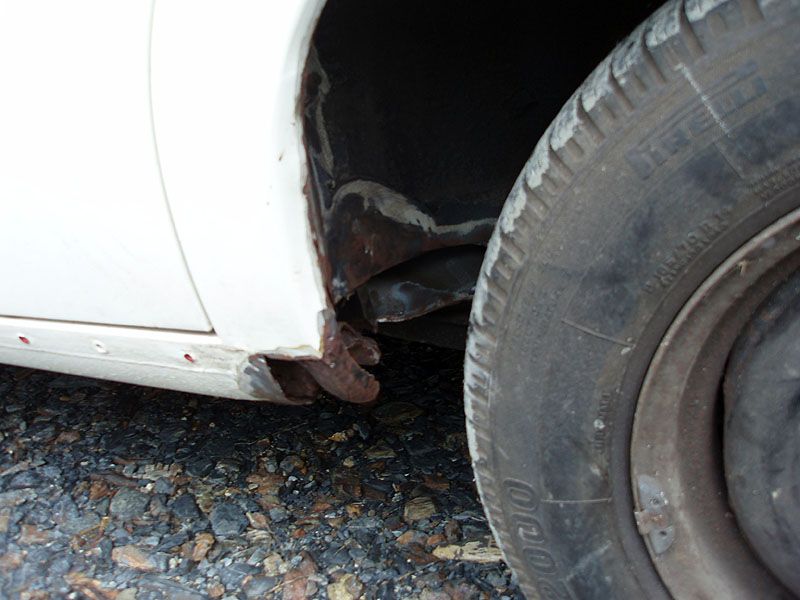
Drivers front corner in bits.
Both rear corners of the floor are rotten
Passenger side a hole in it
Bottom of most of the doors aren't great
Bootlid needs some love.
A couple of door seals ideally
Brake hoses need to be changed but came with it.
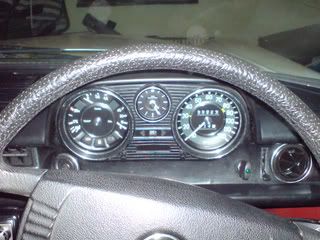
Get the dash lights working
A couple of exhaust hangers
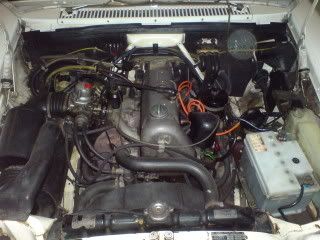
Service
Thank god it starts/runs/stops like it's meant to and everything works.
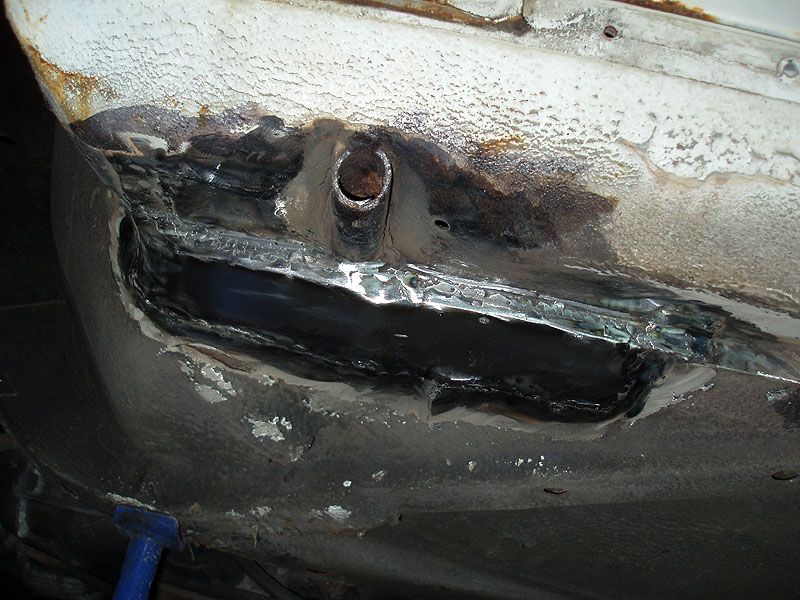
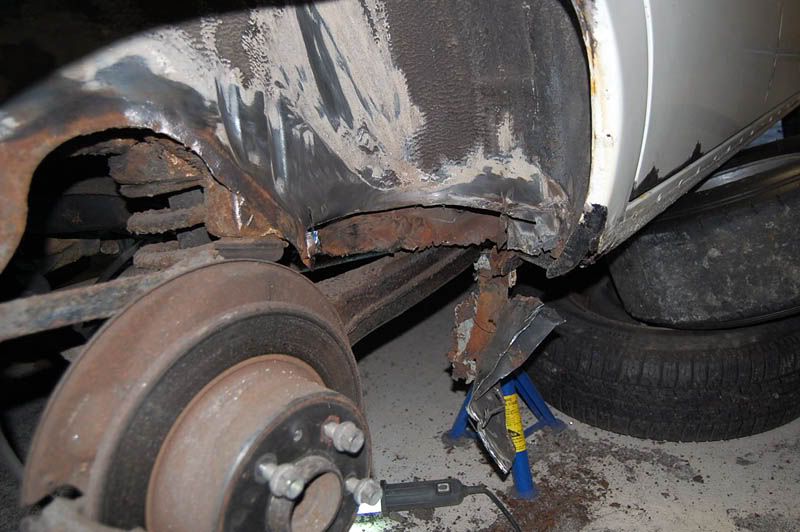
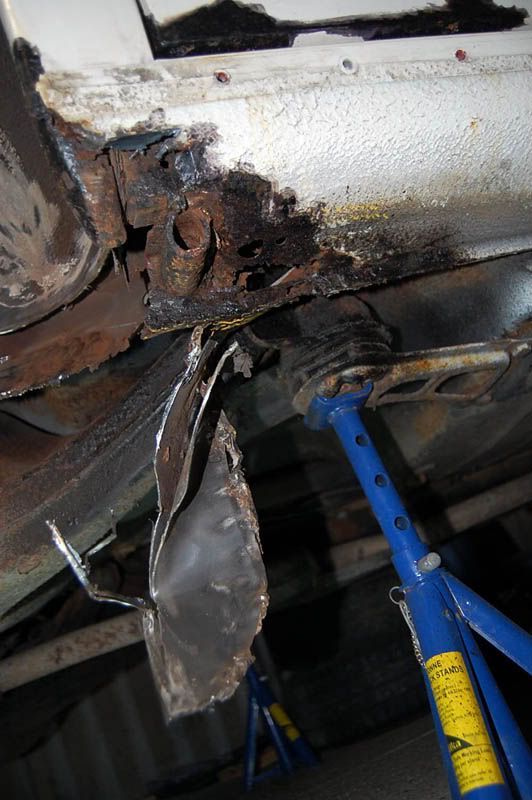
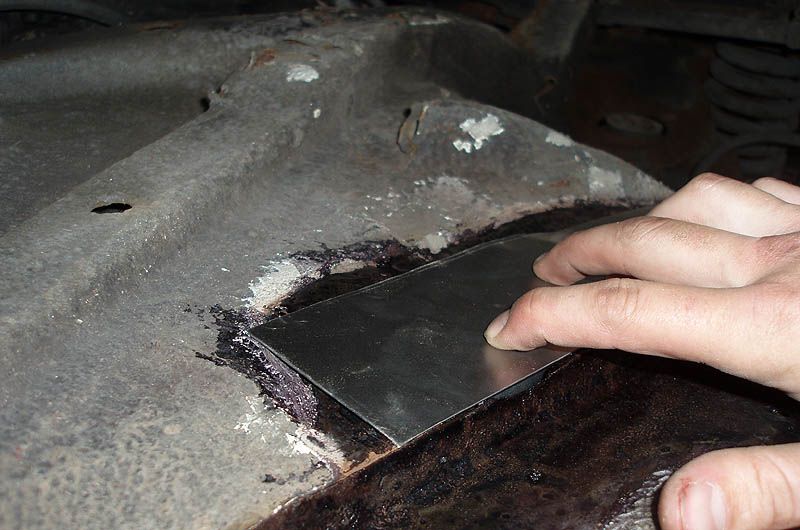
Started chopping out all the rust. This is the pic of the worst of it:
I bought new wheels for it:
Genuine Lorinser alloys from the 80s - awesome.
Then nothing really happened until last Monday....
July 9th:
July 11th:Update time. My girlfriend is working up in Belfast for the next few weeks & work has got less crazy, giving me my week nights back again ;D
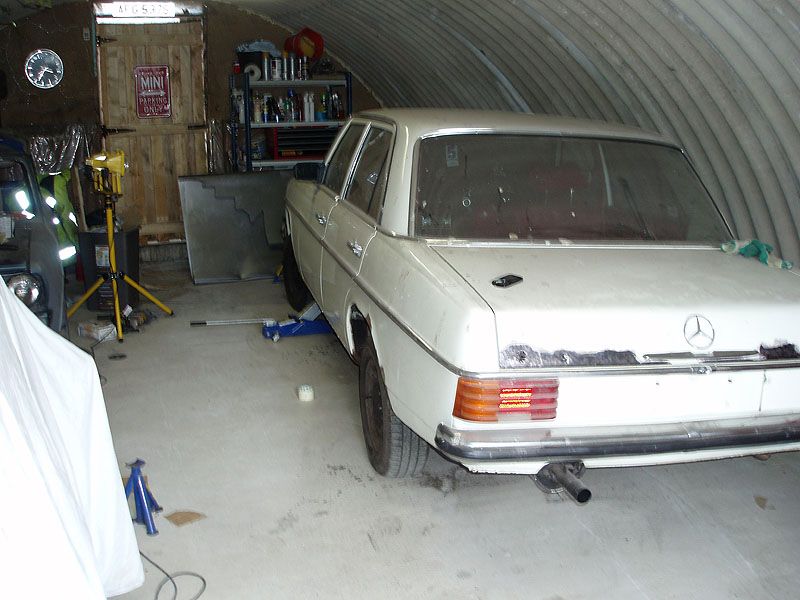
So, decided to re-mojo myself to get the 115 done. The 116 doesn't achieve classic status here until November, so it will be taking the 115s place in the garage once it's done.
First thing I've done is order my wheel nuts to fit the new rimz. Measured up the offsets etc, and it looks like these wheels were made for the car - perfect
Finished off most of the cutting. Bit more grinding to be done but hey, that's life.
Bought 3m^2 of metal for €24 ;D
After this, first thing I did was start cutting the repair patches for the passenger side, as these were the easiest. While doing this I sliced off part of my finger, but soldiered on. The Merc is now red.
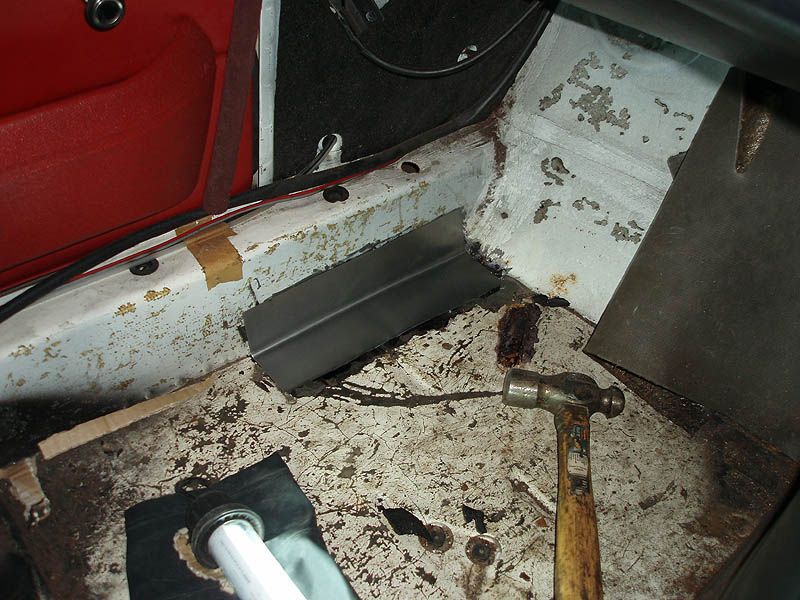
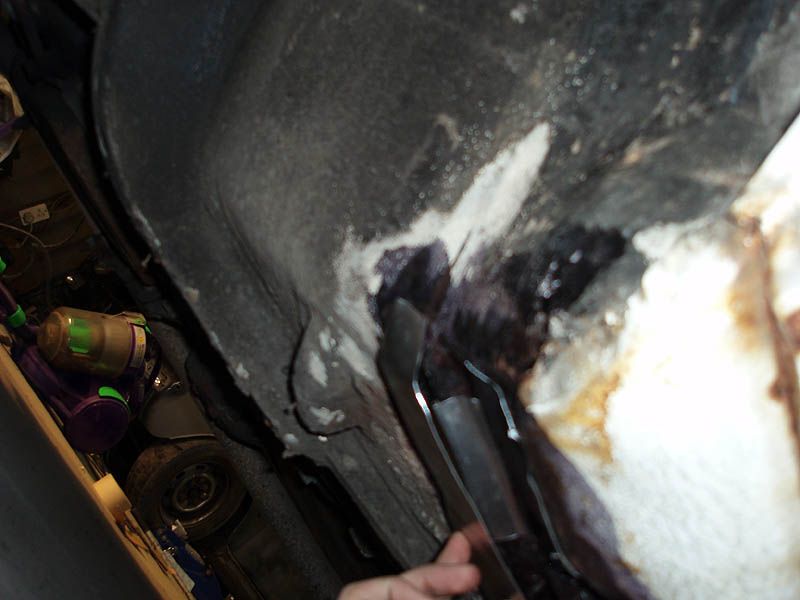
The hole from the inside:
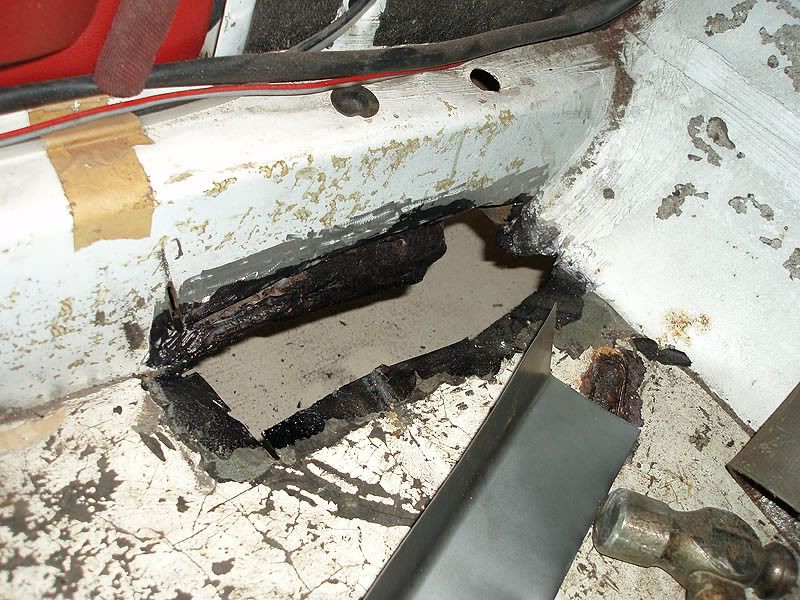
The inside repair patch
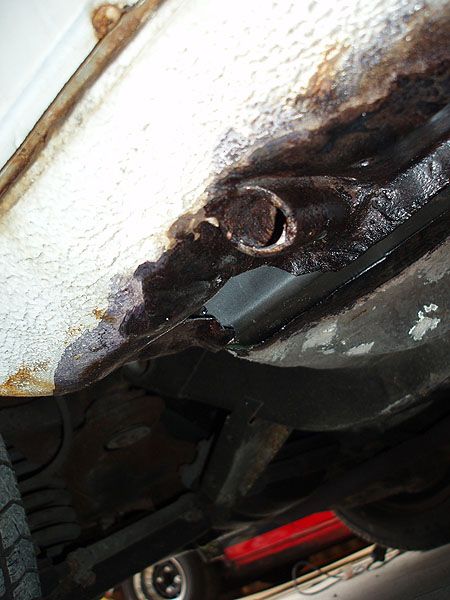
The hole from the outside:
The first repair patch:
Total fail of a photo, but shows the curve upwards and the second repair patch
And I decided to fit my new lambo wing kit:
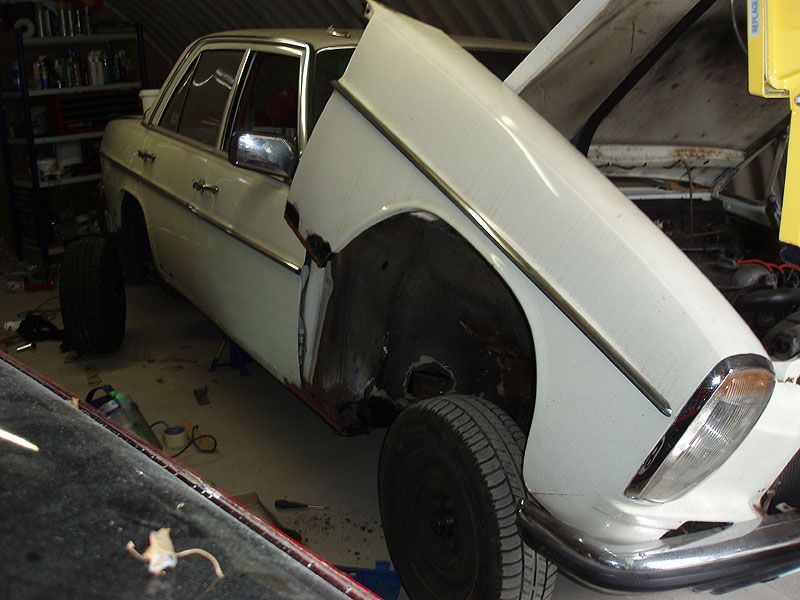

You can see the new bit of grot I found at the bottom of the wing - was previously hidden by same.
The mojo is back in full effect. I'm probably not doing a great job compared to what most can do, but I just want to get the bloody thing on the road. Collecting the welder before the weekend, so should have some good progress then. Ordering all of the service items later hopefully. Have 4 new brake lines to fit too.
* DISCLAIMER: All metal around weldable plates still to be grinded back - covered in Kurust, paint and all sorts of crap.
July 12th:Update - I don't possess awesome welding skills.
In my favour, I'm using crappy pure Argon gas that is designed for alu welding and it's only my first day welding. I'm also using mega thin metal. I did really nice butt welds on some thick angle Iron!
Today's progress:
Drivers front corner is DONE!! All I have to do is put back on the wing, and lower it off the axle stands. I also chopped the springs there, took out 2 coils so should be interesting to see how she sits now!
Drivers rear corner - all repair patches made up - ridiculously complicated, but my mate managed to make em out of 4 pieces of metal, so should be a quick enough weld job.
Passenger front corner - can't do it until the car is turned around due to space, but all the patches are made and ready to go.
I used utterpiffle's spring compressor idea and it worked nicely - not without a heart in mouth moment due to my lack of skills, and not making the lower section strong enough!
Tomorrow, I need to get some decent gas, then attack driver rear 1/4, get car turned around and then attack passengers front 1/4. Not looking forward to the drivers passengers rear 1/4. That's going to be horrible - it's the worst by a mile.
Pics coming soon.
July 13th:Forgot camera today :|
Todays progress...
Went out last night, so didn't hit the garage til 3 today. Got some Argon/Co2 mix gas today which has ended up with much better welds
I had to remake a good few of the drivers rear 1/4 repair panels. I got most of it done - 1 more tiny bit of welding to go and then I am ready to prep it for underseal.
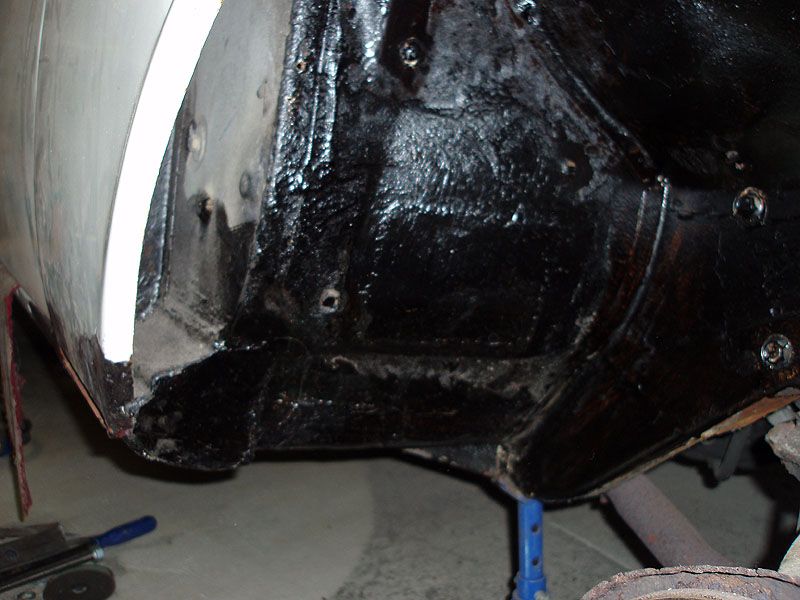
My long suffering girlfriend helped today - she cleaned up all of the underside of the drivers inner wing and undersealed it. It looks fantastic.
Gonna spend some late nights in there during the week - aim is to be finished welding by this time next week!
Job list:
Cut out all the rot
Front drivers side - make up repair panels
Front drivers side - welding
Front drivers side - undersealing
Rear drivers side - make up repair panels
Rear drivers side - welding
Rear drivers side - undersealing
Front Passenger side - make up repair panels
Front Passenger side - welding
Front Passenger side - undersealing
Rear Passenger side - make up repair panels
Rear Passenger side - welding
Rear Passenger side - undersealing
Repair bootlid
Paint preperation
Paint
Chop the springs
Straighten Grille
Service
Fit 4 brake lines
Fit wheels
Refit Interior
Polish
Re-register, Tax & Insure
So today, didn't get out to the garage until 6.30 due to work.
So got the rear drivers side finished today
Found out that the drivers wing doesn't quite sit right. Bit gutted, but it isn't hugely noticeable!
I once again fail at pics, brought camera, but left cable in work - will upload pics in the am!
Job list:
Cut out all the rot
Front drivers side - make up repair panels
Front drivers side - welding
Front drivers side - undersealing
Rear drivers side - make up repair panels
Rear drivers side - welding
Rear drivers side - undersealing
Front Passenger side - make up repair panels
Front Passenger side - welding
Front Passenger side - undersealing
Rear Passenger side - make up repair panels
Rear Passenger side - welding
Rear Passenger side - undersealing
Repair bootlid
Paint preperation
Paint
Chop the springs
Straighten Grille
Service
Fit 4 brake lines
Fit wheels
Refit Interior
Polish
Re-register, Tax & Insure
Pics:
Only have 2 pics, as the rest of the pics are on my mates camera (from sat)
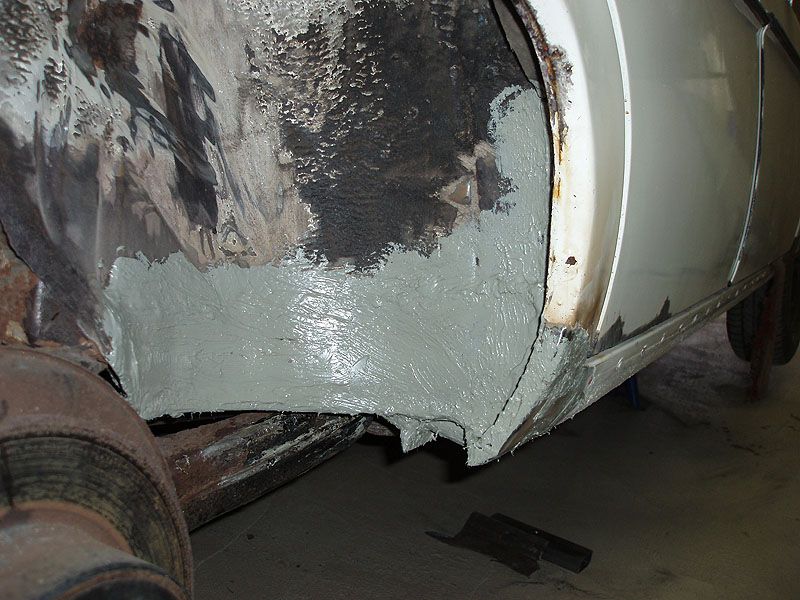
Front repair. The patch you see is the first bit of welding I did on the car. I barely grinded it down as I was too keen to get the thing done, which I now regret, but ah well - can do it at some stage.
I also rebuilt the whole end of the sill there, but not my sums on the channel a bit wrong, as the wing comes out by about 10mm now at the front. Again, I'll sort out later - not vital for getting to RR:G!
(that isn't a rusty hole beside the patch btw
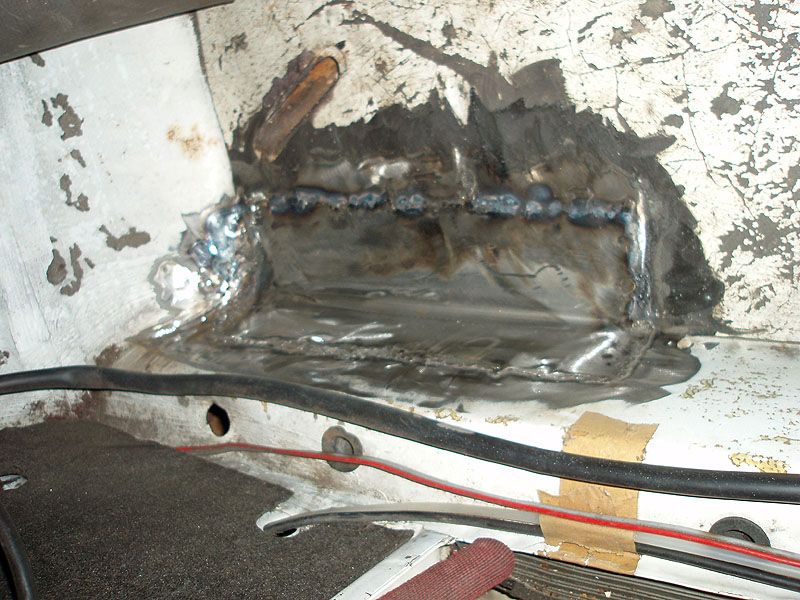
Here is my rear repair. I basically rebuilt the whole rear corner and most of the sill underneath. Probably not an amazing job, but it's very solid and I think it follows the factory lines well! I also had to replace the end of the arch which was completely rotten, again I reckon I got as close as I could without going insane!
Back over tonight to get the car turned around and start work on the other side. DRIVERS SIDE DONE!! Not bad considering I'd never held a welder in my life this time 3 days ago!