New here... my first MB

Page may contain affiliate links. Please see terms for details.
[update part 2]


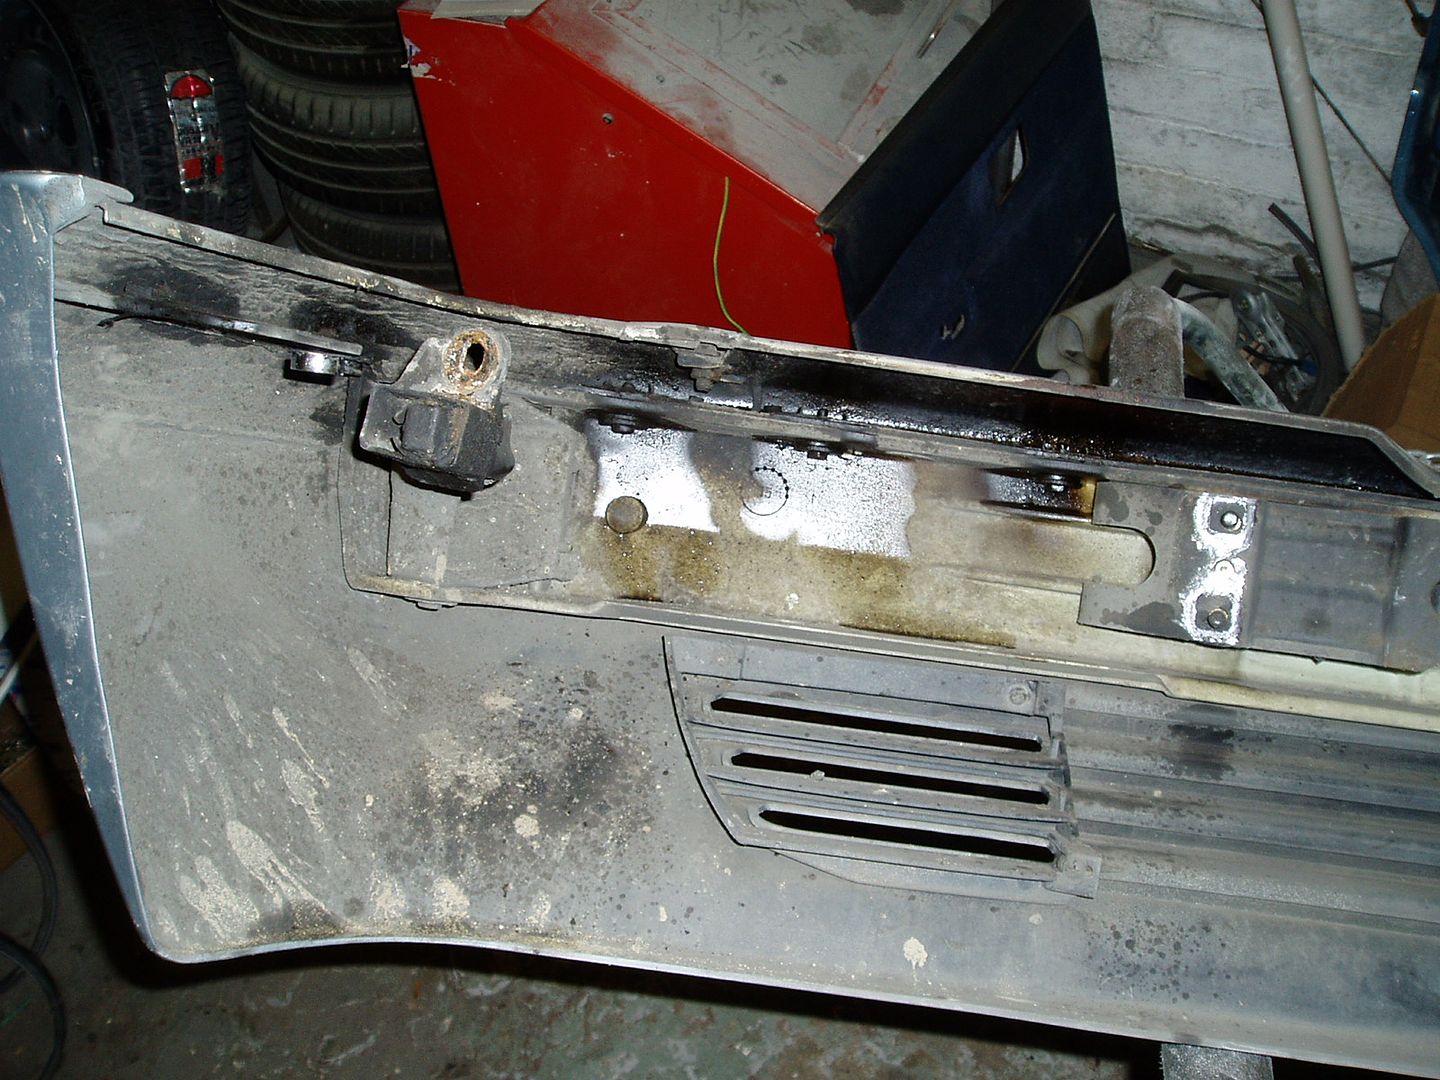
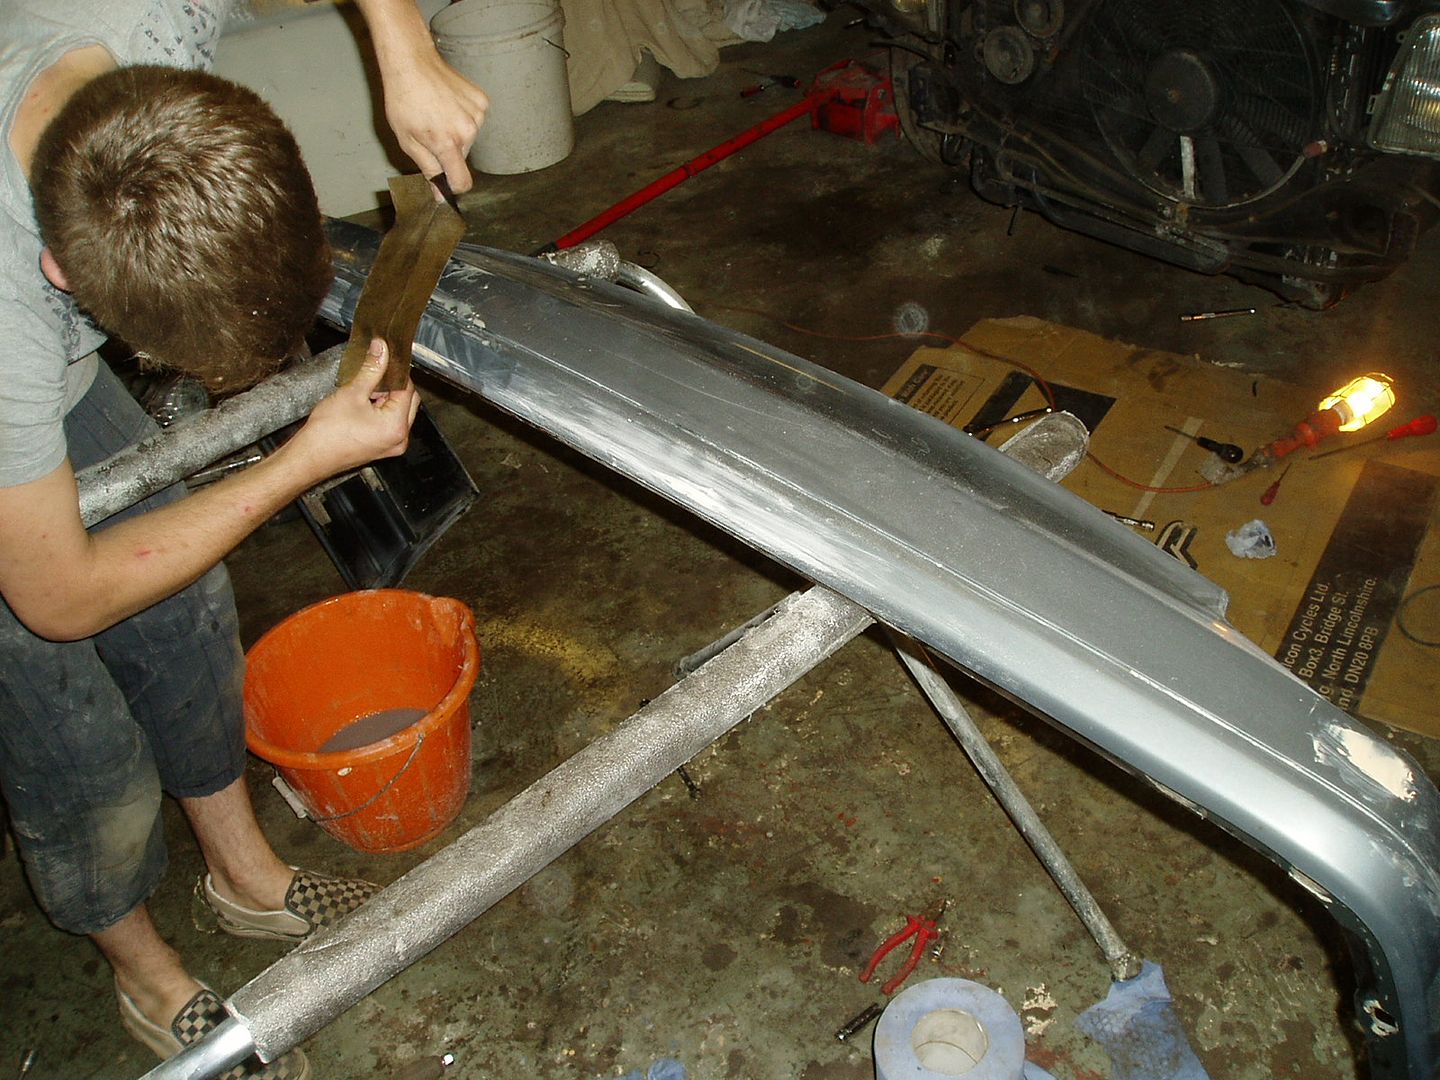
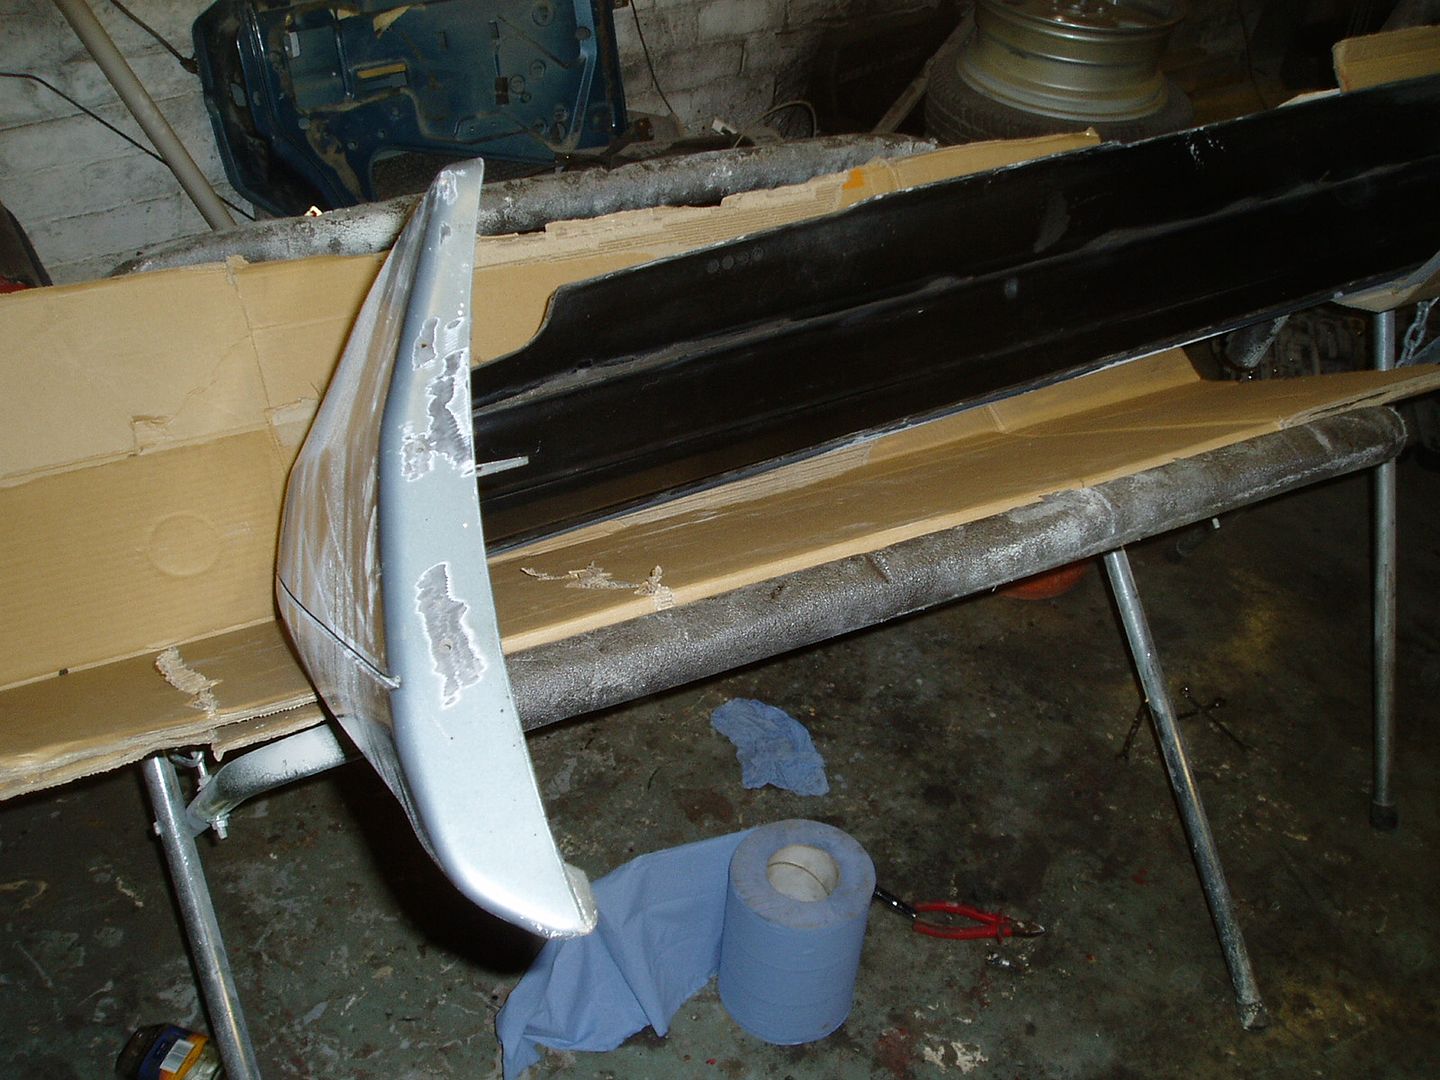
Bumper refurbishment
015-1.jpg

016-1.jpg

024-1.jpg


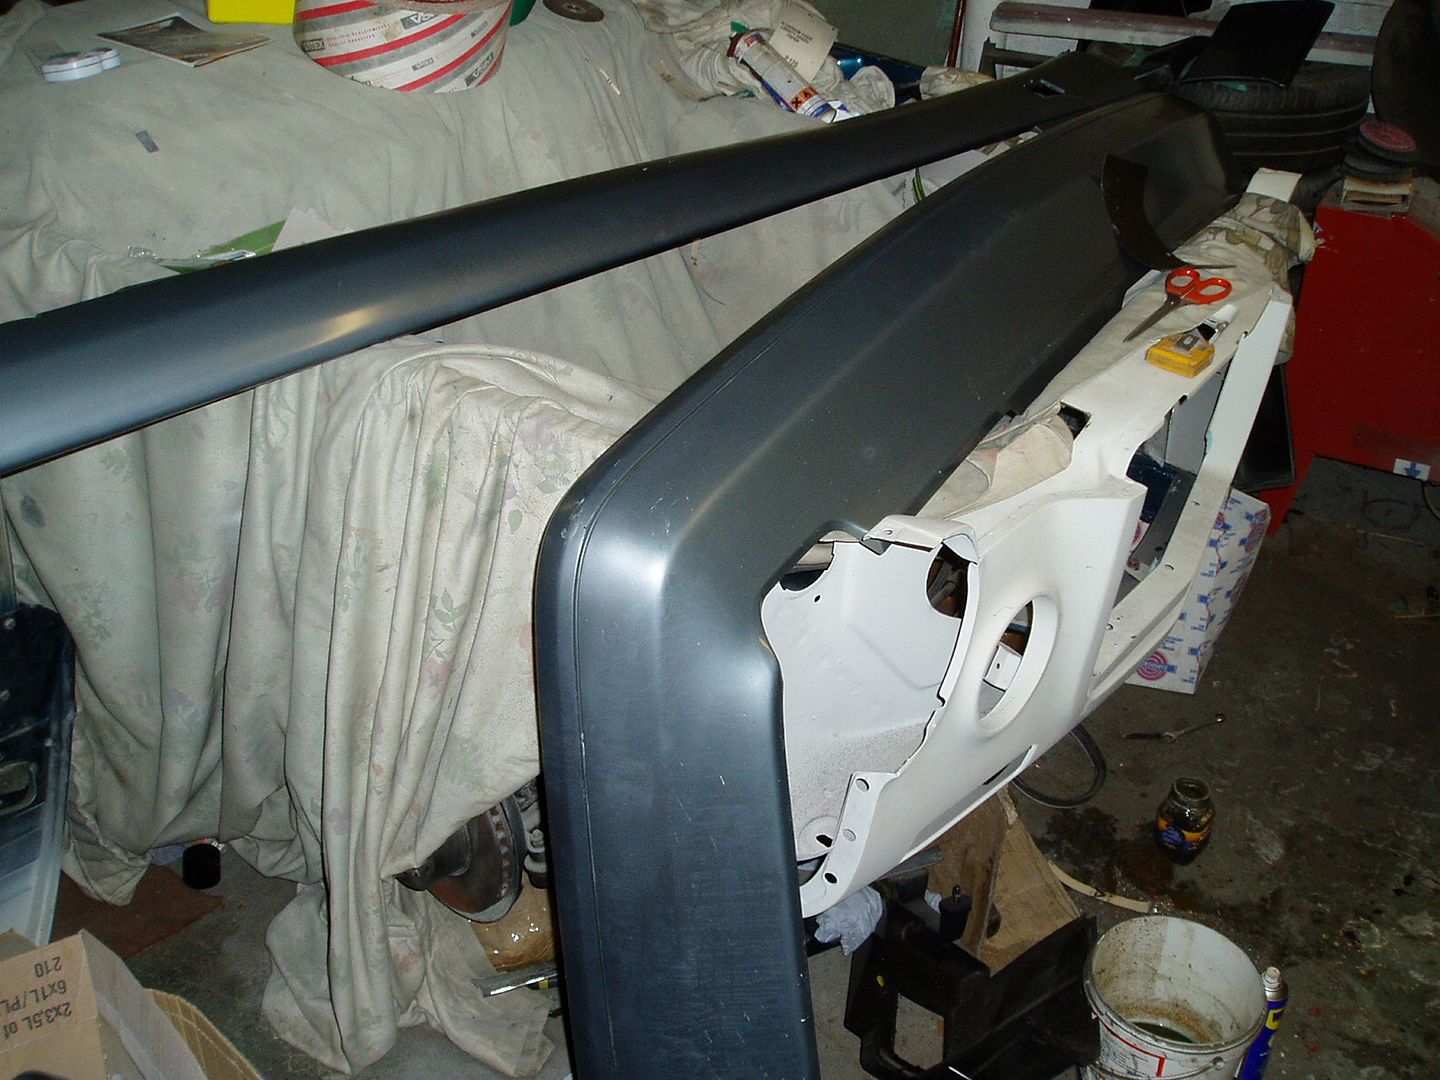
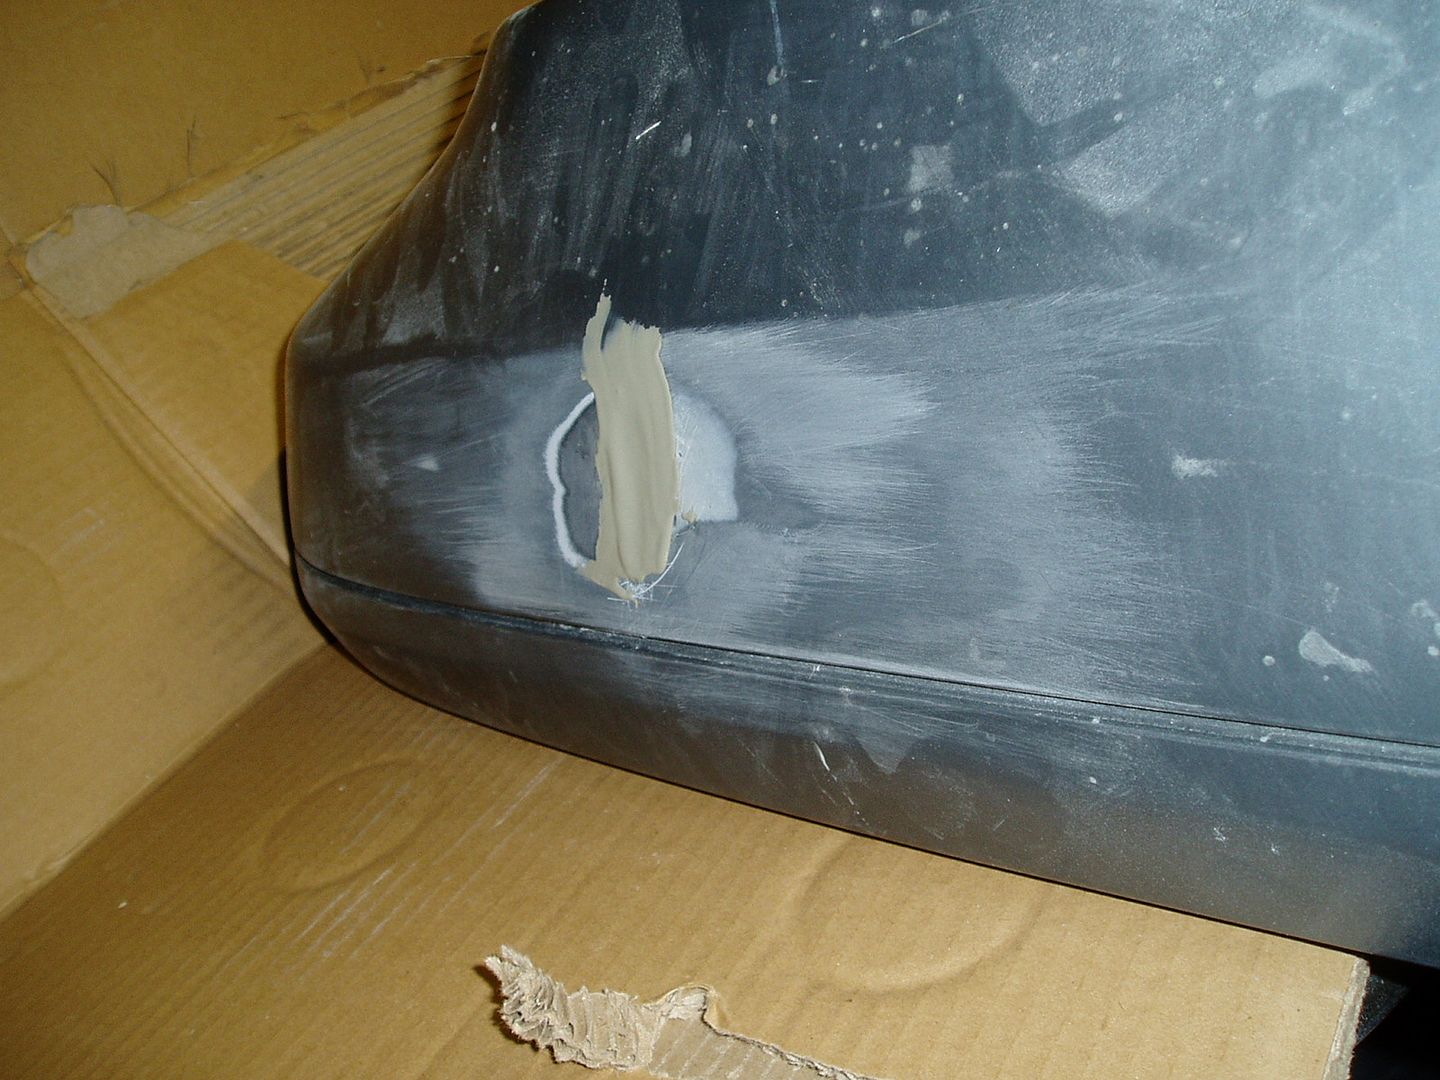
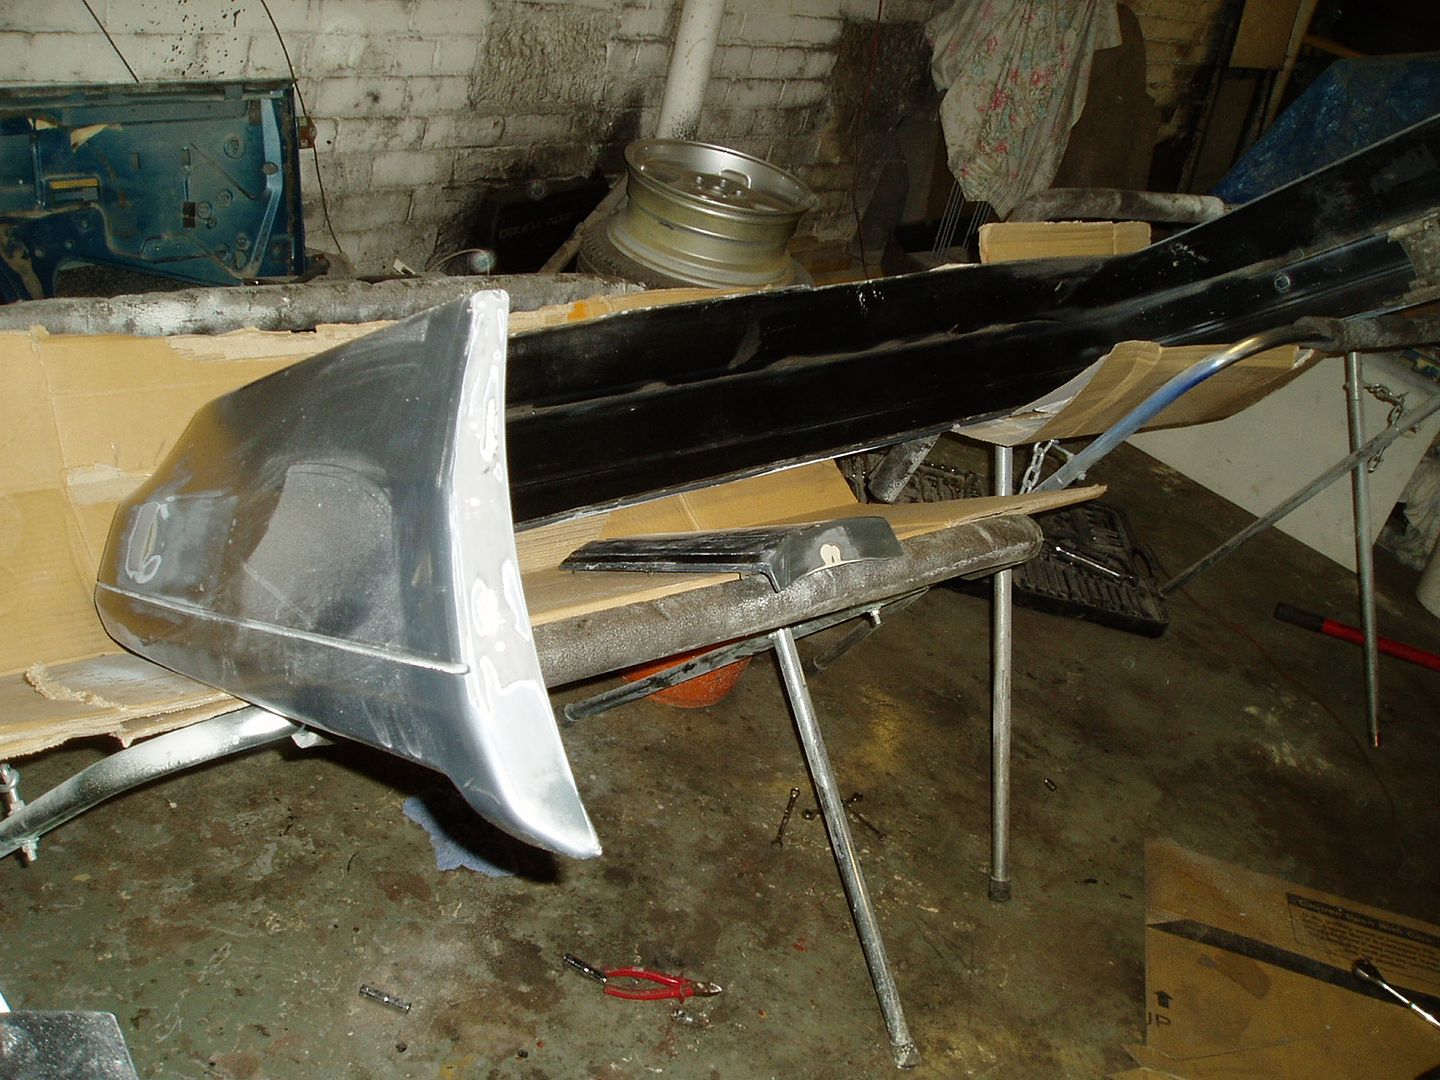
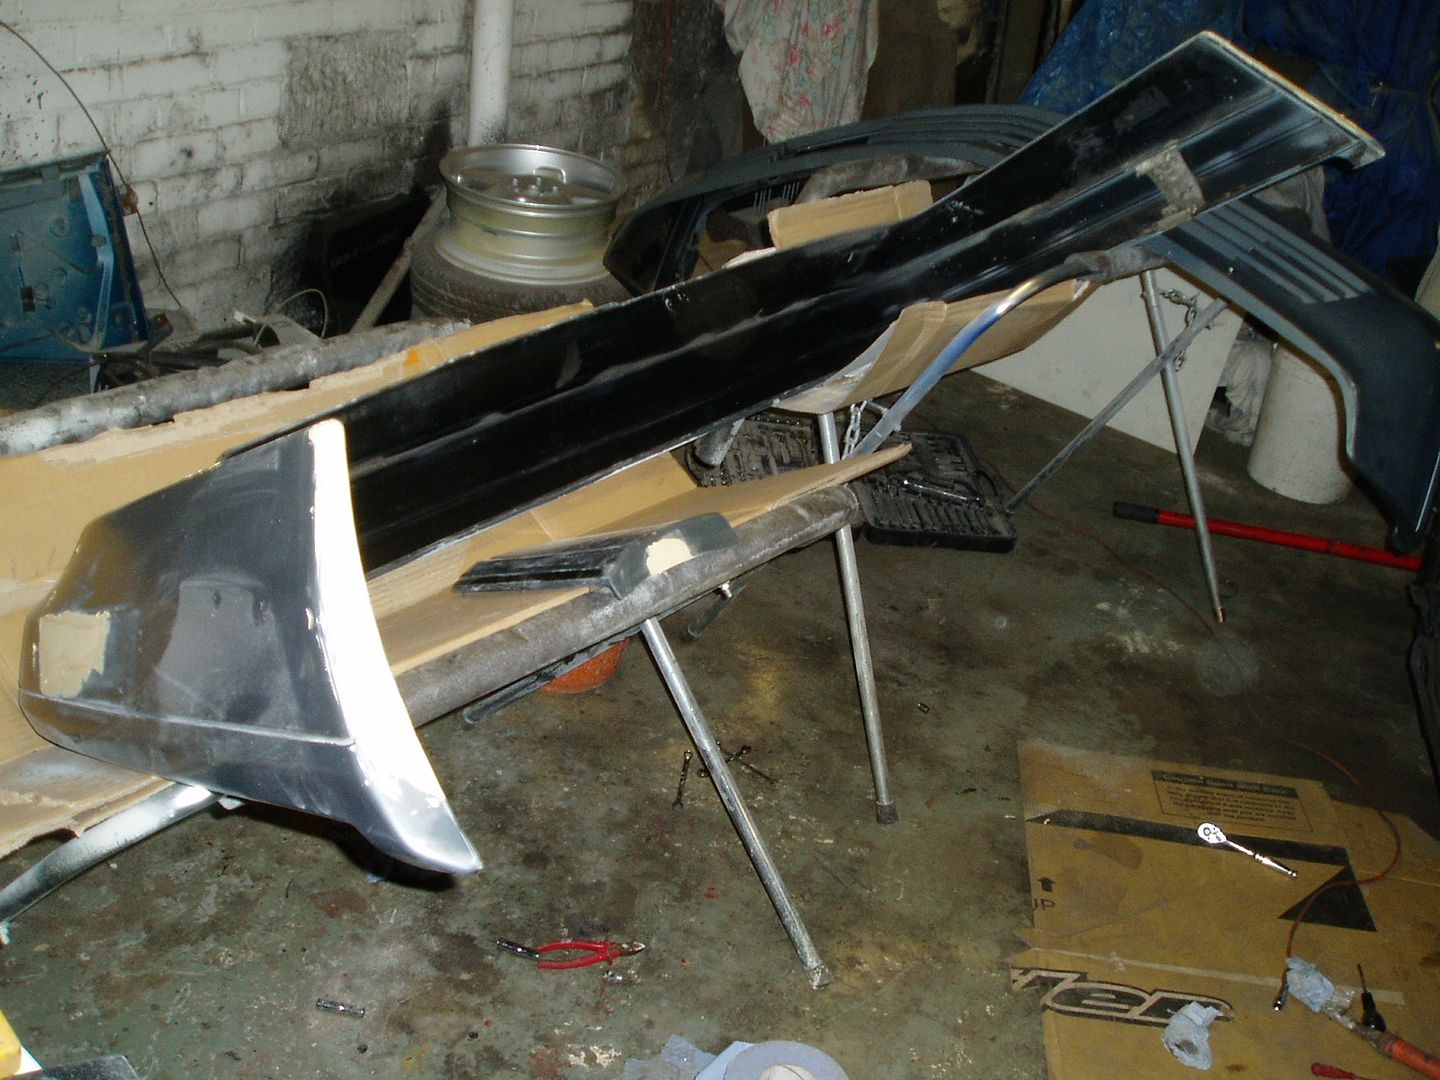
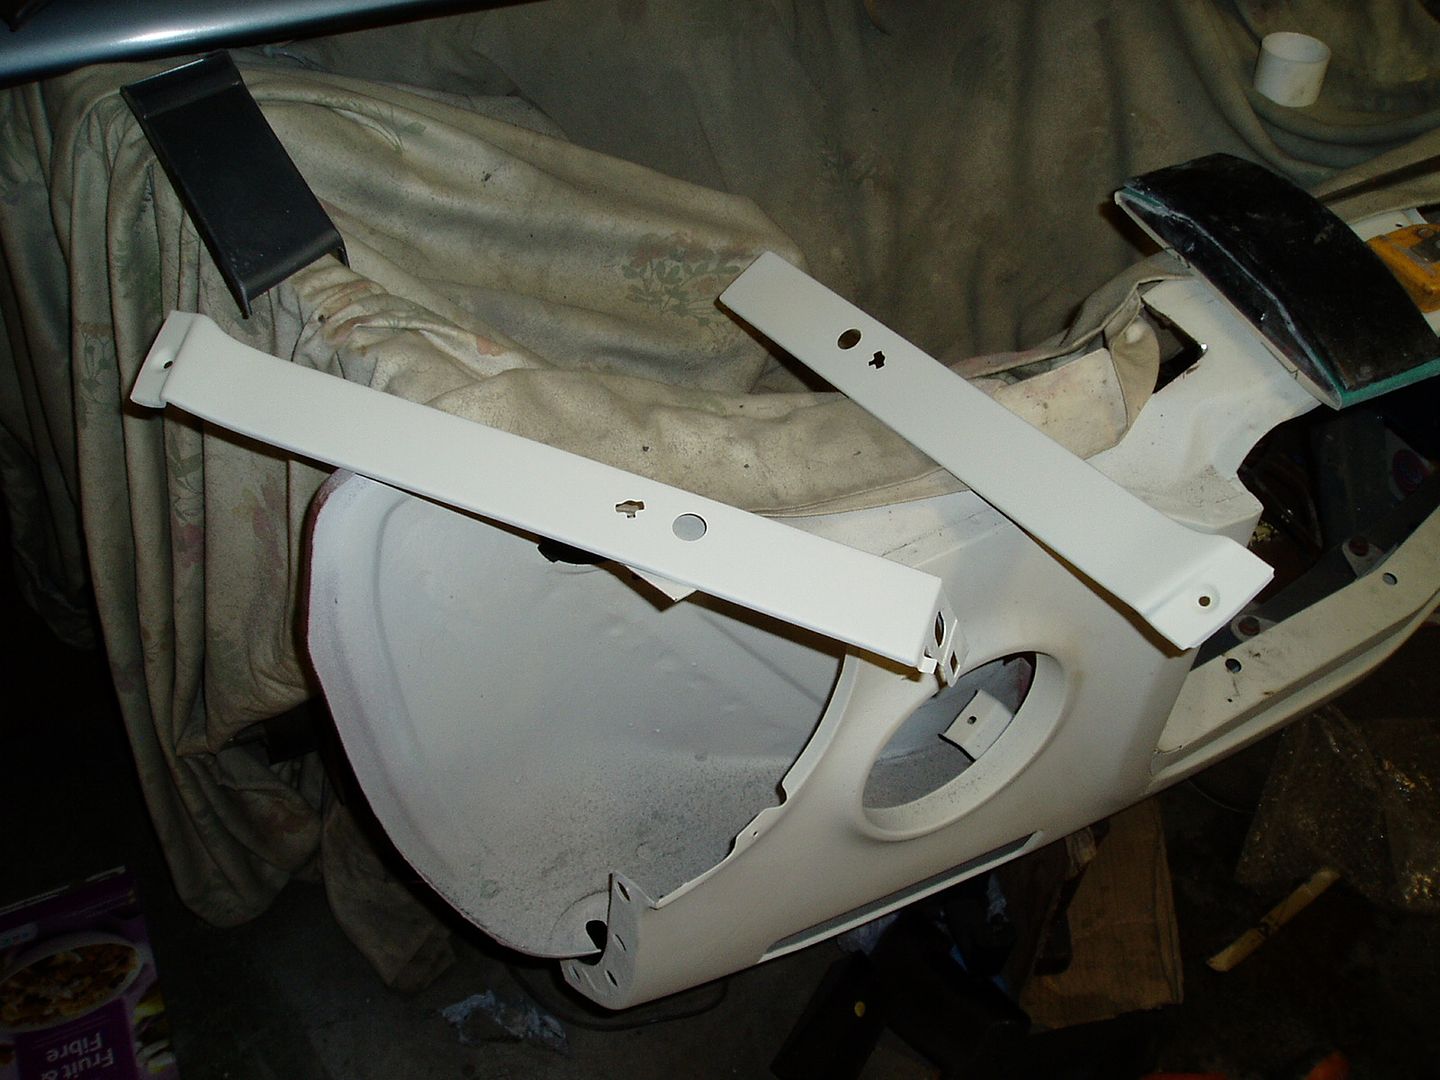
Filling in mudflap mounting holes
027-1.jpg


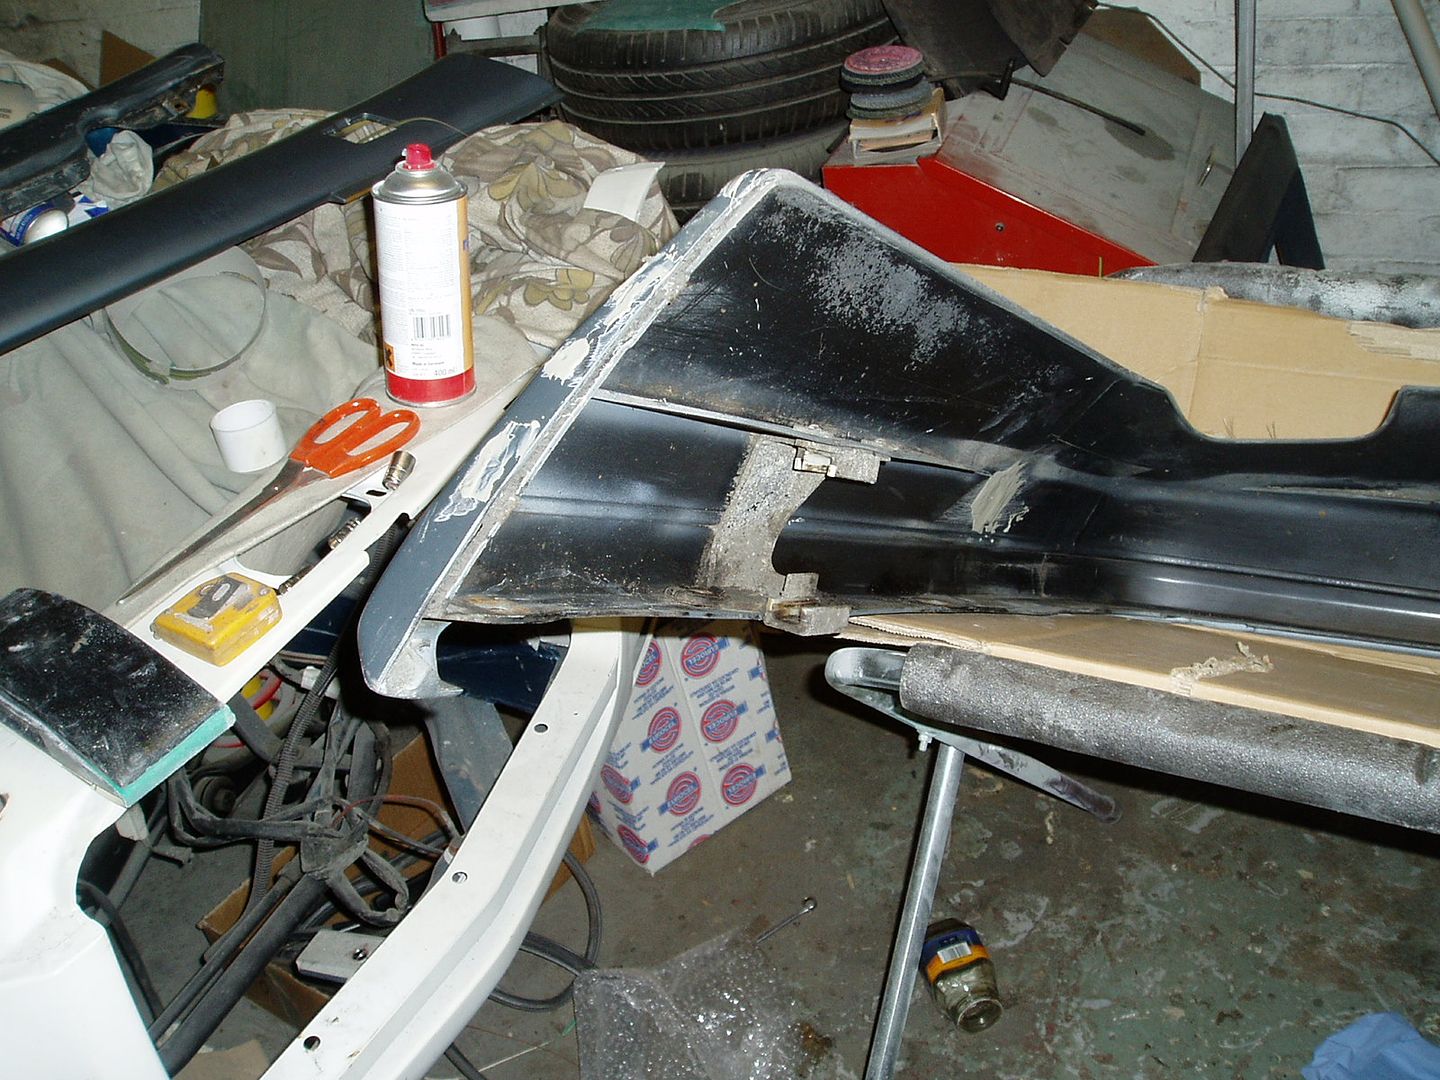
Redoing a badly repaired crack in the rear bumper
025-1.jpg

028-1.jpg

029-2.jpg

030-2.jpg

031-1.jpg


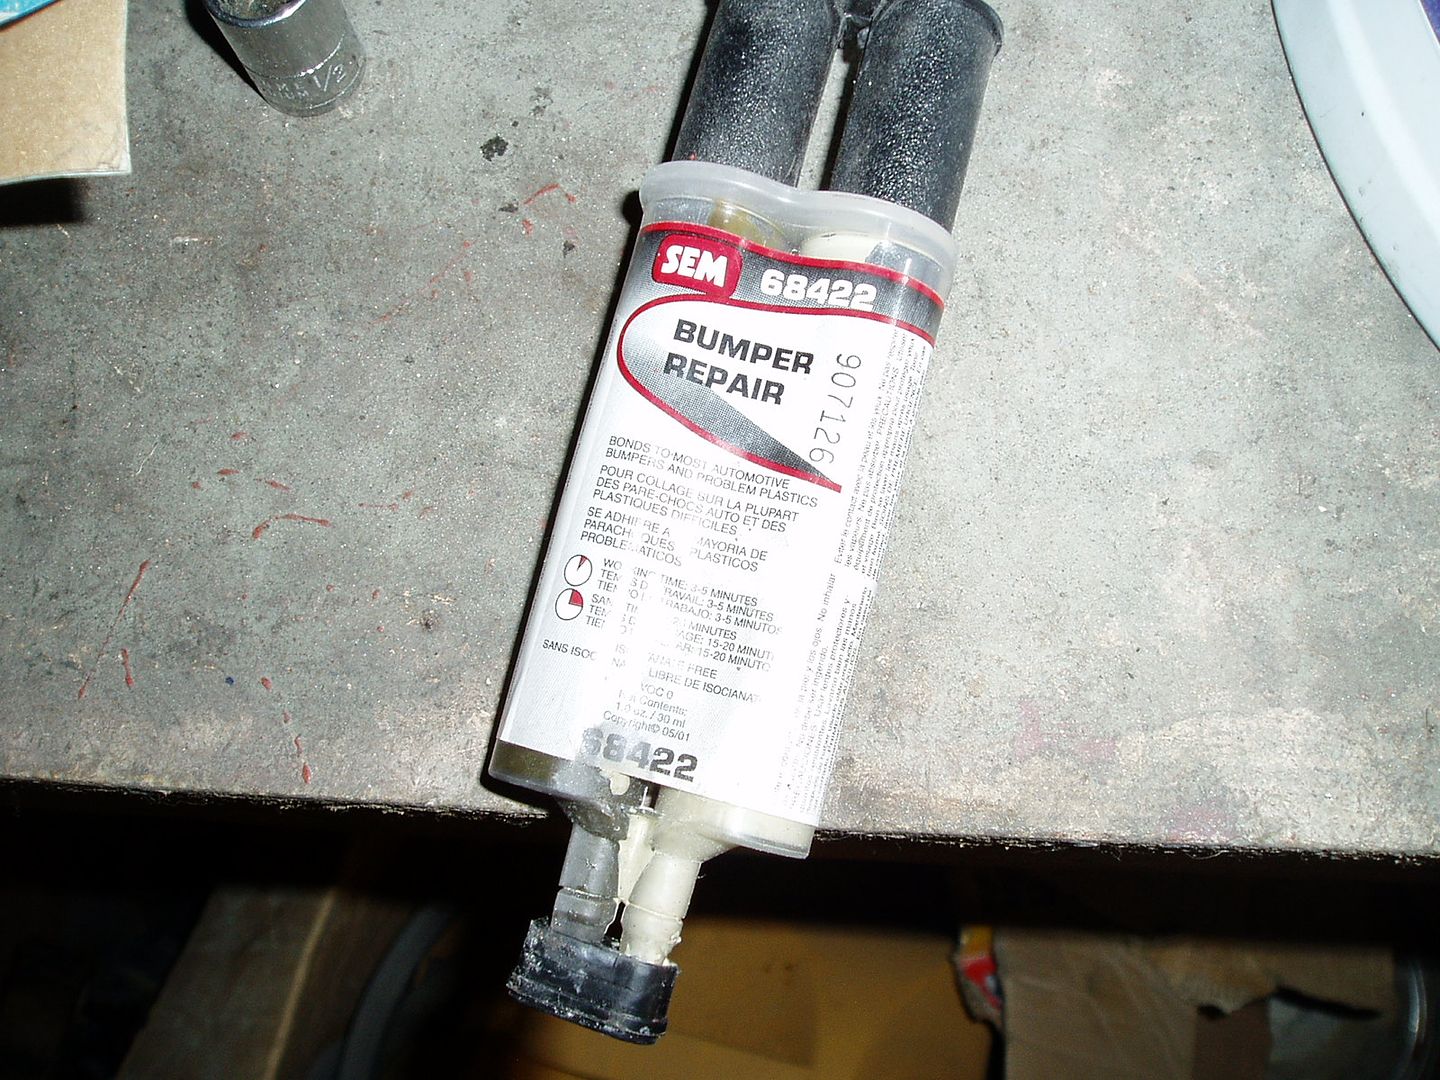
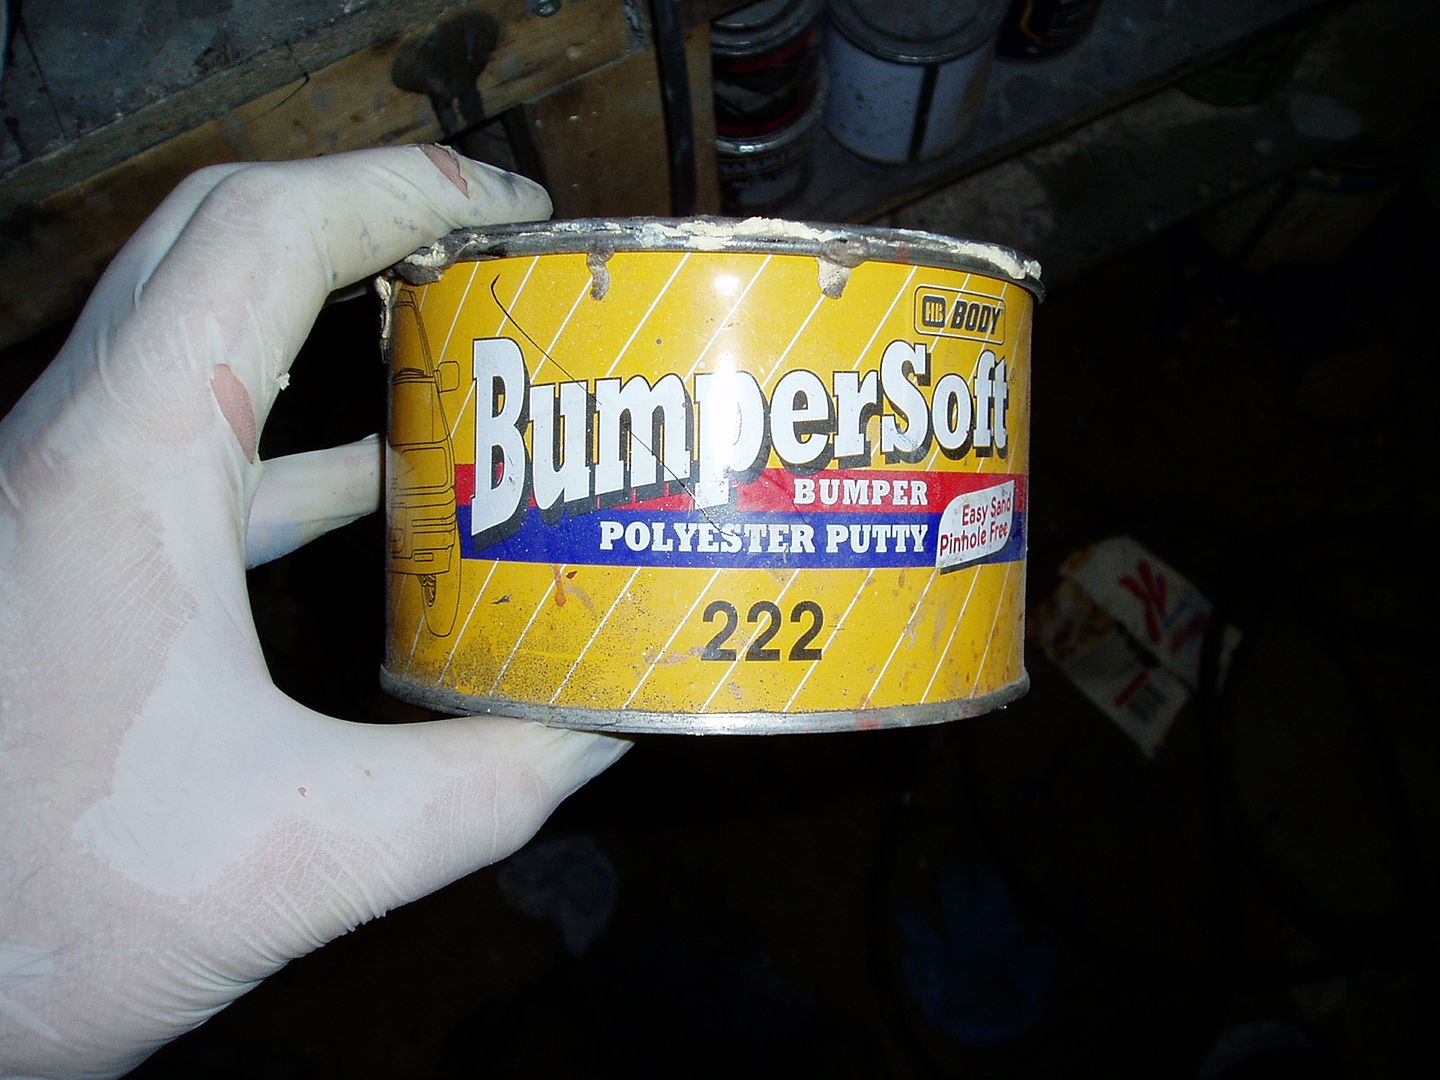
The filler I used on the bumpers
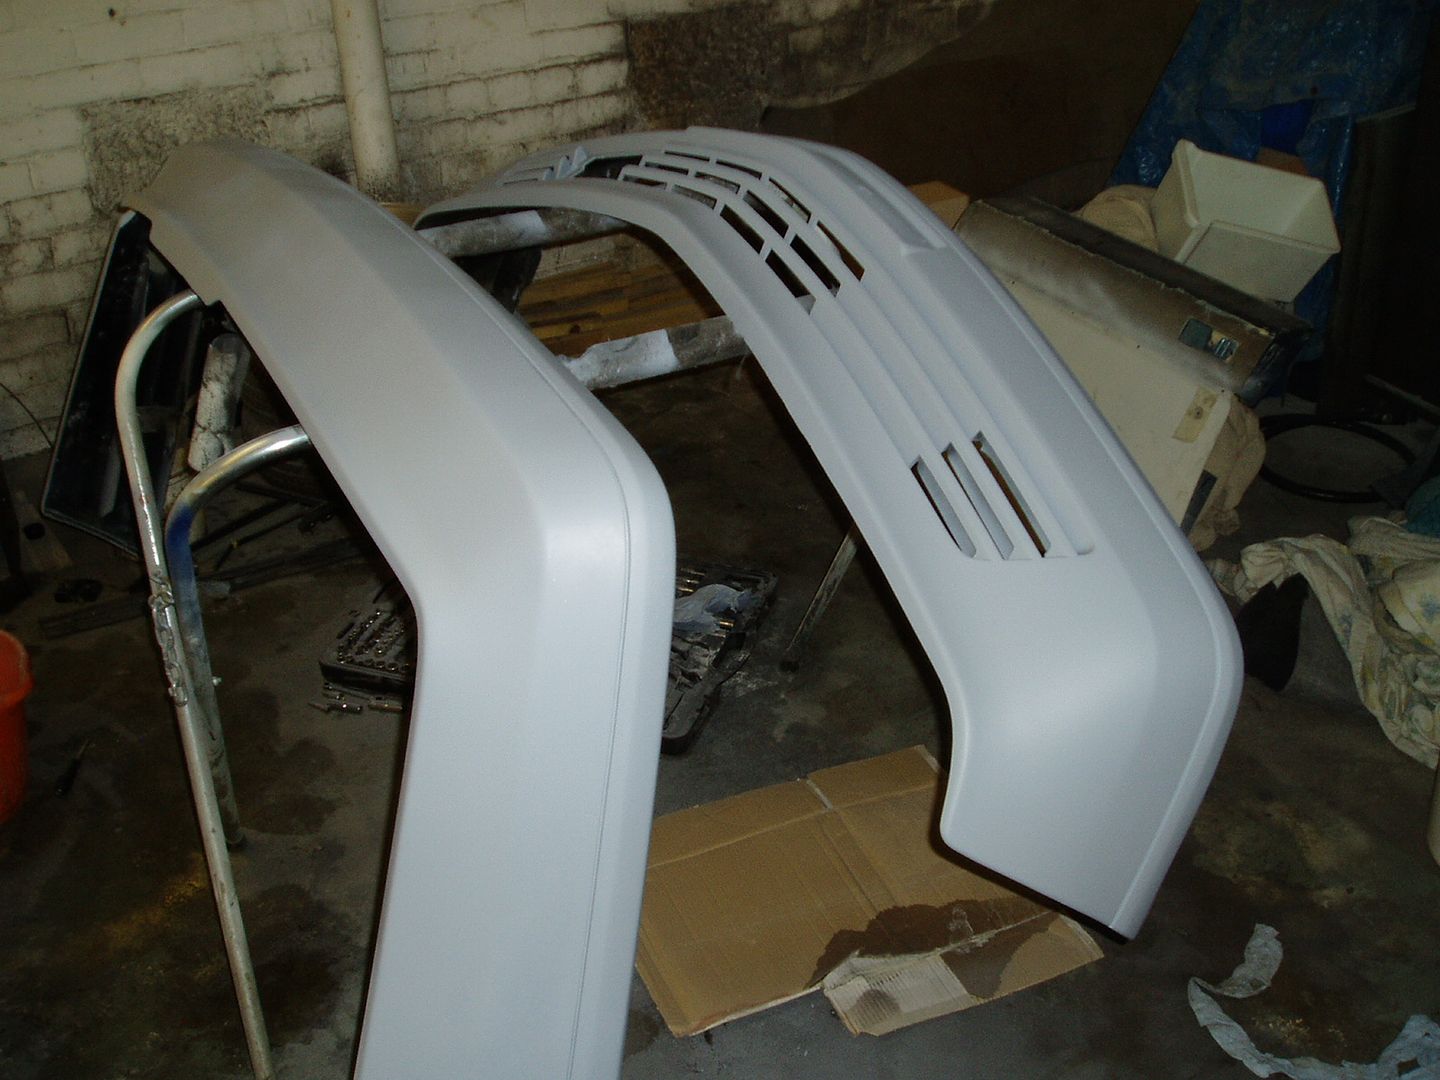
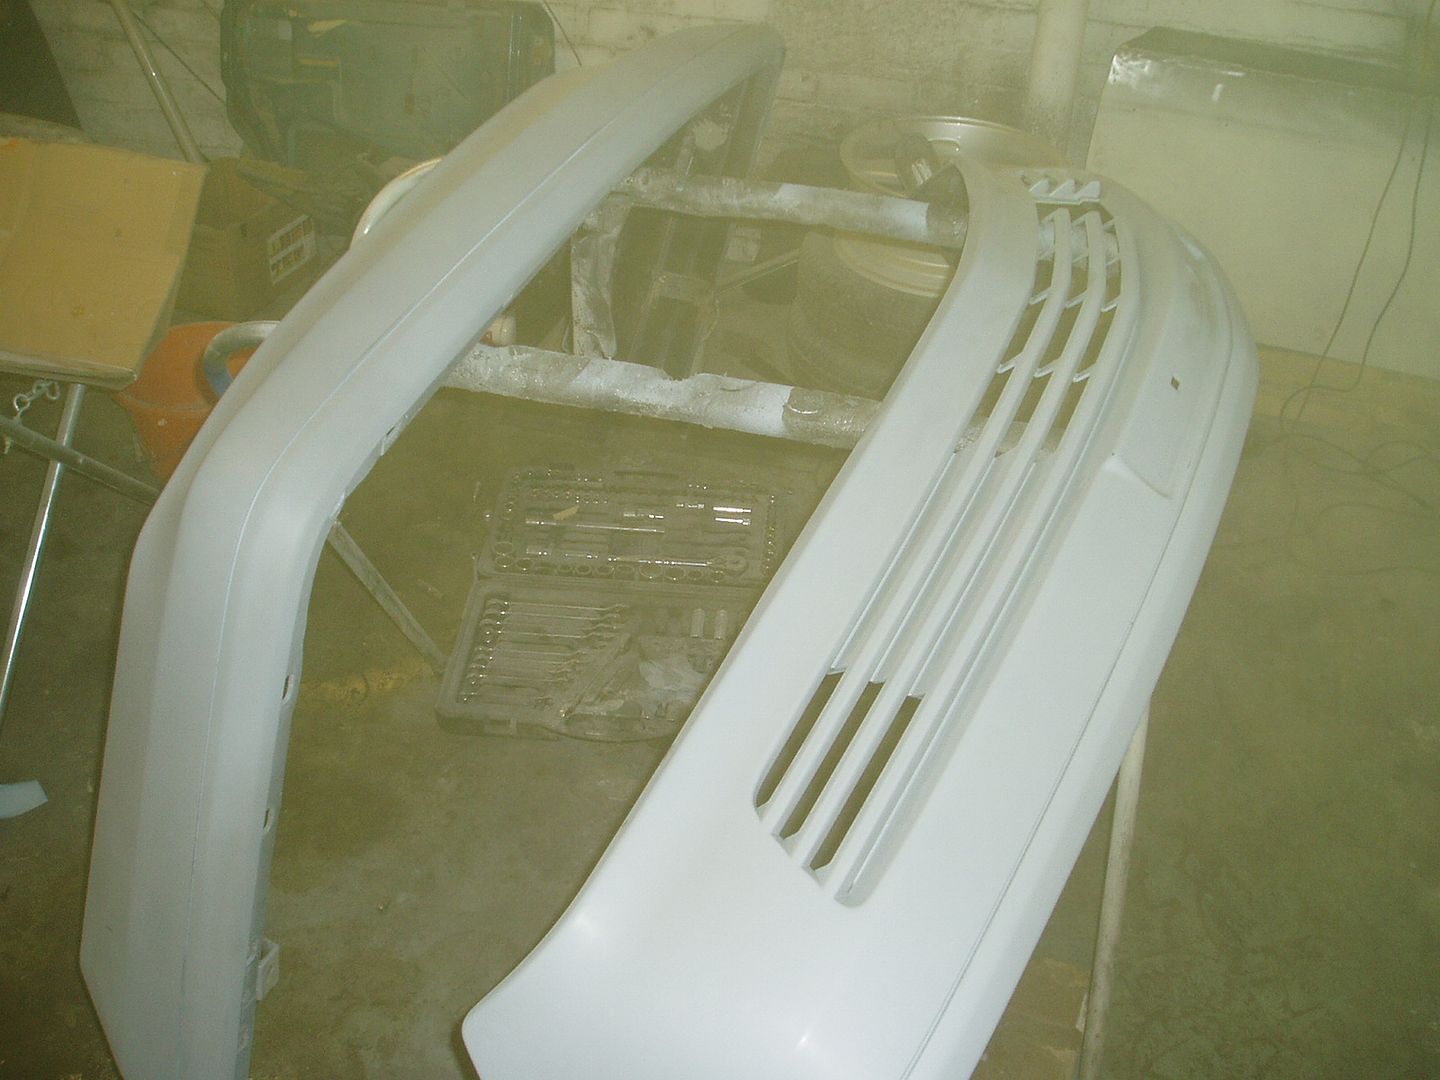
032-1.jpg

033-1.jpg


Primed
034-1.jpg

035-1.jpg


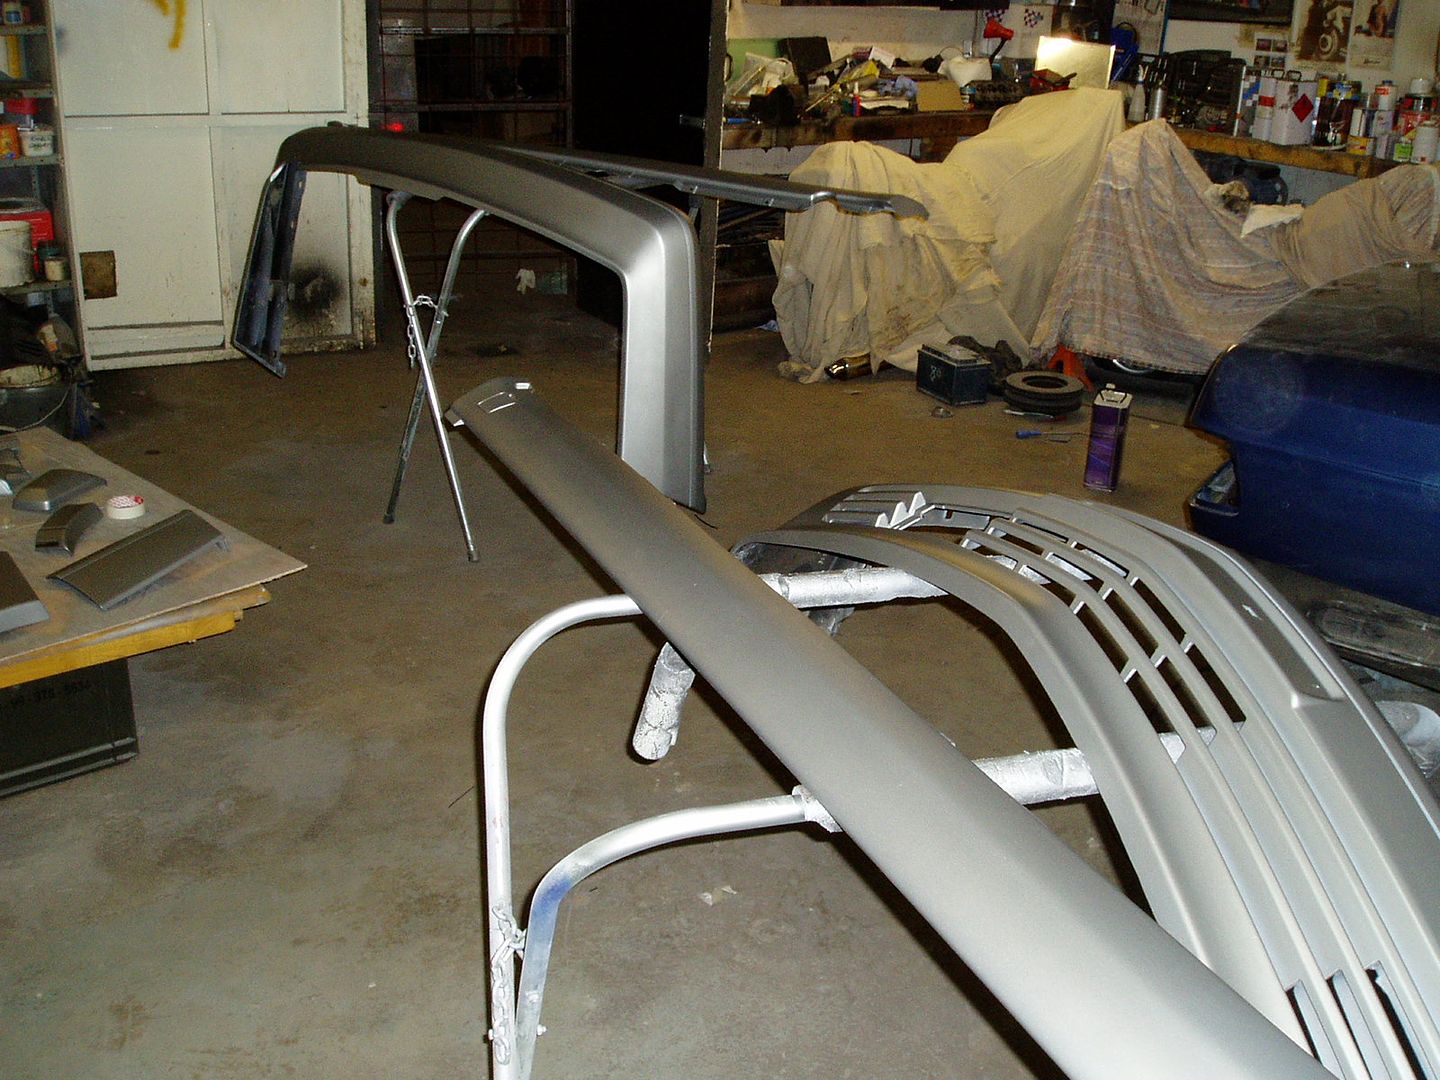
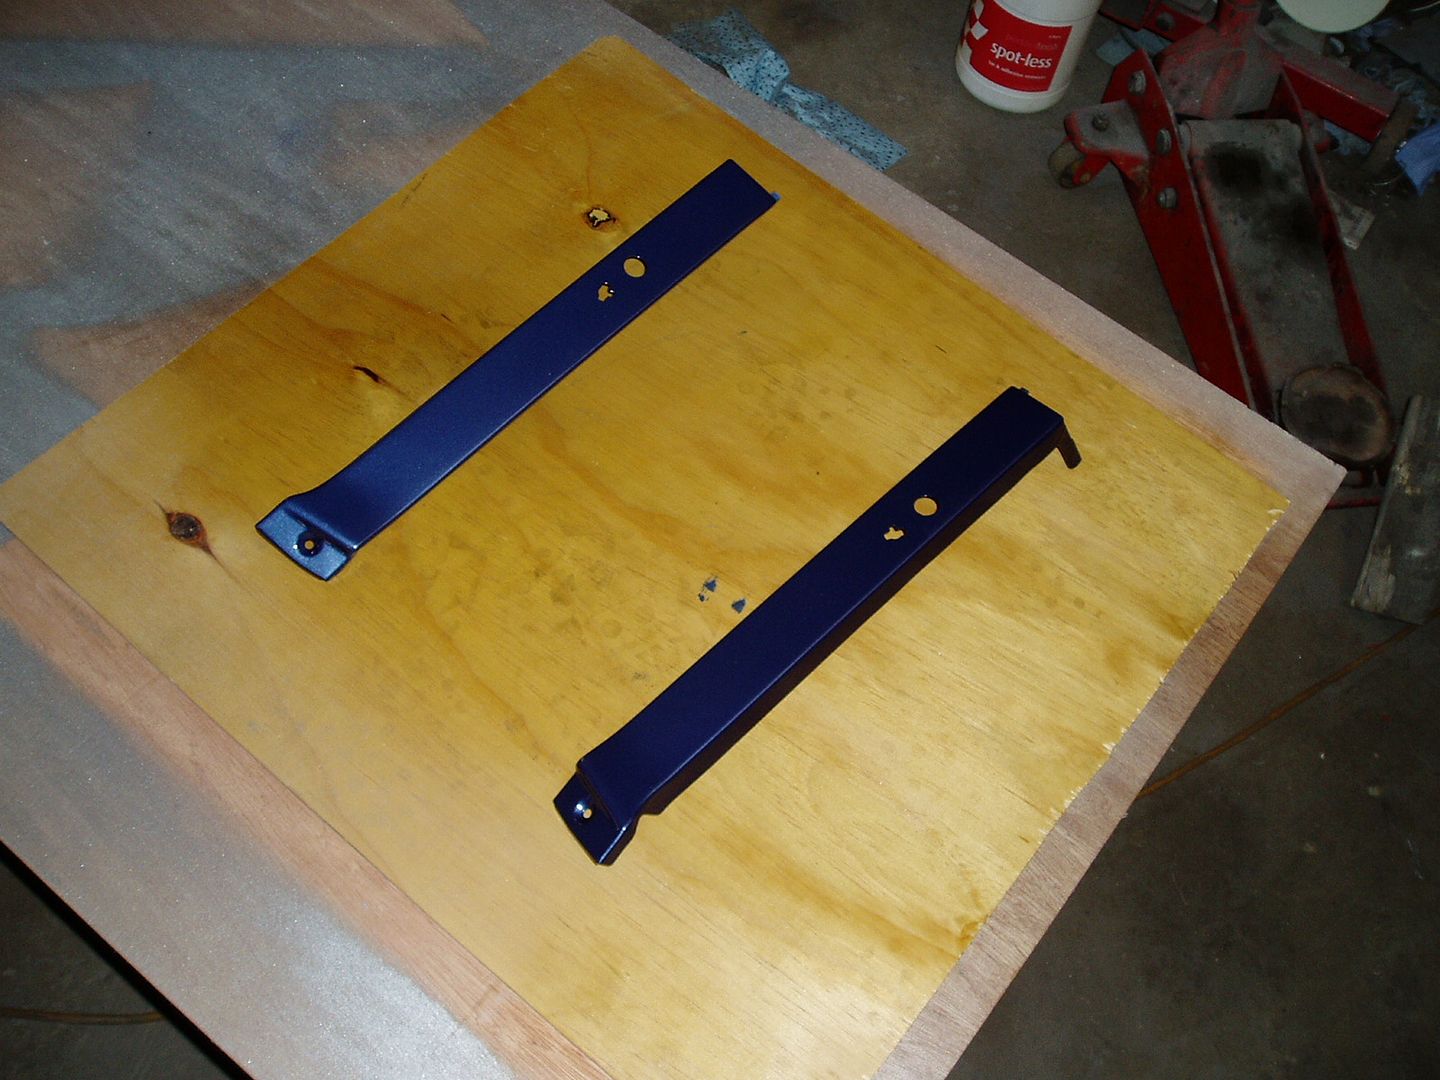
Painted Mercedes sliver-grey with satin lacquer
005-2.jpg


Rustproofing all the bumper chrome after thorough cleaning
007-2.jpg


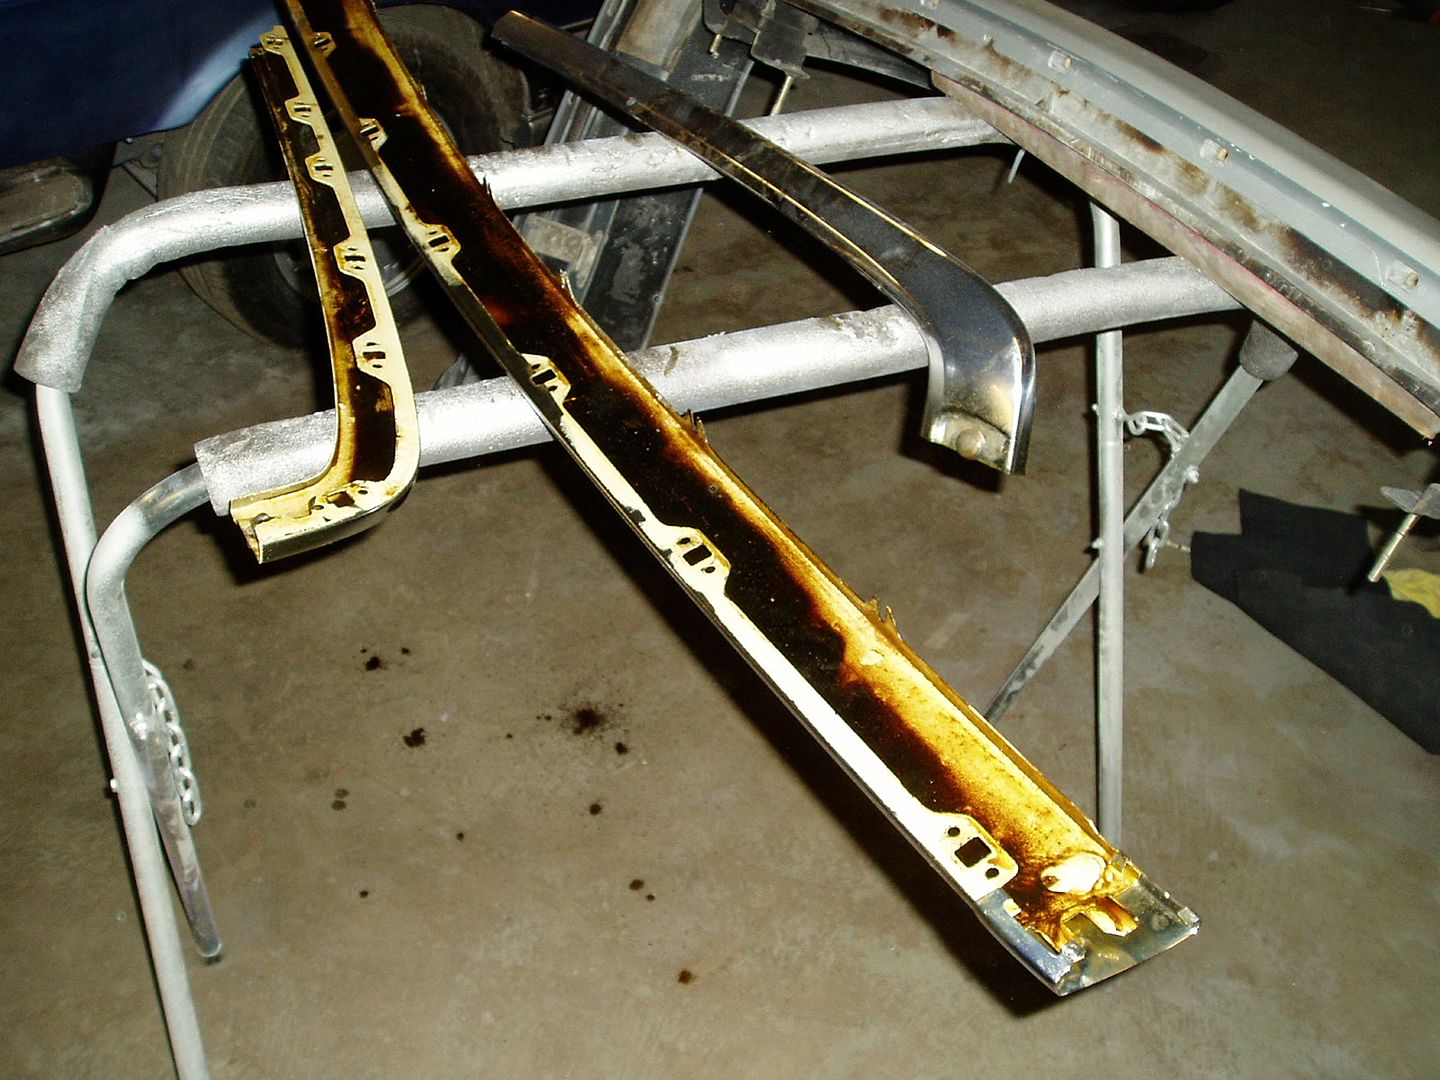
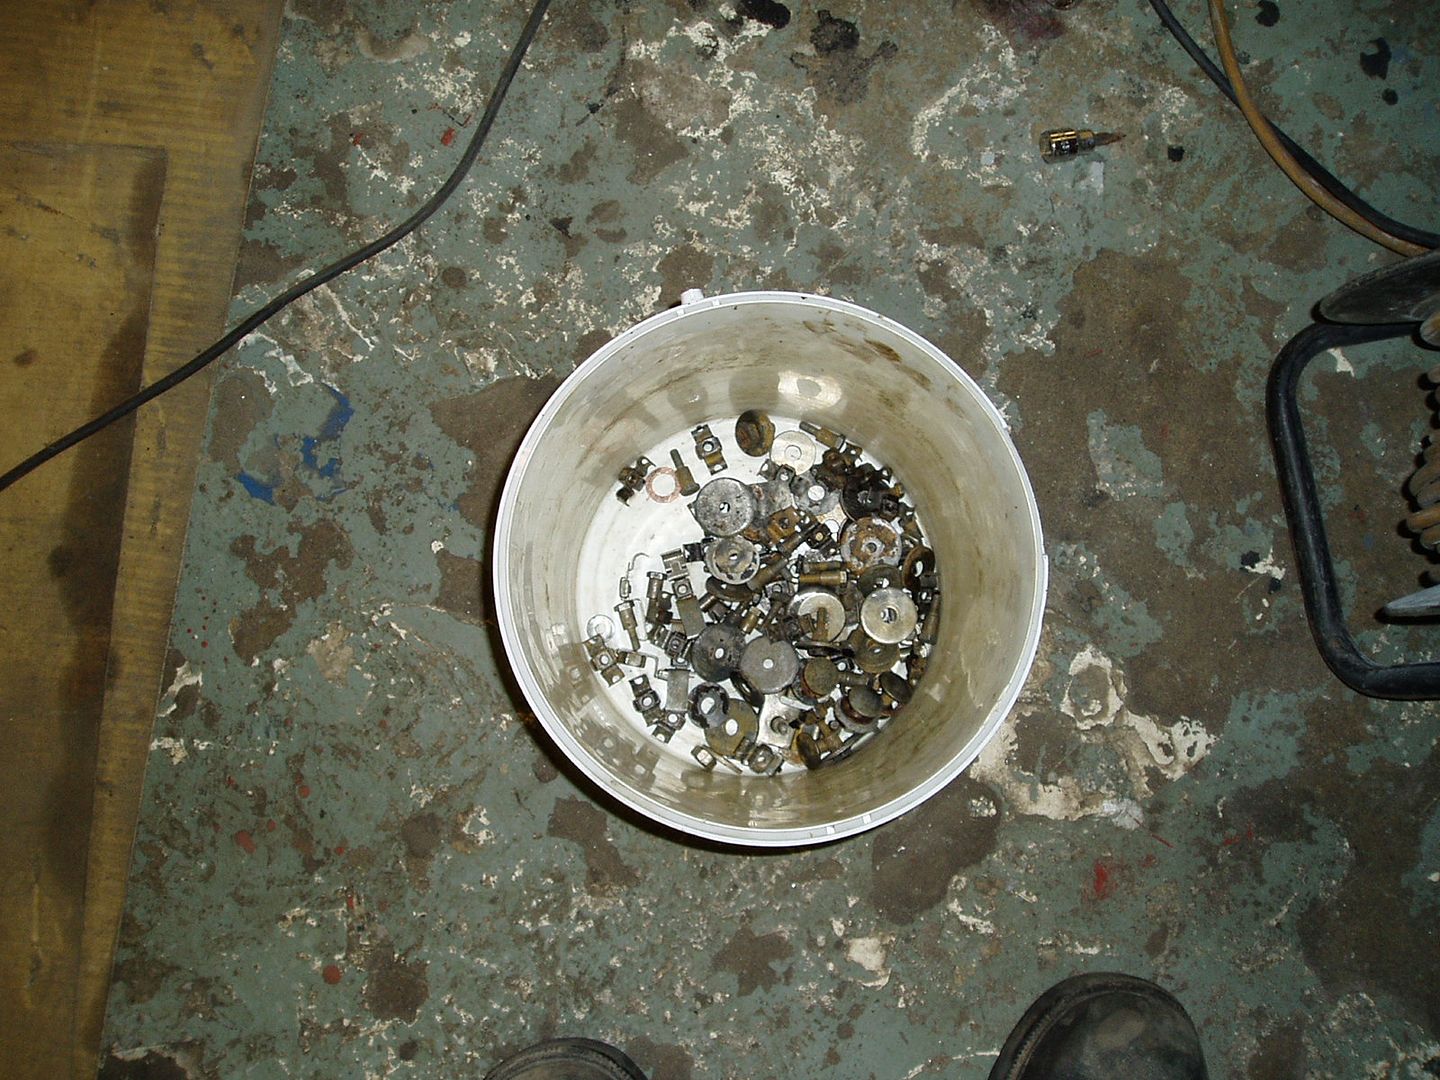
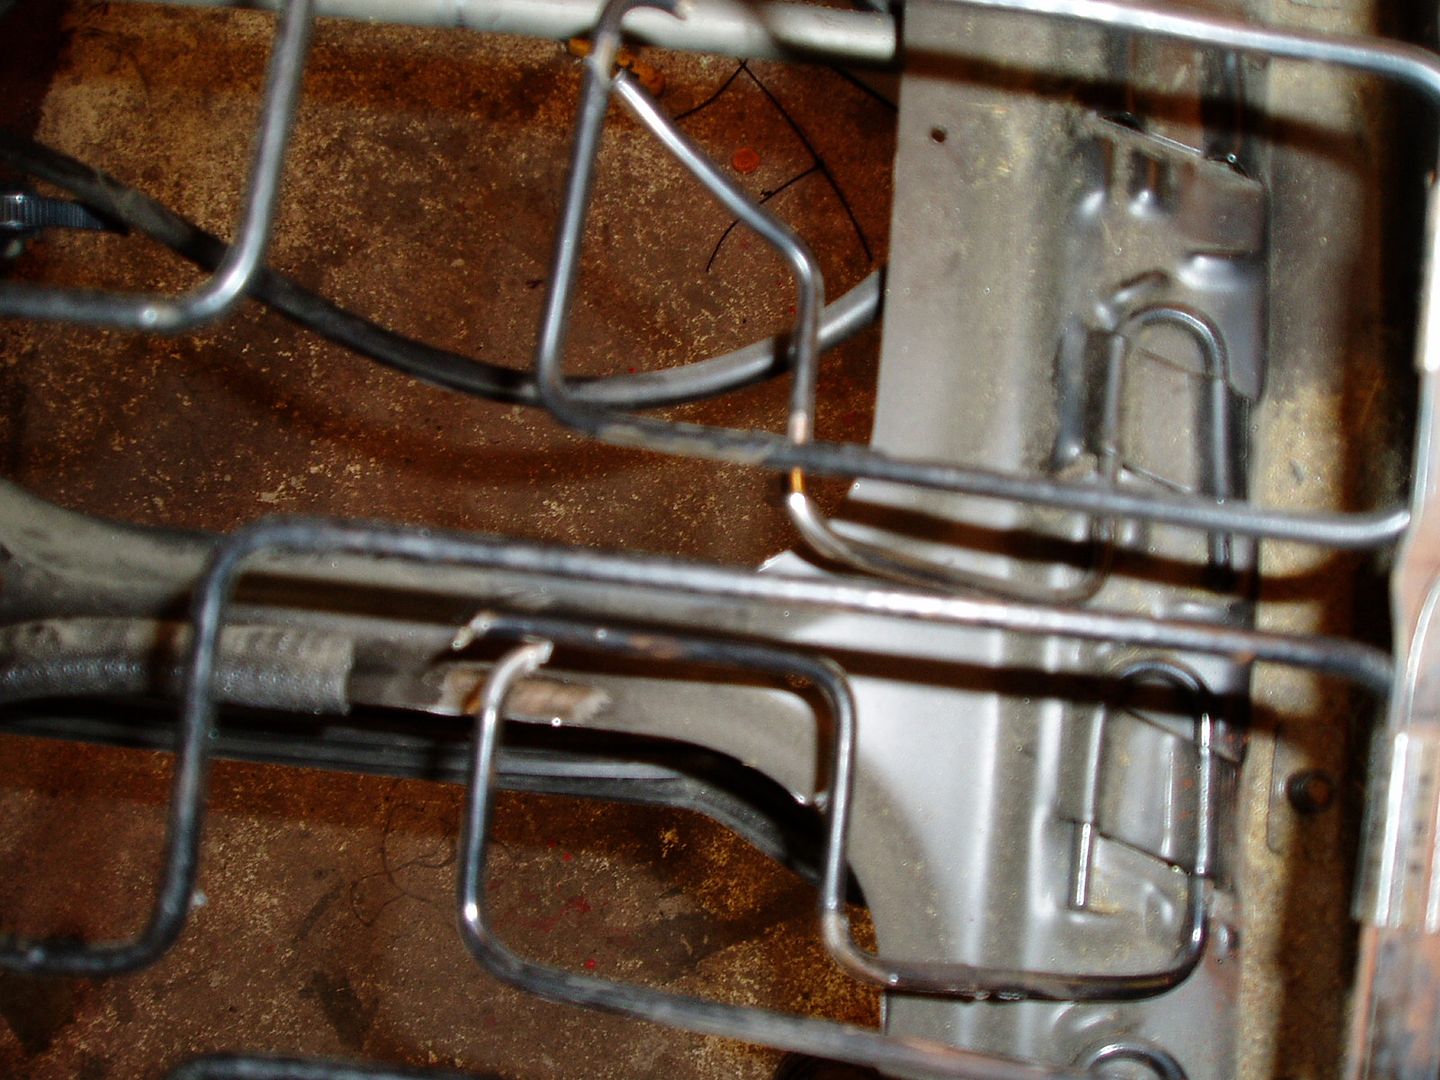
Bumper fittings all de-rusted and then rust-proofed
026-1.jpg


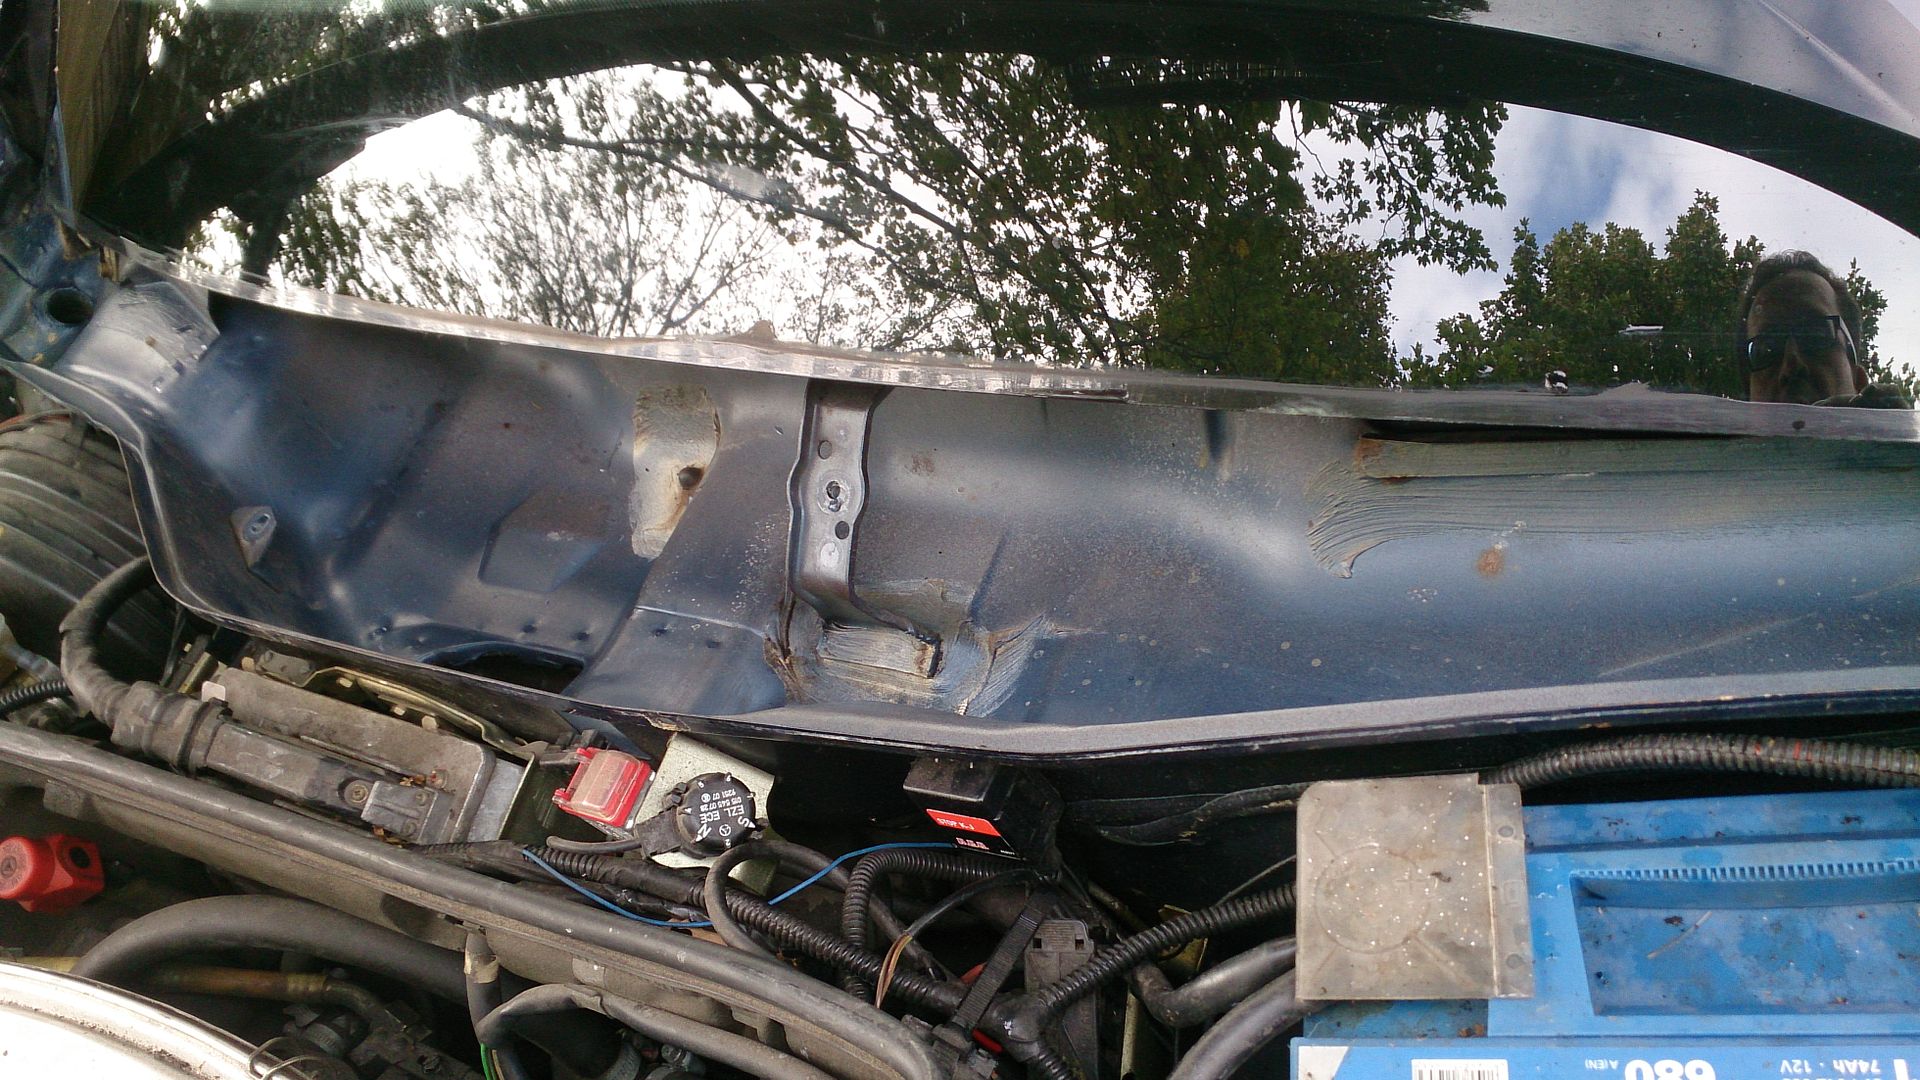
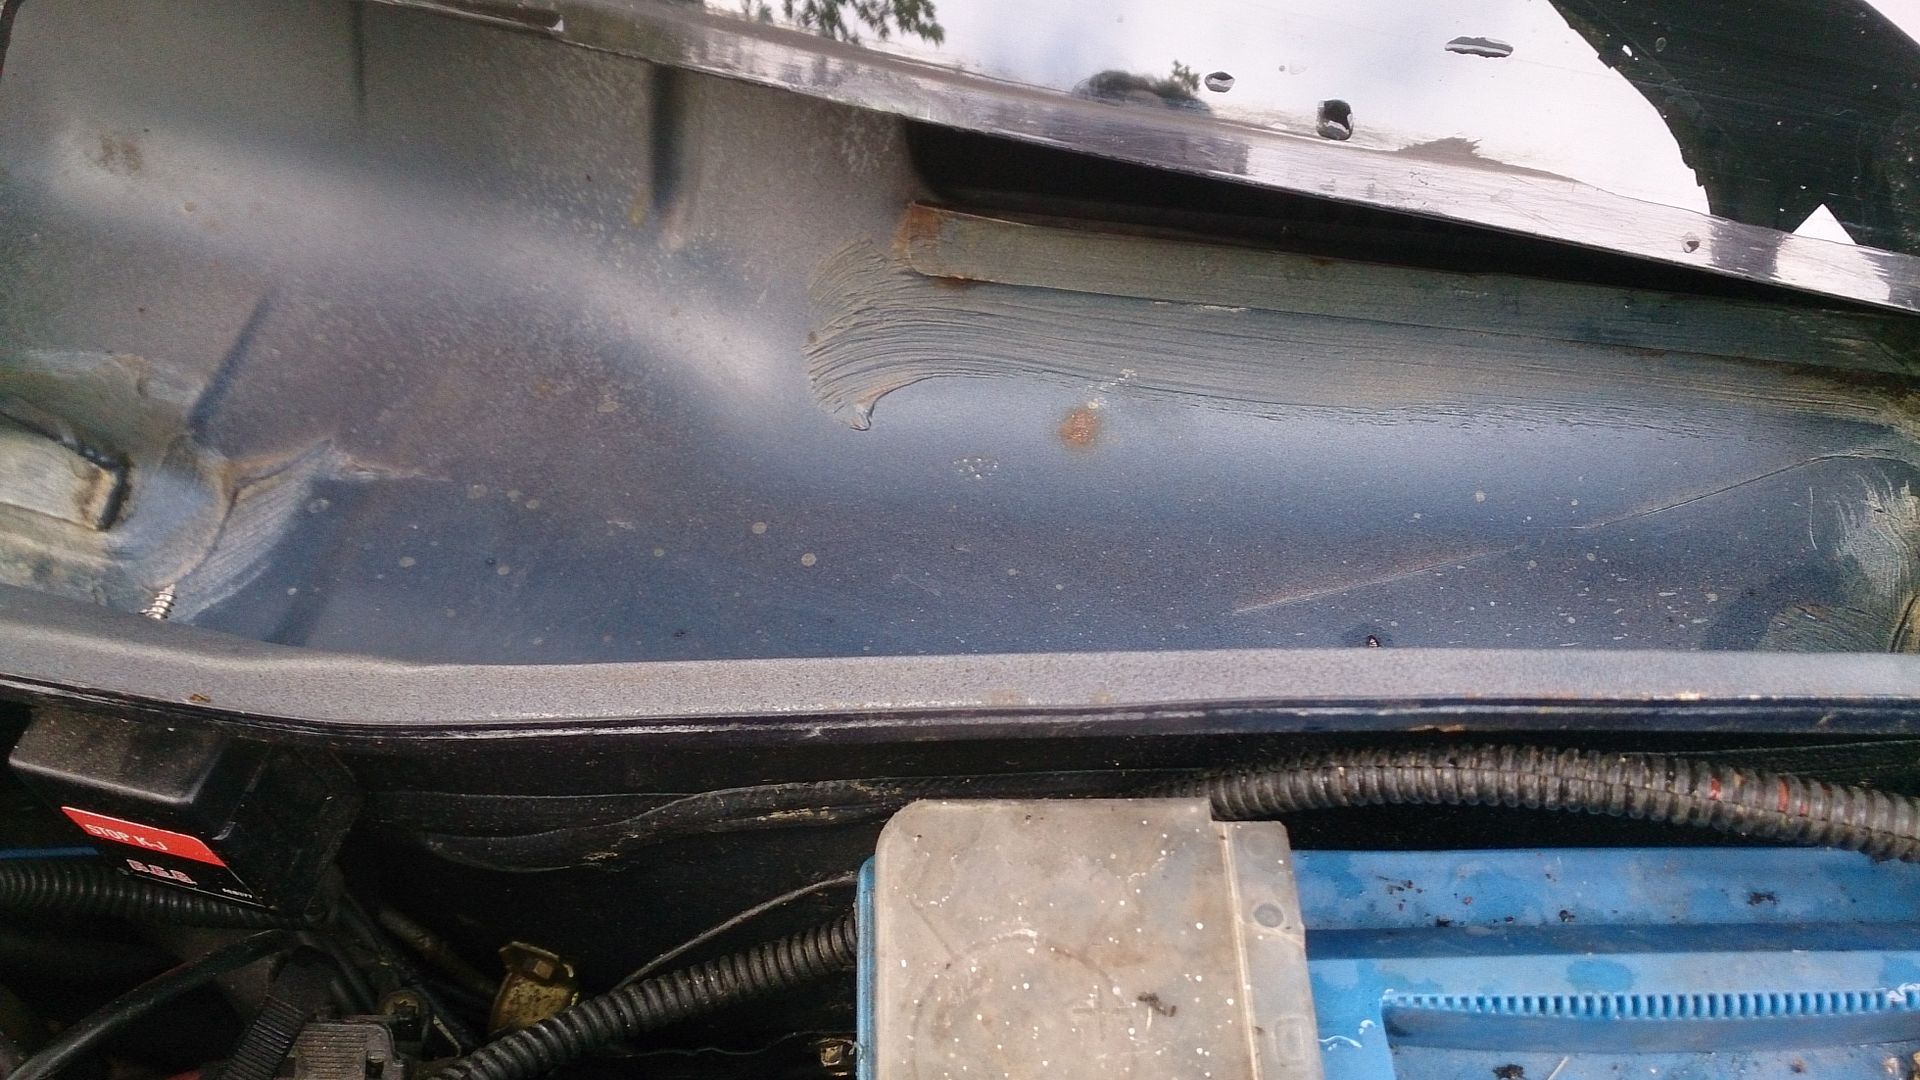
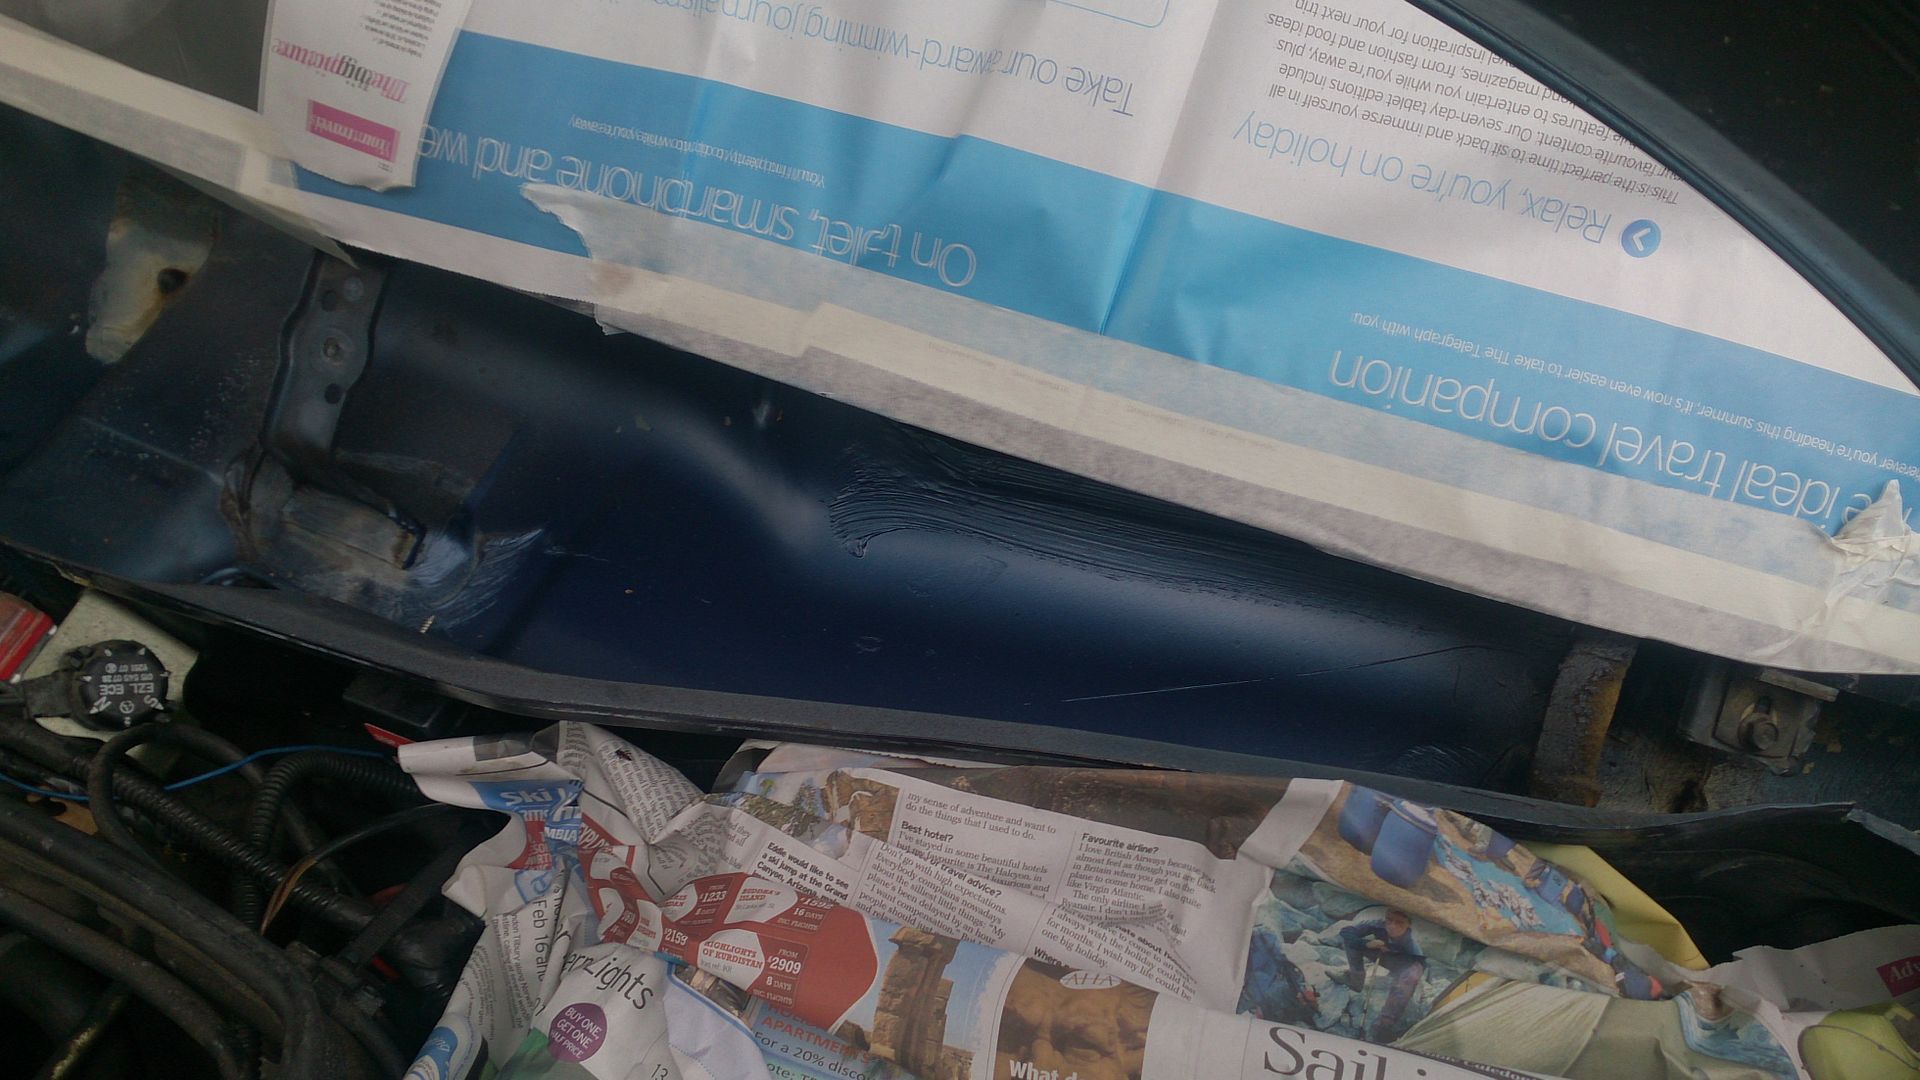
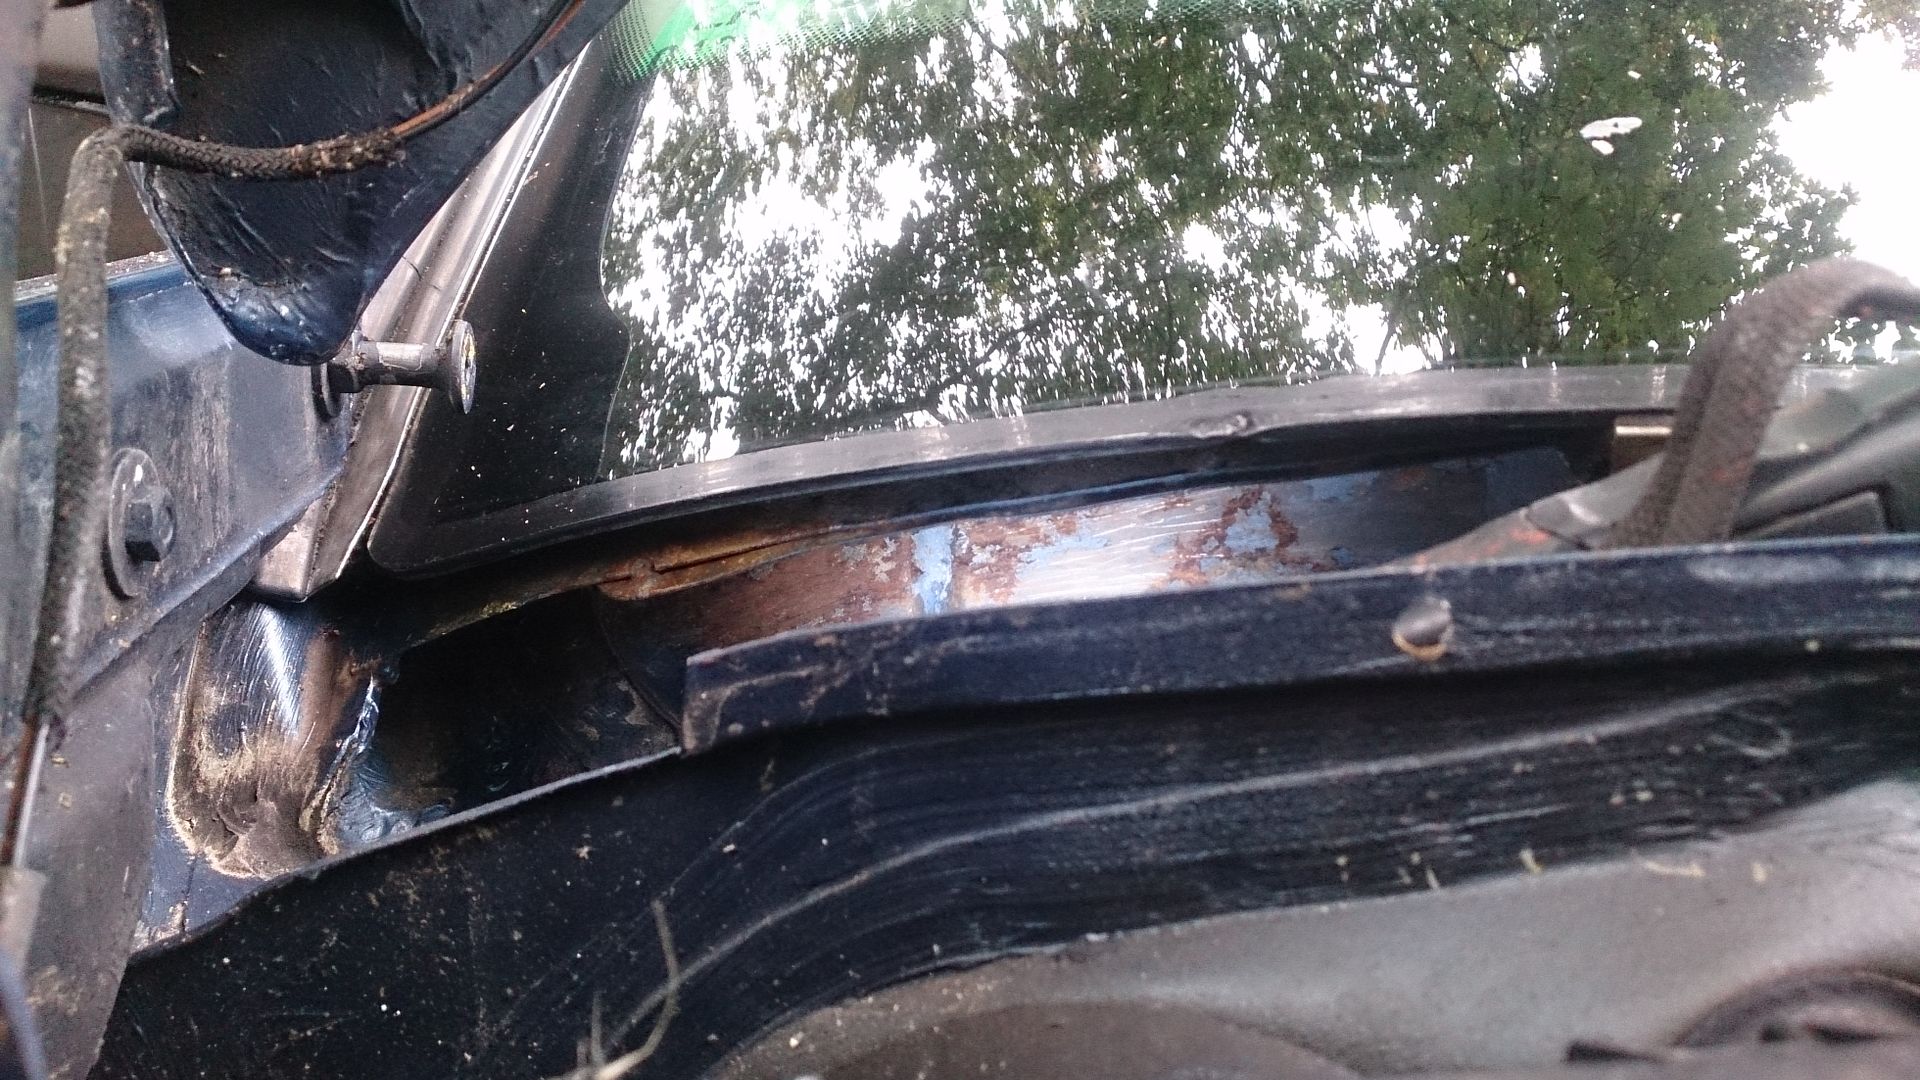
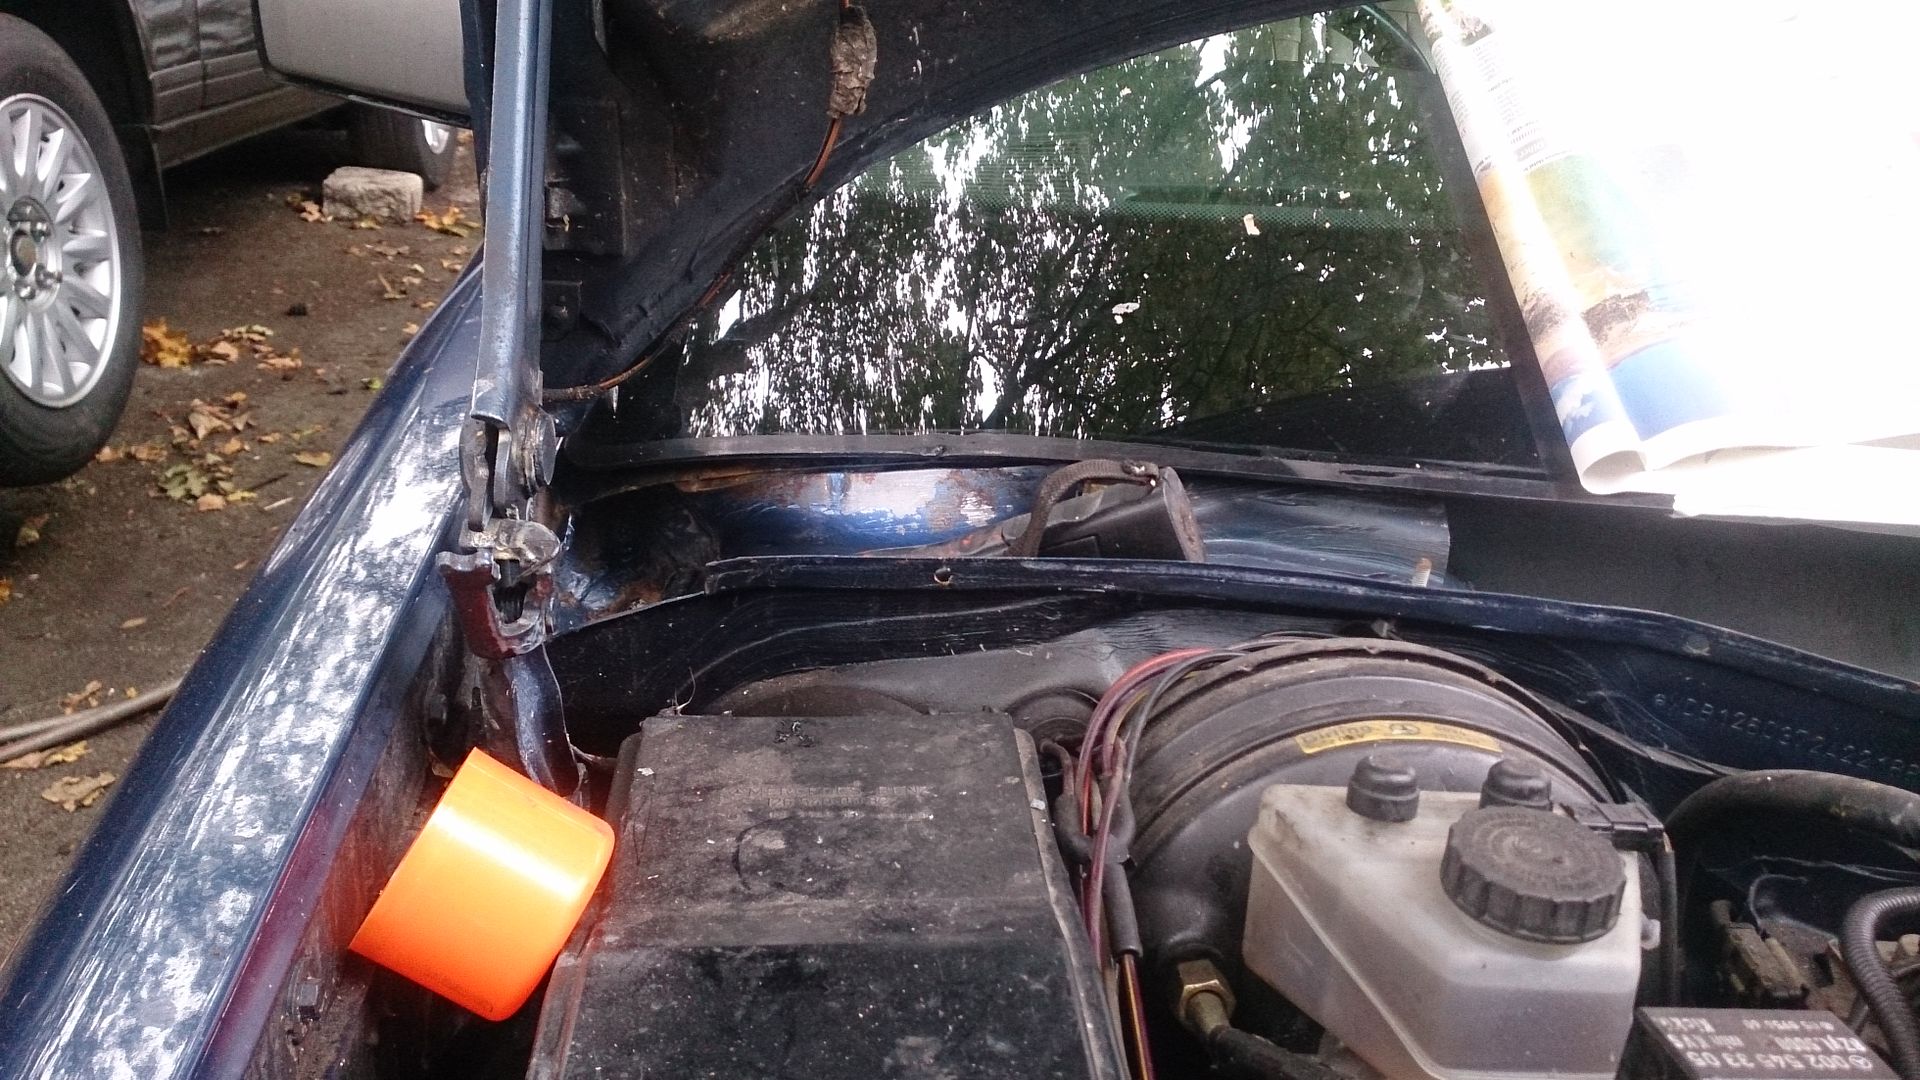
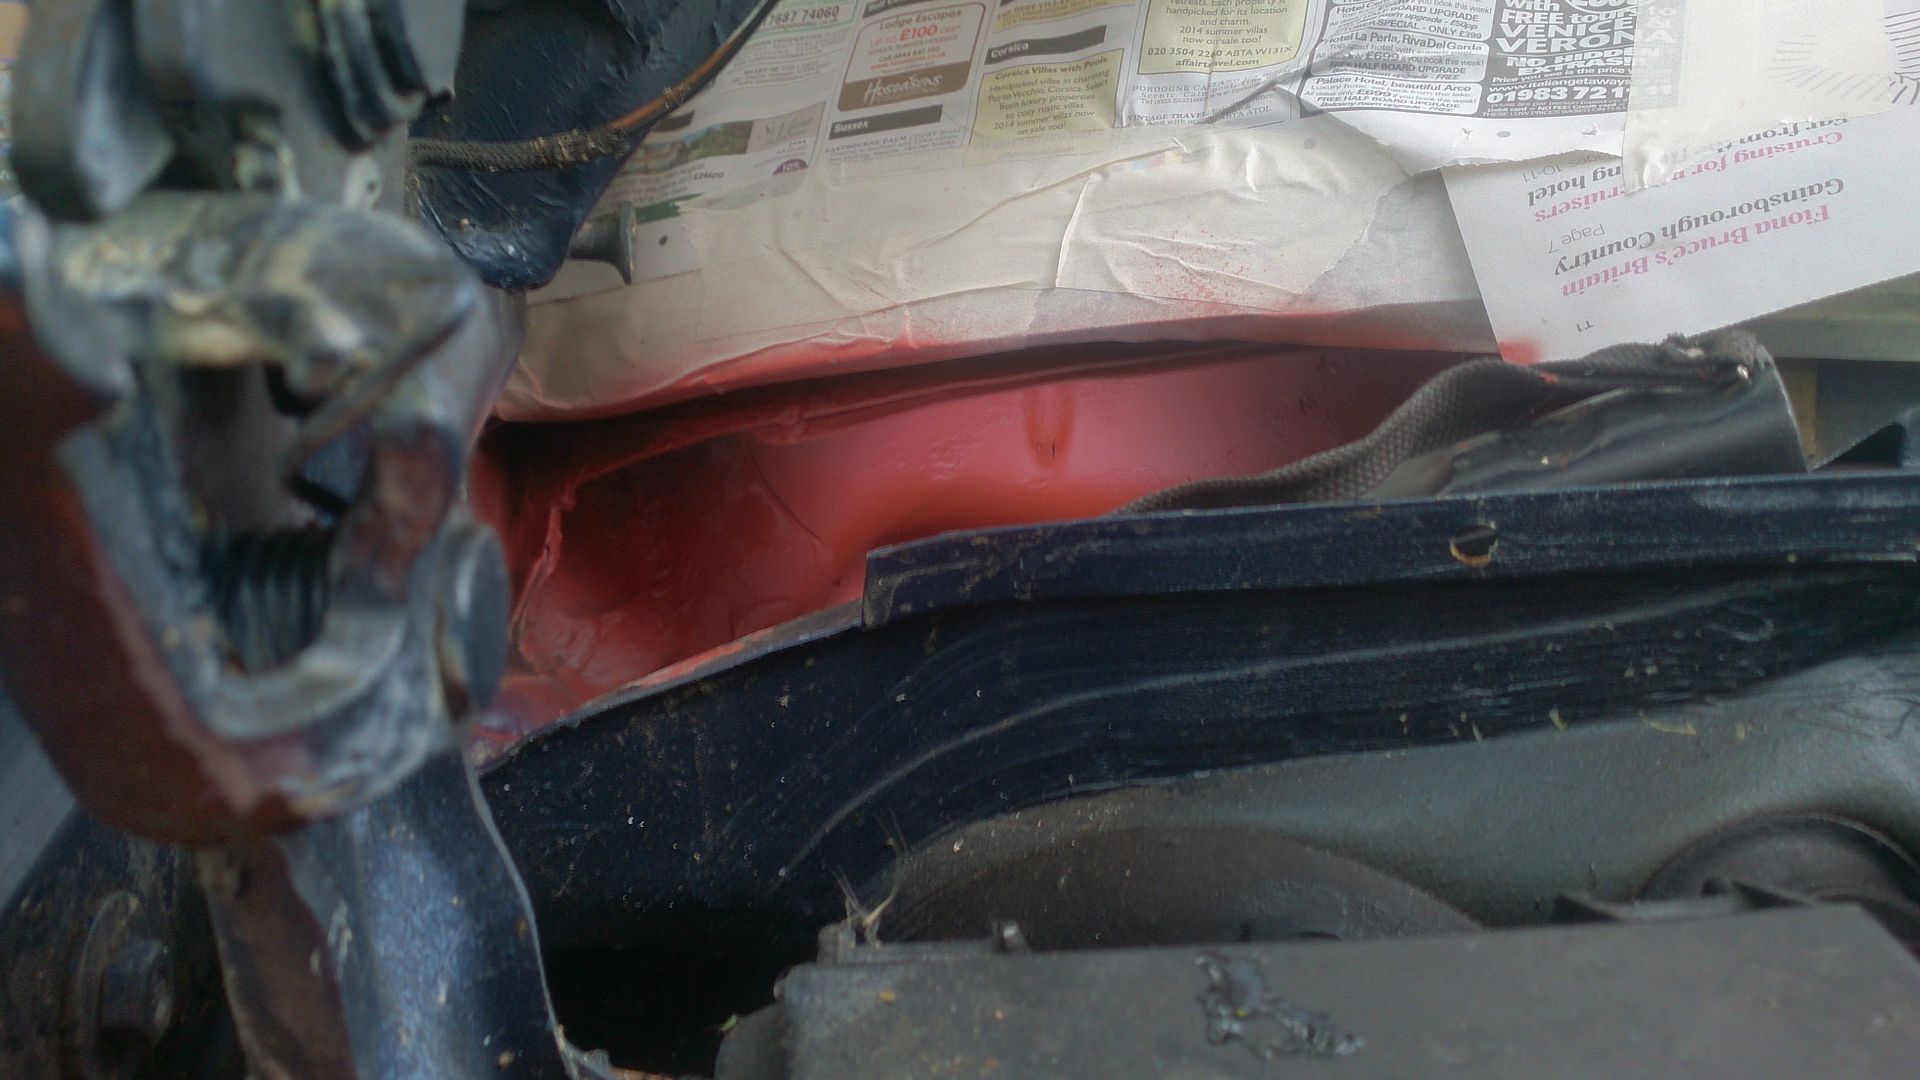
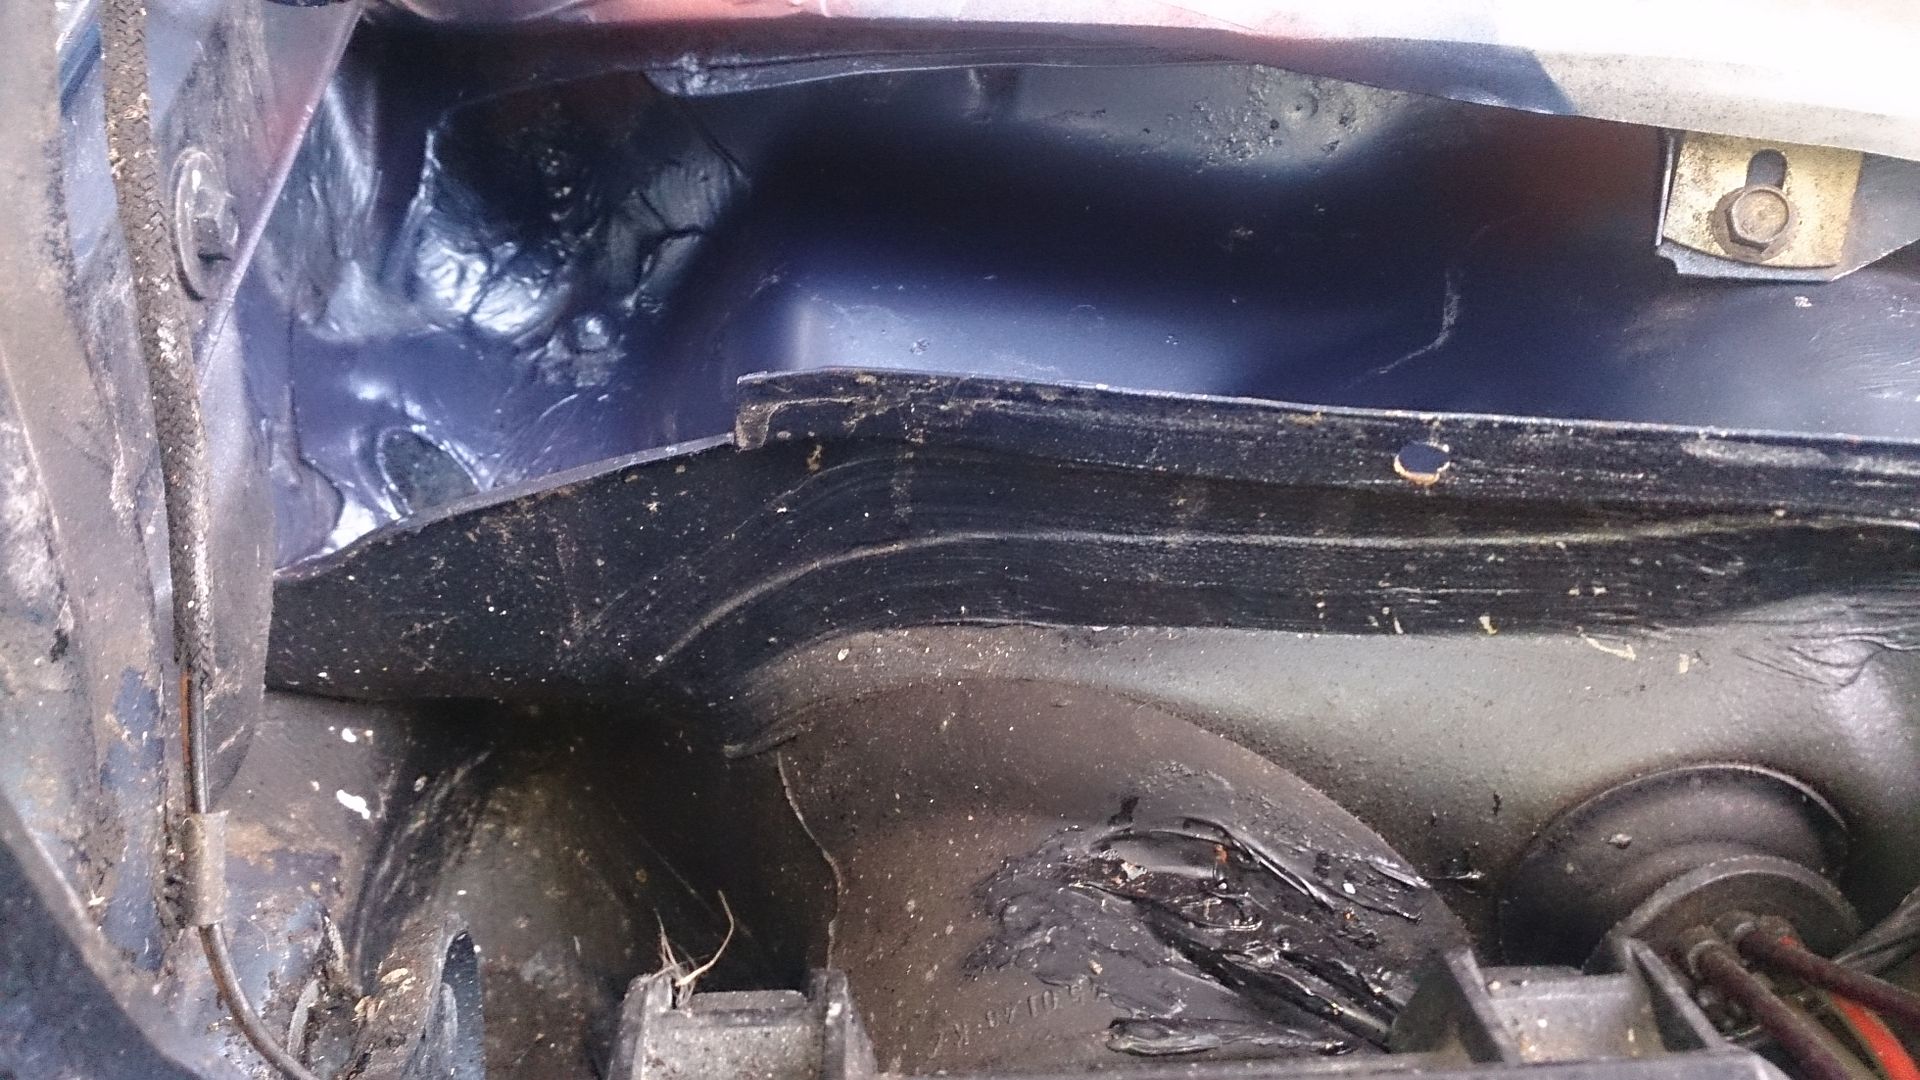
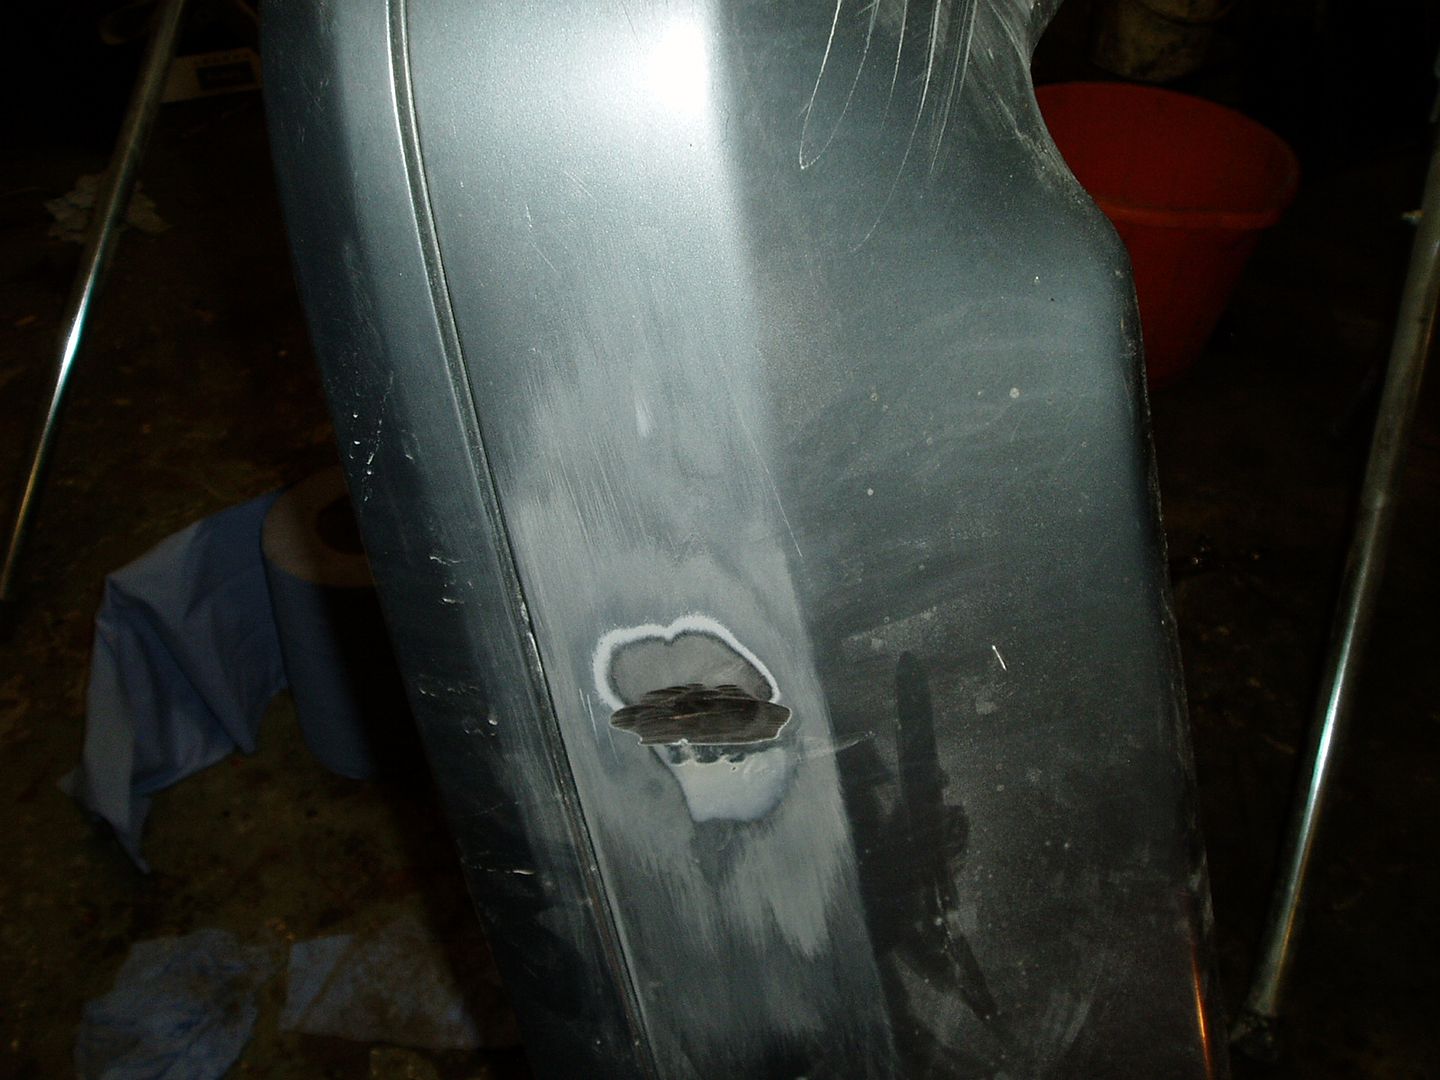
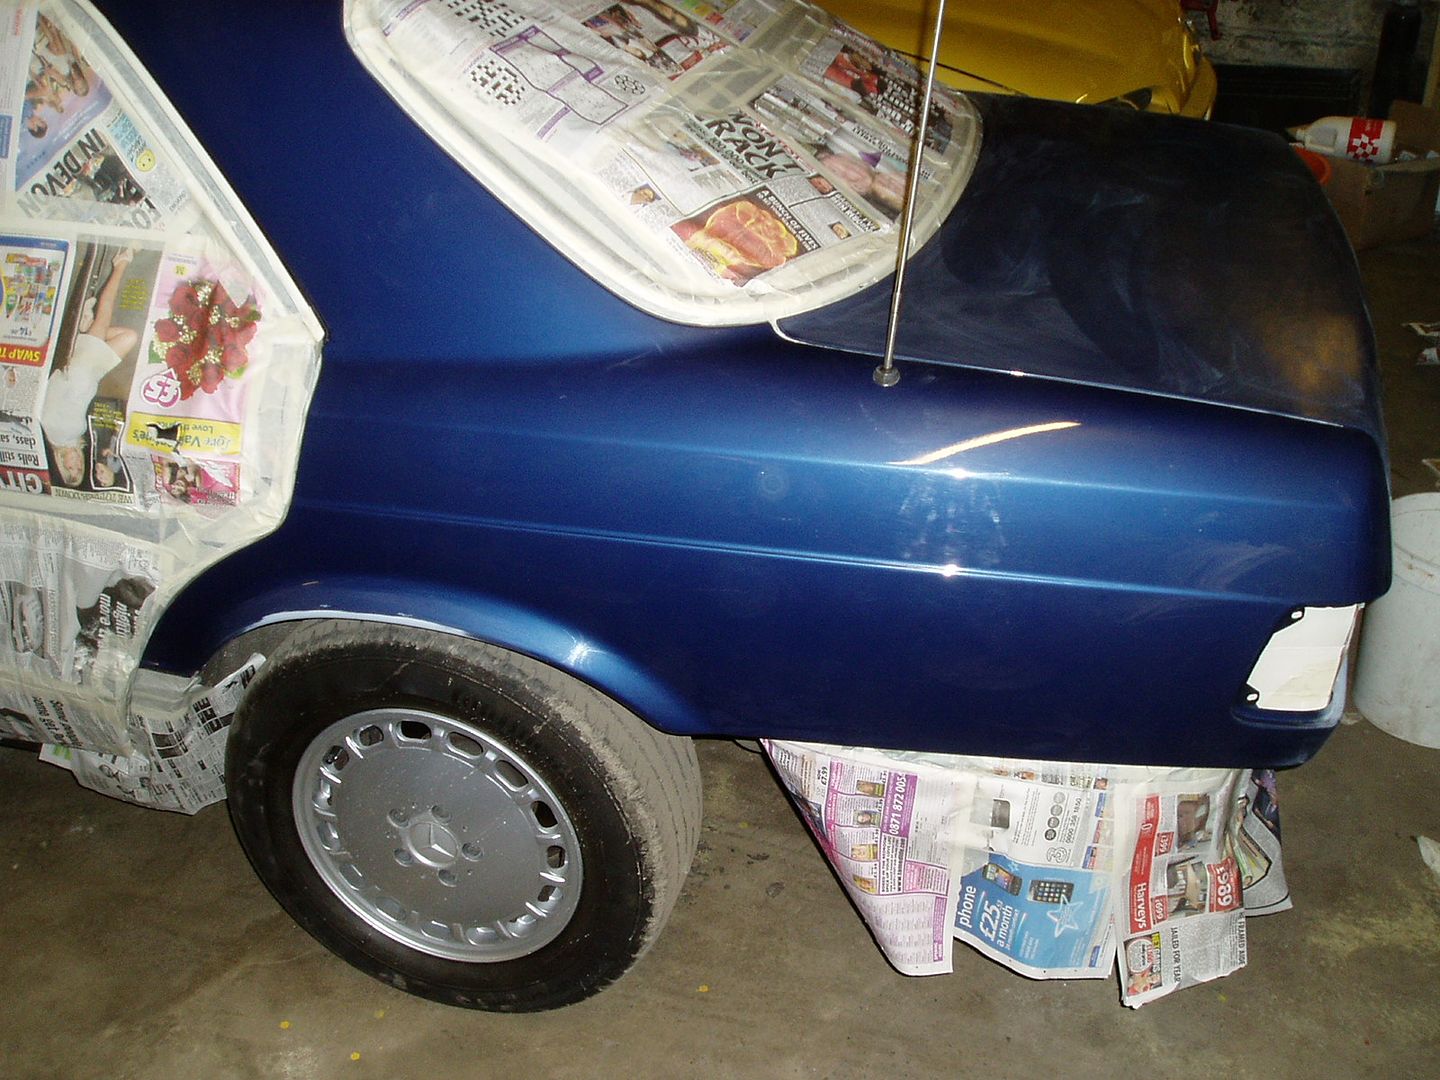
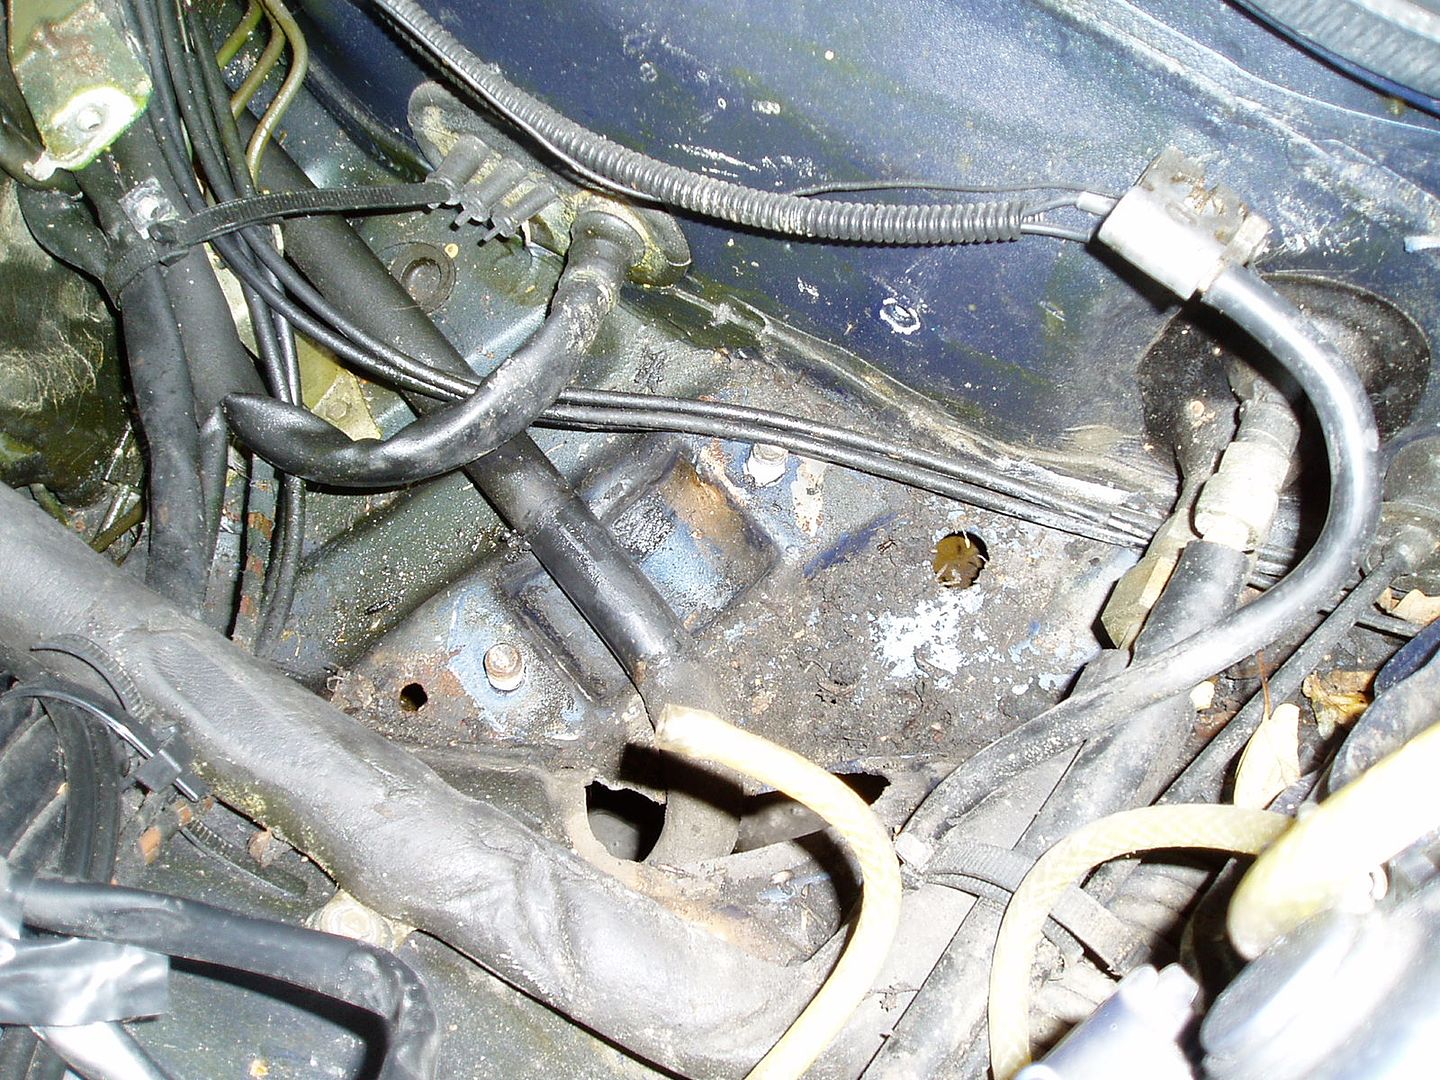
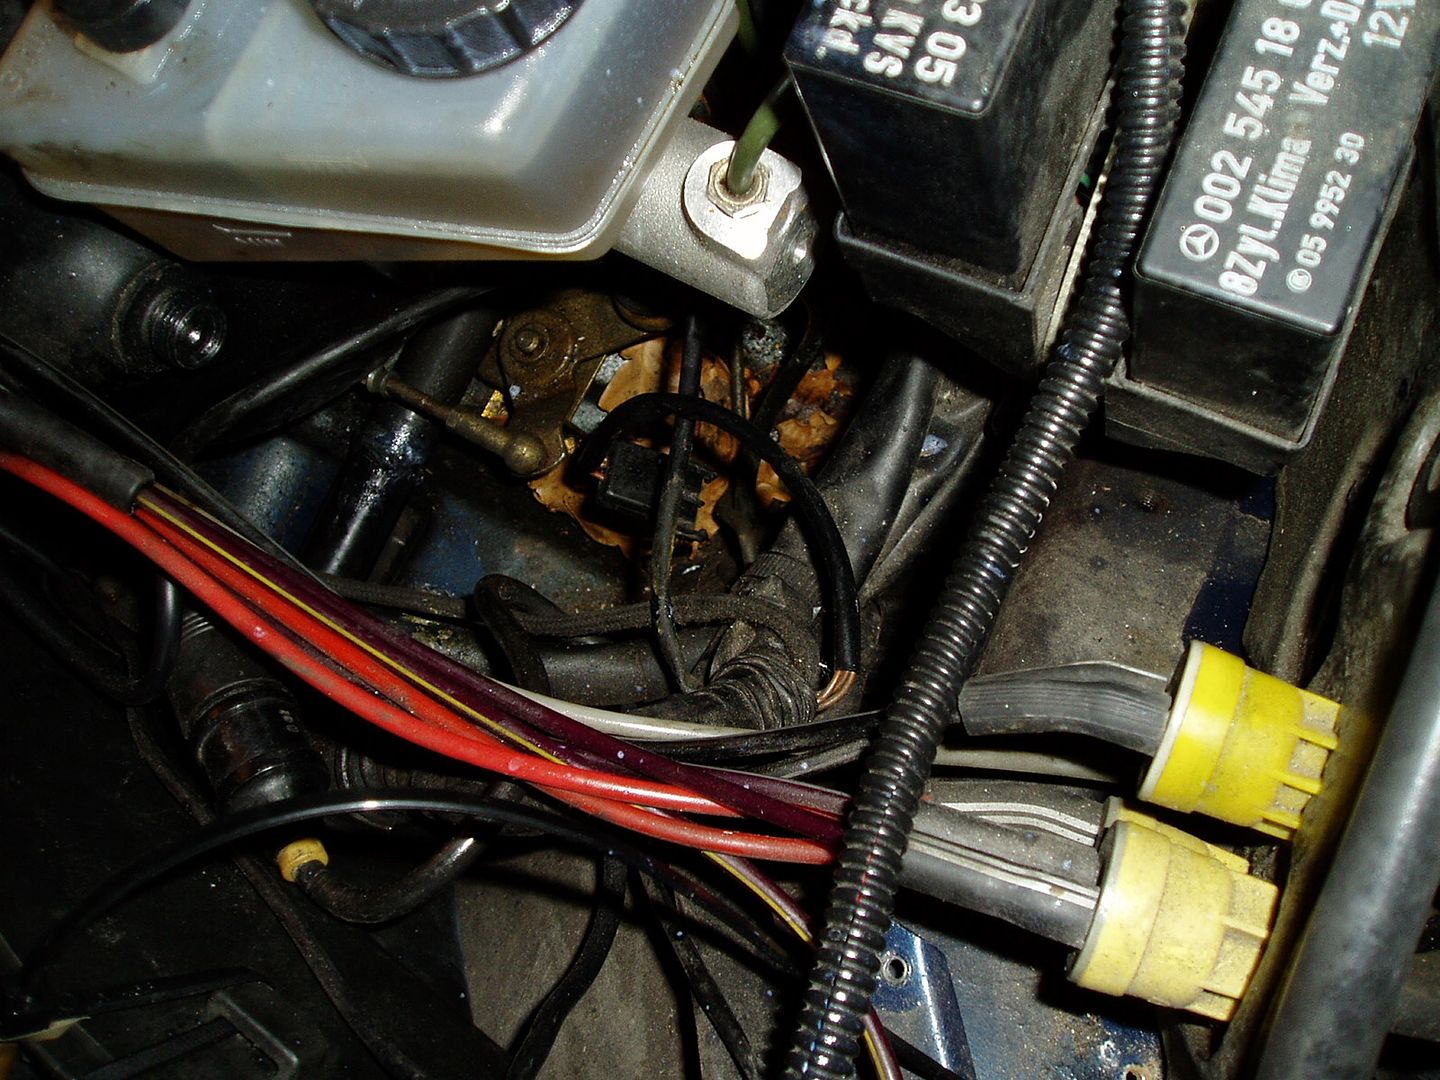
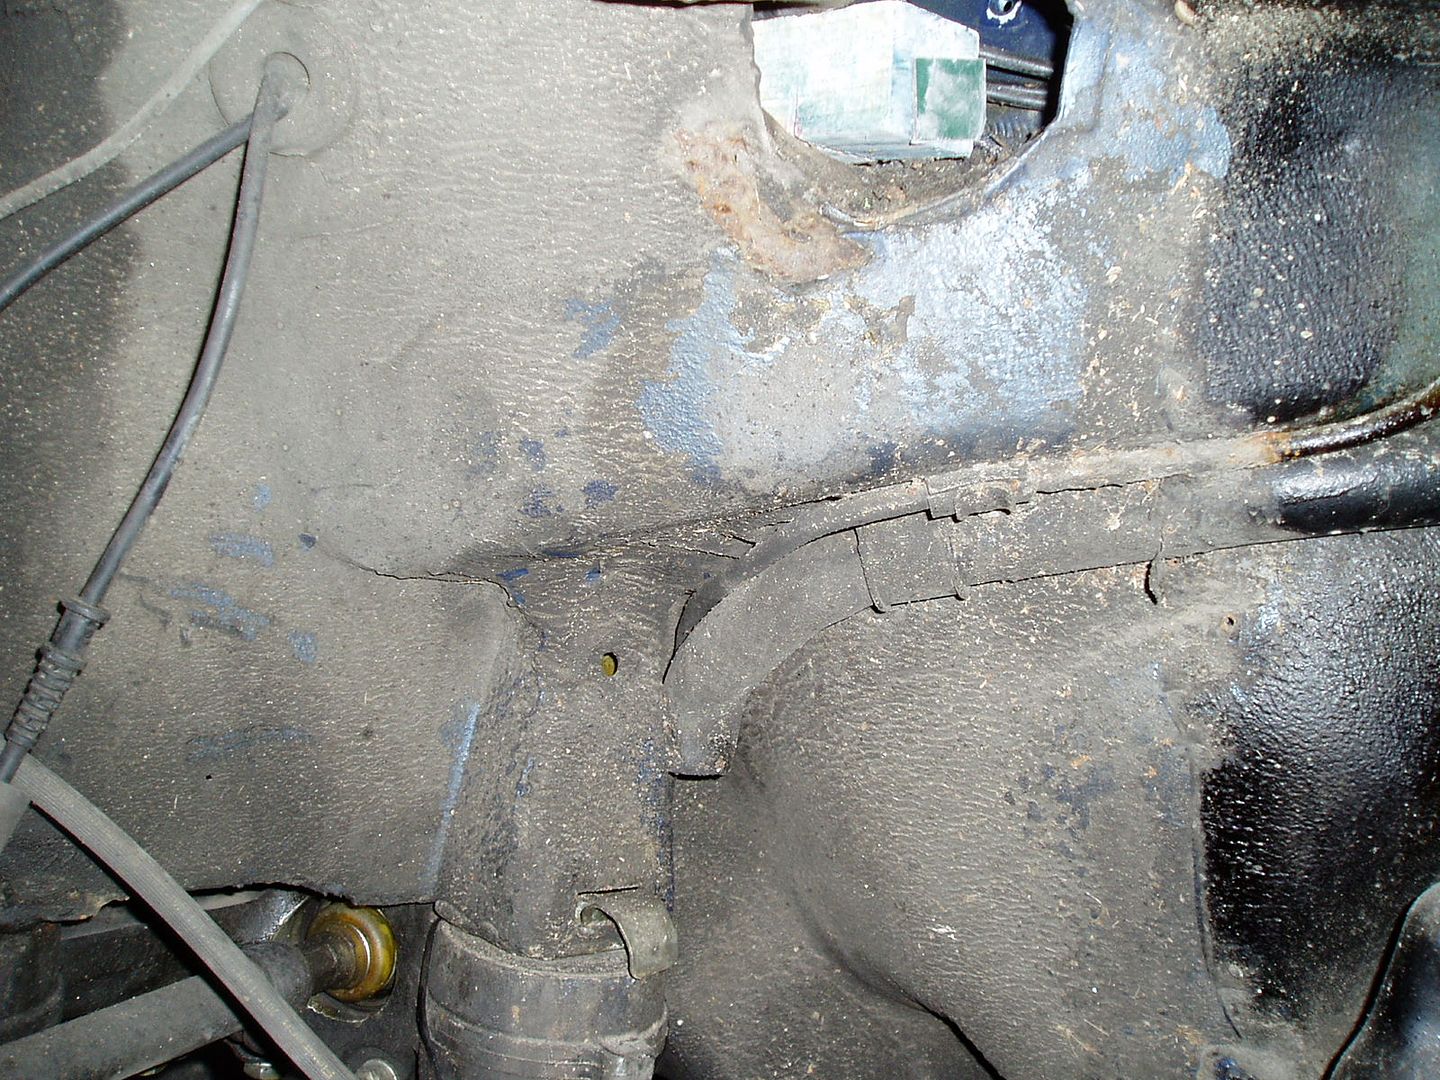
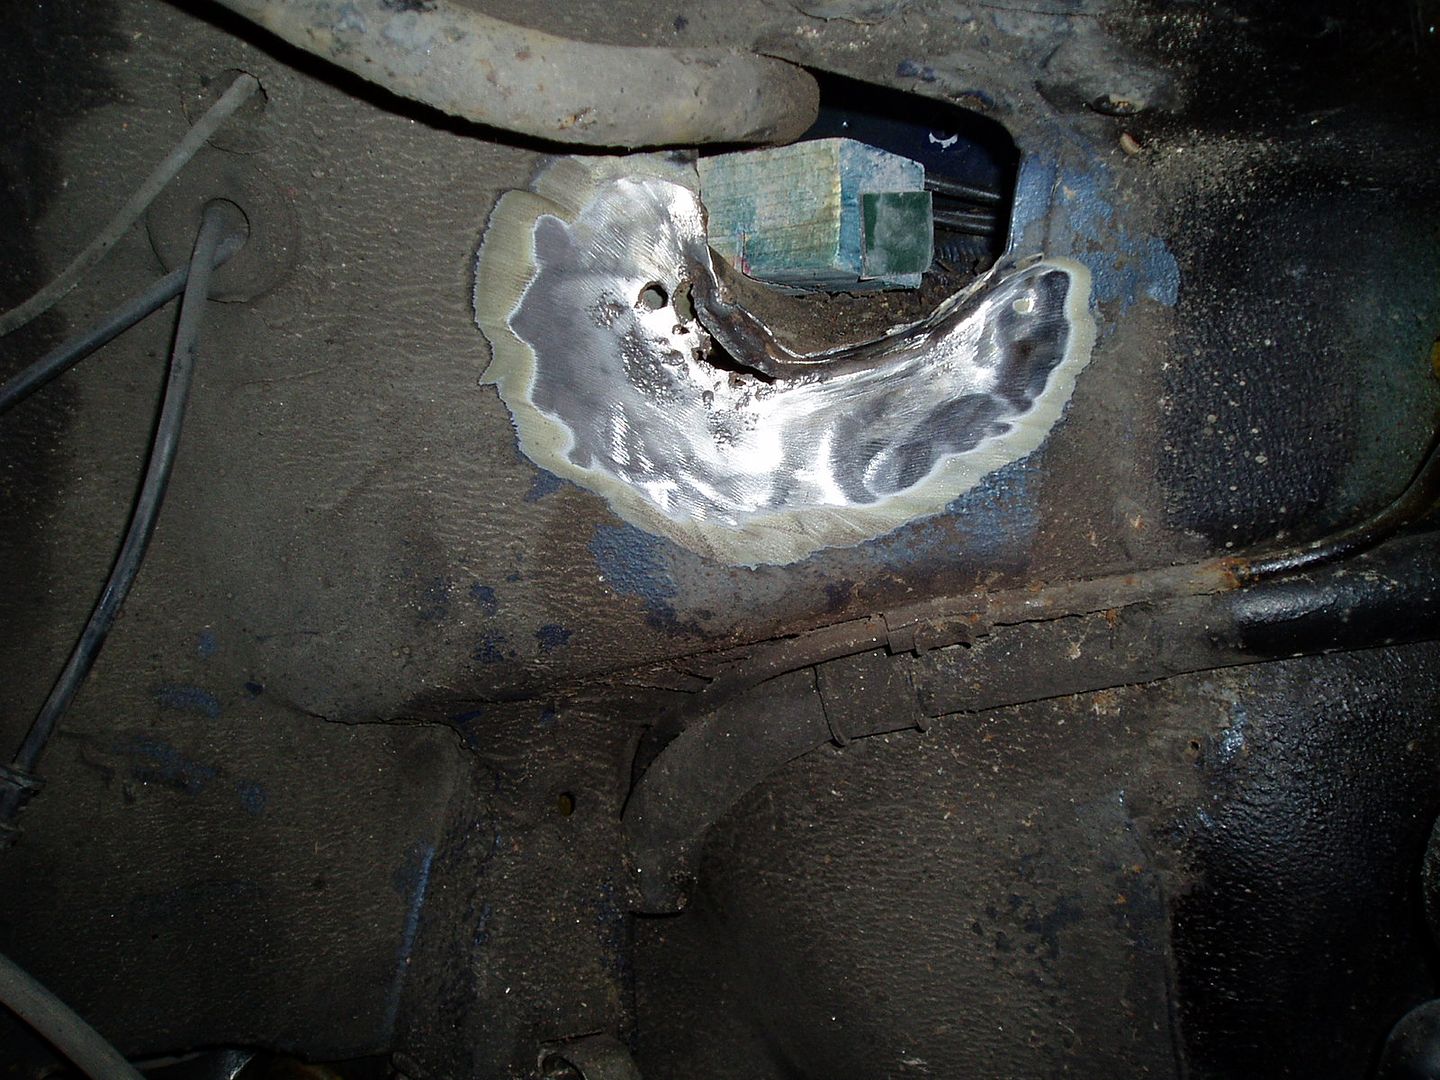
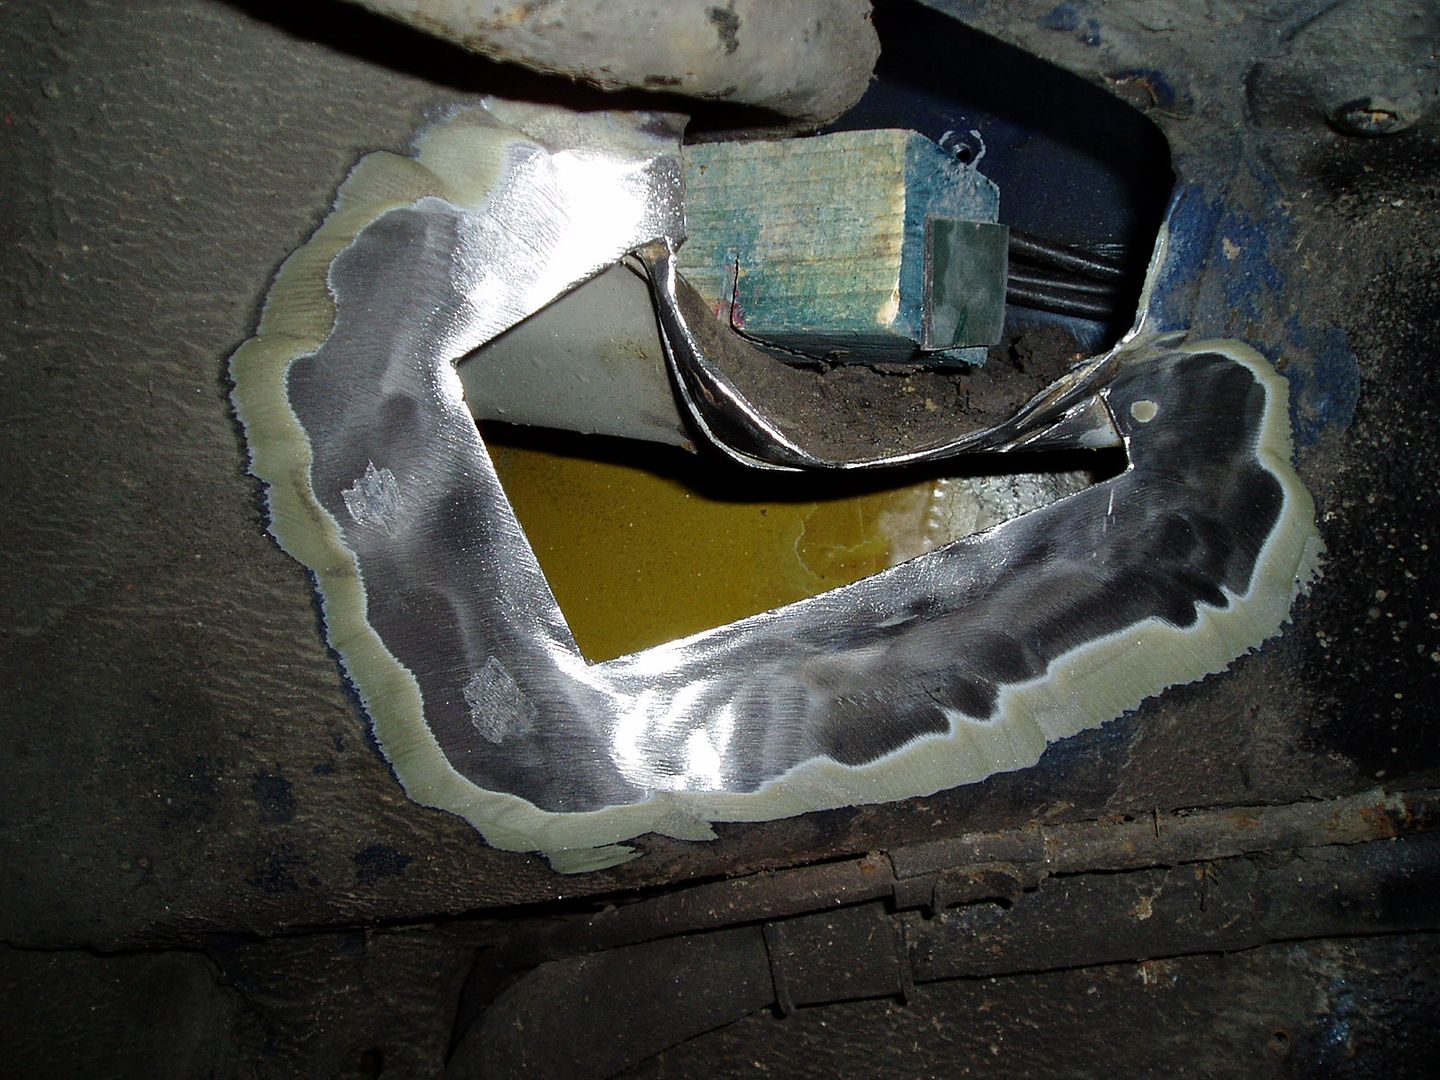
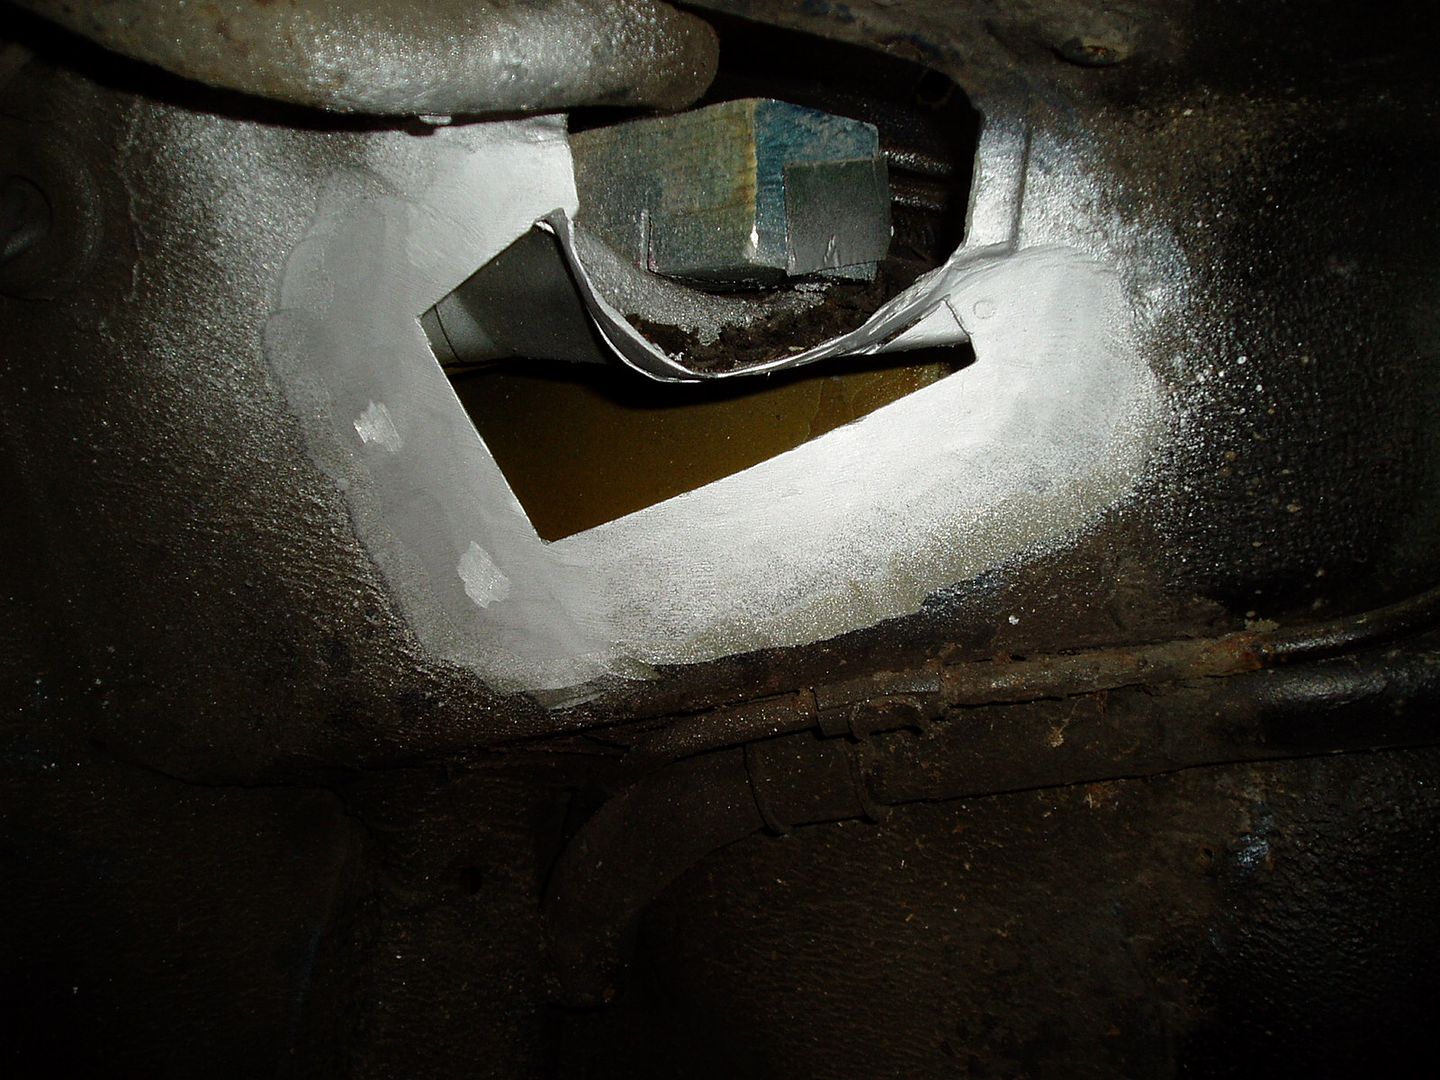
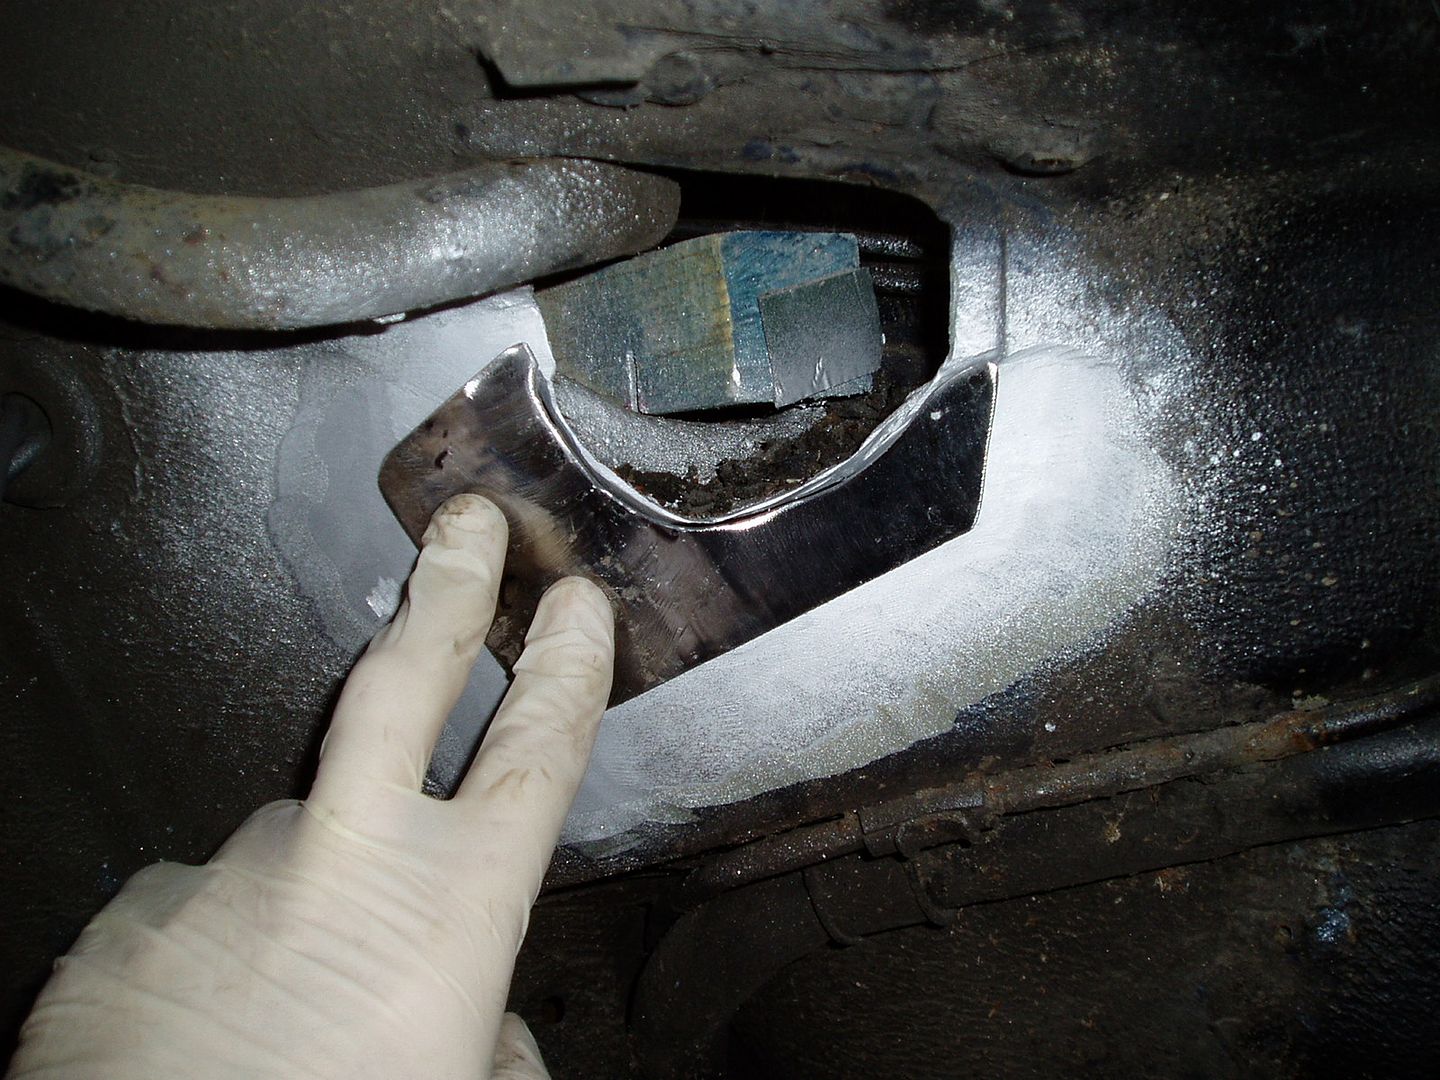
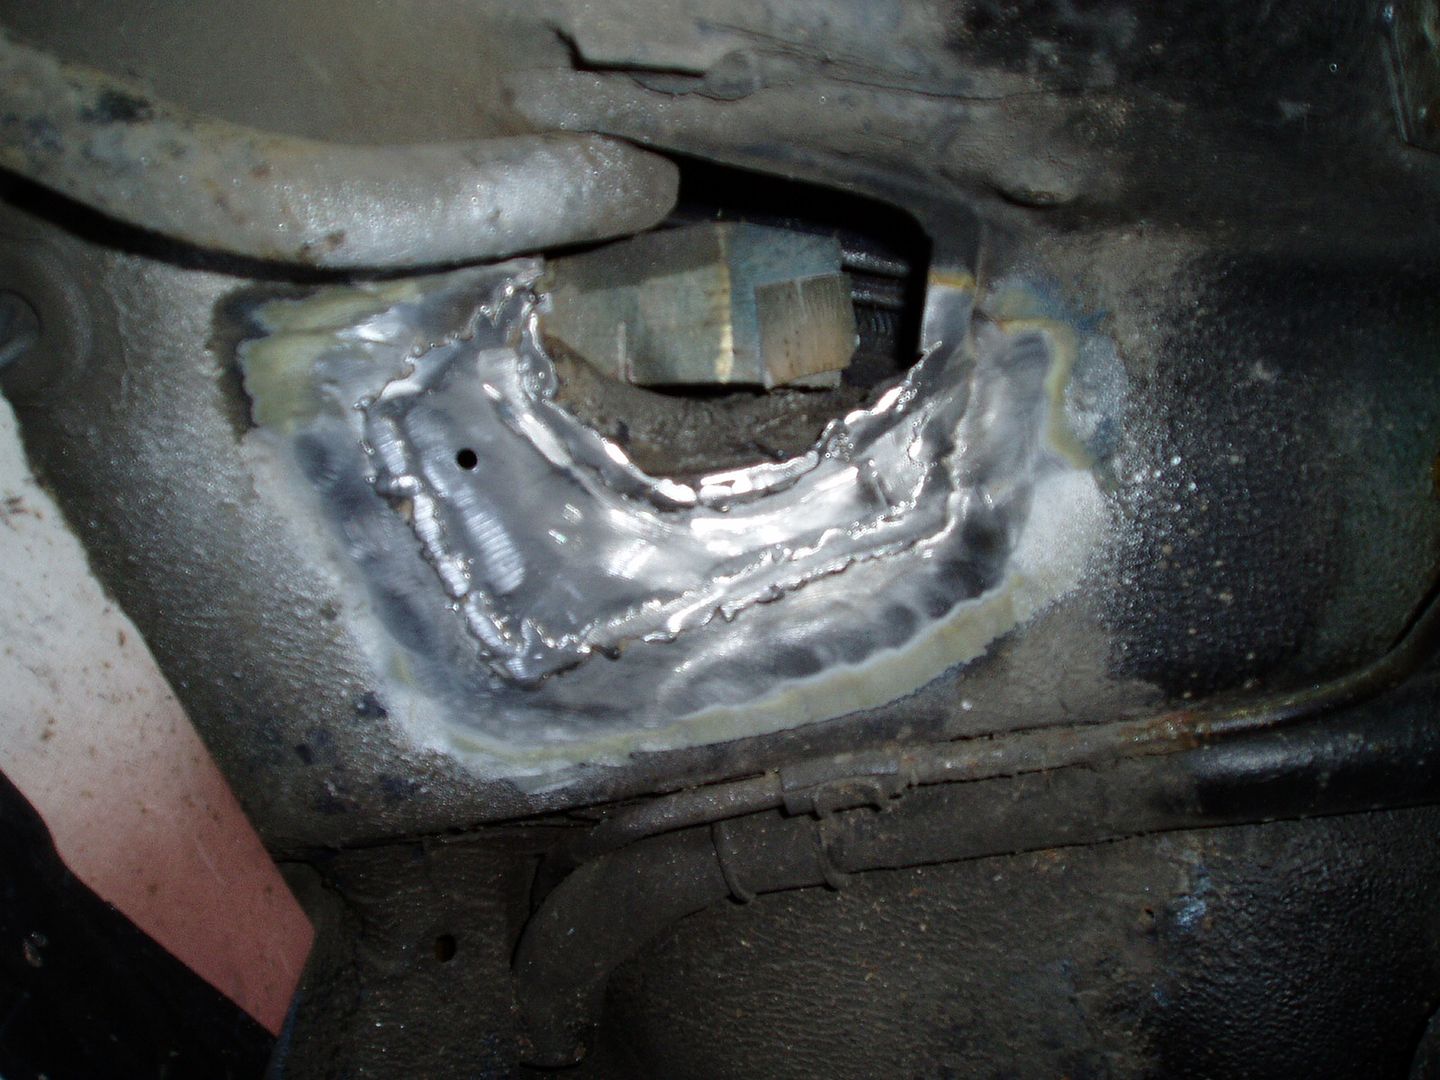
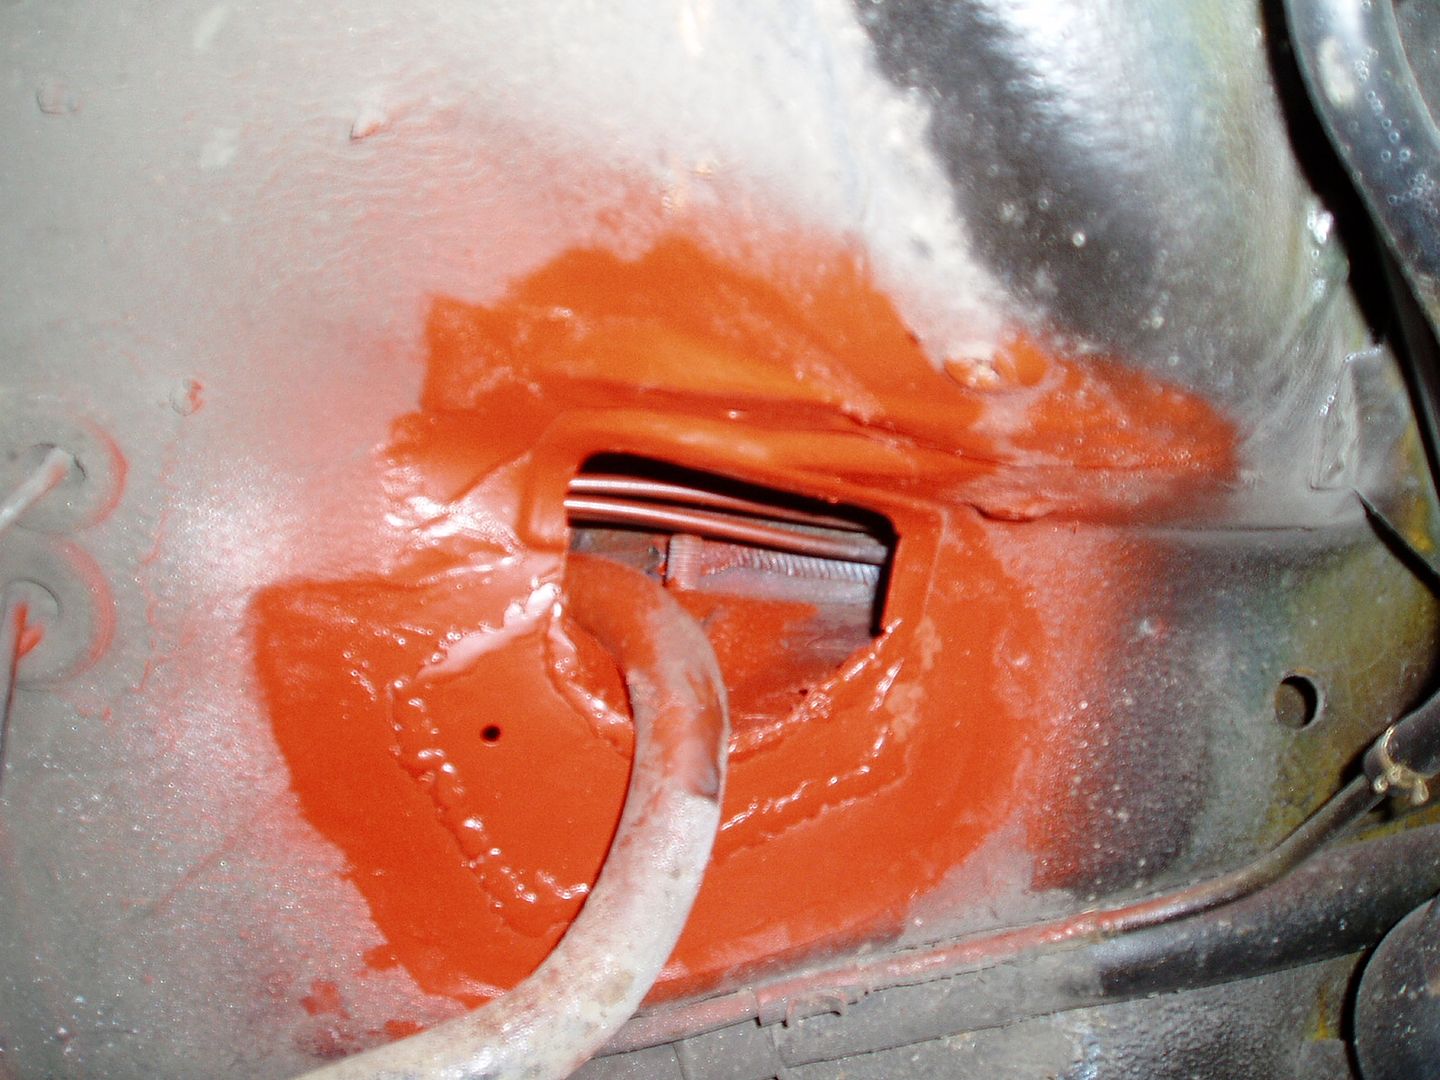
Wheelarch scratch repair
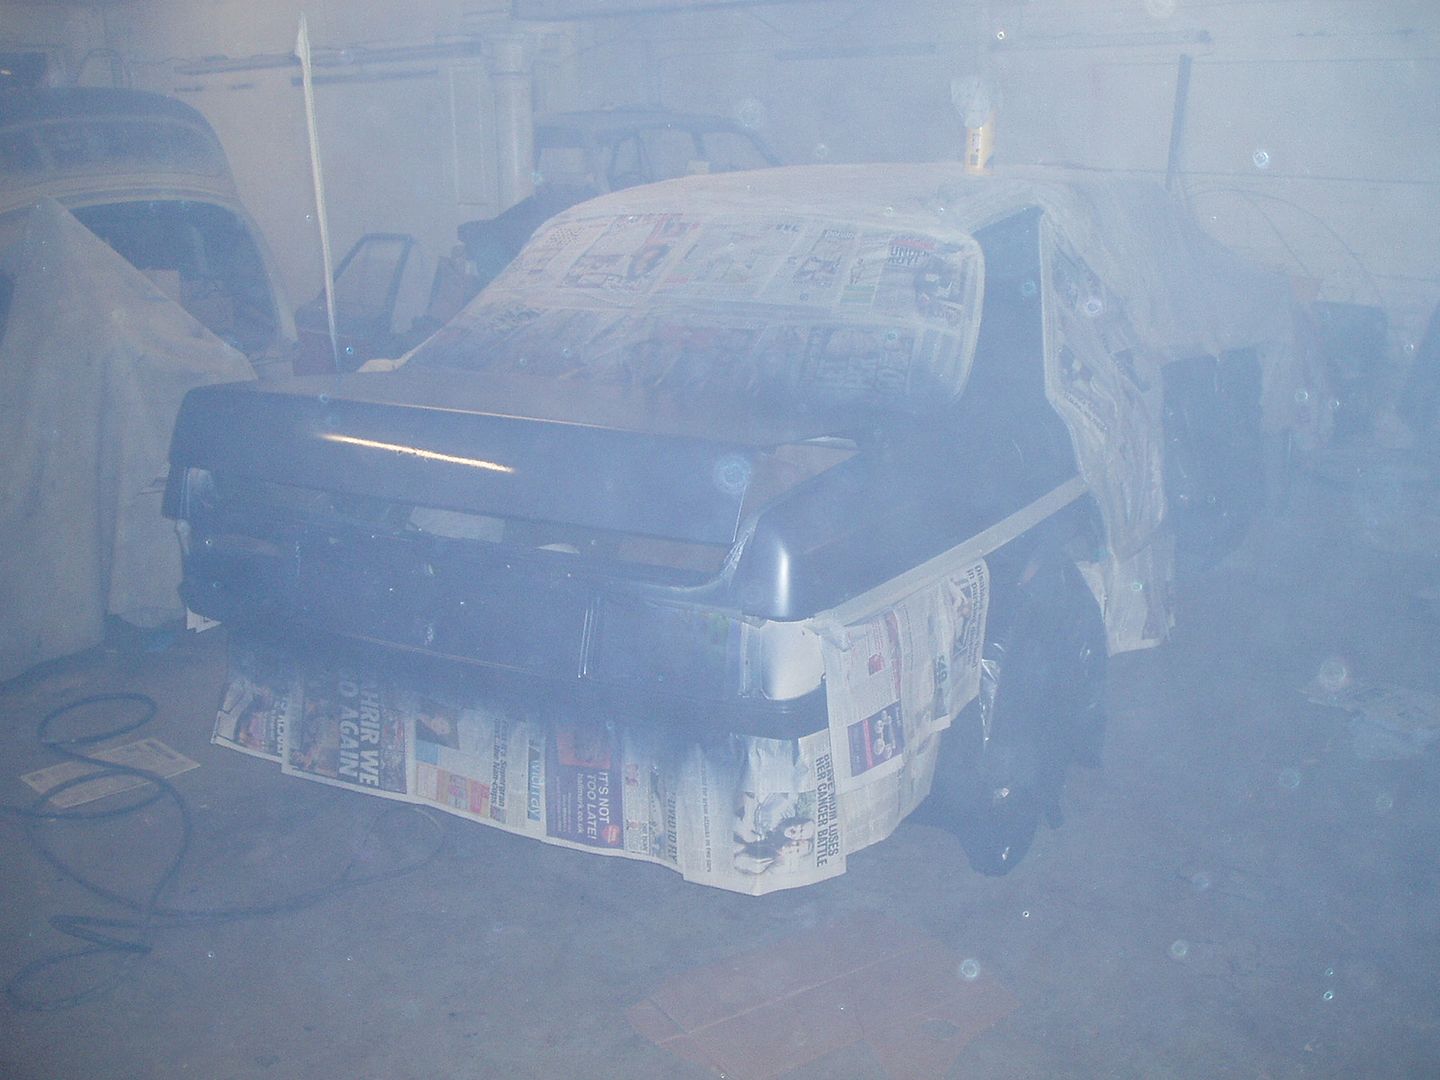
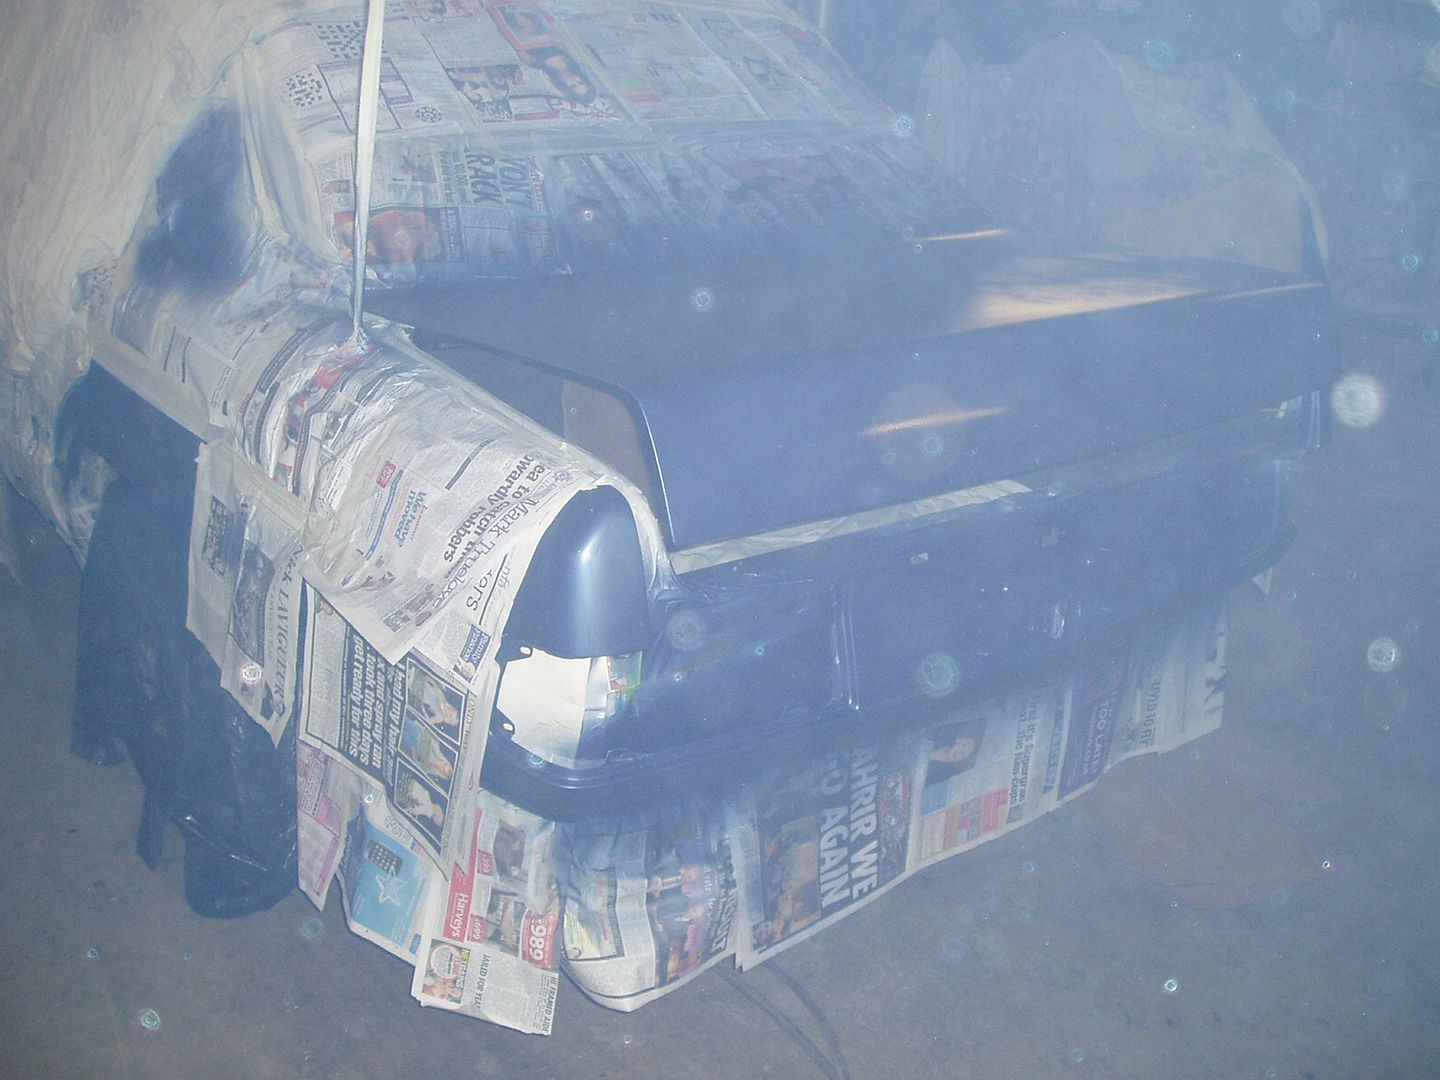
036-1.jpg


Being sprayed
038-1.jpg

039-1.jpg


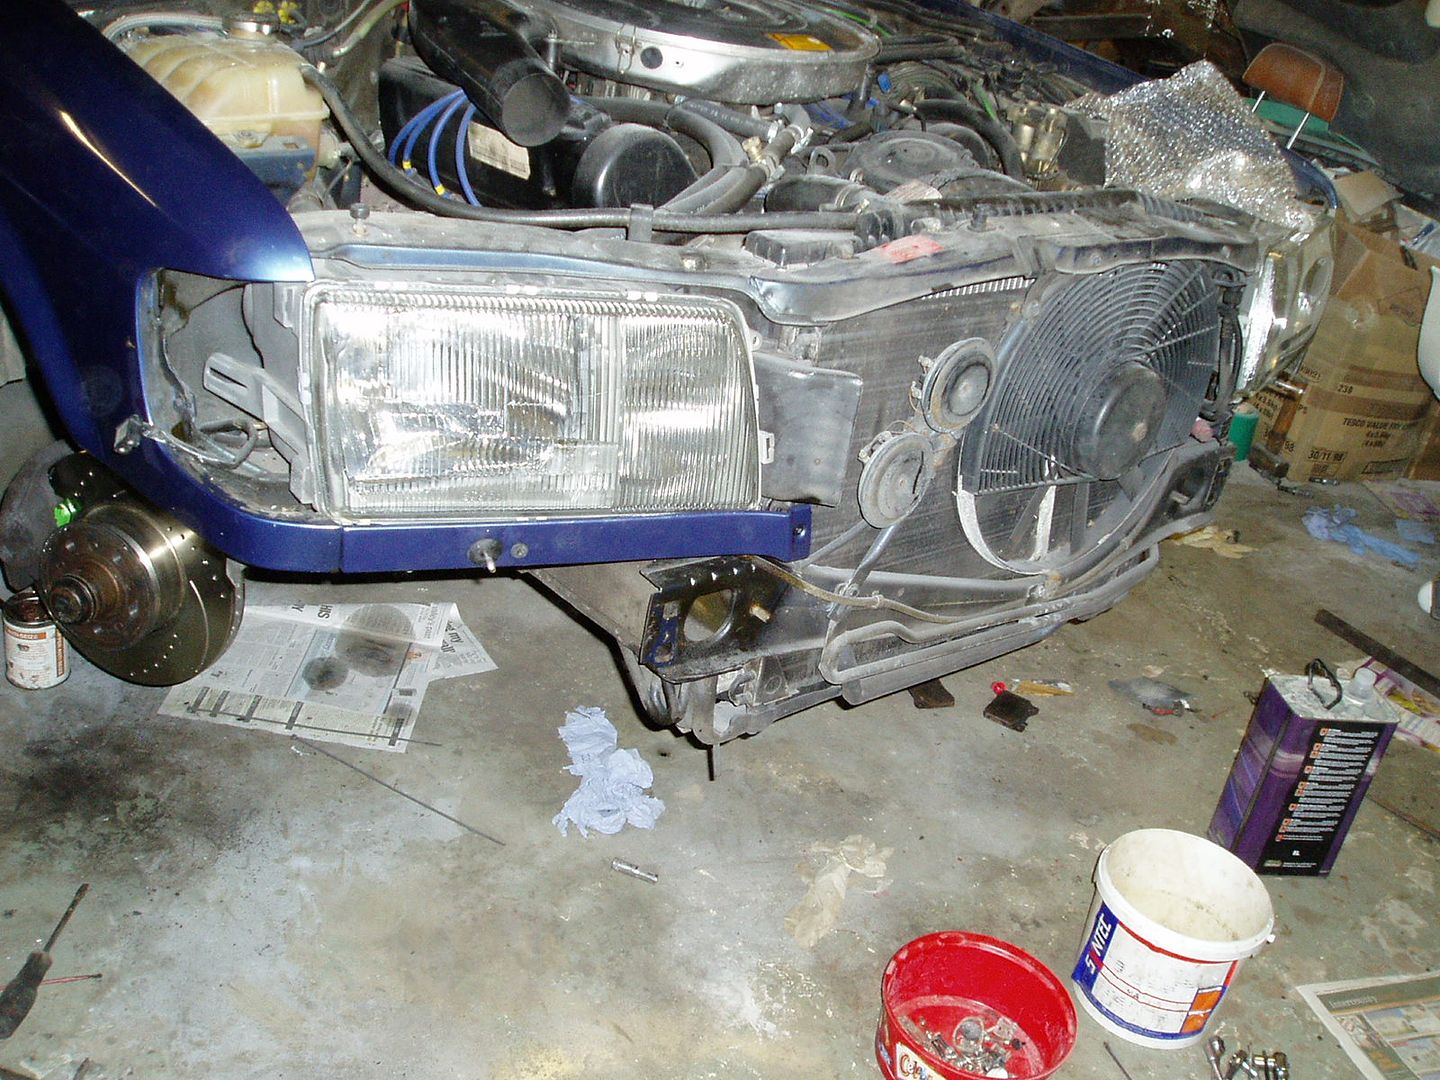
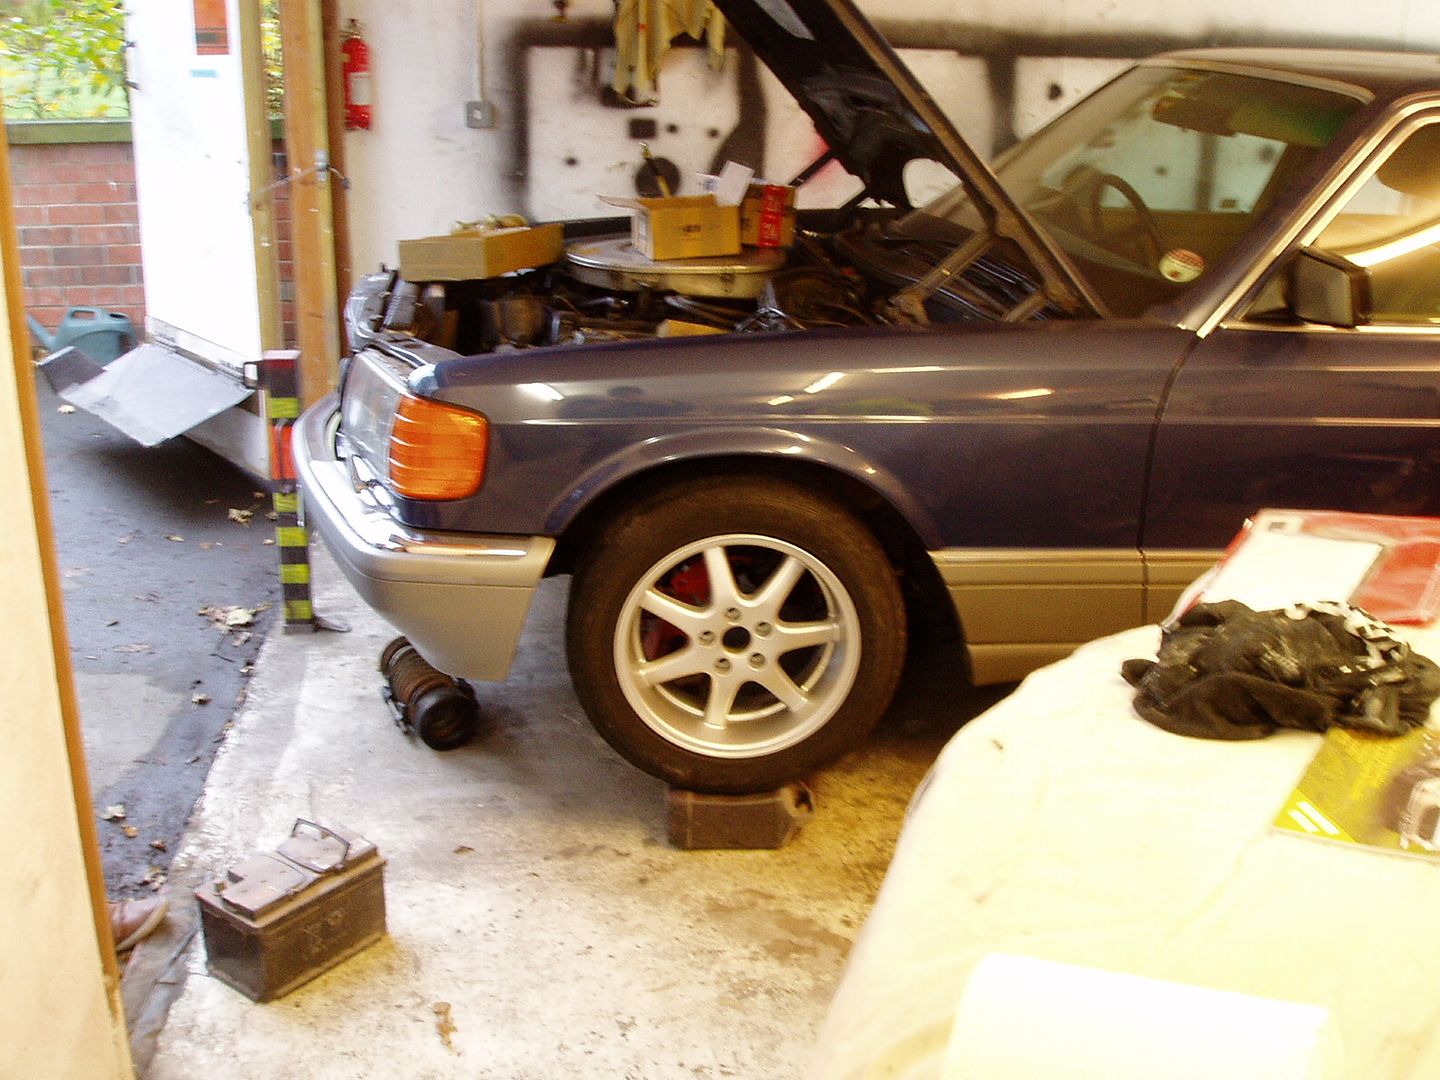
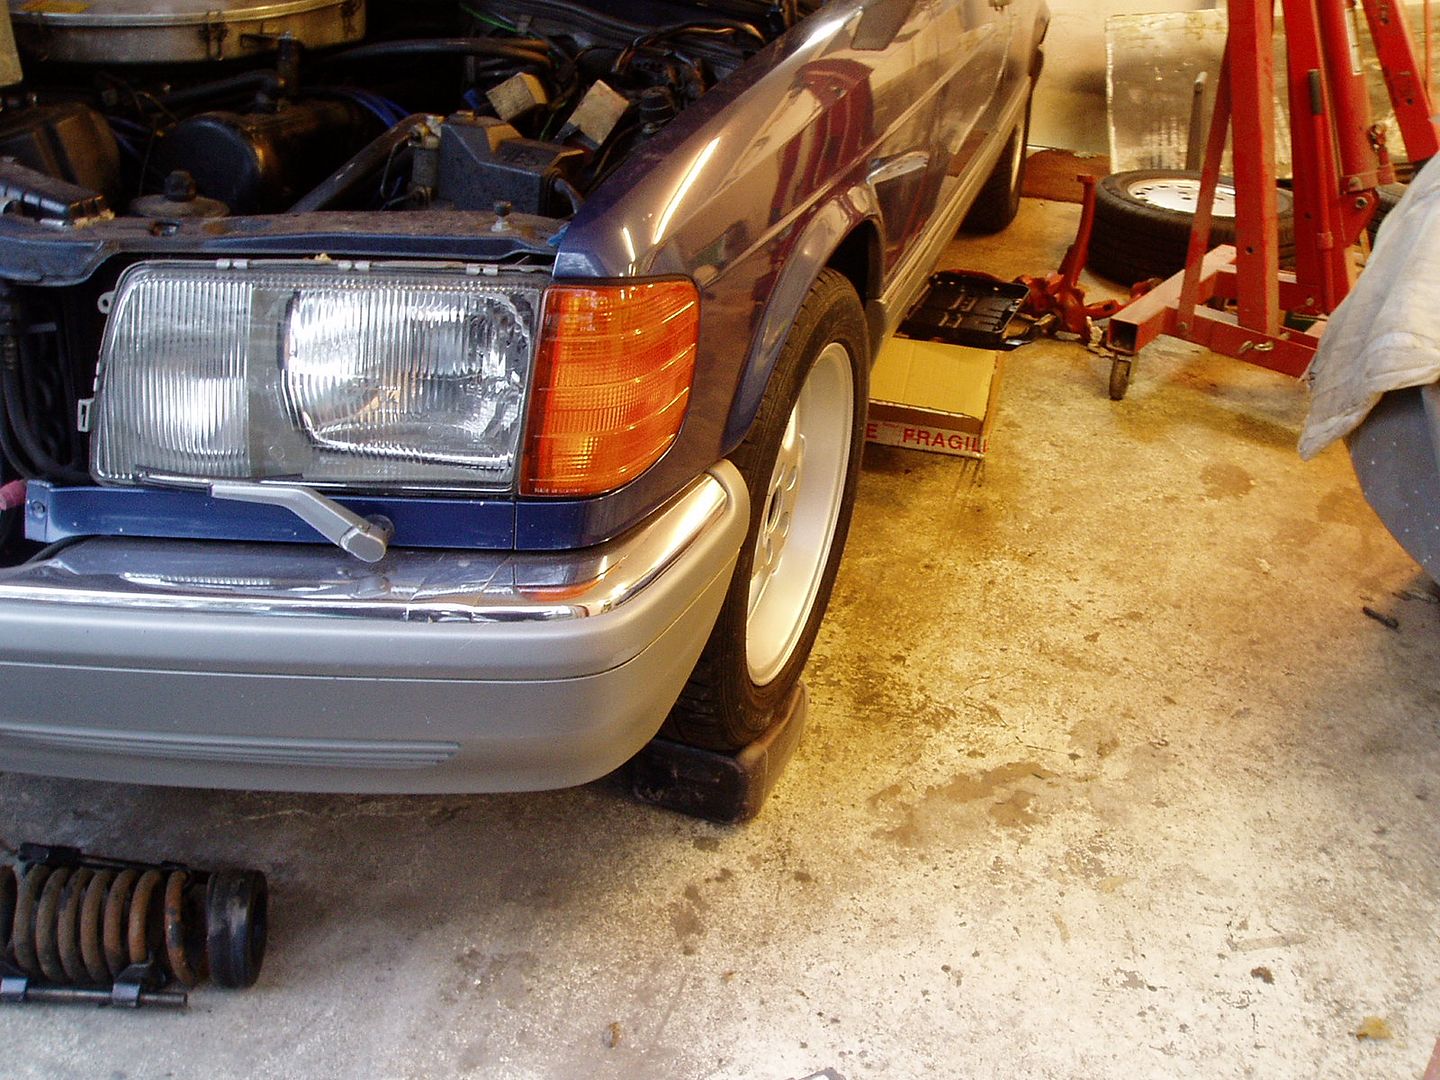
I resprayed the panels below the headlights, which were stonechipped. (I also repainted the backs of the door mirrors in the same silver grey as the bumpers - no photos of those). My Volvo project car acting as a workbench temporarily!
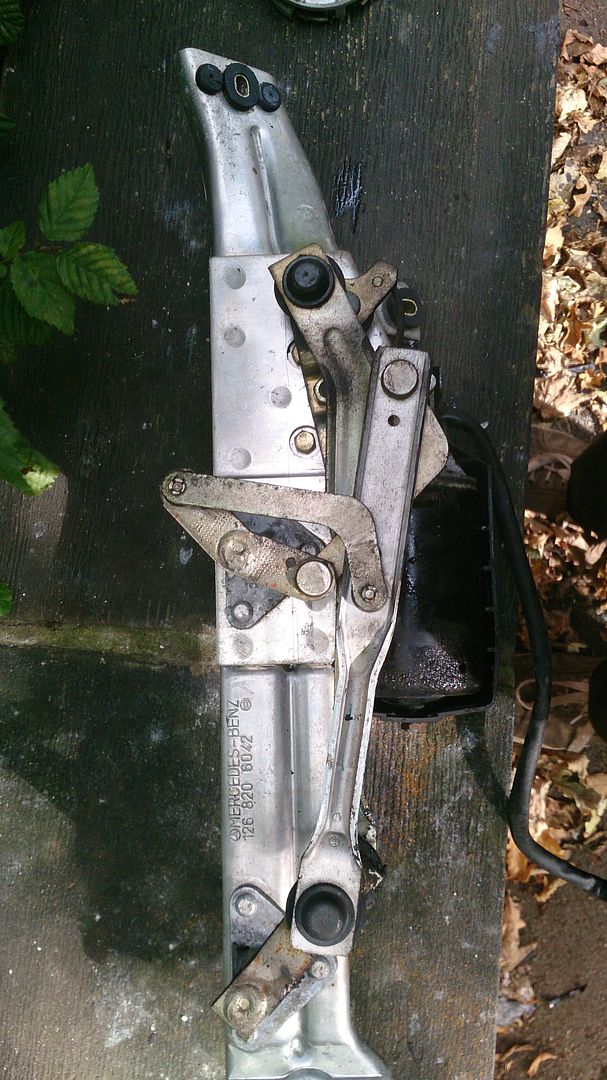
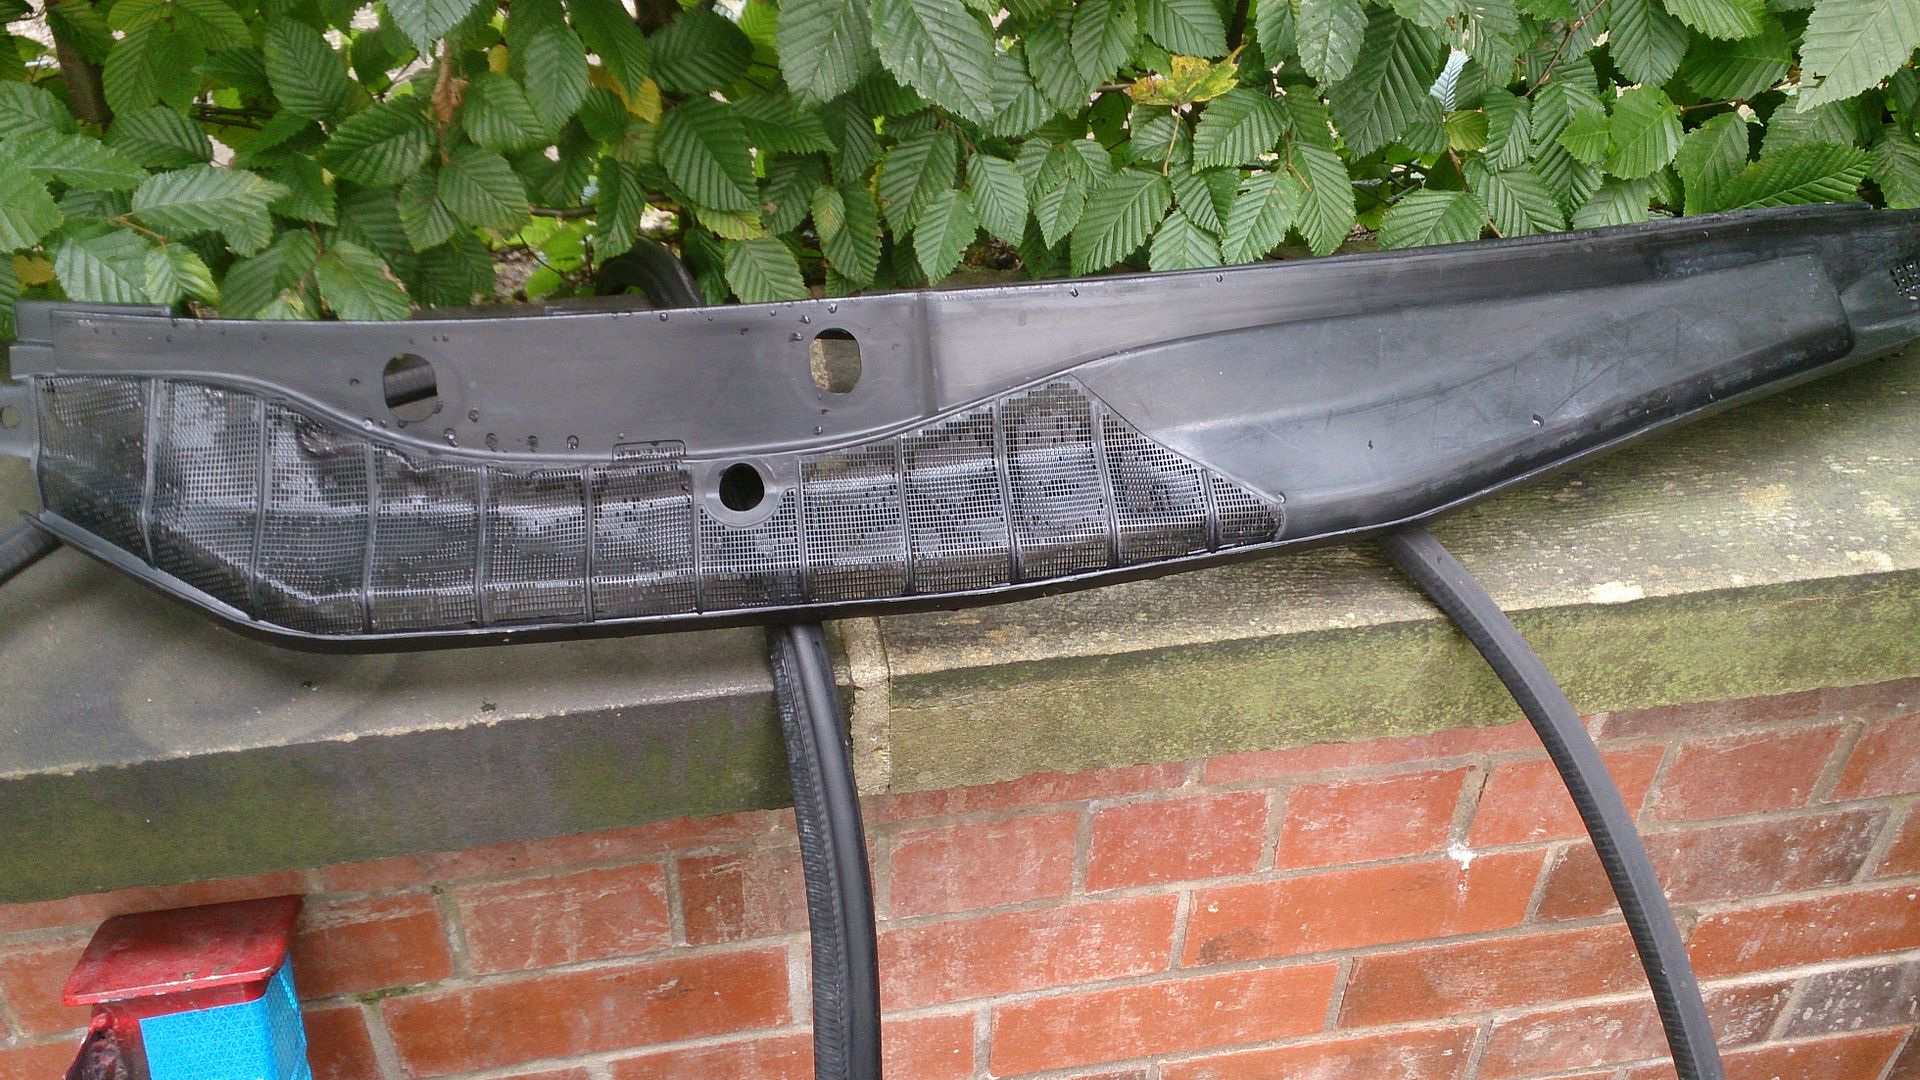
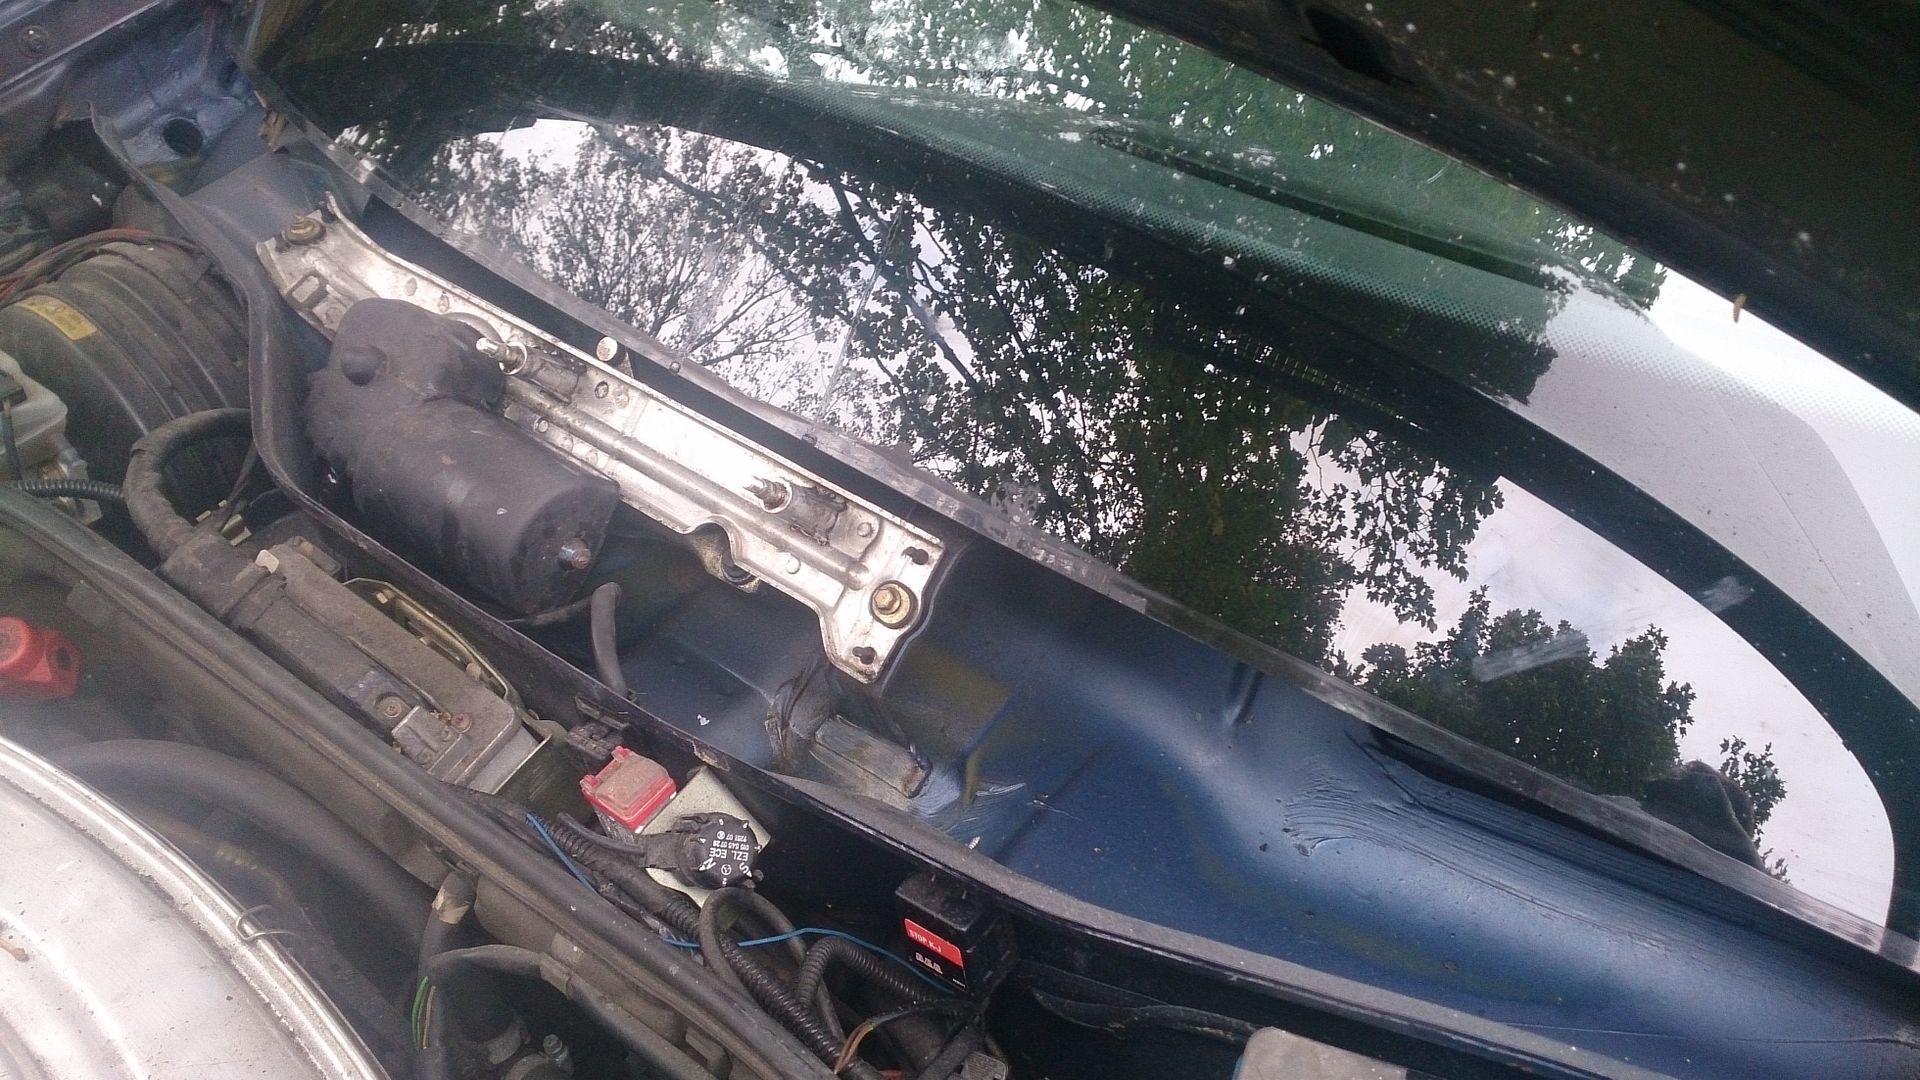
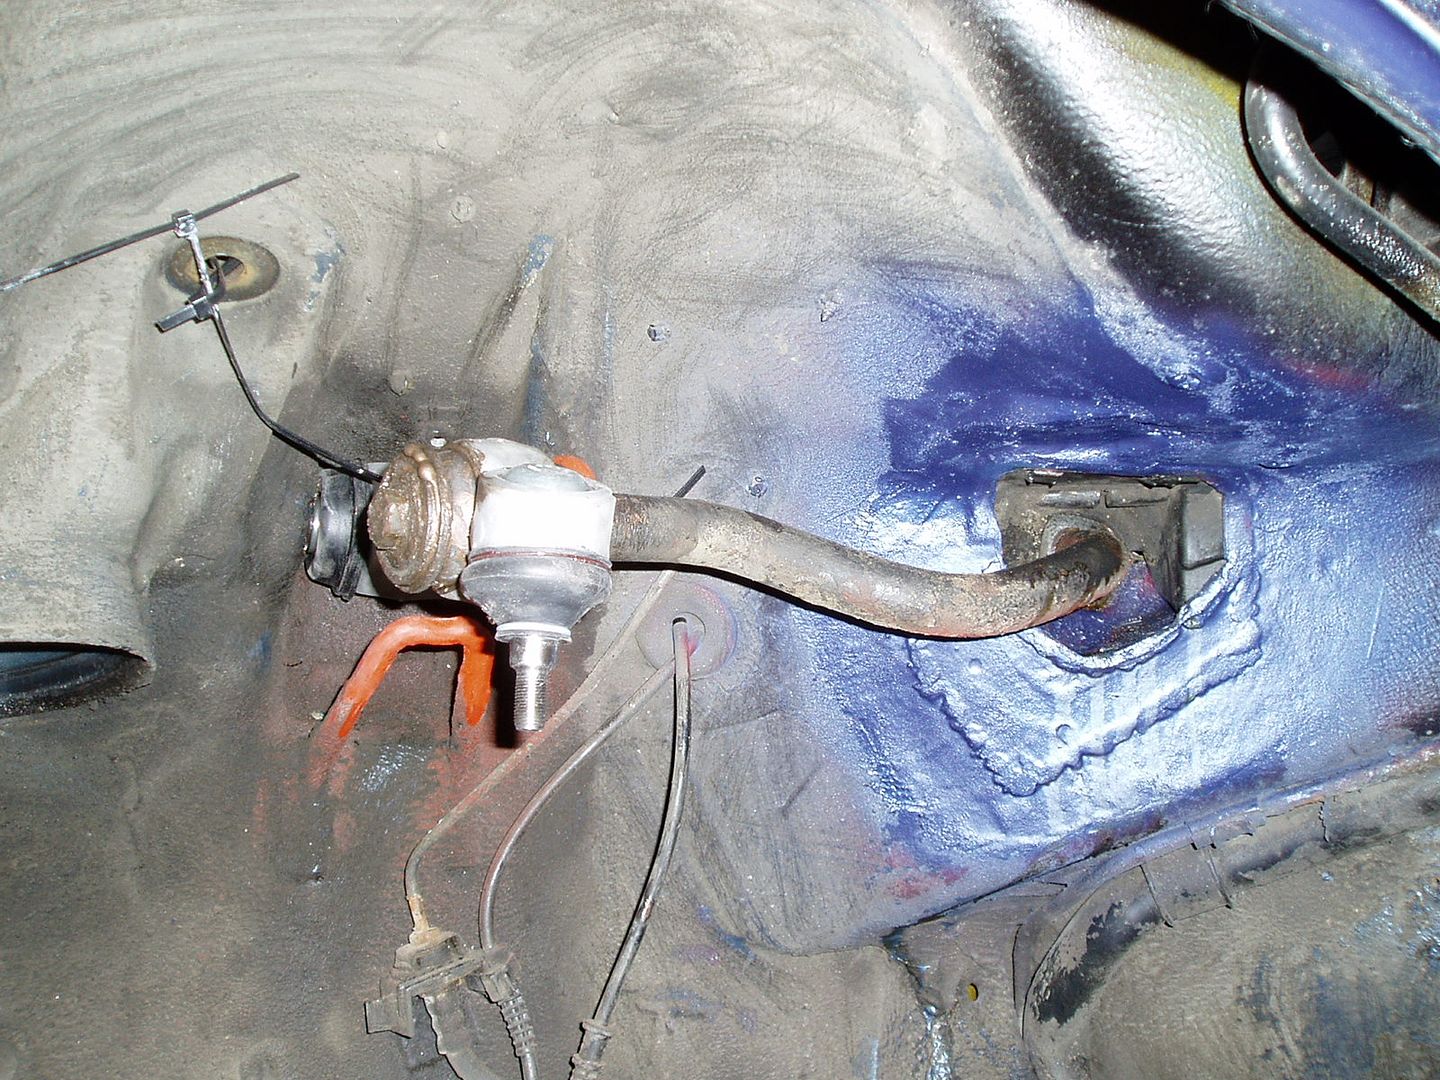
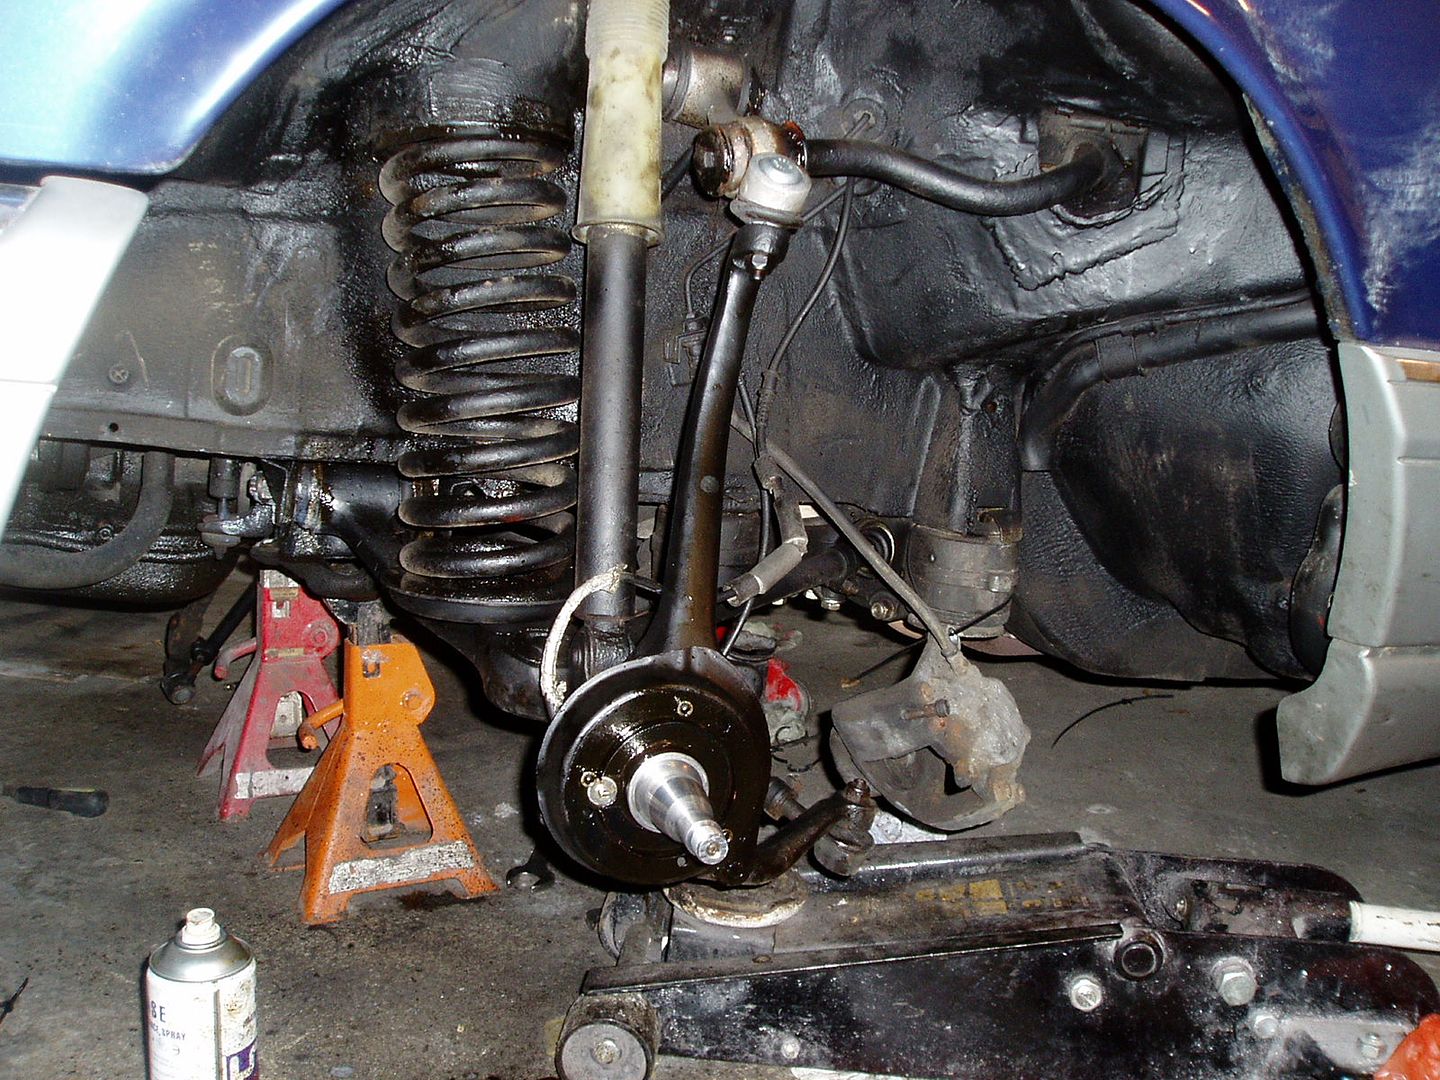
023-1.jpg

006-2.jpg


Reassembling
008-2.jpg


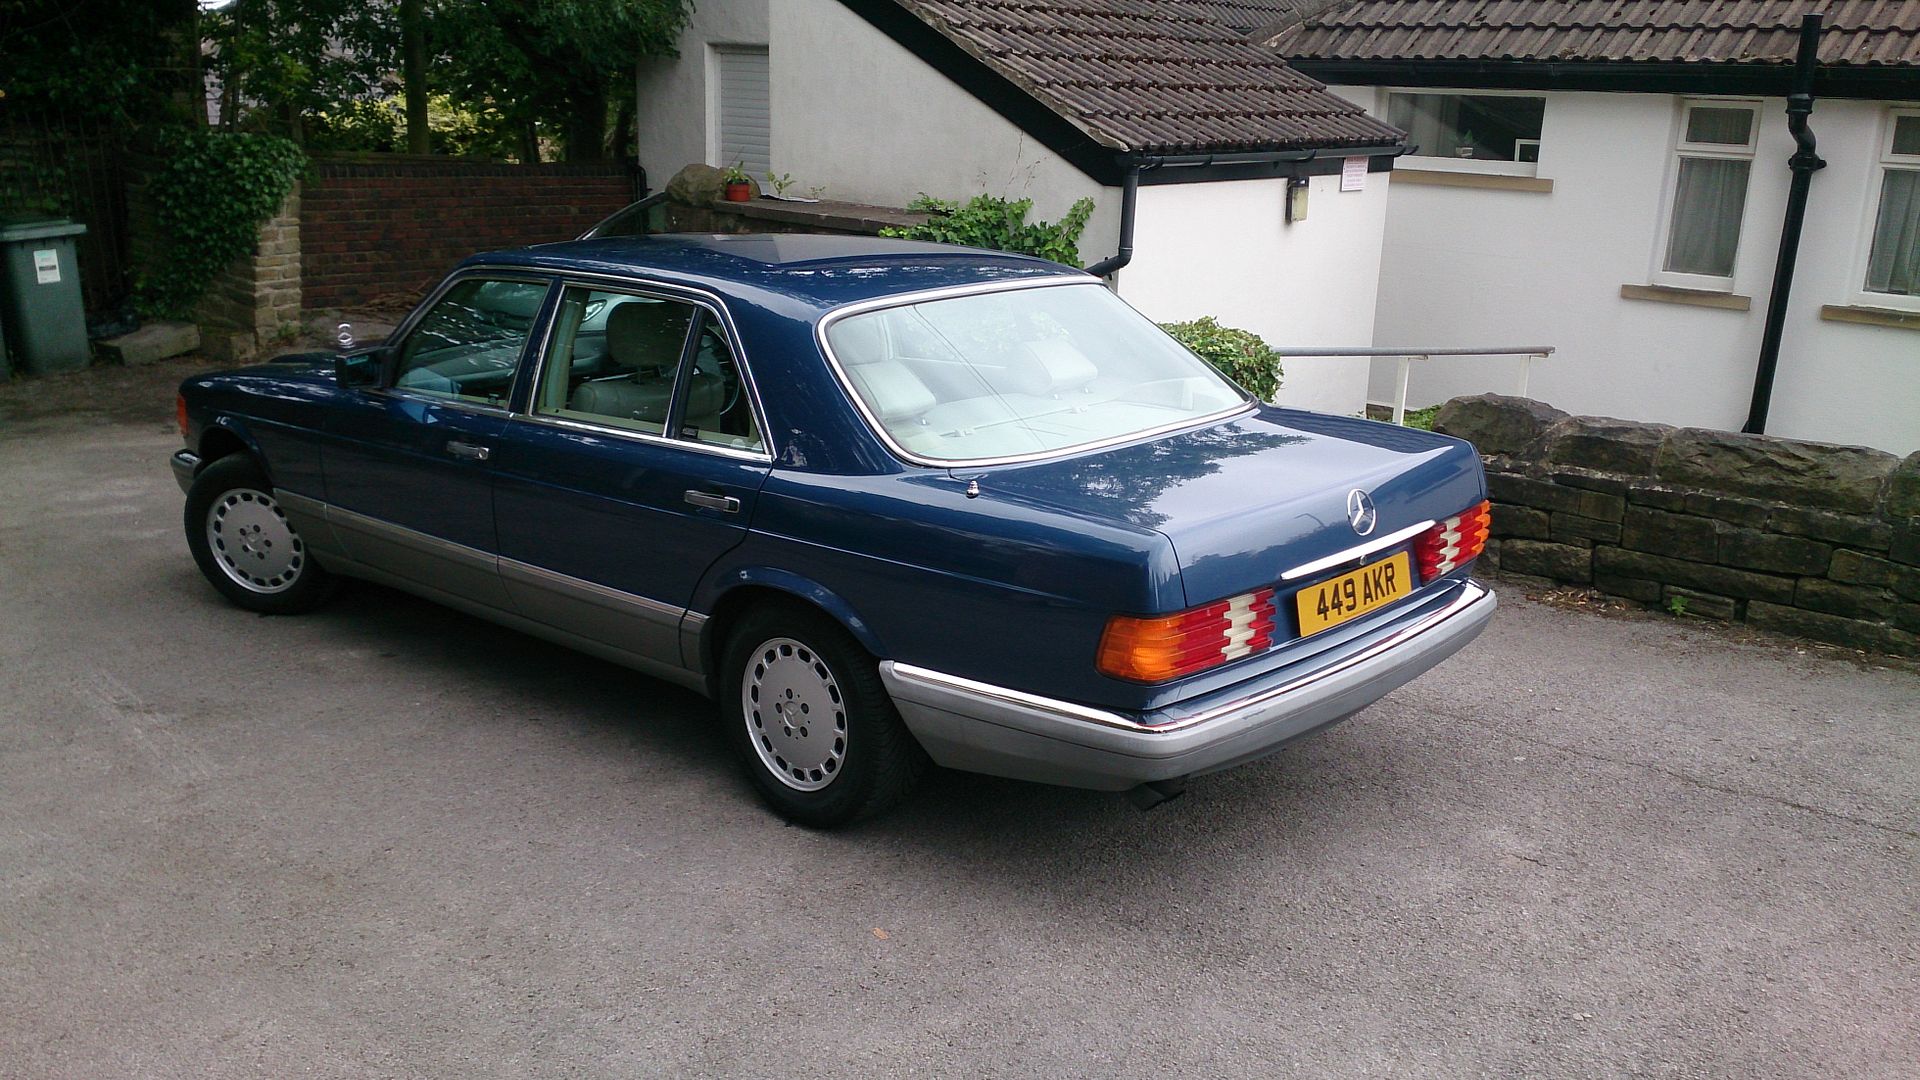
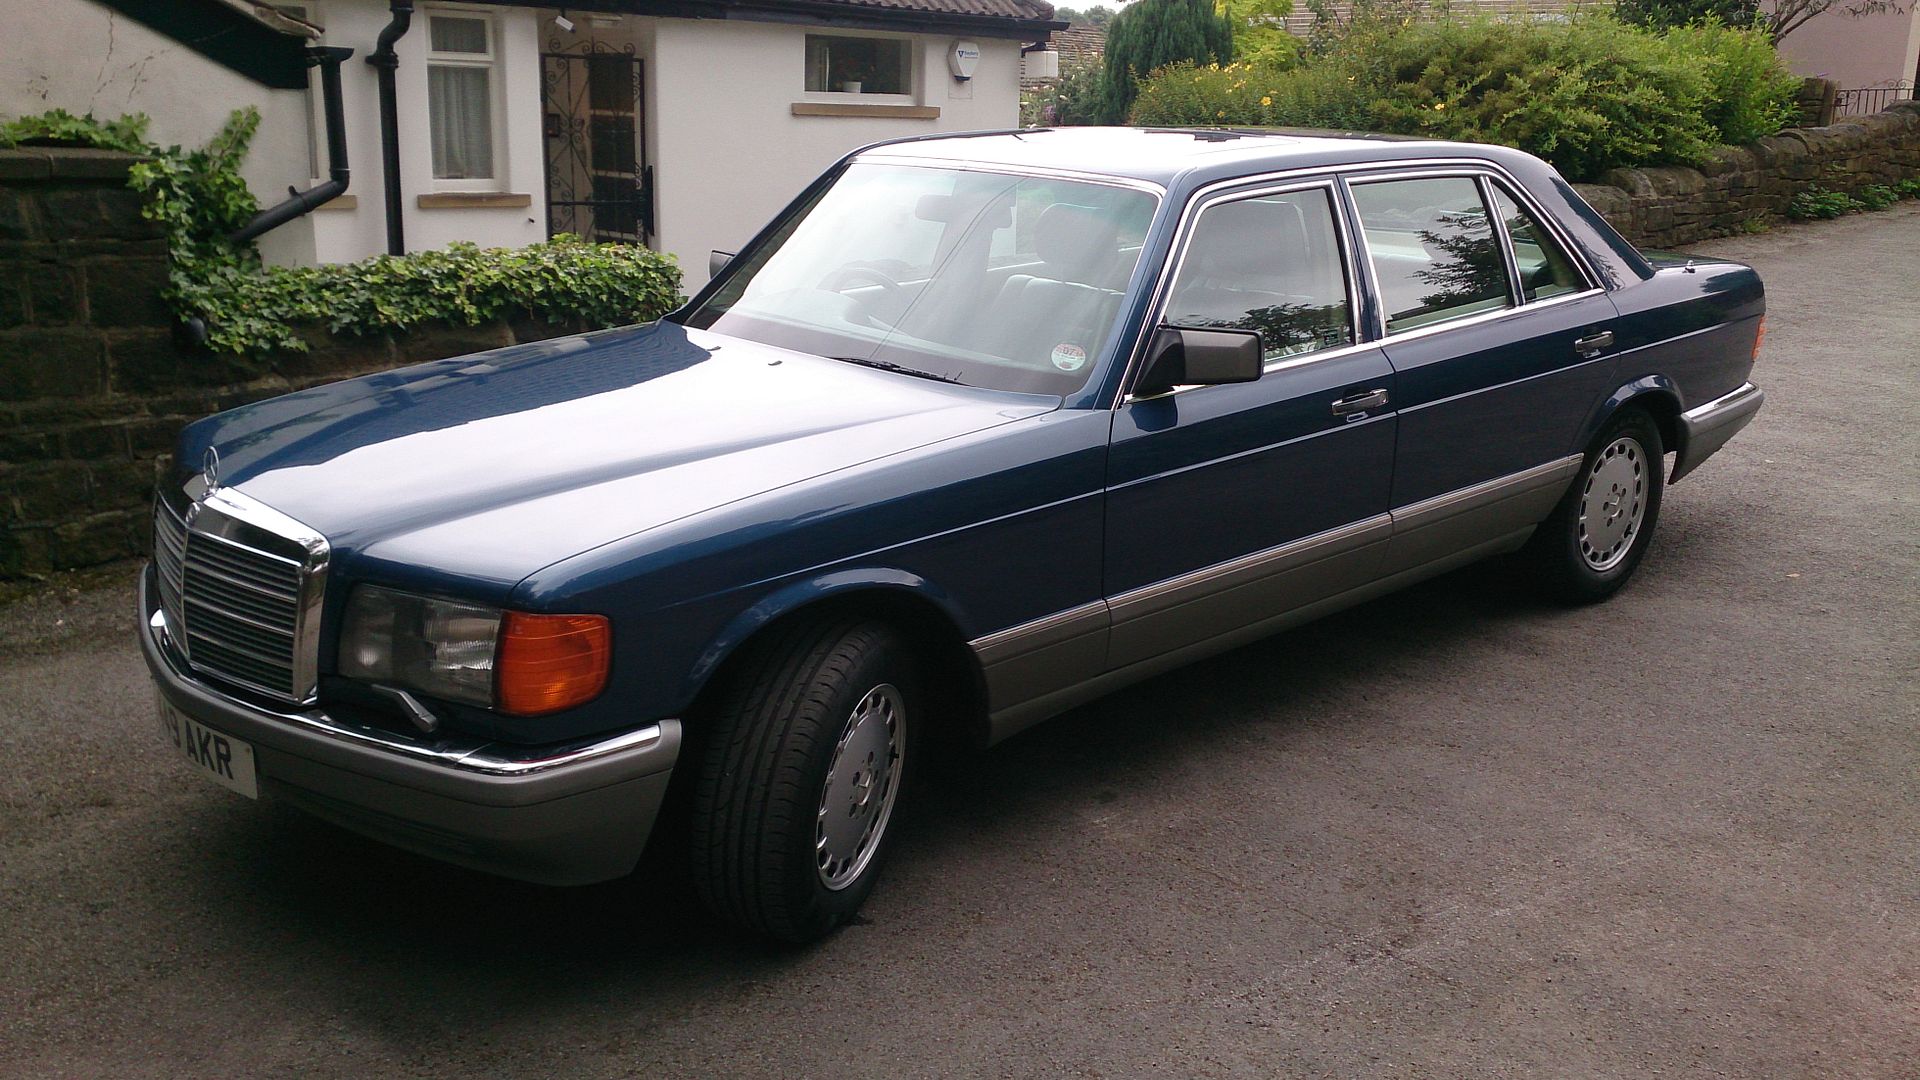
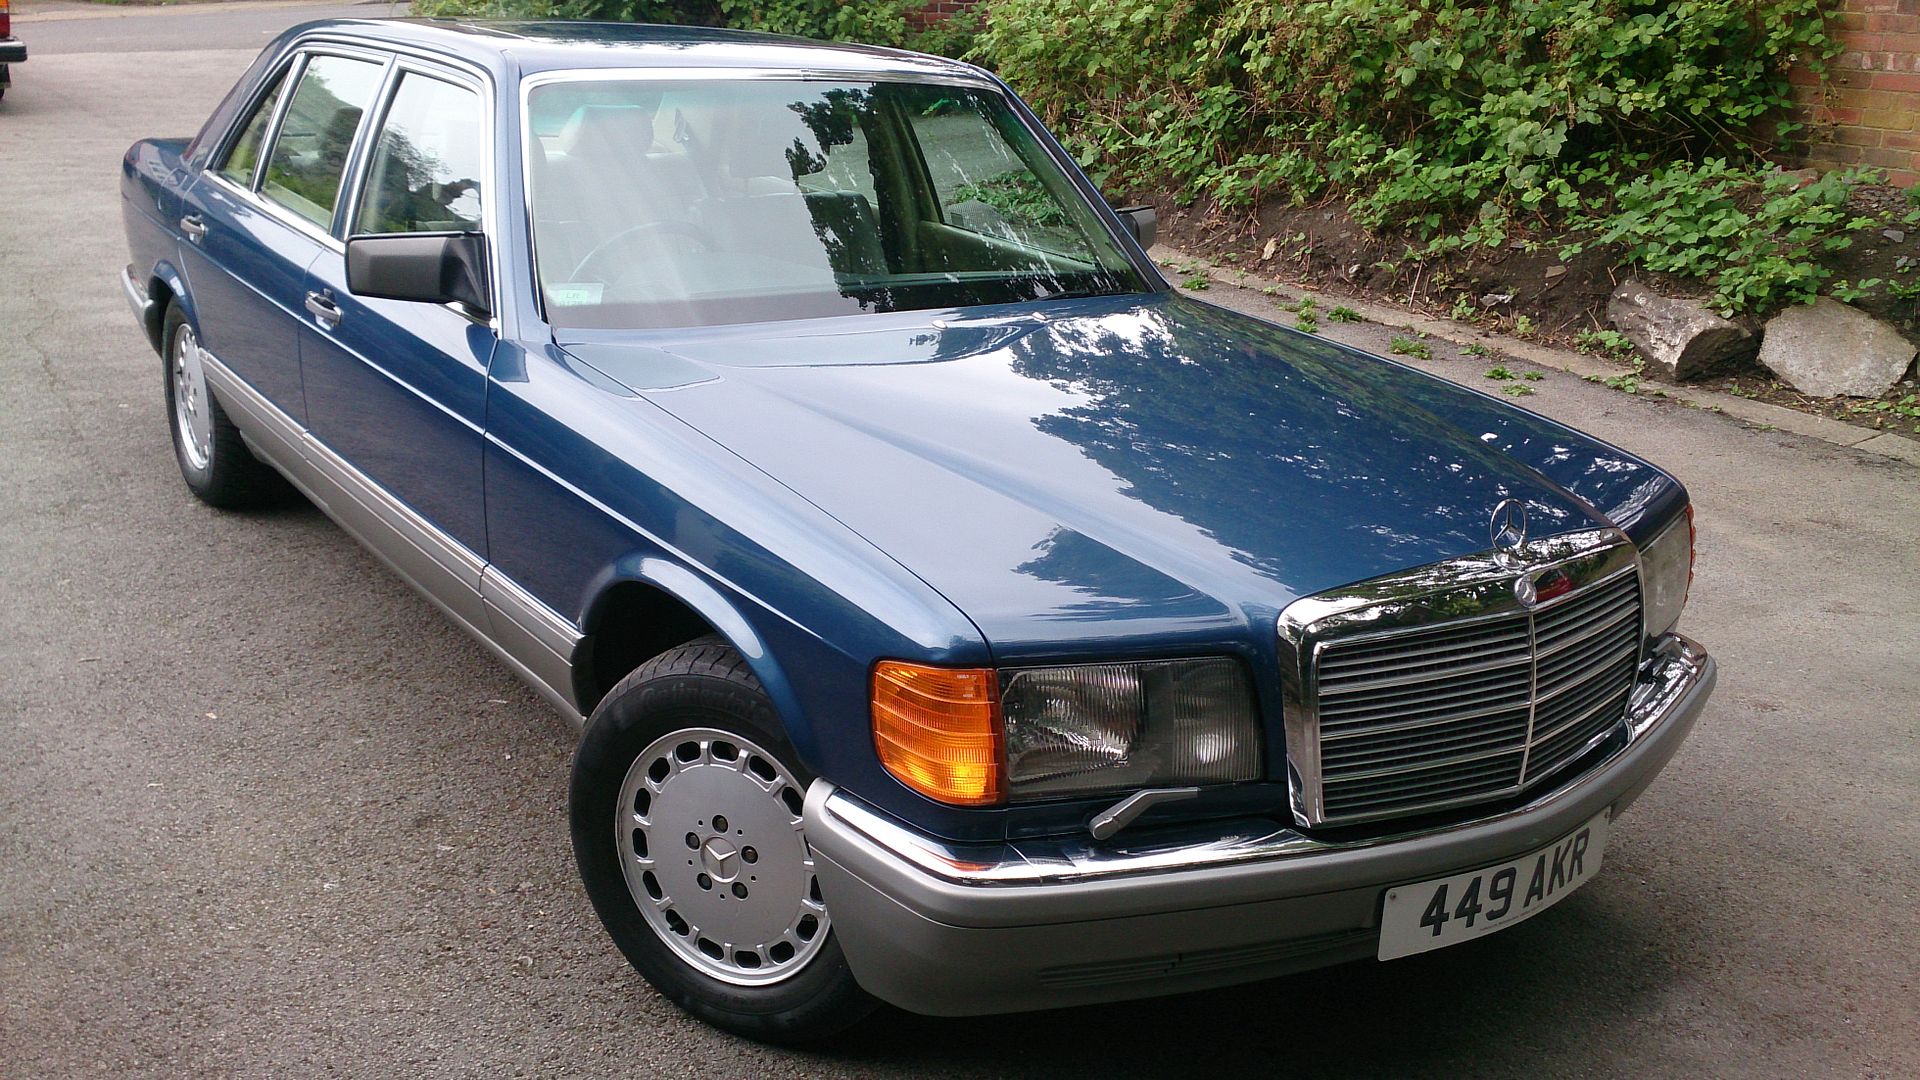
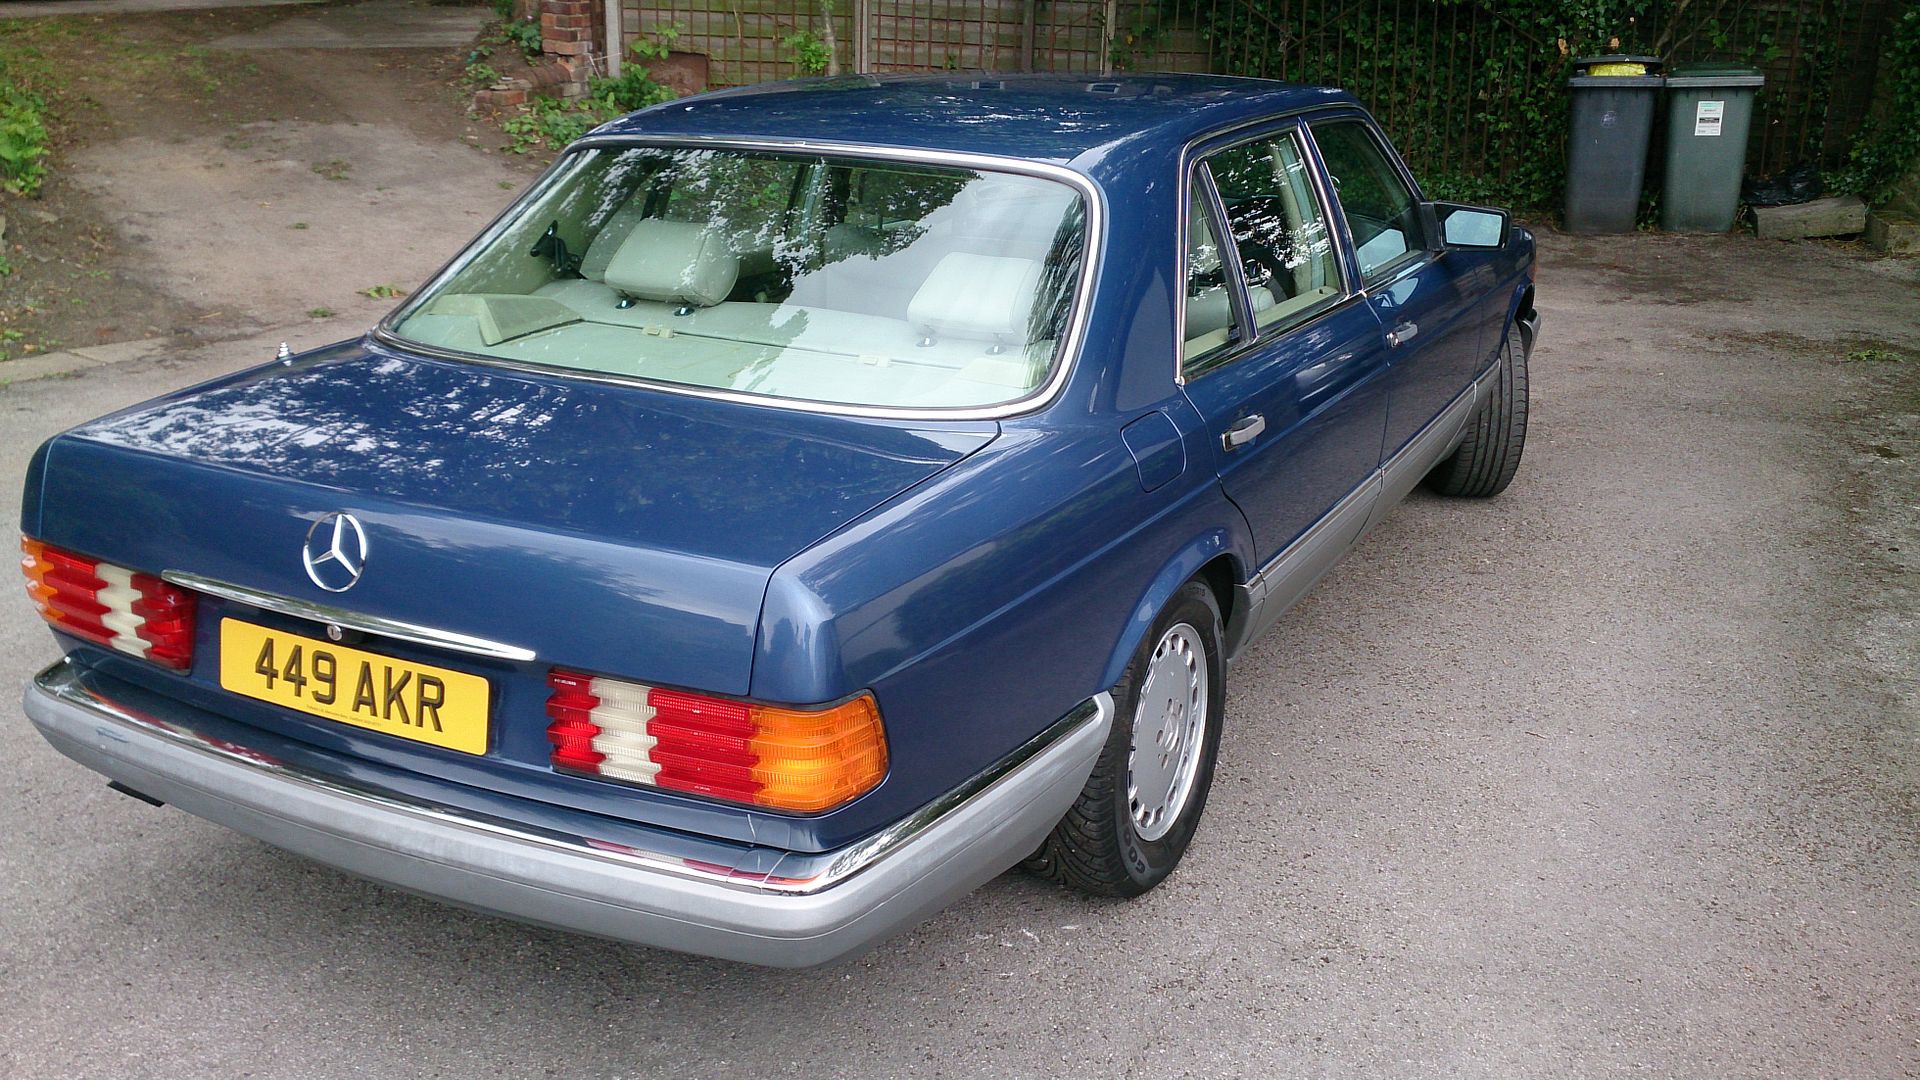
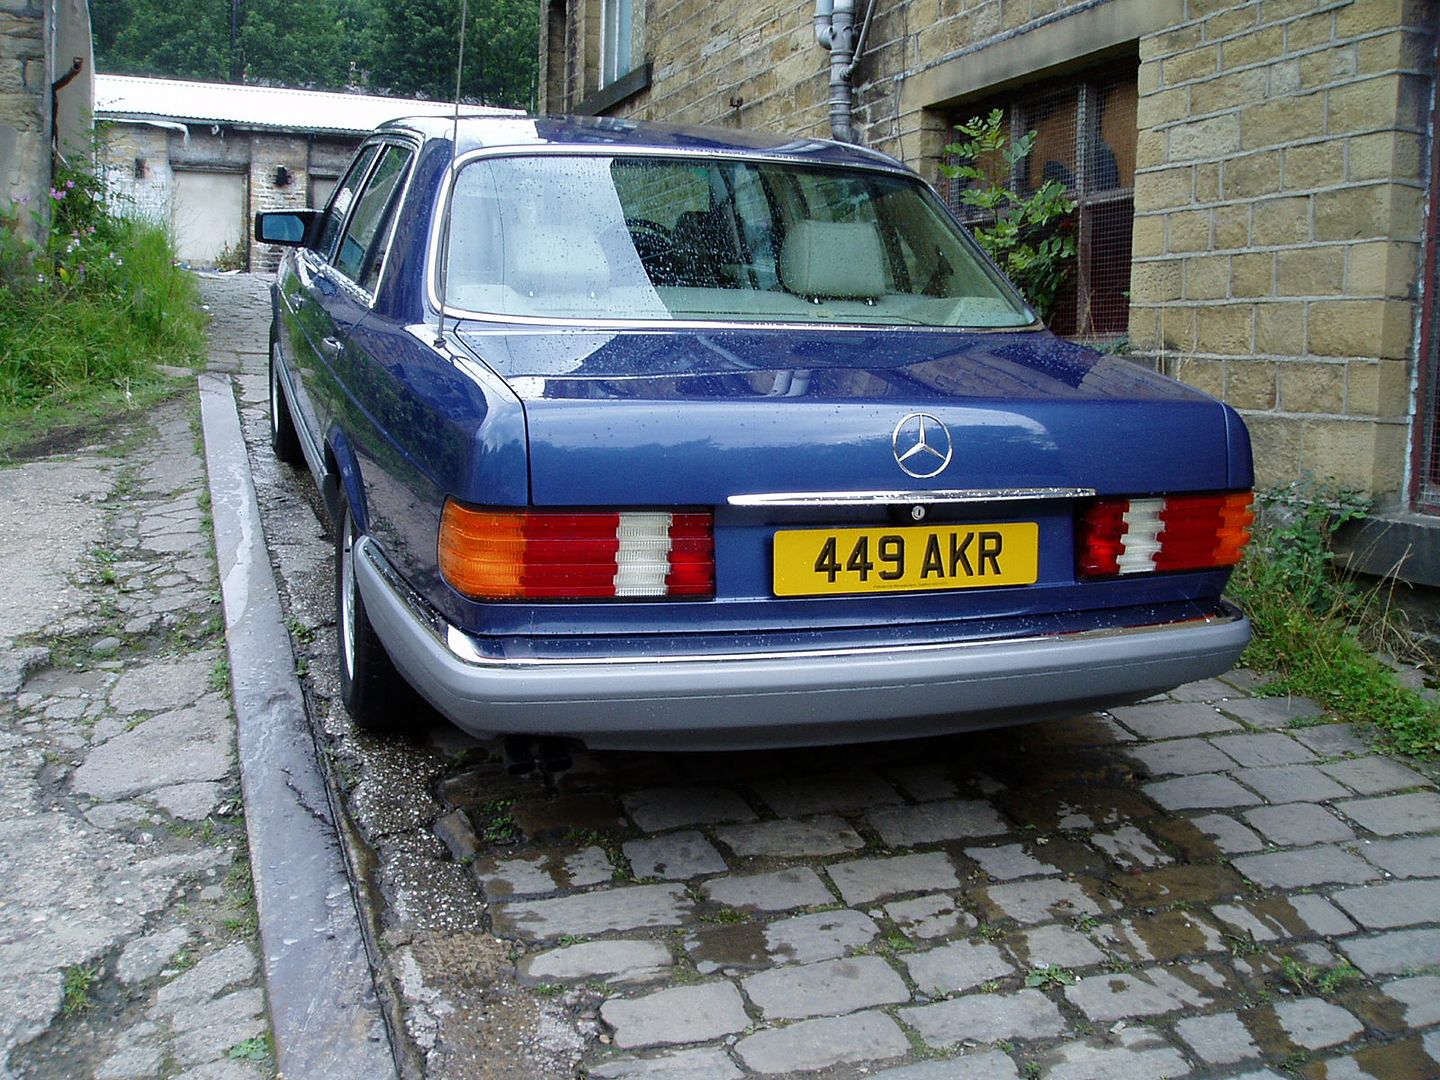
Back together and I'm pleased how it came out. Not perfect, but much better than it was.
015-2.jpg

016-2.jpg


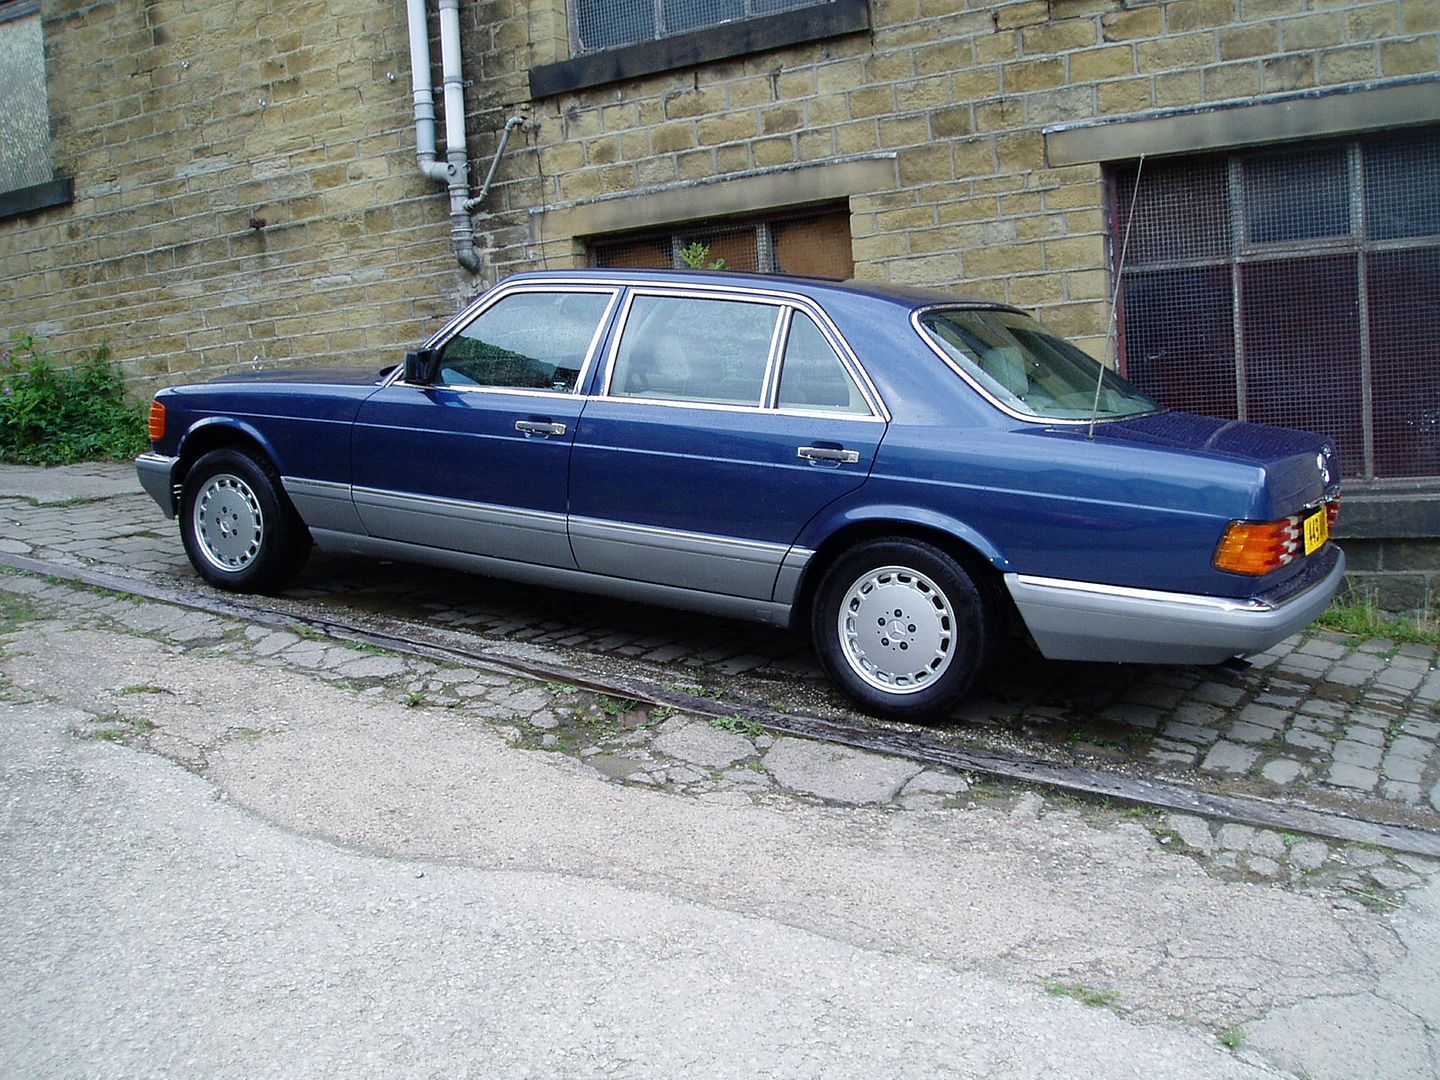
There's a patch on the bootlid that might need repainting, so I haven't fitted my new 500SEL badge yet.


We then serviced the car and drove it to Germany for our annual trip to the Oldtimer GP at the Nurburgring. Great fun, as always.
111.jpg


All for now,

Cheers

John
 
Bit of a problem and I'm hoping someone with a store w126 parts can help!

Yesterday I went to fit remanufactured front brake calipers on my 1986 500SEL because I've had issues with sticking pistons.

One of the caliper bolts snapped off during removal, leaving the threaded part very firmly jammed in the upright. Tried drilling through it and using an extractor, but that also snapped.

I am thinking I will need to replace the suspension upright (right-hand side) - wanted ad here:

http://www.mbclub.co.uk/forums/clas...ght-front-suspension-upright.html#post1341930

Cheers

John
 
A new one from Inchcape STEERING KNUCKLE RIGHT part no A1163304120 is about £160 I hesitate to say that is the exact no since there was a change around that time of the brake Caliper from Bendix to Teves or vice versa -- not sure if the upright changed at the same time or not?? best to check via your chassis no.
 
Nice motor, wish I could own a peice of MB history like yours, but it all gets a little expensive for me as it did when I had my W124 coupe.
Good luck with it, Reggie
 
Hi,

Well it's 2 years since I updated the Mercedes thread; that's because it has been running very well for the last 30,000 miles. It is still serving as a great daily driver and holiday car, super reliable and needing only servicing and consumables.

The worst incident wasn't the car's fault at all. Some scum-bags smashed a window, broke in and tried to steal it. The only reason i still have the car is the strength of the original Mercedes steering lock, which held firm even though they were levering a bar through the steering wheel spokes hard enough to break the wheel.

It now has a good quality alarm and immobiliser fitted.

I was surprised at the attempted theft. I love it, but it's not a valuable car and not something I would expect joy-riders to want.

In the last 12 months I have been busy on my Volvo 245, restoring it, converting to early style 70's bodywork and fitting a tweaked 940 turbo engine.


Now the Volvo is on the road and usable daily, the time has come for me to give the Mercedes some attention and tackle the growing to-do-list.


1. Front suspension

For some time, the handling and been soft and vague (even by w126 standards!) so I decided to rebuild the front end with all new joints and bushes.

I had the reaction rod joints fitted by a specialist a couple of months back. One side was badly loose and I was short of time back then.

Recently, I rebuilt all the rest of the front end, and also did a small rust repair.

Stripped down, suspension uprights and lower arms cleaned and primed.
180.jpg

(Incidentally, are there any Mercedes historians reading this? I think I see some 1950s DNA in this front suspension? The shape of the parts looks very 'old' and the telescopic damper mount seems to be squeezed in as an afterthought... as if maybe much older Mercedes used this set-up with a lever arm damper as the top link?)

Burning out the centres of the old lower arm bushes, after cutting off the ends with a grinder. With the centres burnt out, I was able to cut and hammer out the metal sleeves.
192.jpg


Fitting the new lower arm bushes. They are complex 3 piece bushes, with each part having rubber and metal bonded together. I had to make some special tools to press in the bushes without damaging them
194.jpg

193.jpg


I removed the front anti-roll bar bushes. The left side is easy, once the washer bottle, battery and battery tray are removed.
177.jpg


The right side is more difficult, because access is blocked by the fuse box, brake servo, wiring loom and throttle linkage. I was able to move the fuse box aside enough to get access
179.jpg

178.jpg


With the anti-roll bar loose and the bushes removed, I dealt with a small rust area on the left inner wheelarch. (Luckily, with all those components in the way, the driver's side has no rust).
181.jpg


Ground clean
182.jpg


All rust cut out
183.jpg


Weld-thru primer
184.jpg


Repair panel...
185.jpg


... welded in
186.jpg


Primed
187.jpg


Painted. The new upper suspension arm is fitted here, as is the new ARB bush
001-4.jpg


Inner wing treated with Dinitrol protective wax, lower arms and uprights painted and being reassembled. The big springs had bent one of my spring compressors, meaning it would not come undone and had to be cut off. Not a pleasant job... it let go with a very big bang!
004-3.jpg


ARB bushes fitted, and the whole area protected with Dinitrol wax (including inside the box section, behind the welded repair).
002-3.jpg


Whilst the front suspension was off, we played around with some of my Volvo wheels, which actually look quite good on the w126
189.jpg

190.jpg


I carefully cleaned up the discs and ABS trigger wheels, then reassembled both sides of the car.


2. Brake lights upgrade

Several friends had commented how dim the w126 brake lights are, even though I checked they are working correctly. I upgraded by converting the original sidelight to a 21/5w bulb, so now there are 2 brake-light bulbs per side and it's much brighter.
1127-1.jpg


3. Driver's seat repair

My seat had gone very soft, and with squeaky noises I suspected broken springs inside.

Seat removed and stripped down
050.jpg


Close-up showing the two broken springs
049.jpg


I bought some new springs from German eBay. Here they are fitted. I couldn't re-use the original crimped fasteners, so I made some nut-and-bolt clamps. The seat base has provision for an extra spring, not fitted from new on my car. I'm pretty big, and I prefer a firm seat, so I fitted the extra spring on my rebuilt seat.


I taped the springs where there is any risk they might rub, to avoid squeaks, and I cable tied them along the centre to pull the old and new springs into a smooth curve.


Seat reassembled and temporarily refitted. The seat looks dirty here, but it's actually wear on the leather. I'm having some paint mixed by Gliptone and I'll respray the seats over the Christmas holiday.
058.jpg


4. Rear wheel-arch repair

No photos saved fro this section, sorry.

The car is very good condition, but the right rear wheel arch had a two-inch long section where the lip was rusty. I cut this out, made and fitted a repair section and resprayed the rear wing.

I also repaired a small section on the chassis rail above the driveshaft, about the same size and technique used at the front. I replaced the rear ARB bushes because they are easy, and I needed to drop the ARB to deal with some flaky underseal on a crossmember behind the diff.

There are some more jobs on the list, and more updates and photos will follow in the new few weeks. After that it should be back to just driving and enjoying it for another couple of years!

Cheers

John
 
These threads are like gold dust mate! :thumb: Don't be surprised that a LWB W126 in as good nick as yours is a target for theft. Remember these cars were "voiture of choice" of the worlds heads of state, every banana republic dictator, third world warlord or drug baron etc in their day. They are still in great demand in the former Soviet block countries and Africa because of their relative simplicity robust construction and their lack of proprietary electronics. ----- you were very lucky ;) as there was probably an empty container waiting for it to be shipped to god knows where.:(
 
Hmm yeah that is my main theft worry, I get scared if I park in London in the evening.
Apparently they sometimes just lift them up into the back of a lorry and they are out of the country in 24 hours :-(
 
John I've only just found this thread of yours and it's wonderful. I owned 6 w126s down the years and I miss all of them. I wish I had your skills and know how as I spent a fortune getting mine just right before selling them. I don't know what possessed me to pass them on after I'd paid all that money. Anyway good luck with yours and for God's sake don't sell it after 2 years, after all the work that you've done it'll last for a lot longer than that.
 
Hi, a brief update about the old w126:

The car lives outside and gets washed often, so the paint was looking a bit shabby and swirled. My friend Nick (who's much better with the buffer than me) gave a hand and cut and polished it.

It's not a show-car, and up close there are quite a few imperfections, but that doesn't bother me. It's a daily driver to be used and enjoyed, and it now looks good (to people who aren't concours judges or winners...). Most importantly, it's not rusty!

DSC_0617.jpg


DSC_0618.jpg


DSC_0619.jpg


DSC_0620.jpg


I have also recently fitted a good used rear screen, to replace my original that was delaminating at the corners. Pleased to find zero rust on the screen aperture.

Seeing the old barge shiny has remotivated me to correct some other issues. I'm now part way through refurbishing a set of wheels, and soon I'll respray the rear bumper, on which the lacquer has gone weird.

I also have some ideas to fix the peeling wood on the dashboard.

More soon!

John
 
Mini-update: I have painted the car's 'new' set of wheels. I'll leave the lacquer to harden for a week or so before fitting them to the car.

DSC_0978.jpg


DSC_0979.jpg


John
 
In post 67 you had non original wheels ? Glad you have the OEM ones back.

Congratulations on all your hard work. I had a 126 560 SEL for six year4s from new, one of my favourite S-Class's.
 
Hi

Today I did some preventative maintenance and rust proofing.

From looking through Kent Bergsma's videos, I wanted to lubricate the wiper mechanism and I also realised that the wiper/air intake compartment is an area that I missed when rust proffong the car soon after I bought it - and it could be prone to a build-up of dirt and moisture, so I was slightly nervous about what I'd find.

Luckily, no need to worry. Here I have removed the wipers, the rubber edge seals, the air intake panel and the wiper motor/linkage assembly - and I have cleaned out this area, although it was cleaner than I expected.
DSC_1119.jpg


There were only two areas of rust, both very minor. Both were sanded down, any pitting ground out, then sprayed with red oxide primer before blue basecoat
DSC_1120.jpg


DSC_1128.jpg


The area on the right, at the back of this panel, was virtually unpainted from new. Just a thin layer of paint which easily flaked off, and this had caused some surface rust - only superficial
DSC_1125.jpg


DSC_1126.jpg


DSC_1127.jpg


DSC_1130.jpg


The wiper linkage is in good condition, but I lubricated all the joints as shown in Kent's video to prolong its life.
DSC_1123.jpg


I cleaned the closing panel and corrected these dents in the mesh section.
DSC_1121.jpg


I then sprayed on dinitrol, using a 360 degree spray pipe to reach the upper steel 'ceiling' which meets the bottom of the screen. Then I reassembled everything, which is in progress here.
DSC_1135.jpg


Well, that's all for today

Cheers

John

Here's a link to Kent's video
https://www.youtube.com/watch?v=hjcYu2qQneM
 
very nice w126. I haven't seen this color before

Cheers, I really like the colour. I have seen a few the same, but they usually appear to be lighter because of swirls and UV/rain damage on the surface of the lacquer. If it hasn't be done for a while, my car looks noticeably darker after a polish and wax.


In post 67 you had non original wheels ? Glad you have the OEM ones back.

Congratulations on all your hard work. I had a 126 560 SEL for six year4s from new, one of my favourite S-Class's.


Many thanks. Yes it came with those non original wheels. For a while I used them for my winter tyres, but now I have two sets of the correct type of alloys, summer and winter.

Having said that, I think my car would have originally been supplied on steel wheels with trims. Alloys were not standard fit, and my VIN print-out doesn't mention optional wheels.


John
 

Users who are viewing this thread

Back
Top Bottom