R129mine
Active Member
Hi
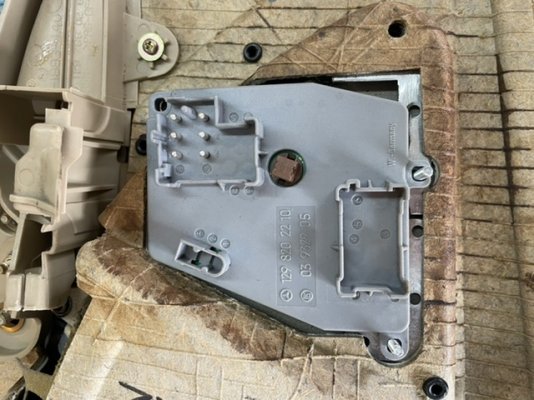
Driver side seat control buttons were loose at the bottom and I took the door panel off to investigate.
2 out of 3 screws are broken (plastic attachment has broken off) my dirty fingers are pointing at them
I can do an ugly fix and drill through the door panel and use a longer screw but that would be ugly and can never fix the door panel again.
Or…..
I thought perhaps using lots of fibreglass to try and glue it back in place and also use a strip behind it to give it extra strength but none of those solutions feel like they will work as someday someone will press those buttons a bit too hard.
Anyone else done this type of fix before?
also the small speaker cover has 2 broken tabs but I think a bit of fibre glass resin and hardener will glue that nicely back in place