SilverSaloon
MB Enthusiast
- Joined
- Mar 16, 2004
- Messages
- 7,758
- Car
- 1994 W124 E300D Estate, 1985 R107 280SL
Hi
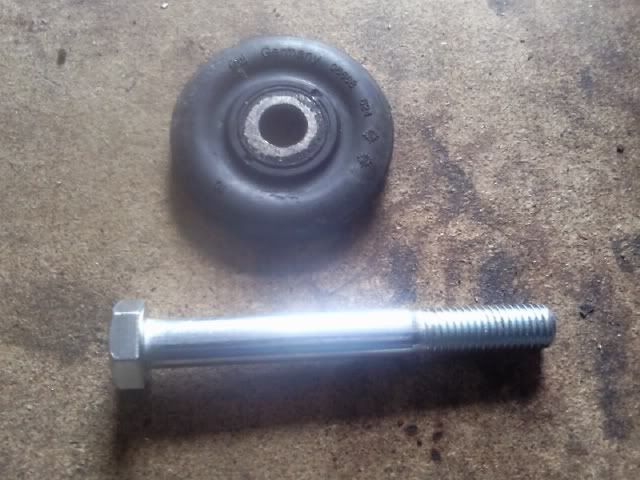
I decided to replace my rear subframe mounts ("front" ones). These were duly ordered from Franey (i got them almost 2 years ago but not fitted until now!!)
Olivier came round to help (thanks again mate!)
anyway, it was a bit of a squeeze but we managed to get the old bush out and squeeze the new one in. Only after the nice new bush was in place did we try to put the bolt in and realised the old one had sheered off in the thread. disaster.
access is tight and the remnents of the bolt was not budging, using extractor tool and also by drilling the centre. In the end I decided maybe a helicoil thread would be an ideal solution. This was no good in the end, mainly due to the access (i didnt want to destroy the new bush).
so, i decided to drill 12mm hole right through the mount and old thread, so a new M12 bolt could be fitted, with a plate and nut welded inside the mount metal.
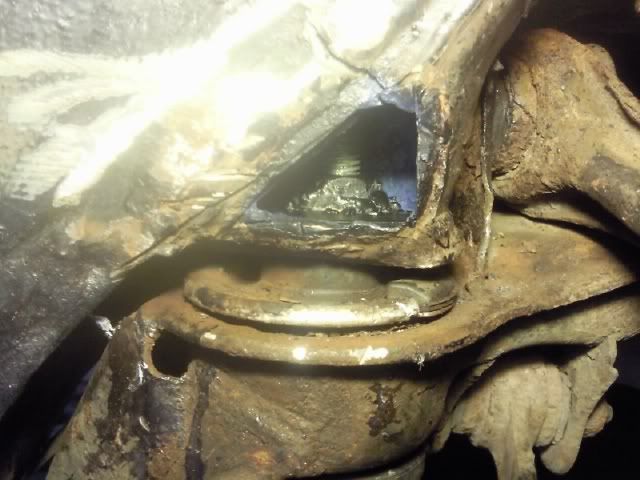
first, I cut a "window" in the side of the mount. It was quite rusty but good-enough, i dont think it was too bad to warrant complete replacement here (i hope!!) Plus I'm off on holiday tommorow so I *HAD* to get the car back on the road TODAY!
here is the hole i cut with the angle grinder:
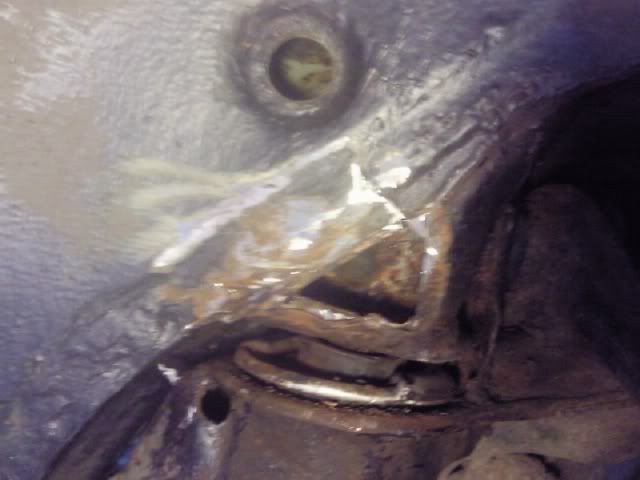
This was just big enough to fit the plate and bolt inside.
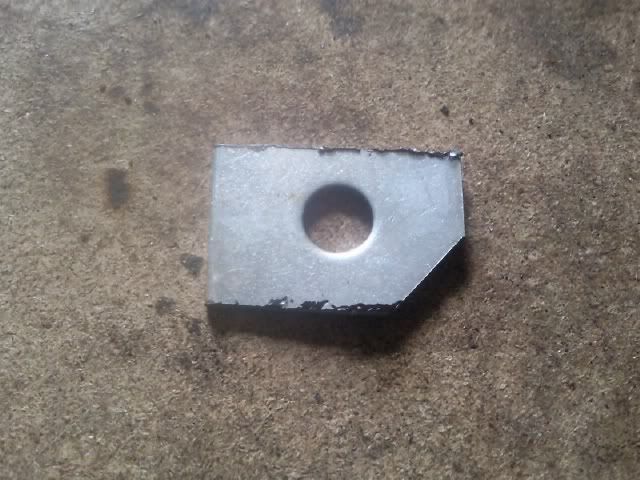
Next, i purchased a 3mm steel sqaure washer plate and cut it to a neat size to fit inside the mount (sitting on its "floor"). This way it is unable to spin due to its tight fitting:
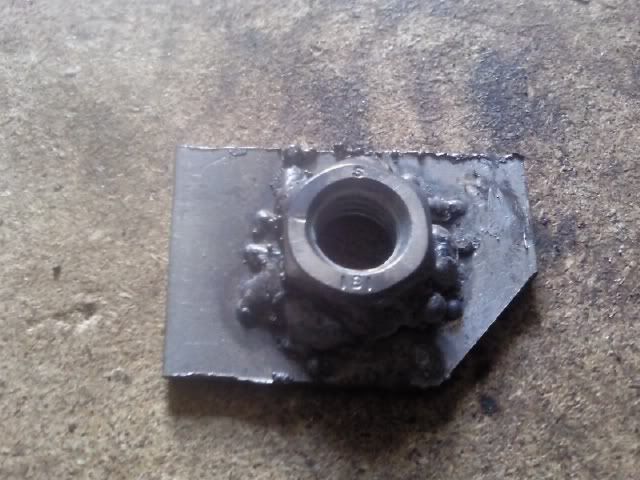
I then welded a M12 bolt onto it:
The inside of the mount was treated for rust....
Next, the bolt and plate was primed and painted before i fitted it into the hole:
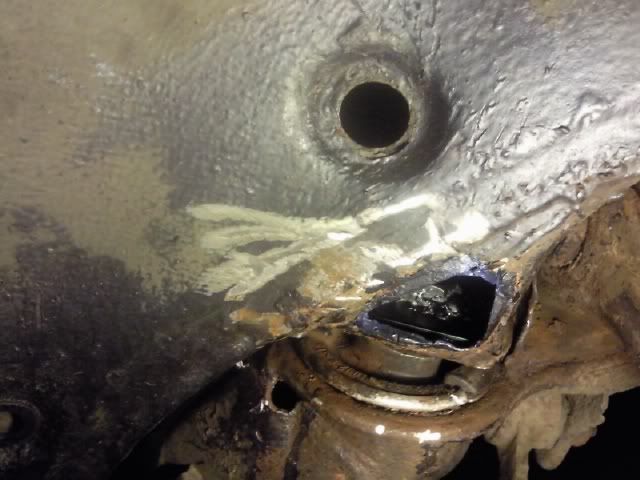
The original Mercedes bolt that came with the subframe bush kit isnt M12.... it has a different thread, so I purchased a slightly longer similar bolt for 80p. This is longer so the thread can reach my new bolt inside the mount....
This was bolted into place:
The plate was then welded into place on the outside edge to prevent it from moving if the bolt is removed in the future....
I then welded 3mm steel on to fill the hole I had made, and put some Hydrate 80 all over the repair work:
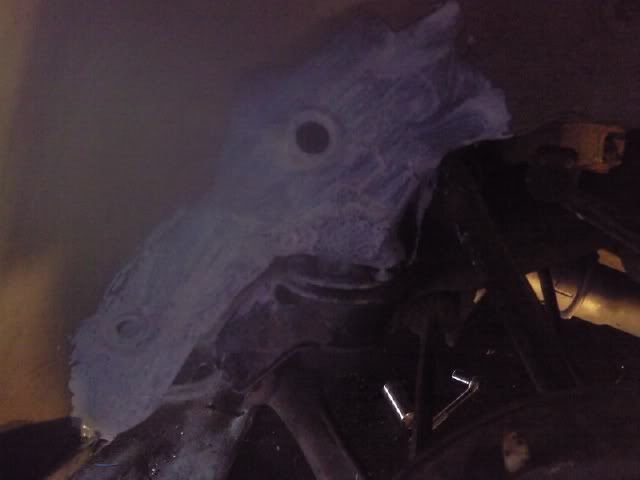
after this had turned black, I etch primed the area:
before the final waxoil underseal:
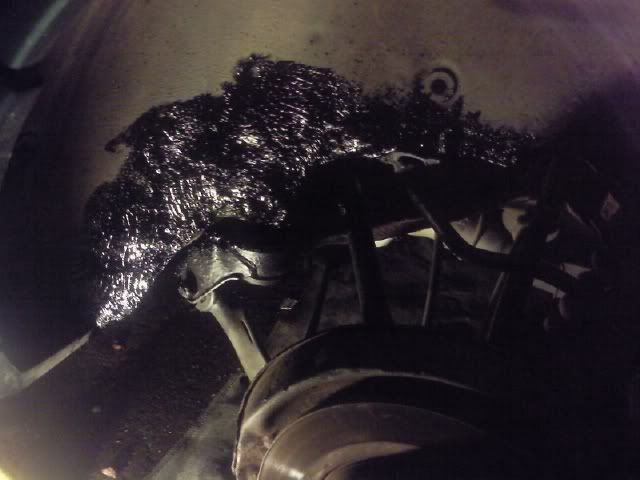
I'm pretty happy with the solution to what was a complete nightmare. Time will tell how good it is. Thanks again to Olivier for all his help with this. My welding isnt very neat as I am cr@p at it but should be very strong as I like to go belts and braces with this stuff.
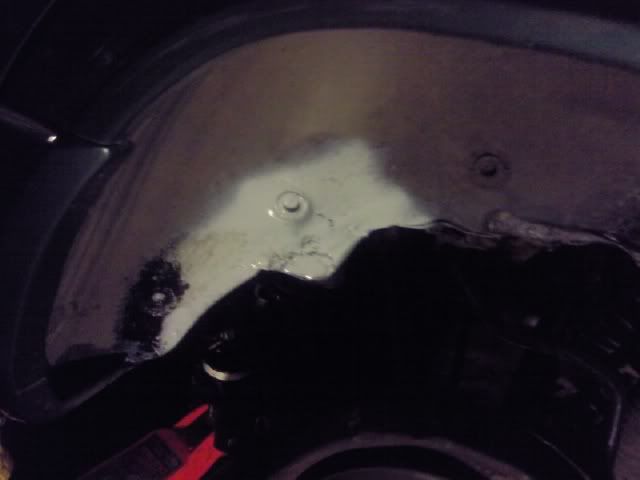
One thing that may be of interest to other members is that at the back of the mount there is a rubber grommet. this can be removed from the back and waxoil sprayed inside the mount box section. Well worth it. Shame they couldnt have put this access hole on the other side where it is easier to get to though!!!
I decided to replace my rear subframe mounts ("front" ones). These were duly ordered from Franey (i got them almost 2 years ago but not fitted until now!!)
Olivier came round to help (thanks again mate!)
anyway, it was a bit of a squeeze but we managed to get the old bush out and squeeze the new one in. Only after the nice new bush was in place did we try to put the bolt in and realised the old one had sheered off in the thread. disaster.
access is tight and the remnents of the bolt was not budging, using extractor tool and also by drilling the centre. In the end I decided maybe a helicoil thread would be an ideal solution. This was no good in the end, mainly due to the access (i didnt want to destroy the new bush).
so, i decided to drill 12mm hole right through the mount and old thread, so a new M12 bolt could be fitted, with a plate and nut welded inside the mount metal.
first, I cut a "window" in the side of the mount. It was quite rusty but good-enough, i dont think it was too bad to warrant complete replacement here (i hope!!) Plus I'm off on holiday tommorow so I *HAD* to get the car back on the road TODAY!
here is the hole i cut with the angle grinder:
This was just big enough to fit the plate and bolt inside.
Next, i purchased a 3mm steel sqaure washer plate and cut it to a neat size to fit inside the mount (sitting on its "floor"). This way it is unable to spin due to its tight fitting:
I then welded a M12 bolt onto it:
The inside of the mount was treated for rust....
Next, the bolt and plate was primed and painted before i fitted it into the hole:
The original Mercedes bolt that came with the subframe bush kit isnt M12.... it has a different thread, so I purchased a slightly longer similar bolt for 80p. This is longer so the thread can reach my new bolt inside the mount....
This was bolted into place:
The plate was then welded into place on the outside edge to prevent it from moving if the bolt is removed in the future....
I then welded 3mm steel on to fill the hole I had made, and put some Hydrate 80 all over the repair work:
after this had turned black, I etch primed the area:
before the final waxoil underseal:
I'm pretty happy with the solution to what was a complete nightmare. Time will tell how good it is. Thanks again to Olivier for all his help with this. My welding isnt very neat as I am cr@p at it but should be very strong as I like to go belts and braces with this stuff.
One thing that may be of interest to other members is that at the back of the mount there is a rubber grommet. this can be removed from the back and waxoil sprayed inside the mount box section. Well worth it. Shame they couldnt have put this access hole on the other side where it is easier to get to though!!!
Last edited: