What Have You Done To Your Merc Today?

Page may contain affiliate links. Please see terms for details.
Took one to have the wheels aligned, but after 45 minutes they gave up trying as the Hunter machine couldn’t recognise the car.

So I went home, changed cars and took the beautiful Mrs Dazzler to the Starbucks drive thru for a bite date. I know how to treat her.
 
Took it out and drove it today. Only around 16 miles round trip for a blood test but the most I've done this year.

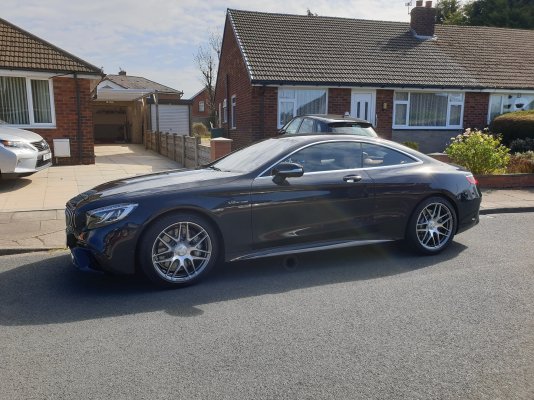
A gratuitous picture, just because it was nice to see it in daylight again
cloud9.gif
: -


Outside NSF.jpg
 
a was
Oooo, I love those bling things! Do you have the link, please? (Do they come with instructions on how to fit them?)
No link, and instructions are below; just order the part numbers below (two of each) from your local MB Dealer costing you £17 instead of £44 if you buy off eBay or elsewhere.

Part numbers are:

A 099 766 01 00
A 099 766 27 00

To swap old with new:

1. unlock the car, pull upand off the protruding black plastic button on each front door to reveal a metal threaded rod in the door - should the button not want to pull off then use a pair of pliers to unscrew it. Be sure to keep the doors unlocked I.e. once the car is unlocked put the car key somewhere where it cannot be clicked to ensure the metal rod stays in the up position at the lip of the opening and does not retract into the door where getting it up and accessible again may prove a pain!

2. take both the cream plastic and chrome parts out of their wrapping and push each cream plastic part up into the base of each chrome coloured lock button until you feel them click into place.

3. screw the assembled button onto the threaded metal rod in the door as far as it will go. Once both doors are done (not before) press the key button lock/unlock a few times to admire your handiwork. Note unlike the black plastic pins these protrude slightly when the car is locked.

job done👍

nb. be aware that as far as I can find out the rear door buttons require the door card removed to change out the buttons; so a trickier job and one I’ve not tackled ‘cos my car doesn’t have rear doors😉

hth

ps The many experienced forum members on here may have much to add to my words and please feel free to do so.
 
a was

No link, and instructions are below; just order the part numbers below (two of each) from your local MB Dealer costing you £17 instead of £44 if you buy off eBay or elsewhere.

Part numbers are:

A 099 766 01 00
A 099 766 27 00

To swap old with new:

1. unlock the car, pull upand off the protruding black plastic button on each front door to reveal a metal threaded rod in the door - should the button not want to pull off then use a pair of pliers to unscrew it. Be sure to keep the doors unlocked I.e. once the car is unlocked put the car key somewhere where it cannot be clicked to ensure the metal rod stays in the up position at the lip of the opening and does not retract into the door where getting it up and accessible again may prove a pain!

2. take both the cream plastic and chrome parts out of their wrapping and push each cream plastic part up into the base of each chrome coloured lock button until you feel them click into place.

3. screw the assembled button onto the threaded metal rod in the door as far as it will go. Once both doors are done (not before) press the key button lock/unlock a few times to admire your handiwork. Note unlike the black plastic pins these protrude slightly when the car is locked.

job done👍

nb. be aware that as far as I can find out the rear door buttons require the door card removed to change out the buttons; so a trickier job and one I’ve not tackled ‘cos my car doesn’t have rear doors😉

hth

ps The many experienced forum members on here may have much to add to my words and please feel free to do so.
Thanks very much!
 
Took both shocks off my E55 trying to find annoying knock I've been getting, one shock was missing one of its rubber mounts, result.
 
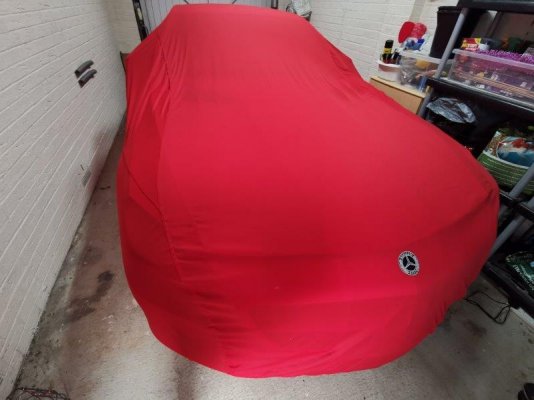
It's handy to know which is an end seam and which is a side seam when you're fighting with a big heap of cloth in your hands when putting it on!!
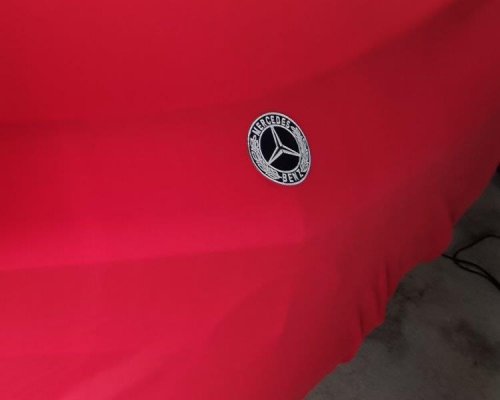
Both ends of the cover are elasticated and the rear has a very small label on, so very easy to put it on correctly. After I put it on I just made sure the front was nicely aligned then I attached the patch exactly over where the bonnet badge was (using material glue). Job done 😃👍
 
Fitted an air filter and trimmed the engine cover where it was rubbing on a wiring loom.
 
Both ends of the cover are elasticated and the rear has a very small label on, so very easy to put it on correctly. After I put it on I just made sure the front was nicely aligned then I attached the patch exactly over where the bonnet badge was (using material glue). Job done 😃👍
I bought mine more recently (upon your recommendation) so you have had more practise! My SL is SORNed so I've only put the cover on once. It was a bit of a fight doing it alone especially since the car is ceramic coated and so slippery that the cover slides everywhere! :D
 
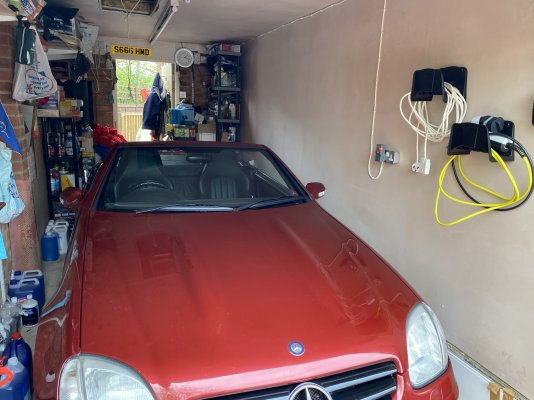
Fitted a new battery to the -32, had to do it most of it from the front as it died in the garage. Naturally, it needed a good run afterwards. D8A10E91-0F71-46FB-BE3E-4ECC8BFF4A24.jpeg
 
I bought mine more recently (upon your recommendation) so you have had more practise! My SL is SORNed so I've only put the cover on once. It was a bit of a fight doing it alone especially since the car is ceramic coated and so slippery that the cover slides everywhere! :D
Mine was very slippery too 🤪
 
Gave the car a clean first thing, then 100 mile round trip. Need to clean the car again now!
 

Users who are viewing this thread

Back
Top Bottom