Where to run Microphone wiring for bluetooth head unit in a W202?

Page may contain affiliate links. Please see terms for details.

R120

Active Member
Joined
Apr 17, 2012
Messages
336
Location
London
Car
S124 280, C43 AMG x 2, W213 Estate
Evening all.

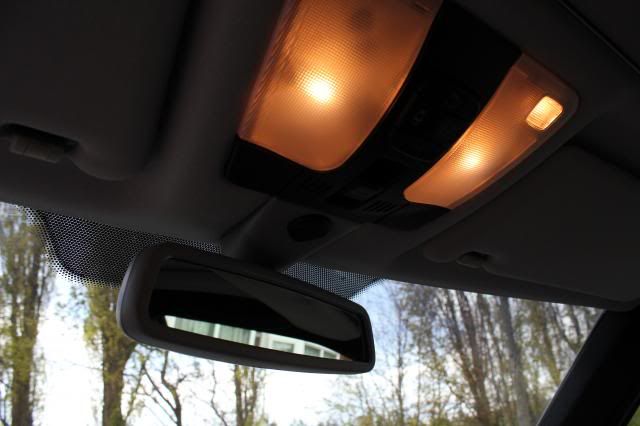
About to fit a headunit with an external microphone in the 202.

I want to place mic up near rear view mirror, and can see how to run wire under headlining and down pillar trim, but what's the best way to get it from there to head unit?

Should I go passenger side or drivers side?

I don't want to start pulling off trim and breaking it which being the clumsy idiot I often am is highly likely!

Any advice much appreciated!
 
I would test it out in the place you plan to put it just taped or bluetacked on as some aftermarket mics are not that great so try it out and find the best position
 
Hi,
I have a Parrot Bluetooth in both of my 202's, and I have both mics fitted by the rear view mirror, I ran mine up on the drivers side on both cars, removing the "A" pillar trim can be a bit troublesome to remove, I broke one of the clips on the back of one of the trims, because the trim had glued itself to the edge of the windscreen by windscreen bond that squeezed out when the screen was replaced before I bought the car.
 
Yeah it's a parrot kit so I know the quality is good, does the dash under the steering wheel come off with just the screws as it does under the glovebox?
 
Hi,
Yes the trim under the steering wheel is just secured by screws though you may have to possibly release the bonnet release cable, and if you have an adjustable steering column that as well.
 
Ended up doing it under the glove box, and up the passenger A Pillar then above the headlineing. Figured only 3 screw that side, and the end panel of the dash pops of easily. Luckily no clips broke.

Only problem is that I have taken off the mirror to run mike, and now I can't get the bloody thing back on!

Lol, there a bitch to get back on are,nt they, a bit of advice when replacing the mirror, offer the mirror up to the roof bracket, squarely and press sharply into position, don,t be tempted to located one side of the mirror in the bracket and try to push the other side home, take my word for it, it easier to do it squarely as i said above. Have you got an auto dimming RVM?
 
It's a standard mirror so no wiring to worry about, will try your suggestion in the morning as I have contorted myself too much today already!
 
I asked regarding the dimming rear view mirror because it is a cheap plug and play upgrade, as it just plugs straight into the overhead light unit.
Drop me a PM if your interested as I have a spare one.
 
Ended up doing it under the glove box, and up the passenger A Pillar then above the headlineing. Figured only 3 screw that side, and the end panel of the dash pops of easily. Luckily no clips broke.

That's the best way, same way I took mine too. Heres a pic of my Bluetooth hands free mic installed ;)

IMG_2159_zps2c27ff80.jpg
 
Very nice - did you mod the mirror base yourself?
 
Its a OEM dimming mirror with mic and ambient lighting LED. I modified the the OEM mic to work with the hands free kit mic.
 

Users who are viewing this thread

Back
Top Bottom