Looking good, please keep us updated. Thing I worry about on the dye is it coming off on clothes.
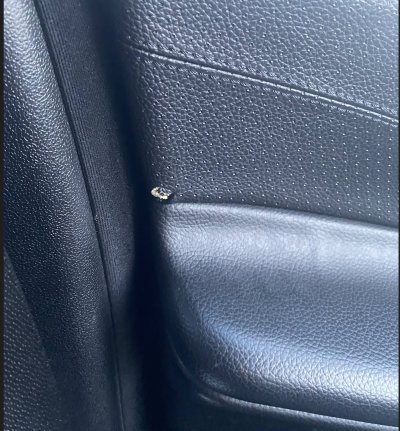
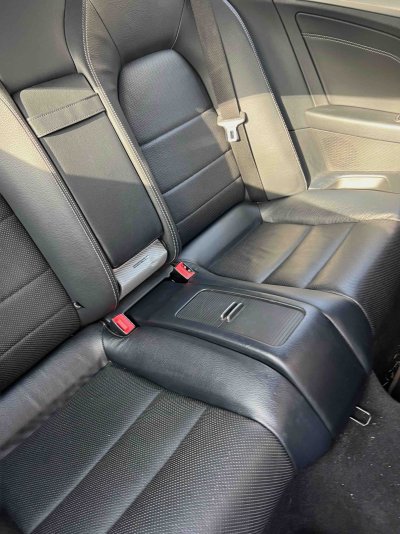
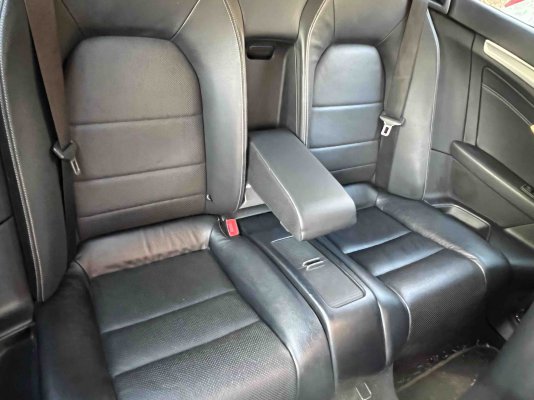
So, I applied the colour to the repairs yesterday and the rear console looks a lot better than it did ripped to shreds like it was, of course. It's not perfect but tbh I never expected it to look perfect, but I think I overdid it with the filler (it says to use sparingly but I think I wasn't 'sparingly' enough) and I was a bit sheepish about sanding the filler down too much and damaging the surroundings leather/artico. I think I want to have another go at it, sand it down a bit more, add a tiny bit more filler maybe and really focus on getting the gaps and tears as invisible as possible.
The colour was easy enough to match- I just added a few drops of white to the black until it looked the same dark grey. You get all these extra colours in the kit to change the hue of the black if necessary but I didn't need to do that. I tried to avoid having to figure out how to blend effectively by re-colouring an entire panel. Worked for me.
I also used it on the plastic seat liners on the back of the front seats to cover/recolour some scuffs. Worked a treat, although I haven't got pics of that. I'll try and take some today.
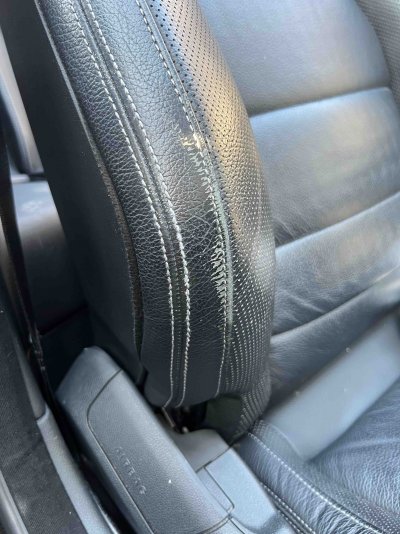
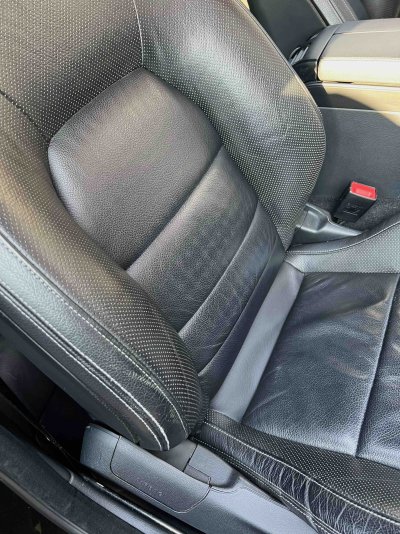
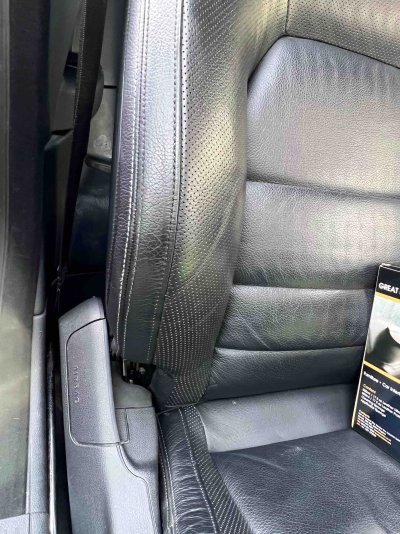
The driver's seat bolster had some scuffs, no tears or gaps or anything (not bad for an 89k mile motor) so I recoloured basically the entire seat and have applied the conditioner too and it looks fantastic. I would say it's very easy to fix or at least improve scratches and worn areas that haven't actually ripped. I would also say that if the perforated sections (of which I have loads) had ripped, I don't know how I would have been able to fix them. That would be a job for a pro I think.
See photos. Excuse the state of my carpet. The whole car needs a good couple of days of my time and attention once I've sorted these seats.
Oh, a tip- wear rubber gloves when you're colouring leather