Vitotech
New Member
Newbie on here having picked up my first Vito a couple of months ago for work, slowly been improving it as time and money allows.
Its a 2013 facelift 113cdi LWB manual pretty basic spec but once my list of to-do jobs have been ticked off it won't be
One of my to do list was to fit some leather front seats along with some heated elements.
I managed to find a pair of Viano leather front seats (both passenger seats) I knew they can be split down so just switched everything over to the original drivers seat from my Vito, I also fitted 3 stage carbon heated elements and was planning on wiring in the switches at some point until I spotted some Vito Brabus wheels listed on E-bay.
Anyways I ended up heading down to Matlock (Derby) to take a look at the Brabus alloys and front spoiler, the chap Jason sorted a smashing deal for me and I also managed to pick up a few other small items one of them the original heated seat switches for 3 stage heated elements which brings me back to the the main topic.
Could I use the OEM switches with the carbon heated elements, if this is possible do I use the loom provided with the elements or make another loom?
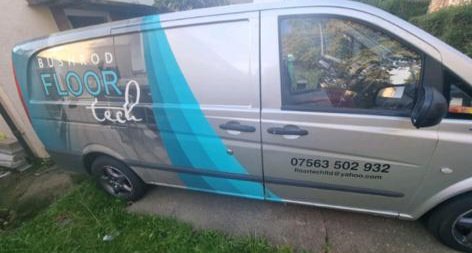
Image of the van below with previous companies logo.
Its a 2013 facelift 113cdi LWB manual pretty basic spec but once my list of to-do jobs have been ticked off it won't be
One of my to do list was to fit some leather front seats along with some heated elements.
I managed to find a pair of Viano leather front seats (both passenger seats) I knew they can be split down so just switched everything over to the original drivers seat from my Vito, I also fitted 3 stage carbon heated elements and was planning on wiring in the switches at some point until I spotted some Vito Brabus wheels listed on E-bay.
Anyways I ended up heading down to Matlock (Derby) to take a look at the Brabus alloys and front spoiler, the chap Jason sorted a smashing deal for me and I also managed to pick up a few other small items one of them the original heated seat switches for 3 stage heated elements which brings me back to the the main topic.
Could I use the OEM switches with the carbon heated elements, if this is possible do I use the loom provided with the elements or make another loom?
Image of the van below with previous companies logo.