• The Forums are now open to new registrations, adverts are also being de-tuned.

280GE Gwagen.. owning an modifying my 30year old Mercedes.

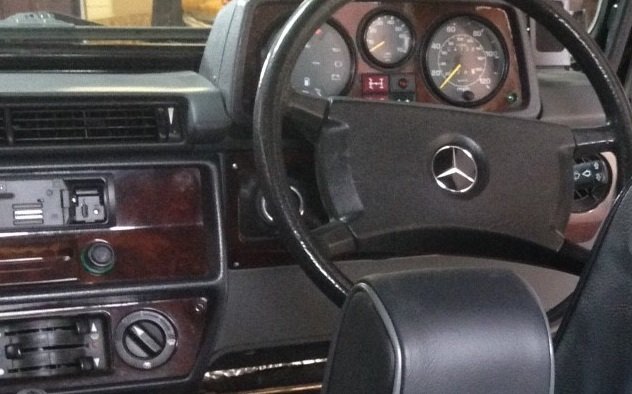
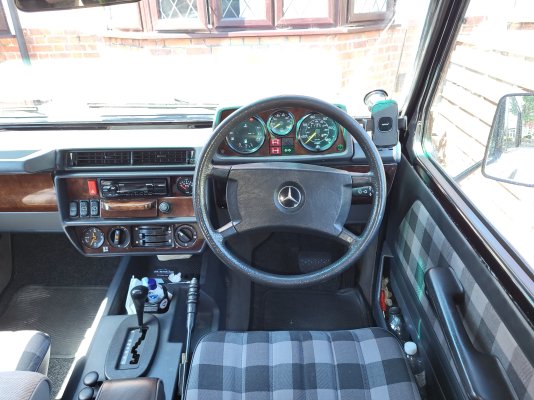
Amazing difference to the dash lights and this is a fantastic thread and worth its weight in gold for any G wagon owner. Well done !! 👍

I'm sure if you were in the official owners club they would publish many of your repairs / mods in their Gazette.
Thank you.. something to consider!

I have always tinkered and done the maintenance on all my cars... whether it be replacing brakes, or water pumps.. or repairing and replacing parts.. but the G wagen has been the most 'deep end' experience I have ever had on any car I have owned.. I feel a fantastic sense of satisfaction knowing that I have fixed something myself. I am not averse to going to an expert when something is beyond my skills... My friend who assists me sometimes is an engineer and a serial G wagen restorer, so it makes sense to ask his advice, as others do on this forum.. when there is something you do not know. I am always happy to pass on my experiences to others.. and listen to good advice.. because this is how we learn. I think you learn so much more from 'doing' rather than watching. Mistakes are just learning points... and everyone makes them. It is easy to give your car to someone else to fix.. much harder to have a go yourself...
I have never built or removed an engine. I have had some success and failures with things I have done. My Starter motor issue serialised early on at the beginning of this post.. dragged on for many many months.. but the key here is never give up... use logic... research.. and if all else fails trial and error..
My relationship with my G wagen is one of love.. not a financial one.. its a unique vehicle, I love the looks I get when I am driving it... it even turns heads at my local Mercedes Dealer amongst all the £80-£100,000 cars. Its not fast... but its tough.. and has that uniqueness most new cars struggle to master.
It is totally devoid of ECUs and computers... It just has electrical circuits and vacuum pipes, and mechanical fuel injection. It can be fixed with spanners and love... and I think for that reason I don't know of another car I would swap it with... perhaps a newer supercharged G55... but in the end... I dont worry about who I'm parked next to..
I've already got a couple of patina marks... !

I realise we all need a car for different things... so I bought three different cars.. that all do their thing brilliantly!
 
I am currently researching LED bulbs to replace the illumination in the switches... this is not just plug and play... the switches have to be deconstructed and new led bulbs wired inside.. they are Sub miniature T1s and I have a copy of the procedure from another forum.. the current illumination in the switches is very poor and they are barely visible at night.
 
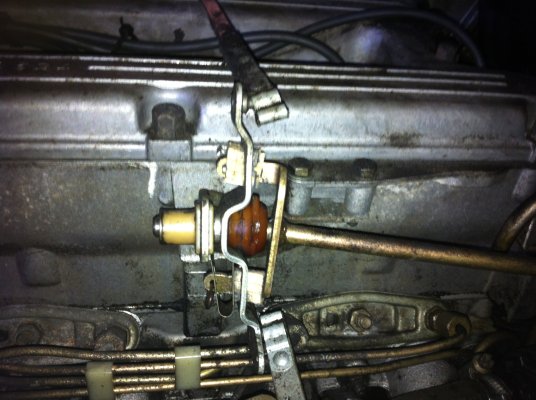
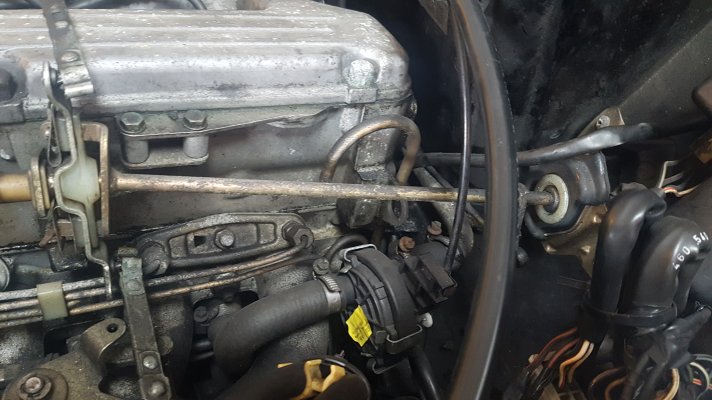
Early on in my ownership I replaced some worn out linkages in the very complicated throttle linkages... which MB had to make for right hand drive cars..
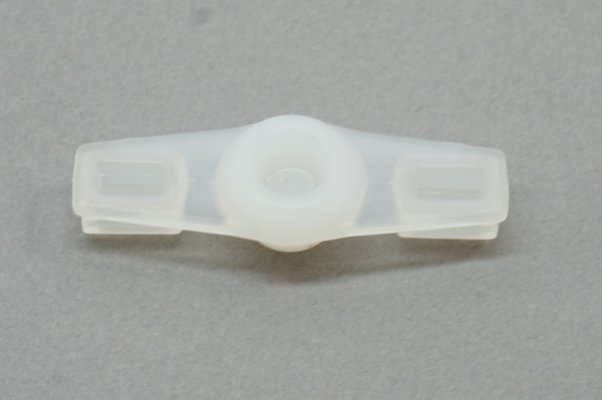
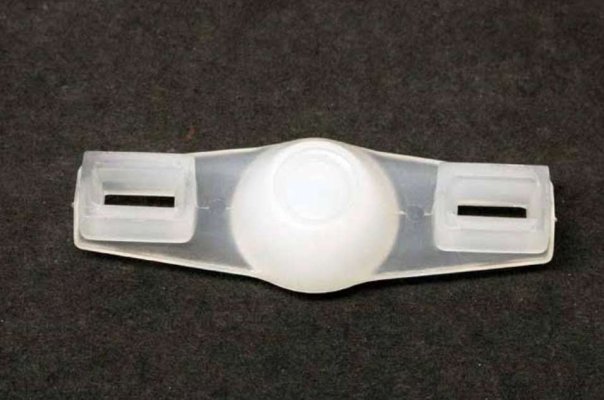
One of my throttle linkages had worn out so much it had disintegrated, and was replaced by the previous owner with a piece of wood!! The correct bushing was only about £8 !
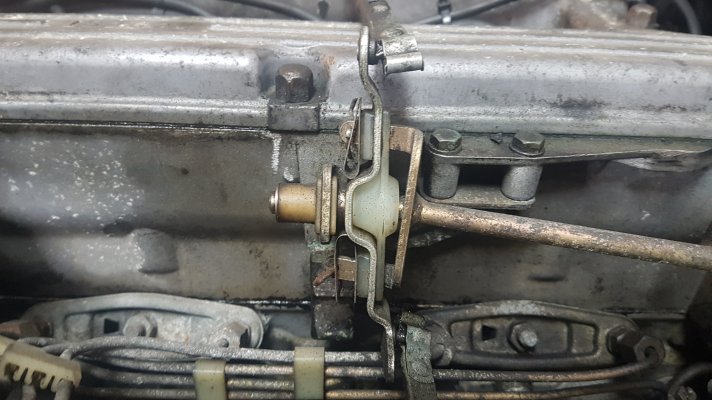
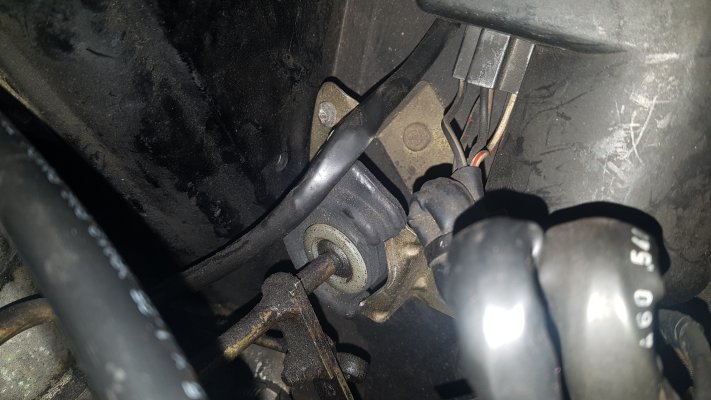
These are a few pictures of the parts before and after.
Wooden blocks definately not OE !
engine 002.JPG

Adjusted by me
1100720038.jpg1100720038 (1).jpg

20210521_165236.jpg
The linkage comes from the back of the throttle pedal... through 4 ball joint linkages.. across the top of the rocker.. to the other side, onto a long rod that also operates the bowden cable for the kick down on the auto box.. and through the fast idle linkages onto the fuel distributer ... this gives a very heavy throttle feel..
 
The other end of that rod is another ball joint bushing... which was also worn out and gave a lot of slop to the linkage... now NLA at MB Lucky for me I got one of the last new ones on the shelf at MB...
20210521_165230.jpg20210521_165248.jpg
Like this

To view this content we will need your consent to set third party cookies.
For more detailed information, see our cookies page.

To view this content we will need your consent to set third party cookies.
For more detailed information, see our cookies page.
 
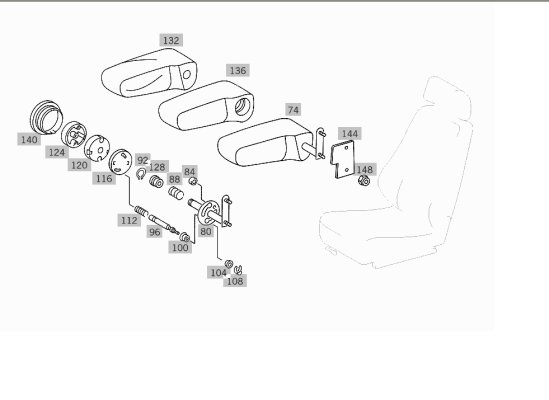
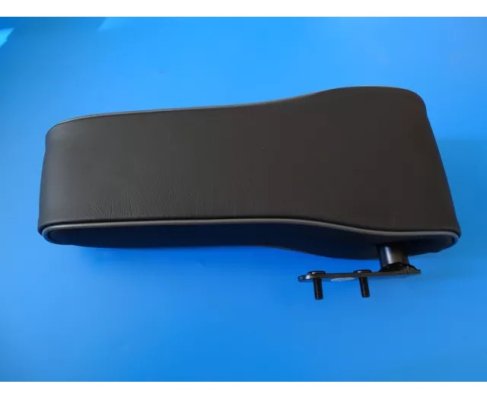
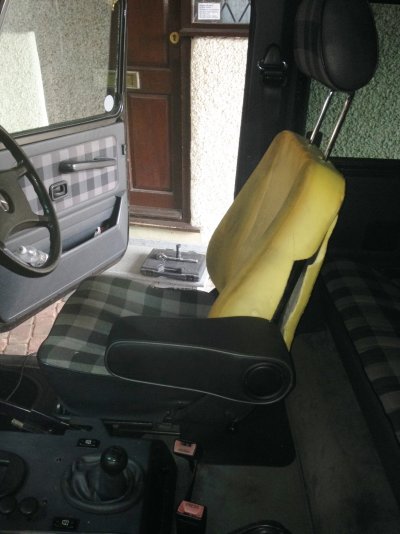
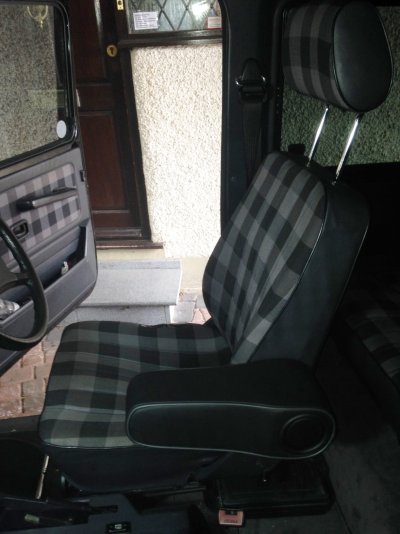
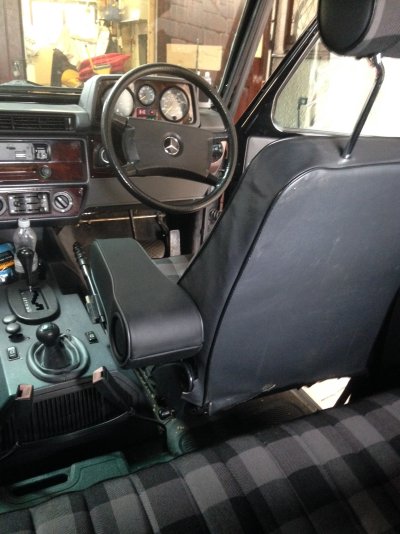
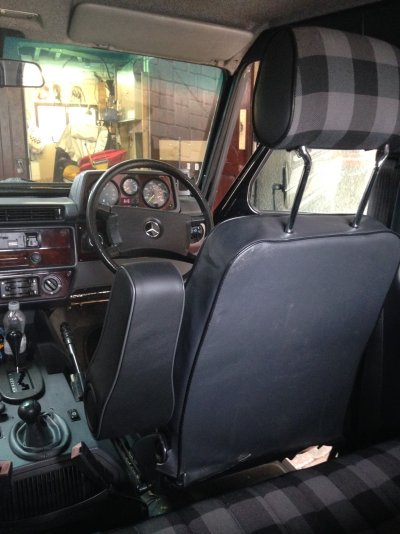
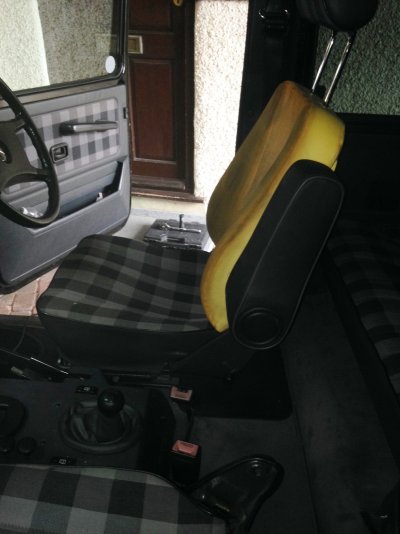
One Job I just had to do ,was to fit arm rests to my seats, which were an option on some W460's , one the original owner sadly did not tick! After much fruitless searching for an OE arm rest which were no longer available from MB , I managed to track down a brand new leather covered one on German Ebay, for the passenger seat , but as their passenger in Germany sits on the UK drivers side.. it was perfect! £215 seemed a lot but apparently they were twice that in the Uk when you could buy them! I also no (UK) passenger side ones available.. so I sourced a second hand W463 one.. just need to have it re trimmed!
The Gwagen has another gear selector at the rear of the transmission tunnel on the transfer box to select two(rear) or four wheel drive (This in effect automatically locks the central differential) , as well as Hi ratio or low ratio gears.. and separate Rear and front differential locks.. the arm rest has to be movable to account for these levers and selectors.

Armrest diagram.jpgarmrest.jpeg

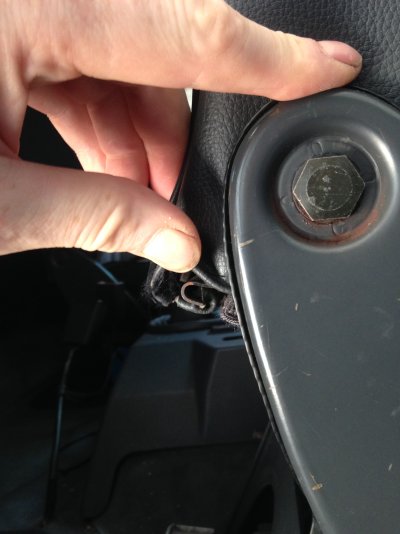
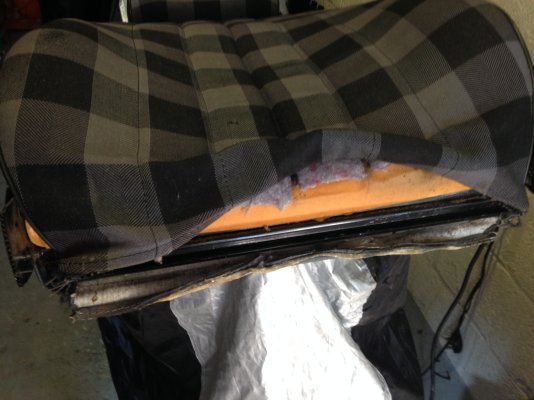
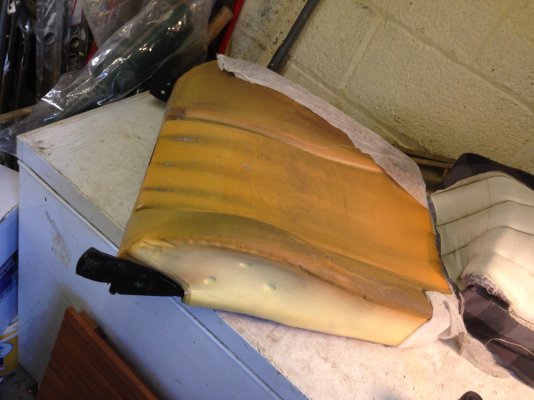
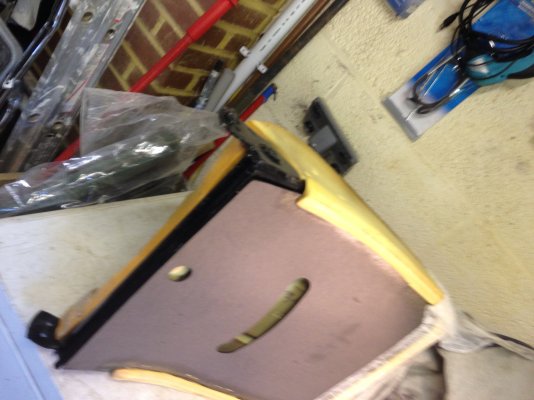
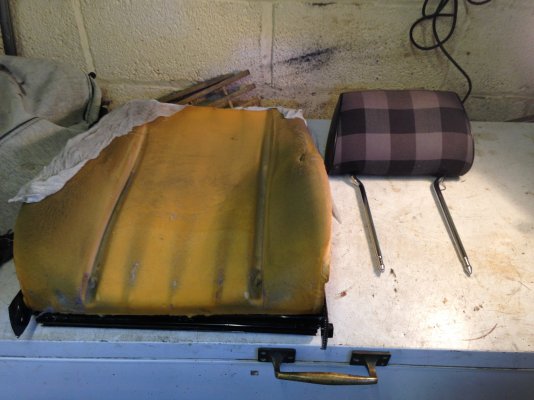
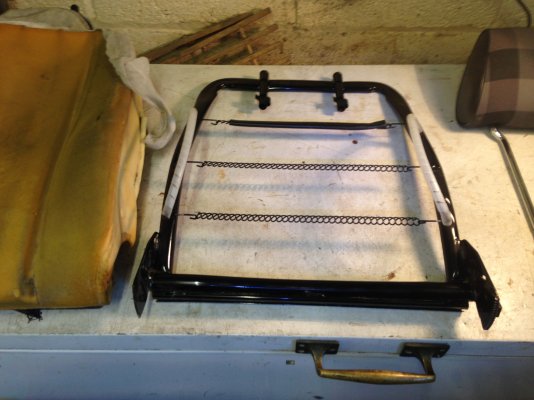
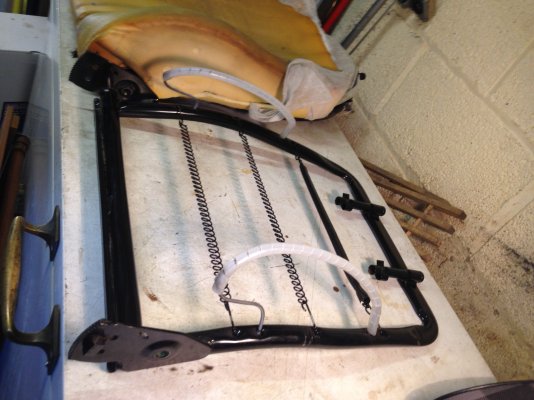
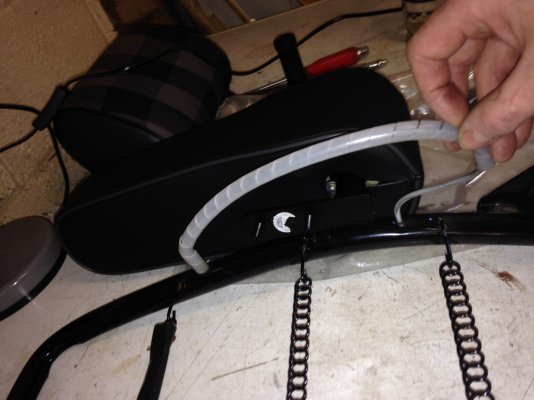
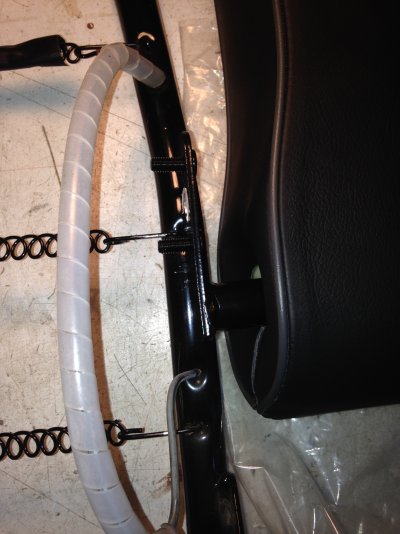
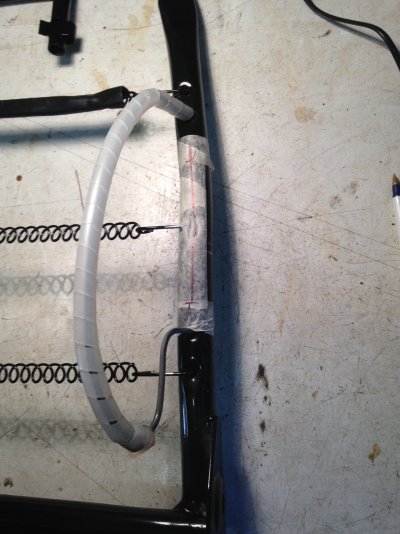
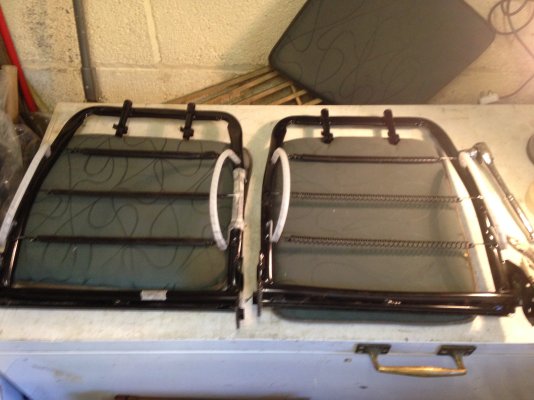
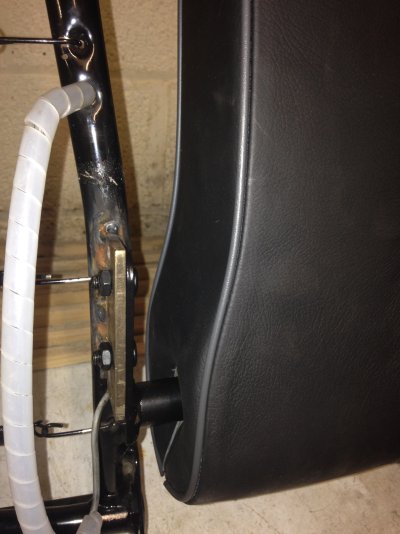
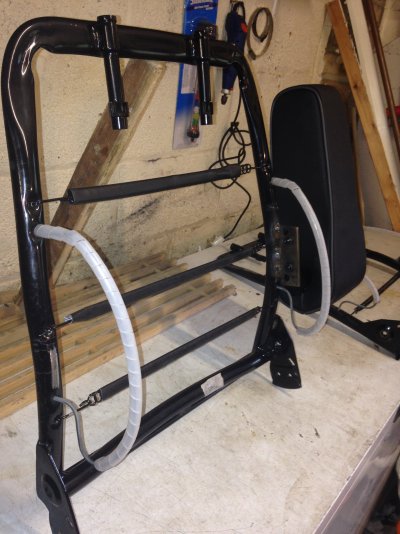
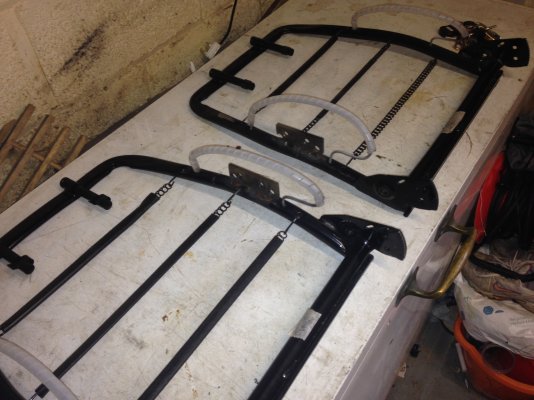
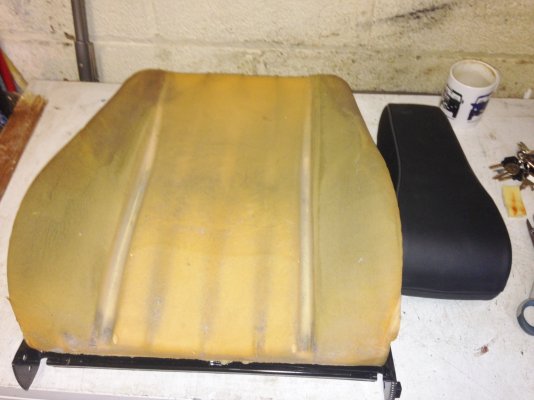
The next job was to remove the seat back rests and covers to have a look at the frames to see if there was already mounting points for the arm rests.

2016-06-06 09.58.53.jpg2016-06-06 10.14.33.jpg2016-06-06 10.20.49.jpg2016-06-06 10.20.56.jpg2016-06-06 10.26.43.jpg2016-06-06 10.34.06.jpg2016-06-06 10.34.13.jpg


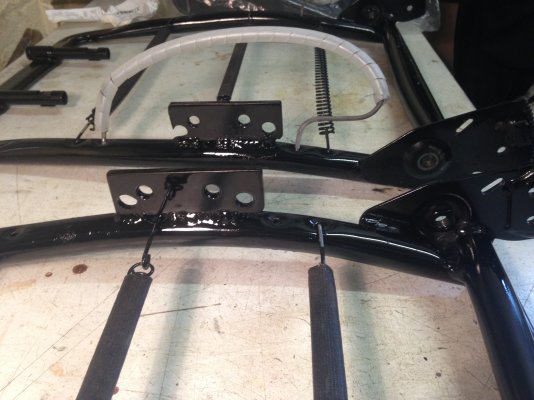
Sadly there were no mounting brackets fitted to my seat frames... so I would need to work out how to attach them...

2016-06-06 10.37.31.jpg2016-06-06 10.38.30.jpg2016-06-06 10.38.42.jpg2016-06-06 10.49.19.jpg2016-06-06 11.12.50.jpg

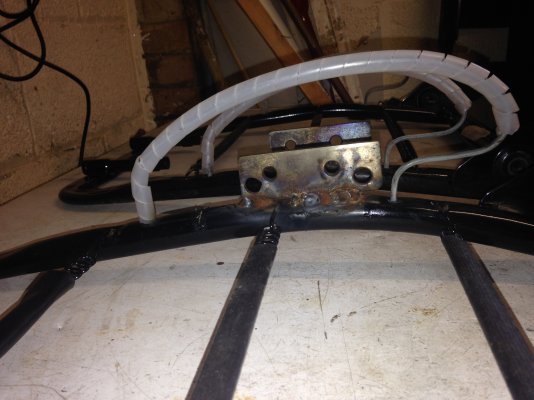
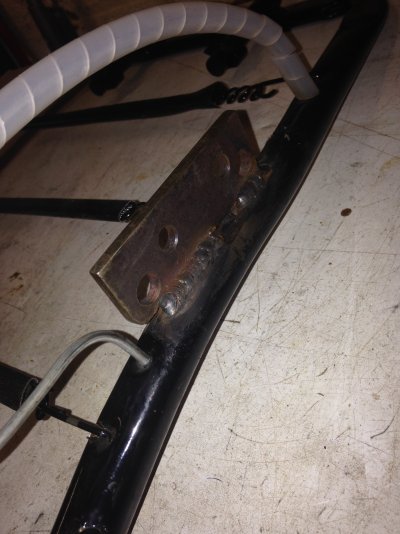
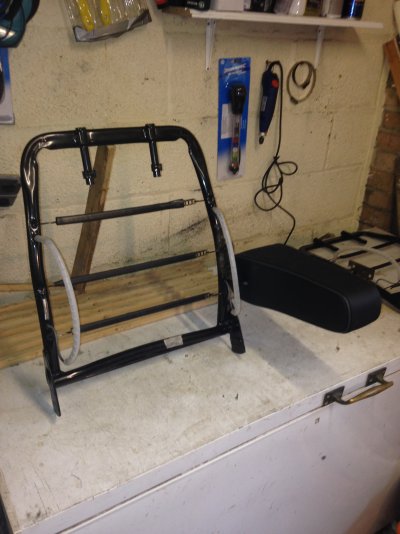
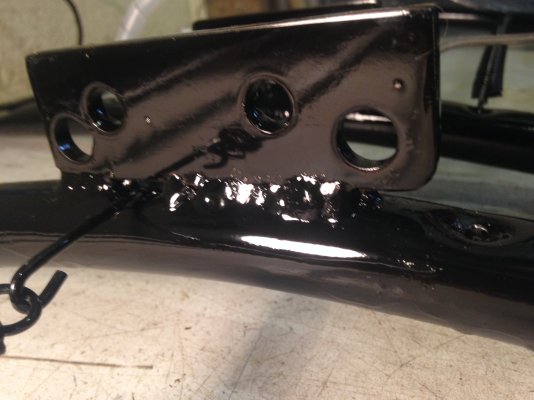
I had to make some brackets to attach the armrests from some scrap steel I had... which is not only something I had never done before but, at the time, I had no welding experience of equipment to attach a bracket. I considered bolting a bracket on but was concerned it would weaken the tubular steel seat frame. I had to avoid the bolster springs as well.. and was not certain of the angles to achieve a correct orientation of the armrest on a slightly reclined seat.
 
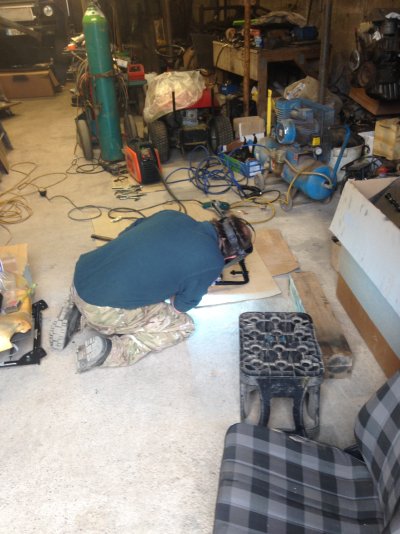
Brackets were made and welded on by my ever helpful friend, .. then the armrests were attached to see how they might sit when attached to the car...


File 12-06-2016, 09 37 05.jpegFile 12-06-2016, 09 37 31.jpegFile 12-06-2016, 09 39 28.jpegFile 12-06-2016, 09 39 46.jpegFile 12-06-2016, 09 40 05.jpegFile 12-06-2016, 09 40 20.jpegFile 12-06-2016, 09 40 39.jpegFile 13-06-2016, 14 51 41.jpeg
 
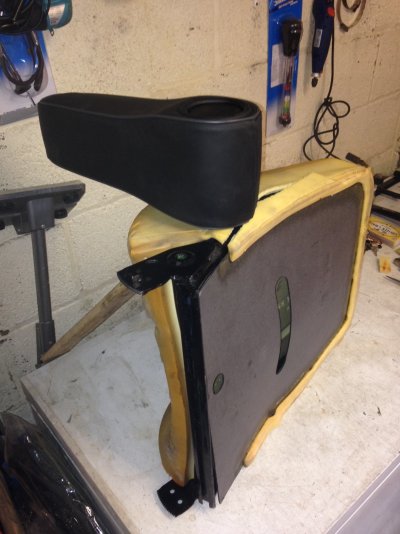
Brackets painted , then I fitted the seat foam covers back on , and fitted the seat backs , back into the car,

File 13-06-2016, 14 52 24.jpegFile 13-06-2016, 14 53 06.jpegIMG_4967 (1).JPGIMG_4963.JPGIMG_4968 (2).JPGIMG_4969.JPG

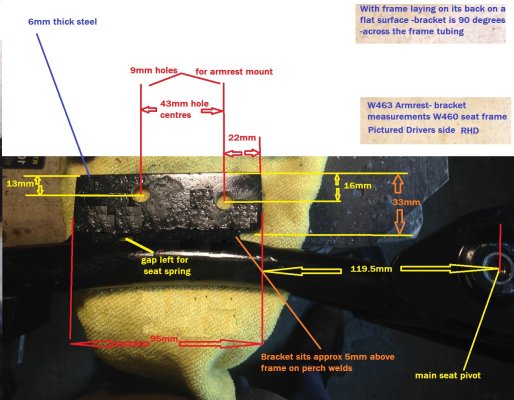
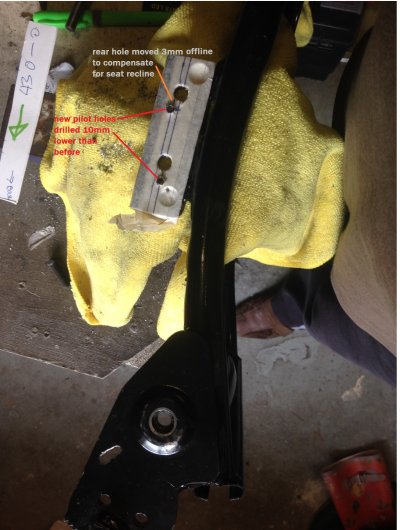
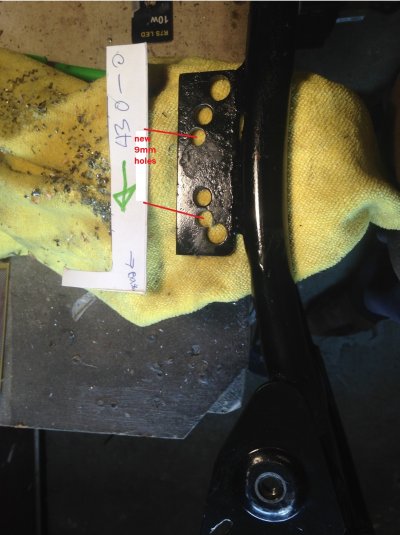
Unfortunately the arm rests were slightly inclined in the seat how I like it.. so out they came.. and two different holes were drilled in the brackets ... These were my first measurements...

Armrest bracket measurements updated 16 6.jpg


Adjusted positions measurements

armrest bracket adjusted1.jpgarmrest bracket adjusted 2.jpgIMG_4969.JPGIMG_4970.JPG
 
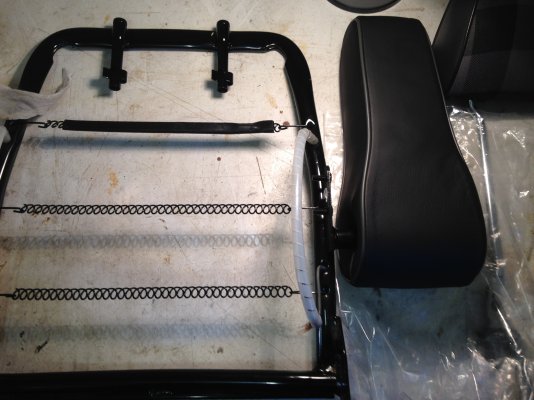
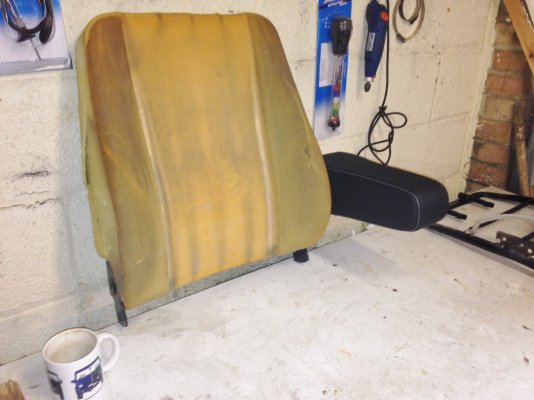
Once the armrests were refitted... and checked I went about replacing the seat covers... since these pictures were taken, both the seat foam and covers have been replaced with ones that have hardly any wear at all.

IMG_4996.JPGIMG_4997.JPGIMG_4998.JPG

The passenger side was slightly different as the arm rest brackets were of a different design.. but both are a joy to use.
 
Excellent work John. I’m surprised the brackets weren’t already there.
 
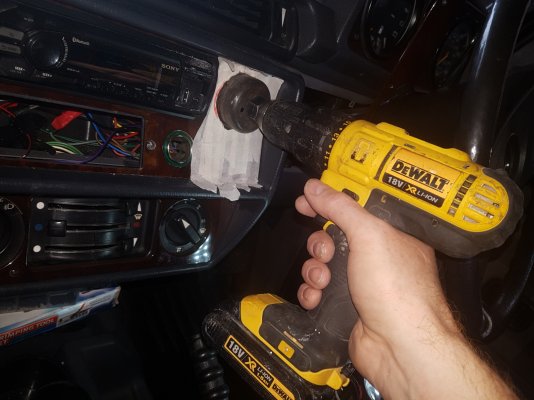
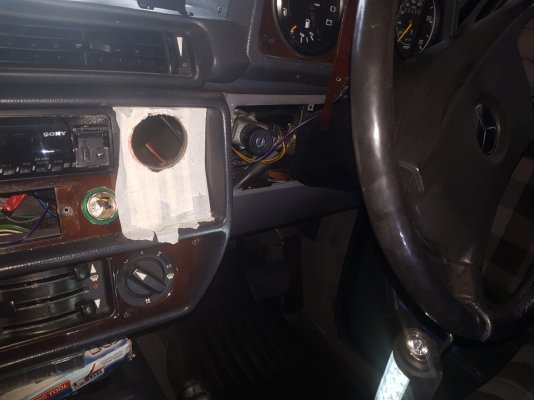
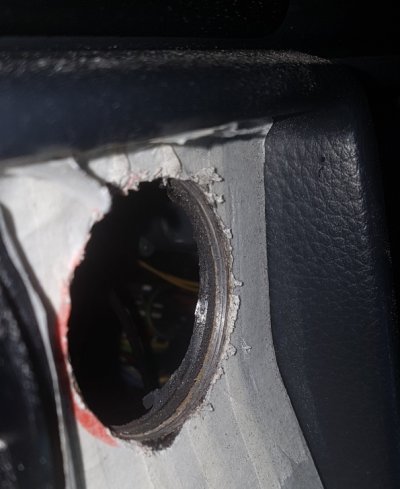
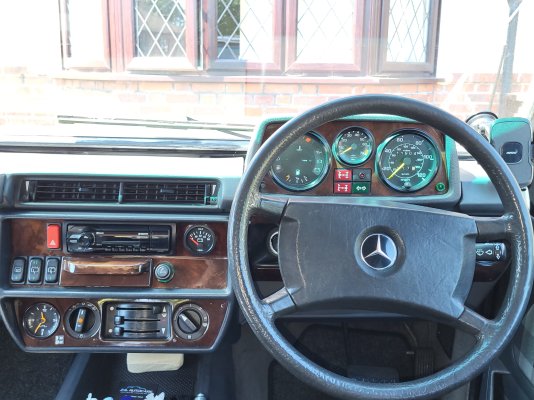
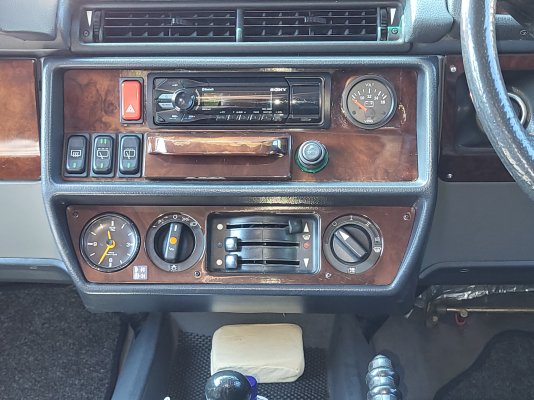
After my issue with the battery warning light failing, I decided I needed an old fashioned Battery gauge.. this would involve cutting a hole in my walnut dashboard! :oops:, I managed to source a VDO battery gauge to best replicate the standard fit VDO instruments.

Dash.jpg

First job ask for advice... I was told the dashboard is actually metal... and the upper part of the centre console has a printed walnut finish... the lower panels I have removed before are definitely Wood panels.

I removed a few adjacent panels so I could put my hand behind the mount position and check I would not be cutting vital wires etc.

Drill bit in hand... masking tape.. deep breath....

20190409_160606.jpg

20190409_160612.jpg20190409_160649.jpg

New VDO gauge, all connected to the wiring system.

20220710_113713.jpg20220710_113650.jpg20220710_113626.jpg
 
Last edited:
Now would be a good time to fit heated seat elements in preparation for winter.
 
I did consider heated seats... and fitting an element into the seats... but the car's heater is amazing..
A possible future project. ;)
 
I did consider heated seats... and fitting an element into the seats... but the car's heater is amazing..
A possible future project. ;)
Nothing beats a warm bum on a winter morning - and no sniggering at the back please!
 
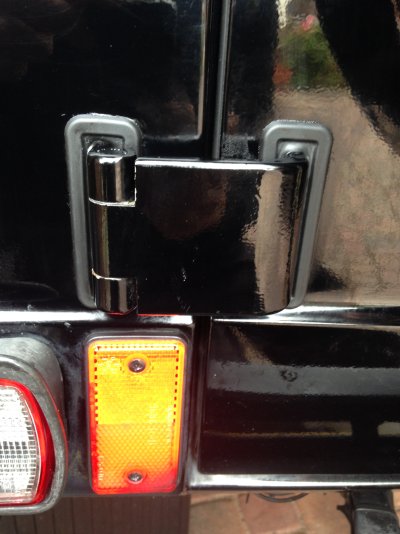
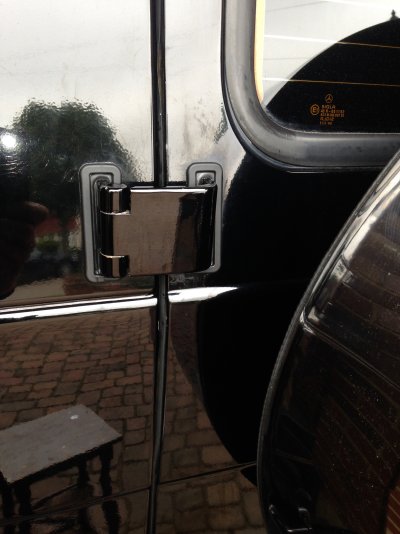
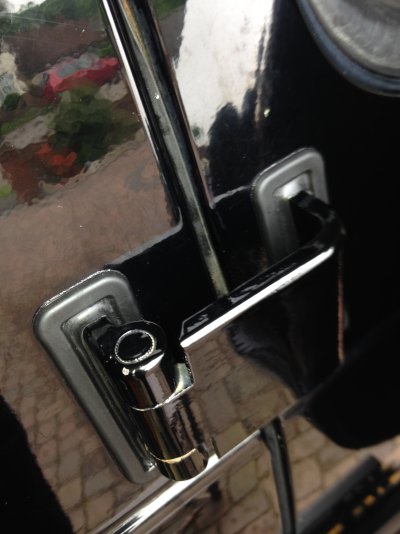
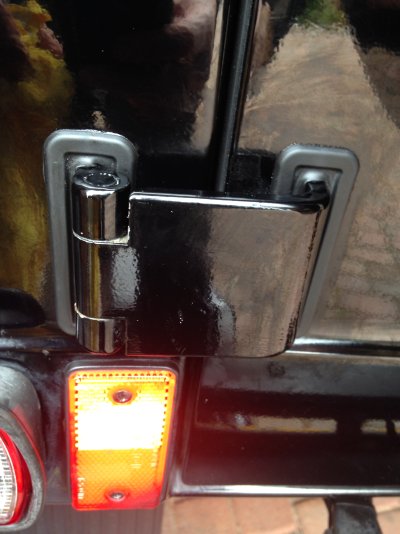
Rear door Hinges

Thank you to all reading this thread/Project/blog.
(The different jobs in this thread are not strictly in chronological order.)

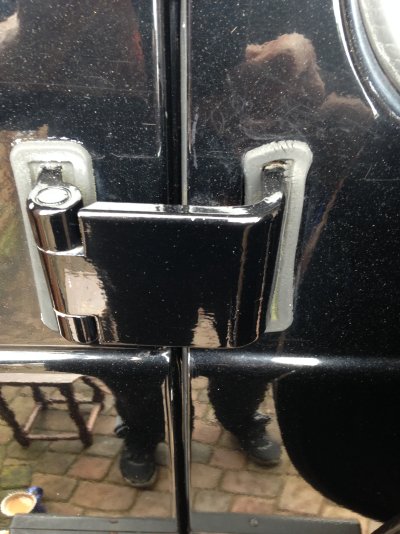
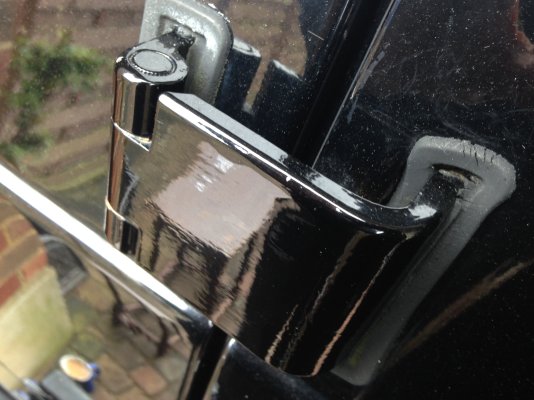
The hinges on all G's are of similar exterior design and protrude through the door skin to the outside. The G was designed to have its spare wheel on the rear door.. and hinge from the left. There are a few rare G wagens with twin rear doors, as well as cabrios and convertibles , as well as a few Kastenwagen's (Van) and modern W463's , but they all still use the same hinge arrangement.

A few years back whilst giving the G a wash, I noticed the very heavy duty rear/back door hinges were allowing water to ingress past their rubber seals.
This is a common issue on G wagens over 15 years old, so it was time to replace them !

Mine at the time had lasted 28 years, so I think that this was quite good for a seal... made of rubber.. MB Quality parts.. so x4 new MB seals ordered (£6 each at the time).

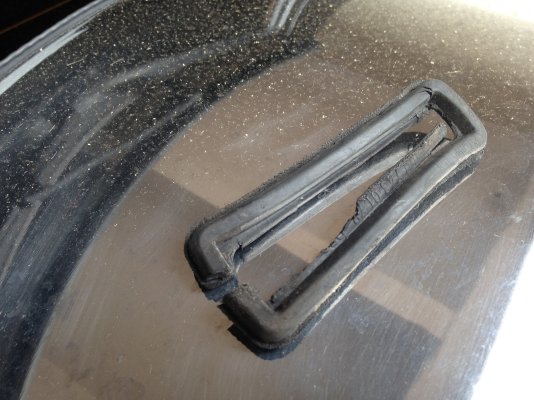
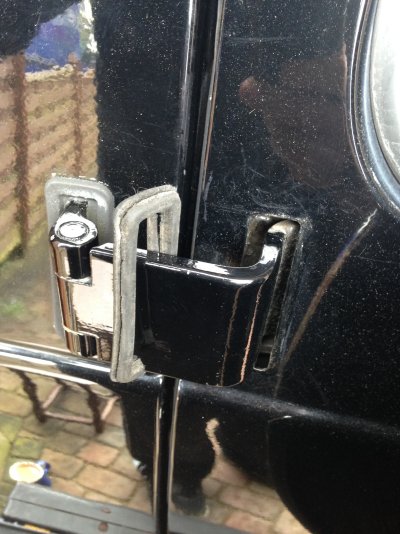
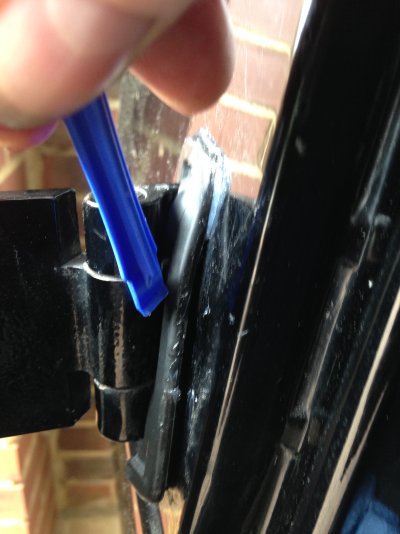
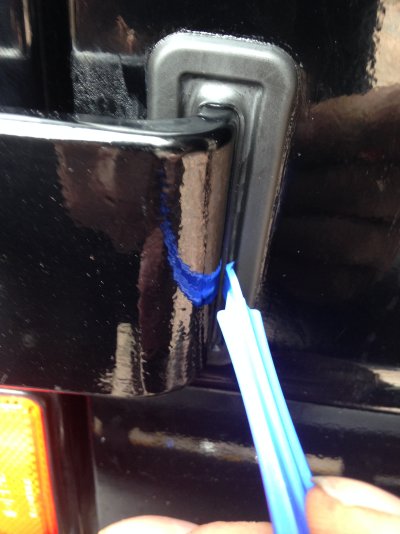
This is how the seals looked before replacement...

Top hinges

2016-06-04 11.11.53 (1).jpg2016-06-04 11.12.14 (1).jpg
2016-06-04 11.12.42 (1).jpg2016-06-04 11.12.57 (1).jpg2016-06-04 11.13.30 (1).jpg
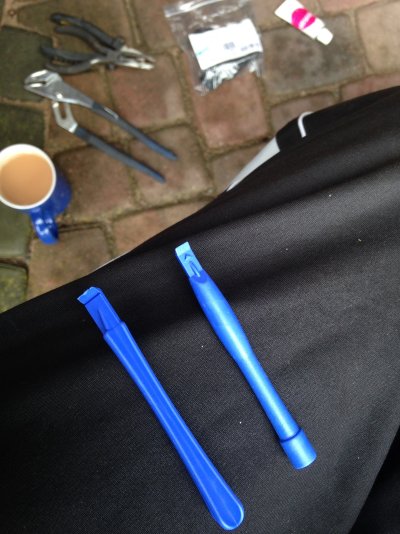
Blue plastic tools are ones used on repairing mobile phones...

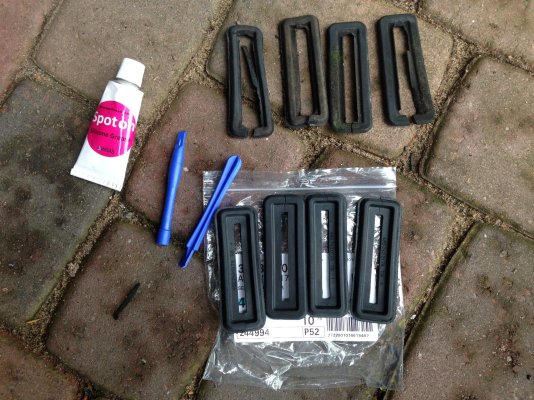
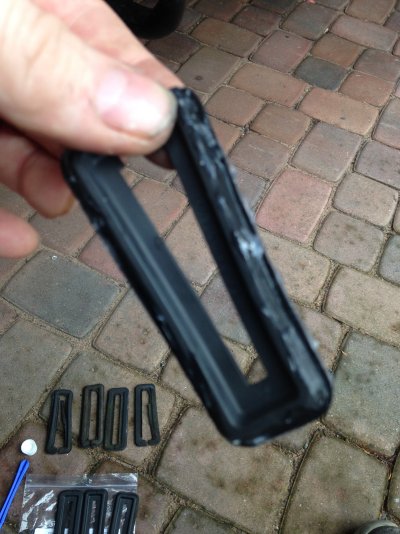
Below old seals verses new..!


2016-06-04 11.16.23 (1).jpg
image (3).jpg
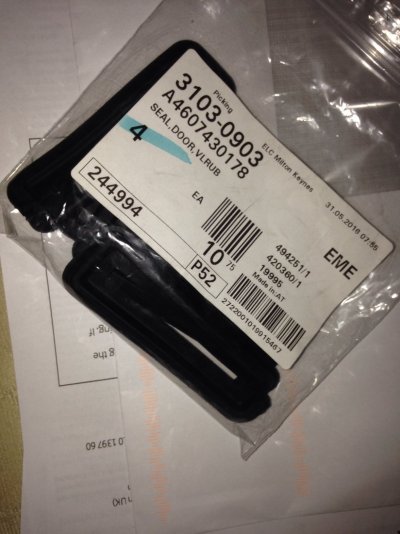
The seals are supplied split .. the joint goes at the bottom... without this you would have to remove the door to fit the seals. Part numbers for W460's above .

Silicone grease is essential to fit the new seals as they are fiddley and tight! 2016-06-04 11.19.23 (1).jpg2016-06-04 11.34.06 (1).jpg2016-06-04 11.21.56 (1).jpg

The seal has to sit with its flange both sides of the door panel for water seal tightness.

The finished seal... £24 well spent and only 20 minutes to fit. should be good for another 28 years now! 2016-06-04 11.30.20 (1).jpg2016-06-04 11.43.54 (1).jpg2016-06-04 11.44.08 (1).jpg2016-06-04 11.45.58 (1).jpg

John
 
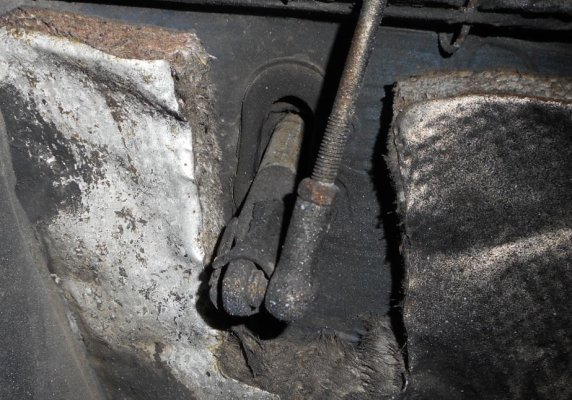
Following on from the boot seals... something that was pointed out to me by my friend Mike A.B. who restores G wagens... the bulkhead seal for the accelerator pedal, which is a series of solid rod linkages connected by tiny ball joints... going through the bulkhead into the engine compartment eventually (at about 15 years) wears out and allows water into the cabin... was time to inspect mine!
DSCN0925.JPG


As expected the seal had split allowing water and noise to enter the cabin from the engine bay.

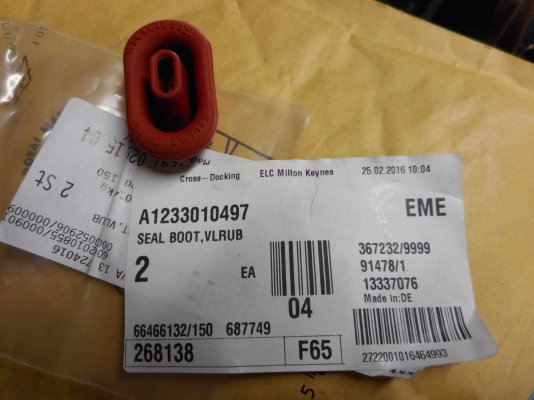
New OE one ordered...
DSCN0926.JPG


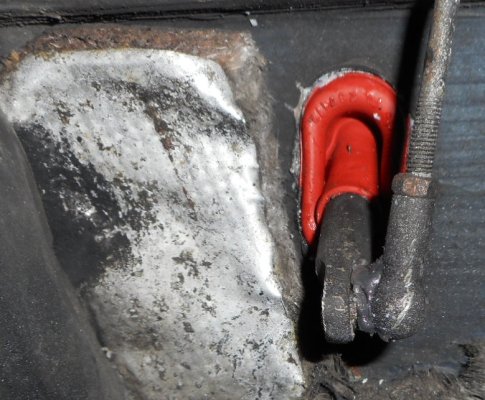
Ball joint popped off and new seal fitted.... re greased and ball joint squeezed back on...

DSCN0928.JPG


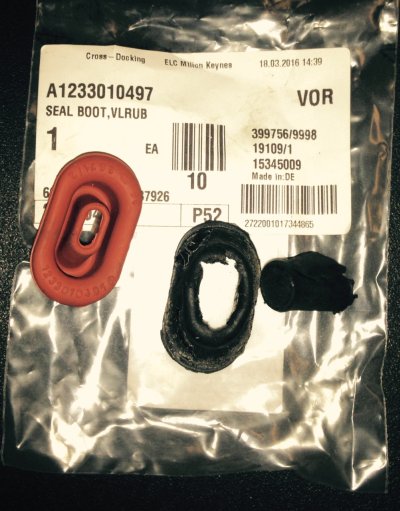
Old verses new

throttle seal (2).jpg

John
 
You are too kind 🤖

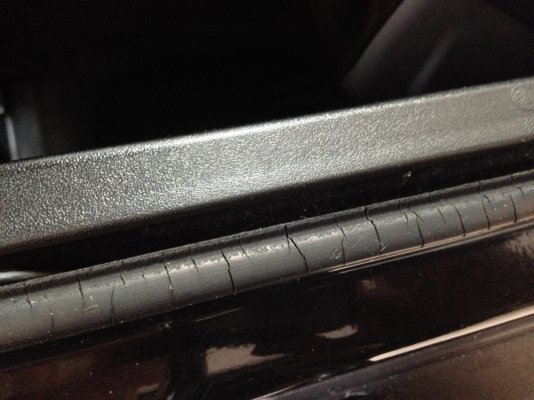
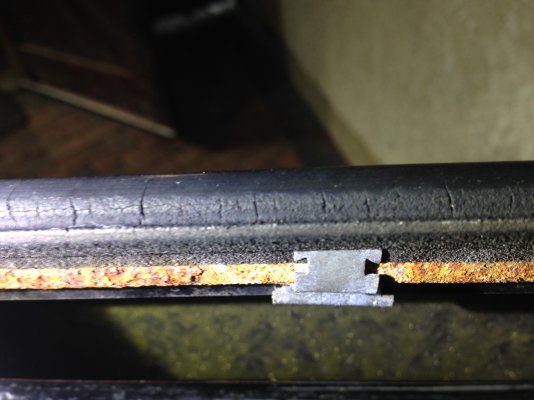
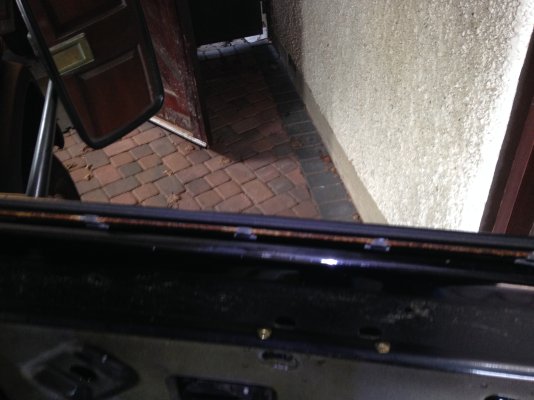
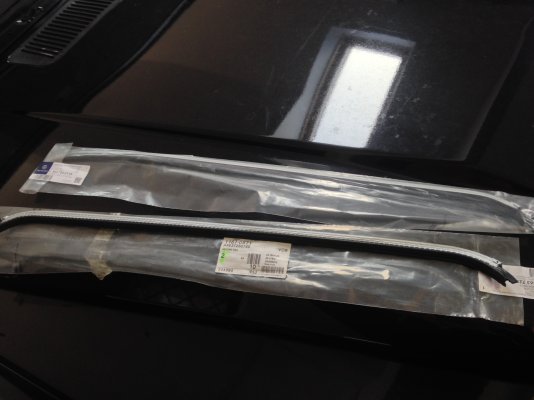
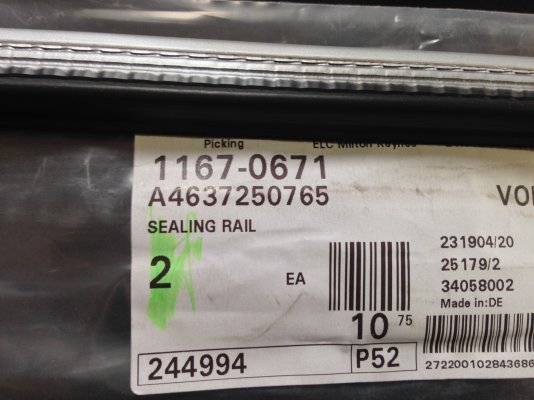
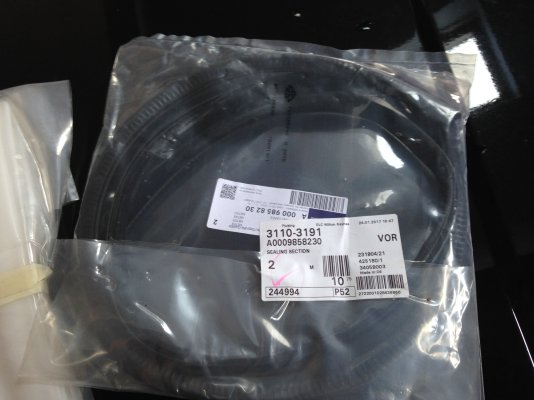
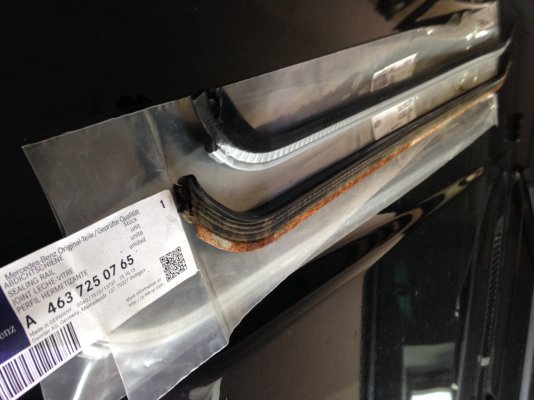
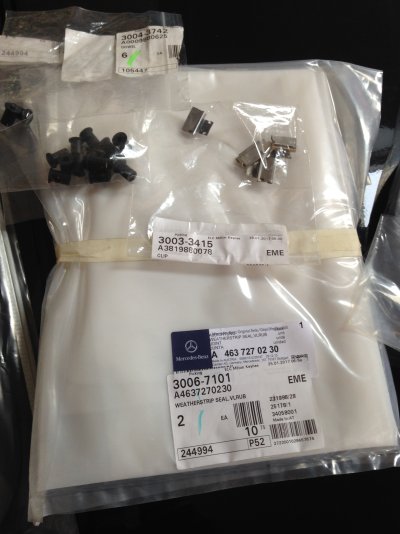
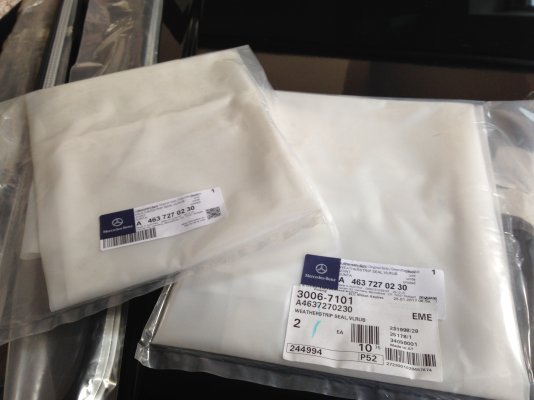
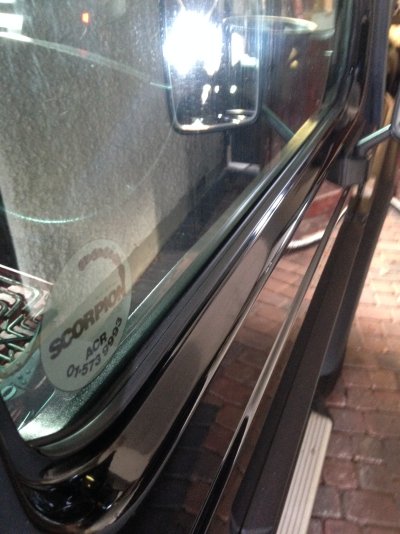
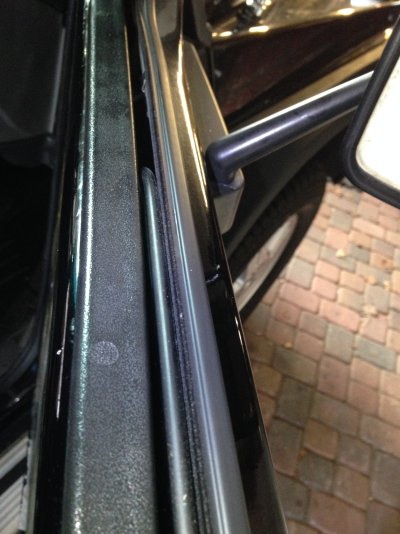
More seal replacement... on the driver and passenger door windows, tired and cracking.. (and the seals) they were after 30 years past their best... so a new set were ordered from MB
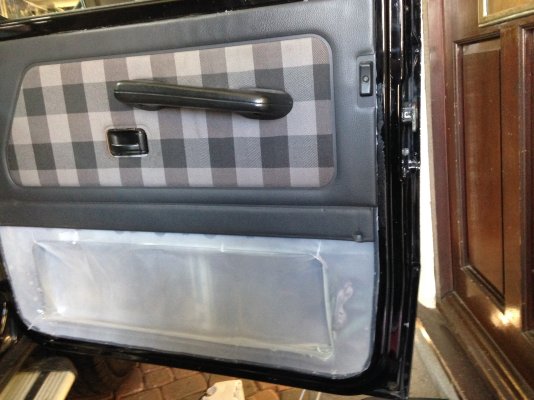
Never done this before....... and to renew the missing waterproofing plastic/vapour barrier behind the door cards as well..

seals before:

2017-02-13 10.26.16.jpg2017-02-13 10.58.23.jpg2017-02-13 10.58.16.jpg
2017-02-13 11.12.30.jpg2017-02-13 10.27.20.jpg
Top tip... to get access to the seal strip clips...lower the window glass all the way down..and remove the two big phillips head screws on the lift mechanism. ...gently lower the glass a few extra inches into the door below its stopping point...now you wil see the clips (x6) to remove and replace the sprung metal seal clips... use a small allen key locked in a pair of molegrips..and insert it where the clip is at its lowest point..and push... when replacing them use a little bit of rubber grease.. so they slide on easily...and use the same method as removal in reverse.

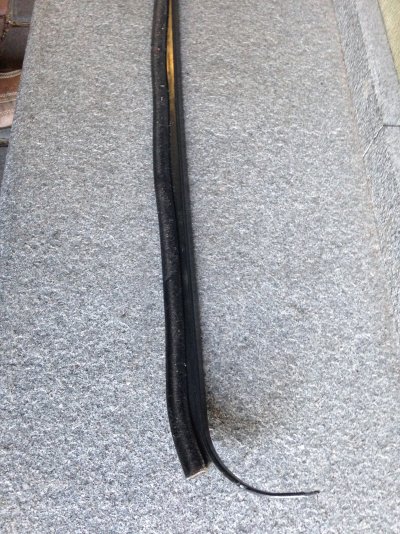
New vs old 2017-02-13 10.27.27.jpg


Inner seal sold by the metre
2017-02-13 10.28.51.jpg
2017-02-13 11.08.42.jpg

Vapour barrier is expensive but shaped to the door bins that sit inboard of the door metal frame inside the lower door frame.
2017-02-13 12.50.49.jpg
2017-02-13 10.28.44.jpg2017-02-13 10.33.24.jpg

Took about 1 hour per side.. used butyl rubber strip on a roll to stick plastic liners to inner door skin....
:geek:


New seals providing water protection and looking good!
2017-02-13 11.52.00.jpg2017-02-13 11.52.33.jpg

John
 

Users who are viewing this thread

Back
Top Bottom