• The Forums are now open to new registrations, adverts are also being de-tuned.

HOW TO: Replace rear bumper W124 Estate

S9KSY

Active Member
Joined
May 22, 2010
Messages
213
Location
Sarf London
Car
1995 W124 E280 Estate
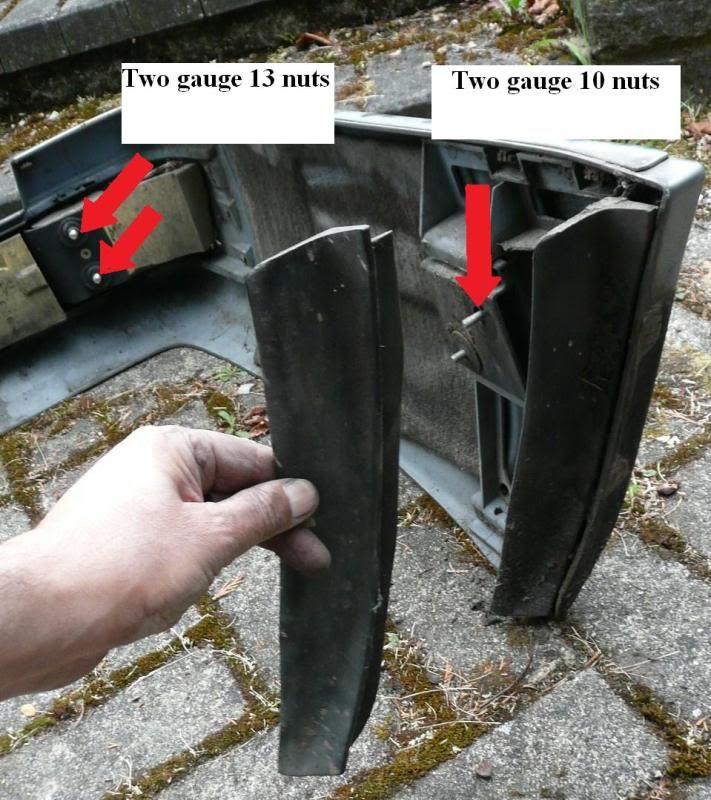
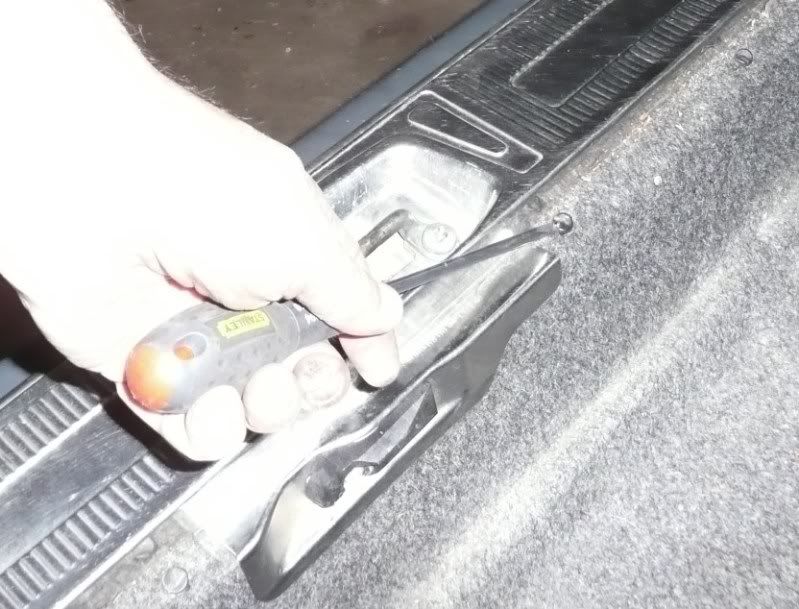
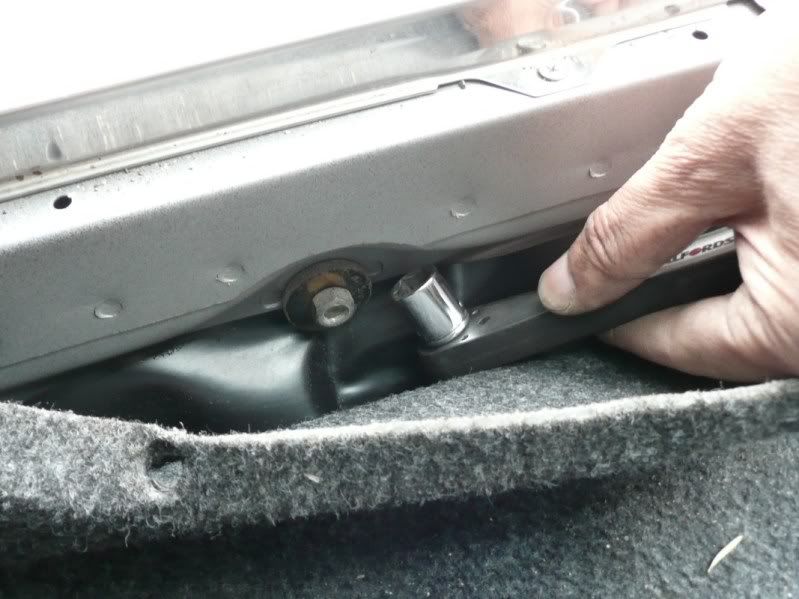
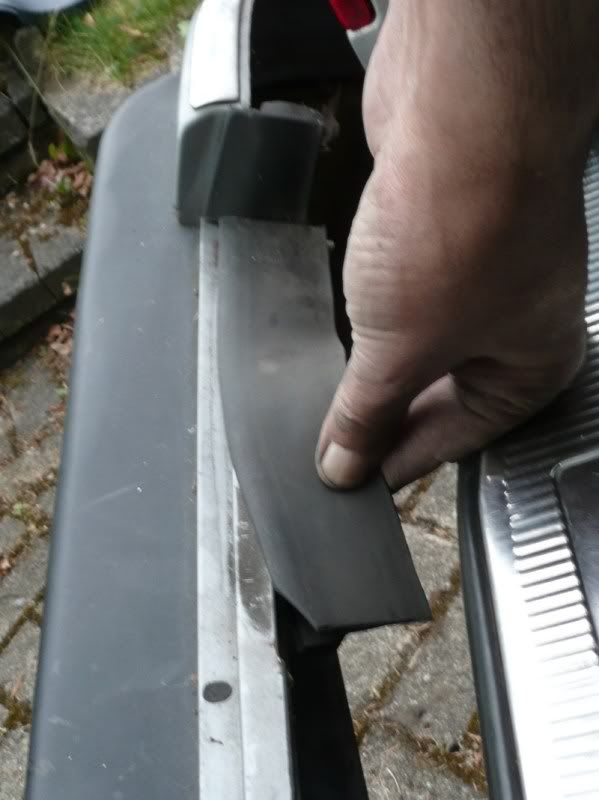
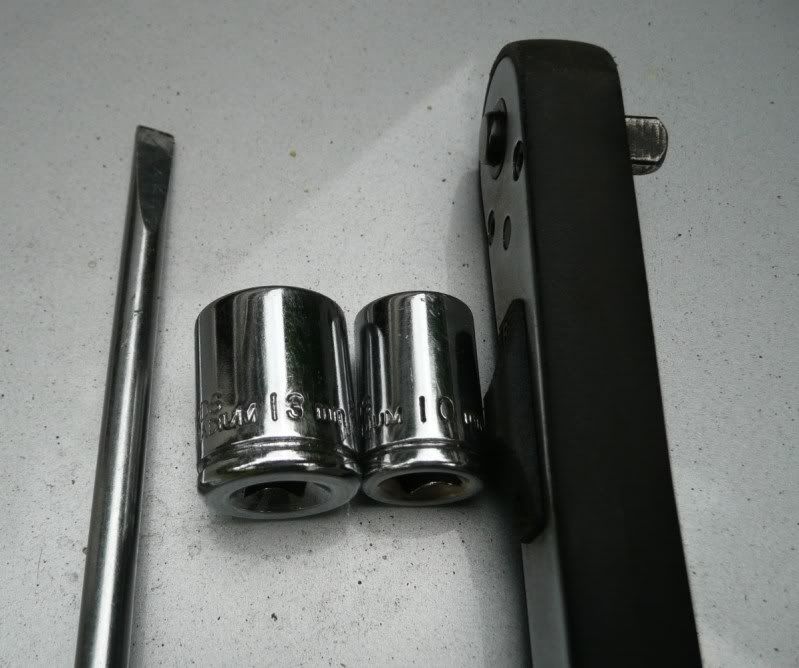
Tools required Screw driver, wrench with gauge 10 and 13 sockets.
You are going to remove 10 nuts in total.
Four of them are gauge 10.
Six are gauge 13.
All have metal washers.
Time to remove 45 minutes.
Time to refit 20 minutes.
1-ToolsrequiredScrewdriverwrenchwithgauge10and13socketsYouaregoingtoremove10nutsintotalFourofthemaregauge10Allhavemetalwashers.jpg
 
The 2 rubber seals do not have to be taken off like they tell you in Haynes manual.
This is a picture of the nearside rubber in situ with a second nearside rubber taken from another car to show orientation of fitting.
The bumper is held by 10 nuts.
2 on each side at the front.
2 on each side at the corners.
1 on each side to hold the middle of the bumper via a long bolt (not shown in picture)
2-The2rubbersealsdonothavetoberemovedThisisthenearsidewithasecondnearsiderubbertakenfromanothercartoshoworientation.jpg
 
Eight of the 10 bolts are accessed throgh the 2 side wells.
In the nearside well, remove spare tyre.
In the offside well, remove the jack and place rear windscreen wiper bottle on one side.
3-RemovesparetyreRemoverearwiperbottletoeaseaccessDonotremoveitsattachments.jpg
 
Remove the two gauge 10 nuts and their washers in the offside rear well.
These are the relatively more tricky nuts to remove because of slightly tighter access.
4-Youwillneedtoremove10nutsintotalTheyallhavemetalwashersRemovethejacktoaccessandremovethetwogauge10nutsintheoffsiderearwell.jpg
 
Remove the two gauge 10 nuts in the spare tyre well.
These are the easiest nuts to remove.

each of the 4 screws shown in this step and previous post, have 2 washers.
One metal washer on the inside. And,
One rubber washer on the outside which acts as a water tight seal from outside environment.
5-Removethetwogauge10nutsinthesparetyrewellThesearetheeasiesttoremove.jpg
 
Remove the four gauge 13 nuts and washers that hold the bumper's 2 corners.
Shown here is the more difficult offside.
It has been accessed through the aperture where rear windscreen washer bottle normally sits.
Remove the 2 nearside other nuts in the opposite spare tyre well.
NOTE THE DIRECTION IS NOT PARALLEL TO THE CAR AXIS
6-Removethefourgauge13nutsandwashersyouwillfind2oneachcarcornerShownhereisthemoredifficultoffsideNOTETHEDIRECTIONISNOTPARALLELTOTHECAR.jpg
 
Prise out the 4 plastic grommets along the rear edge then pull the trim from underneath the latch metal sheet to expose the final 2 nuts that hold the "middle" of the bumper.
7-Priseoutthe4plasticgrommetsalongtherear.jpg
 
Access the two gauge 13 nuts after pulling the trim at the footwell of the 3rd row of seats in 7 seaters, or in rear storage compartment in 5 seaters.
Each nut is attached to quite a long bolt.
Now you are ready to remove the rear bumper by pulling rearwards.
8-Accessthetwogauge13nutsafterpullingthetrimatthefootwellofthe3rdrowofseatsin7seatersorinrearstoragecompartmentin5seaters.jpg
 
REFITTING:
Attach all rubbers before reinserting the bumper in place.
10-Attachallrubbersbeforereinsertingthebumperinplace.jpg
 
THAT'S IT!
I think the W124 Estate/saloon/ coupe/ convertible rear bumpers should be very similar and hopefully the steps above apply to all.
I hope someone will find this thread helpful.
 
Last edited:

Users who are viewing this thread

Back
Top Bottom