conor1n
Active Member
Hello guys,
Just a quick question. I have started work on repairing the rust on my rear arches and hit a bit of a conundrum. Wondering if you guys can help?
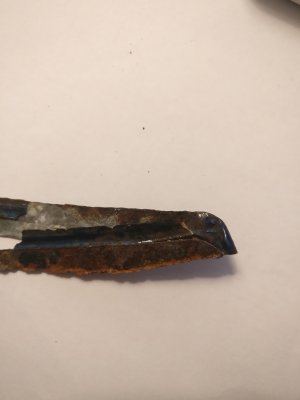
You will see in the drawing below, a rough outline of the rear arch and internal lip. I need to remove all the rubber sealant in the lip along with the rust. The problem is that it is all quite difficult to get at with grinder/sandpaper and possibly fill up with dirt again after repair. This has led me to consider grinding back the lip a bit, as highlighted with bright green line.
Is this advised against? I am trying to figure out any possibly downsides to this.
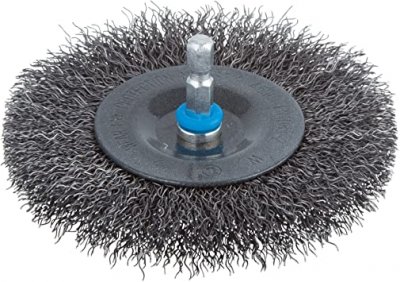
The plan is to bring back to metal with sandpaper + wire wheel, then use Bilt Hamber rust remover + converter after, followed by some epoxy primer/sealer to seal and fill the lip/protect edge.
There is no going back after I grind the lip down a bit.. good or bad?


Just a quick question. I have started work on repairing the rust on my rear arches and hit a bit of a conundrum. Wondering if you guys can help?
You will see in the drawing below, a rough outline of the rear arch and internal lip. I need to remove all the rubber sealant in the lip along with the rust. The problem is that it is all quite difficult to get at with grinder/sandpaper and possibly fill up with dirt again after repair. This has led me to consider grinding back the lip a bit, as highlighted with bright green line.
Is this advised against? I am trying to figure out any possibly downsides to this.
The plan is to bring back to metal with sandpaper + wire wheel, then use Bilt Hamber rust remover + converter after, followed by some epoxy primer/sealer to seal and fill the lip/protect edge.
There is no going back after I grind the lip down a bit.. good or bad?