samoht
Member
A week ago, driving home in the dark, I got a message on the dash saying my left headlight wasn't working. The message went away and the bulb did then light up, but looking at it from the front, I could see it was noticeable purpler than its right-hand counterpart. Clearly needing changing, especially as I need to to drive somewhere on Saturday.
Consulting the manual, I was met with the information that the dipped beam is a HID operating at high voltage, and that I should consult my Mercedes dealership rather than attempt to replace it myself. Searching online, I became a little confused. My car is a C55, and thus has the front end of a W209 CLK. However not all CLKs have the HID lights. I was on the point of calling a garage, but decided to have a go.
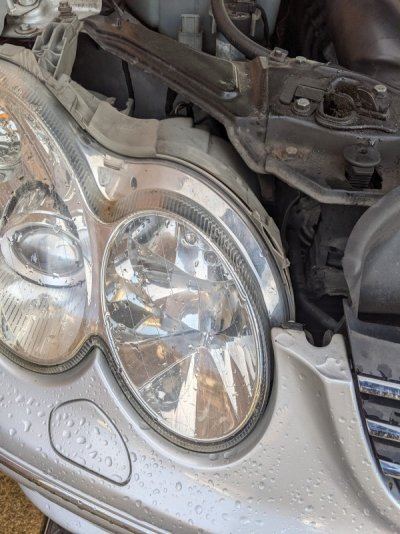
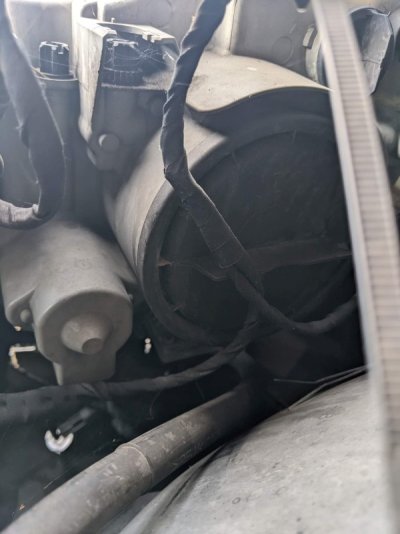
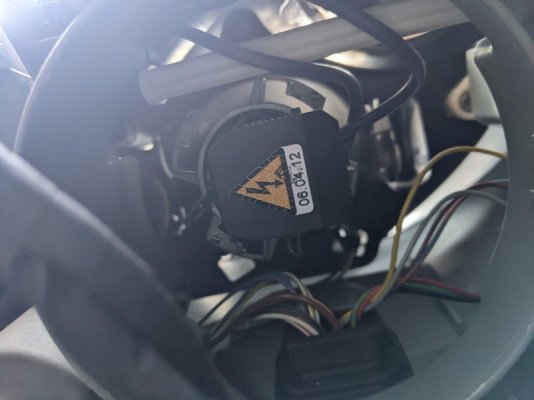
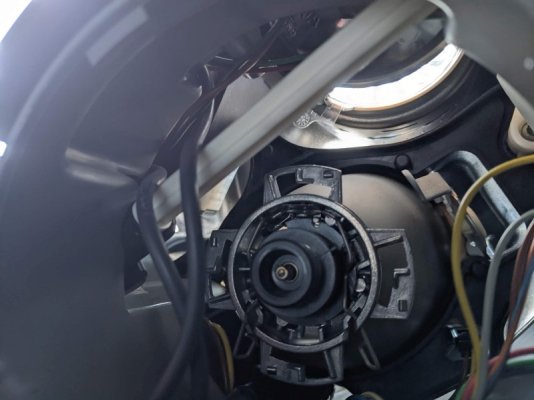
In fact, unlike many modern cars, it's a fairly nicely designed setup that makes it reasonably straightforward to change a bulb. Given that, I thought I'd share a few pics, in case anyone else is put off by the warnings in the owners manual.
You will need:
- A Mercedes W209 CLK with HID headlights, or a W203 C55
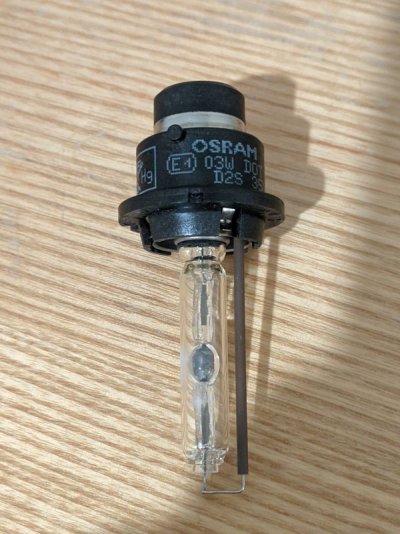
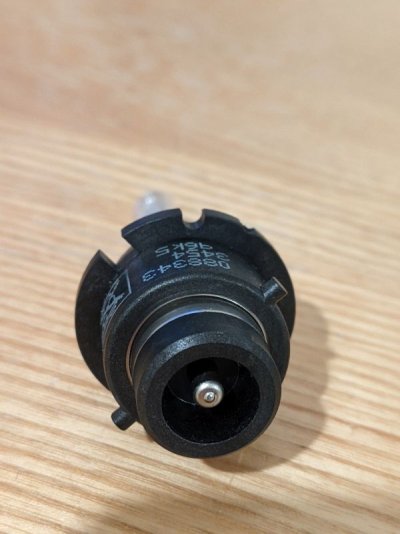
- A D2S 35 Watt replacement headlight bulb (I got mine from Halfords for £35, an Osram which matched the dead one). It appears that any D2S bulb will fit, you probably want the same wattage.
- Daylight (or some very good work lighting) the first time you do this - much easier to see what's going on in daylight.
Before you start, turn the lights off (the '0' position on the dash switch), and remove the key.
Last edited:

