• The Forums are now open to new registrations, adverts are also being de-tuned.

W212 Lower Control Arm Replacement DIY questions

I think removing the 3 torx bolts to disconnect the hub from the bottom of the suspension strut will help for an on-the-drive DIY job, as it means you can get a bit better access to the arms and ball joints plus able to move stuff around better. It also means you can use a proper ball joint splitter on the front control arm to hub ball joint, rather than bashing a pickle fork in.

Agreed when watching the vid I didn't think brake disc or dust shield removal was necessary.

@BlackC55 how do you torque the control arm bolts on reinstall as it looks like you can't get a torque wrench directly on to the nut (we might need to avoid turning the bolt which is easier to access if it's got the camber adjustment bolts installed)?
Is it by using a crows foot adapter or box spanner torque adapter on a torque wrench, or removing the ARB?
 
I don't remember there being a problem torquing the control arms (when on the ground - again, a pain without a lift). Some of the ball joints and anti roll bar links are a bit difficult to do and I think most places will not bother with proper torque settings for them...

The big control arm bolts are important to do correctly though
 
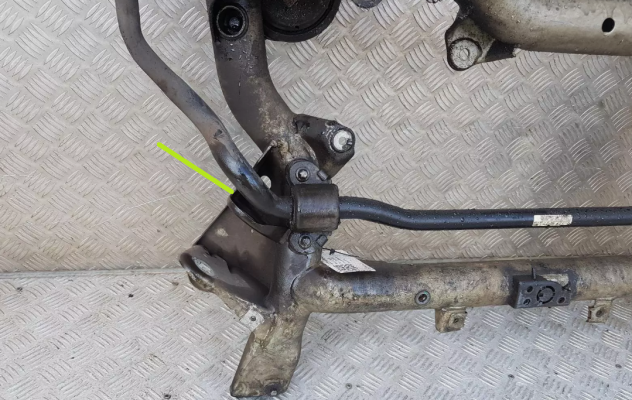
My understanding is that for the W212 and W218, the nut for the front control arm bolt is obscured by the ARB, and can only be accessed with a ring spanner if the ARB isn't removed. As indicated by this filthy photo of the underside of a W212 front subframe from eBay, and the ring spanner would fit in where the green line is pointing.

1737044535336.png

If you have the standard bolts without camber adjustment, then I understand they have a standard hex head on the bolt and the nut. These can be undone and torqued via the bolt end, which is handy because you can only get a ring spanner on the nut end.

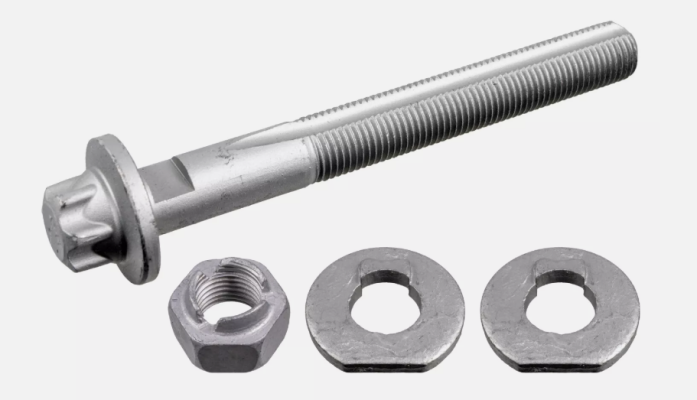
If you have a torx head bolt and nut combo installed, this indicates you have the castor adjustment bolt (part No. A0003331071), as so:
1737044727056.png

1737044779027.png


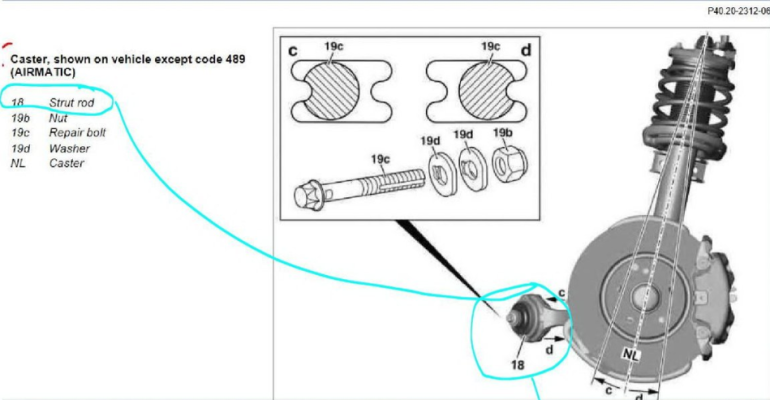
If you turn the caster adjustment bolt during removal or install, you will bust the tabs off the washers, damage the bolt and potentially damage the mating surface on the subframe or the camber adjustment lock points within the new front control arm bushing itself.

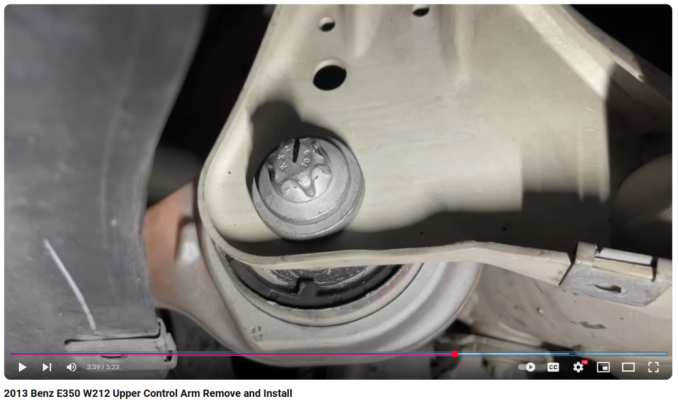
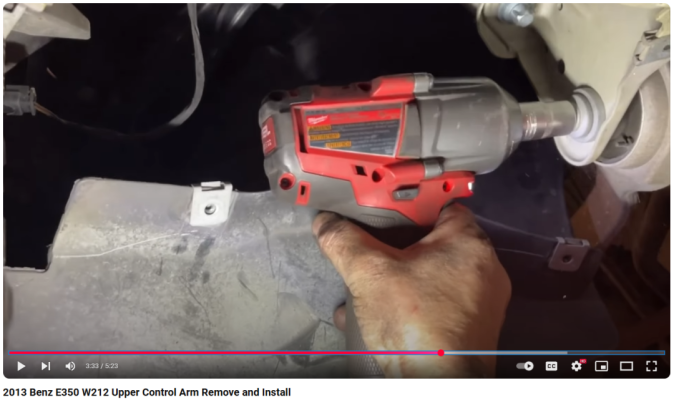
In the new vid I linked, we can see Leo has the adjustment bolts.
1737044947888.png

We can see that he likes to use an impact wrench on the bolt. And I'm sure in the vid you can see metal swarf making good it's escape as it gets wrecked
1737045121555.png

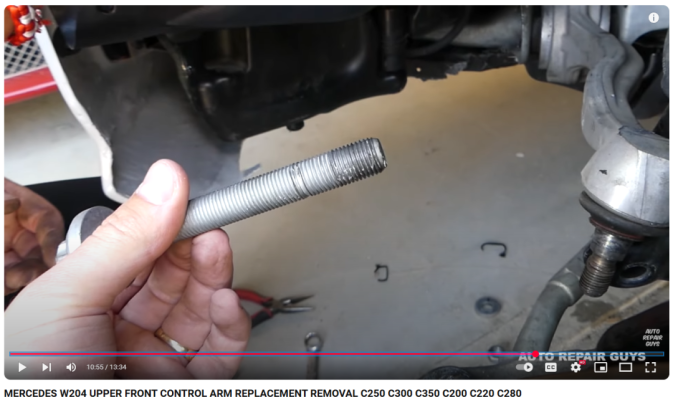
He doesn't show any images of the bolt, but I found a W204 vid where someone had done the same thing i.e. turned the bolt and not the nut on the camber adjustment bolt, and the bolt is junked.
Thread stripped and coated in metal swarf.
1737045193661.png

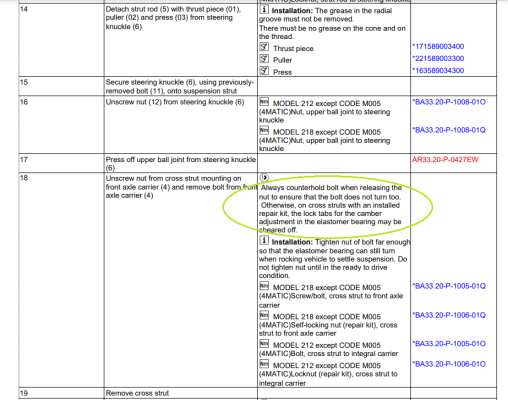
WIS also makes reference to specifically releasing the nut and holding the bolt secure on removal and install when camber adjustment bolts are installed, otherwise the profiled lock tabs within the central metal insert in the elastomer bearing could be wrecked.
1737045394864.png

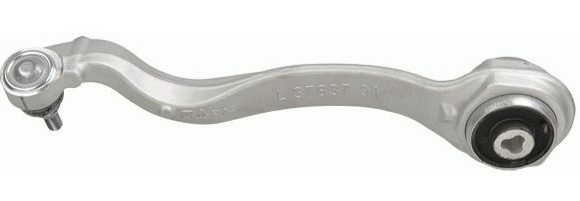
We can see in the genuine and Merc arms, the hole down the centre of the bushing is profiled.
On cheap arms, it's just a round hole.
1737046230145.png

Front control arm nut torque is 100Nm plus 180 degrees.
 
Last edited:

Users who are viewing this thread

Back
Top Bottom