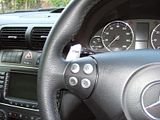
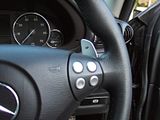
Right, here's the fitting info i referred to previously, because these were
not a simple unscrew, swap and screw back in job on my steering wheel
Firstly, lets be sure we all know the parts involved.
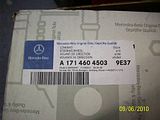
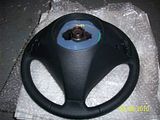
Steering Wheel [A 171 460 45 03 9E37]

 Aluminium AMG Paddle Shift Switches [A 171 267 00 46]
(if you order the steering wheel A 171 460 55 03 from MB, these paddles will already be fitted, and not the regular plastic ones as that is the AMG part number)
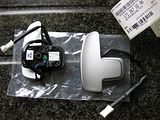 Comparison of the two
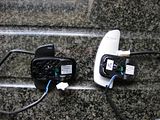


Ok, now we're all on the same page, it's time to remove the cheap and nasty plastic paddles (i am going to assume here that you've removed the steering wheel, or like me be working with a replacement wheel off the car)
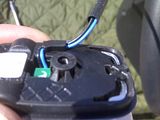
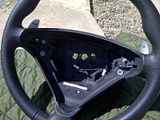
First up is to undo the small torx screw that is holding the paddle switch in place, then feed the cable as far out as possible until the plug is close to the rubber channel/hole it is routed through, which can be seen in the image below (cable already removed)
Next is to take a small/medium flat blade screw driver, aprox 4-5mm head and slide it from the top, down that channel to the side of the cable, and stretch the opening enough to slide one side of the plugb through a little, then repeat on the other side, and then switch back again, continue easing the plug through in this manner until it has passed through and is clear of the restraining rubber piece.
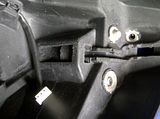
Next feed it through the hole in the paddle switch fitting area to allow the switch to be taken clear of the steering wheel. Repeat this for the the other side.
[URL="http://i139.photobucket.com/albums/q301/ghost_industries/Car/Paddle%20Shifters/th_IMG-20120810-00401.jpg"]http://i139.photobucket.com/albums/q301/ghost_industries/Car/Paddle%20Shifters/IMG-20120810-00401.jpg[/URL]
Ok, so now you have th old ones removed, and you can have a close look at the two types, and look at the minor subtle differences, that will stop you simply screwing in the new ones and using them !
There are 3 things that are an issue.
- The cental screw turret is slightly bigger on the new ones, stopping it fitting flush and causing the switch to rock
- The cable securing section is also a little higher, causing the switch to sit proud on one side only
- The paddle extends out the back of the switch when depressed, which actually stops the switch working when screwed into the steering wheel !
These subtle differences can be seen in the images below, the first pair of pictures show the first 2 points, however ignore the larger plasstic block on the old paddles, this simply slotted in the cable access hole, and is not present on the aluminium paddles.
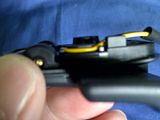
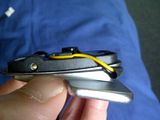
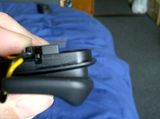
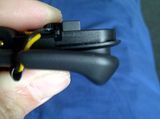
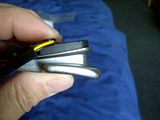
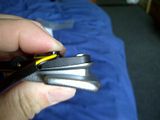
As you can see from the last images (switch not depressed and then depressed) the plastic switches do not extend past their body at any point, whereas the aluminium ones do, these sections that extend out are the part that stops the paddle becoming detached completely, care must be taken with these or you will wreck the paddles completely.
The switches fit snugly into the void in the steering wheel, and as such there is no wiggle room available ! as you can see form the images below, there is also a small raised rubber area that the cable routing section of the paddle switch mates up against, it is this area that causes point 2 above to be an issue.

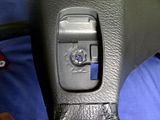
Right, so now you know and have seen the 3 things that stop this being a nice simple swap job on this version of the steering wheel..... thanks MB

Now the fixes,
1. The cable routing/securing section
In order to allow the switch to sit down flush, look at the little raised section in the switch fitting void on the steering wheel, ad you will see that the cable routing/securing section presses against this raised rubber area, leaving an impression, and because the new one is slightly higher, a small amount needs to be removed form this raised area (i removed pretty much most of it !! just remember, easer to remove more, than put it back, so little bit at a time with a small sharp knife/scalpel)
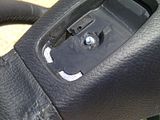 2. The screw turret
This is a little tricky, because if you havent removed enough in point 1 above, then the cable securing area will cause the paddle switch to sit proud and not the screw turret, so be aware of this, and dont take too much off in a hurry.
Before....
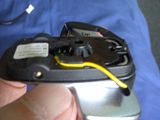
___ After....
 3. Paddle extending into fitting void
This one is tricky, and has 2 parts to it, although you can probably get away with just the first part.
The problem is that the paddle sections butt up against the inside edge of the fitting area, stopping the paddles from working when the switch is screwed into place, if you look carefully at the image below you will see the impressions made by the crescent shaped sections as you try and depress the paddles.
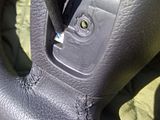
So the only options you have are to trim down those areas that extend back, or clearance it in the steering wheel.
On the first side i opted to clearance the steering wheel, as per the images below,
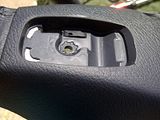

Unfortunately, as you can see, there is not much rubber covering the metal chassis of the steering wheel ,and removing it does not leave enough clearance, it does however let the paddle hit the steering wheel metal, causing a noisy operation

(on the second one i trimmed the paddles first, and it worked whilst only touching the rubber lightly, but still definitely bottoming out)
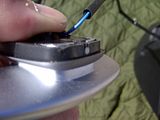
So, the only option i could see, other than cutting into the metal of the steering wheel, which i didn't want to do without knowing how thick it is, was to trim the section of the paddle that extends into this area, however, caution must be used when doing this, because if you go too far (like down flush) then you will remove too much metal and grind into a slot in the metal, and that will allow the paddle to become detached from the switch.
So .... with dremel in hand, depress the switch with one hand and carefully grind the protuberances down, little at a time, going back and trying it in the steerring wheel until you are happy, here's mine after i've trimmed them,
(Trimming these back needs to be done carefully and little bit at a time, it should be possible to trim enough ot give you some clearance to the steering wheel, but not much, these paddles also make more noise (clunk type click) than the cheap plastic ones, but will make a lot more noise if the paddle is bottoming out on the steering wheel metal)
When your happy, re-route the cables as they were originally, carefully easing the plug back through the restricted channel, using a blunt object to push it through being careful not to damage the cables
And once it's all finished, it should fit nice and snugly like this....
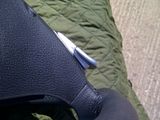
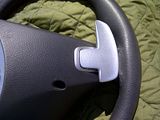
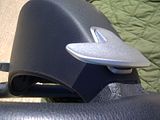
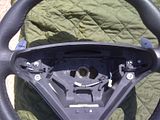
(and yes, i coloured in the "UP" and "DOWN" letters with a permanent marker)
Now just need to sell the original, unused plastic paddles to someone that wants to change from buttons to paddles


