Sam87
MB Enthusiast
- Joined
- Oct 6, 2010
- Messages
- 1,121
- Location
- UK
- Car
- S65AMG V12 BiTurbo - S63AMG V8 BiTurbo Designo - C55 AMG W203
Hello everyone
Since I bought my Vito V6 that I modded I seem to be looking at Mercedes more and more .
.
I wanted a V8 Mercedes as a toy and some of you have seen that I've been after an E55AMG W211 Designo Model for some time but it's near impossible to find one that I like!
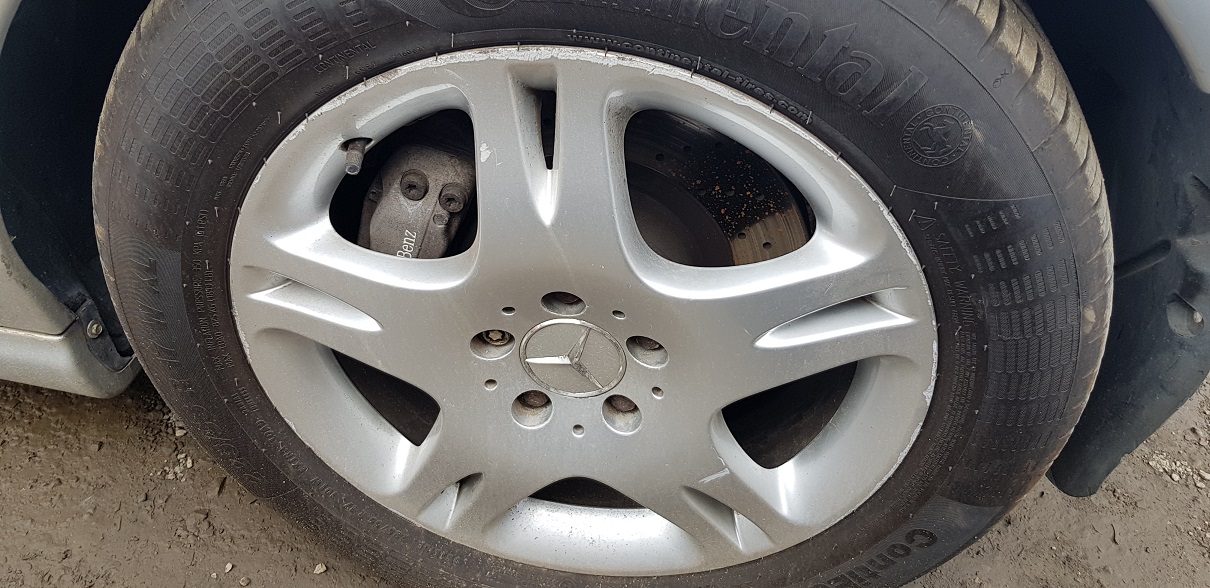
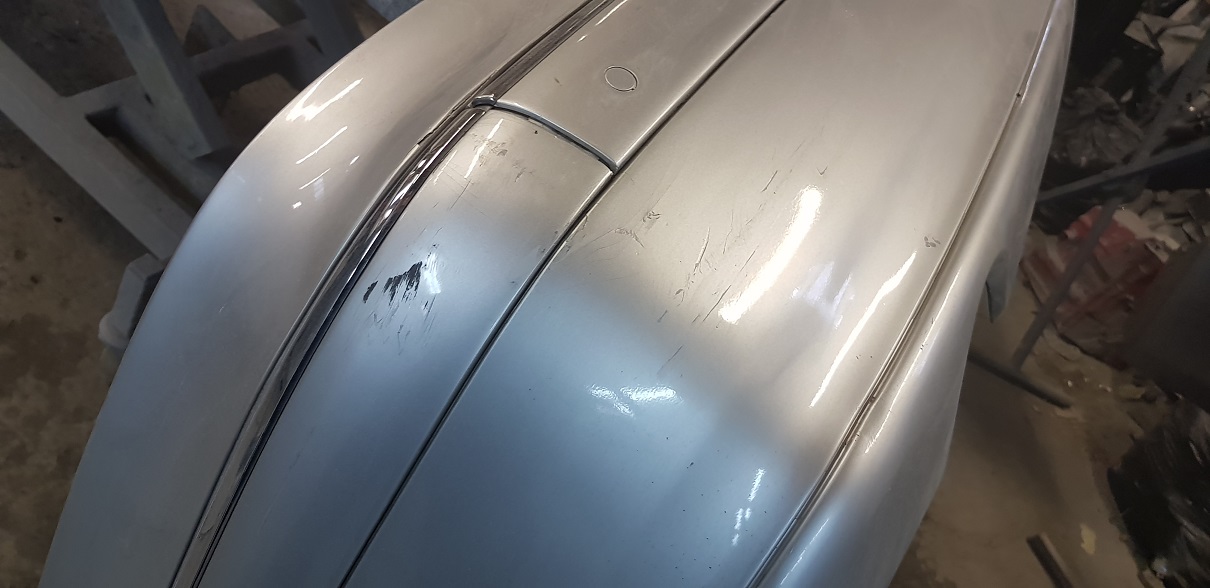
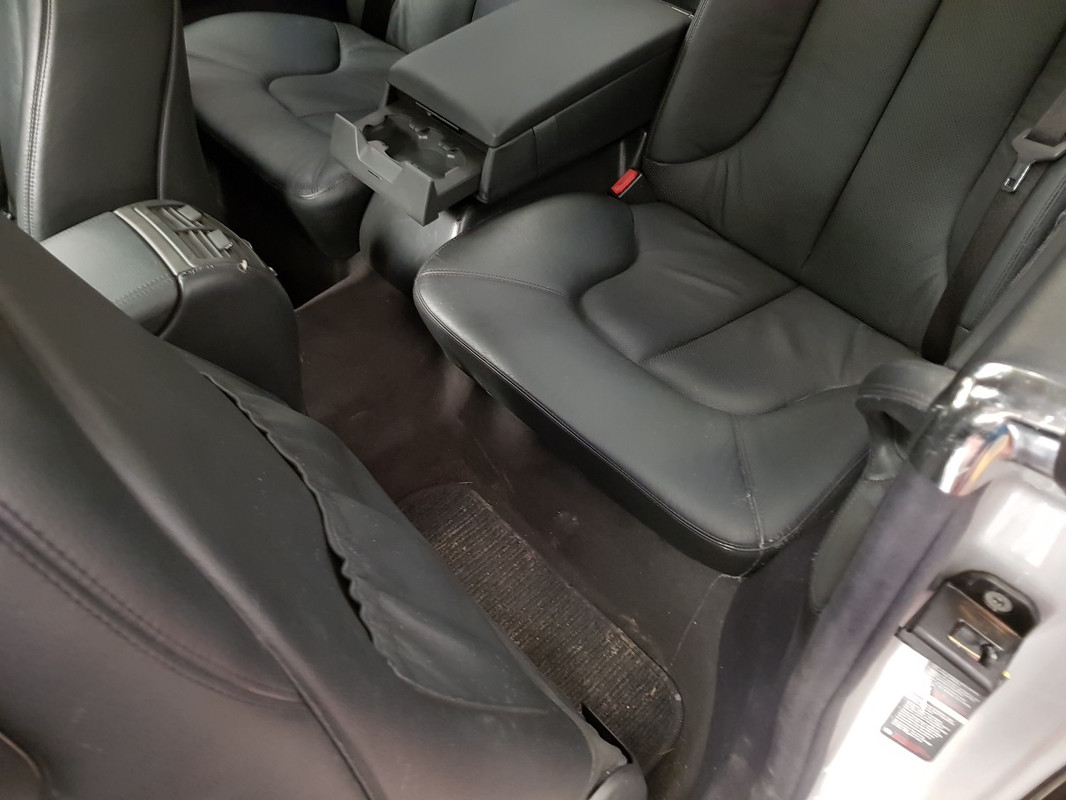
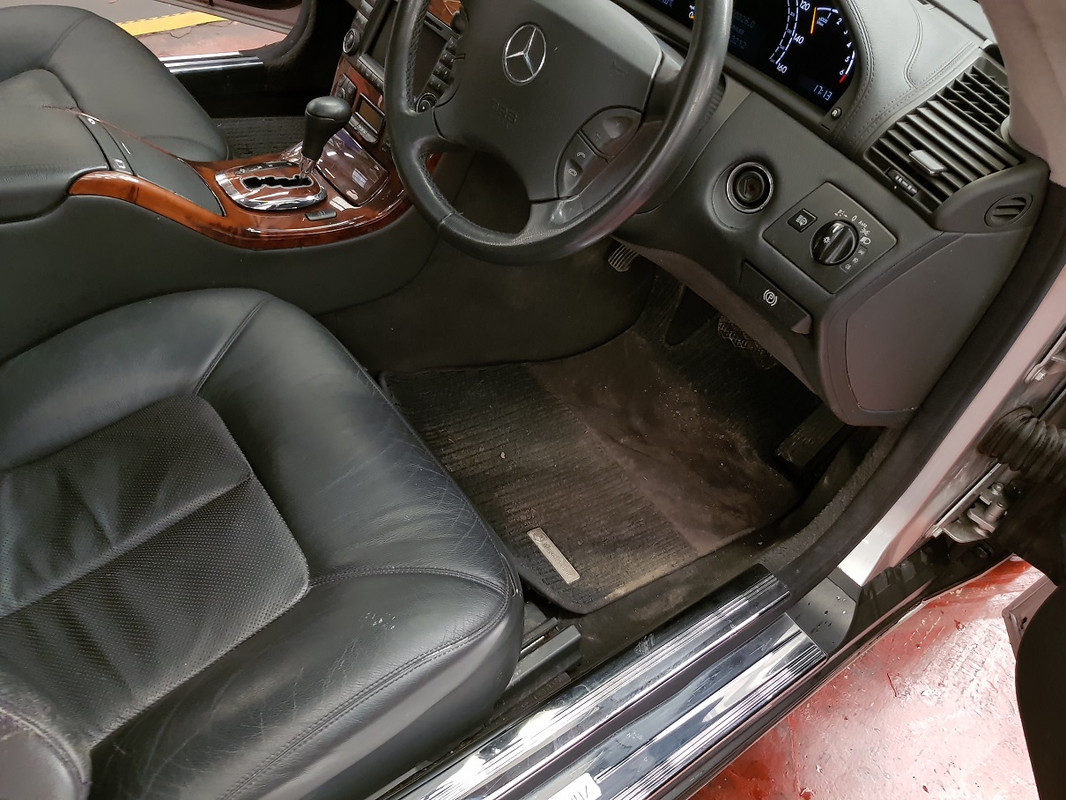
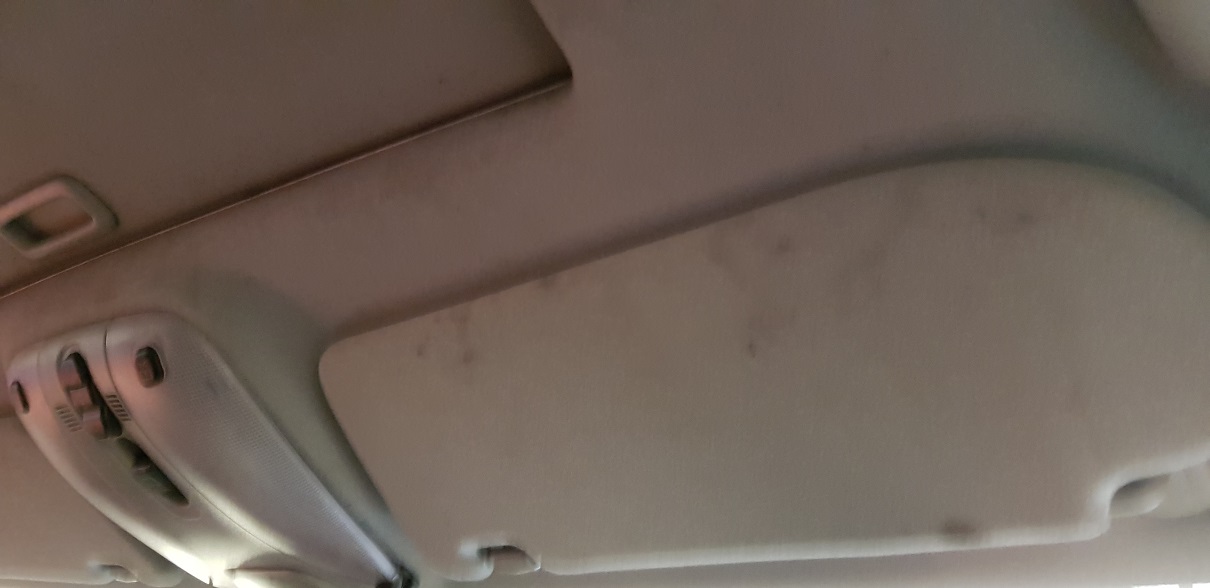
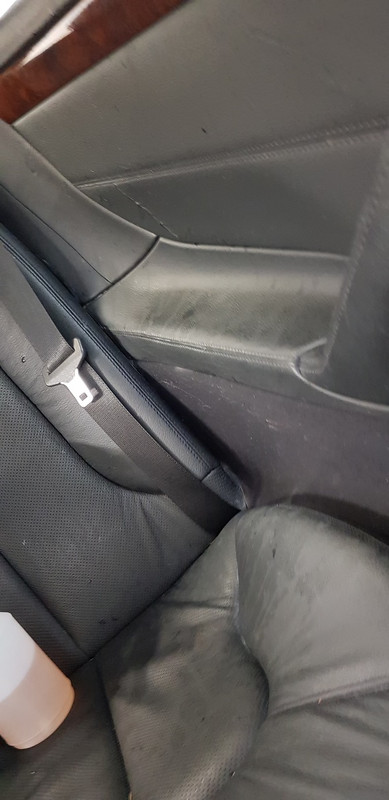
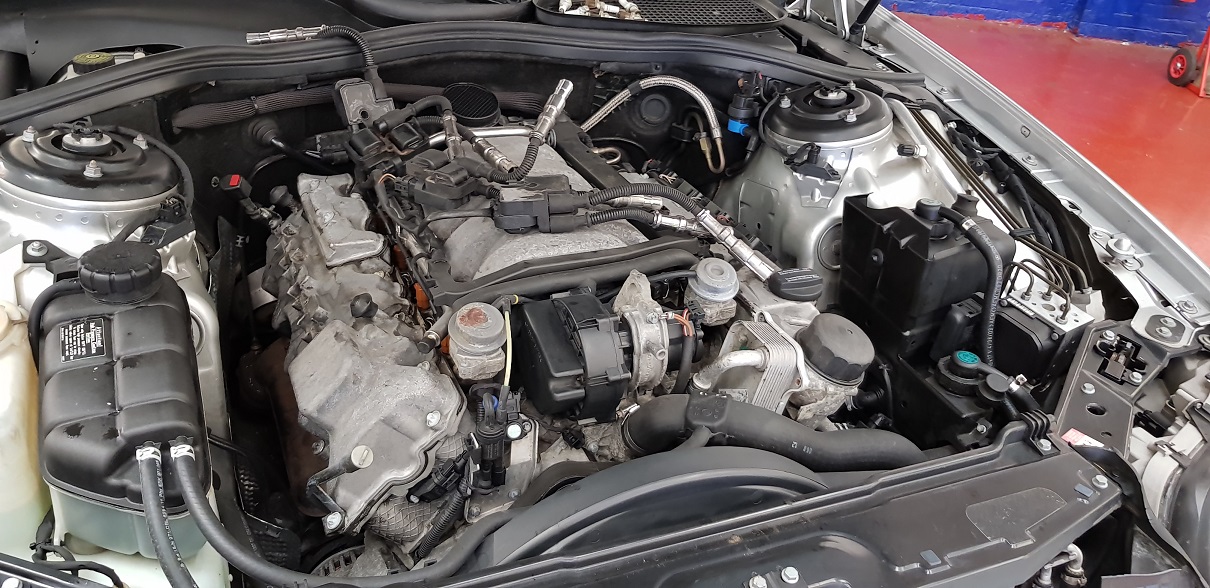
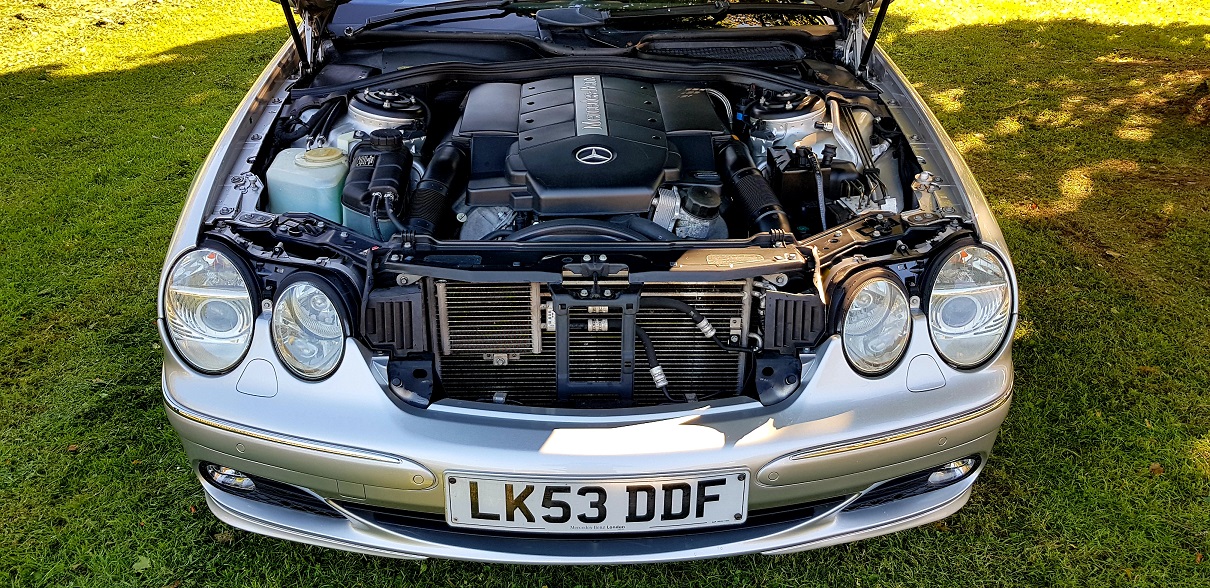
I heard about this car through a friend of mine and went to see it. The lady had the car since it was 1 year old [14 years in total] and even though it was a car that she didn't use much, only 63k on the clock, the car wasn't looked after so much cosmetically, badly washed, lots of swirls on the paint, scratched wheels and a dirty interior. The body work needed some attention but the engine was very smooth. The deal was done and the car was mine. I drove the car to my work place and the project began. I thought I would have been happy with the CL500 and just forget about the E55AMG but I was still checking every day for E55AMG and what didn't help was the fact that I drove an E55AMG last month and that made me want one even more, so after spending so much time, effort and money on the CL500 I actually put the car for sale .
.
The car was collected yesterday and the new owner was very happy. Even though the car is not mine anymore I thought i'd still post some pic's to show what I done to it.
I hope you like it!
Here are some before pic's
 large image host
 free image uploader
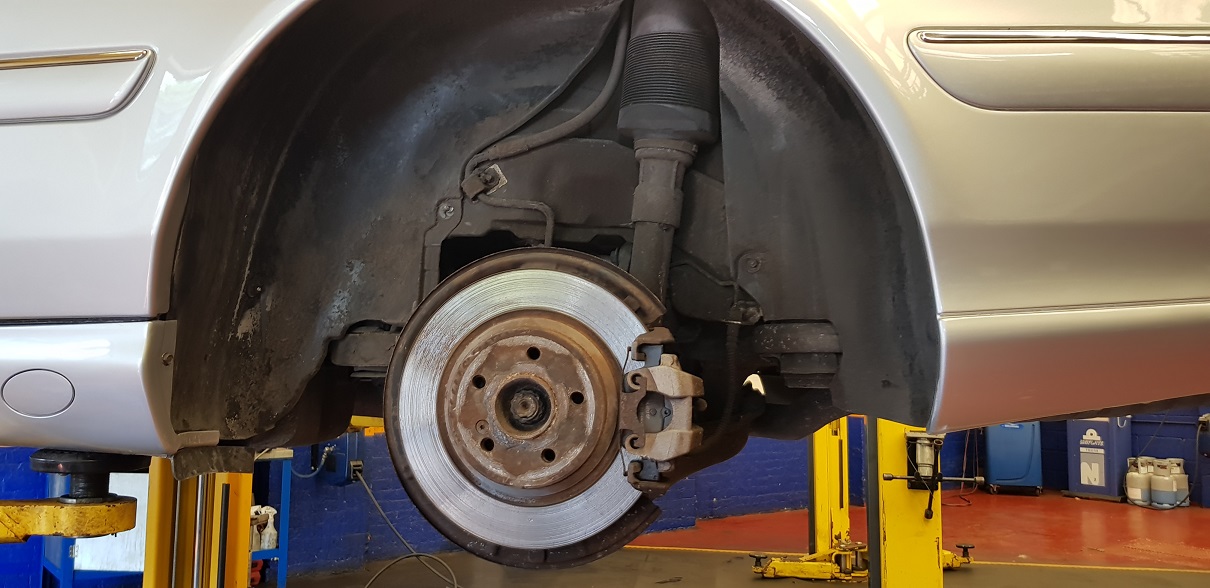
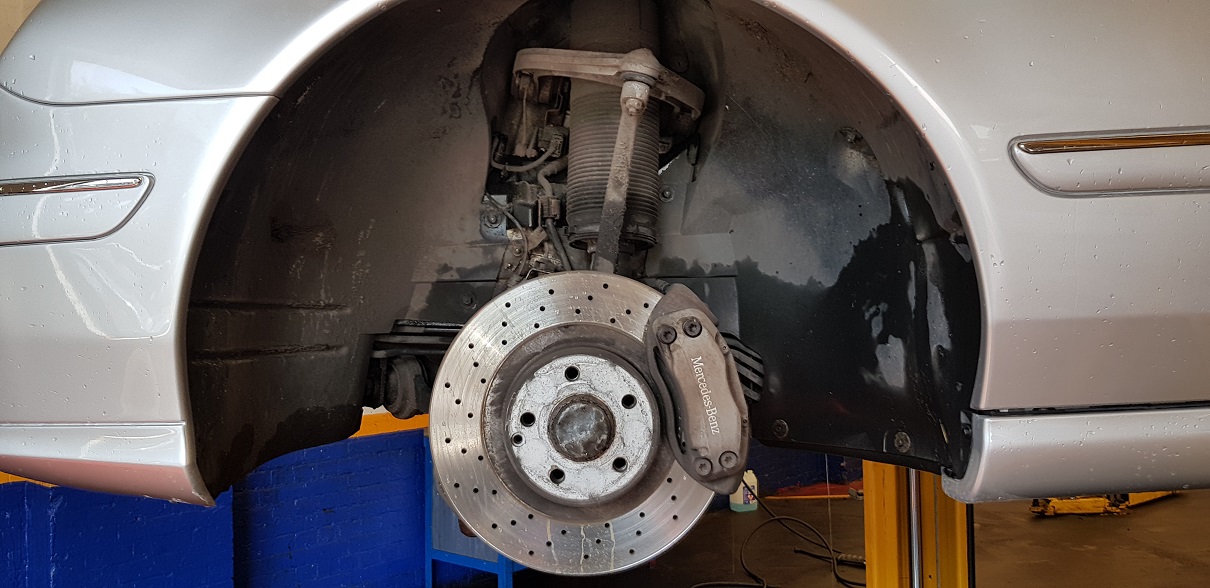
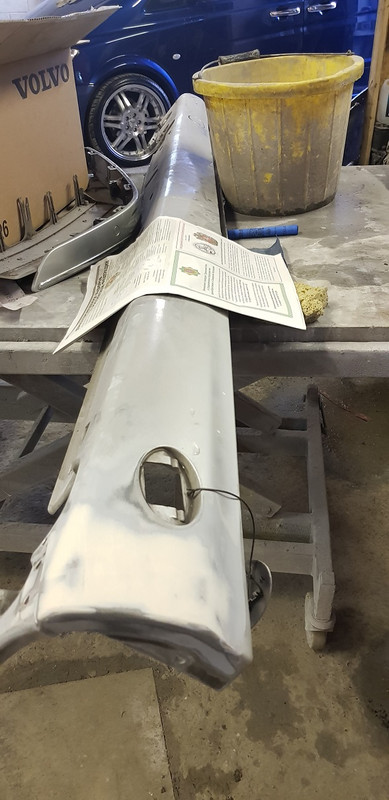
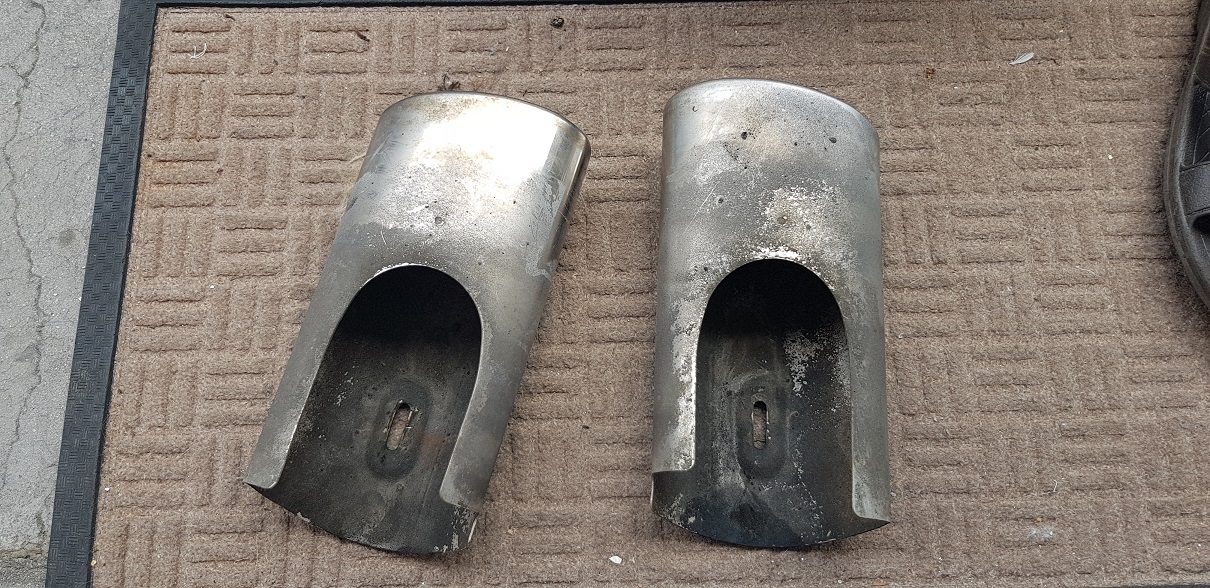
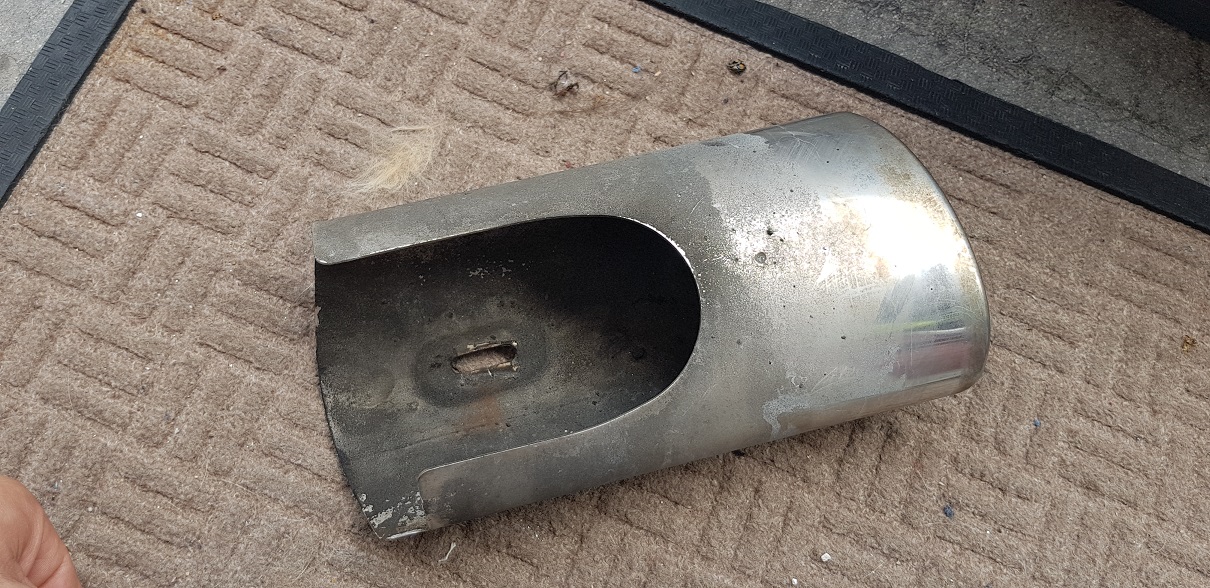
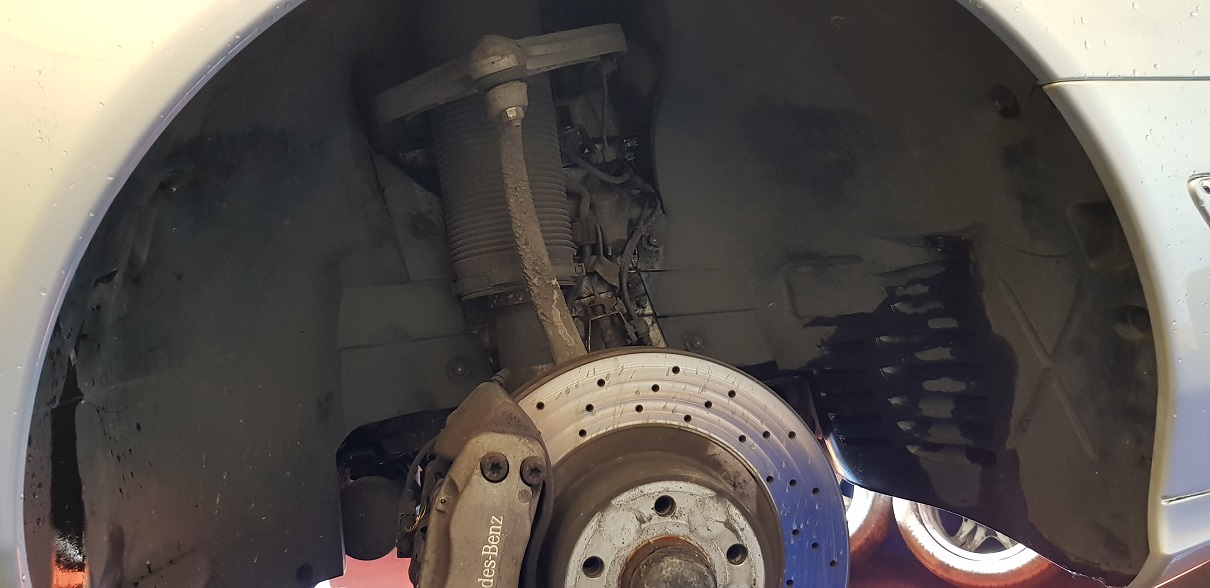
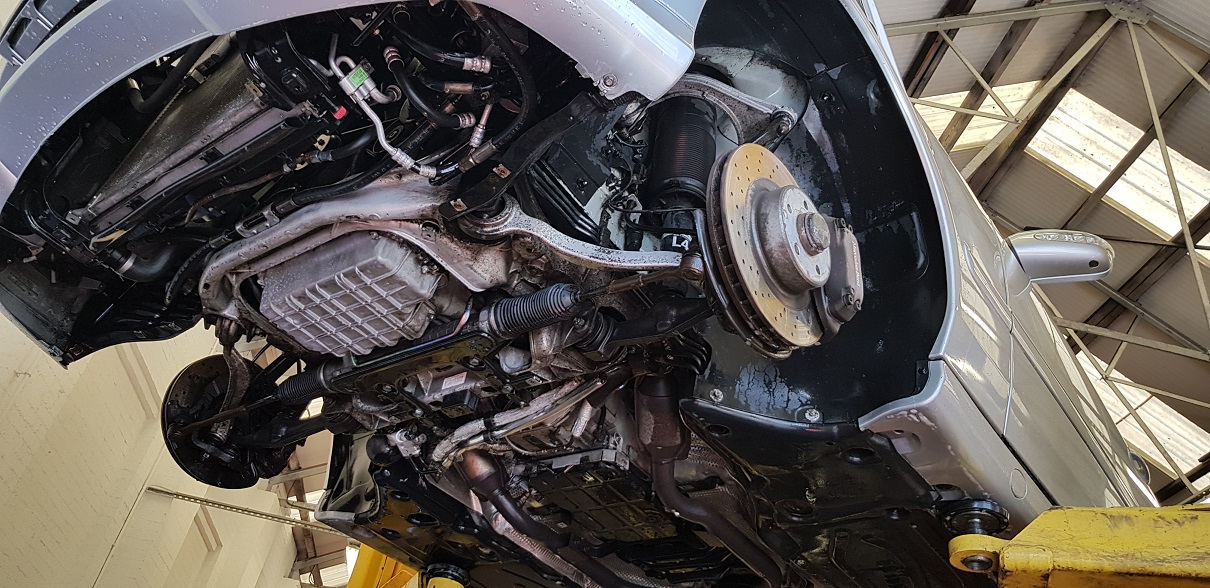
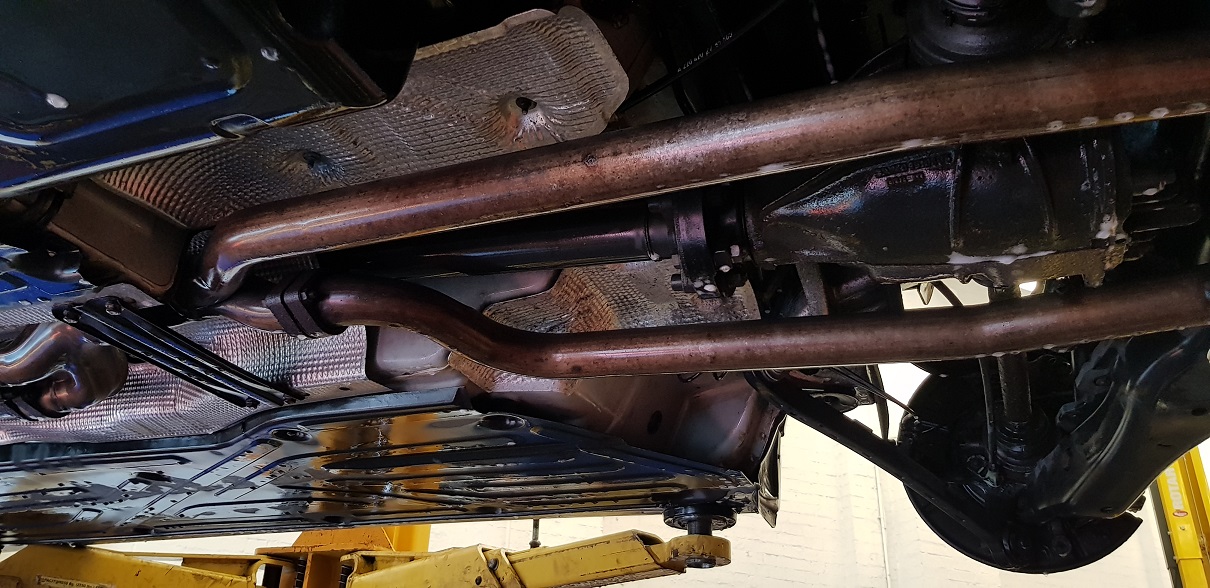
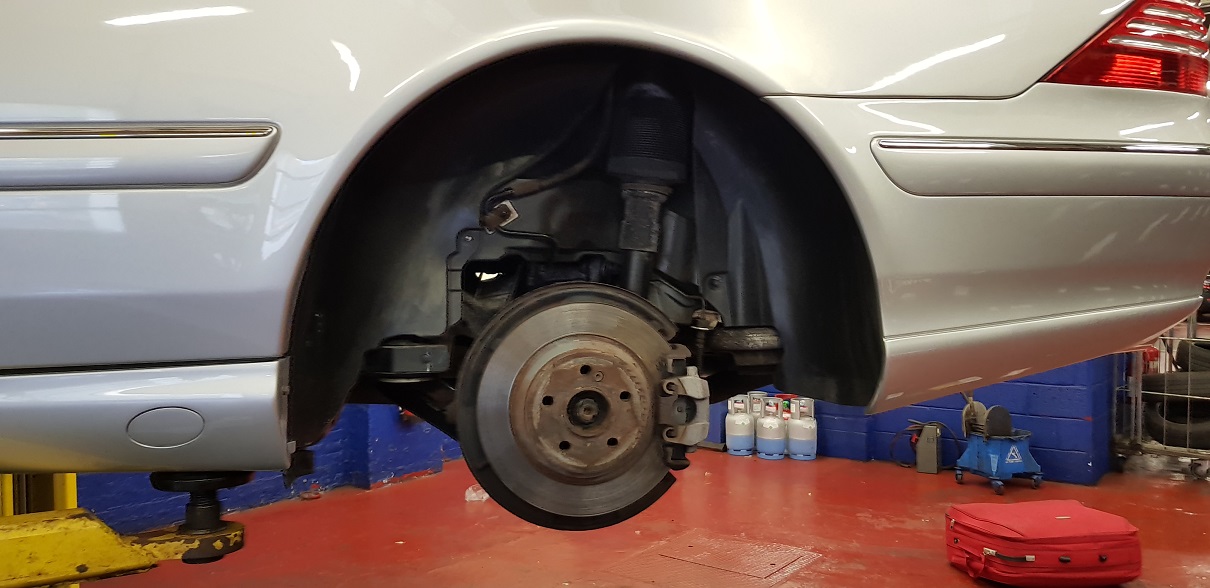
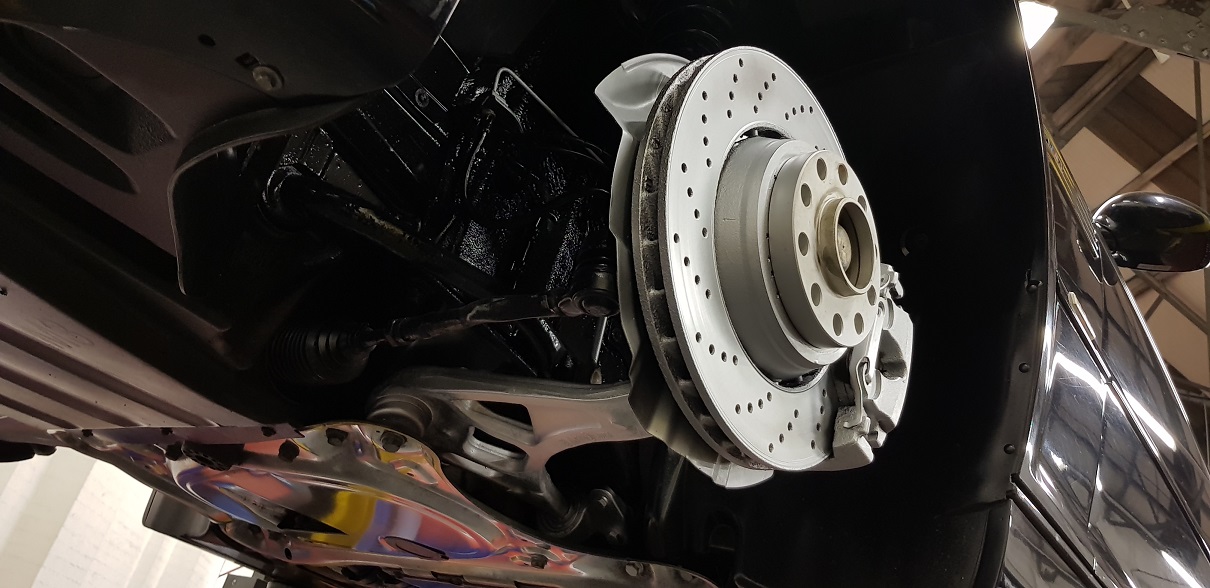
Started with the cleaning the underneath to prepare for painting later on
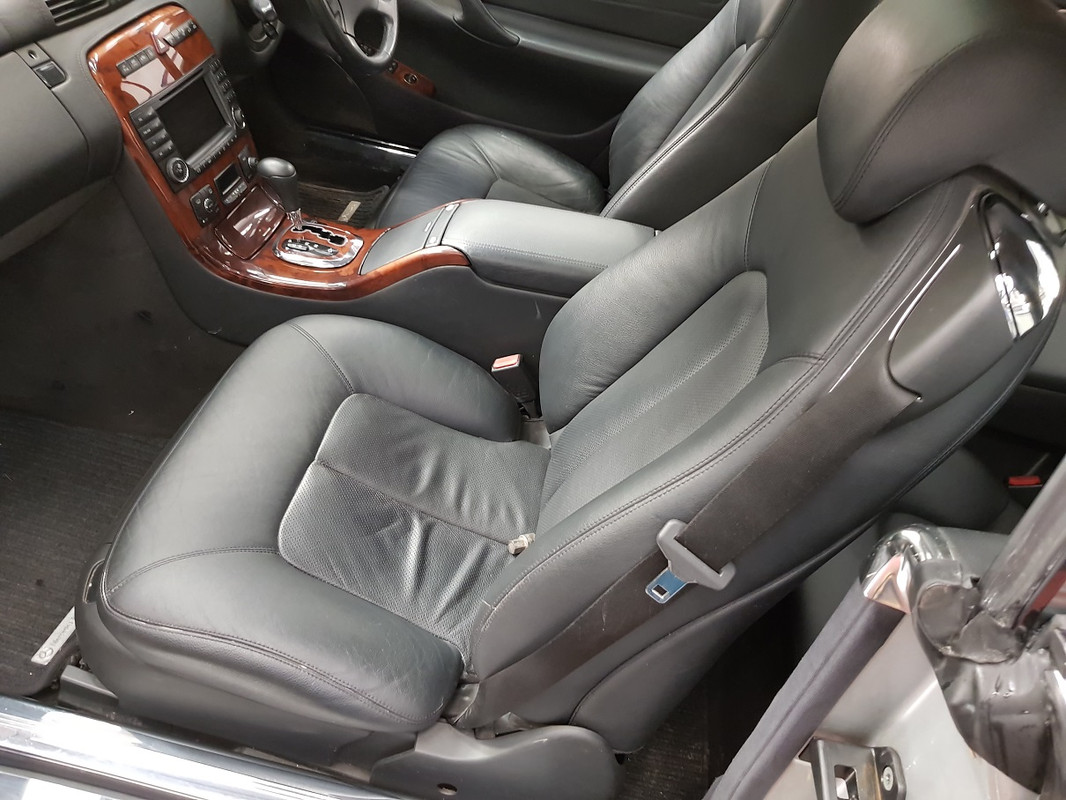
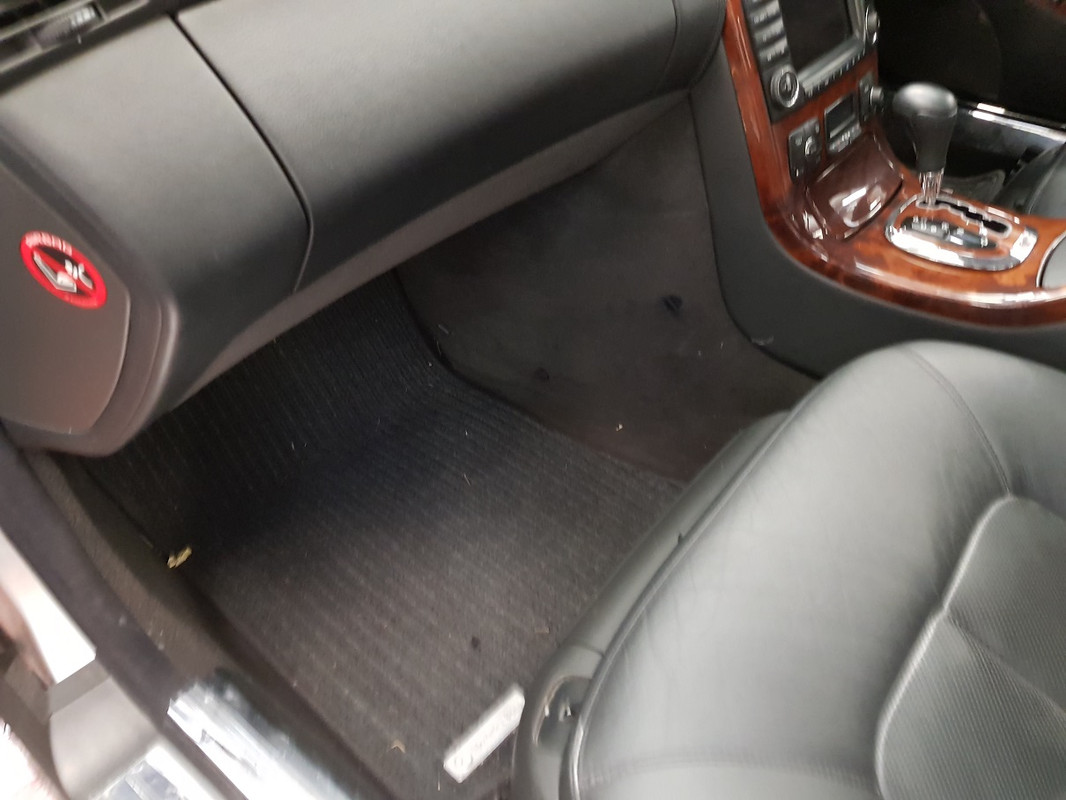
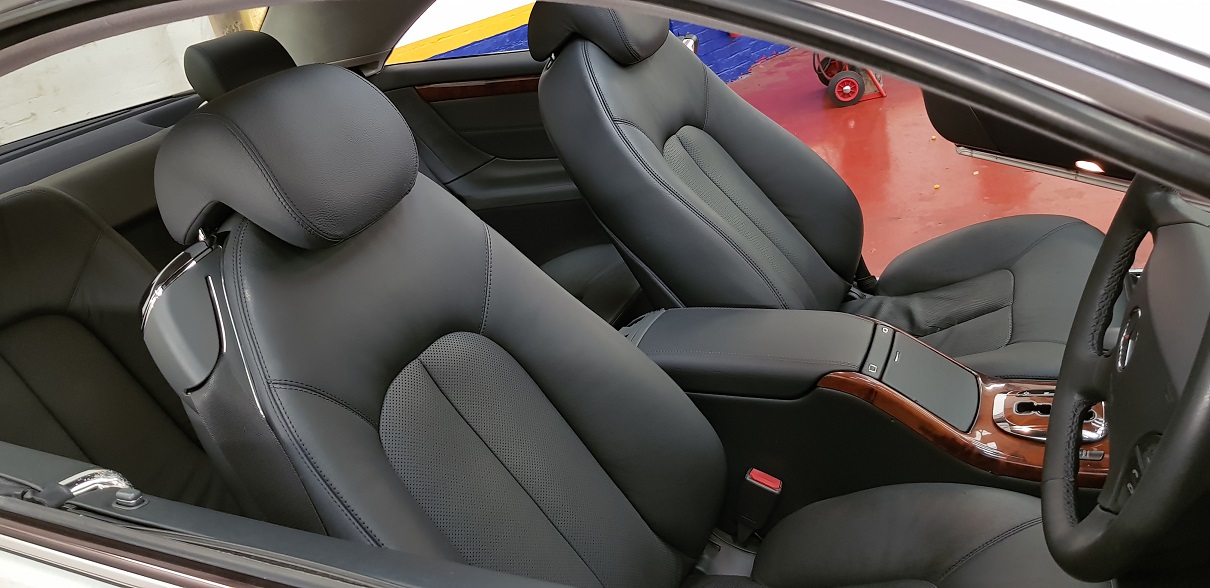
Shiny seats ....
....
Since I bought my Vito V6 that I modded I seem to be looking at Mercedes more and more
.I wanted a V8 Mercedes as a toy and some of you have seen that I've been after an E55AMG W211 Designo Model for some time but it's near impossible to find one that I like!
I heard about this car through a friend of mine and went to see it. The lady had the car since it was 1 year old [14 years in total] and even though it was a car that she didn't use much, only 63k on the clock, the car wasn't looked after so much cosmetically, badly washed, lots of swirls on the paint, scratched wheels and a dirty interior. The body work needed some attention but the engine was very smooth. The deal was done and the car was mine. I drove the car to my work place and the project began. I thought I would have been happy with the CL500 and just forget about the E55AMG but I was still checking every day for E55AMG and what didn't help was the fact that I drove an E55AMG last month and that made me want one even more, so after spending so much time, effort and money on the CL500 I actually put the car for sale
.The car was collected yesterday and the new owner was very happy. Even though the car is not mine anymore I thought i'd still post some pic's to show what I done to it.
I hope you like it!
Here are some before pic's
large image hostfree image uploaderStarted with the cleaning the underneath to prepare for painting later on
Shiny seats
....
Last edited:


 pic hosting


 picture uploader
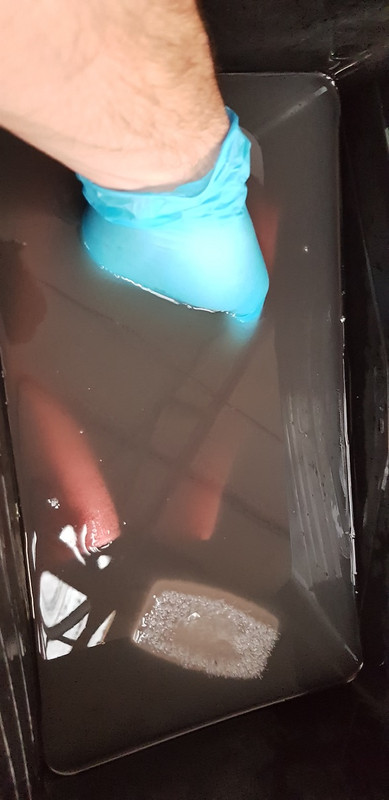


 imagehost


 images upload


 image hosting for ebay
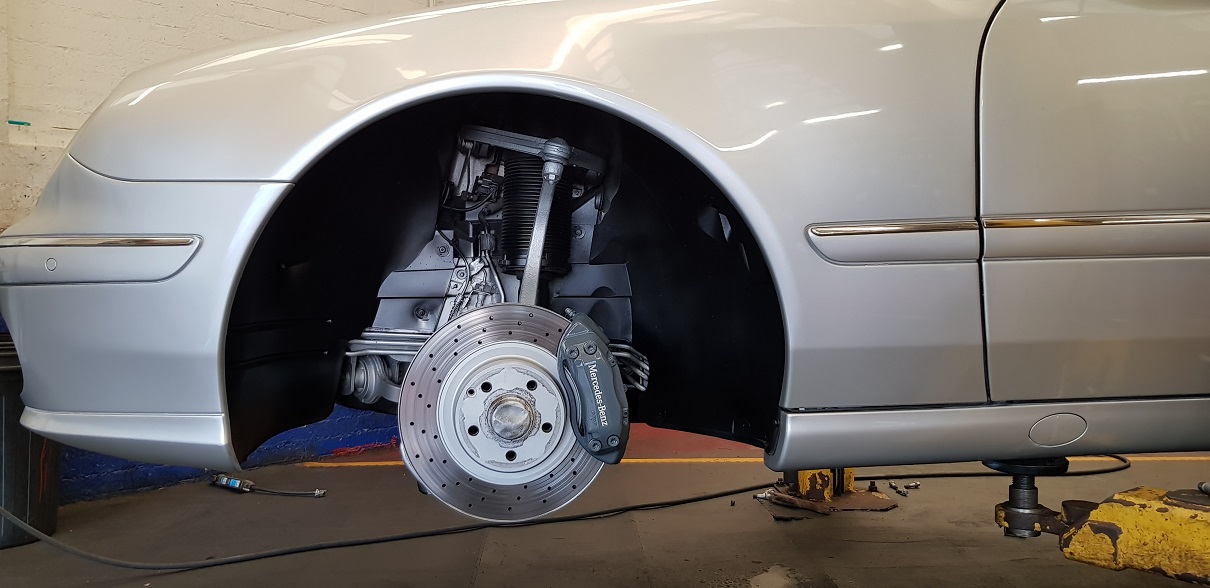


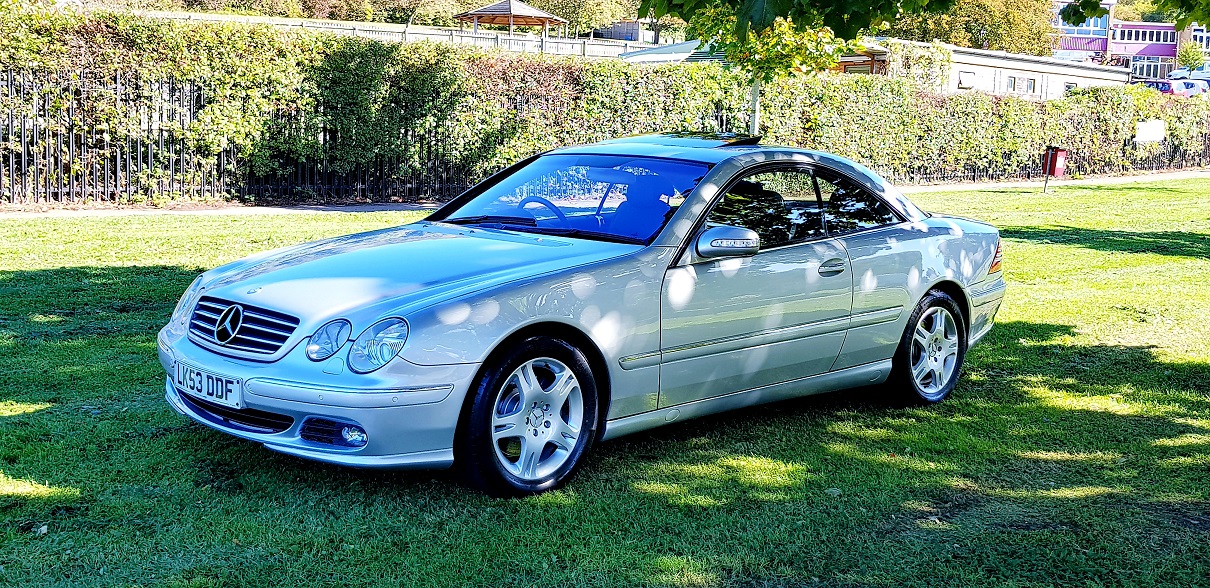


 image uploader

 post image free

")
