• The Forums are now open to new registrations, adverts are also being de-tuned.

My W124 project £750 ( CE 220 )

Well done you are making me regret selling it now, will have to have a ride up to see you when it's all finished although I will be probably gutted to see it!!!!
I will bring some milk so we can have a brew though:thumb:


lol - semi skimmed !!

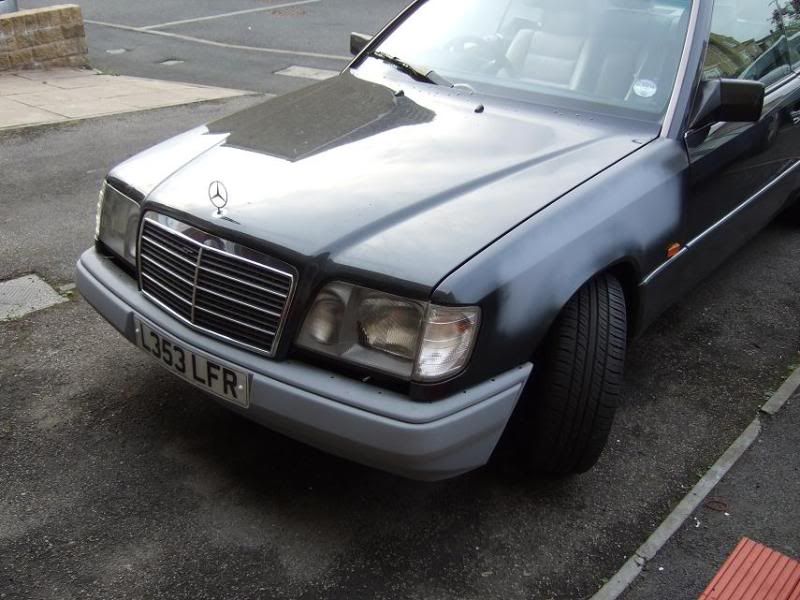
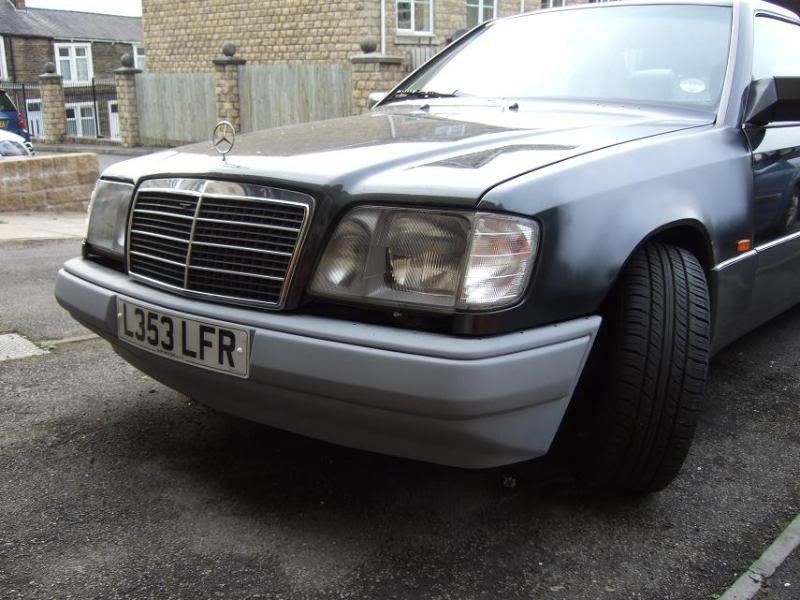
Next job is new wings and paint job. The guy painting the car loves Mercs and he said he will give the car his "personal" touch when finishing the car off. Ive ordered a new pair of wings and a new grille to finish the job off.
 
Is that an SRT8 300 in the background? Yours?


Yes mate thats my daily driver. Its a 2007 Chrysler 300C SRT8 with the planet shattering 6.1 HEMI ( and a few mods to make life a bit more enjoyable ) ..... stupid fast !! but very practical ( lots of space inside, very comfy, huge boot for prams , shopping etc ) and very reliable.

20100419srt8pics0020.jpg

By j3ned at 2010-04-25
 
Last edited:
Hey that's two great cars you've got there.

The 124 is looking fabulous already.

As for the 300C I love the juxtaposition of "6.1L Hemi" with "lots of room for prams". Heh heh.
 
The first job i did was T-cut the paintwork with my electric orbital buffer.

I left them to dry in the sun for about 6 hours before i refitted them. The door apertures again were covered with truck wash and power washed.

Hey, excellent excellent job. It looks great now.

A few questions if you don't mind...
- Truck Wash - have a you got a link to the product please?
- Powerwashing the "door apertures", a bit lost as to what these are? Is that the inside of the door?
- what orbital polisher did you use?

Many thanks
 
Hey, excellent excellent job. It looks great now.

A few questions if you don't mind...
- Truck Wash - have a you got a link to the product please?
- Powerwashing the "door apertures", a bit lost as to what these are? Is that the inside of the door?
- what orbital polisher did you use?

Many thanks


Thanks !!

The truck wash i use is Autosmarts "Triple heavy Duty" industrial degreaser. Its very powerful and brings stuff up superb. This is also great for cleaning alloys - its very very corrosive and will take the skin of your hands so use rubber gloves. Apply it with a squirty gun, leave for 5 minutes and power wash off.

Autosmart Truck Cleaning Chemicals

The electric buffer i use is the Halfords 240V orbital polisher

Halfords Car Polisher 240v from Halfords Price £34.99

Door apertures are the inside of the door and all the internal edges


Matt
 
Last edited:
Thanks !!

The truck wash i use is Autosmarts "Triple heavy Duty" industrial degreaser. Its very powerful and brings stuff up superb. This is also great for cleaning alloys - its very very corrosive and will take the skin of your hands so use rubber gloves. Apply it with a squirty gun, leave for 5 minutes and power wash off.

Autosmart Truck Cleaning Chemicals

The electric buffer i use is the Halfords 240V orbital polisher

Halfords Car Polisher 240v from Halfords Price £34.99

Door apertures are the inside of the door and all the internal edges


Matt
Thanks Matt, much appreciated...and sorry for more questions! I imagine powerwashing the door apertures was tricky without soaking the whole car/door cards!

What did you use to wash the car, was any of the Truck Wash involved with that?

The halfords orbital polisher...did you use that to apply the Autoglym and remove? Or did you fear applying it with the Halfords machine?
 
You do get a little over spray but its minor. Just give it a quick blast over and the grime flies off.

I used normal fairy liquid to prewash the car before I T-cutted it.

The orbital buffer comes with 2 buffing pads ( wax on - wax off >-D ) i used the wax on pad to apply the T-cut and really worked that into the paintwork. I wiped it off manually and then applied the Autoglym resin polish with another "wax on" buffing pad i bought seperate. Again i worked the polish into the paint work and then buffed it off with the Lambs wool "wax off" buffing pad. Repeat this until you get a finish your happy with.
 
****UPDATE****


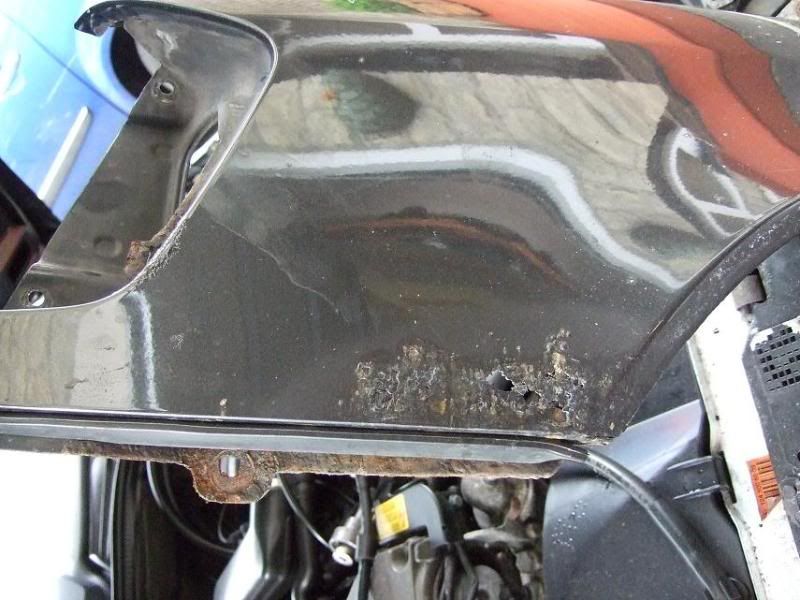
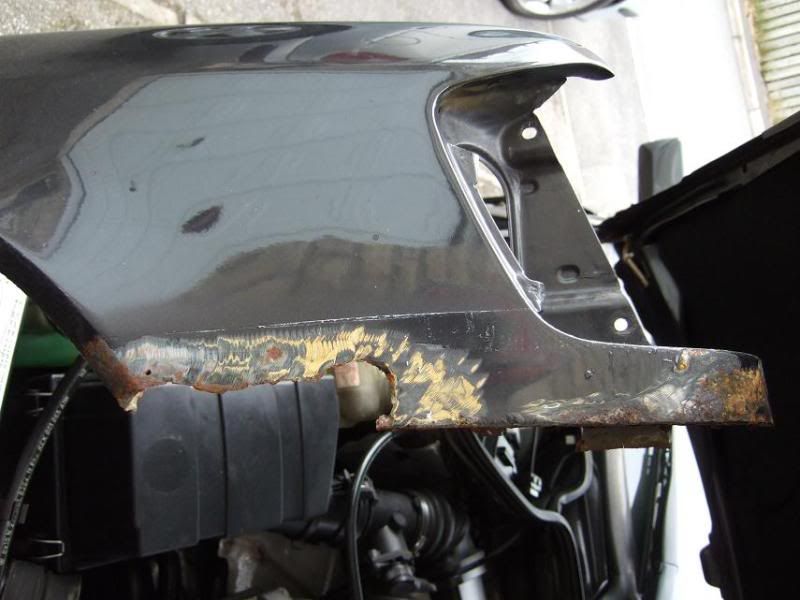
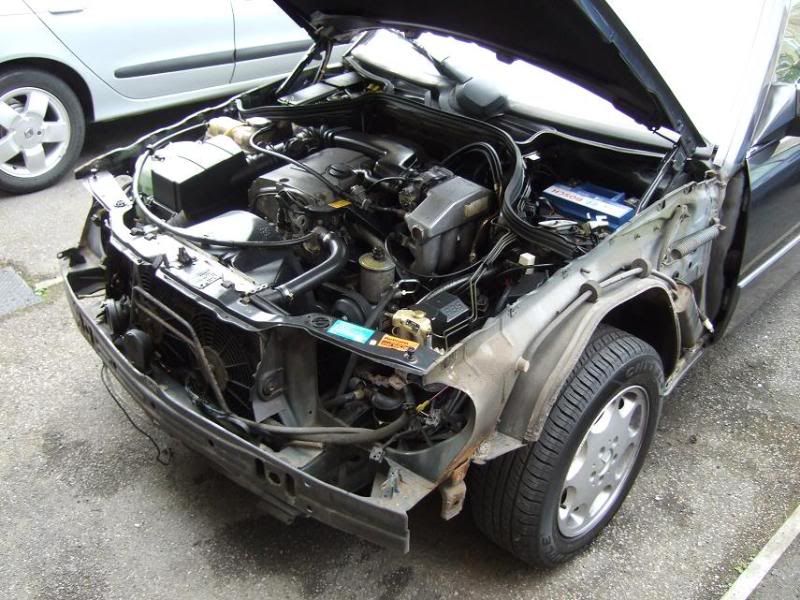
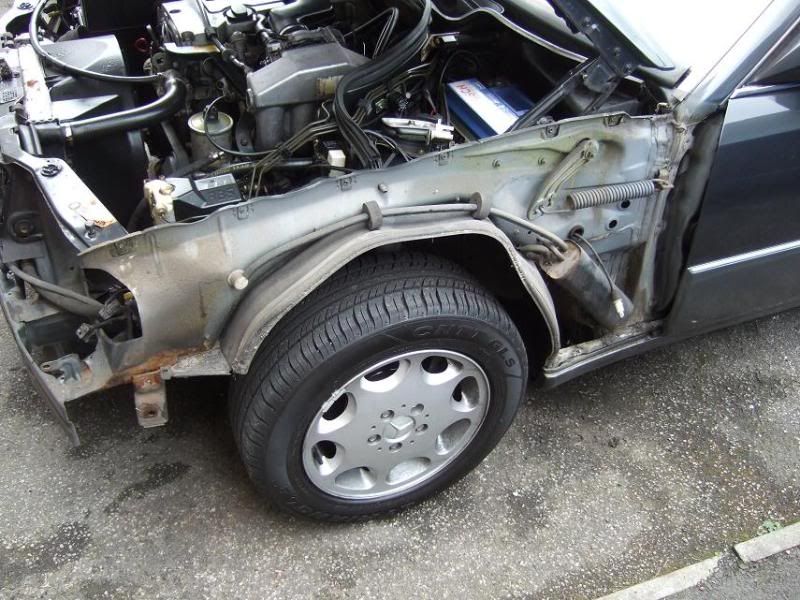
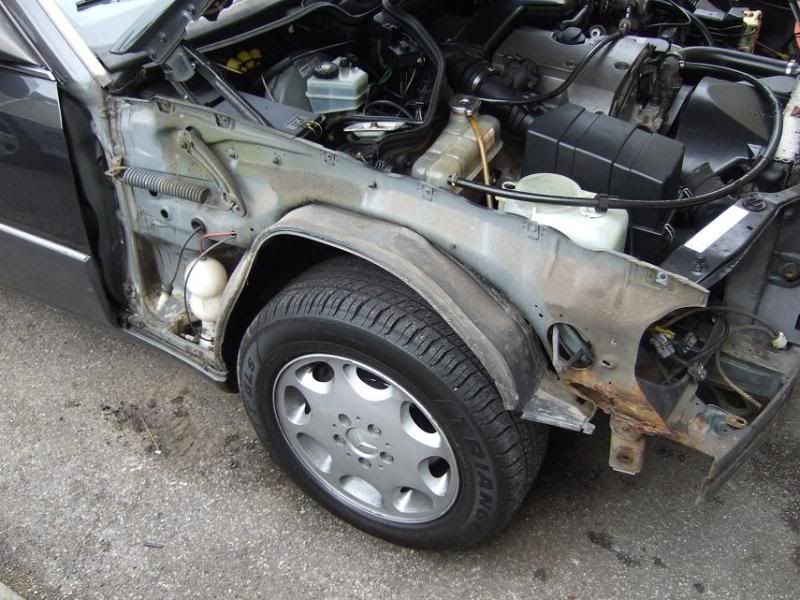
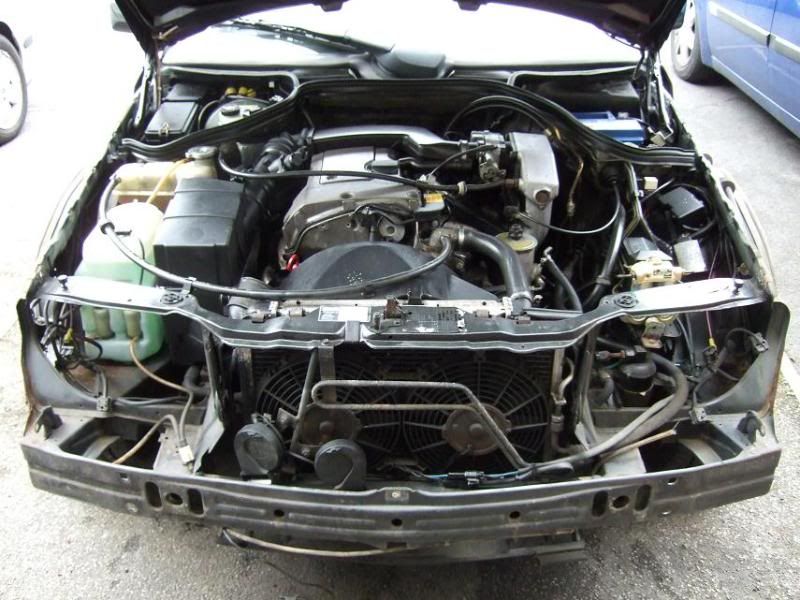
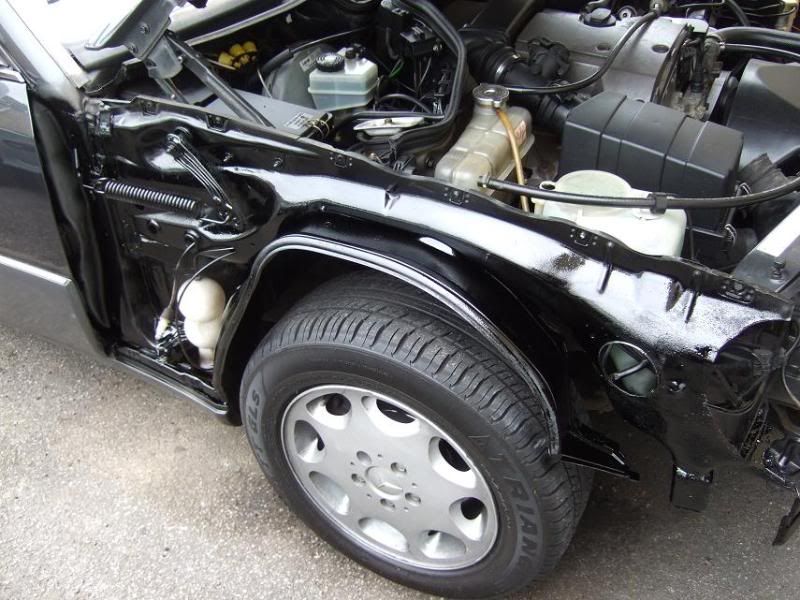
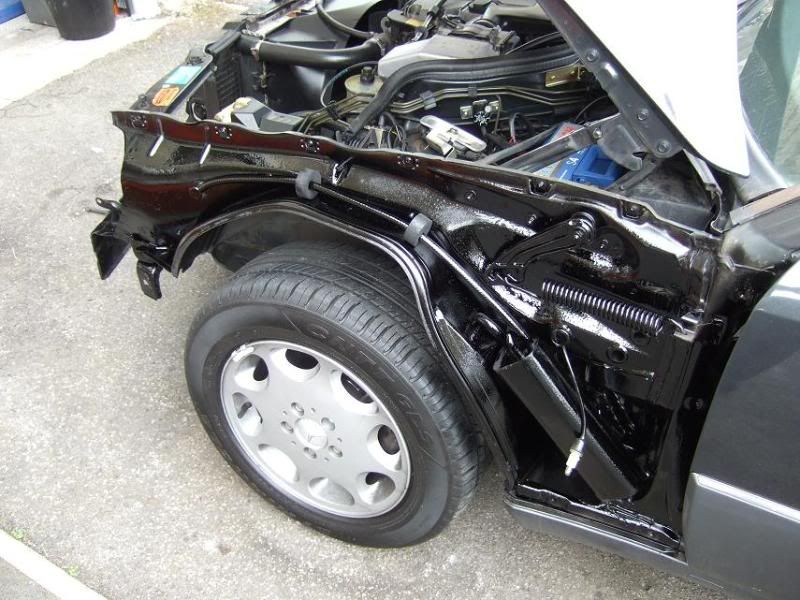
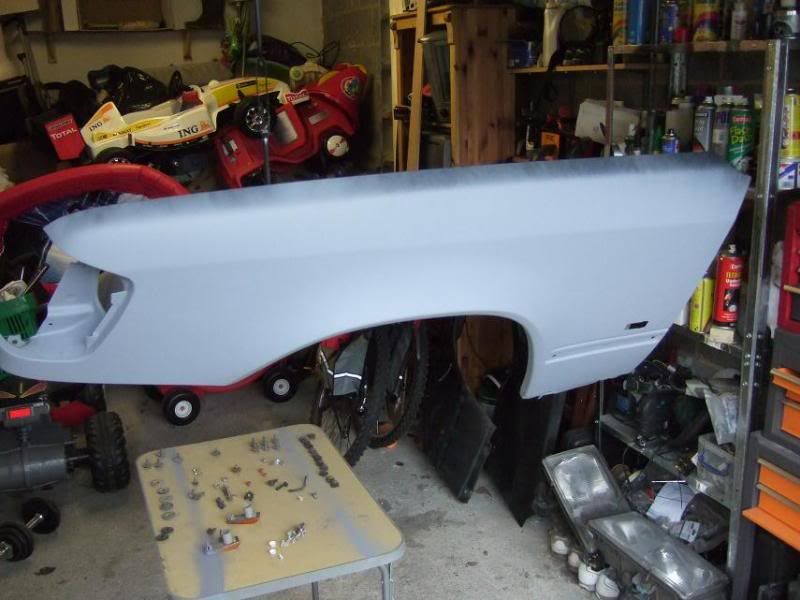
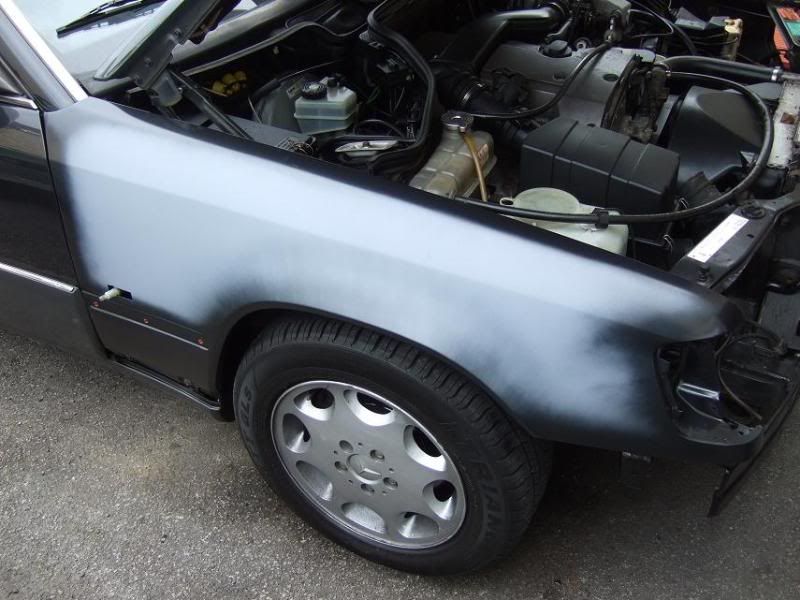
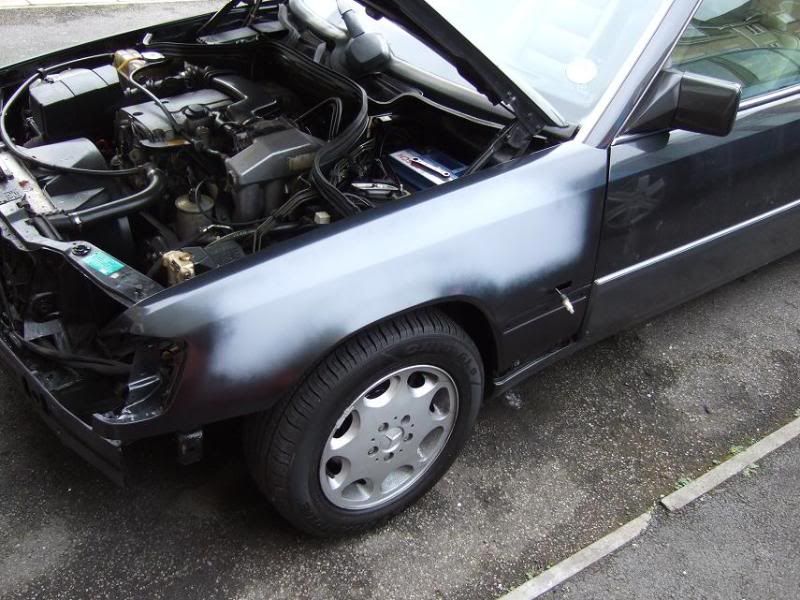
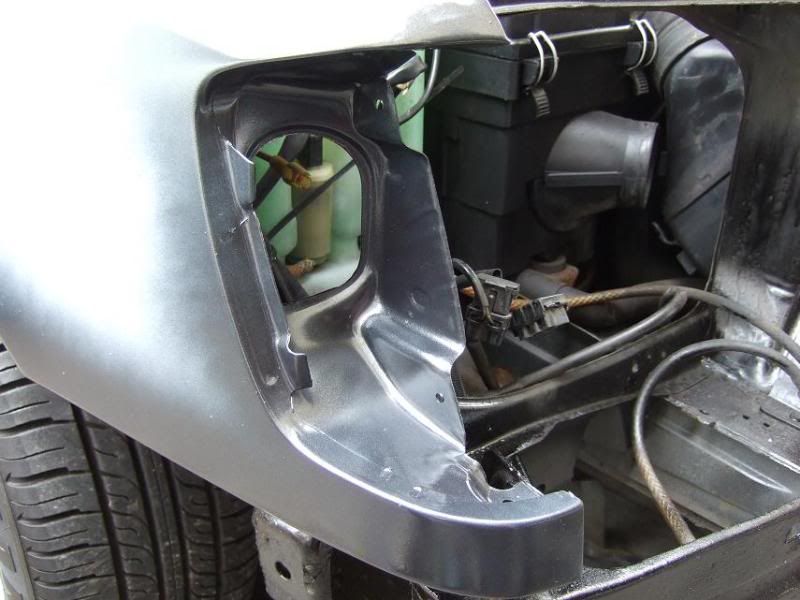
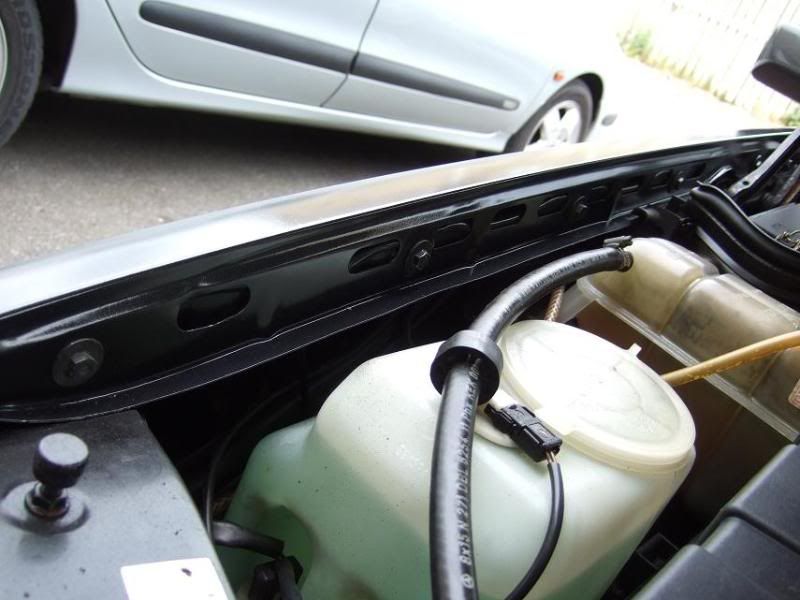
Decided to crack on with the bodywork this week so i picked up a set of new W124 wings ( genuine panels ) and stripped the front end down.

321.jpg


369.jpg


merc005.jpg


merc006.jpg


merc001.jpg


merc002.jpg


merc003.jpg


merc004.jpg


merc012.jpg


merc013.jpg


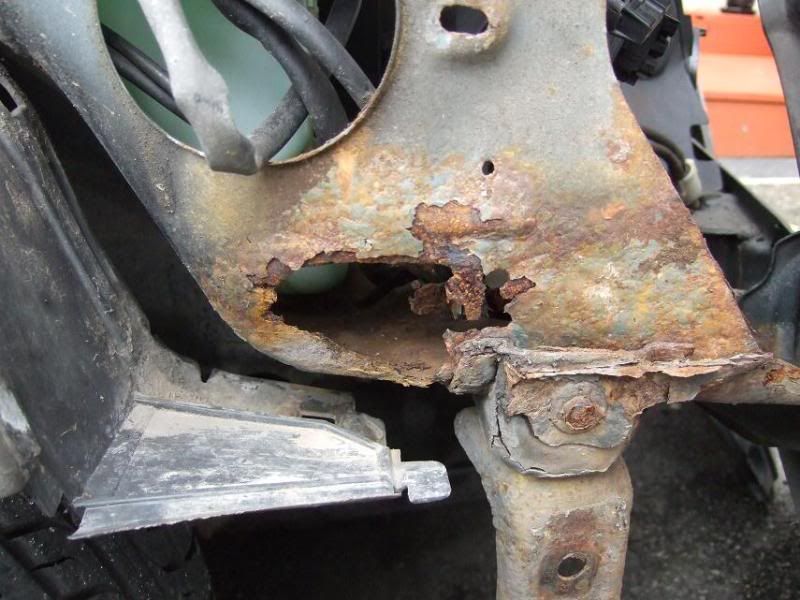
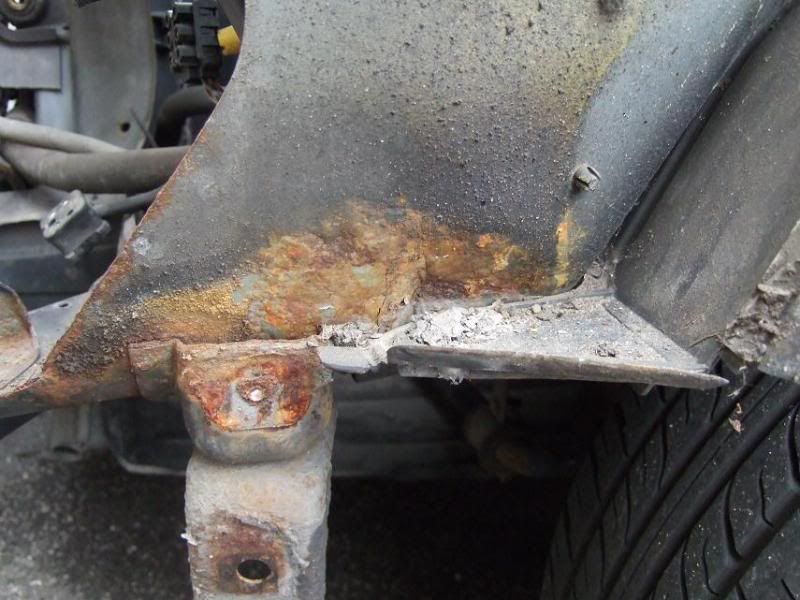
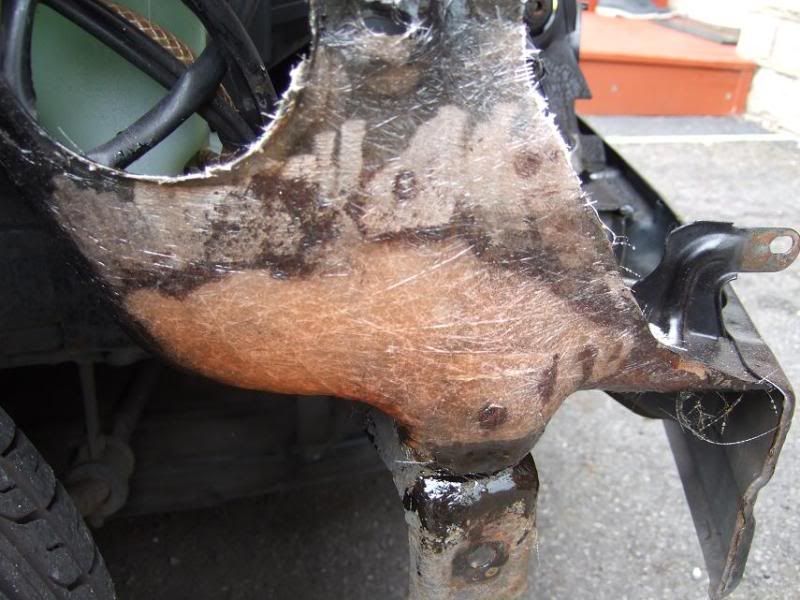
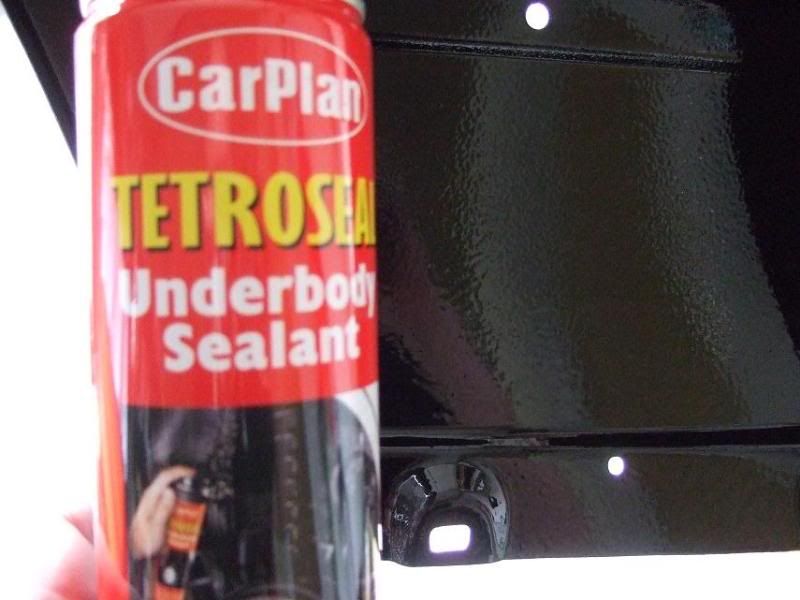
The front inner wing was badly corroded BUT solid so i instead of cutting the rotten metal out i cut the rust out, treated the bare metal with an anti rust primer and then fibre glassed the corroded section. Once this had dried i wire brushed the rest of the inner wing and then stone chipped the complete inner wing to prevent any future corrosion.

merc020.jpg


merc022.jpg


merc019.jpg


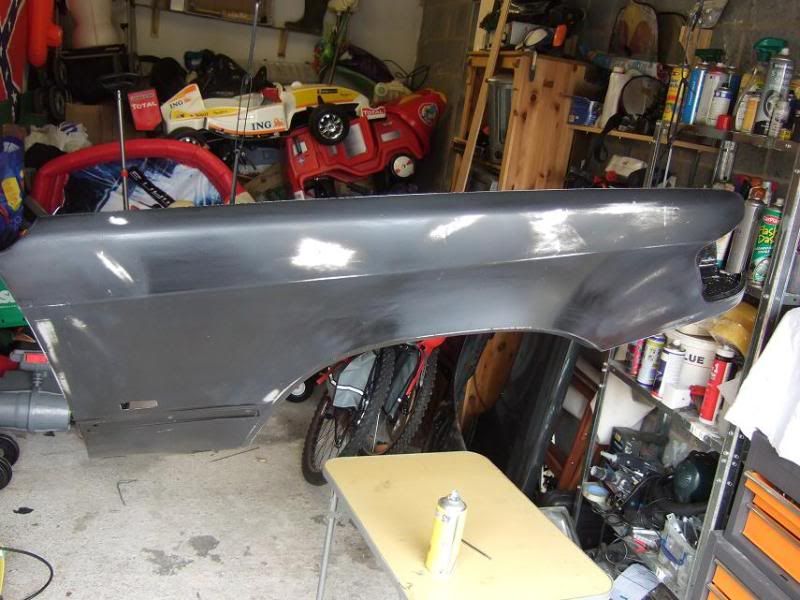
Next job was flatting the wings down ( factory primer ) i did this using wet and dry 800's to get a nice smooth finish. I then primed the wings ( 4 coats ) and stone chipped the inner wings - i applied extra paint on the area's prone to rust to prevent future corrosion.

merc017.jpg


merc026.jpg


merc018.jpg


Once primed i flatted the wings down again and painted all the edges with an aerosol ( 199 ) this will allow me to fit the wings without them having to come off again at the body shop. I also applied several coats of clear Lacquer to both wings.

Whilst the bumper was off i wire brushed all the front panel and applied stone chip to all the nooks and crannies, again to prevent future corrosion. A small repair was needed on the front bumper as there was a crack in the lower N.S section. I simply braced the 2 sections and fibre glassed the back of the bumper. I applied body filler to the front section and then flatted it down with 40's , 120's and then feathered the repair out with 360's before priming.

Once all this was done i built it back up

merc023.jpg


merc027.jpg


merc024.jpg


merc025.jpg


merc028.jpg


merc029.jpg


The car is now drivable so its off to the bodyshop to have both sides of the car painted and some minor rust removal from the rear arches. Im also having the bumpers and bonnet painted. A new front grill has also been ordered.


All nuts and bolts were carefully removed and put into a storage tub. Before assembly i lubricated all bolt holes + bolts to make things a little easier building the front end back up.

Will post more pics when back from the shop


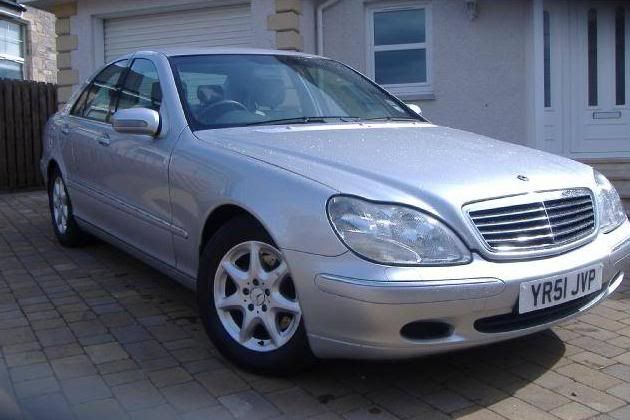
Oh - just added this to the fleet ( 51 plate S class ) Full MB history 84k and in immaculate condition - drives like new !!

8KCAX6S86CCADEUOAGCA31E0PRCA0Z1WA7C.jpg


Matt
 
Last edited:
Matt:Your car should feel very proud for having such owner,well done mate
 
Sorry to go OT but is any of you boys coming to the W124 gtg next month?
 
***UPDATE ***

Car now prepared for paint - all rust from rear arches removed ( cut out and welded new metal in place ) there were a few small dents here and there and the odd rust scab - all these have now been eradicated.. There was a crack in the front bumper which has been fibre glassed and filled. Both of them are now primed and ready for paint. Ive ordered a brand new grill + other various pieces of trim to finish it off proffesionally. All these have now been repaired to a high standard and its going in for a full re-spray today.

The car is being painted to exact manufacturers spec using official MB paint. Will post pics of finished product shortly

012jqg.jpg


010und.jpg


009hu.jpg


008ti.jpg


007plq.jpg


006h.jpg


005rw.jpg
 
Last edited:
The lower half of the car is 100% solid and doesnt need bodywork / paintwork. When i removed the external trim / sill covers to investigate possible signs of corrosion there was non evident. It has been heavily wax oiled at some stage of its life ( same underneath ) so im just having the upper section painted.
 
T-cutting with orbital..

Could I ask you how you do that always had a problem..with orbital buffers ?

I have one but no idea how to use properly and alway end up spending 6 hours doing it by hand?

What type of nets do you use?
Standard T-cut ?

thanks in advance

Awesome job ...the mushroom leather stuff....i'm having some of that.... now..
 
looking forward to the paint job, and what a project!
 
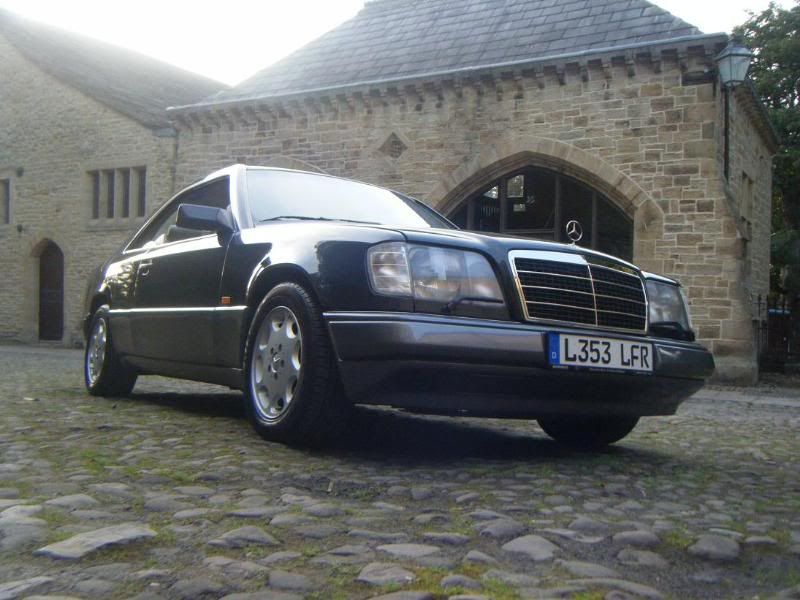
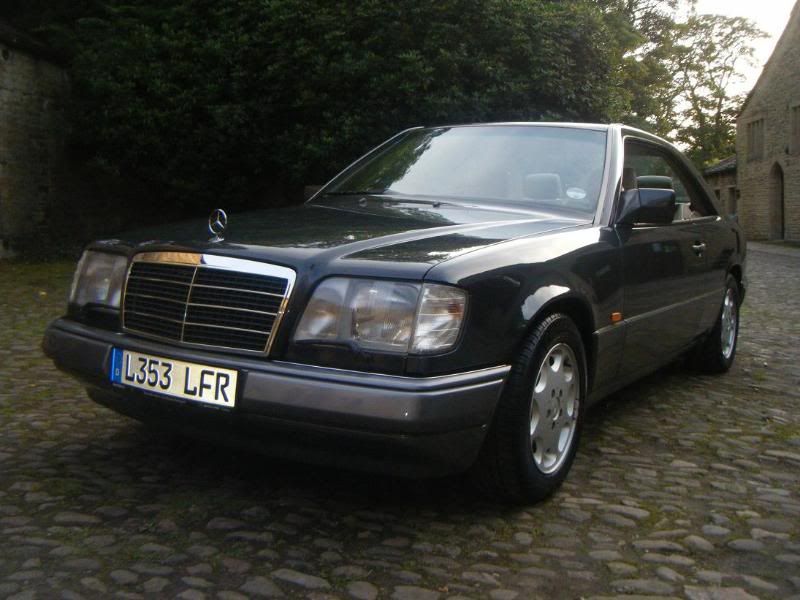
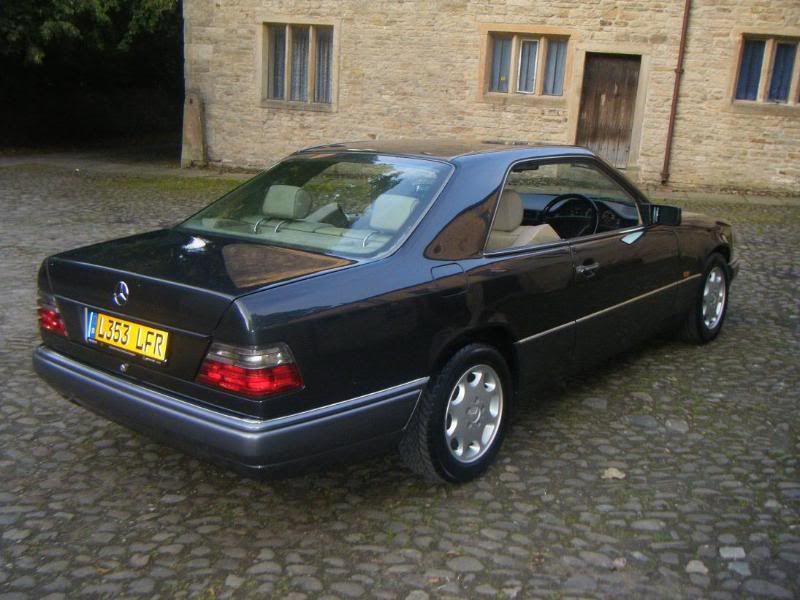
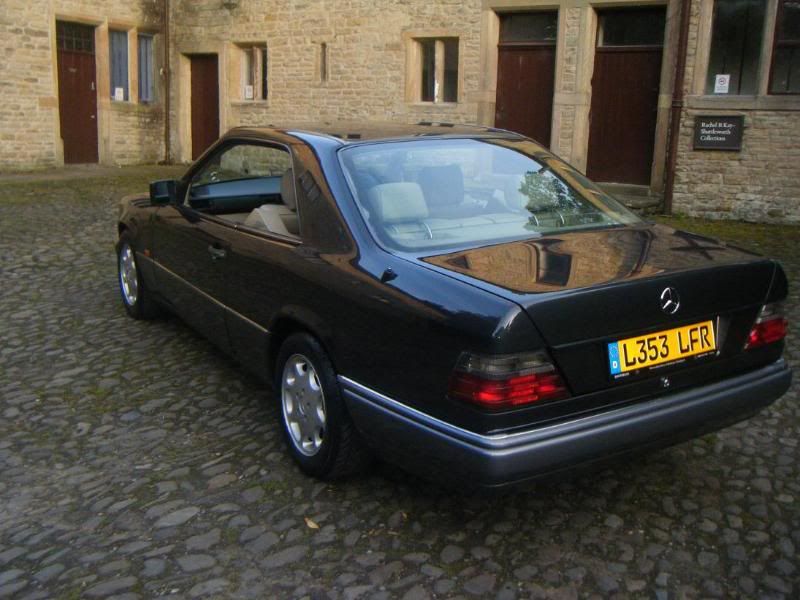
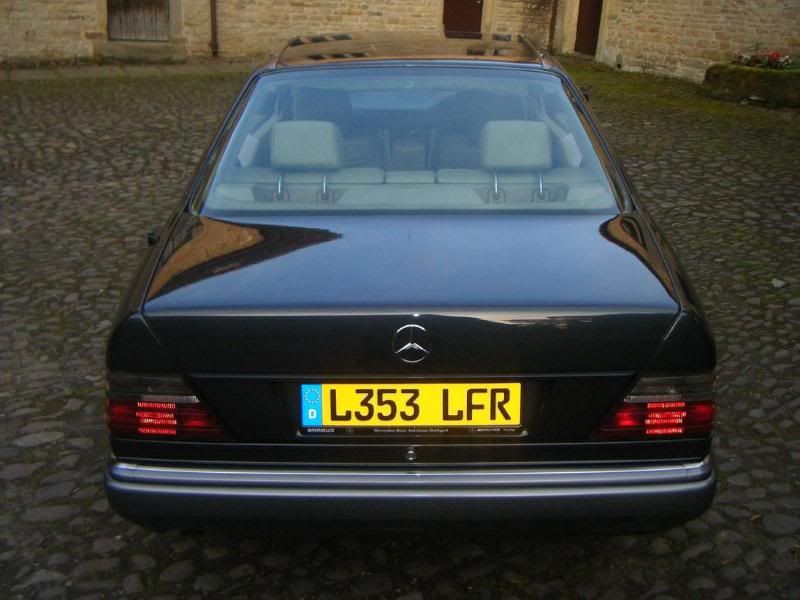
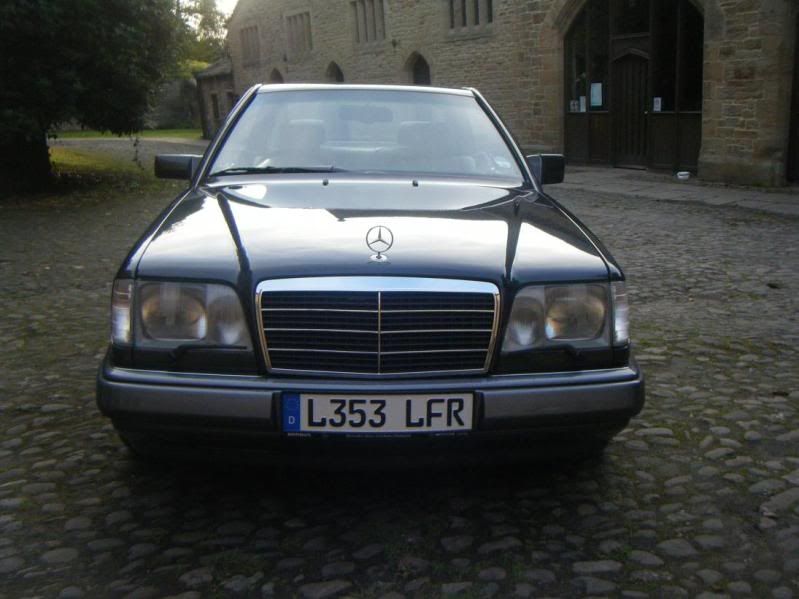
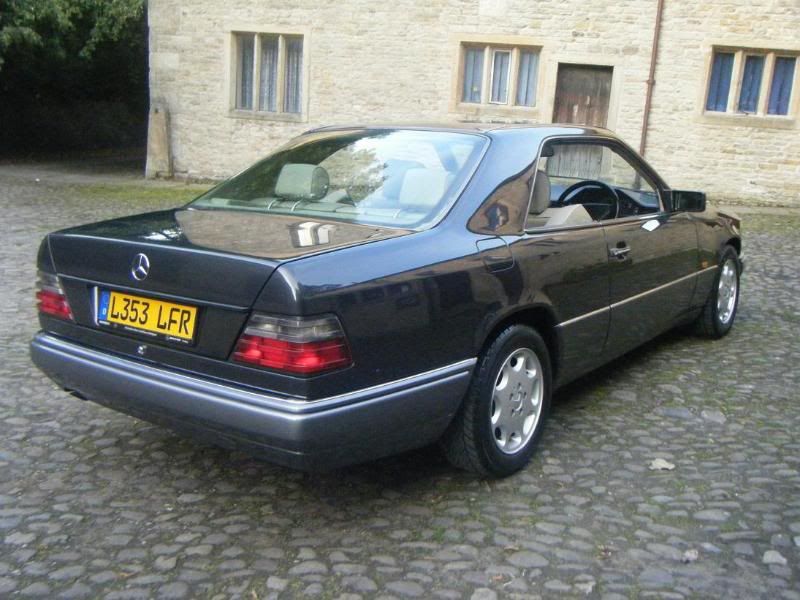
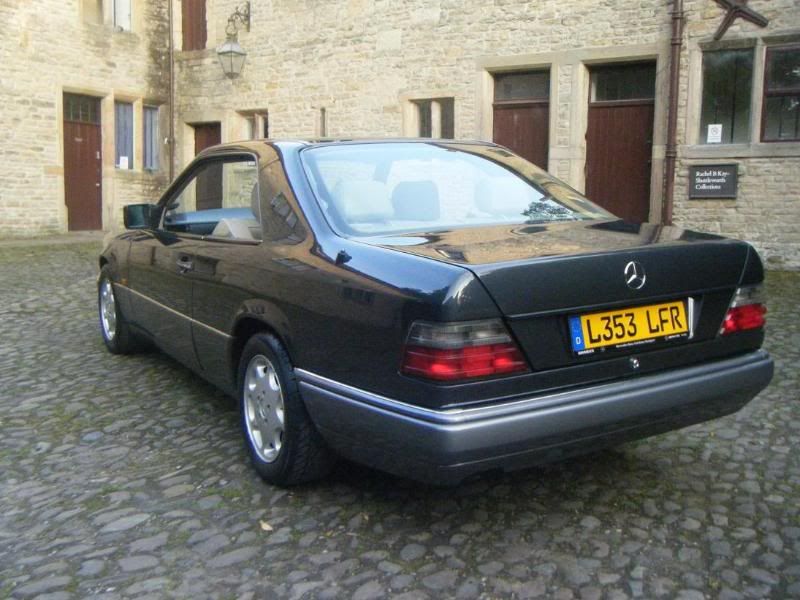
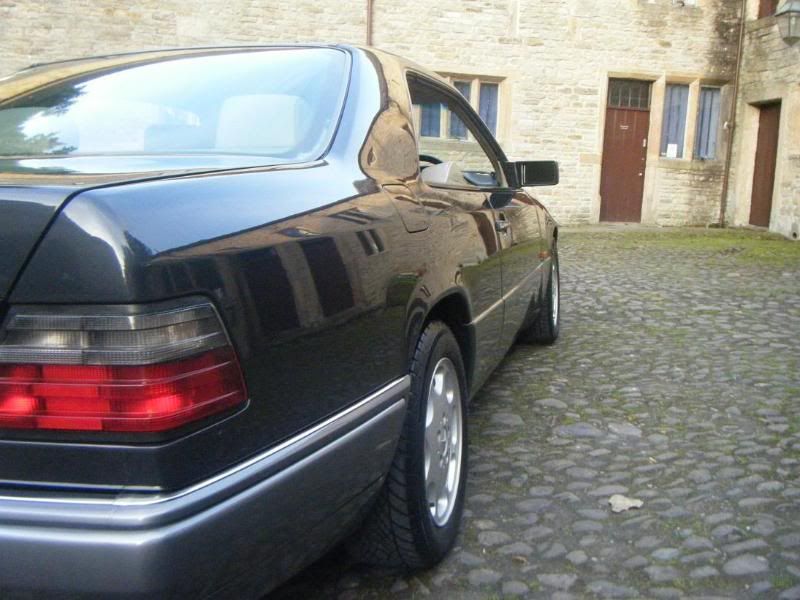
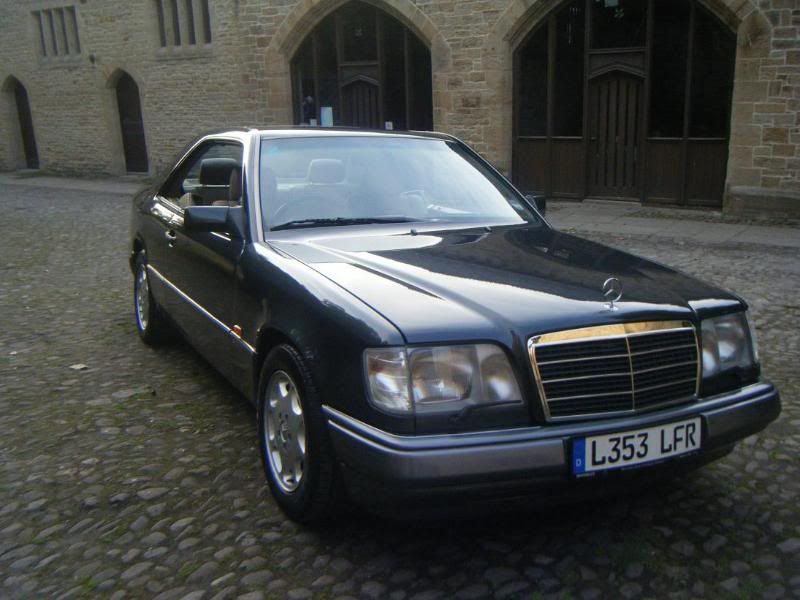
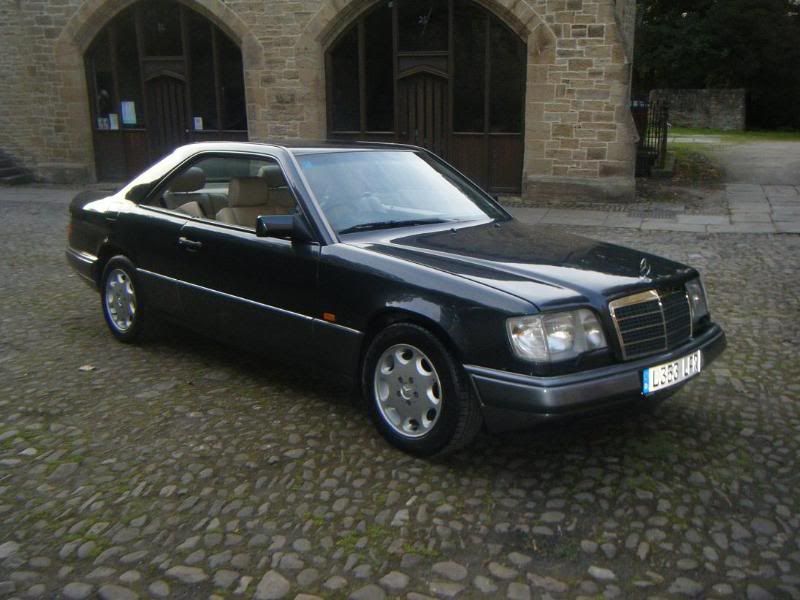
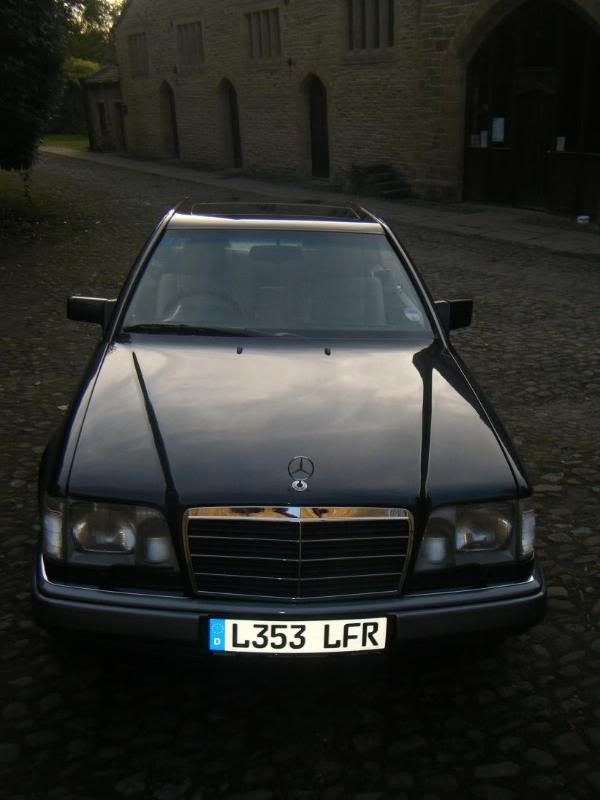
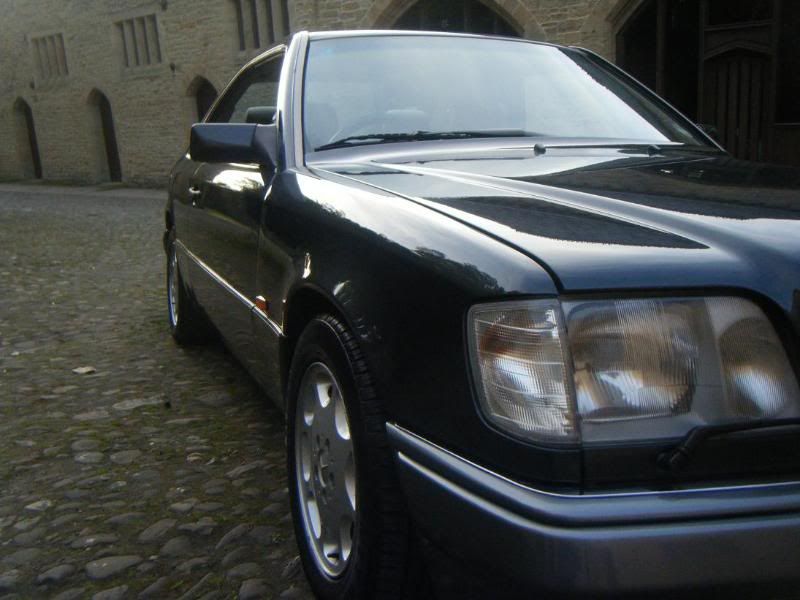
Picked the car up last week and spent the weekend building it back up. I ordered new fastenings and clips from Mercedes ( of which most came wrong !! ) so i had to pay a visit to the dealers several times to show them exactly what i needed. Did'nt take long to build the car back up. Everything was thoroughly polished before assembly ( chrome bumper trims / external door trims etc ) and then carefully fitted to the car.

If you notice on the original pics somebody had painted the bumpers a different colour so ive had them colour coded to match the original trim. I've not coloured the protruding section of the bumper ( meant to be black ) as i think it looks better matching the rest of the trim.

A new grill, rear badge, side repeaters, front indicator lenses, bonnet badge was also fitted to compliment the new paint job. There are a few more things that need doing to get the car up to standard including wheel refurbishment, centre armrest needs replacing, front windscreen ( pitted ) and a few mechanical items and thats it really - job done.


Some pics..... ( taken at sunset so apologies for poor quality )


MercedesCE22Coupe1993016.jpg


MercedesCE22Coupe1993004.jpg


MercedesCE22Coupe1993026.jpg


MercedesCE22Coupe1993025.jpg


MercedesCE22Coupe1993024.jpg


MercedesCE22Coupe1993015.jpg


MercedesCE22Coupe1993019.jpg


MercedesCE22Coupe1993020.jpg


MercedesCE22Coupe1993021.jpg


MercedesCE22Coupe1993003.jpg


MercedesCE22Coupe1993005.jpg


MercedesCE22Coupe1993007.jpg


MercedesCE22Coupe1993010.jpg
 
Last edited:
Stunning (An over used word but very true in this case)

Love the location too. The courtyard looks clean enough to be German. Someone has very high standards in all things.
 
Absoultely fantastic. You must be very proud to drive around in that car now !
 

Users who are viewing this thread

Back
Top Bottom