Todays update...first job was to check the old genuine MB Wahker brand thermostat in a pan of water on the cooker. It opened just fine at about the right temperature, rather than try with the Circoli cheap and cheerful one I decided to put this one back in for now until I get another OEM one.
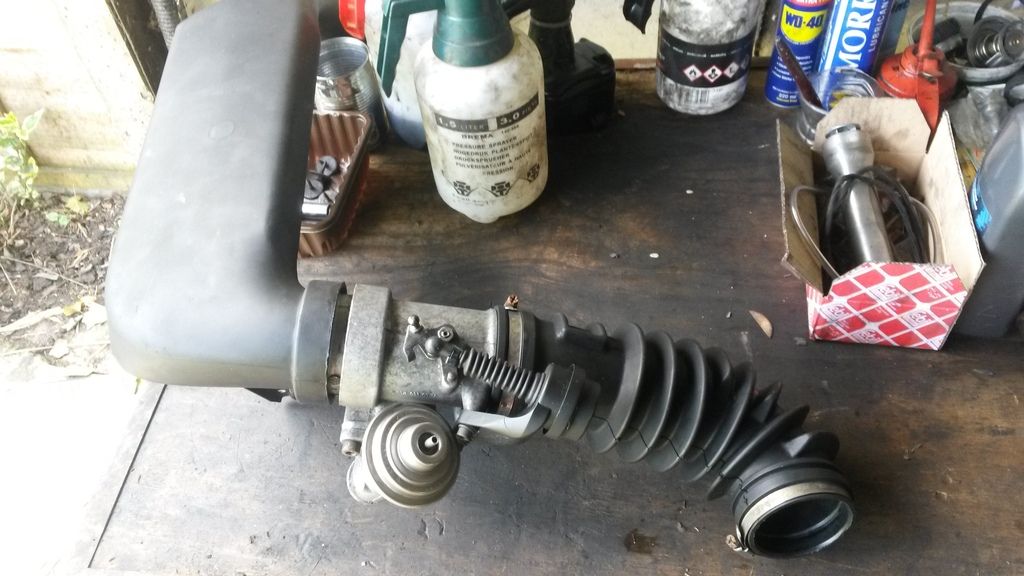
Then it was time to get the waterpump off. First things first, off with the airpipe, EGR valve and crossover pipe
Then to get to the auxiliary belt, off came the radiator shroud along with the viscous fan clutch and the fan itself.
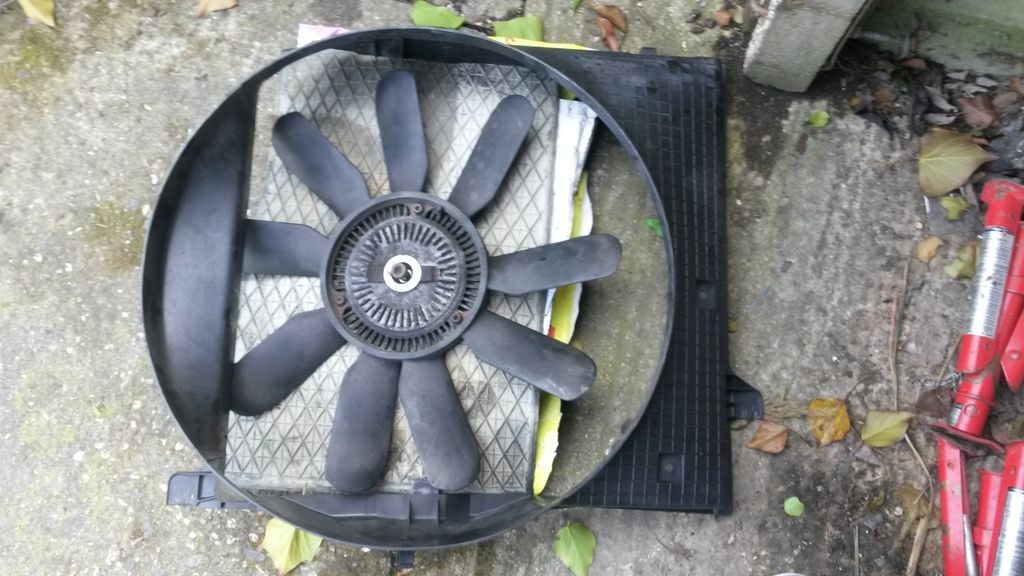
And yes I did stand the fan and clutch vertically after taking the pic...to be honest it's probably overdue for replacement or I might have a go at a nifty DIY refilling repair of the viscous clutch that I have read about online....
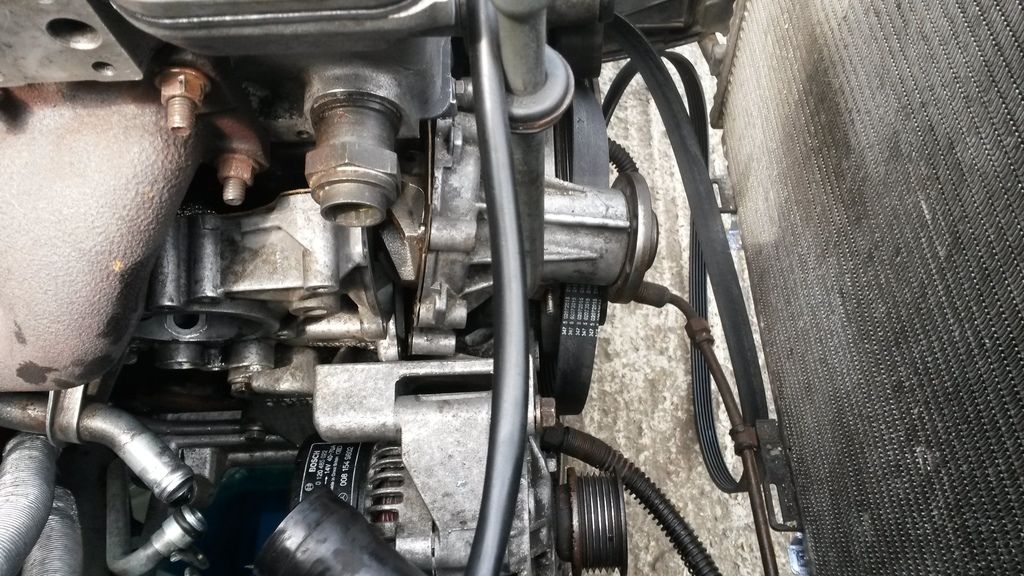
Then I undid the tensioner and released the auxiliary belt, and took the pulley off the front of the water pump, which left me this;

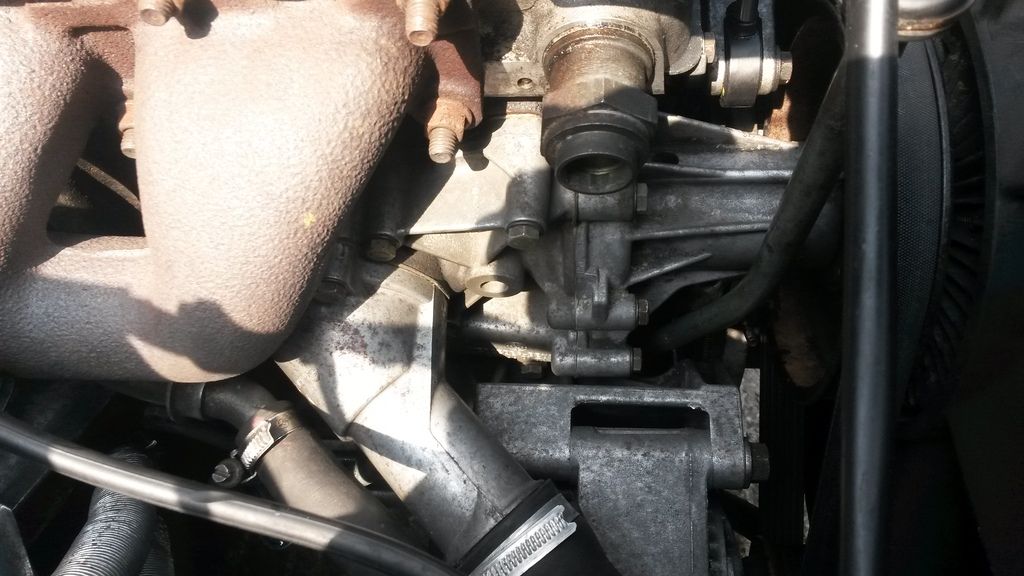
Looking at it from the side of the engine, you can see here the thermostat housing which attaches to the bottom radiator hose.
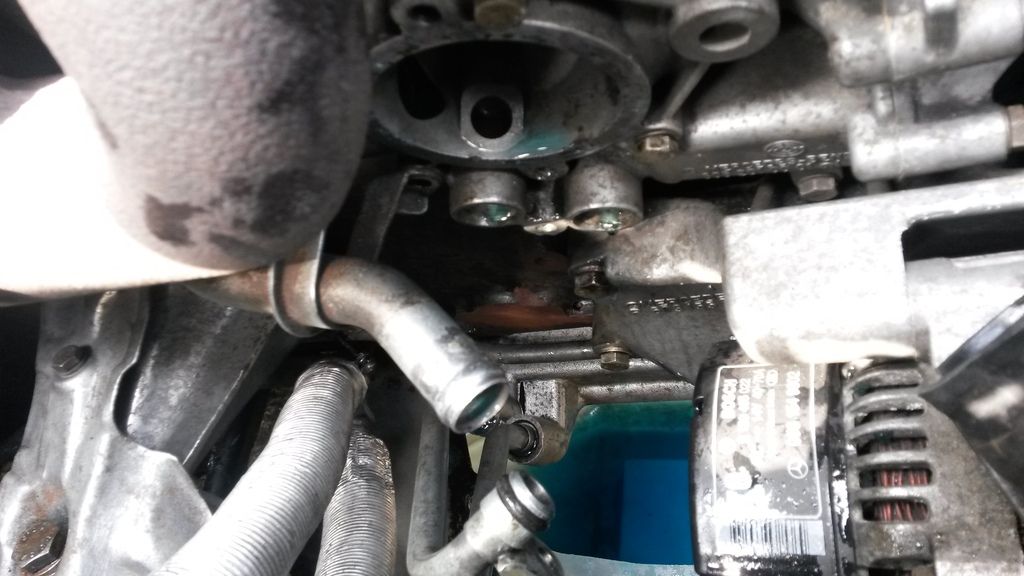
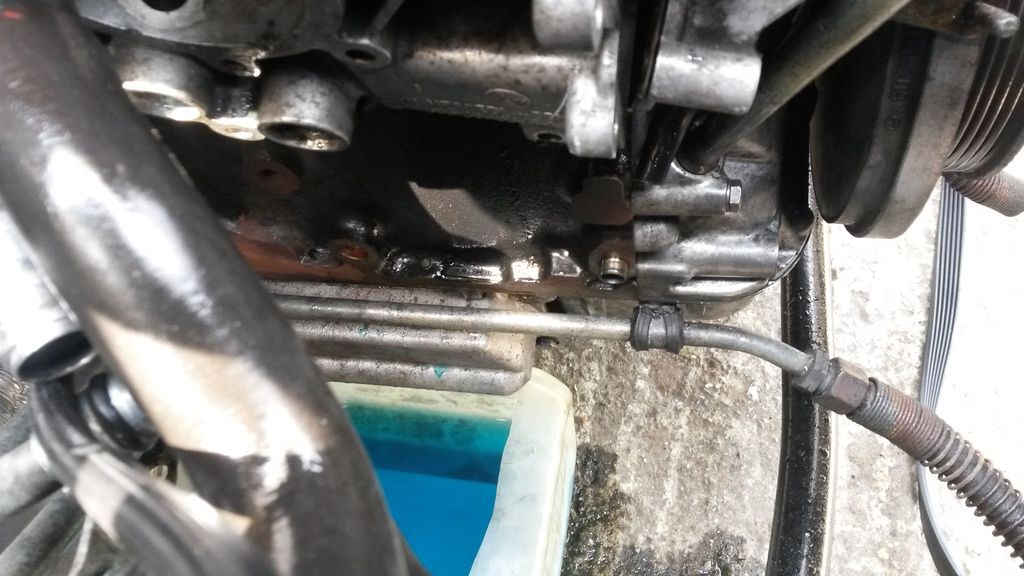
Next I removed the thermostat housing and prised the two pipes out that connect the water pump to the oil / water heat exchanger in the sump, they are the two pipes at the bottom in the centre of this picture, the heat exchanger itself is the silver box on the side of the sump just above the container of blue coolant.
I wanted to avoid taking off the exhaust manifold as it's a bit fiddly to bolt back on, so I tried splitting the waterpump into two halves to let me wiggle it out. This wasn't a success, this picture shows the water pump itself towards the front of the engine and its mounting bracket where the thermostat goes, behind it trapped by the exhaust manifold.
So without removing the exhaust manifold the only other way to get it out was from the bottom, which meant taking off the alternator and its mounting bracket, which left me with this....
Then finally I could wiggle the two parts of the waterpump out for a better look. This is it completely disassembled...
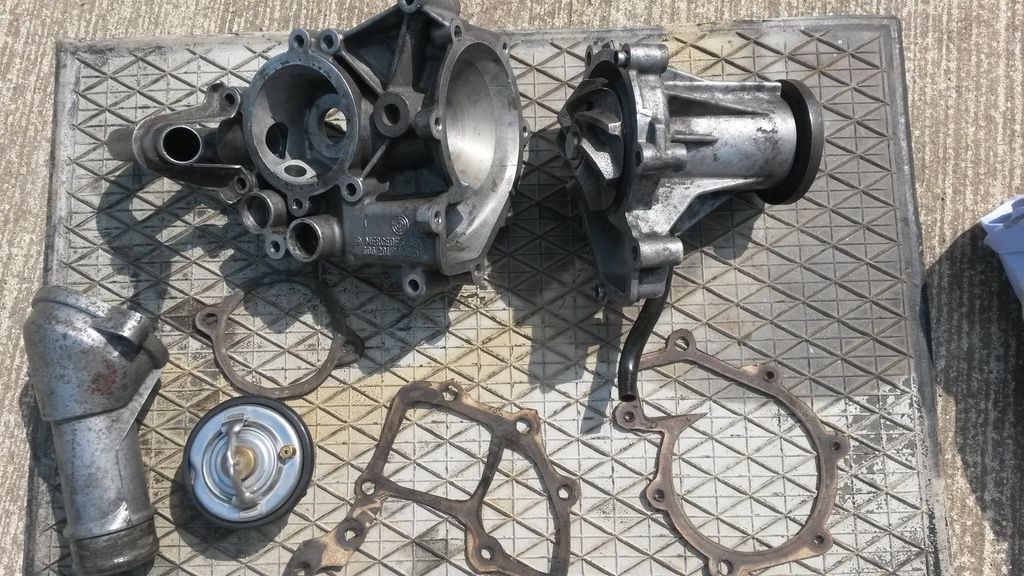
I gave it a bit more of a clean up, checked all the coolant passages were clear and checked the gaskets I made weren't covering any holes. Everything was fine, the pump itself spun nice and freely and there was no play in the bearing either.
This shows what was mentioned yesterday, the thermostat can only be fitted one way around with the temperature sensing part towards the engine, as the shape of the thermostat housing and the mounting notch in it won't allow the thermostat to be installed back to front.

Once I was satisfied that everything was in order with the water pump and thermostat I put it all back together, everything apart from the viscous fan and shroud and then opened the bleeder screws and filled the system with coolant. I ran the engine up to temperature, kept squeezing the hoses and opening the bleeder screws and lo and gehold the temperature held steady, a little hotter than usual due to no fan behind the radiator but I ran the engine for half an hour with no overheating like yesterday! Success!!


