derin100
Active Member
Ok, I've tried to do some photos as a guide to this for anyone else who needs to do this in the future:
1) Part number: A 171 820 03 21
2) Pop off the mirror glass. This simply pops off by carefully levering behind it on U.K cars. I believe on cars for some markets (e.g U.S) there maybe an additional metal spring clip that you have to release at the top edge of the mirror glass:

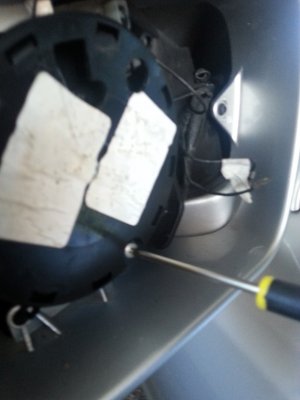
2) Note and carefully remove the attached thin two black wires for the heating of the glass. For me this was the trickiest part because the spade connectors were on very tight and the wires are thin and delicate.
I used slim nosed pliers and I marked the upper one with a piece of tape (as above) for reference when reassembling (might not matter).
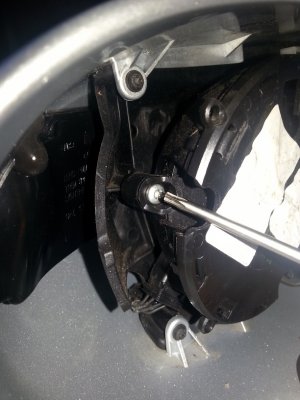
3) This allows access to 6 Torx head screws in total...3 black and 3 silver of the same size small Torx size.
The 3 silver ones(arranged in a triangle) hold the large round black part of the mechanism in place. I remover this but in hindsight that step might not be necessary but as this was the first time I'd done it I didn't know what to expect!
DO NOT REMOVED THE SILVER ONE RIGHT IN THE MIDDLE!


If you ARE removing the large round piece of the mechanism note the electrical connector in the above photo which you will have to detach.
Then Remove the 3 black coloured Torx head screws. These release the outer mirror casing/cup to which the indicator lamp is attached.
4) Remove the outer casing from the car
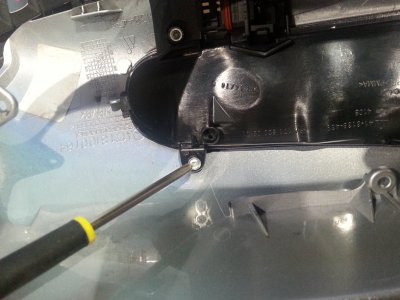
This is achieved by wiggling it free and drawing/sliding it outwards, laterally away from the car. You will then clearly see the 2 CROSS-HEAD/Philips type screws that hold the lamp into the casing:

Remove them and the lamp is now free to slide out.
Re-intstallation is (as they say) the reverse of the above! Hope that helps.
The part itself was about £30 from a MB Main-dealer:

1) Part number: A 171 820 03 21
2) Pop off the mirror glass. This simply pops off by carefully levering behind it on U.K cars. I believe on cars for some markets (e.g U.S) there maybe an additional metal spring clip that you have to release at the top edge of the mirror glass:

2) Note and carefully remove the attached thin two black wires for the heating of the glass. For me this was the trickiest part because the spade connectors were on very tight and the wires are thin and delicate.
I used slim nosed pliers and I marked the upper one with a piece of tape (as above) for reference when reassembling (might not matter).
3) This allows access to 6 Torx head screws in total...3 black and 3 silver of the same size small Torx size.
The 3 silver ones(arranged in a triangle) hold the large round black part of the mechanism in place. I remover this but in hindsight that step might not be necessary but as this was the first time I'd done it I didn't know what to expect!
DO NOT REMOVED THE SILVER ONE RIGHT IN THE MIDDLE!


If you ARE removing the large round piece of the mechanism note the electrical connector in the above photo which you will have to detach.
Then Remove the 3 black coloured Torx head screws. These release the outer mirror casing/cup to which the indicator lamp is attached.
4) Remove the outer casing from the car
This is achieved by wiggling it free and drawing/sliding it outwards, laterally away from the car. You will then clearly see the 2 CROSS-HEAD/Philips type screws that hold the lamp into the casing:

Remove them and the lamp is now free to slide out.
Re-intstallation is (as they say) the reverse of the above! Hope that helps.
The part itself was about £30 from a MB Main-dealer:

