• The Forums are now open to new registrations, adverts are also being de-tuned.

Took my top off today

AndyE

New Member
Joined
Feb 15, 2010
Messages
13
Location
Gloucestershire
Car
R107 500SL, BMW 530d, Ferrari 456MGT
..hard-top that is.

On the 107 this is a fairly heavy thing and my wife struggled to lift it. I was basically lifting it with my arms out straight as she pulled it towards her, I thought I was going to drop it, but we got there in the end:D

Took it for a quick blast down the A40 with the top up and it was fine, a bit noisy but not as noisy as I thought it'd be.

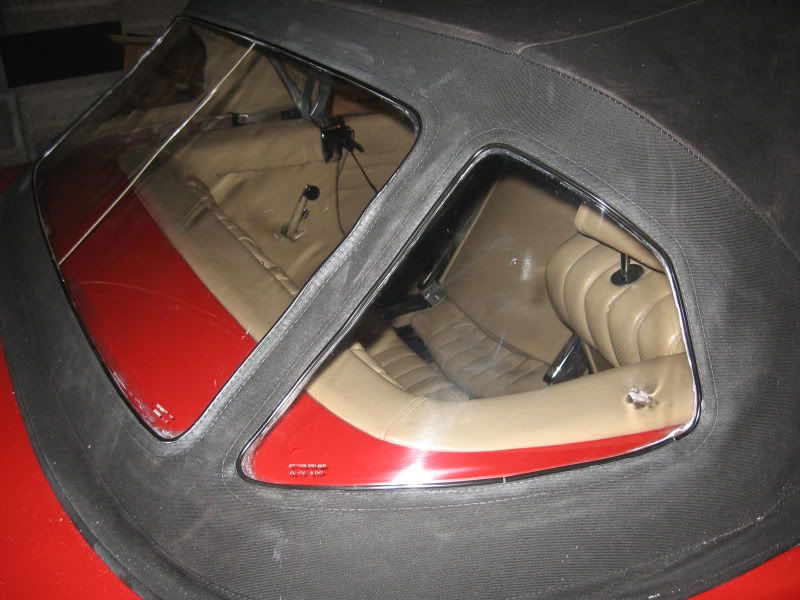
Hope it doesn't rain as there is a small tear in one of the rear windows, where it creases - it's only about 1cm and I will get it replaced when I can find somewhere local to do it.

Does anyone know what the best thing is to temporarily patch it? (I was thinking heat glue gun, or just sellotape)
If you're thinking of replacing it anyway, use a decent thick clear tape, you wont want it looking rough til its fixed. Very jealous btw, love those 107's, enjoy while the weather holds. Had my 129 out for a run at the weekend after a good polishing, and was grinning all the way.;)
 
Hi

you may find hardly any water will get in through the small tear. Mine is torn in the same place on both windows. i tried to fix with some clear silicon sealant which did seal it but it "unsealed" quickly.

put some sellotape on it if its not too bad, or just leave it - hard to tell without seeing a photo so i'm just going on my own experience. you can see my 1cm cut in the side window in one of the photos below - is yours in the same place?

Any pics of those seatbelts yet and where they have mounted the new mount? :thumb:

according to everyone with a 107 i have spoken to, a wind deflector makes a huge difference with the top down driving at speed. I plan to get one soon.

i also heard that to replace a window the whole fabric needs to be removed from the frame on the car and if you are doing that you may aswell just pay the extra bit and get a whole new roof fitted.

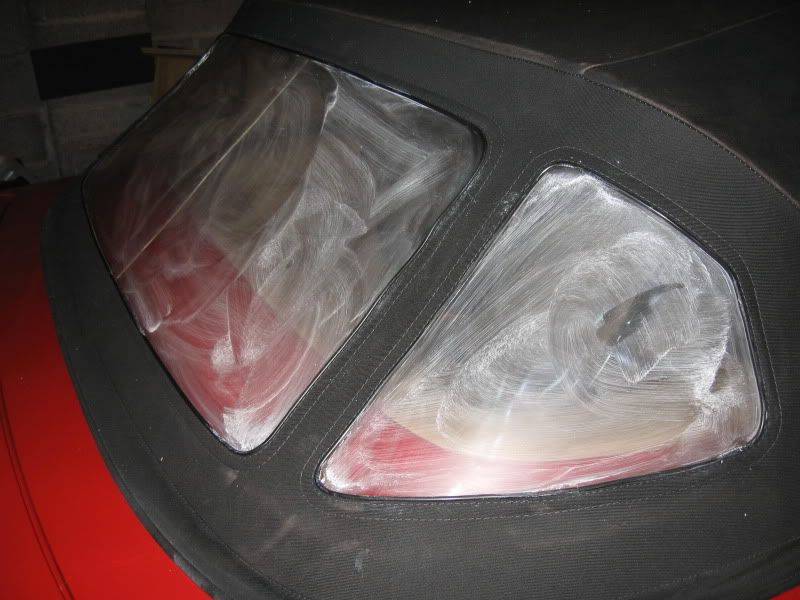
Also treat the windows to a polish using Hindsight. Superb stuff and will "soften" the plastic windows and get rid of any milkyness if there is any....

http://r107restoration.blogspot.com/2009/07/convertable-roof-renovation.html

pix261.jpg


pix263.jpg


thanks

Derek
 
Last edited:
My mate fixed the cracks on his with the clear self adhesive patches you get for airbeds.
 
Yes like has been said, I got a quote of £350 to do the clear screens and £600 for the roof complete... I did the roof and dont regret it..
 
Those tops are heavy!

It's a pretty good idea to take extra care when folding back the soft top to ensure none of the fabric gets caught. Also ensure the soft top is bone dry before stowing it away as that encourages corrosion in the soft top compartment.

+1 for the Hindsight treatment, it keeps the plastic clear and plyable.
 
ive not once used my hard top! way to heavy to bother with... plus I dont use the car in winter... Its been sat in the garage for almost ten years now!
 
Derek, my tear is in the same place as yours, I stuck a bit of box packing tape over it - doesn't look that great, but it's really sticky - I'll get some clearer stuff soon.

I've just been out to take photo's:

IMG_0026_edited-1.jpg

IMG_0027_edited-1.jpg

One thing to note is that the length of the strap attached to the car means that the buckle collides with the internal bodywork and prevents the cover closing. If I fitted this I'd make sure that at full stretch the buckle was either in or out. This may be unavoidable though due to the position of hole, not sure what scope for adjustment you have here, I meant to phone the installer today but forgot.

Also found we don't need the kiddy seats in the car - the belt crosses their chest rather than their necks - mind you they're not far off the height for not needing seats now.

[Just ordered some Hindsight - quite pricy, hope the small order is enough]

Let me know how you get on.
 
Last edited:
Thanks Andy. Thats a great help. I'll try and mount mine in the same place, making sure the lid closes as you say. How is it mounted behind/in the arch? is it just a big washer type thing with a bolt on it? Did they rust proof the area afterwards? may be worth looking into to ensure it doesnt rust around the new hole if its in the arch....

watch out with the brown packing tape - it can leave brown "stains" behind if left on for long with the sun etc.

the small hindsight will be fine - the little pot i have looks like it will last for ages as you only need to use a little bit, but i guess it also depends on how milky the windows are....

do you mean the kids dont need the booster seats etc in the back? i'm unsure of this as i thought you had to be a specific height or 12 years of age before they can use a seat without a booster - but the SL seats are very small so maybe they dont count? obviously with a booster the child will be higher in the car than they would be without - seems a bit strange to me and it looks safer without the extra booster as far as i can see, but wont be legal?

cheers again

Derek.
 
Last edited:
One thing to note is that the length of the strap attached to the car means that the buckle collides with the internal bodywork and prevents the cover closing. If I fitted this I'd make sure that at full stretch the buckle was either in or out. This may be unavoidable though due to the position of hole, not sure what scope for adjustment you have here, I meant to phone the installer today but forgot.

Are you sure they have not been fitted "upside down"? my reckoning is the adjustment buckle that is blocking the lid should be attached to the bottom mount.... this is the way i plan to fit and will post photos so we can compare. i am sure the static 3 point belts in the rear of my old Rover Mini also had the adjustment buckle at the bottom aswell.

The holes I have drilled are in exact same place as where yours are. this is the best place as the large flat metal mount that sits inside the wheel arch can lay almost flat at this point.
 

Users who are viewing this thread

Back
Top Bottom