Navigation
Install the app
How to install the app on iOS
Follow along with the video below to see how to install our site as a web app on your home screen.
Note: This feature may not be available in some browsers.
More options
You are using an out of date browser. It may not display this or other websites correctly.
You should upgrade or use an alternative browser.
You should upgrade or use an alternative browser.
And so it begins, Project detailing C250
- Thread starter LeeJV
- Start date
chrisk2010
MB Enthusiast
Excellent work fella, the car has certainly landed on it's feet with you and is starting to look great.
It's well worth doing the arches but i'm very surprised at how bad they are for the mileage.
I very nearly bought a similar model last year but unfortunately it was in black so i passed on it as the colour is just far too unforgiving and i feel like i need a break from it.
It's well worth doing the arches but i'm very surprised at how bad they are for the mileage.
I very nearly bought a similar model last year but unfortunately it was in black so i passed on it as the colour is just far too unforgiving and i feel like i need a break from it.
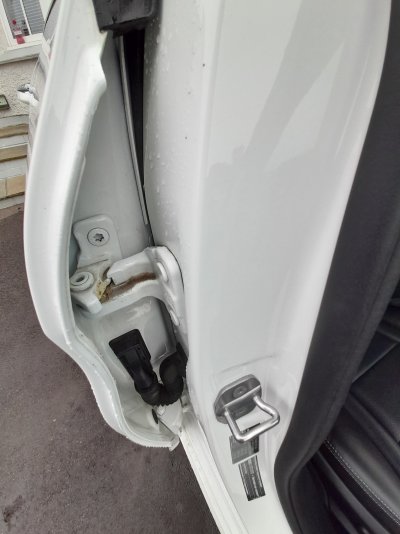
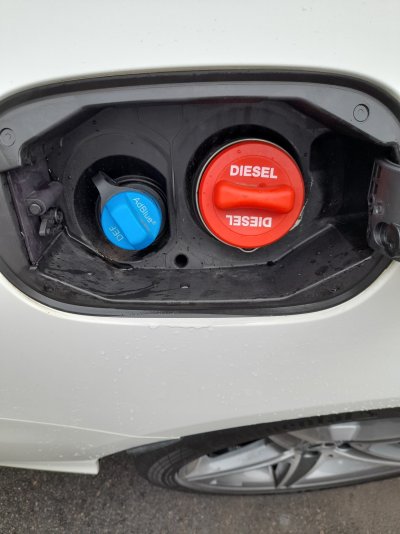
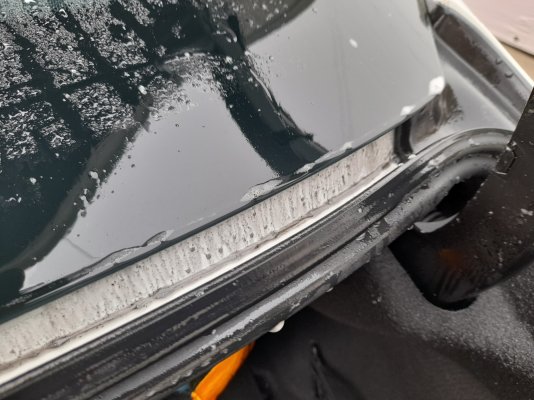
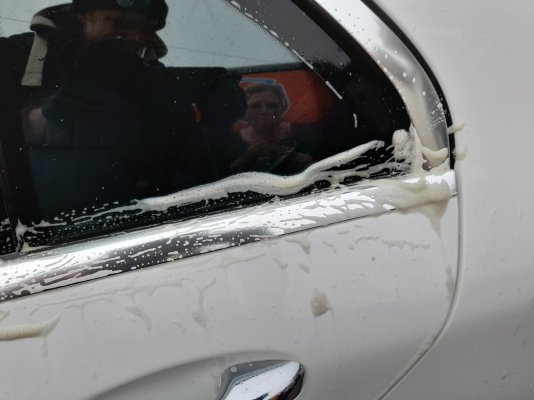
prior too treating all those areas above, the car was covered in Citrus-pre-wash and a thick layer of BH auto foam, then fully rinsed, then set about all the door shuts, drainage channels, window trims with more Citrus, and agitated with a Valet pro sash brush. Then blasted out with a 25° jet.
I then had to do to the whole area again as even more grime kept coming out.
Finally after 2 hits of Citrus and 2 hits of foam it was finally ready for a contact wash.
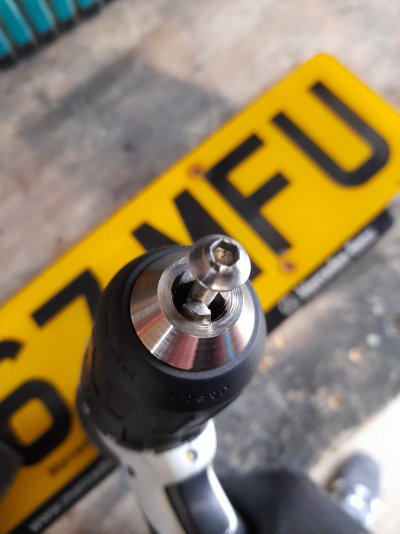
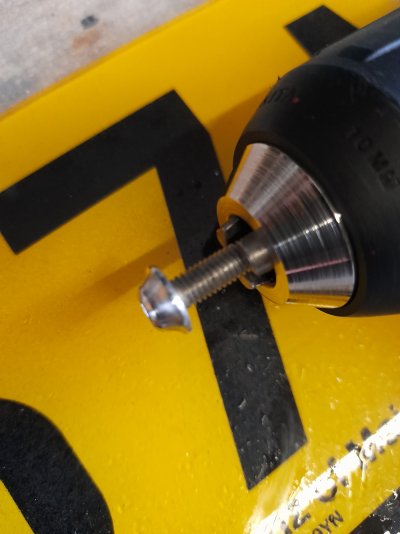
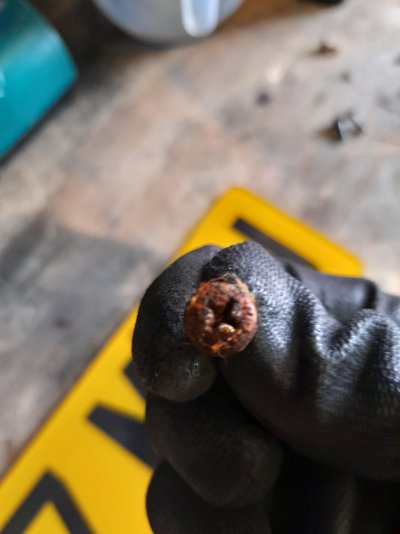
The rusty number plate screws were removed, I found some replacement ones in my work shop, gave them a polish using a drill and some fine scotchbrite pads.
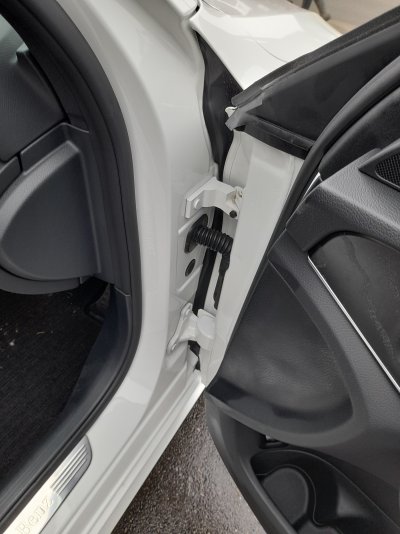
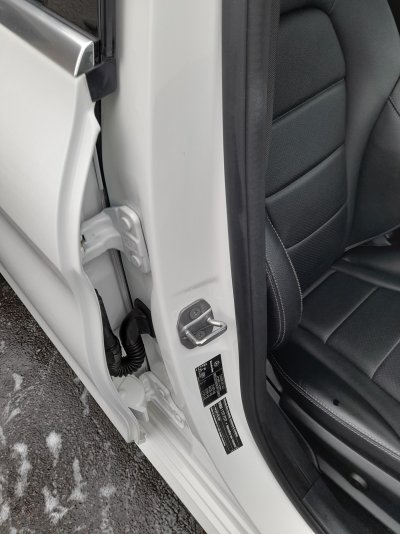
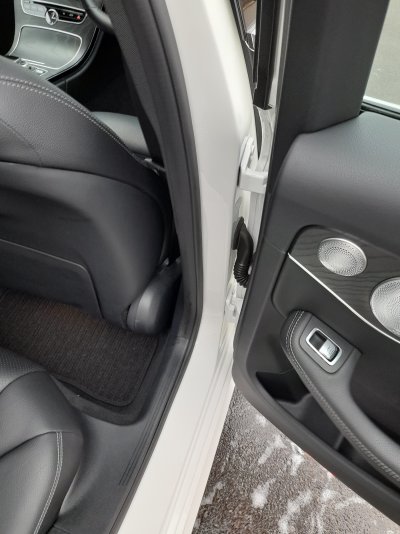
All the door shuts now finished, and wiped down to removed any remaining grime from the prewash stage.




After a full contact wash, the car was deconed with BH Korrosol, and Tar remover., there was very little bleed out on the panels here.

 .
.
I then had to do to the whole area again as even more grime kept coming out.
Finally after 2 hits of Citrus and 2 hits of foam it was finally ready for a contact wash.


The rusty number plate screws were removed, I found some replacement ones in my work shop, gave them a polish using a drill and some fine scotchbrite pads.
All the door shuts now finished, and wiped down to removed any remaining grime from the prewash stage.


After a full contact wash, the car was deconed with BH Korrosol, and Tar remover., there was very little bleed out on the panels here.

 .
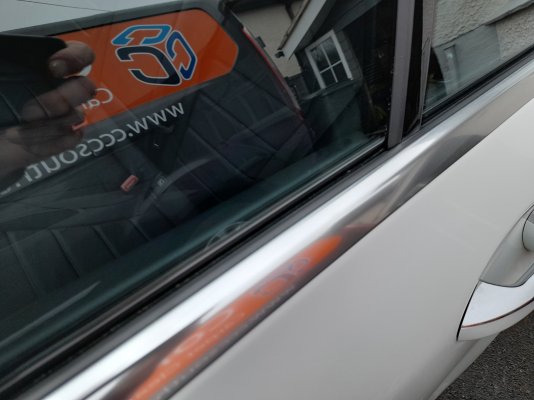
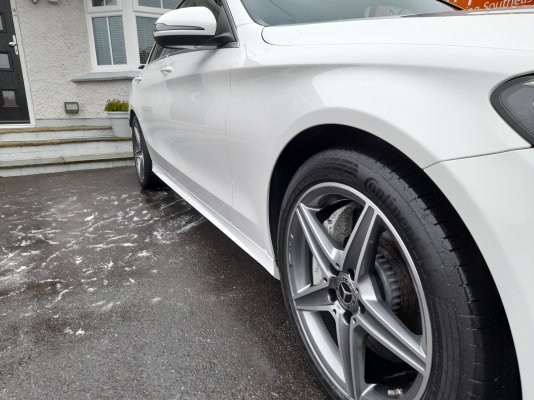
.Now fully washed again to ensure all traces of fallout and tar removed, towel dried with some wax planet Vaporized. This aids the drying process without leaving and protection.




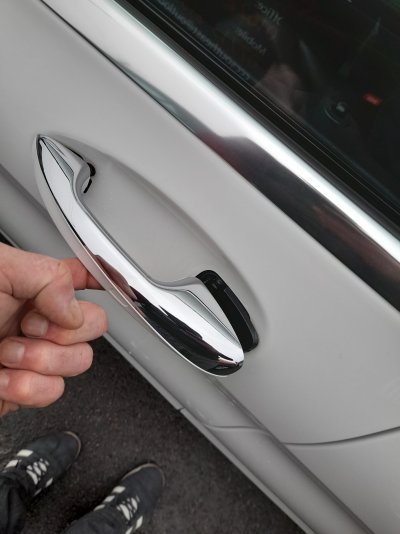
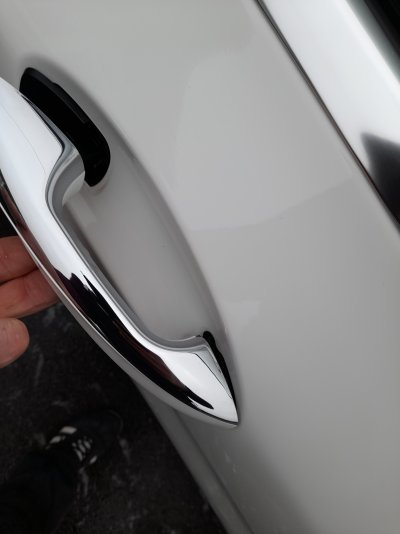

Now the car is ready for its next stage.
Off to the Vinyl wrapping company Modexan today for a dechrome, window tints to the rear windows, and black wrapping to the wing mirrors, rear diffuser, swage lines on the lower sills.


Now the car is ready for its next stage.
Off to the Vinyl wrapping company Modexan today for a dechrome, window tints to the rear windows, and black wrapping to the wing mirrors, rear diffuser, swage lines on the lower sills.
Hey buddy.Excellent work fella, the car has certainly landed on it's feet with you and is starting to look great.
It's well worth doing the arches but i'm very surprised at how bad they are for the mileage.
I very nearly bought a similar model last year but unfortunately it was in black so i passed on it as the colour is just far too unforgiving and i feel like i need a break from it.
I couldn't believe how bad they were. The car must have been used in a very rural area, and must have been sat under a tree, as the amount of moss and mildew around all the trims was shockingly bad.
The paint is in really good order, but it would seem that it's been washed by a local car wash given the amount of stains from TFR to all the cast alloy and calipers.
Hey guys, back again
This has really taken some work, even more so than the GLE, or any other car I've done. (Not including My 507.
I collected the car from the Vinyl Wrapping company, took the car home, a good wash and ready for some Paint correction.
The paint was in really good shape, some light marring here and there, so managed a single stage correction with Koch chemie F6 and a a medium Cutting pad. Happy enough with the results, doing a single stage also leaves enough clearcoat for the future.
Chasing 100% isn't always possible, esp if you want to preserve the paint by taking off a little as possible
I've taken some pics of the Finer details rather than the whole polishing process.
The door handles prior to cleaning were really bad.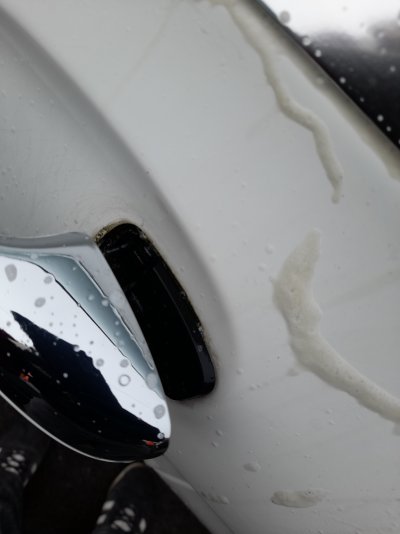
Fully cleaned and prepared, for wrapping,

As you can see, there's some tide Mark's around the plates, and fine scratches
After they were wrapped, I finished these off with a hand polish using F6 and a short pile MF .

After having the windows tinted to match the pan roof, I then polished them with a Da,medium cut pad and glass polish, Neat IPA wipe down, and treated with 2 coats of Angelwax H2GO.
This is a really easy product to use, and also makes future drying and cleaning far easier when sheeting the water off

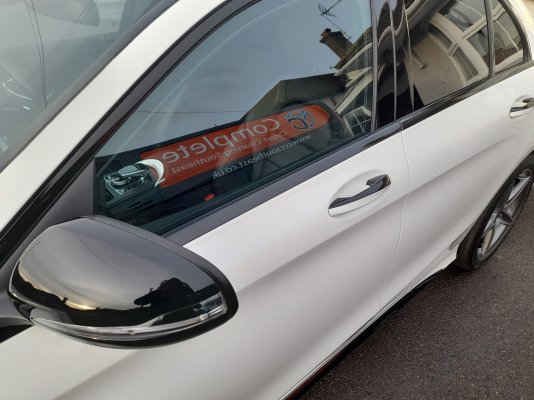
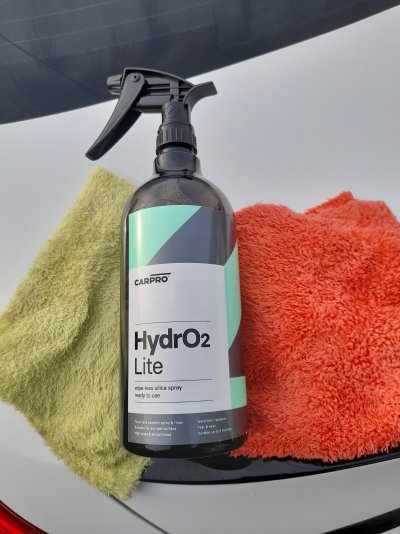
After the glass I then coated the car with Carpro Hydro 2, I've been playing with this for a little while now, and its extremely chemical resistant, and very easy to apply.
My chosen method is spray and wipe, Not only do you use less product, you also get an even coverage compared to the spray and rinse method.
So onto to damp panel, applied with a 350gsm towel, to cure for a few mins due to colder temperatures, then buffed with a 500gsm. Total of 2 coats with 12 hrs between coats.
Car now finished, I sat on the front steps with some coffee to admire the results

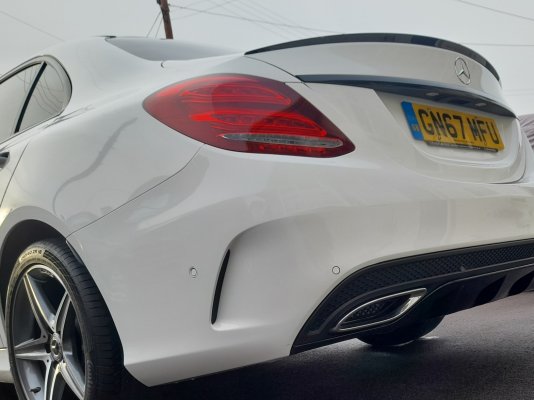
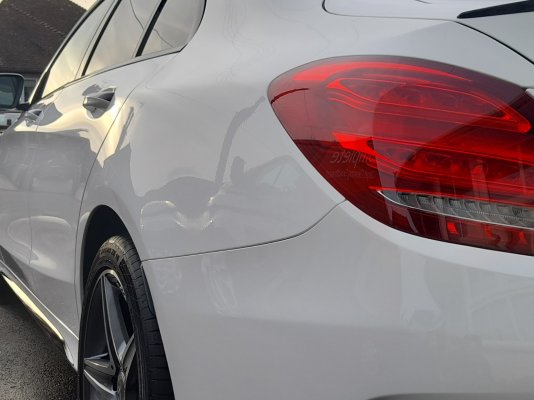
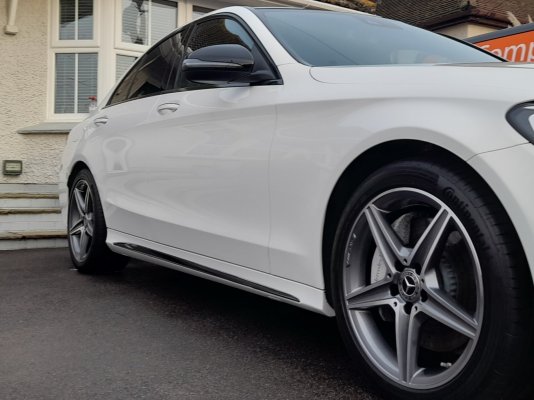

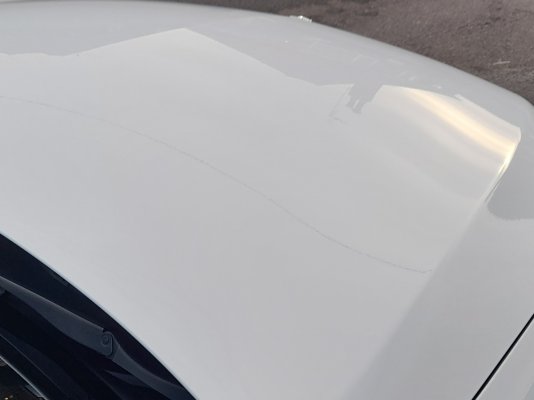
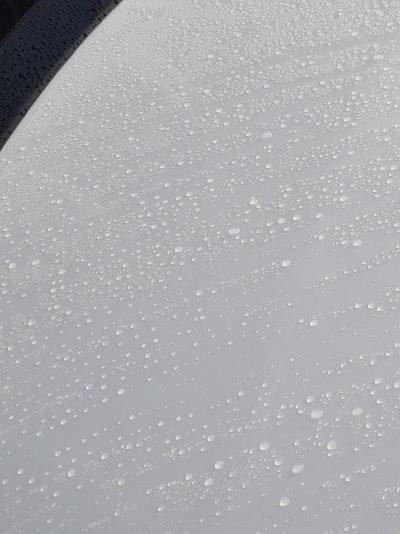
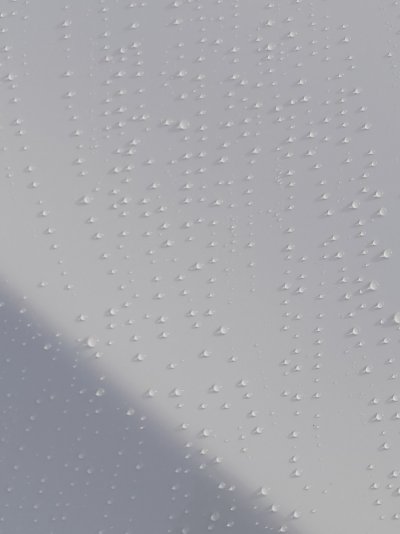
Awoke this morning to a fine shower, and yes I'm guilty of a beading shot.
Despite the poor lighting outside on a cloudy day, you can hopefully see the reflections in the paint.
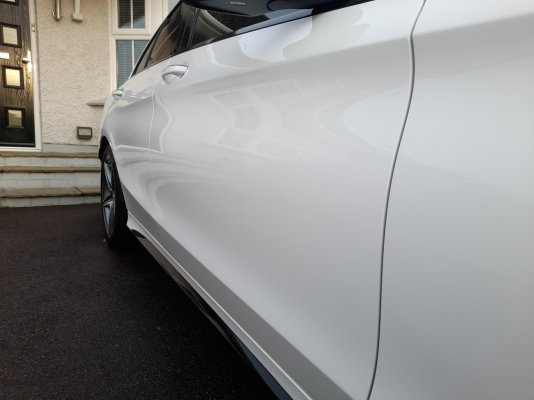
Now that's finished it's time to start some more work on the 507.
Thanks for taking the time to read this, if anyone has any questions about the process or wants some help or Info, feel free to ask
This has really taken some work, even more so than the GLE, or any other car I've done. (Not including My 507.
I collected the car from the Vinyl Wrapping company, took the car home, a good wash and ready for some Paint correction.
The paint was in really good shape, some light marring here and there, so managed a single stage correction with Koch chemie F6 and a a medium Cutting pad. Happy enough with the results, doing a single stage also leaves enough clearcoat for the future.
Chasing 100% isn't always possible, esp if you want to preserve the paint by taking off a little as possible
I've taken some pics of the Finer details rather than the whole polishing process.
The door handles prior to cleaning were really bad.

Fully cleaned and prepared, for wrapping,

As you can see, there's some tide Mark's around the plates, and fine scratches
After they were wrapped, I finished these off with a hand polish using F6 and a short pile MF .

After having the windows tinted to match the pan roof, I then polished them with a Da,medium cut pad and glass polish, Neat IPA wipe down, and treated with 2 coats of Angelwax H2GO.
This is a really easy product to use, and also makes future drying and cleaning far easier when sheeting the water off


After the glass I then coated the car with Carpro Hydro 2, I've been playing with this for a little while now, and its extremely chemical resistant, and very easy to apply.
My chosen method is spray and wipe, Not only do you use less product, you also get an even coverage compared to the spray and rinse method.
So onto to damp panel, applied with a 350gsm towel, to cure for a few mins due to colder temperatures, then buffed with a 500gsm. Total of 2 coats with 12 hrs between coats.

Car now finished, I sat on the front steps with some coffee to admire the results


Awoke this morning to a fine shower, and yes I'm guilty of a beading shot.
Despite the poor lighting outside on a cloudy day, you can hopefully see the reflections in the paint.


Now that's finished it's time to start some more work on the 507.
Thanks for taking the time to read this, if anyone has any questions about the process or wants some help or Info, feel free to ask
Rubyred
Active Member
Full marks to you, car looks fab. I noticed you removed the rear number plate for cleaning, did you remove the front one, including the black mounting housing, if so, how does it come off.
keith
keith
Yes buddy took the front off aswell, behind the plate are some fixings. They just unscrew from the captive thread in the bumperFull marks to you, car looks fab. I noticed you removed the rear number plate for cleaning, did you remove the front one, including the black mounting housing, if so, how does it come off.
keith
- Joined
- Jul 15, 2009
- Messages
- 2,374
- Location
- Land of the Long White Cloud.
- Car
- Sold .. E350 CDI Sport Saloon 265. Mini JCW. Current
The car looks superb, your efforts are amazing, I just wish I had the energy let alone the level of skill involved. People would pay serious cash for that kind of a result.
Rubyred
Active Member
Lee, regarding front plate housing removal. There’s some plastic prong type things from the housing which seem to attach to the grill behind it, any idea on those.
Keith
Keith
Thanks buddy, appreciated, it does take a huge amount of time, but find the experience very therapeuticThe car looks superb, your efforts are amazing, I just wish I had the energy let alone the level of skill involved. People would pay serious cash for that kind of a result.
As for time, I'm with you there, I've only managed to get this done due to current lockdown
As for paying. You'd be surprised, some do, and will, but many just don't really care for the effort and time that goes into it, esp when they think a £10 wash and scratch is just as good.
Tbh buddy I didn't really pay that much attention when taking it off, I'll pop it off again and take some pics for youLee, regarding front plate housing removal. There’s some plastic prong type things from the housing which seem to attach to the grill behind it, any idea on those.
Keith
MrGreedy
MB Enthusiast
Can I ask who refurbed your wheels please?the wheels and been refurbished before I collected it, so they didn't really need much, just a good clean, and then coated the barrels before fitting them back on.
I really wanted to go to Lepsons, but lockdown scuppered that. The barrels are nothing like the gloss finish on mine vs the faces of the alloys which are great, but you wheels look super on the back of the spokes and the barrels as well.
I'll get you the contact details buddy, they are based in orpingtonCan I ask who refurbed your wheels please?
I really wanted to go to Lepsons, but lockdown scuppered that. The barrels are nothing like the gloss finish on mine vs the faces of the alloys which are great, but you wheels look super on the back of the spokes and the barrels as well.
chrisk2010
MB Enthusiast
Looks fantastic fella if you get bored in lock down mines could really use your attention to detail 
Rubyred
Active Member
Thank you Lee, I’ve taken the screws out of the number plate surround and it didn’t budge. Looked underneath and saw those black prong things that look like they join the grill to the surround so didn’t force anything. It may just need a bit more force.
keith
keith
CJD
Active Member
- Joined
- Sep 15, 2017
- Messages
- 239
- Car
- C200 AMG Line, Premium Plus, S205 Estate, 2018
Great work - you have got the car looking lovely, its a real shame about your callipers.
Hey buddyLee, regarding front plate housing removal. There’s some plastic prong type things from the housing which seem to attach to the grill behind it, any idea on those.
Keith
When you have undone the 2 top screws holding on the bracket, there's 4 plastic clips in the grill

You'll ideally need some long nosed pliers to close the clip together so it releases from the grill

Then onto the 2 top again the captive fixing also needs to be pushed up with either a set of long nosed pliers or a flathead screwdriver, and gently prized out.
It takes only a few min to do buddy
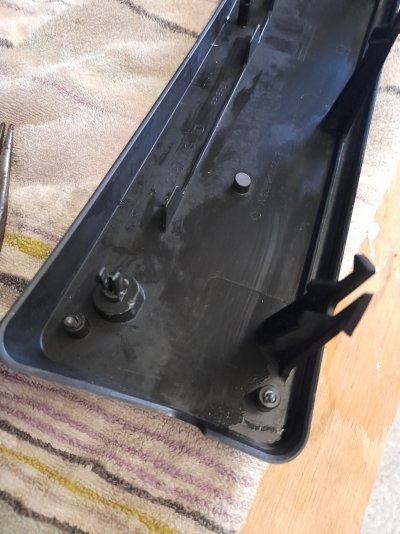
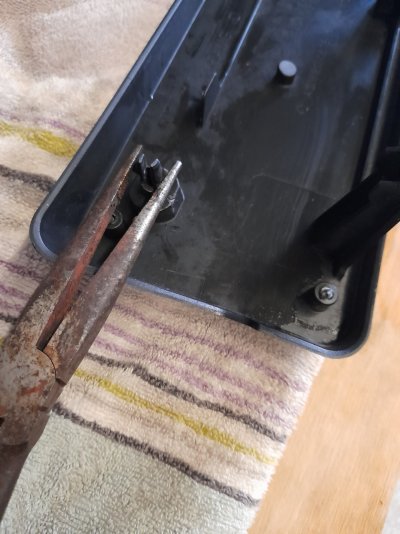
Hope that helps fella
Lol.. don't do yourself down fella your just as capable.Looks fantastic fella if you get bored in lock down mines could really use your attention to detail
Users who are viewing this thread
Total: 1 (members: 0, guests: 1)
Similar threads
- Replies
- 125
- Views
- 5K

