MarkGolf997
Active Member
- Joined
- Feb 18, 2018
- Messages
- 91
- Location
- London
- Car
- Porsche 964 + 997, Eunos Roadster Turbo, VR6, Focus RS
Hello,
I tried to post in the MB members gallery but I do not have permissions, I hope it is OK to post here, I'm no spammer. I like to do progress threads on my cars, maybe I know some people here from the various other forums I poke around in, hi!
Like my other cars, I thought I would keep a diary on the progress of my 1991 500SL.
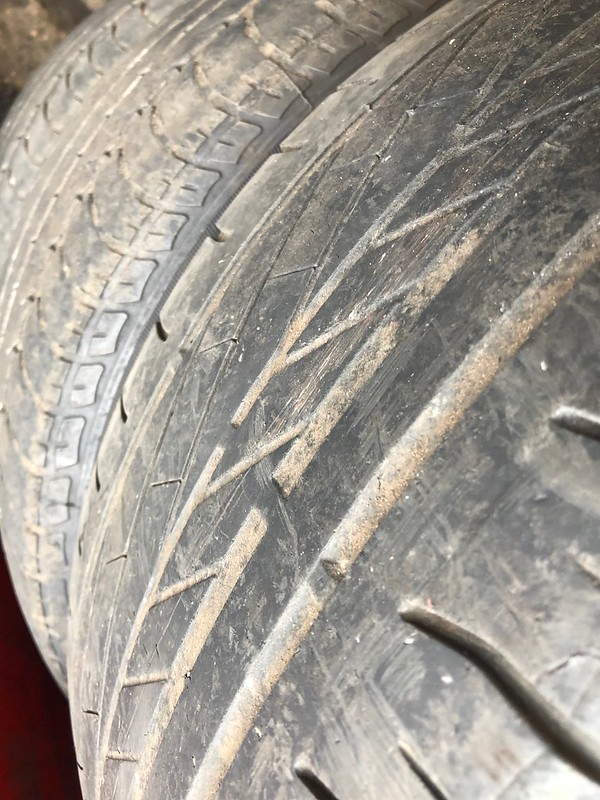
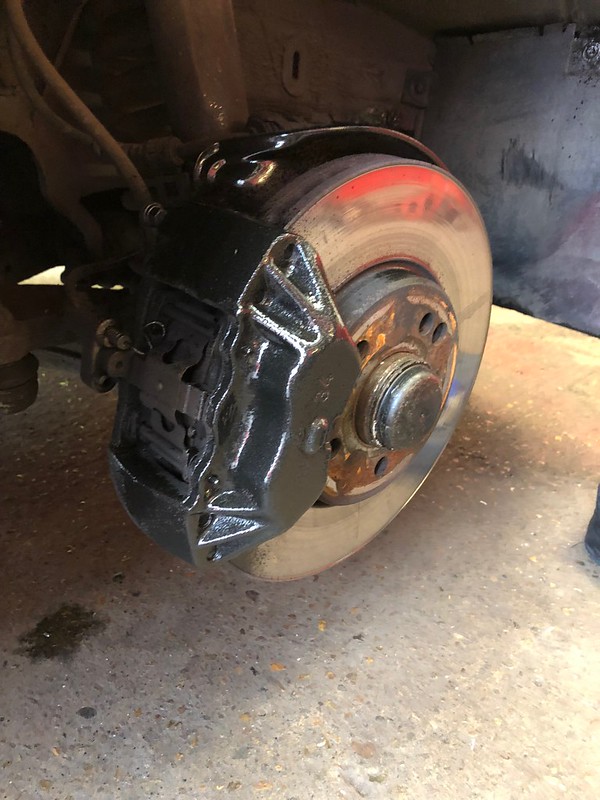
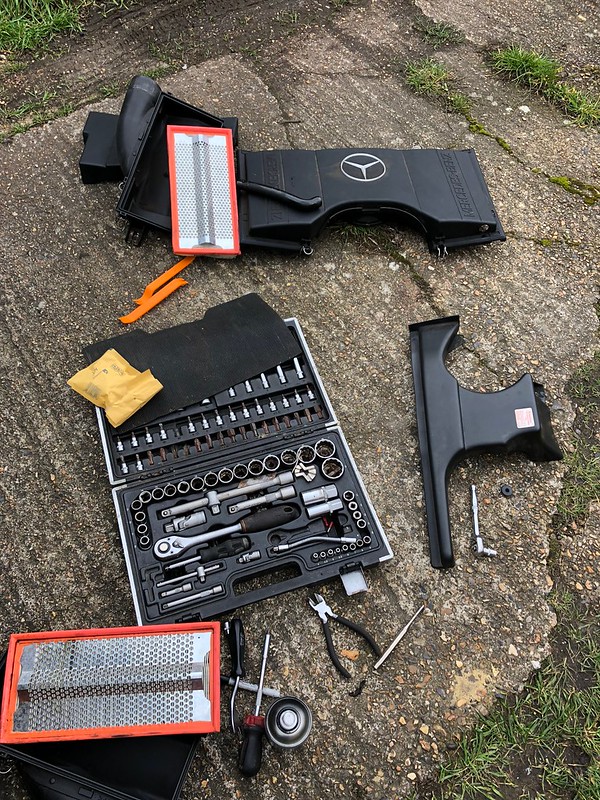
I picked this car up March 13th after viewing it a few weeks earlier. It needs a little work but the base is all there and solid, the car has 107k miles and full Mercedes dealer history up to 85k miles and then 2 Mercedes specialist services between then and up to 95k, although the 95k was many years ago. The previous owner only covered 1500-2500 a year and had it serviced by friend. Oil on the dipstick is still clear and the air filters looked fresh upon checking the car before buying it so I took his word on that, either way, I’ll be booking her in for a big service.
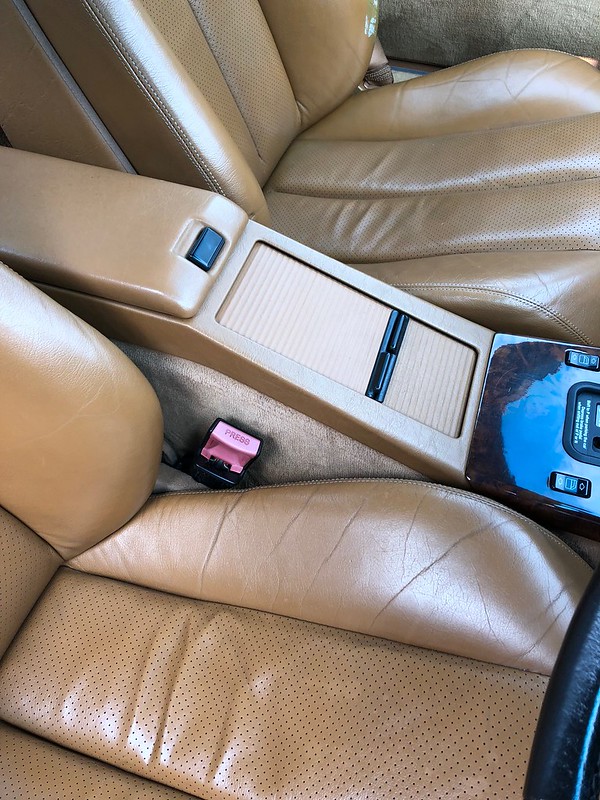
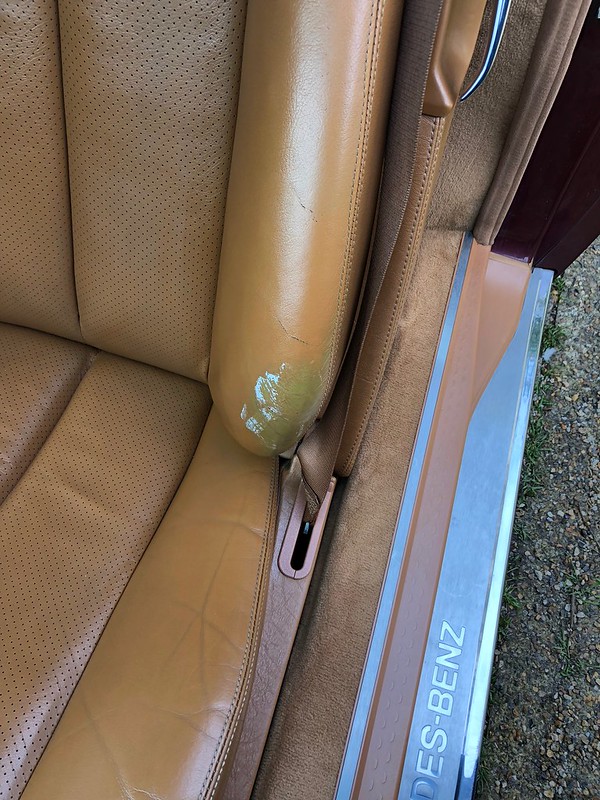
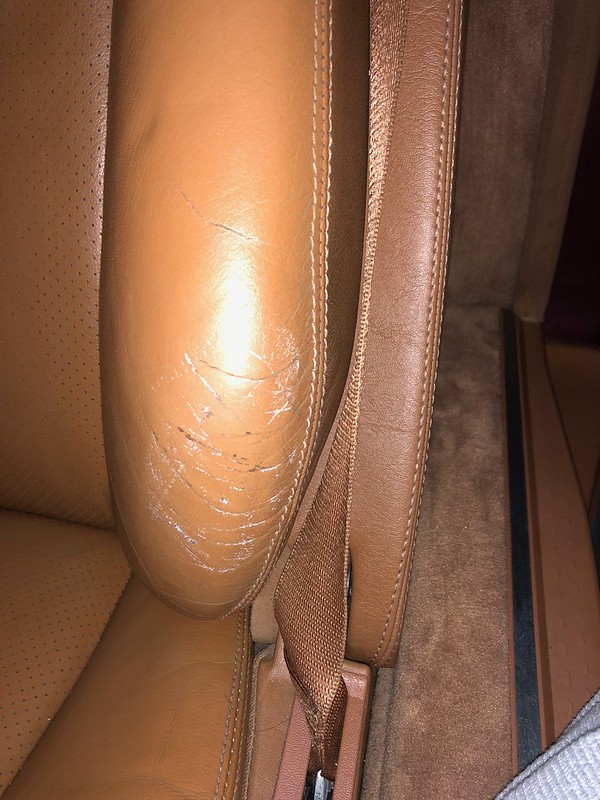
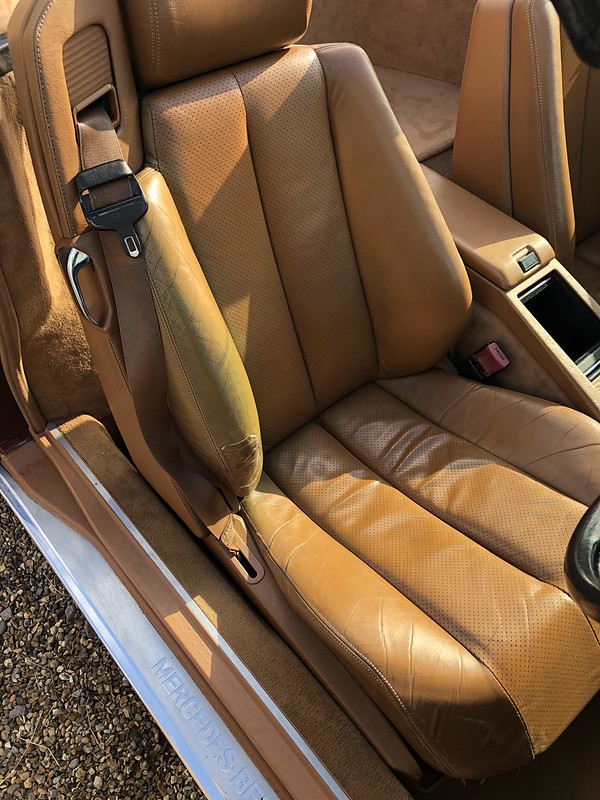
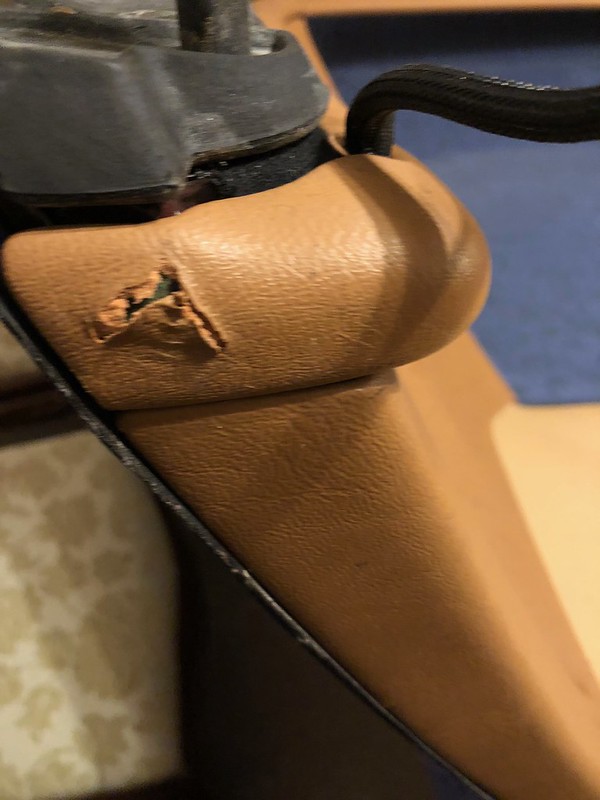
Upon viewing, the car had its issue, mirrors, steering wheel and passenger seat failing to operate. Roof got stuck half way although it turns out that was us being impatient as it had not been lifted in the guys ownership, drivers seat had a worn bolster, rust on wing, damage to lower rear bumper trim, broken indicator, cracked windscreen, new tyres required, wear and tear blah blah blah, various little things.
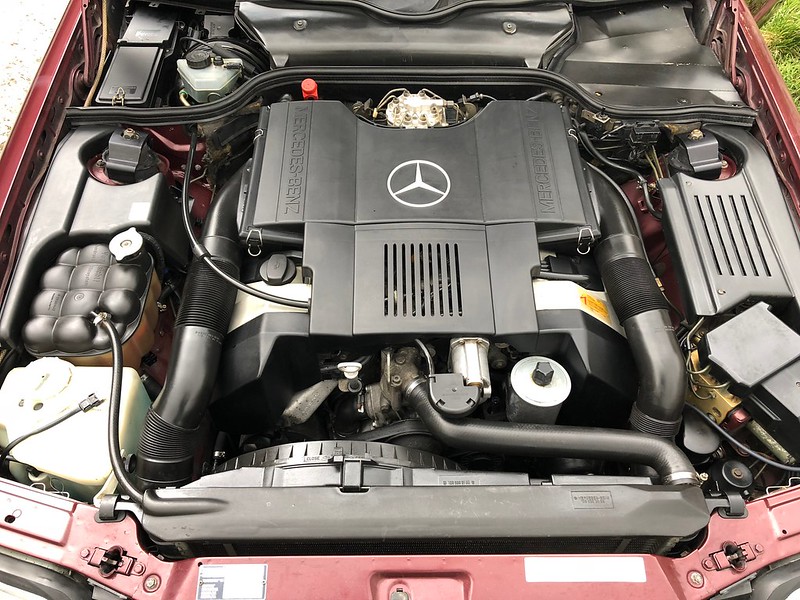
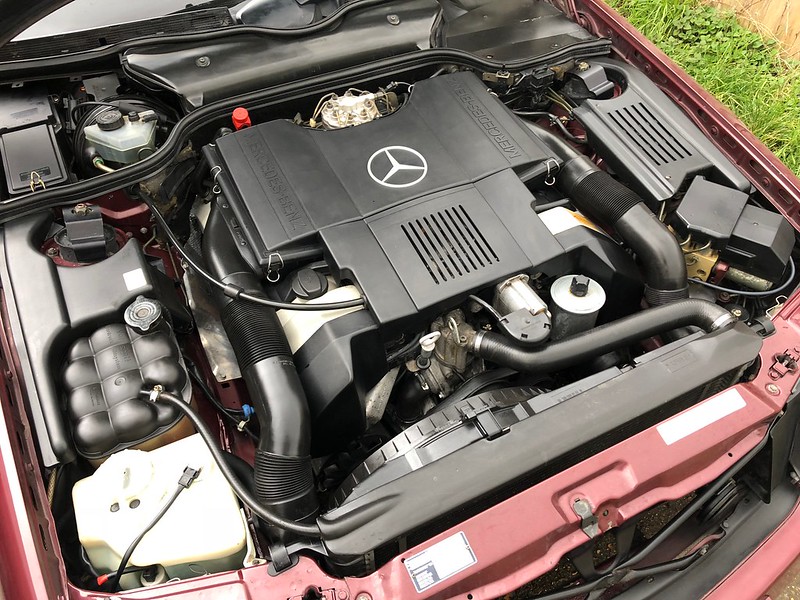
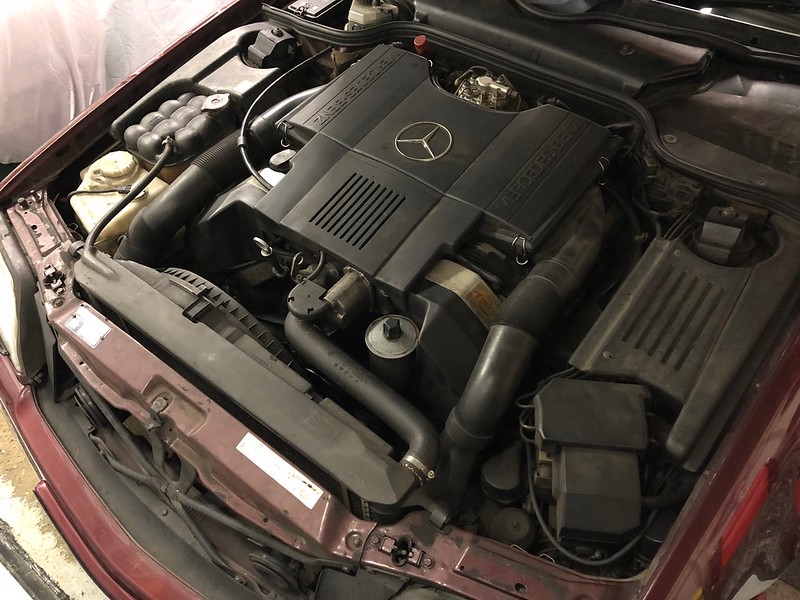
The main things for me was the engine and drive of the car, the engine is silky smooth and runs almost silent, the drive is cushioned and refined. I was sold! I love a little project and like annoying the wife with my “I’ll sell it one of others” excuse to accumulate a collection of cars.
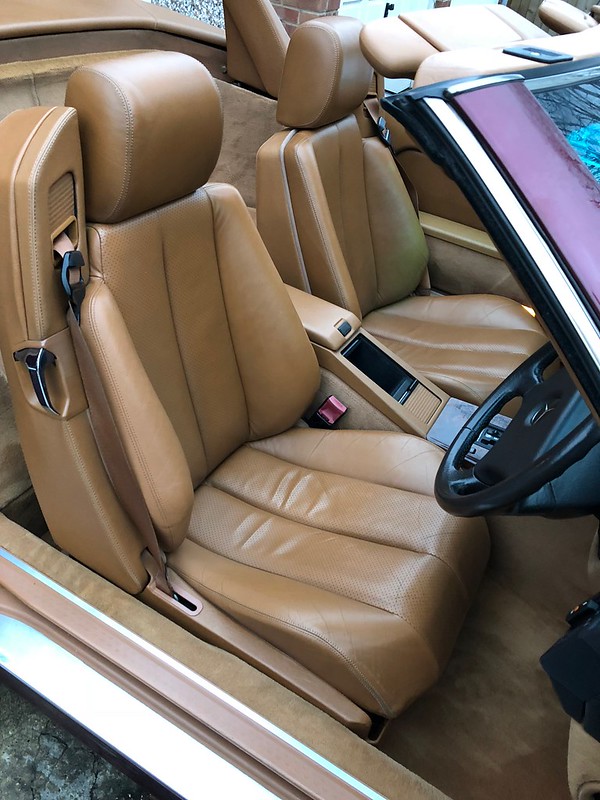
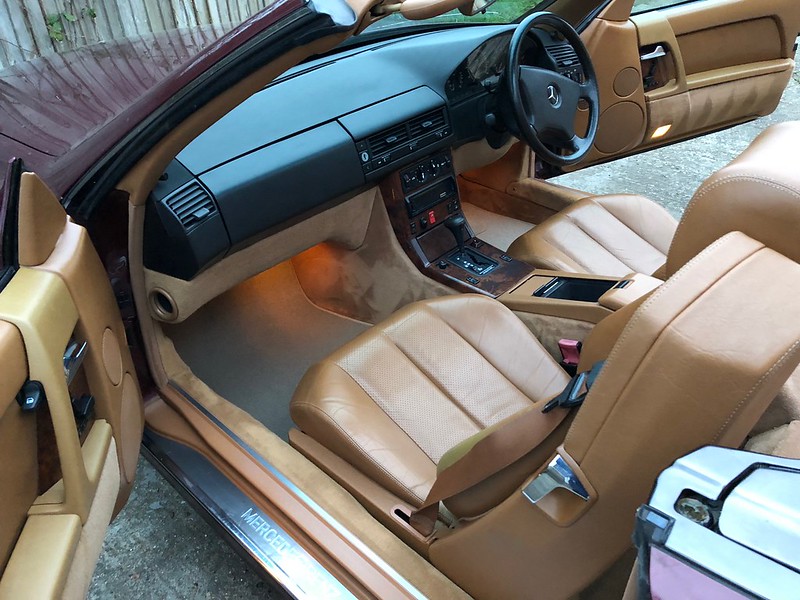
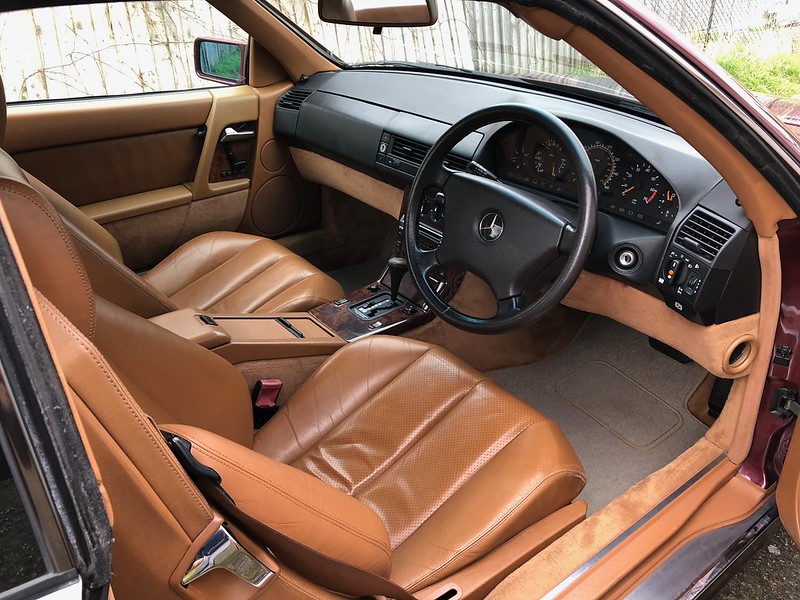
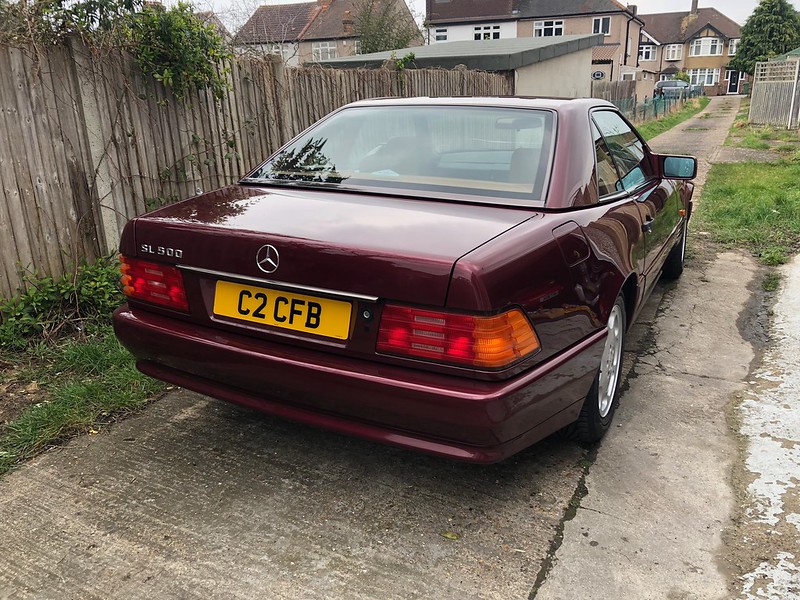
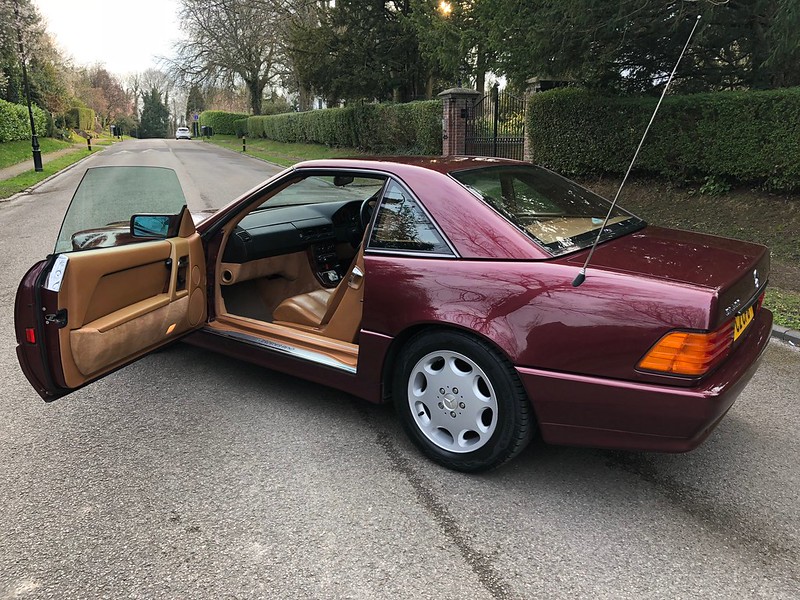
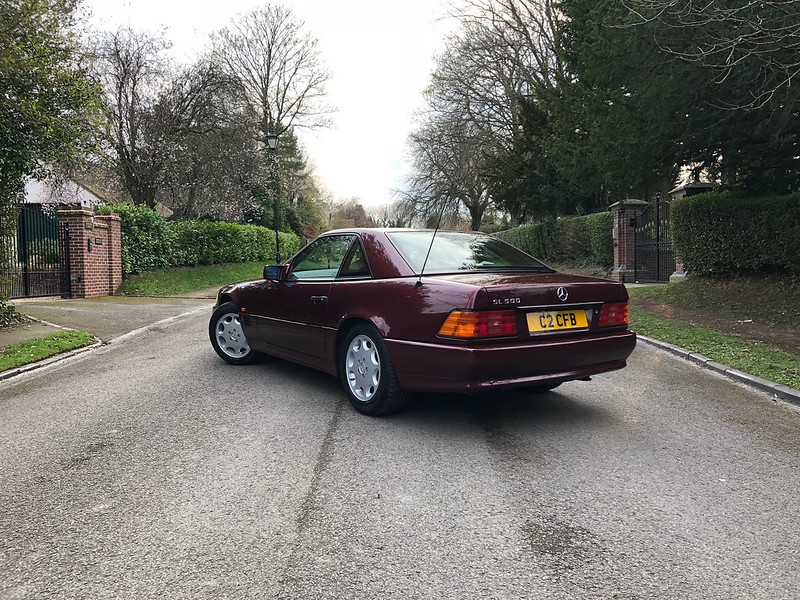
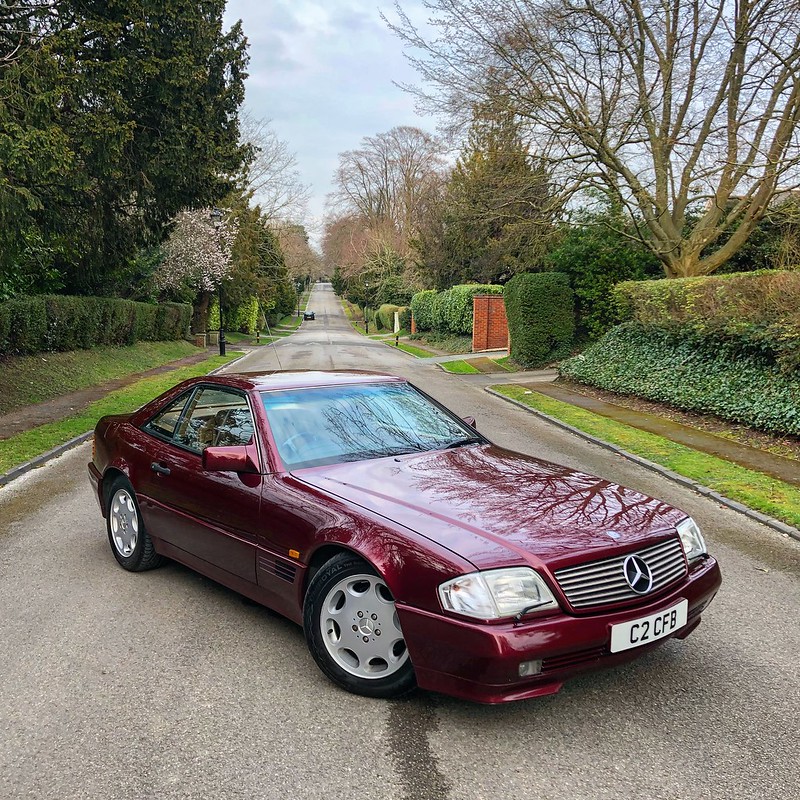
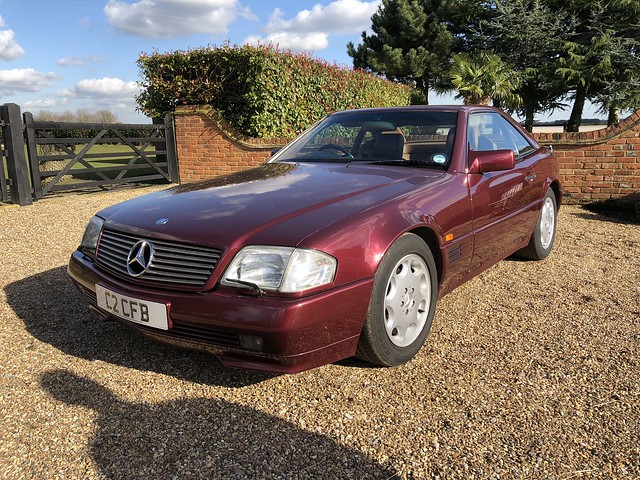
I agreed to buy the cat if the owner could resolve the passenger seat and mirrors not working. After waiting 2 weeks, it turned out the owner made no attempt to sort these but knocked the price down, I had got bored of looking at the pictures I took of the car upon viewing and just wanted it, so that night, I became the owner of my first Mercedes, I had always wanted an R129, not necessarily in these colour, I like my silver and blacks but this kind of looks special and unlike ones I’ve seen before. Java leather (274a) and Pajett red or rot if you’re German paint (587). I thought the lower panels had been painted but according to the spec sheet in the back of the service book, this was a factory job. The car was also debadged from factory so someone felt it necessary to incorrectly badge the car with later spec badging. Front indicators too, I’m desperate for the orange originals but not £150 desperate.
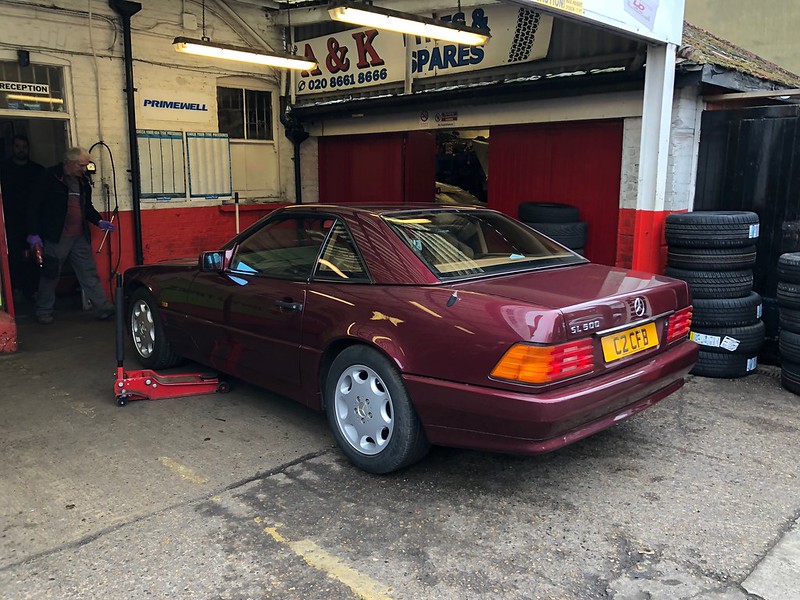
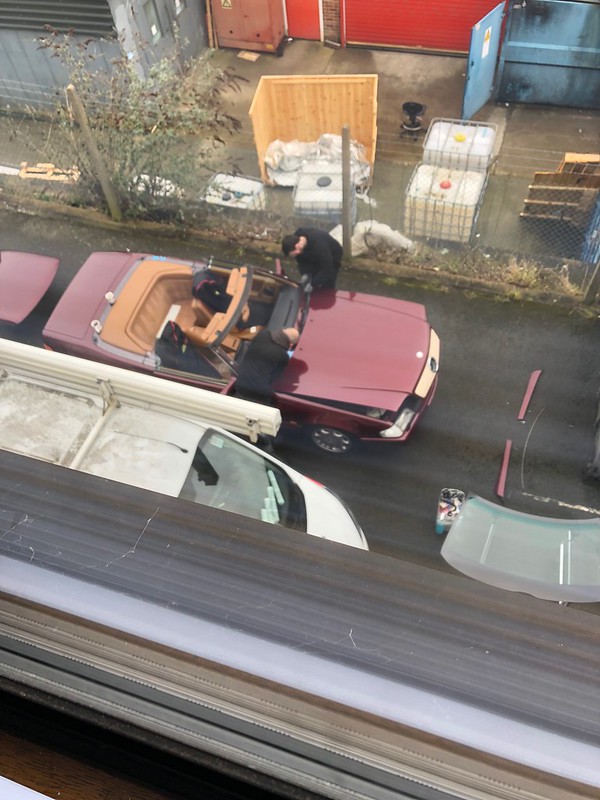
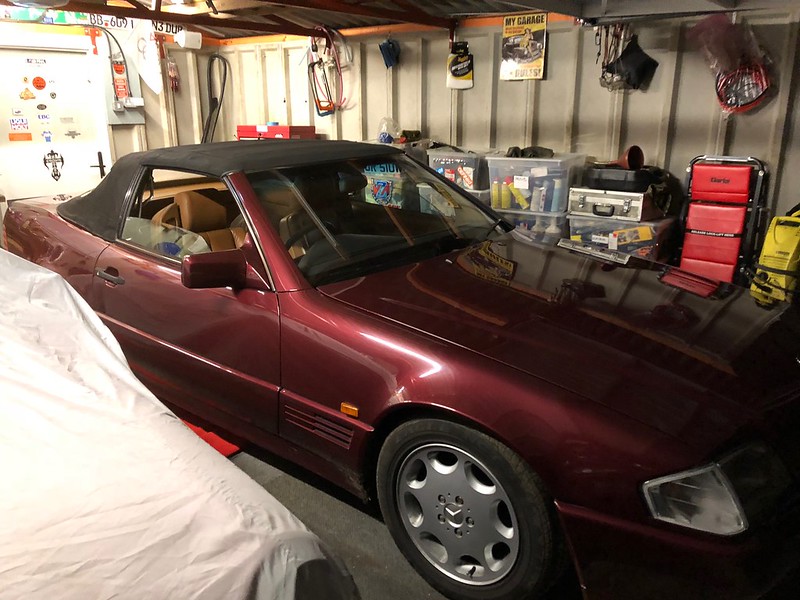
So, enough babble, here she is upon viewing.


I felt hooked, really didn’t want to leave it after viewing but I normally hate unknown electrical problems, so as the seller offered to sort, I had to leave. Had I known he wouldn’t, I could have cracked on with the car sooner.
I always enjoy getting a new car and going through the paperwork, manuals and finding out everything I can about it. I must have sat up until 2am reading things, using the VIN decoder and making head or tail of everything.
Not as much paperwork as I would have liked but after calling Mercedes, they have everything from day 1 on record and will email it once I send proof of ID! Nice
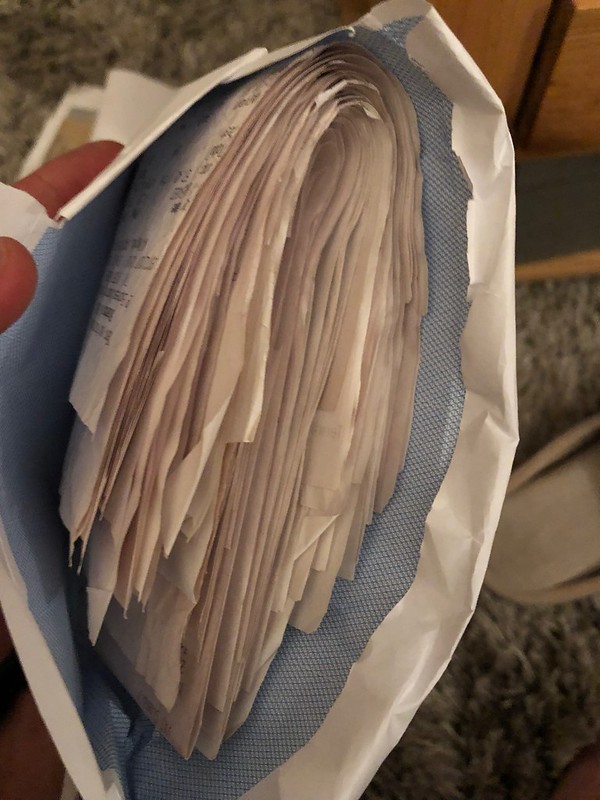
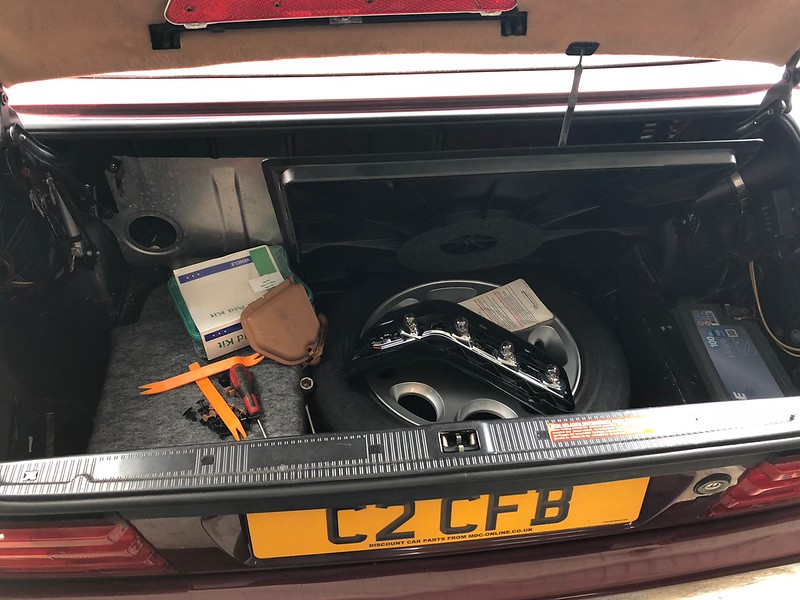
It’s got a stack of fuel receipts, original wallet, books, manuals, service book.
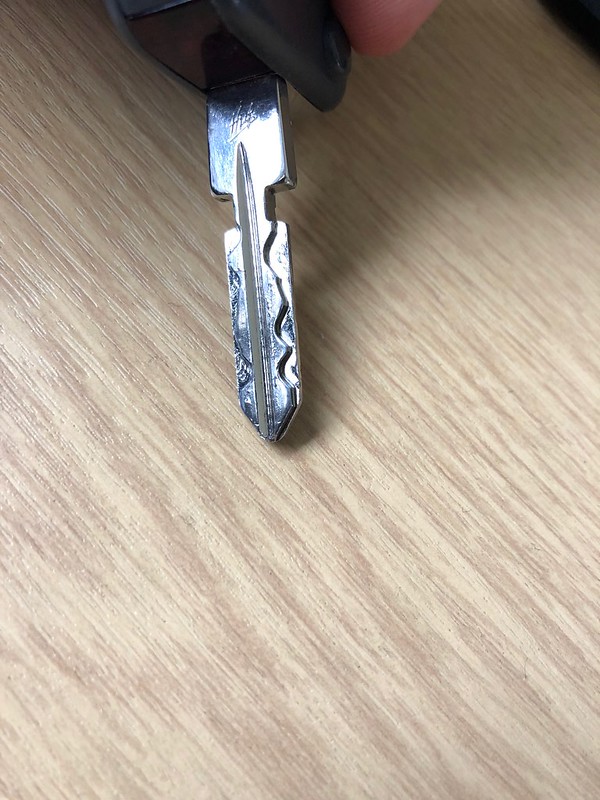
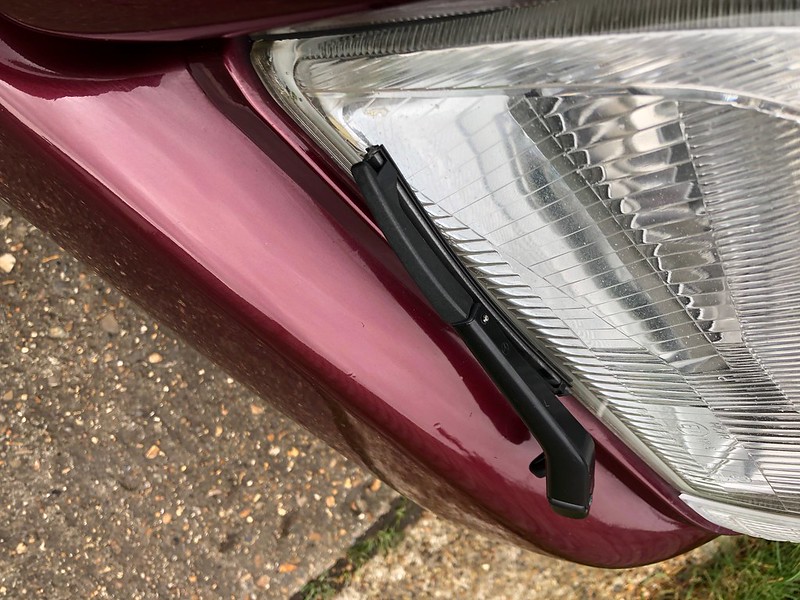
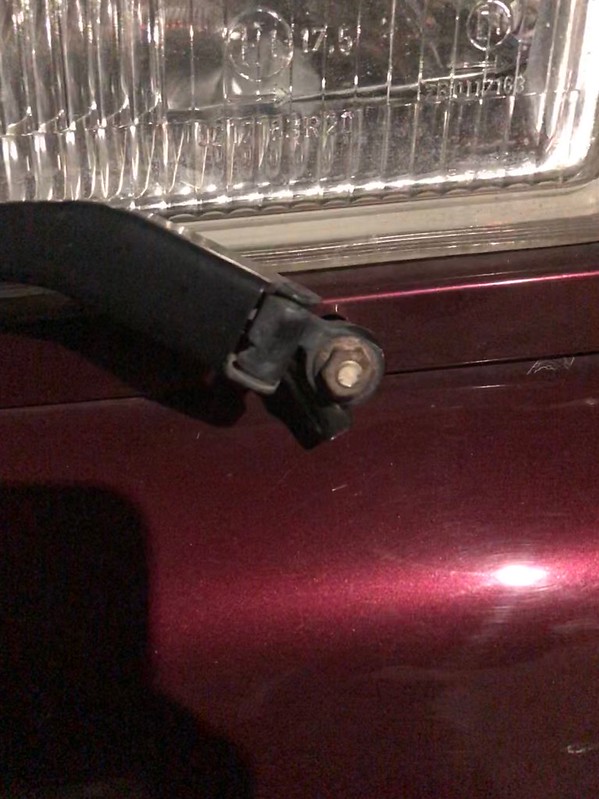
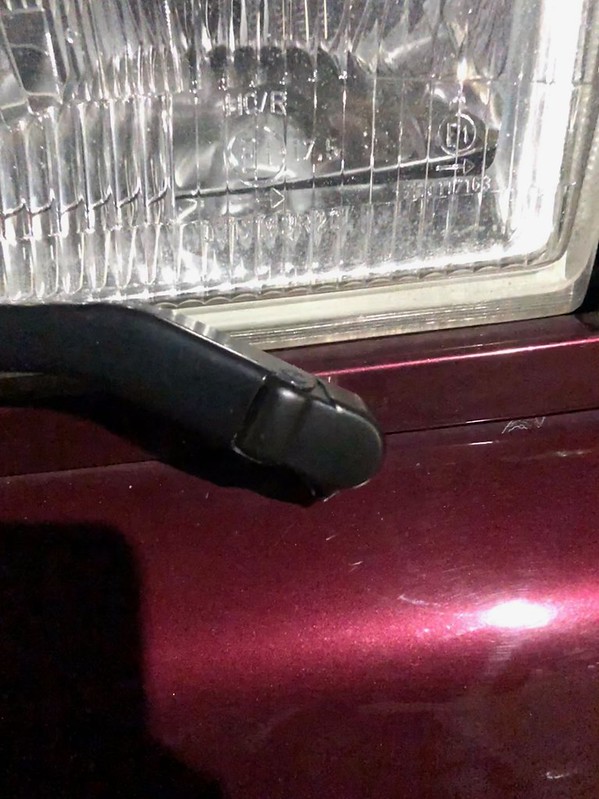
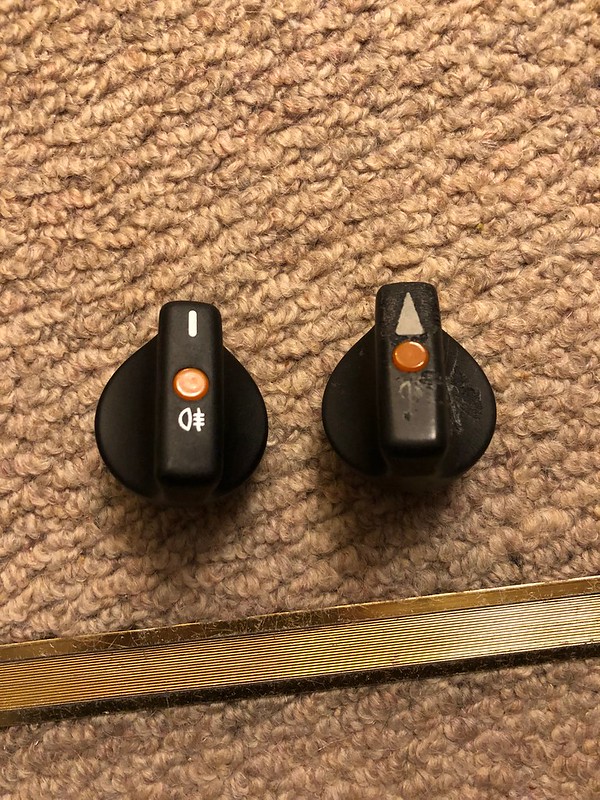
The next day, I popped to Mercedes and order a new headlight switch, headlight wiper cap and trim surrounds for both sun visors.
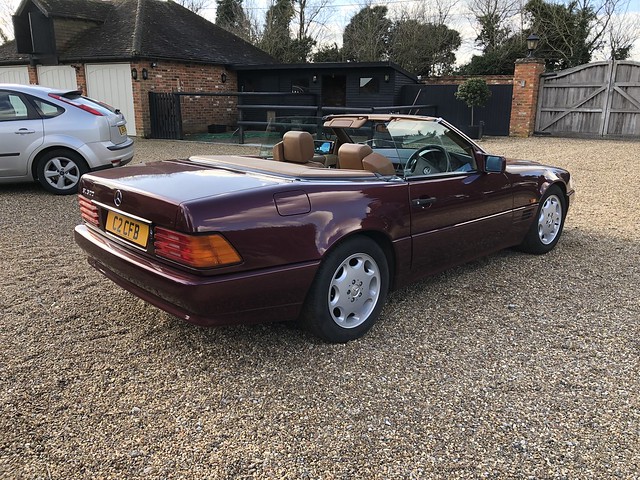
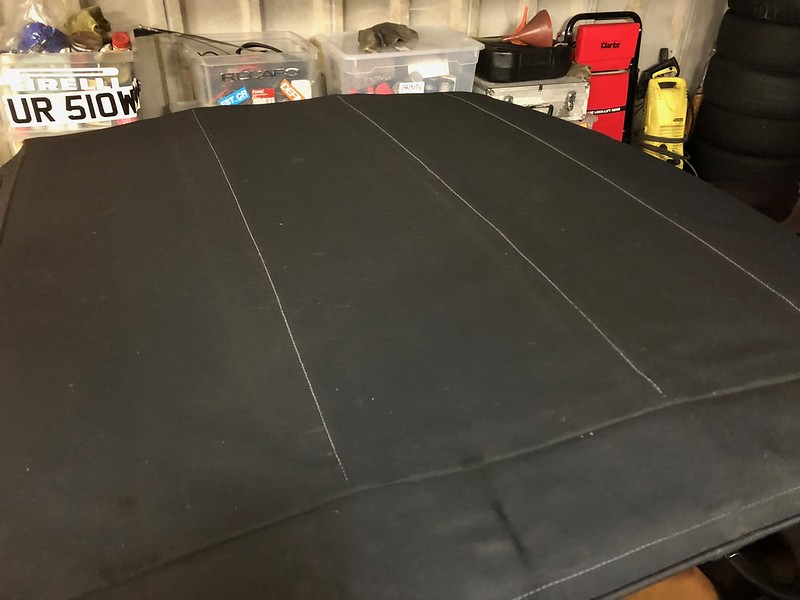
Got the hard top off to air the roof out and stick the roof lining down
I see why he never used the soft top, going to have the windows replaced by a local hood specialist.
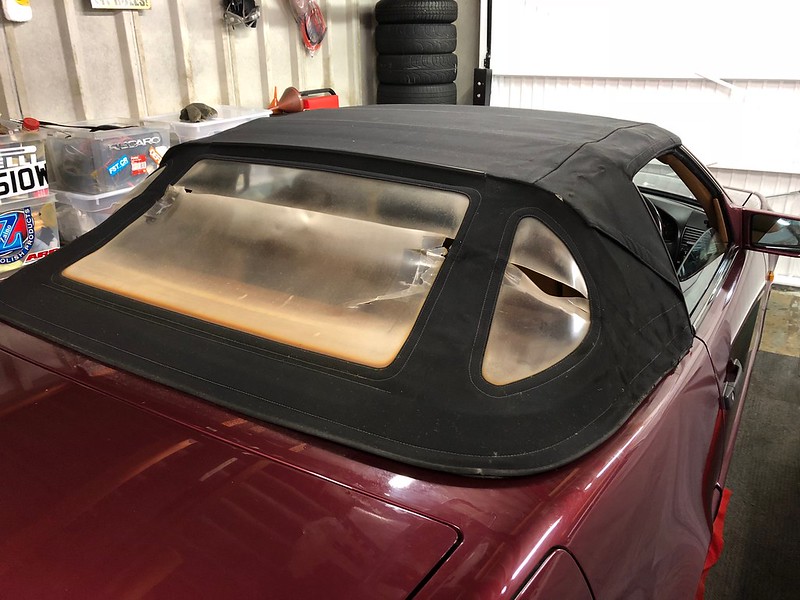
The roof is in decent condition so it’s worth saving.
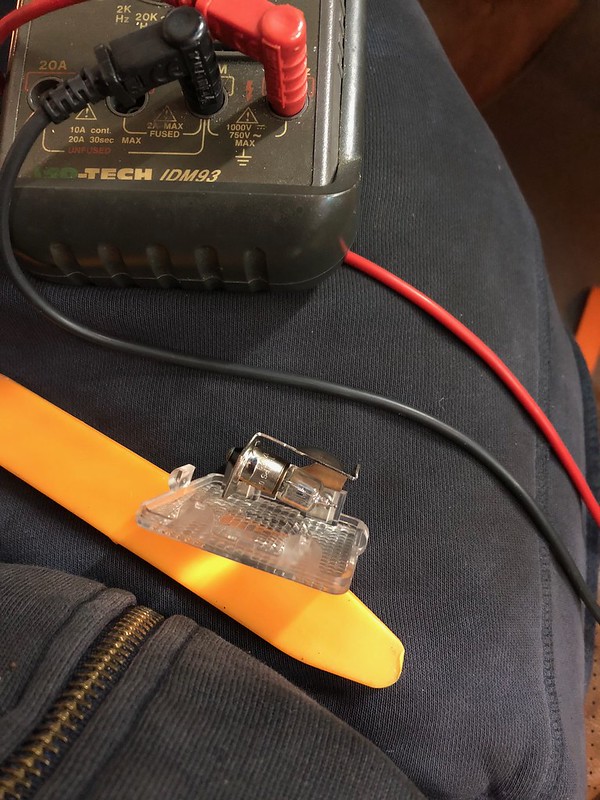
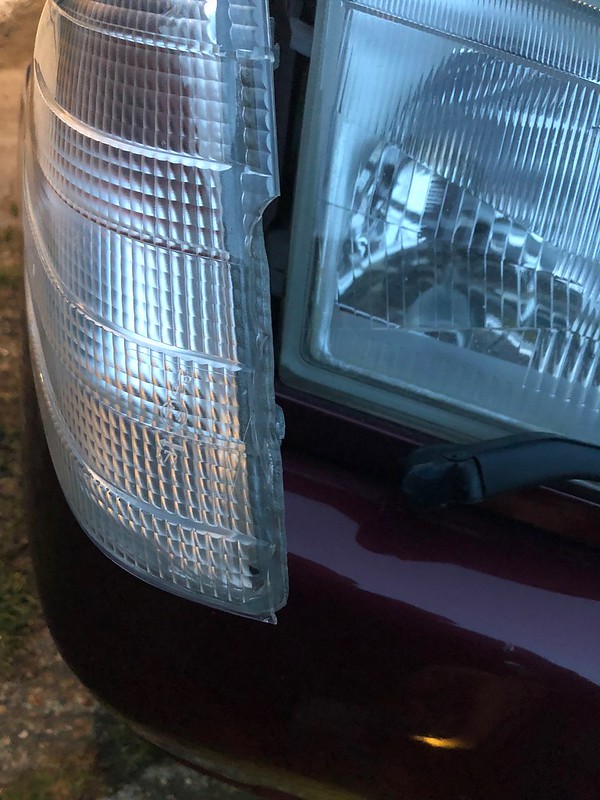
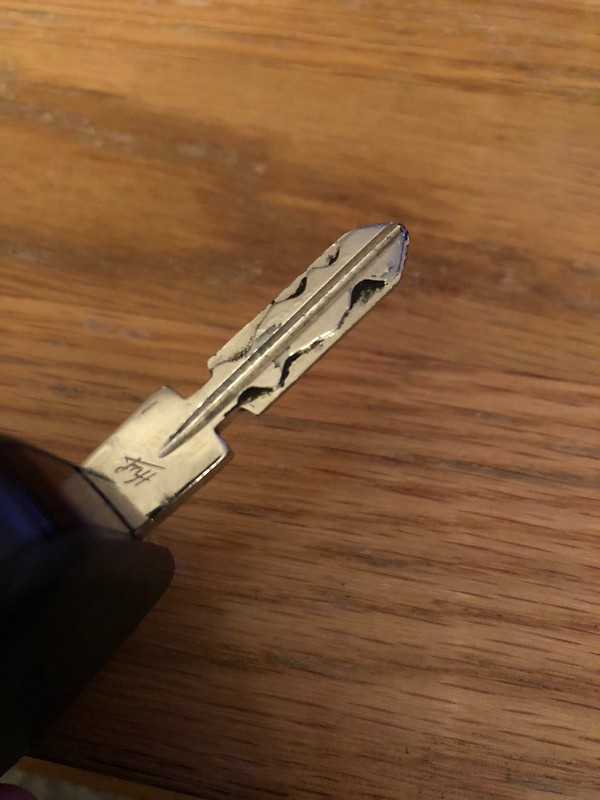
I replaced both front indicators due to the drivers side having a bit missing.
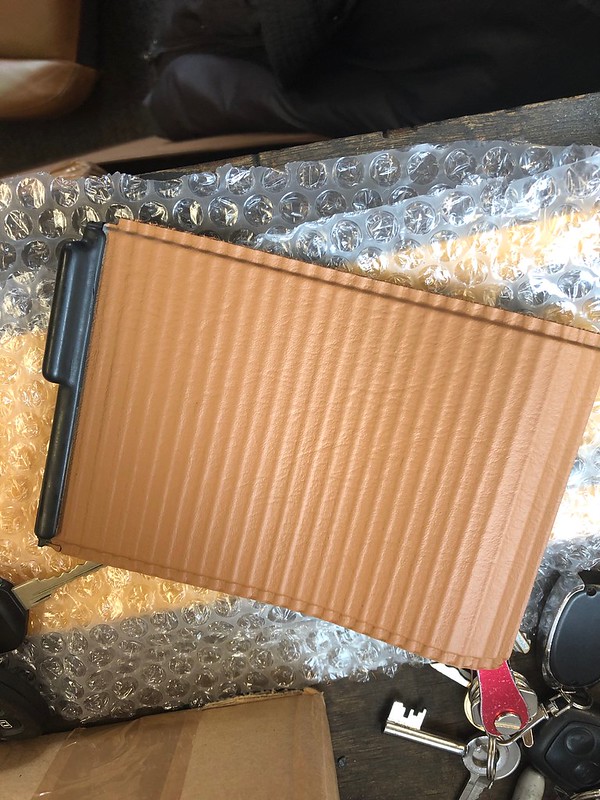
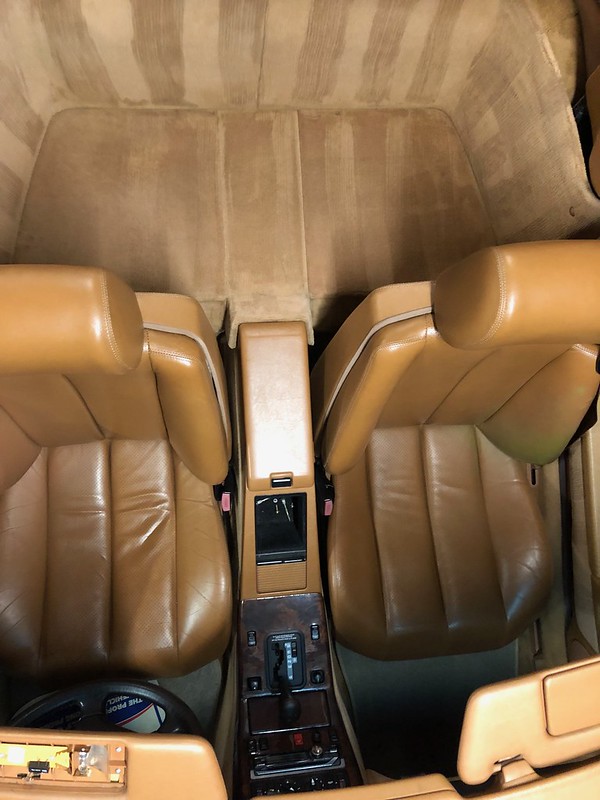
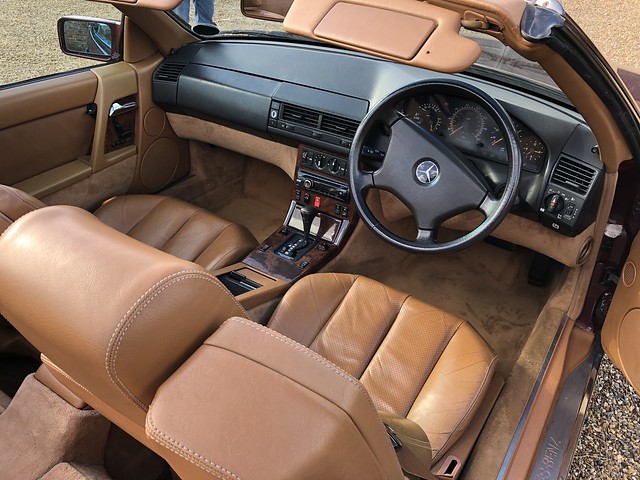
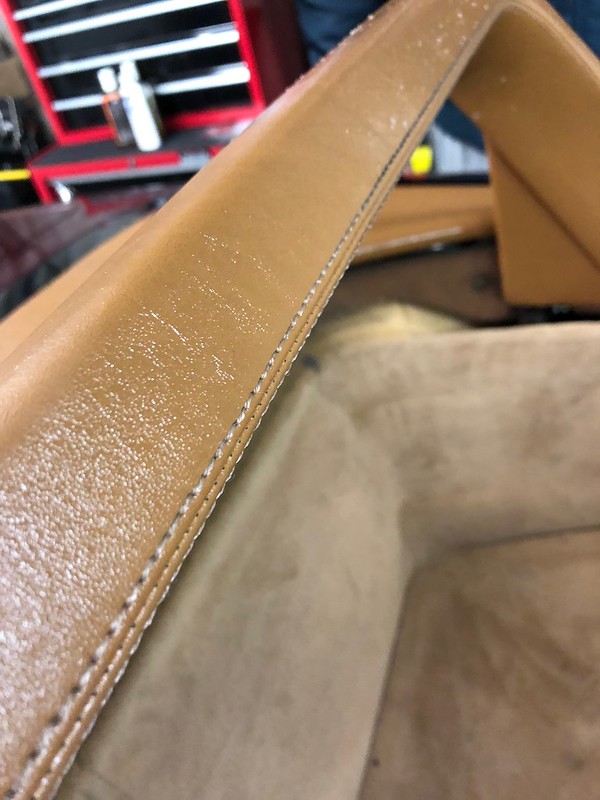
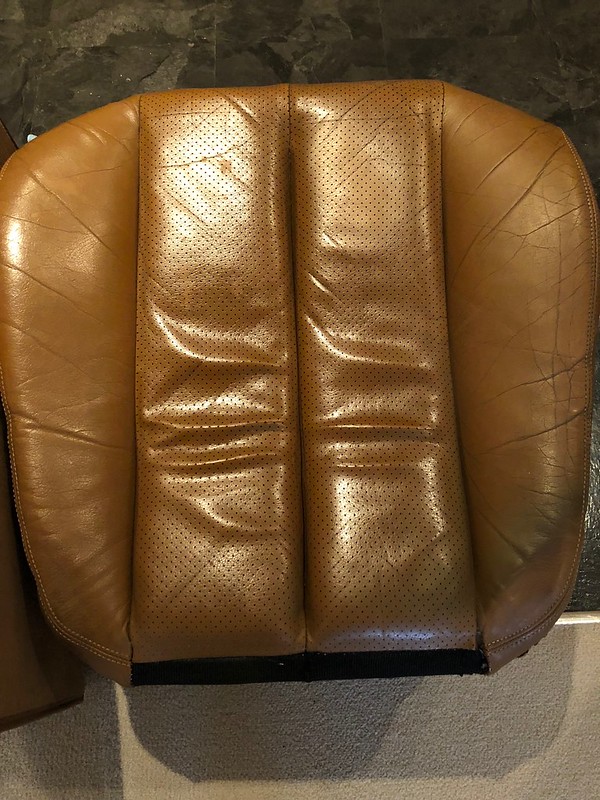
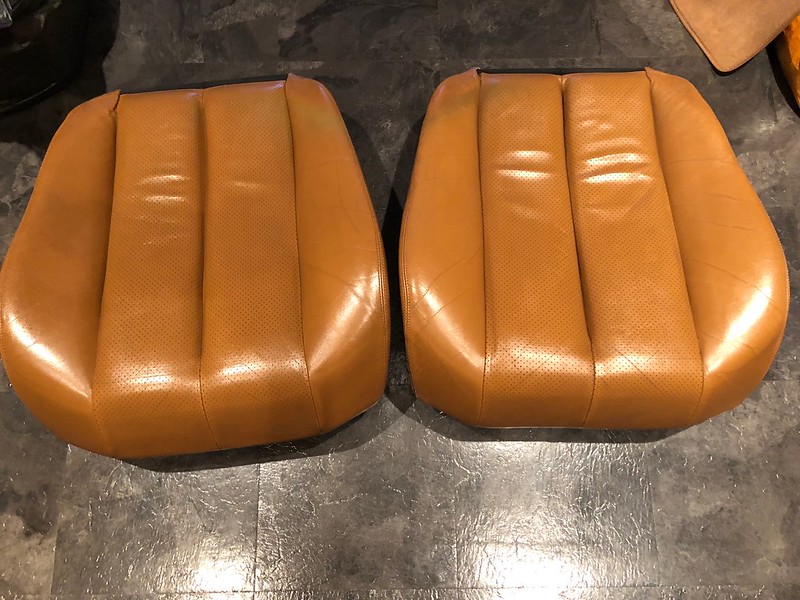
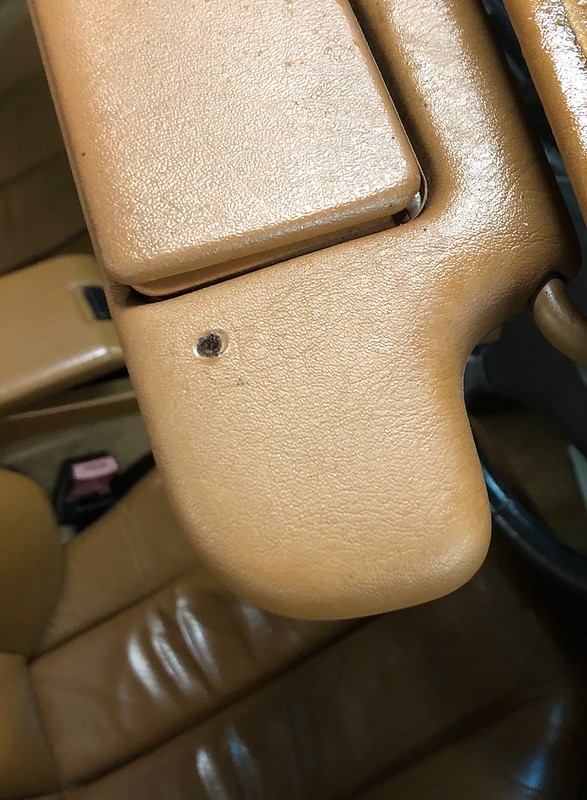
I don’t think the car had seen a really good deep clean in a long time, if ever, so I started cleaning the stitching with warm soapy water after using gliptone and zaino products on the leather
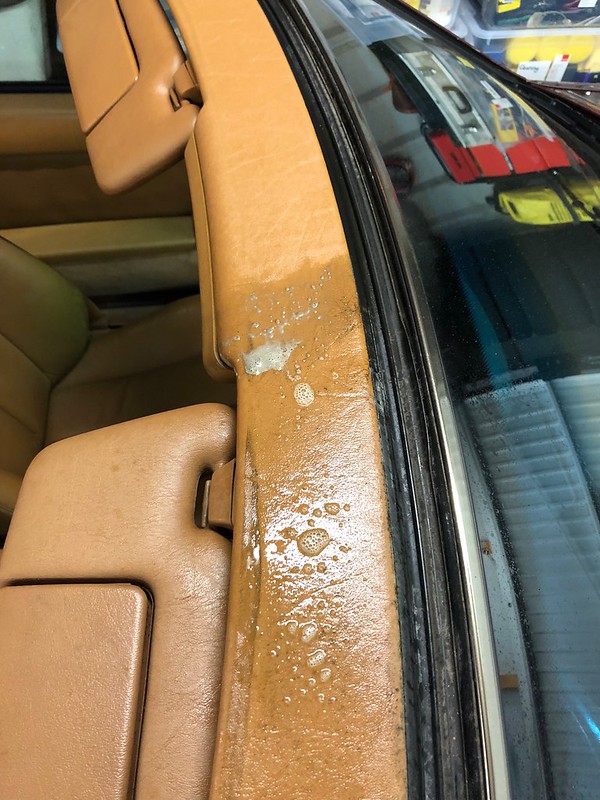
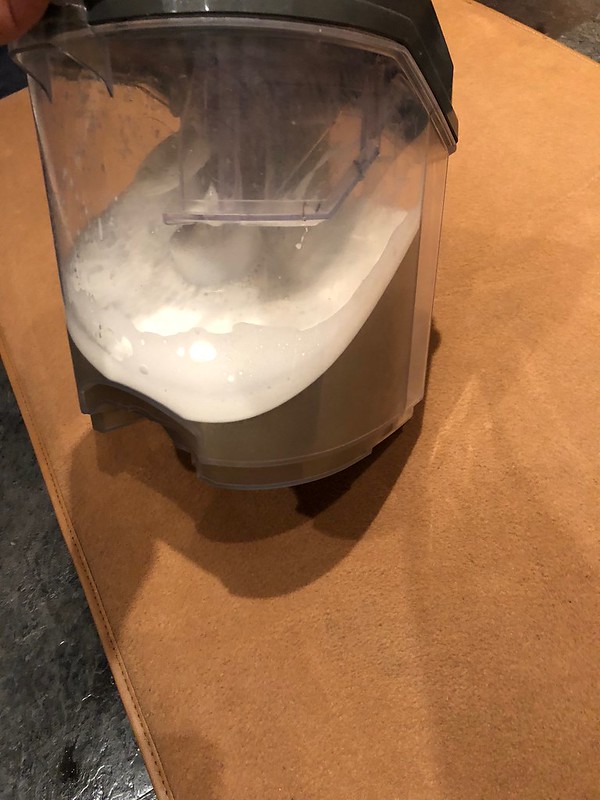
Nice 50/50 shot of the grime!
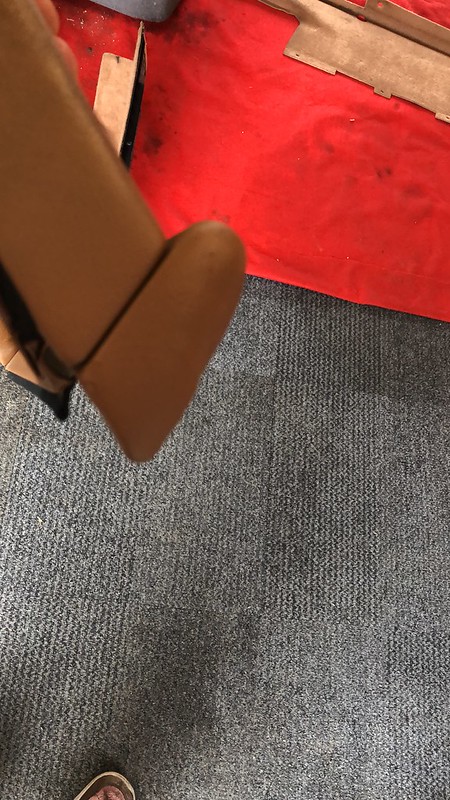
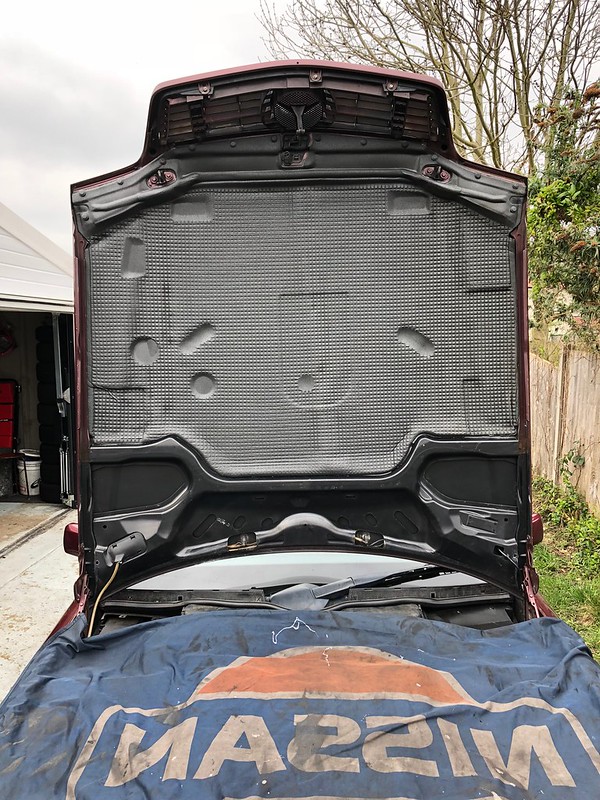
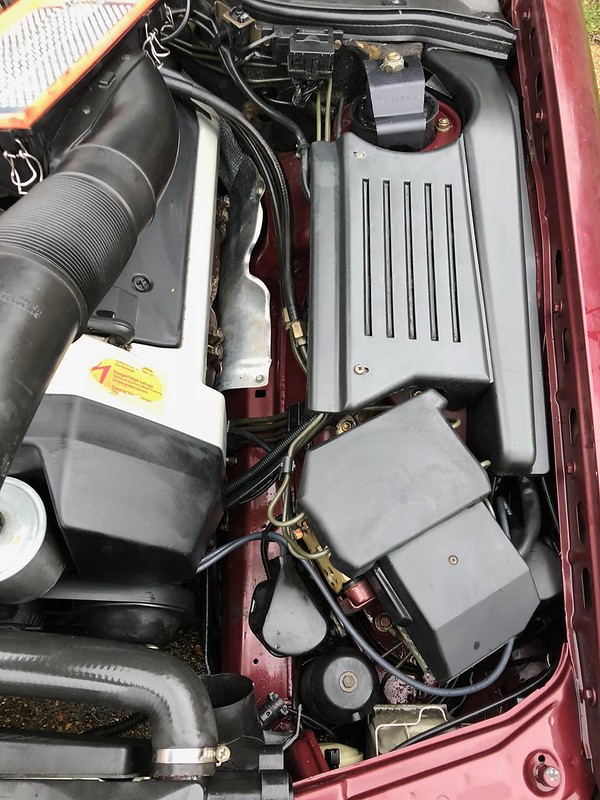
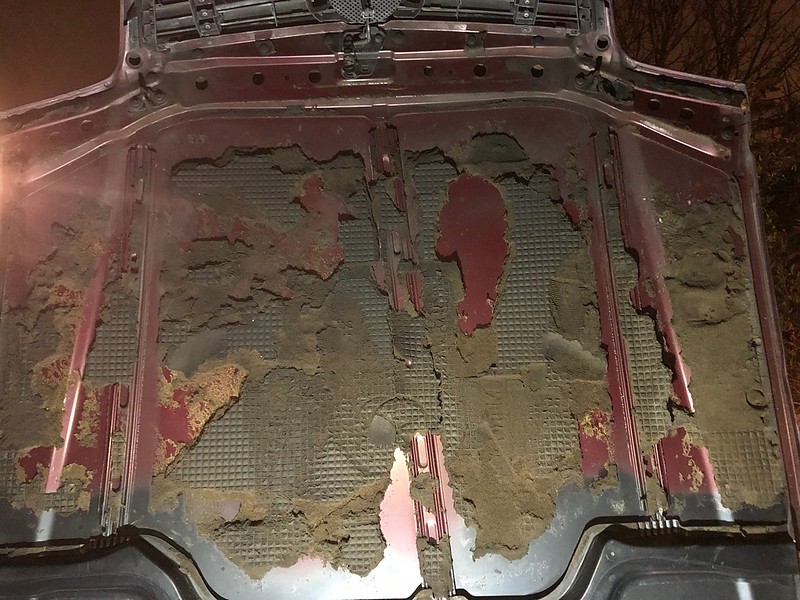
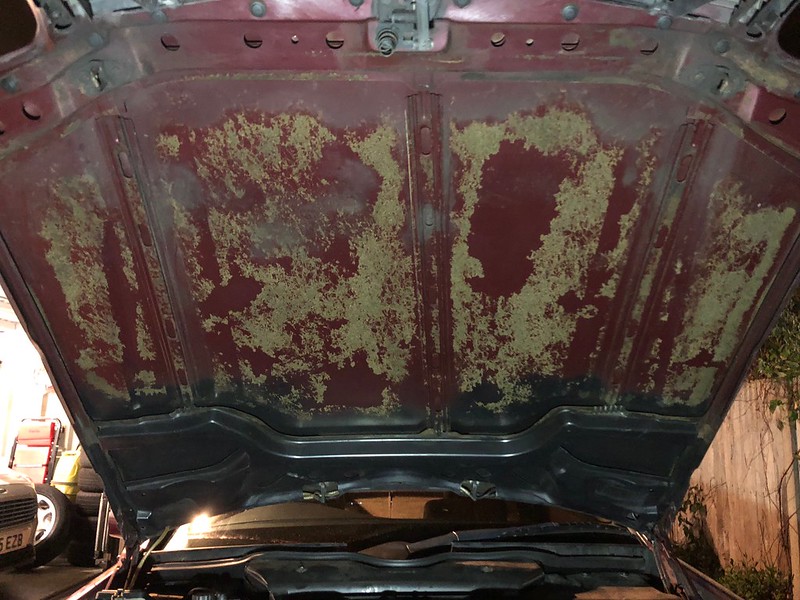
I’m jumping around a bit here but I also tackled the bonnet pad, removing what was left of it
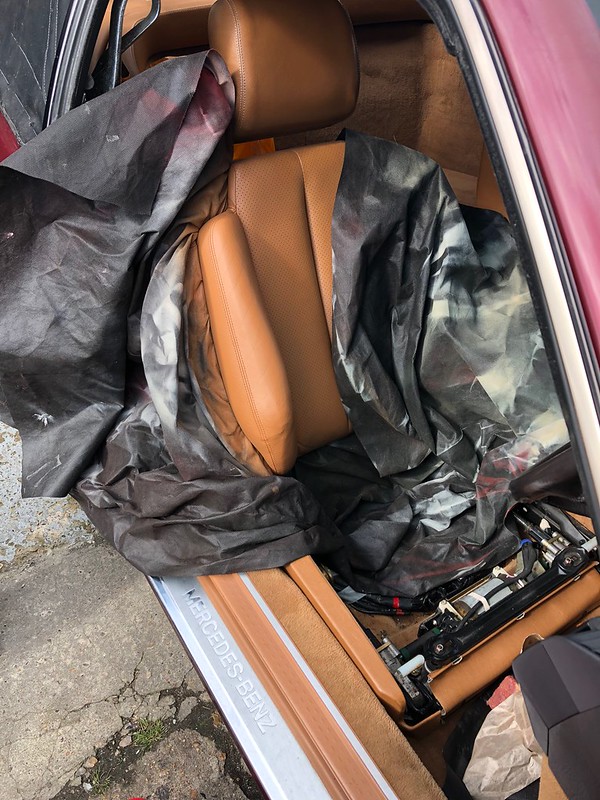
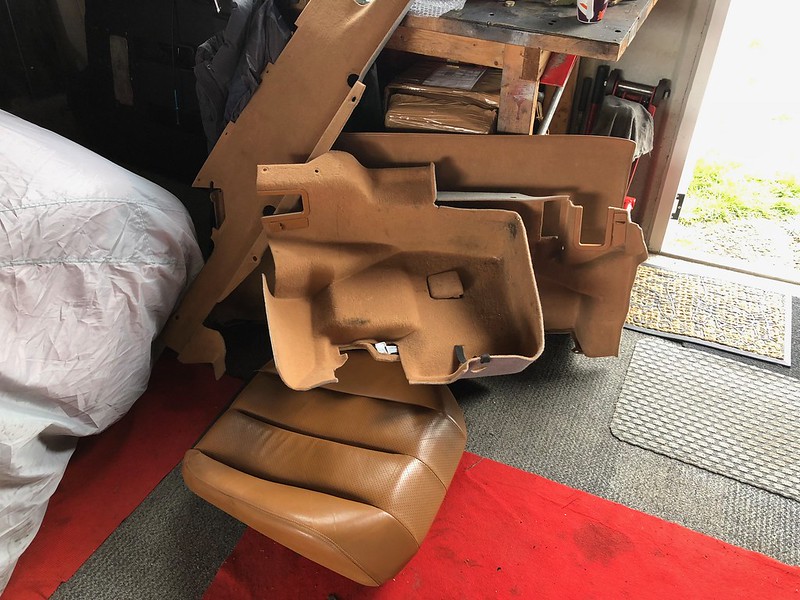
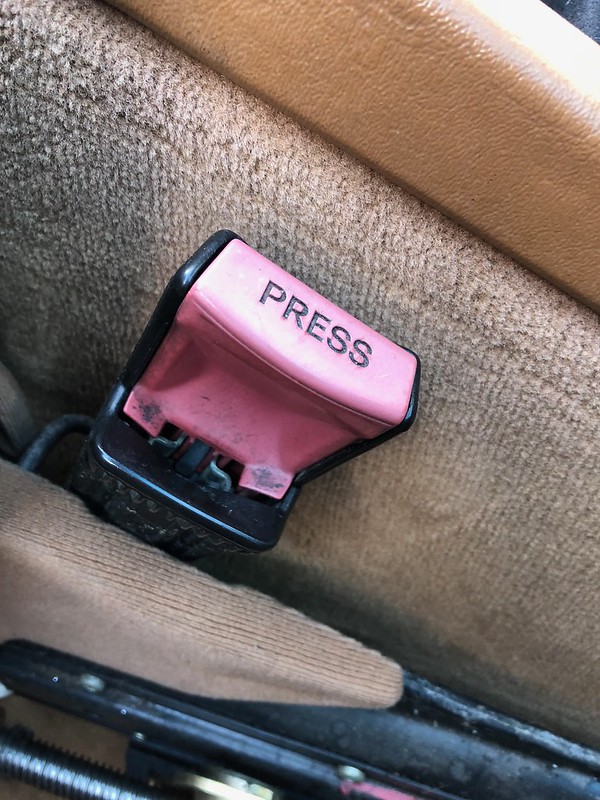
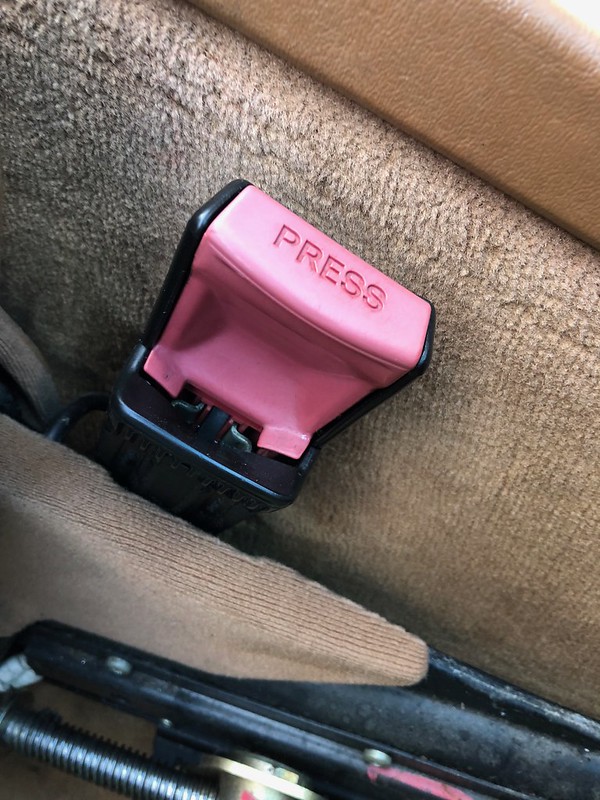
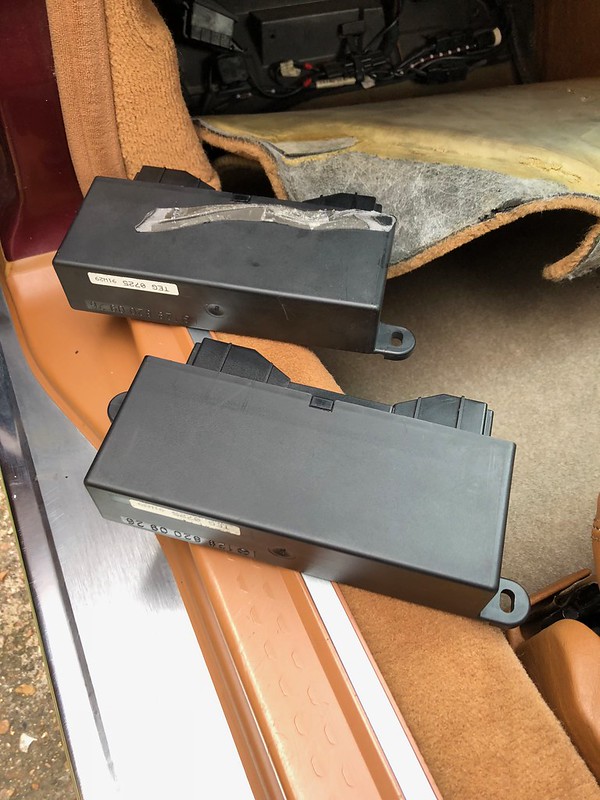
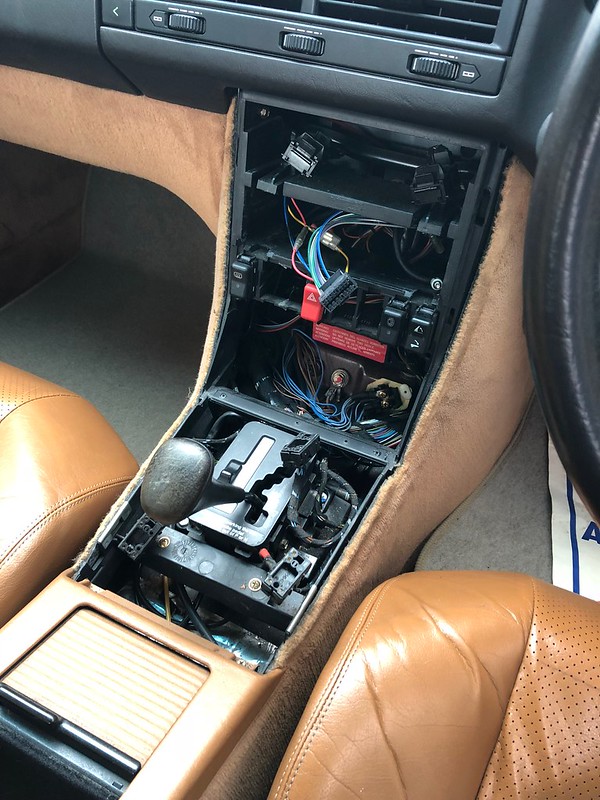
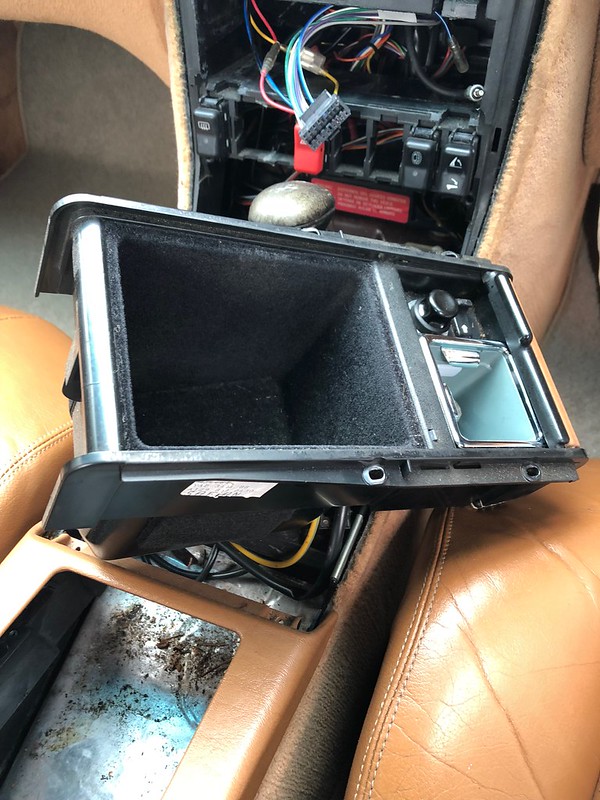
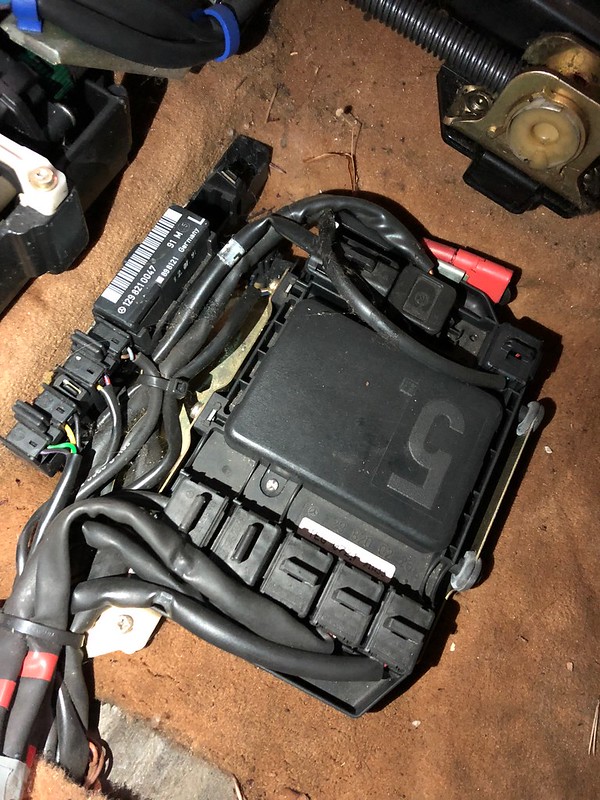
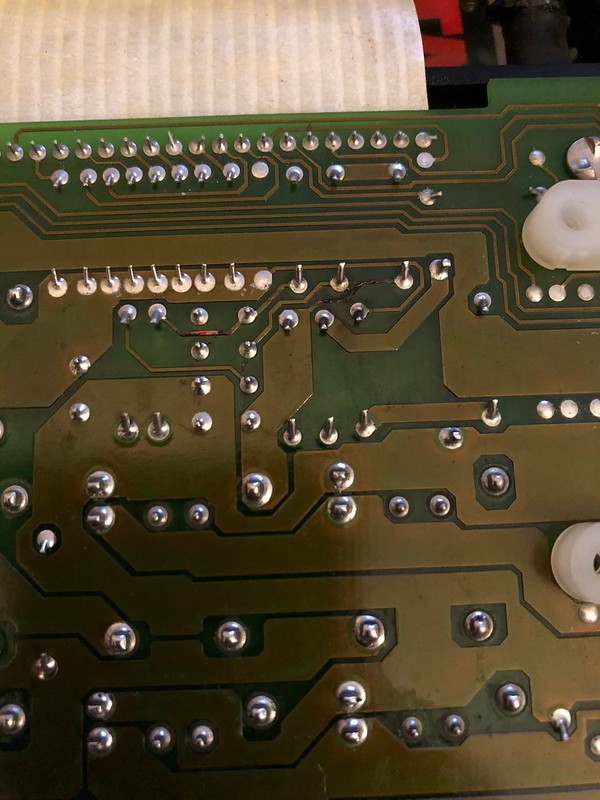
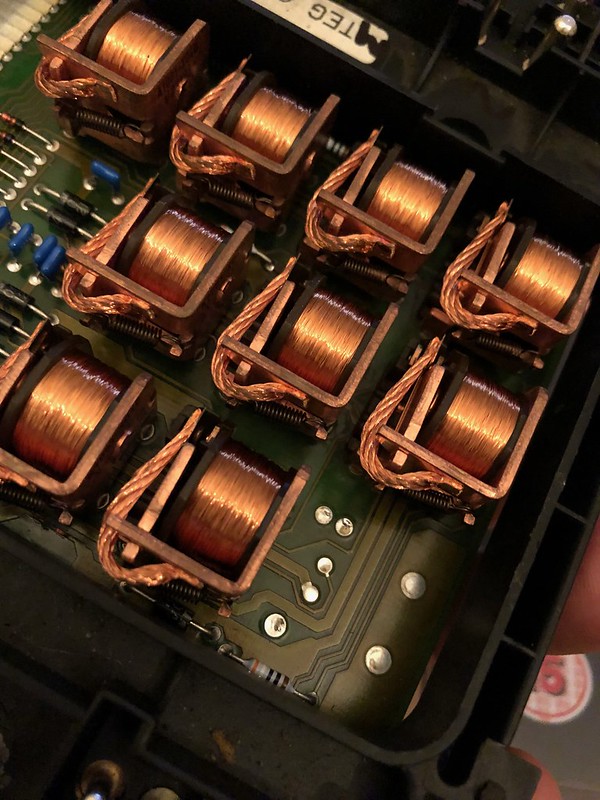
Last job for day1 of ownership was to poke around the passenger seat and investigate the module.
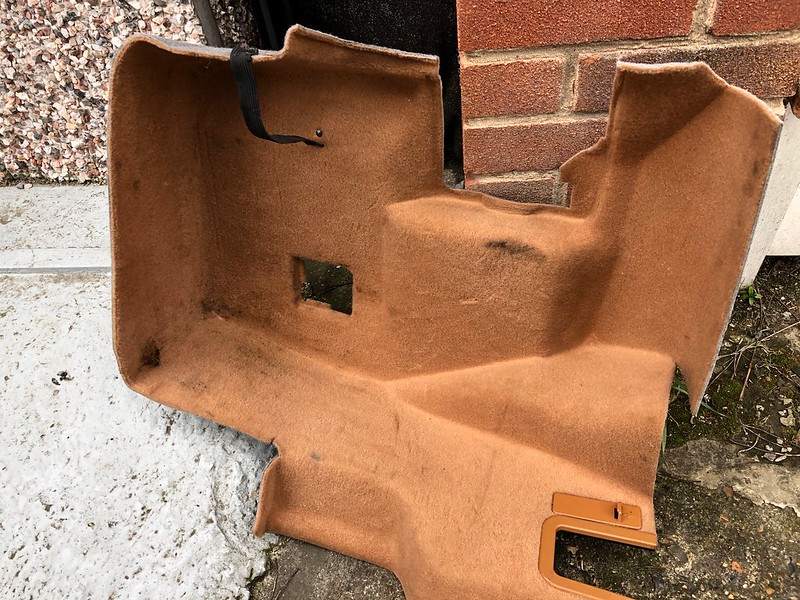
Found £2, woohoo and a filthy carpet which was slightly damp to clean and sort out.
I tried to post in the MB members gallery but I do not have permissions, I hope it is OK to post here, I'm no spammer. I like to do progress threads on my cars, maybe I know some people here from the various other forums I poke around in, hi!
Like my other cars, I thought I would keep a diary on the progress of my 1991 500SL.
I picked this car up March 13th after viewing it a few weeks earlier. It needs a little work but the base is all there and solid, the car has 107k miles and full Mercedes dealer history up to 85k miles and then 2 Mercedes specialist services between then and up to 95k, although the 95k was many years ago. The previous owner only covered 1500-2500 a year and had it serviced by friend. Oil on the dipstick is still clear and the air filters looked fresh upon checking the car before buying it so I took his word on that, either way, I’ll be booking her in for a big service.
Upon viewing, the car had its issue, mirrors, steering wheel and passenger seat failing to operate. Roof got stuck half way although it turns out that was us being impatient as it had not been lifted in the guys ownership, drivers seat had a worn bolster, rust on wing, damage to lower rear bumper trim, broken indicator, cracked windscreen, new tyres required, wear and tear blah blah blah, various little things.
The main things for me was the engine and drive of the car, the engine is silky smooth and runs almost silent, the drive is cushioned and refined. I was sold! I love a little project and like annoying the wife with my “I’ll sell it one of others” excuse to accumulate a collection of cars.
I agreed to buy the cat if the owner could resolve the passenger seat and mirrors not working. After waiting 2 weeks, it turned out the owner made no attempt to sort these but knocked the price down, I had got bored of looking at the pictures I took of the car upon viewing and just wanted it, so that night, I became the owner of my first Mercedes, I had always wanted an R129, not necessarily in these colour, I like my silver and blacks but this kind of looks special and unlike ones I’ve seen before. Java leather (274a) and Pajett red or rot if you’re German paint (587). I thought the lower panels had been painted but according to the spec sheet in the back of the service book, this was a factory job. The car was also debadged from factory so someone felt it necessary to incorrectly badge the car with later spec badging. Front indicators too, I’m desperate for the orange originals but not £150 desperate.
So, enough babble, here she is upon viewing.
I felt hooked, really didn’t want to leave it after viewing but I normally hate unknown electrical problems, so as the seller offered to sort, I had to leave. Had I known he wouldn’t, I could have cracked on with the car sooner.
I always enjoy getting a new car and going through the paperwork, manuals and finding out everything I can about it. I must have sat up until 2am reading things, using the VIN decoder and making head or tail of everything.
Not as much paperwork as I would have liked but after calling Mercedes, they have everything from day 1 on record and will email it once I send proof of ID! Nice
It’s got a stack of fuel receipts, original wallet, books, manuals, service book.
The next day, I popped to Mercedes and order a new headlight switch, headlight wiper cap and trim surrounds for both sun visors.
Got the hard top off to air the roof out and stick the roof lining down
I see why he never used the soft top, going to have the windows replaced by a local hood specialist.
The roof is in decent condition so it’s worth saving.
I replaced both front indicators due to the drivers side having a bit missing.
I don’t think the car had seen a really good deep clean in a long time, if ever, so I started cleaning the stitching with warm soapy water after using gliptone and zaino products on the leather
Nice 50/50 shot of the grime!
I’m jumping around a bit here but I also tackled the bonnet pad, removing what was left of it
Last job for day1 of ownership was to poke around the passenger seat and investigate the module.
Found £2, woohoo and a filthy carpet which was slightly damp to clean and sort out.
")