OP
OP
SilverSaloon
MB Enthusiast
- Joined
- Mar 16, 2004
- Messages
- 7,758
- Car
- 1994 W124 E300D Estate, 1985 R107 280SL
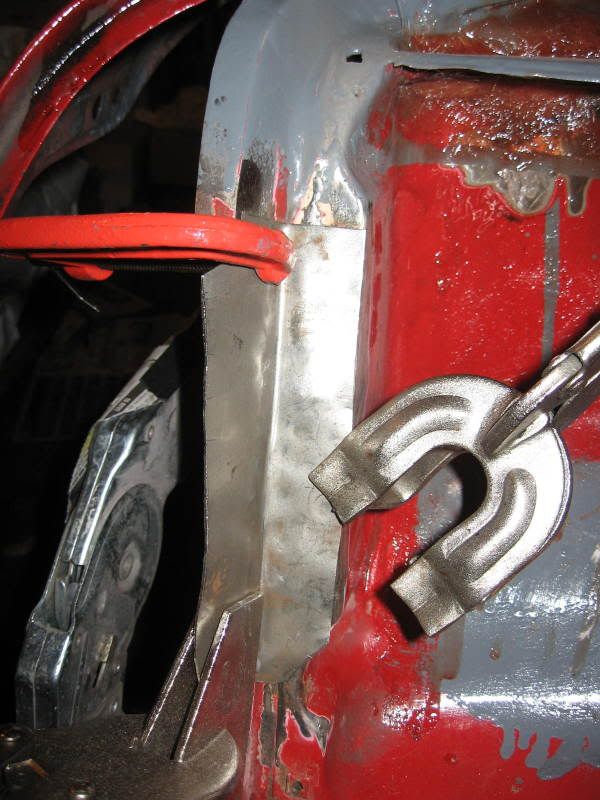
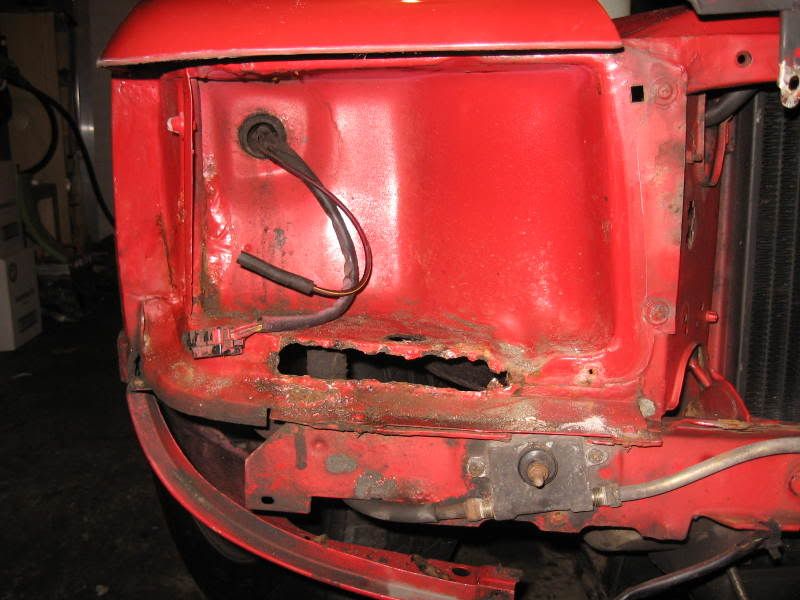
another couple of hours spent tonight dismantling the bumper... its taking a long time. the bolt that goes through that holds the little chrome join piece on each side of the bumper is just spinning and one end is flat so you cant grip it or anything. managed eventually to basically hack it off in t end..... but took ages and i was lucky not to damage the surrounding chrome.
after exhausting all 2nd hand routes to get some chrome, i may opt for a brand new replacement. still unsure... may get it re-chromed
any advice for this bolt before i start the other side?
after exhausting all 2nd hand routes to get some chrome, i may opt for a brand new replacement. still unsure... may get it re-chromed
any advice for this bolt before i start the other side?
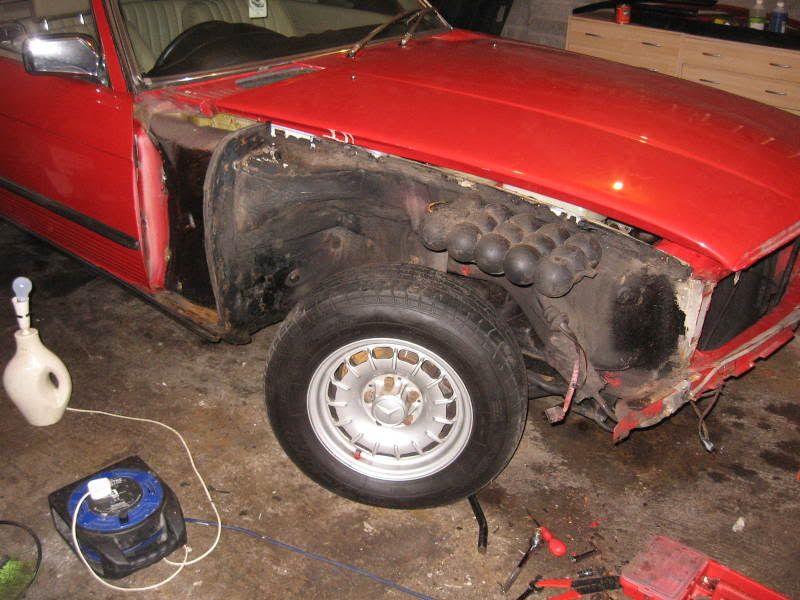
 Looks like i'm going to have to try and find it. Not sure if using an angle grinder is wise for the main chrome link part - if i slip i could damage the expensive chrome. For this bolt i might persevere with the hacksaw... once the chrome is all gone then the rest of the bolts can come off with harsh angle grinding
")


")