Spinal
MB Enthusiast
- Joined
- Sep 14, 2004
- Messages
- 4,806
- Location
- between Uxbridge and the Alps
- Car
- x254, G350, Duster, S320, Mach1, 900ss and a few more
Ok, so this is slightly different... and not 100% serious... but it is a how-to, and is about fixing a wing mirror on a W202... a bit of humour never hurt anyone ")
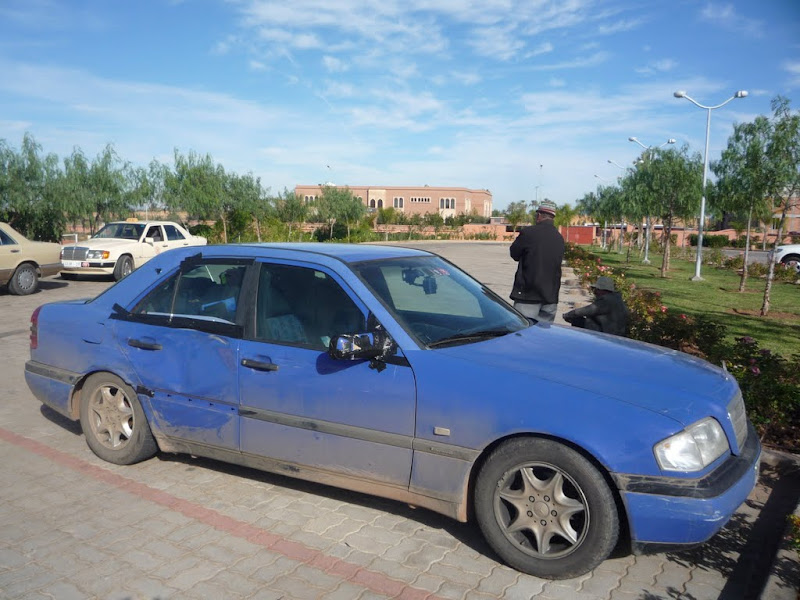
Step 1: Start with a broken wing mirror on a W202. This doesn't have to have been shattered into a million sharp shards by a truck, but either way be careful handling the old mirror; it is not safety glass! (and objects in the mirror may appear closer/larger than they really are.)
Also, make sure that the actual mirror is broken... cracked ... or at least scratched enough to warrant replacement. If it ain't broke, don't fix it...
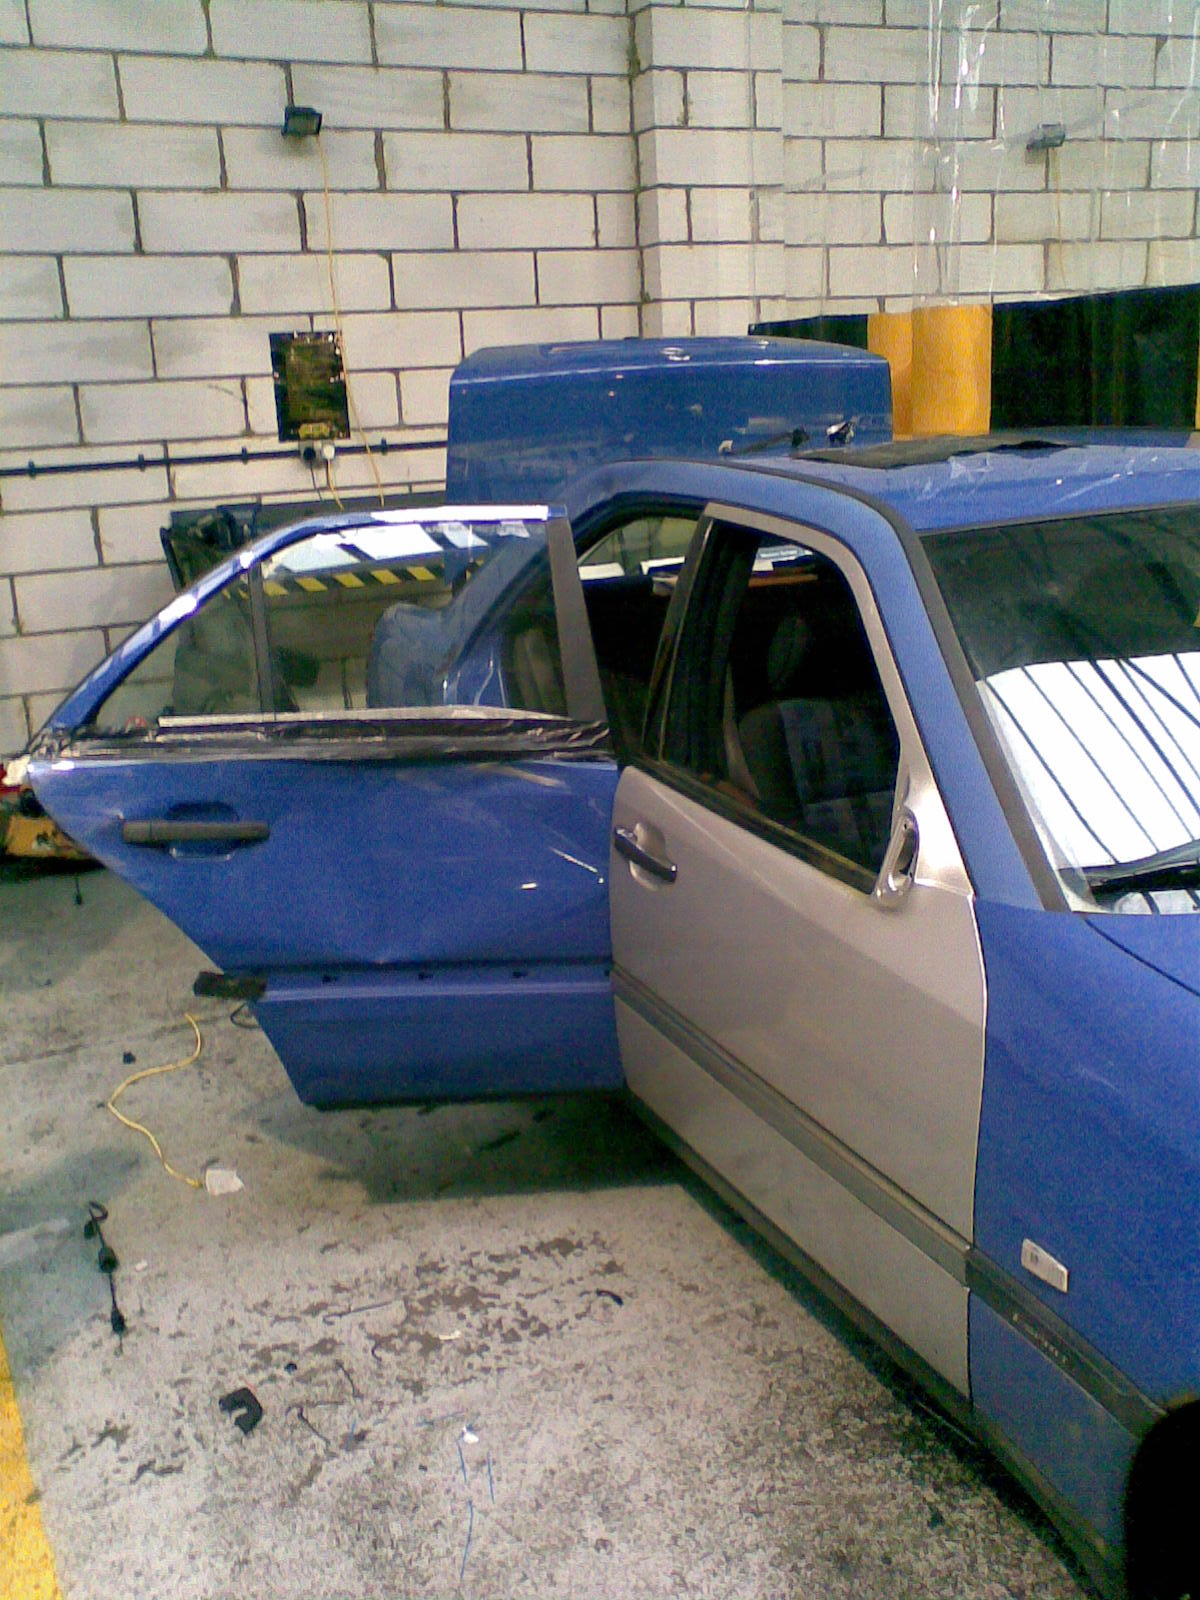
Step 2: Remove the wing mirror housing from the door. I believe there are 3-screws holding it on. These can be quite tight to remove. Liberal application of the aforementioned truck removes the mirror quite well. In addition, should your mirror now be damaged enough to warrant replacement, this will solve that issue too...
Step 3: Bring wing mirror housing, along with any piece you may find to the Souk (market) in Marrakesh... your local farmers market may work, depending on availability of cheap labour, glass cutters and mirrors. Alternatively, if you are doing this DIY, your garage will do.
Step 4:Trace a piece of old window glass to the rough shape of the mirror housing.
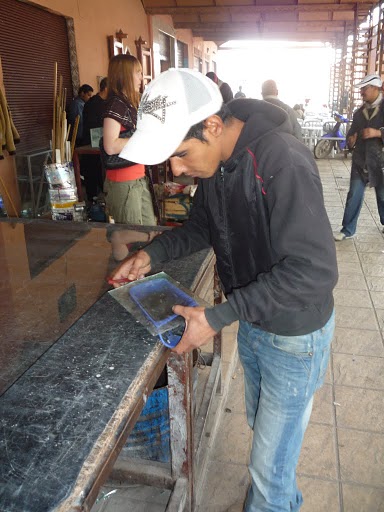
Step 5: Cut this out and test to see if it fits, trimming the edges as necessary.
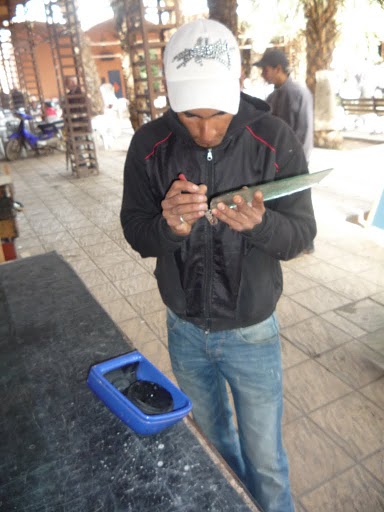
Step 6: Once happy with the template, trace this onto a piece of mirror using a shard of broken glass; should this fail, shout at the guy across the market square and get a marker sent over. A mirror from a bathroom works as well as one from the bedroom... no point in being fussy...
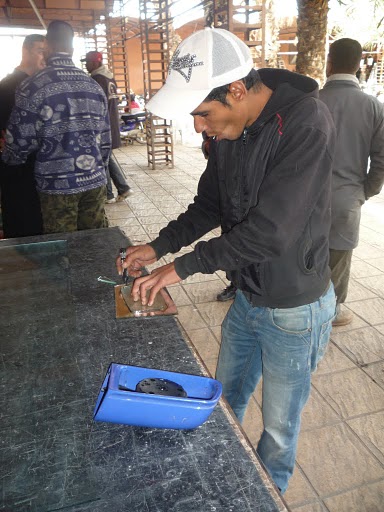
Step 7: Once traced onto the mirror, proceed to groove the mirror to the shape.

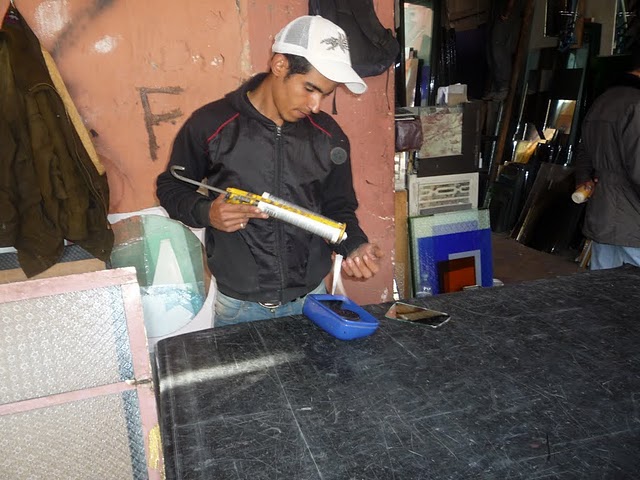
Step 8: Apply silicone liberally to the mirror mounting. Should you have used the truck removal method, extra silicone may need to be applied to the inside of the mirror housing as this may be fairly shattered. Also, should the nozzle fall off the silicone guy, ignore this and continue without the nozzle.
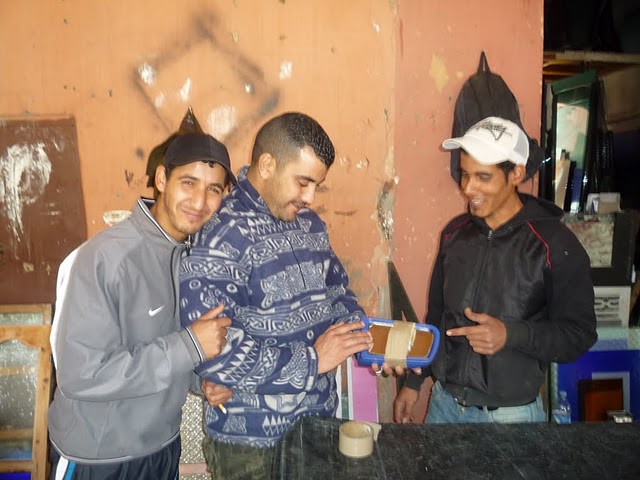
Step 9: Scrumple a piece of newspaper and along with some tape, use it to create pressure to hold the mirror in the housing while the silicone inside the assembly sets.
Step 10: Again, should you have used the truck removal method, you may find that the screws are still embedded in teh door and the mirror assembly wont stay on the aforementioned door. Liberal application of duct-tape should resolve this.
 The model in question was speed tested (under highly controlled conditions on a private road of course) to 100-ish mph.
Notes:
The final result:
With a liberal coat of wax (on your eyes) you'll never be able to tell the difference between this and an OEM part!
This is meant to be taken with a pinch of salt... I was going to put it in General... then decided that it is a bodywork repair...
M.
Step 1: Start with a broken wing mirror on a W202. This doesn't have to have been shattered into a million sharp shards by a truck, but either way be careful handling the old mirror; it is not safety glass! (and objects in the mirror may appear closer/larger than they really are.)
Also, make sure that the actual mirror is broken... cracked ... or at least scratched enough to warrant replacement. If it ain't broke, don't fix it...
Step 2: Remove the wing mirror housing from the door. I believe there are 3-screws holding it on. These can be quite tight to remove. Liberal application of the aforementioned truck removes the mirror quite well. In addition, should your mirror now be damaged enough to warrant replacement, this will solve that issue too...
Step 3: Bring wing mirror housing, along with any piece you may find to the Souk (market) in Marrakesh... your local farmers market may work, depending on availability of cheap labour, glass cutters and mirrors. Alternatively, if you are doing this DIY, your garage will do.
Step 4:Trace a piece of old window glass to the rough shape of the mirror housing.
Step 5: Cut this out and test to see if it fits, trimming the edges as necessary.
Step 6: Once happy with the template, trace this onto a piece of mirror using a shard of broken glass; should this fail, shout at the guy across the market square and get a marker sent over. A mirror from a bathroom works as well as one from the bedroom... no point in being fussy...
Step 7: Once traced onto the mirror, proceed to groove the mirror to the shape.
Step 8: Apply silicone liberally to the mirror mounting. Should you have used the truck removal method, extra silicone may need to be applied to the inside of the mirror housing as this may be fairly shattered. Also, should the nozzle fall off the silicone guy, ignore this and continue without the nozzle.
Step 9: Scrumple a piece of newspaper and along with some tape, use it to create pressure to hold the mirror in the housing while the silicone inside the assembly sets.
Step 10: Again, should you have used the truck removal method, you may find that the screws are still embedded in teh door and the mirror assembly wont stay on the aforementioned door. Liberal application of duct-tape should resolve this.
Notes:
- If you feel rich, you can hire Hassan in the picture to do this for you. Expect to be asked for the equivalent of £20 as a starting price. I haggled down to the equivalent of £4, which I was told by the taxi driver was a "reasonable" price
- If using the truck method to remove the original mirror, be careful of glass shards all over the driver's seat. It pays to close the window beforehand!
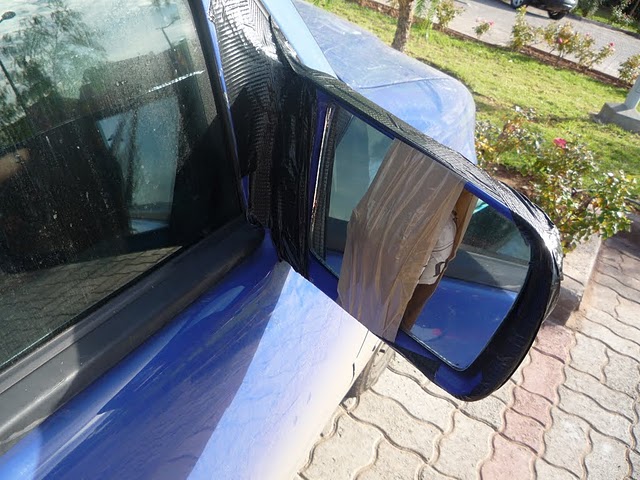
- While temporary, the pressure brace (aka newspaper & tape) can easily last over 3000miles, a snowstorm, baking sun, rain and fog.
- If using the truck method of mirror removal, do not put limbs outside the car. These may become trapped between the car and truck during application. (see my other thread). Also, removal of paint and shape to the doors and bodywork may occur.
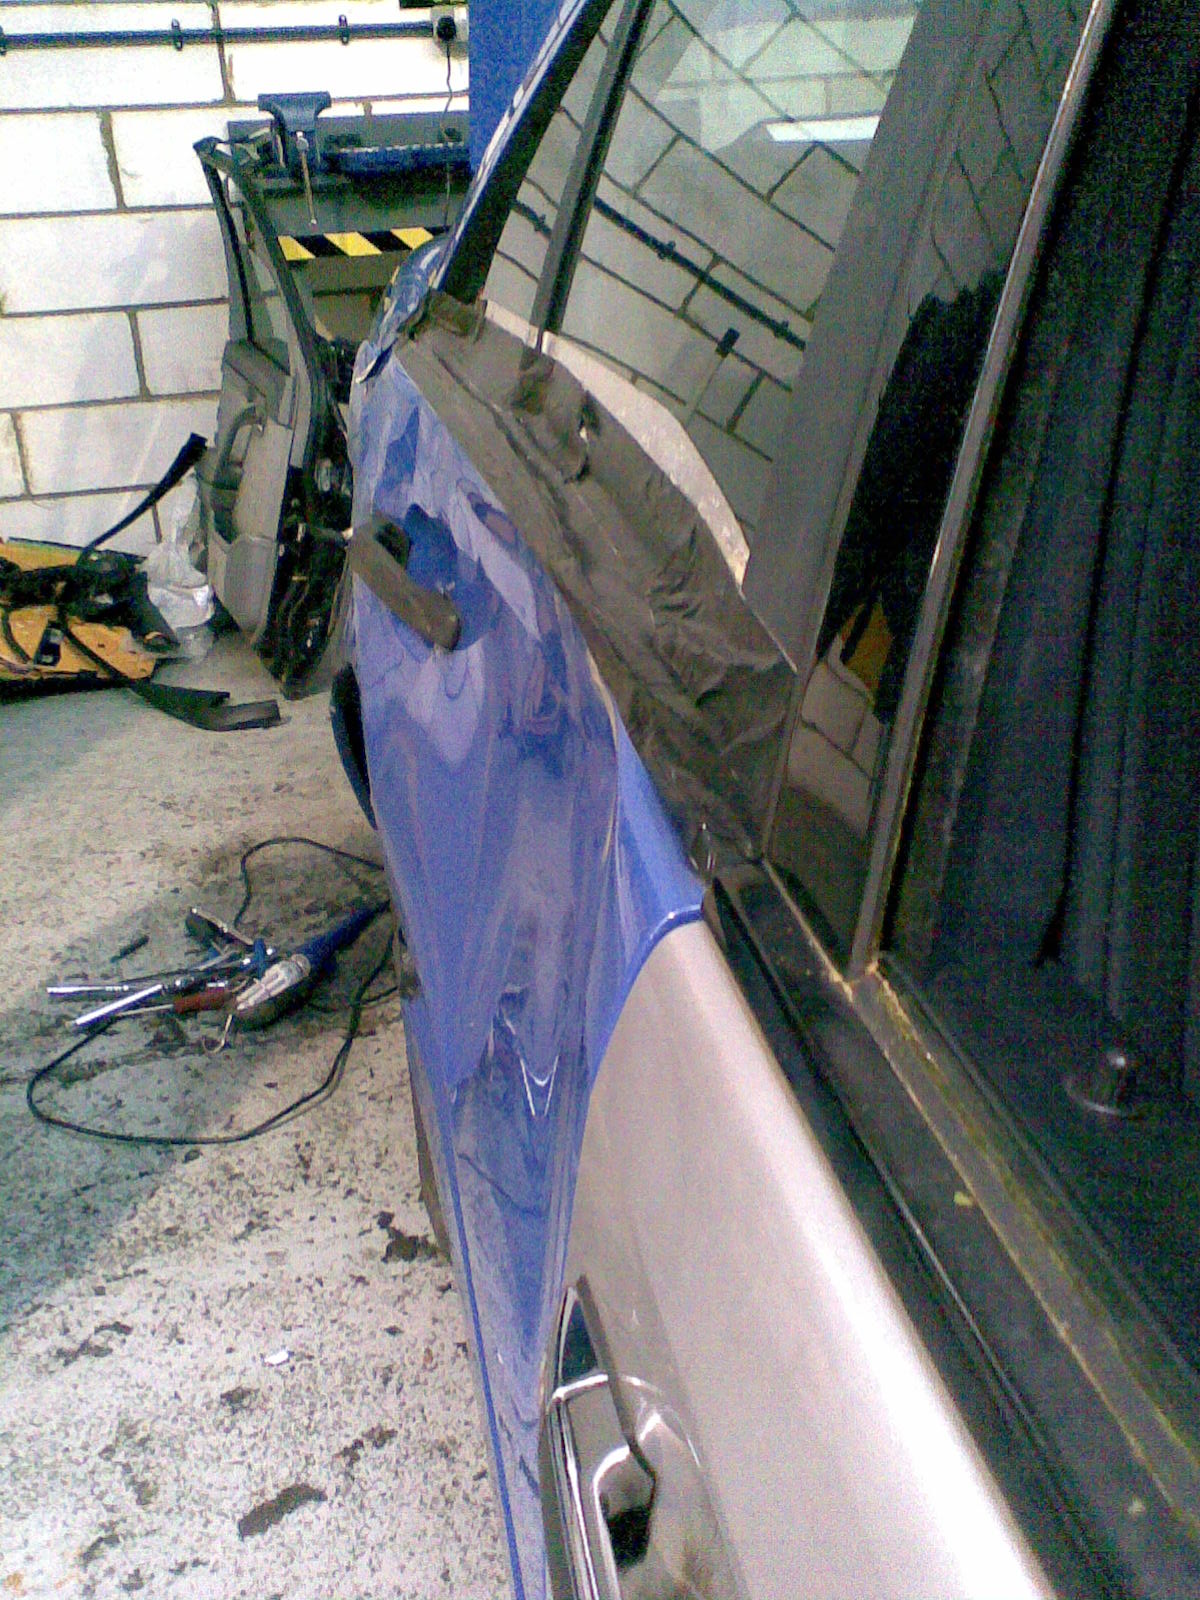
The final result:
With a liberal coat of wax (on your eyes) you'll never be able to tell the difference between this and an OEM part!
This is meant to be taken with a pinch of salt... I was going to put it in General... then decided that it is a bodywork repair...
M.
Last edited:

")