Navigation
Install the app
How to install the app on iOS
Follow along with the video below to see how to install our site as a web app on your home screen.
Note: This feature may not be available in some browsers.
More options
You are using an out of date browser. It may not display this or other websites correctly.
You should upgrade or use an alternative browser.
You should upgrade or use an alternative browser.
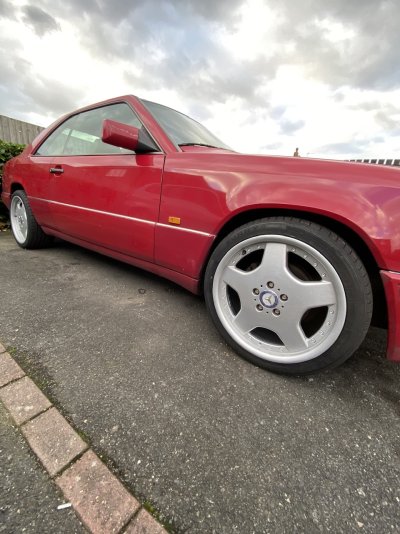
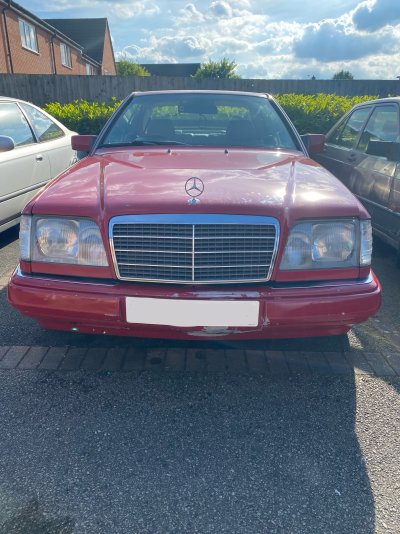
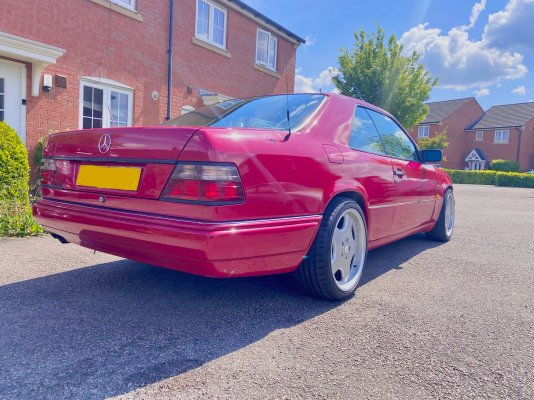
Imperial Red C124
- Thread starter Benzz1998
- Start date
Benzz1998
Member
Benzz1998
Member
My plans for next year are to:
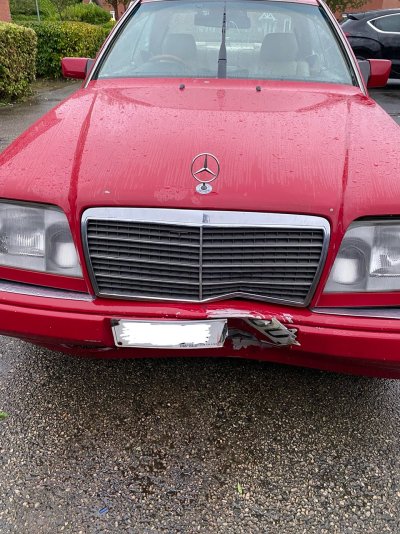
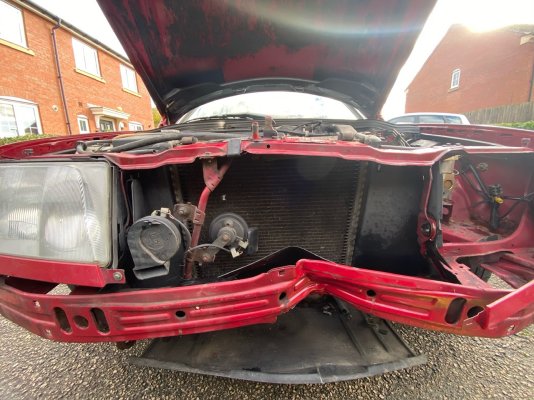
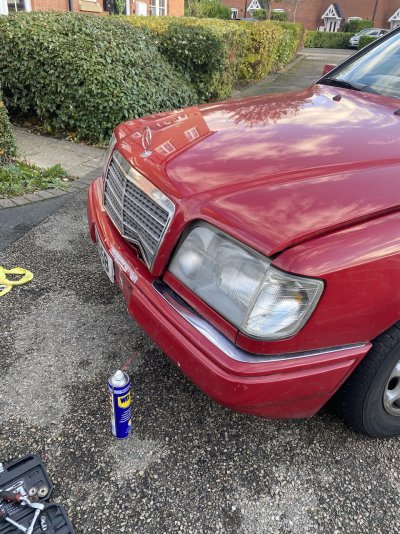
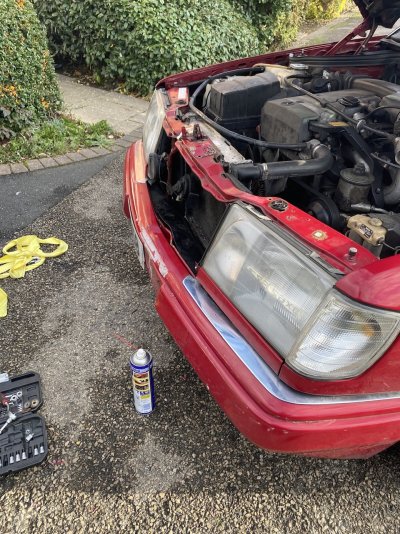
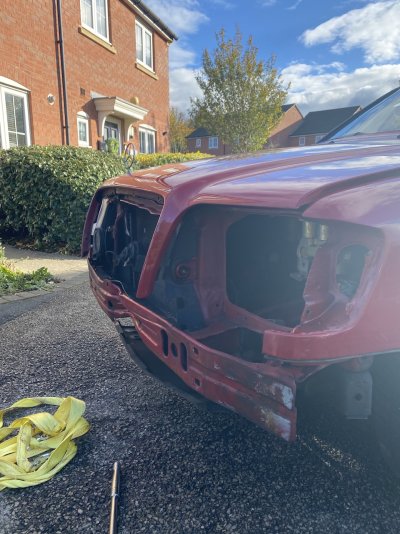
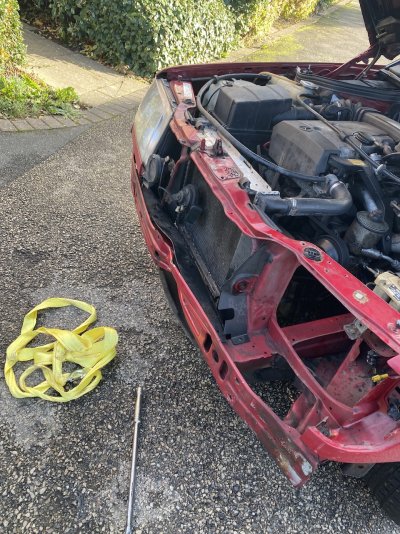
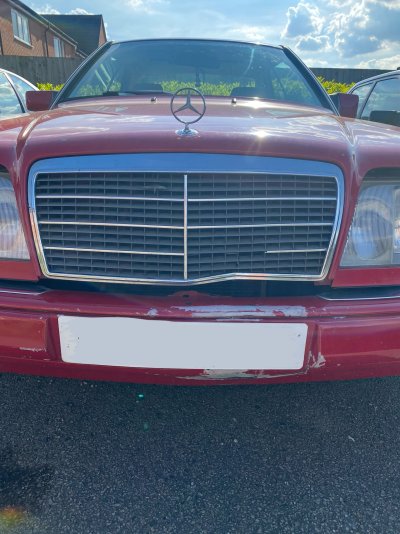
- Sort the front end - either go the standard bumper route or go all out and put an AMG kit on it.
- Overhall all the brakes.
- Twin pipe exhaust - Wanting a DTM look.
- Fix the Driver-side Seat belt butler.
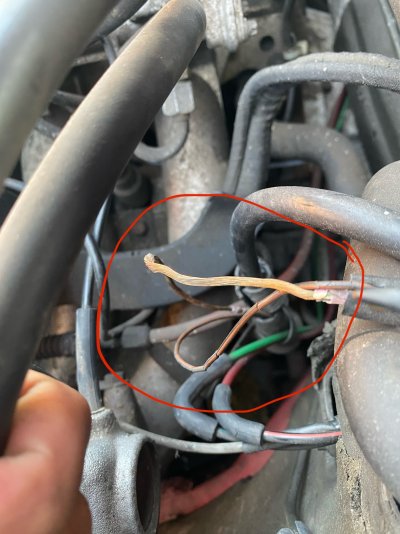
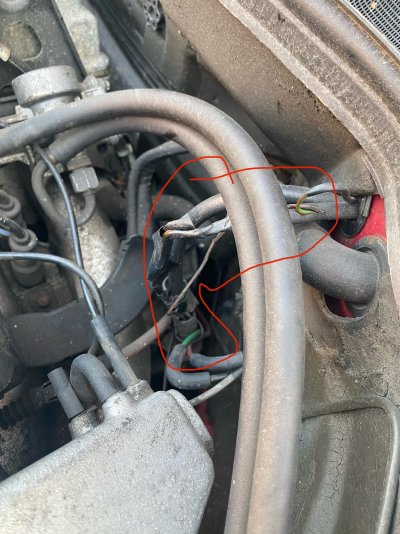
- Order a Rear headers vacuum sensor
- Gearbox Service
- Diff Service
- Replace any bushings
ALFAitalia
MB Enthusiast
- Joined
- Feb 19, 2022
- Messages
- 8,673
- Location
- Bognor Regis
- Car
- 2010 Mercedes W212 E Class E350 CDI Sport, 2006 Mercedes W169 A Class A170.
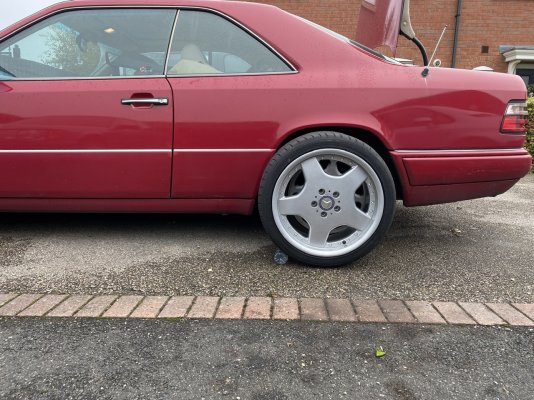
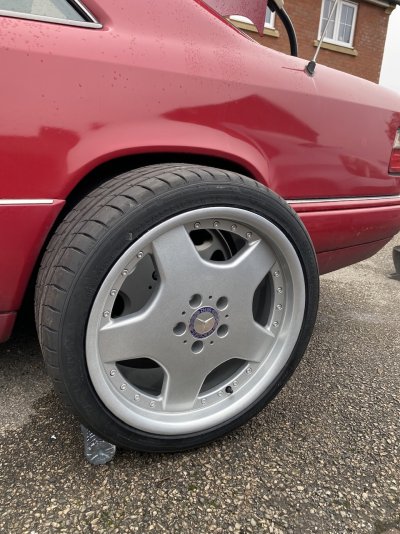
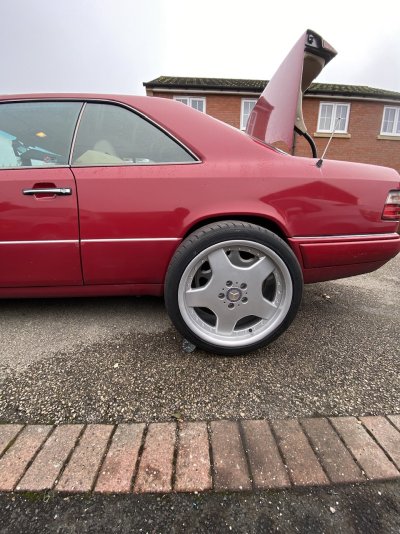
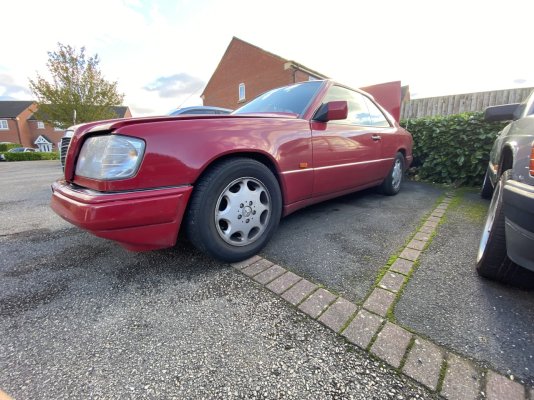
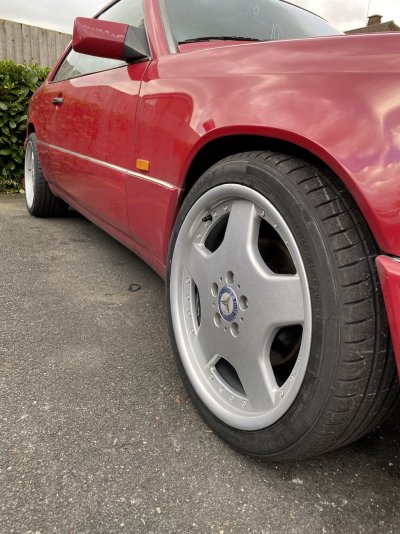
Nice....but it does not look to me as if those rear wheels are in far enough too pass an MOT. The tyres can stick out a fraction....but the wheels must be completely under the arches when viewed from above.
Benzz1998
Member
Benzz1998
Member
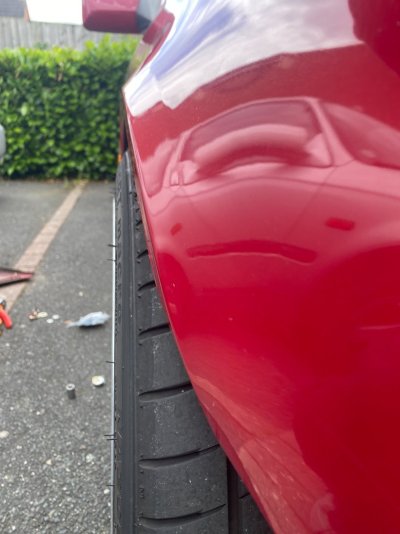
Front Fender Fitment – DIY Wing Spacer Alternative
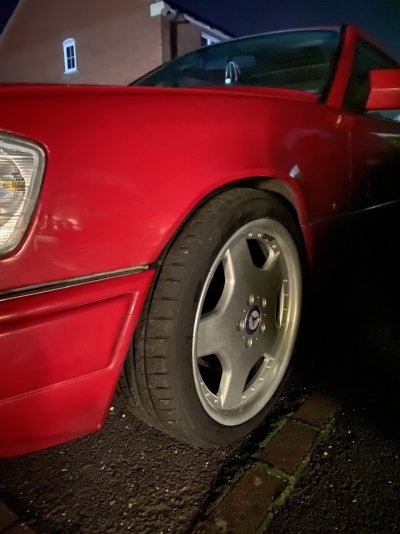
I wanted to achieve a slightly wider stance on the front fenders, similar to the AMG W124 models, but I wasn’t keen on spending £60 on a pair of plastic spacers. Instead, I used washers to subtly push the fender out, mimicking the effect of the OEM wing spacers without the unnecessary cost.The result? Better wheel fitment and a slightly more aggressive front-end stance—all done for a fraction of the price. I also rolled the arches slightly to ensure there’s no rubbing.
I’ll keep this setup for now, as it works well.
Attachments
Benzz1998
Member
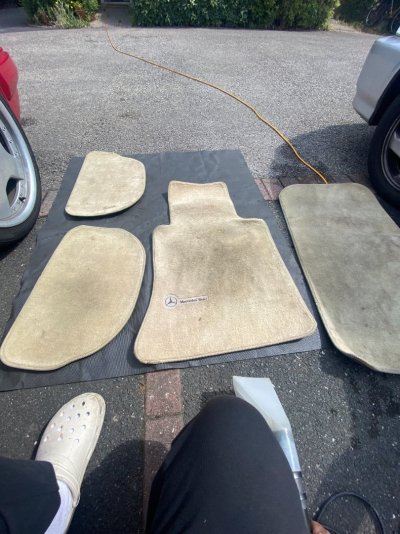
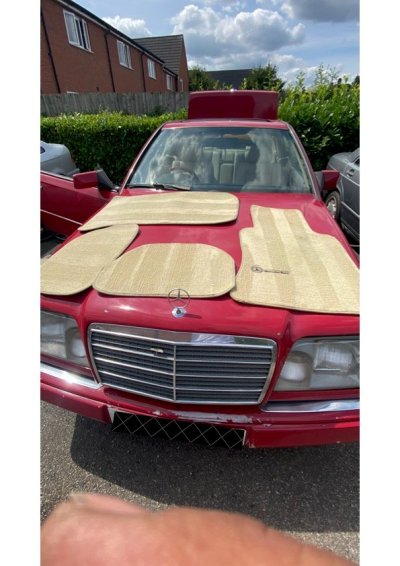
Carpet Deep Clean – Night and Day Difference!
Decided to tackle the cream floor mats, which were looking pretty tired after years of use. As expected, cream is extremely difficult to keep clean, but I wanted to see how much I could bring them back to life.Used my George Corded Carpet Cleaner, and after a thorough wash, the difference is night and day! The mats have gone from a dull, dirty beige back to a fresh, clean cream. It’s really satisfying to see them looking this good again.
Attachments
Benzz1998
Member
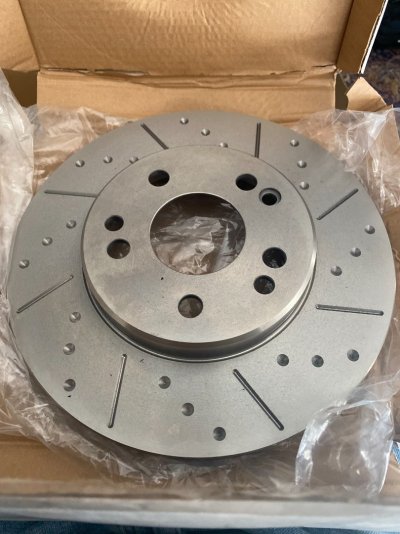
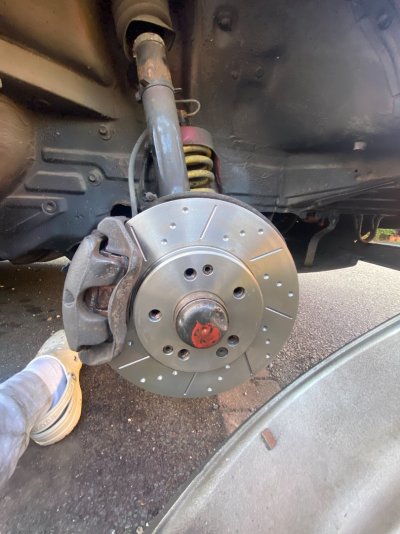
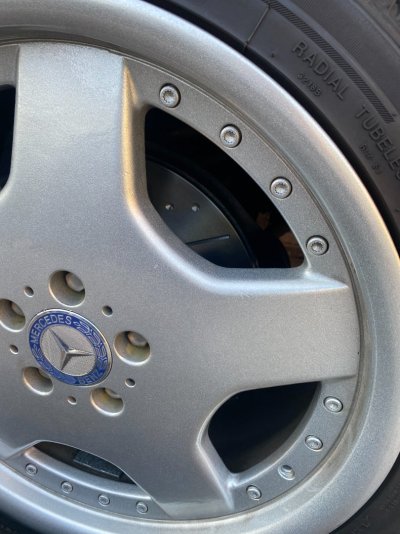
Brake Upgrade – Mtec & Brembo Discs with Brembo Pads
I tackled my first-ever brake disc and pad replacement on the car! I installed Mtec drilled and slotted discs on the front, along with Brembo rear discs and Brembo pads all around. The process went smoothly overall, but I had some trouble when attempting to replace the handbrake shoes—I ended up snapping the tension spring and decided to leave that job to the garage.Visually, the new discs look fantastic, and so far, braking performance feels much improved, with better initial bite and stopping power.
Attachments
Users who are viewing this thread
Total: 1 (members: 0, guests: 1)
Similar threads
- Replies
- 0
- Views
- 850
- Replies
- 230
- Views
- 42K

