Silver E55.

Page may contain affiliate links. Please see terms for details.
Make sure the firewall behind the seats is fireproof, i lost a car due to moving the tank from under the boot floor up into the boot and leaving a gap the flames could get through, the worst happened and what may possibly have been partly salvaged ended up totally burnt out and safety wise its unbelievable how fast the interior burnt, I'm glad I was out of the car when my fire happened.

DSCF0002.JPG
 
Make sure the firewall behind the seats is fireproof, i lost a car due to moving the tank from under the boot floor up into the boot and leaving a gap the flames could get through, the worst happened and what may possibly have been partly salvaged ended up totally burnt out and safety wise its unbelievable how fast the interior burnt, I'm glad I was out of the car when my fire happened.

View attachment 81065

What started the fire?

Luckily my 211 has no folding seats. The cabin is separated from the boot by a solid metal sheet. Much less perforated than the original one rear passenger seat on above the factory tank.
 
What started the fire?

Luckily my 211 has no folding seats. The cabin is separated from the boot by a solid metal sheet. Much less perforated than the original one rear passenger seat on above the factory tank.

We think it was a faulty fuel pump (it was brand new), I had commented that it seemed extra loud to a mate but we both thought it might just be because it was now in the boot and the car never had an electric pump when stock. i took my daughter home after a visit, on the drive back to my place it hesitated a couple of times when i got out to investigate it was obvious it was on fire in the boot, them flames appeared inside and that was that. :(
 
^^ That still looks quite tidy for a Mark V Tina.

Burning the paint off showed it had been a rust and and filler free shell, unfortunate it was very badly distorted from the heat and not reusable, it had a Cosworth engine in it, was quite quick and very slidey, they don't weigh much. ;)
 
A small update as the car is off the road for a few tweaks this winter among which - a new exhaust system. I wouldn't normally need a reason to do another exhaust (just having time is usually enough) but here's a good one.

In a V-shaped block to minimise the imbalance and vibration, the idea is to fire cylinders from opposing banks in right-left-right-left etc. fashion. Both V6 and V12 work exactly like that. Not the V8, where two cylinders in each bank end up firing 90 degrees of crank rotation apart. This is true for any cross-plane V8 out there, not just the M113.

The M113 has a firing order of 1-5-4-2-6-3-7-8. As per the diagram below cyls 4 & 2 and 7 & 8 fire in pairs, thus violating the perfect "one cyl per bank at a time" order. As a result of such design flaw, both exhaust collectors experience a bit of "crowding" since gas pulses are not spaced evenly when they enter and leave the collectors. This is amplified when the engine is under load.

0900c152801b2ed6.gif


Ideally, we would want to pair up the runners in such manner, that exhaust pulses are uniform in how they pass through the collectors as this would improve scavenging and allow for more air on the intake stroke (more oxygen=more power.) As complicated as it sounds, there's not one but 3 ways to achieve that. Below is one of them.

In a four-stroke engine crankshaft makes two full revolutions (720 degrees) to complete the cycle. With 8 cylinders firing at 90 degrees (8 x 90 = 720), pairs 1-6, 5-3, 4-7 and 2-8 end up firing 360 degrees apart. In other words, the crankshaft rotation angle between cyls 1 & 6 is 360 (4 x 90) and same for the other pairs. Here's the firing order colour coded to make it a bit clearer: 1-5-4-2-6-3-7-8.

If we pair the now matched exhaust runners in respective Y-collectors whilst keeping their length equal, the engine will have a very uniform way for exhaust gas discharge which is our main goal. It will sound completely different too. Here's an example of such exhaust system on a Corvette:

To view this content we will need your consent to set third party cookies.
For more detailed information, see our cookies page.

Obviously, pairing runners from opposite banks would require them crossing over from one side to another - a massive challenge on its own - which is why headers like these are more common with mid-engine supercars than front-engine four door saloons. For reference, here's what the rear end of the Ford GT looks like:

hSN0RT1.jpg


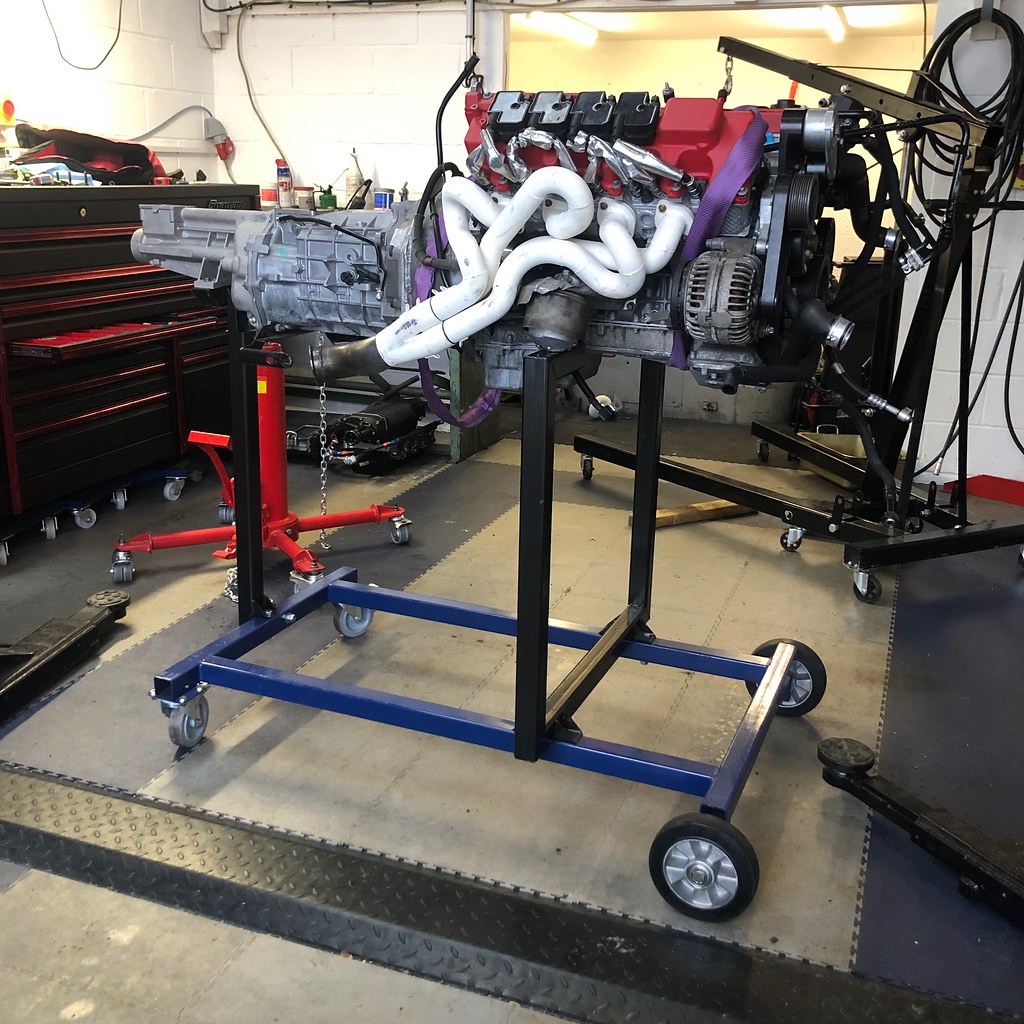
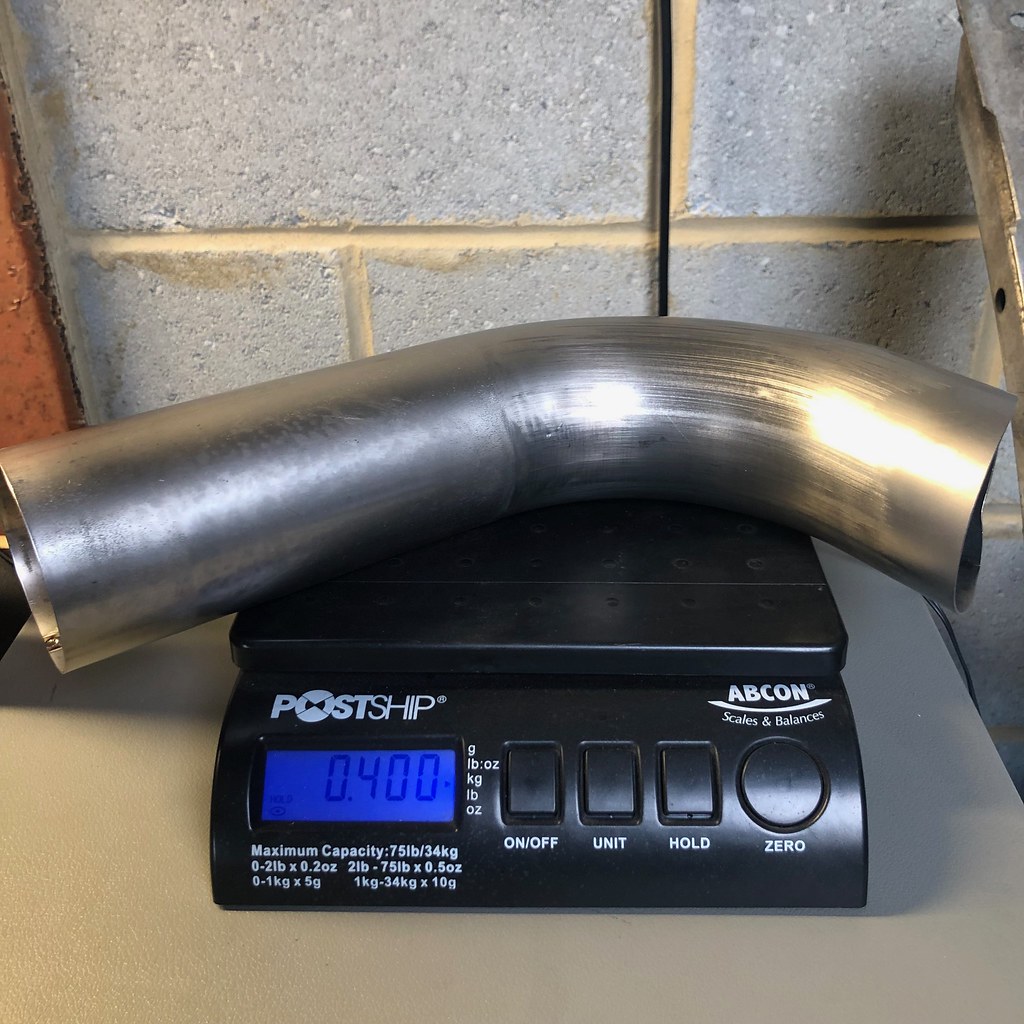
Nevertheless, I've done a bit of home work and about to start pulling the engine out of my E55 next week so I could model the new set of headers and a matching 3" exhaust system. I've also recently acquired and restored to its former glory a 1000 years old metal sheet roller (they get better with age being cast iron and all) so will be making my own exhaust boxes from scratch as well.

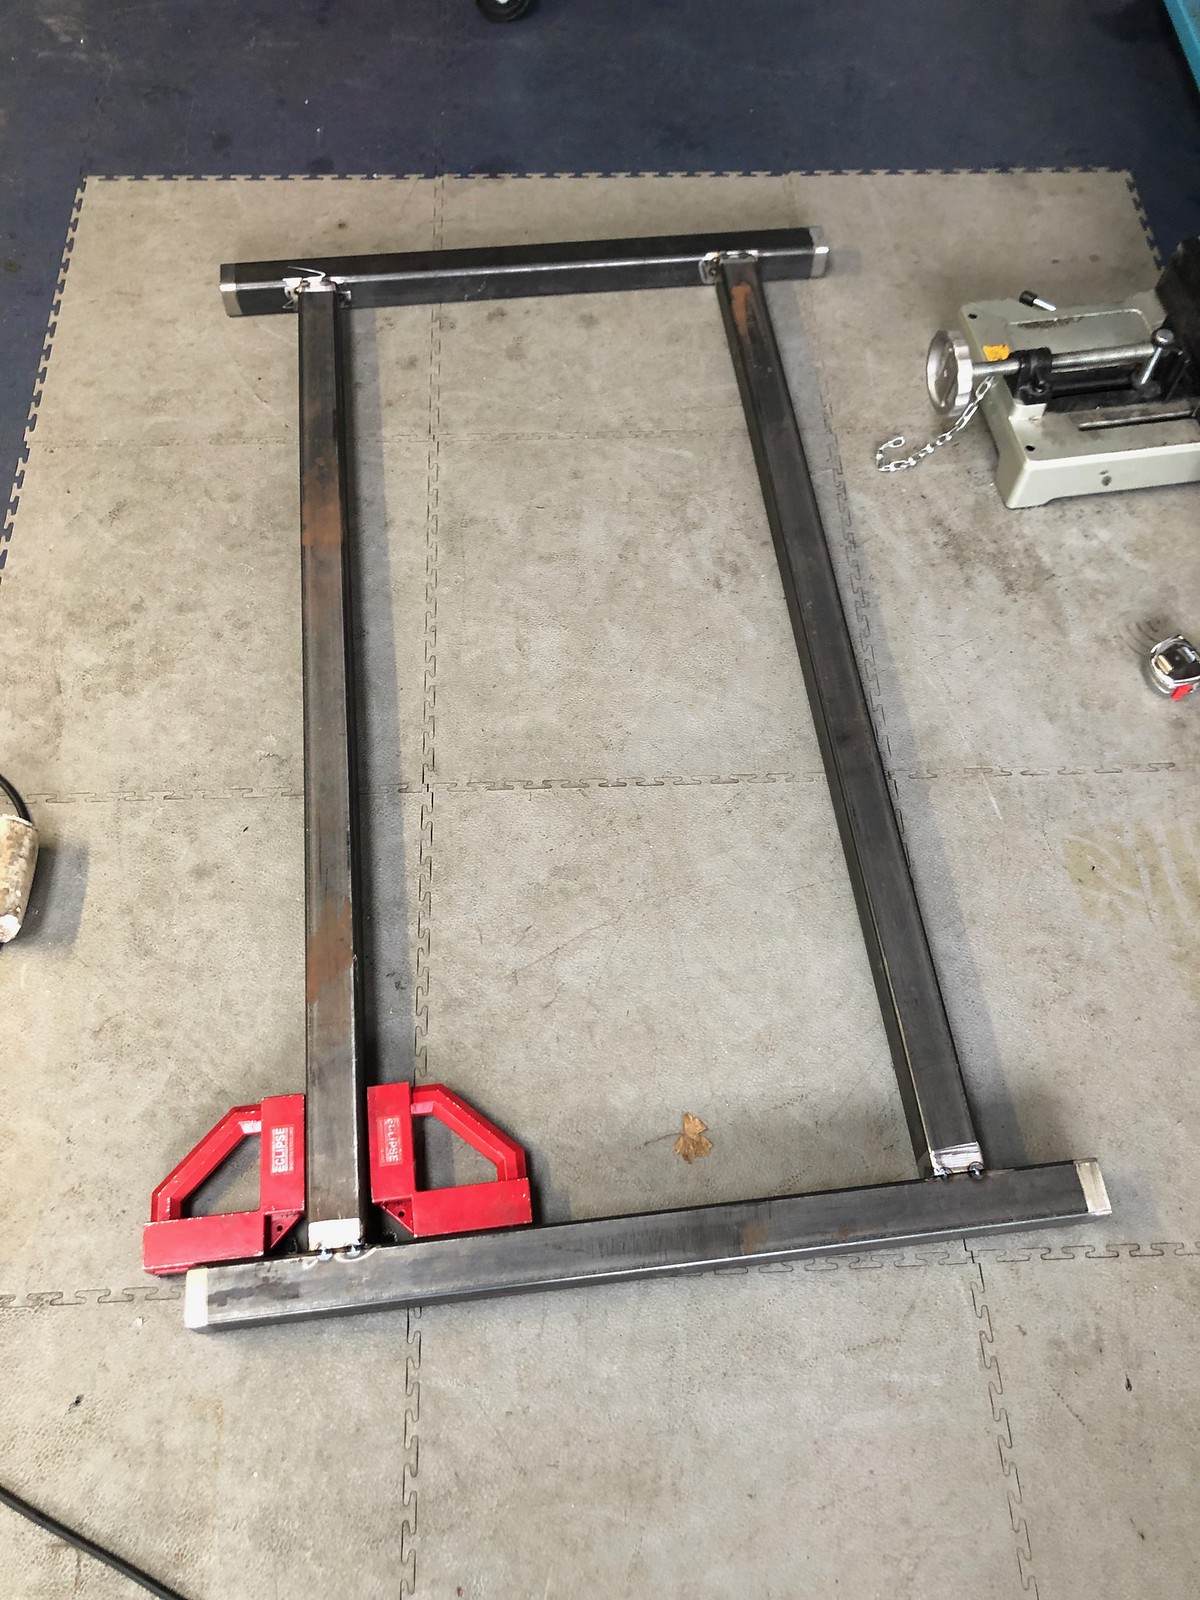
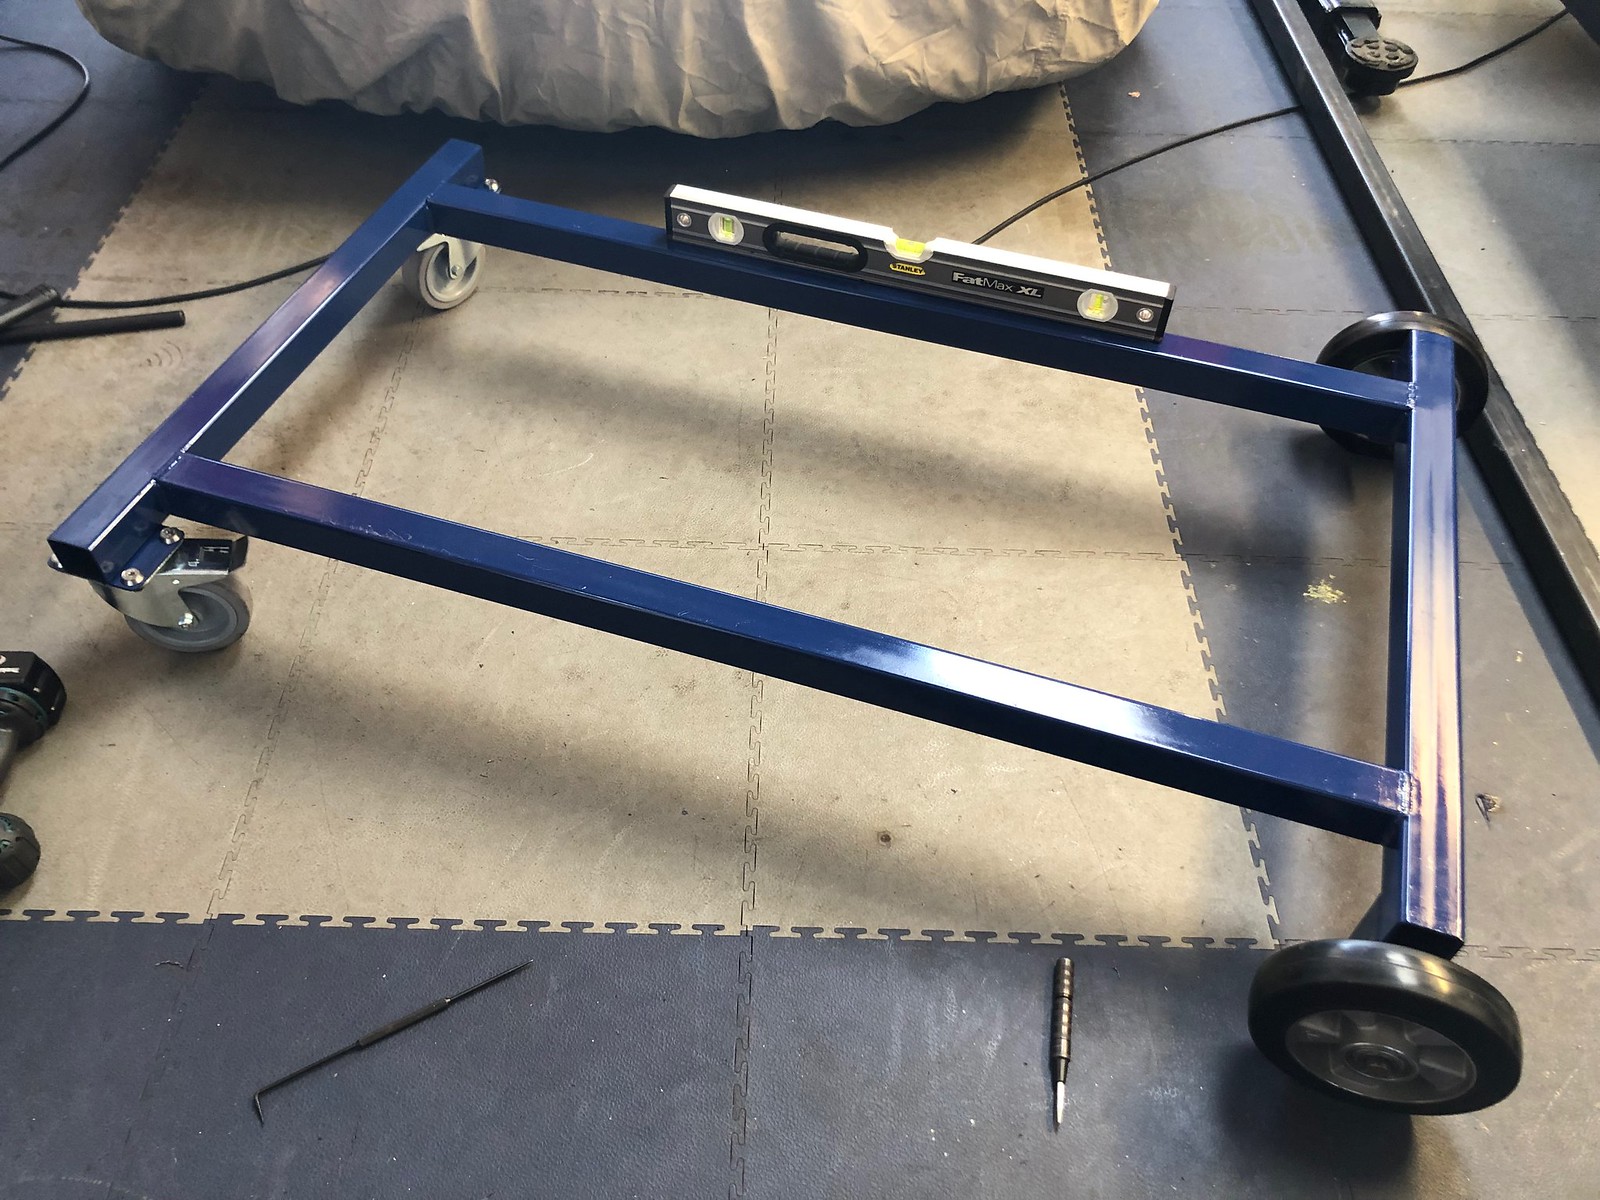
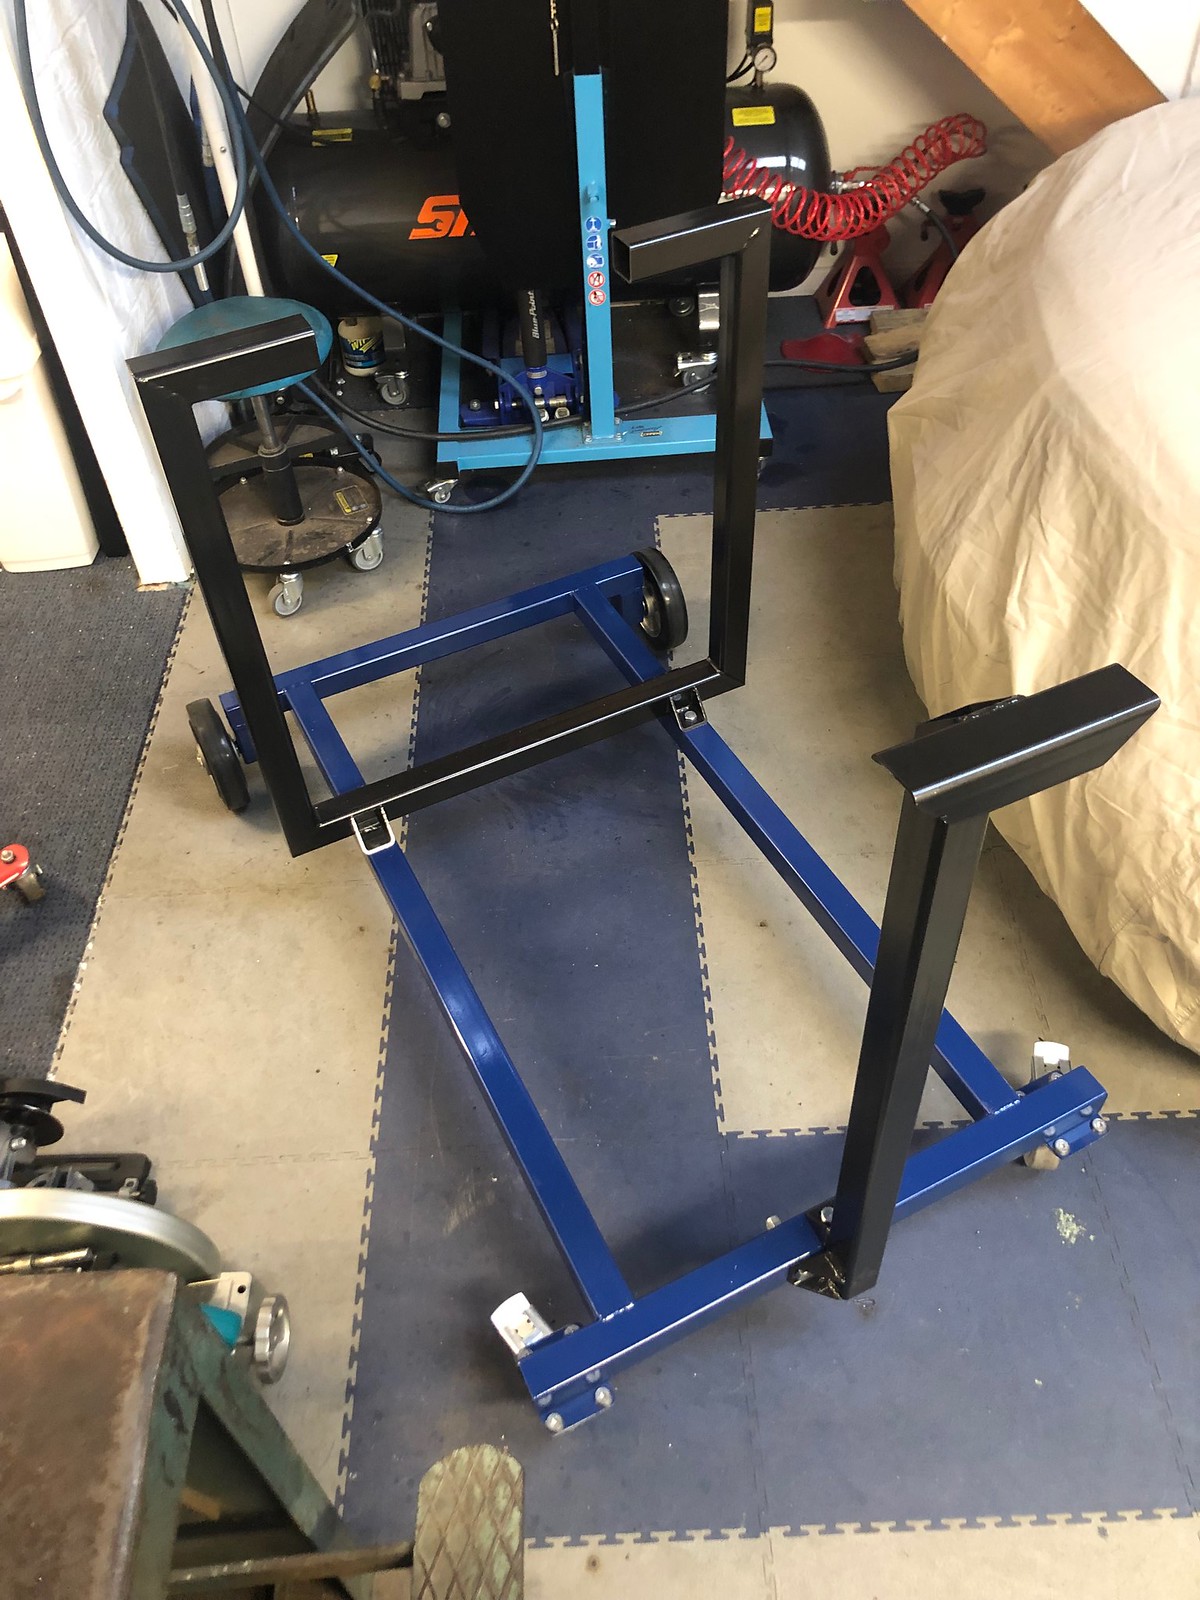
Here's a little teaser: an engine and gearbox stand I fabbed up to help with headers design. I need both bolted together as the runners will be crossing underneath the car.

46404506341_f9065d83eb_h.jpg


46409212892_6a75e92135_h.jpg


45821545344_9fc96a9f7a_h.jpg


Lastly, I don't expect a massive change in performance. My current exhaust exhibits zero back pressure as it is. I'm looking to improve the flow, reduce the noise and make a better quality system as my headers were the first thing I've welded ever (a short welding college course excluded) and I know I can do better now.
 
I love fabrication work, even that engine stand/trolley gets me excited lol
 
Got the engine out and started mocking up a new header design.

47250324651_acd96f62f5_b.jpg


Not going very fast at this point due to being busy with a million of other things but some stuff has been showing up lately, which I can't wait to use in the car, namely this Titanium goodness:

46583907604_487ec23790_b.jpg


This forged 18" set:

46415513635_459a3082f9_b.jpg


And finally, a pair of these:

33454545048_5ac13a9ab8_b.jpg


The seats very quickly prove to be the most demanding upgrade with first needing special aircraft memory foam that had to be imported from the USA, repair of a slightly damaged lacquer on the back of one seat by completely stripping and redoing it to the brand new condition and now cushion and squab foam CNC programming and cutting. When it's all done, they will be trimmed in part alcantara, part leather to match the interior. The seats came from another road going car so the extra work is to retain the 'road' feel and blend them in with the rest of the interior.

More to come in a couple of week.
 
What you doing with your old headers? :D

They are available.

Congrats on beating A's 1/4 mile record. Well done and well deserved. When did it happen? I seem to have missed it.
 
Got the engine out and started mocking up a new header design.

Alex mate, I can only admire what your doing here, love those seats and wheels. Look forward to seeing the car again with the additional upgrades.

47250324651_acd96f62f5_b.jpg


Not going very fast at this point due to being busy with a million of other things but some stuff has been showing up lately, which I can't wait to use in the car, namely this Titanium goodness:

46583907604_487ec23790_b.jpg


This forged 18" set:

46415513635_459a3082f9_b.jpg


And finally, a pair of these:

33454545048_5ac13a9ab8_b.jpg


The seats very quickly prove to be the most demanding upgrade with first needing special aircraft memory foam that had to be imported from the USA, repair of a slightly damaged lacquer on the back of one seat by completely stripping and redoing it to the brand new condition and now cushion and squab foam CNC programming and cutting. When it's all done, they will be trimmed in part alcantara, part leather to match the interior. The seats came from another road going car so the extra work is to retain the 'road' feel and blend them in with the rest of the interior.

More to come in a couple of week.
 
Hi Alex,

Great work. Will you be coming to BOTG ?
 
Alex, genuine question - is there an end goal to this car when you can sit back and say “it’s done”?
 
It's starting to feel like Trigger's Broom. :D
 
Hi Alex,

Great work. Will you be coming to BOTG ?

Will have to be another year Peter. Meeting up a few TV'ers on that Saturday.

Alex, genuine question - is there an end goal to this car when you can sit back and say “it’s done”?

Of course... not!

On a serious note, the end goal didn't change. These few mods are to lose some weight, which is the last part.

I promise ;-)

It's starting to feel like Trigger's Broom. :D

Had to watch that episode on YT. No rides for you J!

Only kidding as you're right. Don't think I've got much more to replace in the old girl anymore.

I'm close. Lighter brakes is the last mod but they aren't cheap (CC). So the end of this journey and thread is near!
 
Just to clarify. The reason it looks like I'm going in circles, is I figured I could save about 200kg getting the car lighter. Here's how;

Seats, brakes, wheels, exhaust, fuel tank, battery.

Granted I can't just chuck these out of the car so I sourced some replacements. In a true fashion these will have to be very close looking to OEM (the seats, for example, came out of another road going car of a similar size to the 211 and only weigh 3kg each).

So yeah, I'm getting there painfully slow but not for long as the car's debut race will be in May.
 
Good luck :thumb:
 

Users who are viewing this thread

Back
Top Bottom