Please use my advice with extreme caution I am an interested rookie, not a Pro.
Heated seats
Google “Auto Carbon Heated seats retrofit kit Universal”, got mine on Amazon.
The kit is superbly made in my opinion and a bargain at £23, there is a 15A fuse holder included.
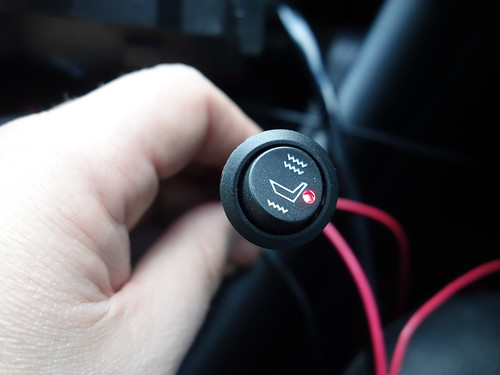
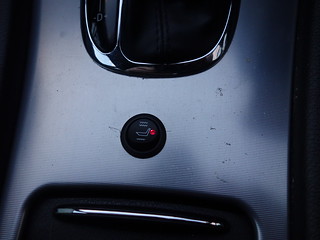
The wiring includes a positive and earth. A relay which I understand is a good safety point for high wattage electrical items. A decent 3 position round switch with a red led. The wires are nicely wrapped in PVC flexible tube.
I only fitted one pad on the driver’s side to warm my **** on the drive into work on cold mornings.
Minor issue - I will fit the passenger pad eventually – but I will need to lengthen the wire on the unused pad in order to do that – I can’t see how the current set up can reach 2 pads in two seats, certainly can’t reach on the C Class.
First stage – fitting the pad
Undid the 4 Star E Torx holding the passenger seat in, leant it back, undid the two retaining clips at the front of the bottom seat base and lifted this out.
It is fairly hard to remove the ‘U’ shaped retaining clips all the way around the base of the seat cover, did it with a screwdriver and it took several minutes.
Once off, unclip some upholstery clips, plastic on metal bars and cut some holes and fit your heated pad. I set it up so that the cable exited in the offside rear corner of the seat.
Put the cover back, clip in the ‘U’ clips and refit the seat cover. I added some incredibly handy ‘plastic split cover’ to protect the wire where it exited the seat.
Loosely fit the entire seat and move on to the second bit.
Second stage – centre console and power from cigar lighter
Put handbrake on, pull up gear stick surround and lift up the large gear change trim – fiddle a bit and lift it away.
You can remove the gear knob by twisting the plastic base underneath it – I didn’t bother.
On the driver’s side rear of the gear change plastic housing there is a black plastic bitty which you push to release the gear stick and move it backwards.
There are two plastic clips either side of the facing edge of the ashtray and it lifts forward and out. On the back is the cigar lighter power supply, the connector pulls out to one side.
Brown = earth (connects to the black wire to the seat cable loom)
Black and yellow = power which is switched on by the ignition (connects to the red wire in-line fuse holder and the red wire to the seat cable loom)
The other wire is for illumination to the cigar lighter
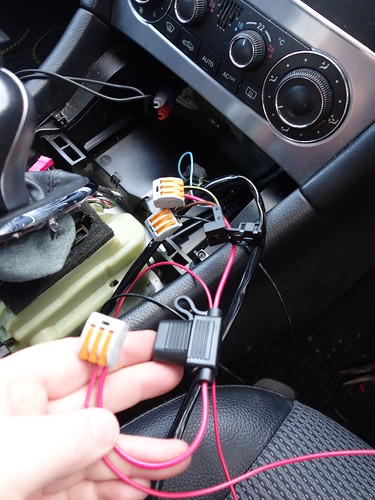
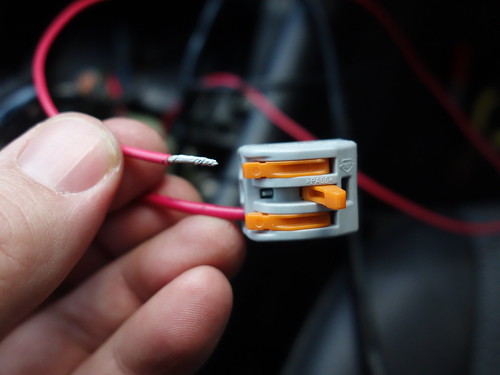
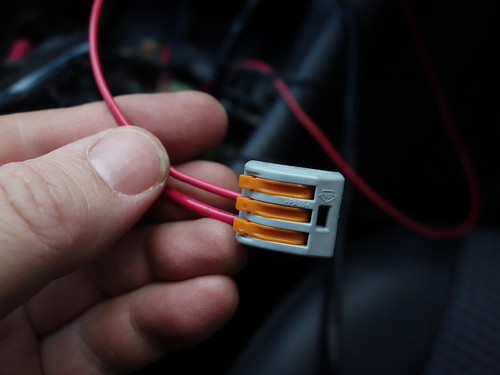
I bared some wire and used some very lazy power connectors to tap power and earth. They are Wago compact connectors for home electrical installations, very fast, I like them.
Third stage – cables from the seat pad loom to the centre console
I couldn’t figure out how to remove the coin slot holder? Anyone know?
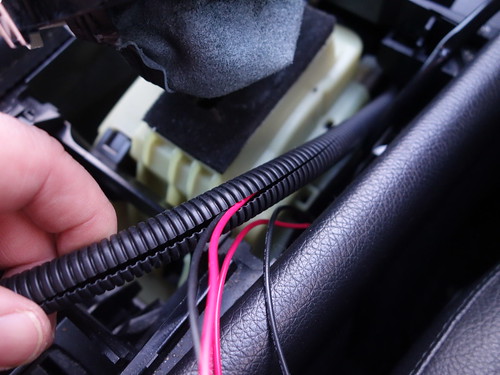
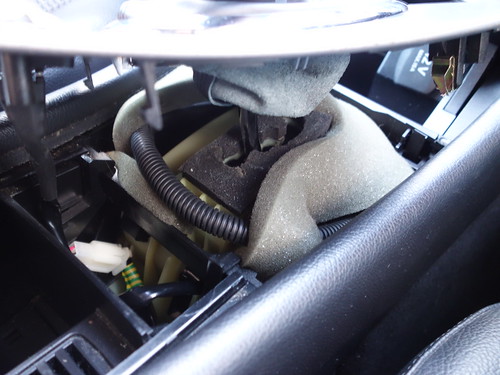
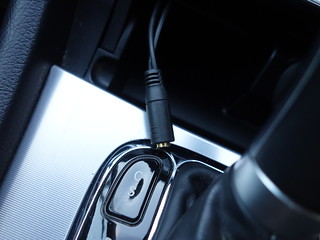
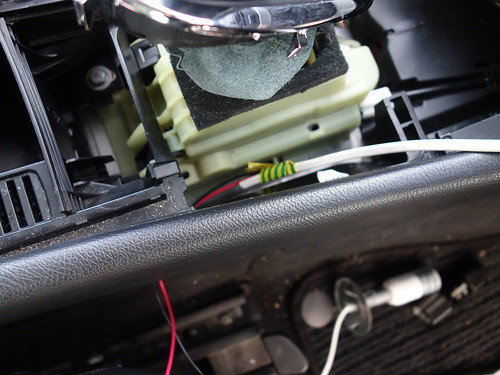
Anyway, I poked about with a length of white 13A power cable and noticed a bit of a route from the side of the centre channel into the gear change compartment. I used a tail and insulation tape to pull the cables through. I carefully made a note of the wire arrangement and took off the white plastic connection block, threaded the wires through and then I refitted it.
Once all connected I did a test – had a warm bum - success!
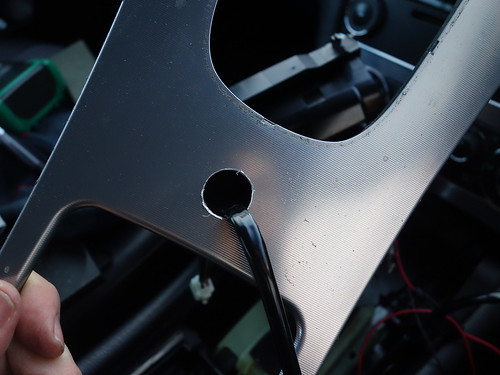
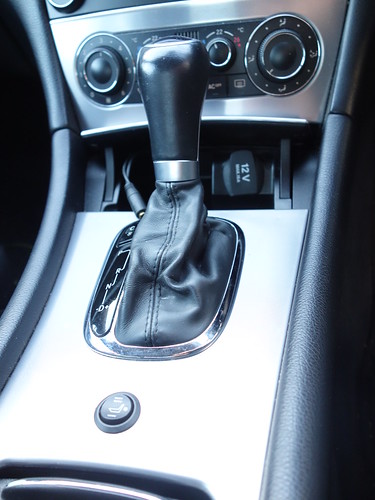
Proceeded to drill a hole for the switch in a flat bit of the gear stick surround. First I piloted a small hole with a metal drill bit, then used a Flat Spade Wood Drill Bit size 19mm from the metal front, once through the alloy veneer I then worked from the back. A little ‘anti-rotation’ notch was needed to fit the switch – modified the hole with the side of the metal drill bit to accommodate that notch.
Final stage – tidying the cables under the seat and refitting the seat
I used cable ties to fit the relay and secured the cable beneath the driver’s seat, there are plenty of rails and things under there to offer safe fixings.
So far the seat has been a success – takes a few minutes to heat up – perhaps because the upholstery over it is fairly substantial but it is well worth the effort.
I plan to fit the passenger seat pad next, just need to lengthen the cables – for that I will use a more appropriate technique of cutting, adding in a length of cable by splicing and soldering, covering the join with heat shrink.
Summary
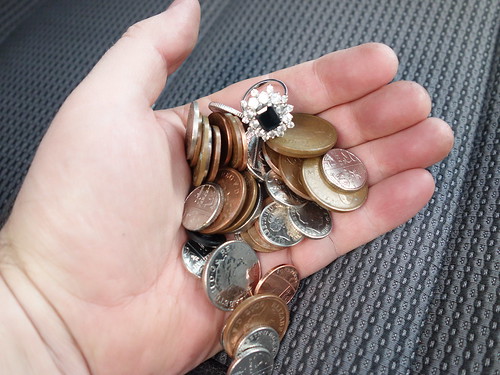
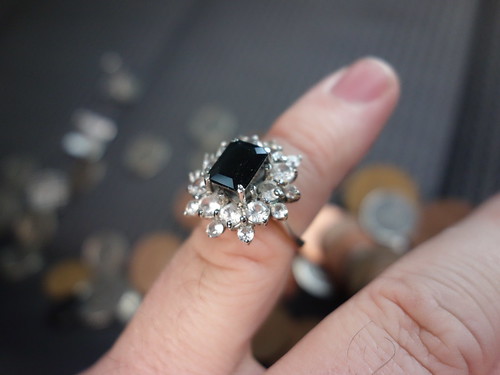
I found tons of cash and a priceless ring, the sale of which should pay for my installation although it does look lovely on, I may have to keep it.
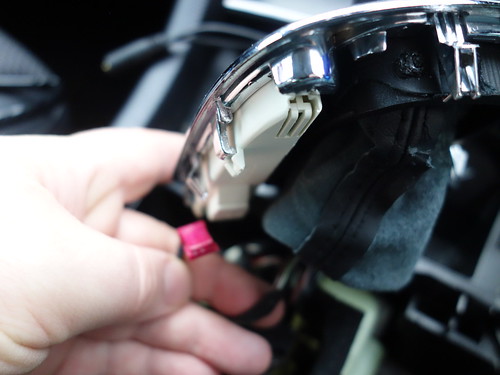
Remove gear change surround, unclip rear electrical connector
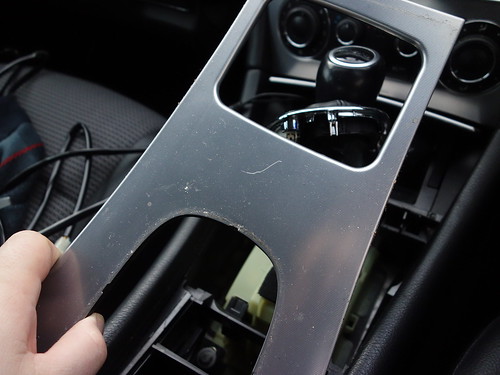
Lift out gear surround
![DHn2gY]](https://flic.kr/p/DHn2gY])
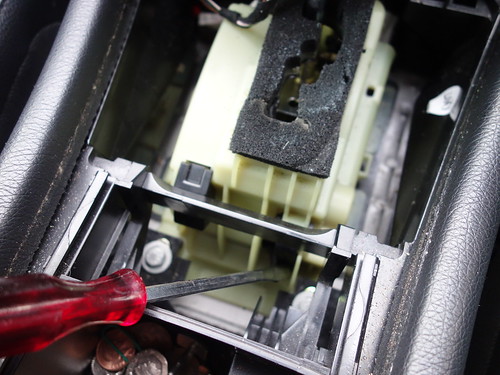
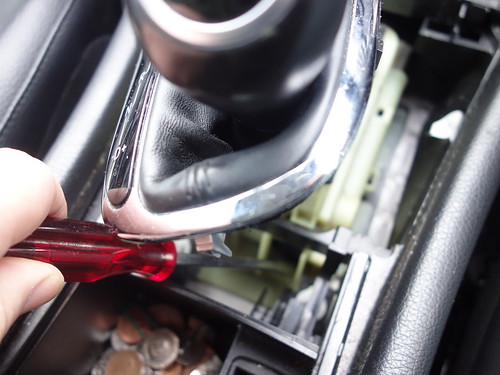
Push here to move gearstick rearwards
![EF5yZ6]](https://flic.kr/p/EF5yZ6])
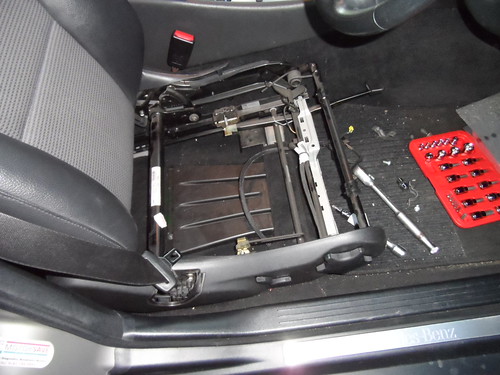
Drivers

Base off
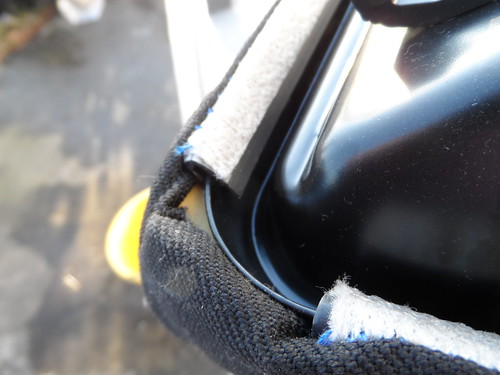
The corner where I want the cables to exit, you can see the ‘U’ shaped seat cover attachments
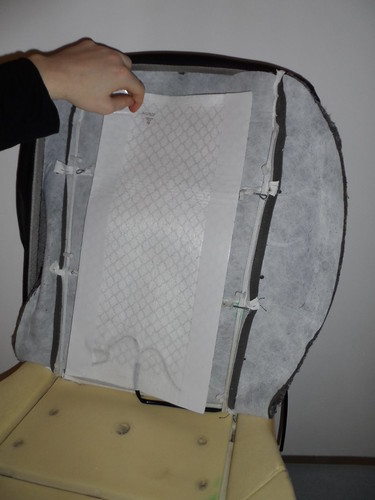
Offering up the heated pad
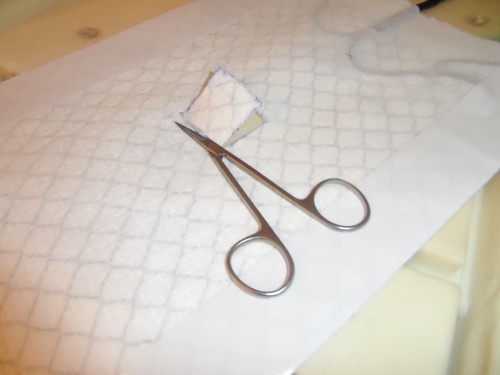
Tinkering
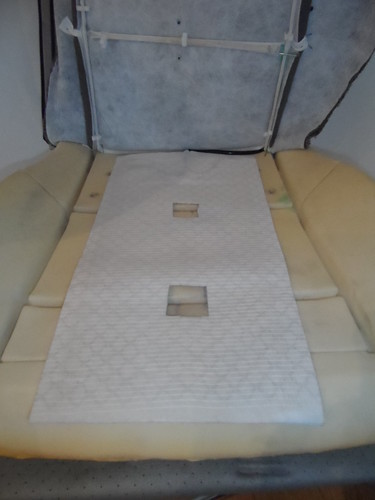
More tinkering
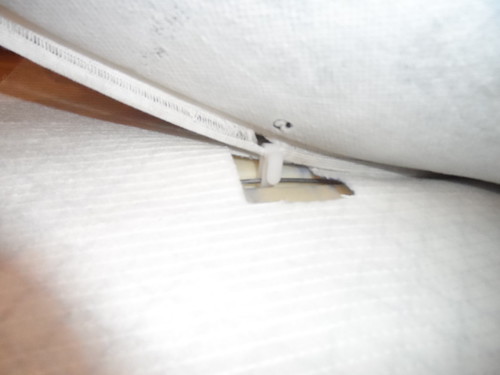

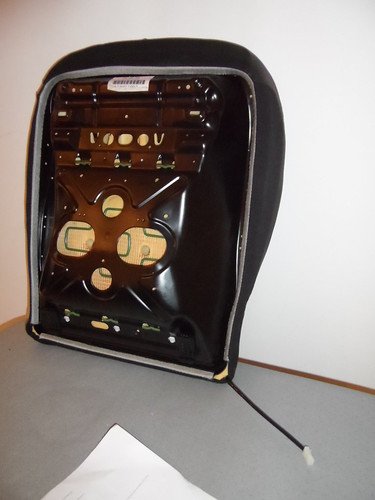
Sorted

Bit of split cable to protect it
Tabs on the cigar lighter tray, one on either side

Lifting it out
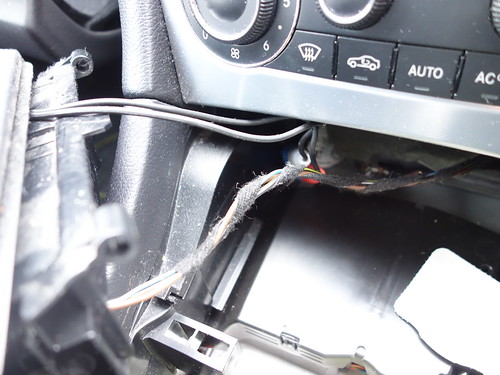
The cables to the cigar lighter
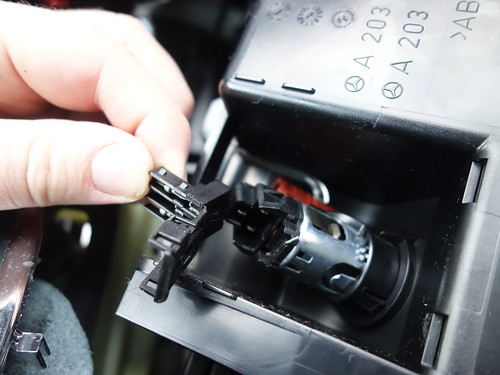
The back of the cigar lighter
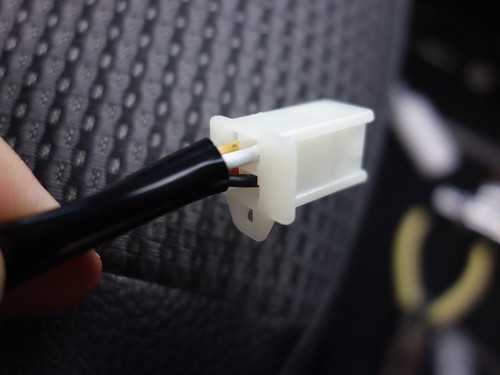
The connector from the loom

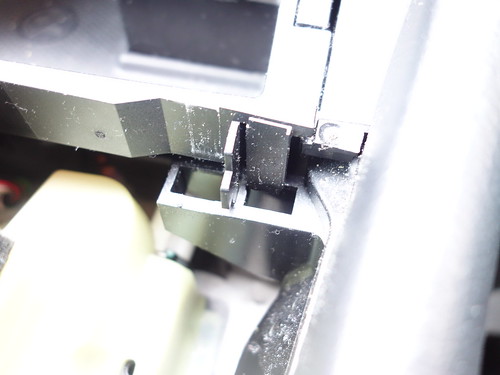
Taking out each connector with a small screwdriver to push on tabs
Heated seats
Google “Auto Carbon Heated seats retrofit kit Universal”, got mine on Amazon.
The kit is superbly made in my opinion and a bargain at £23, there is a 15A fuse holder included.
The wiring includes a positive and earth. A relay which I understand is a good safety point for high wattage electrical items. A decent 3 position round switch with a red led. The wires are nicely wrapped in PVC flexible tube.
I only fitted one pad on the driver’s side to warm my **** on the drive into work on cold mornings.
Minor issue - I will fit the passenger pad eventually – but I will need to lengthen the wire on the unused pad in order to do that – I can’t see how the current set up can reach 2 pads in two seats, certainly can’t reach on the C Class.
First stage – fitting the pad
Undid the 4 Star E Torx holding the passenger seat in, leant it back, undid the two retaining clips at the front of the bottom seat base and lifted this out.
It is fairly hard to remove the ‘U’ shaped retaining clips all the way around the base of the seat cover, did it with a screwdriver and it took several minutes.
Once off, unclip some upholstery clips, plastic on metal bars and cut some holes and fit your heated pad. I set it up so that the cable exited in the offside rear corner of the seat.
Put the cover back, clip in the ‘U’ clips and refit the seat cover. I added some incredibly handy ‘plastic split cover’ to protect the wire where it exited the seat.
Loosely fit the entire seat and move on to the second bit.
Second stage – centre console and power from cigar lighter
Put handbrake on, pull up gear stick surround and lift up the large gear change trim – fiddle a bit and lift it away.
You can remove the gear knob by twisting the plastic base underneath it – I didn’t bother.
On the driver’s side rear of the gear change plastic housing there is a black plastic bitty which you push to release the gear stick and move it backwards.
There are two plastic clips either side of the facing edge of the ashtray and it lifts forward and out. On the back is the cigar lighter power supply, the connector pulls out to one side.
Brown = earth (connects to the black wire to the seat cable loom)
Black and yellow = power which is switched on by the ignition (connects to the red wire in-line fuse holder and the red wire to the seat cable loom)
The other wire is for illumination to the cigar lighter
I bared some wire and used some very lazy power connectors to tap power and earth. They are Wago compact connectors for home electrical installations, very fast, I like them.
Third stage – cables from the seat pad loom to the centre console
I couldn’t figure out how to remove the coin slot holder? Anyone know?
Anyway, I poked about with a length of white 13A power cable and noticed a bit of a route from the side of the centre channel into the gear change compartment. I used a tail and insulation tape to pull the cables through. I carefully made a note of the wire arrangement and took off the white plastic connection block, threaded the wires through and then I refitted it.
Once all connected I did a test – had a warm bum - success!
Proceeded to drill a hole for the switch in a flat bit of the gear stick surround. First I piloted a small hole with a metal drill bit, then used a Flat Spade Wood Drill Bit size 19mm from the metal front, once through the alloy veneer I then worked from the back. A little ‘anti-rotation’ notch was needed to fit the switch – modified the hole with the side of the metal drill bit to accommodate that notch.
Final stage – tidying the cables under the seat and refitting the seat
I used cable ties to fit the relay and secured the cable beneath the driver’s seat, there are plenty of rails and things under there to offer safe fixings.
So far the seat has been a success – takes a few minutes to heat up – perhaps because the upholstery over it is fairly substantial but it is well worth the effort.
I plan to fit the passenger seat pad next, just need to lengthen the cables – for that I will use a more appropriate technique of cutting, adding in a length of cable by splicing and soldering, covering the join with heat shrink.
Summary
I found tons of cash and a priceless ring, the sale of which should pay for my installation although it does look lovely on, I may have to keep it.

Remove gear change surround, unclip rear electrical connector

Lift out gear surround


Push here to move gearstick rearwards

Drivers

Base off

The corner where I want the cables to exit, you can see the ‘U’ shaped seat cover attachments

Offering up the heated pad

Tinkering

More tinkering


Sorted

Bit of split cable to protect it
Tabs on the cigar lighter tray, one on either side

Lifting it out

The cables to the cigar lighter

The back of the cigar lighter

The connector from the loom

Taking out each connector with a small screwdriver to push on tabs


Last edited:

