- Joined
- Nov 29, 2002
- Messages
- 7,657
- Location
- London\Essex
- Car
- E63s s213 2019, E55 2004 Silver-SOLD, E63 w212 Weistec AMG-SOLD, E55 2004-SOLD, C36 1997-SOLD
For over a year i had the "corning headlight deactivated" error, this was being caused by a faulty motor in the headlight unit.
I could have deactivated the cornering function on the headlight but i actually liked it so i was about to replace the headlight (£675 from MB), but i read it could be repaired, so i thought id give it a go.
So off to German ebay where i manged to source a broken headlight unit for £50, hella part 1YL 158696-02 which you cannot buy even direct from Hella.
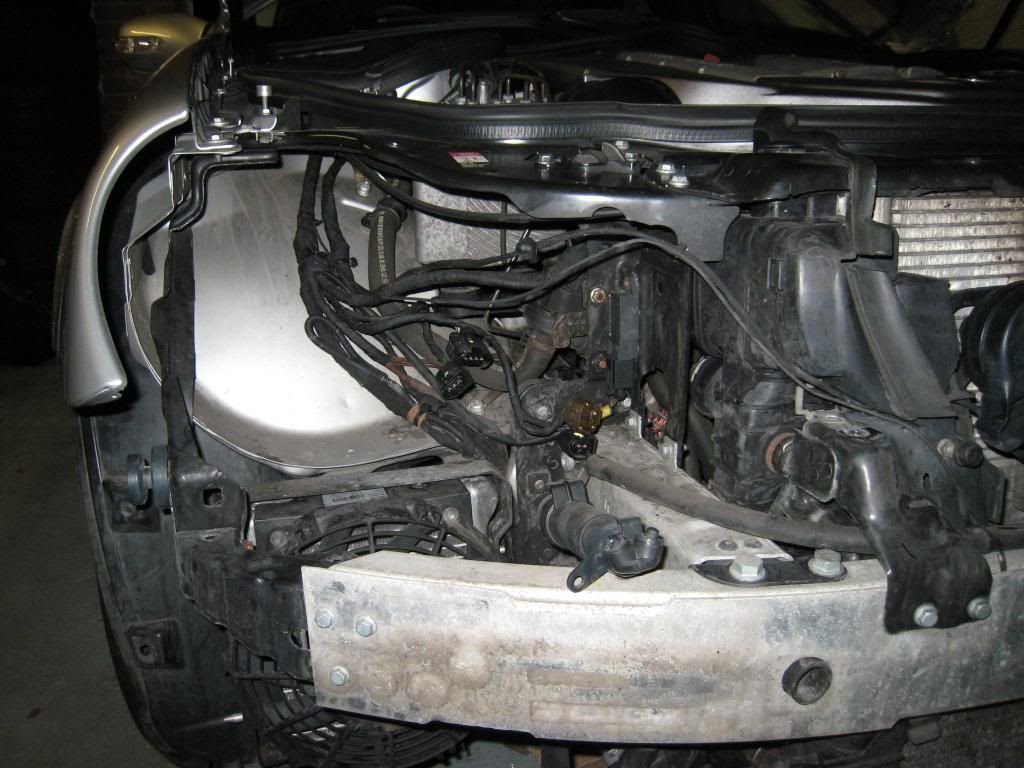
Unplug the 2 big plugs behind the headlight and removed the bolts and the headlight was out
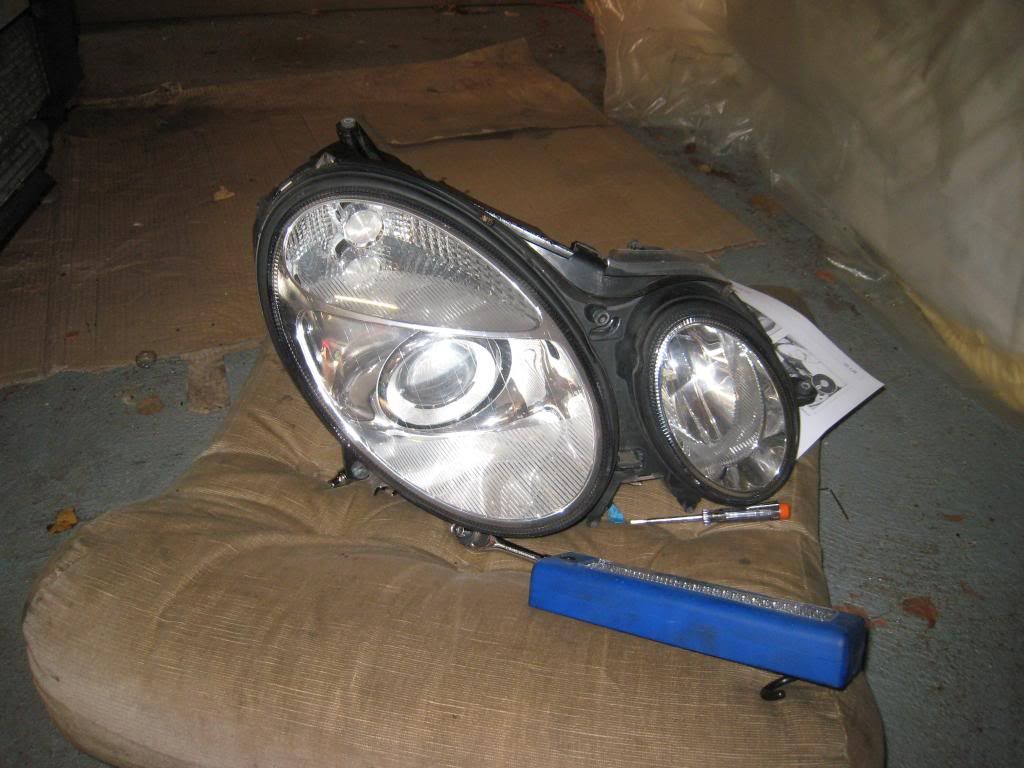
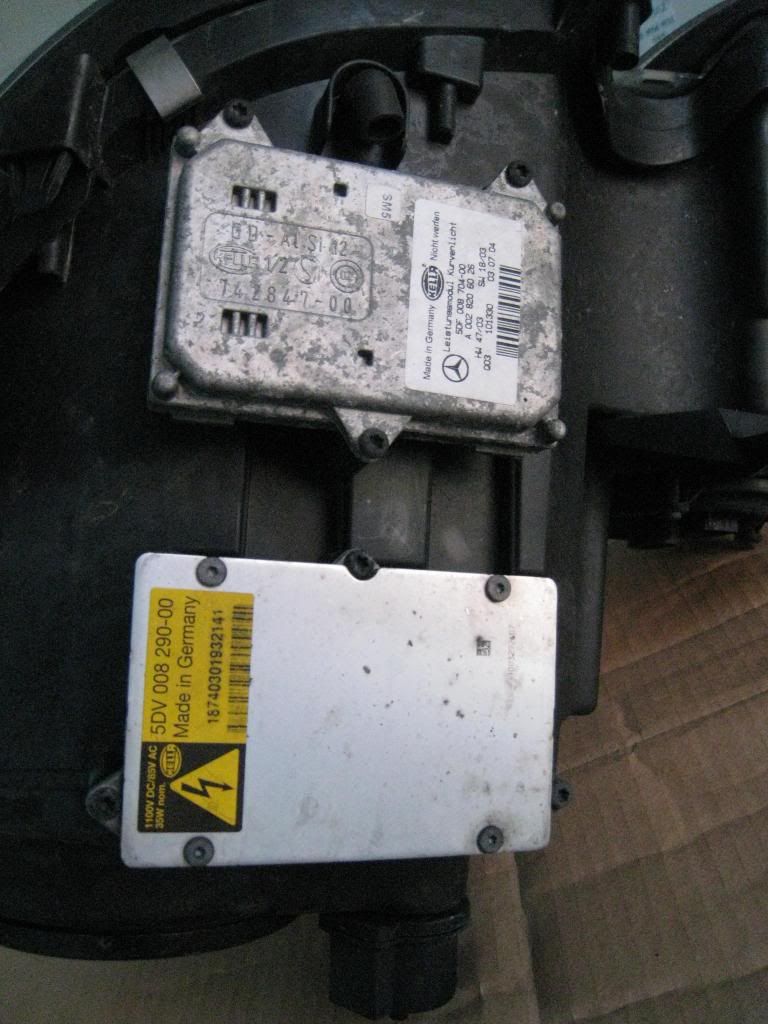
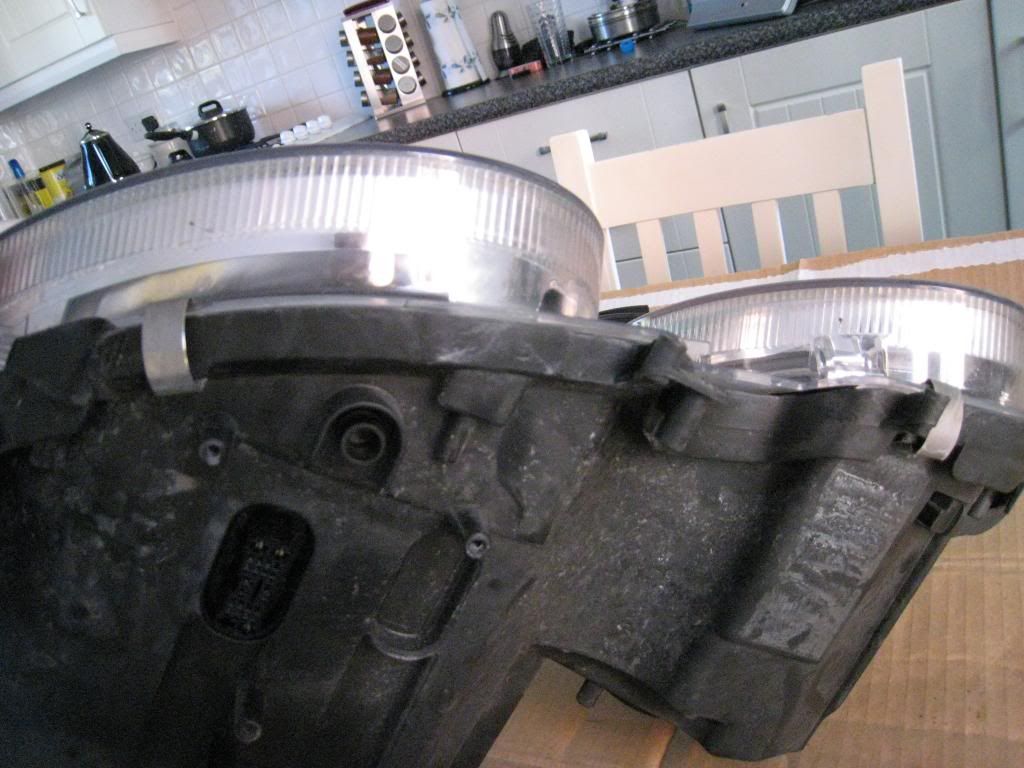
After removing the light we have to remove everything theat can be removed, screws, clips, control units the lot
Remove
remove
remove the rubber drainage hoses
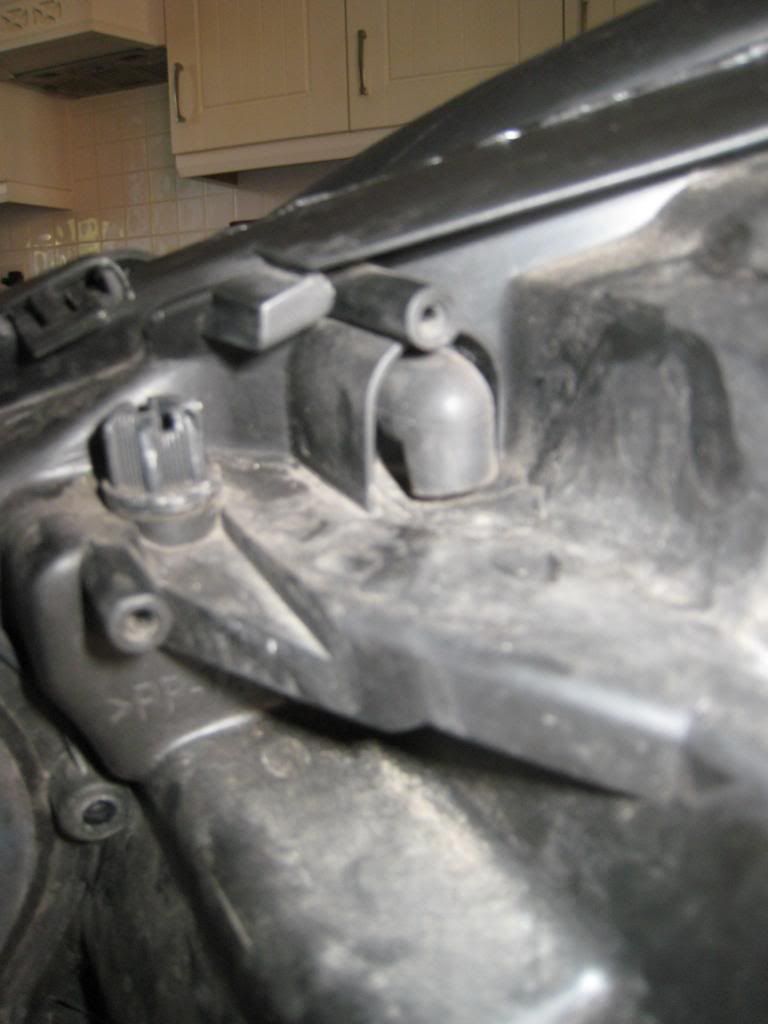
Unclip the cable on the ignitor, then twist the ignitor and pull it off, then remove the xenon bulb, and all other bulbs and holders
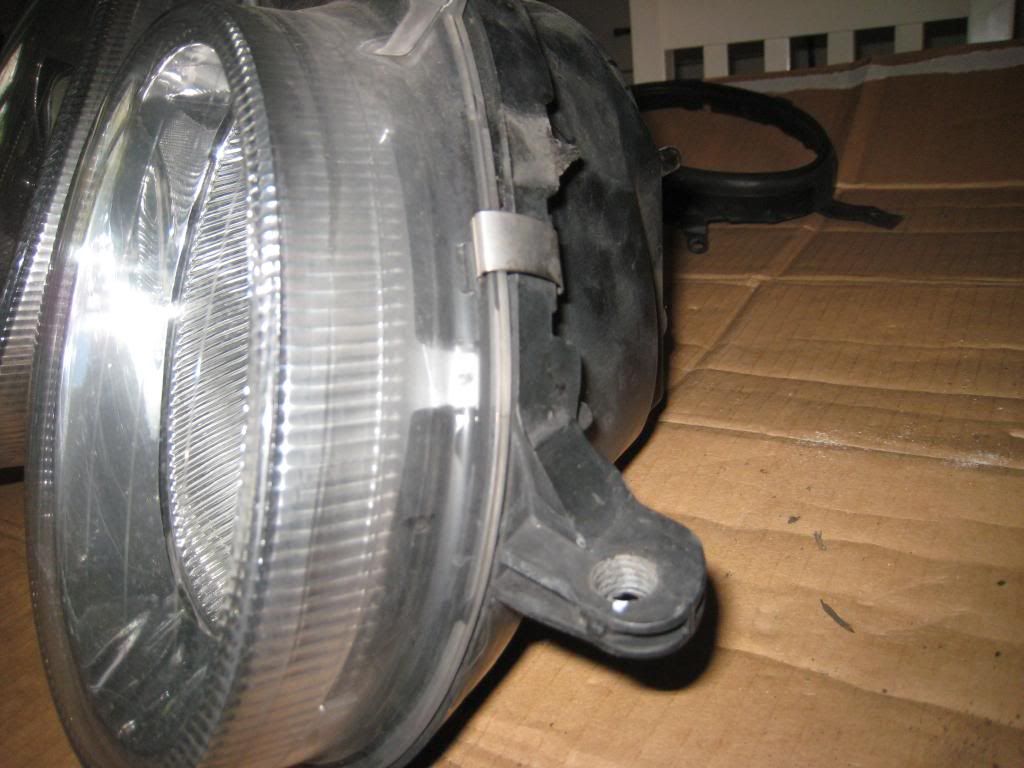
remove bottom fixing bracket
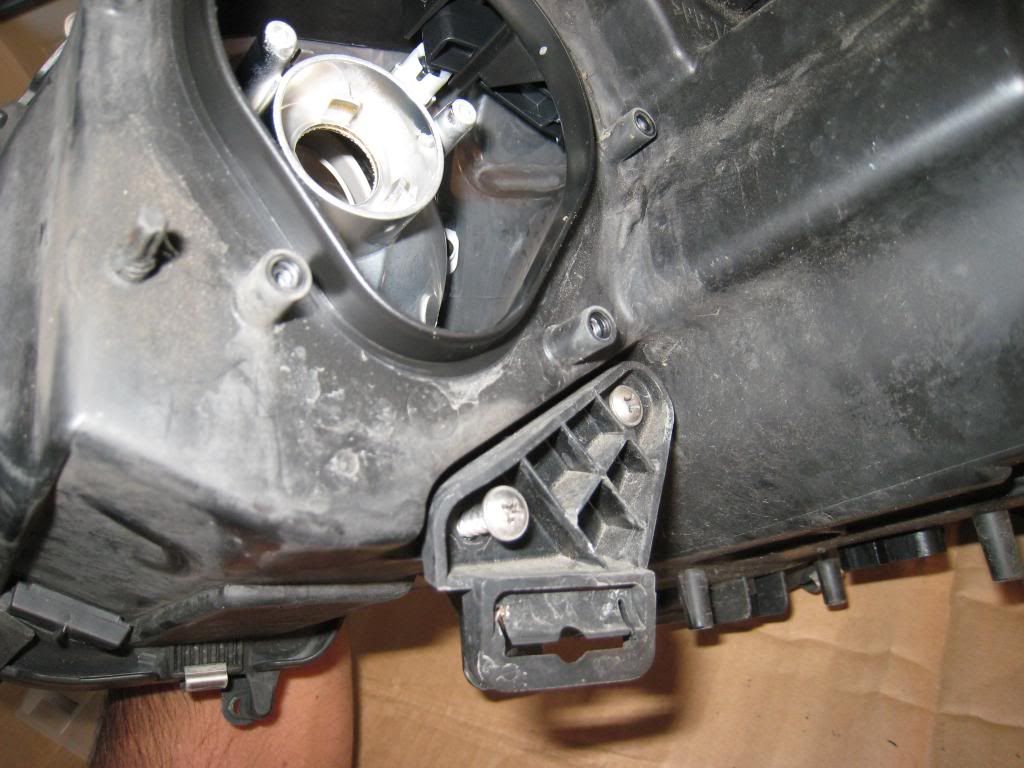
unclip the plastic cover and remove
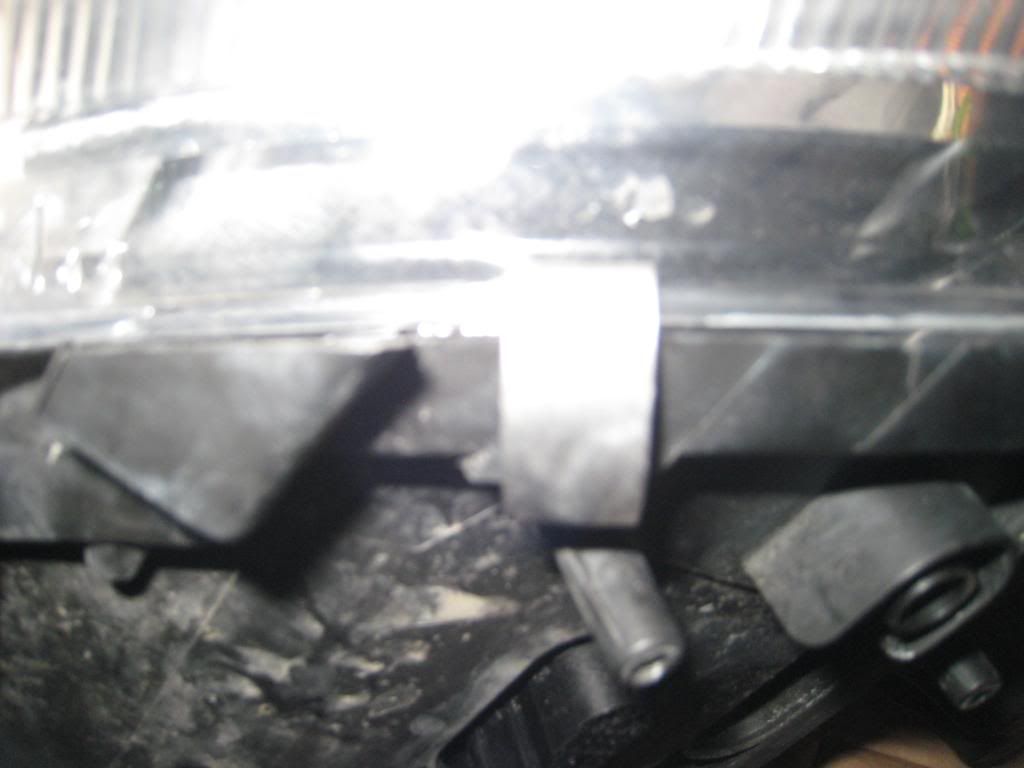
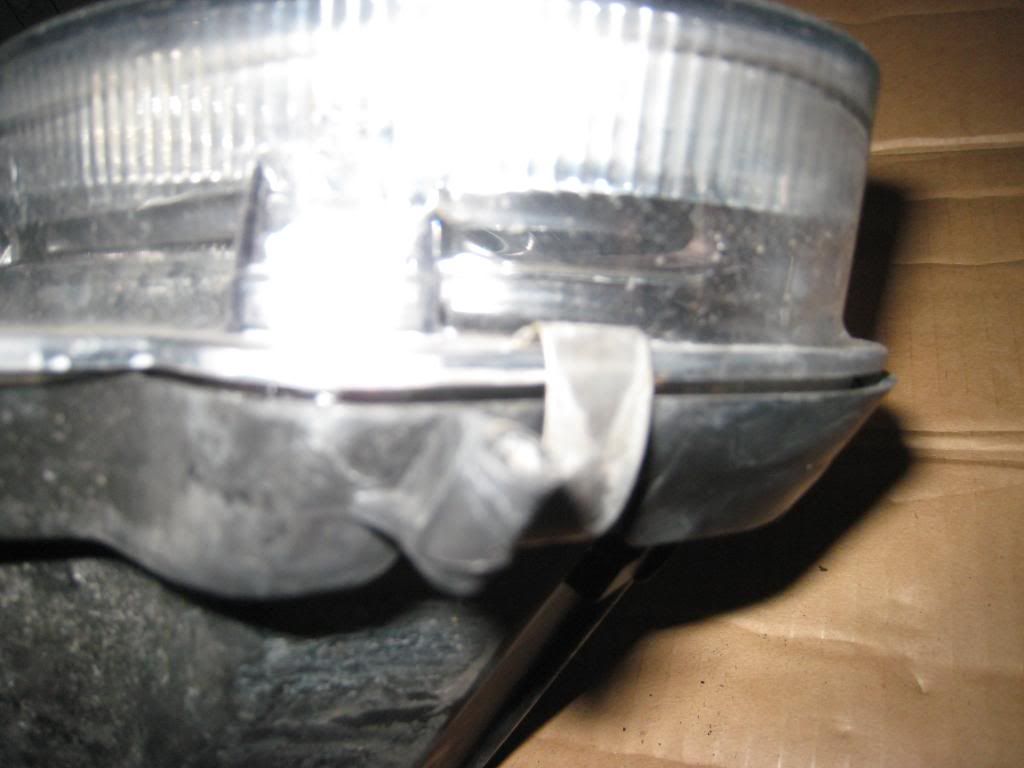
Then carefully with a screwdriver pry off all the plastic clips around the lens
Then comes the scary part, preheat an oven to 100C, stick the light unit in and start praying!, seriously, keep checking every coupls of minutes for about 6 minutes, by this time the glue holding the lens will have warmed up enough to allow you to pry it off.
as i was reading this procedure from a US forum, i forgot cent and ferenhiet, so i had a soft headlight unit when it came out and the glue was very runny and went everywhere! hence i didnt have enough hands to take the pics
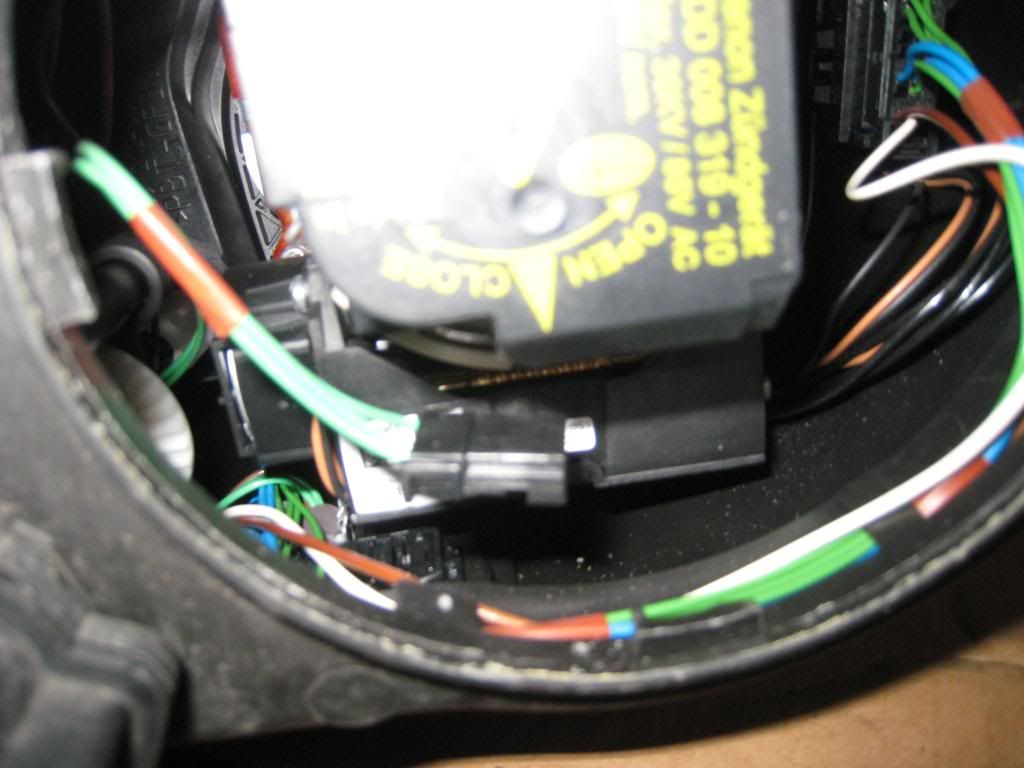
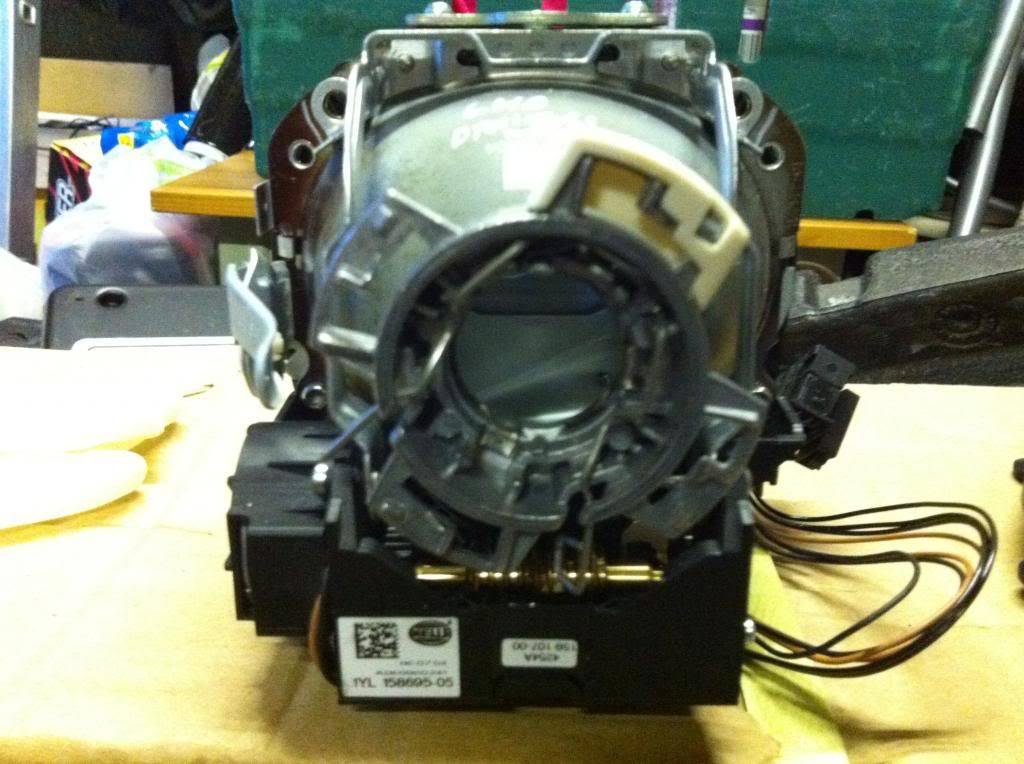
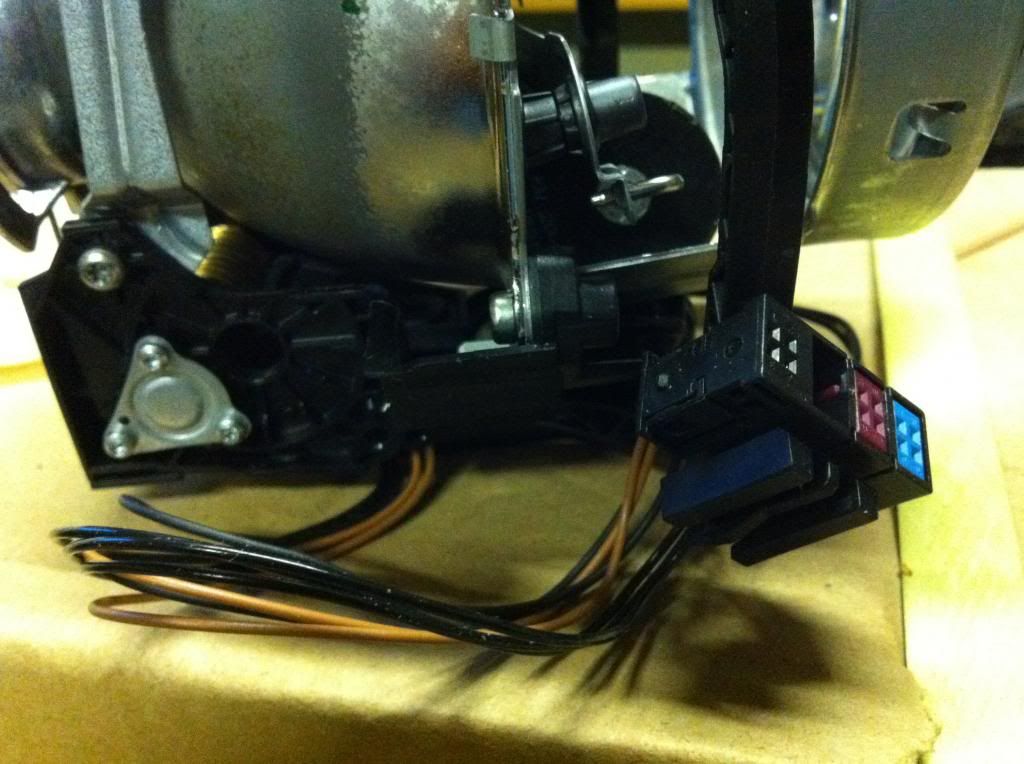
once lens is pryed off undo ths connector on the left
and this one at the bottom which fits into the ballast\control units
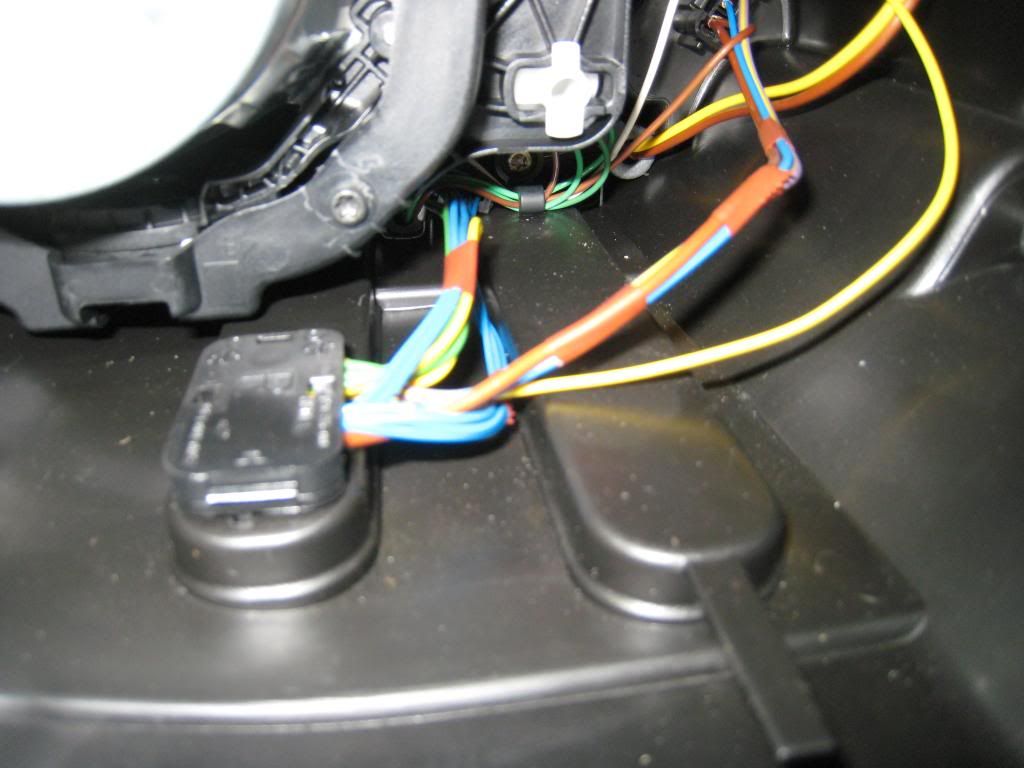
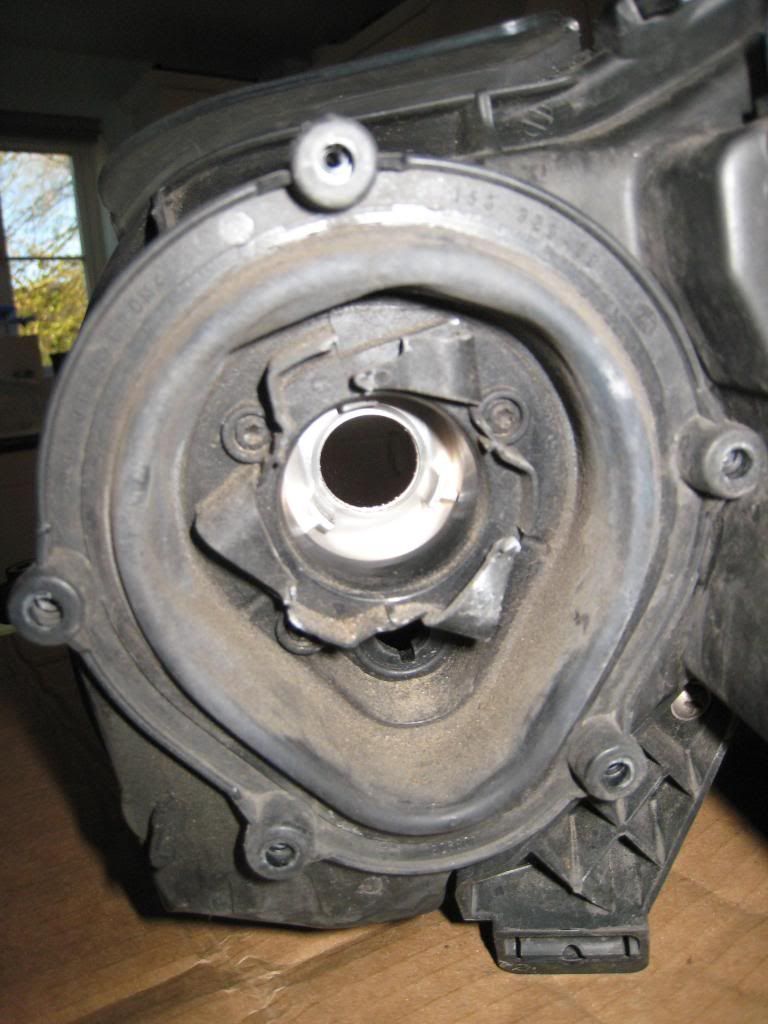
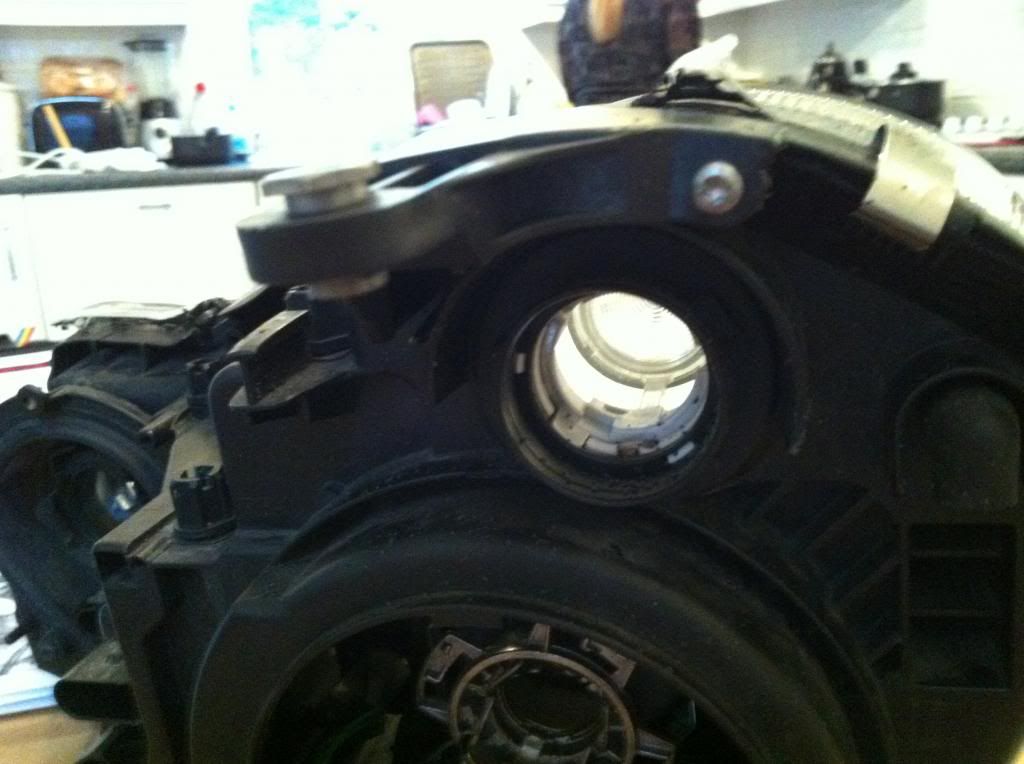
you are then left with the main xenon lens unit
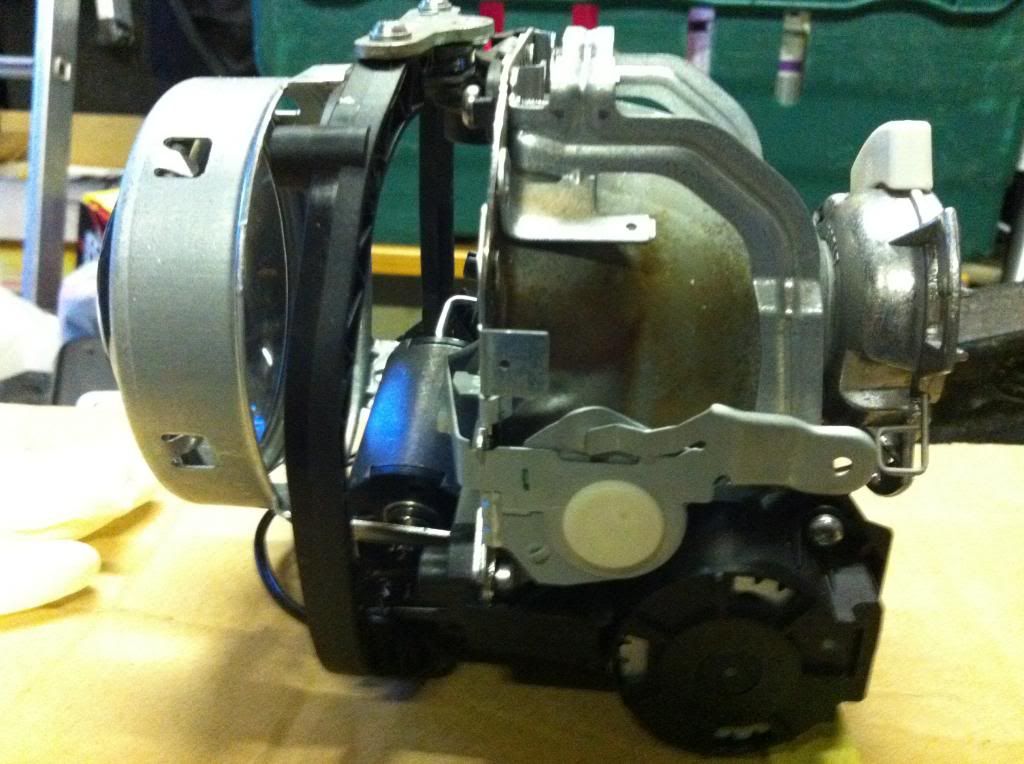
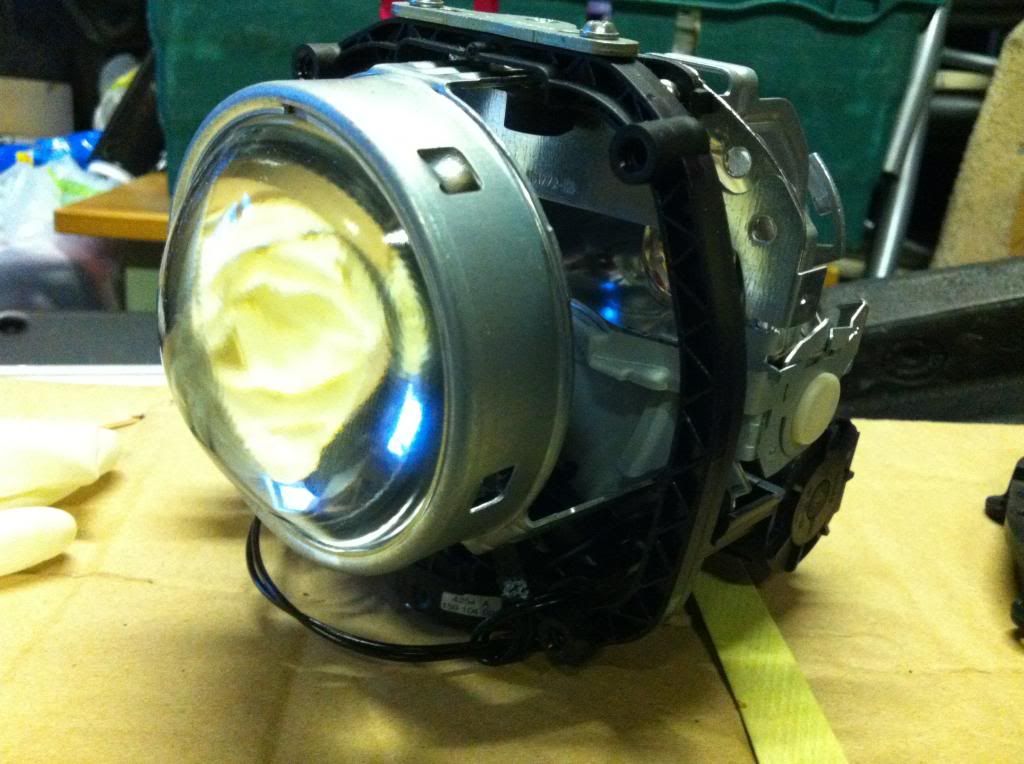
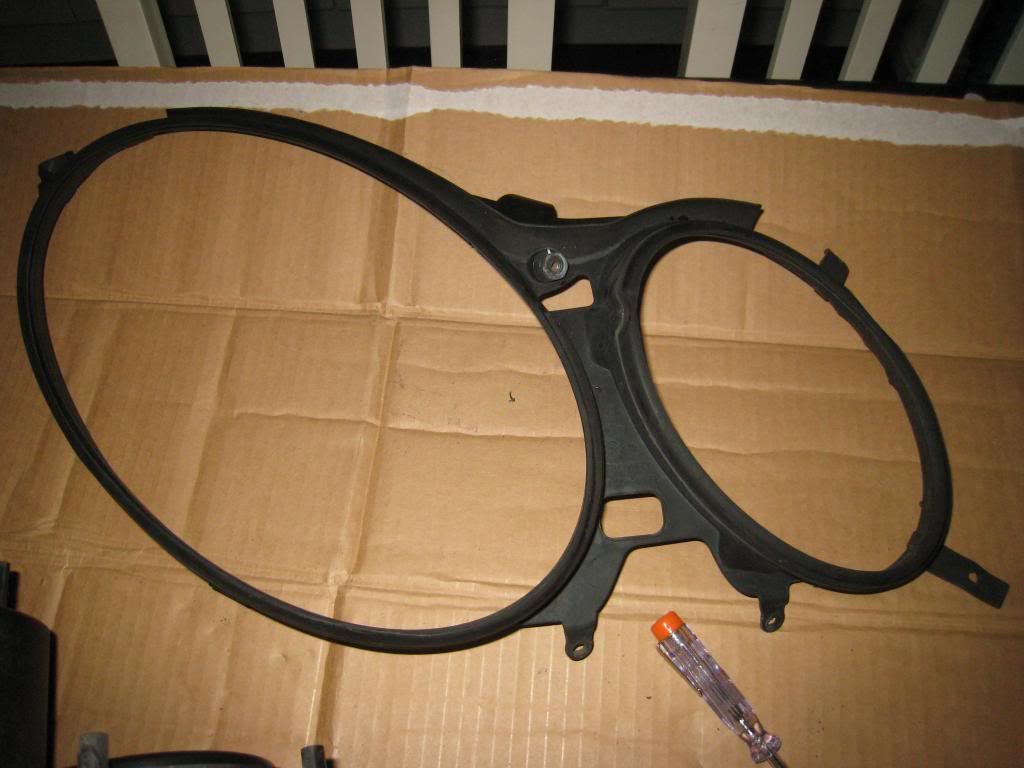
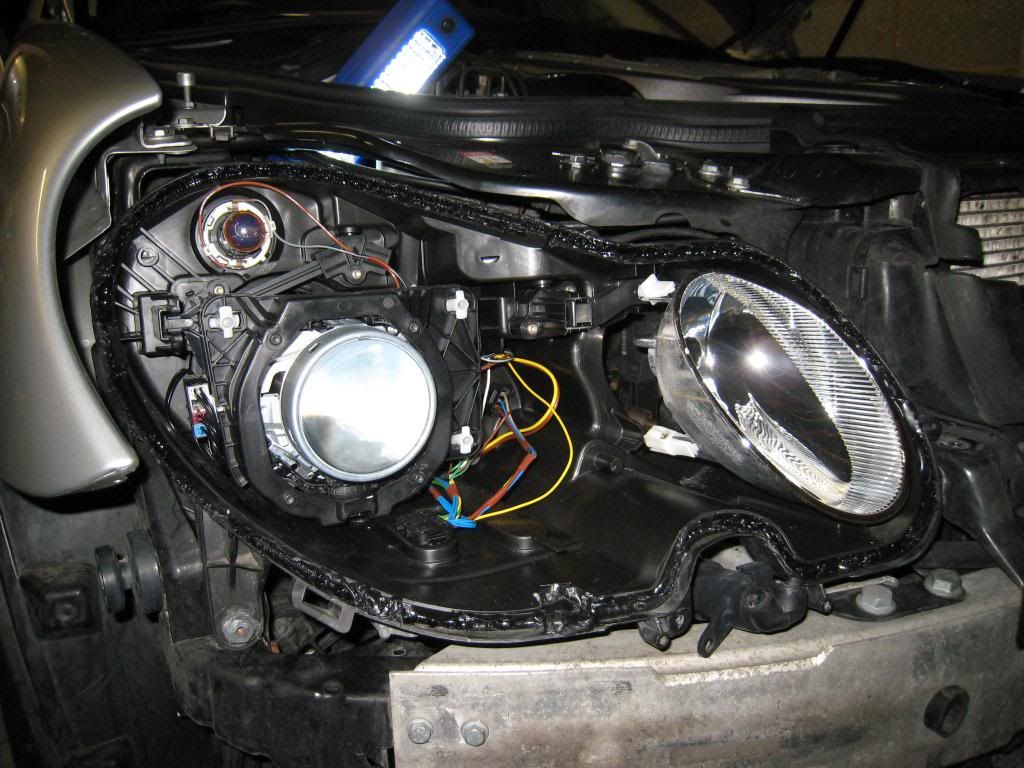
As the replacement i had a LHD one, the lens cutoff is different, so i had to swap the lens frame over also, i then installed the fixed lens unit and put it on the car to test, it looked like something out of terminator!
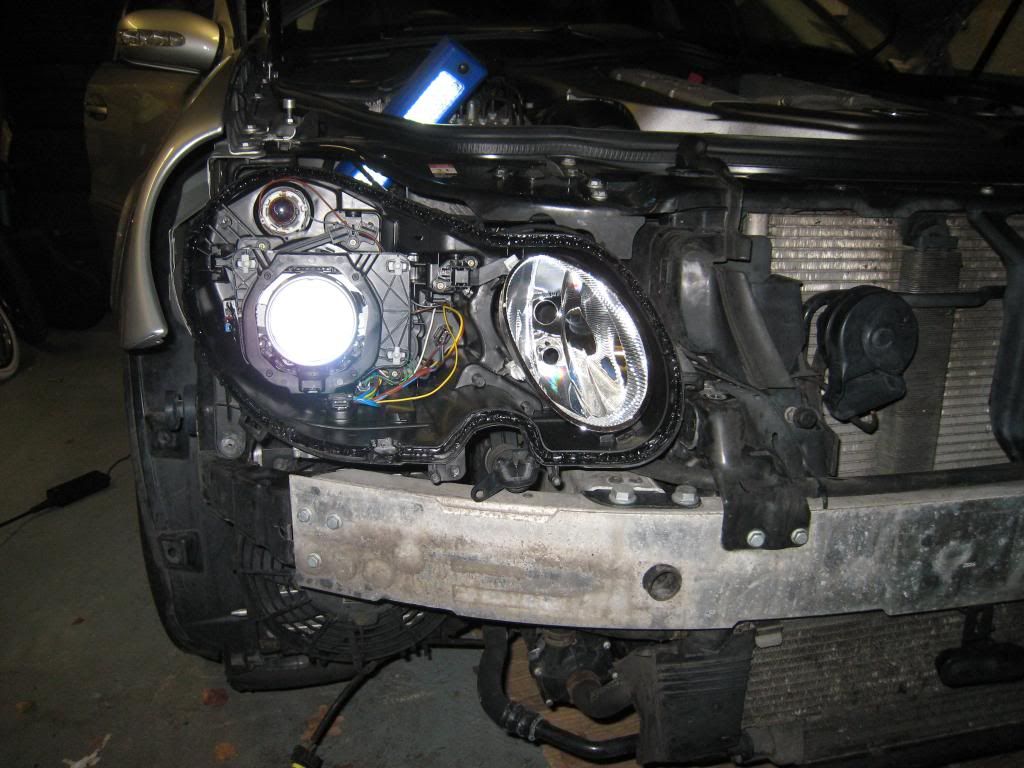
NO MORE ERROR!
i put it on STAR and carried out the left and right test and it worked perfectly!
after this I cleaned up the mess on the lens where the black sealant went everywhere and bought a tube of the mercedes sealant which is used all over your car for gaskets etc.
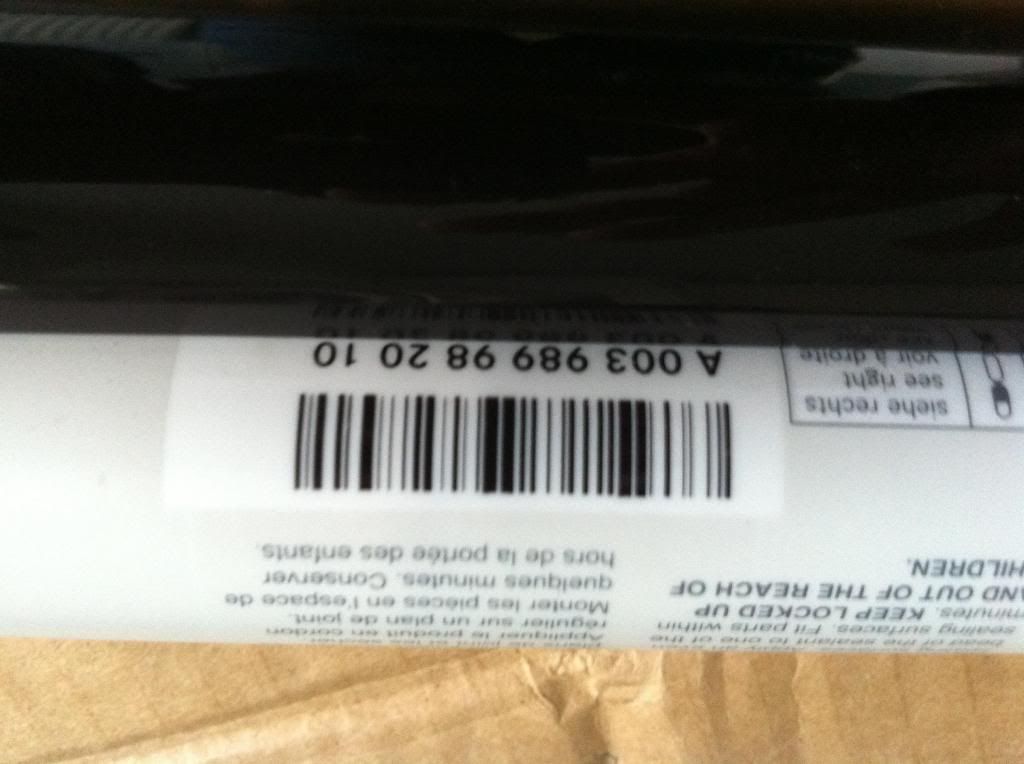
removed all the bits off the light unit again and stuck it back in hte oven ot soften the bonding agent again, took it out and stuck the lens back on. I then resealed the light unit with the mercedes sealant.
I then put everything back together again
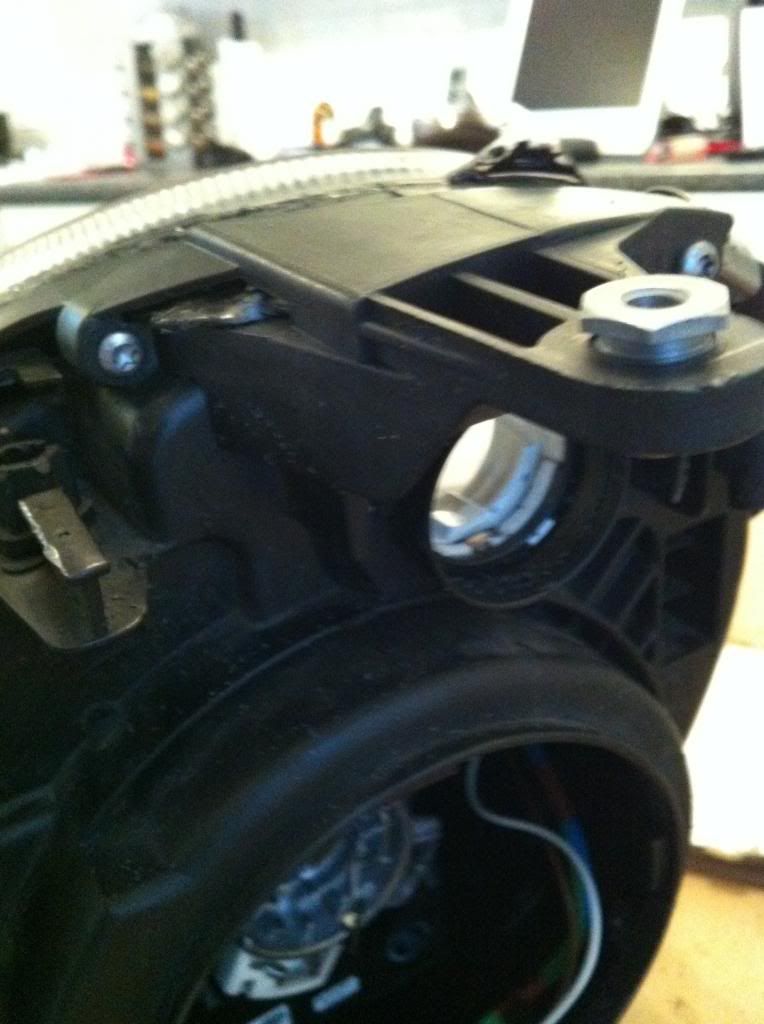
as an added step, i had to repair the lugs (as doofus had melted them in the oven), MB do a nifty repair kit which has all 3 lugs, i needed two.
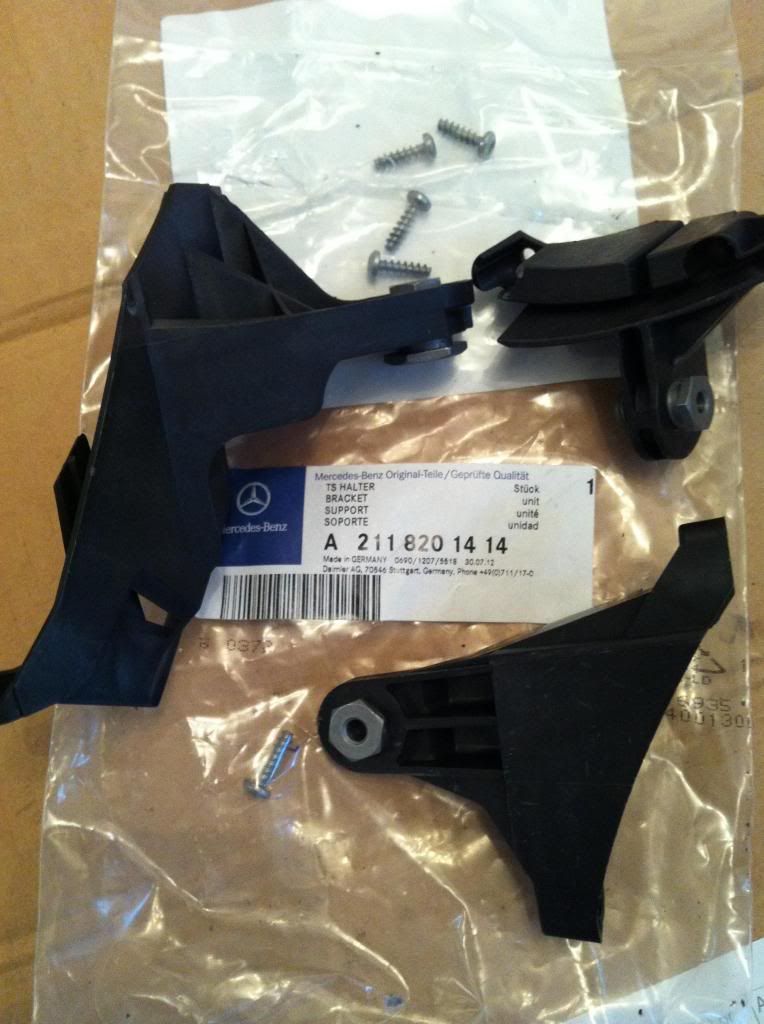
i sawed the old melted lugs off and srewed the new ones back in
fitted the light back onto the car and 5 months later it works flawlessly, hope the above helps
I could have deactivated the cornering function on the headlight but i actually liked it so i was about to replace the headlight (£675 from MB), but i read it could be repaired, so i thought id give it a go.
So off to German ebay where i manged to source a broken headlight unit for £50, hella part 1YL 158696-02 which you cannot buy even direct from Hella.
Unplug the 2 big plugs behind the headlight and removed the bolts and the headlight was out
After removing the light we have to remove everything theat can be removed, screws, clips, control units the lot
Remove
remove
remove the rubber drainage hoses
Unclip the cable on the ignitor, then twist the ignitor and pull it off, then remove the xenon bulb, and all other bulbs and holders
remove bottom fixing bracket
unclip the plastic cover and remove
Then carefully with a screwdriver pry off all the plastic clips around the lens
Then comes the scary part, preheat an oven to 100C, stick the light unit in and start praying!, seriously, keep checking every coupls of minutes for about 6 minutes, by this time the glue holding the lens will have warmed up enough to allow you to pry it off.
as i was reading this procedure from a US forum, i forgot cent and ferenhiet, so i had a soft headlight unit when it came out and the glue was very runny and went everywhere! hence i didnt have enough hands to take the pics
once lens is pryed off undo ths connector on the left
and this one at the bottom which fits into the ballast\control units
you are then left with the main xenon lens unit
As the replacement i had a LHD one, the lens cutoff is different, so i had to swap the lens frame over also, i then installed the fixed lens unit and put it on the car to test, it looked like something out of terminator!
NO MORE ERROR!
i put it on STAR and carried out the left and right test and it worked perfectly!
after this I cleaned up the mess on the lens where the black sealant went everywhere and bought a tube of the mercedes sealant which is used all over your car for gaskets etc.
removed all the bits off the light unit again and stuck it back in hte oven ot soften the bonding agent again, took it out and stuck the lens back on. I then resealed the light unit with the mercedes sealant.
I then put everything back together again
as an added step, i had to repair the lugs (as doofus had melted them in the oven), MB do a nifty repair kit which has all 3 lugs, i needed two.
i sawed the old melted lugs off and srewed the new ones back in
fitted the light back onto the car and 5 months later it works flawlessly, hope the above helps