• The Forums are now open to new registrations, adverts are also being de-tuned.

Mercedes W114 250 Coupe - help!

I can't find any images online that show that of my car - hence the appeal, I would genuinely much prefer to see images from owners cars here as I have the chance to ask them and get supplemental photos if necessary.
 
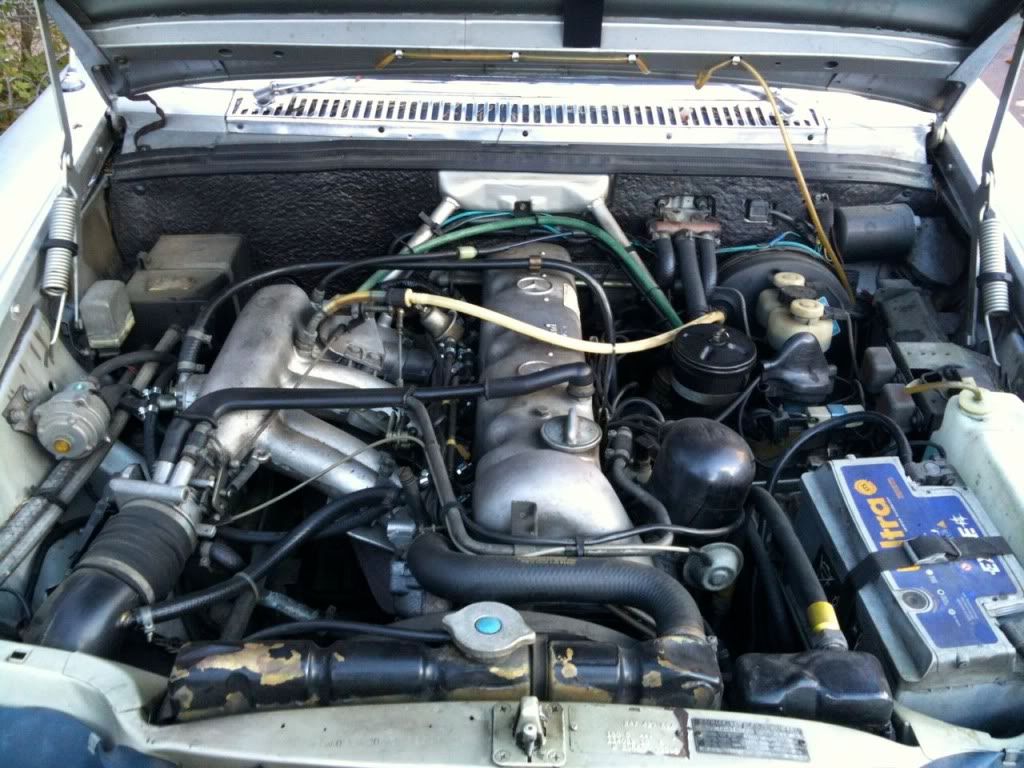
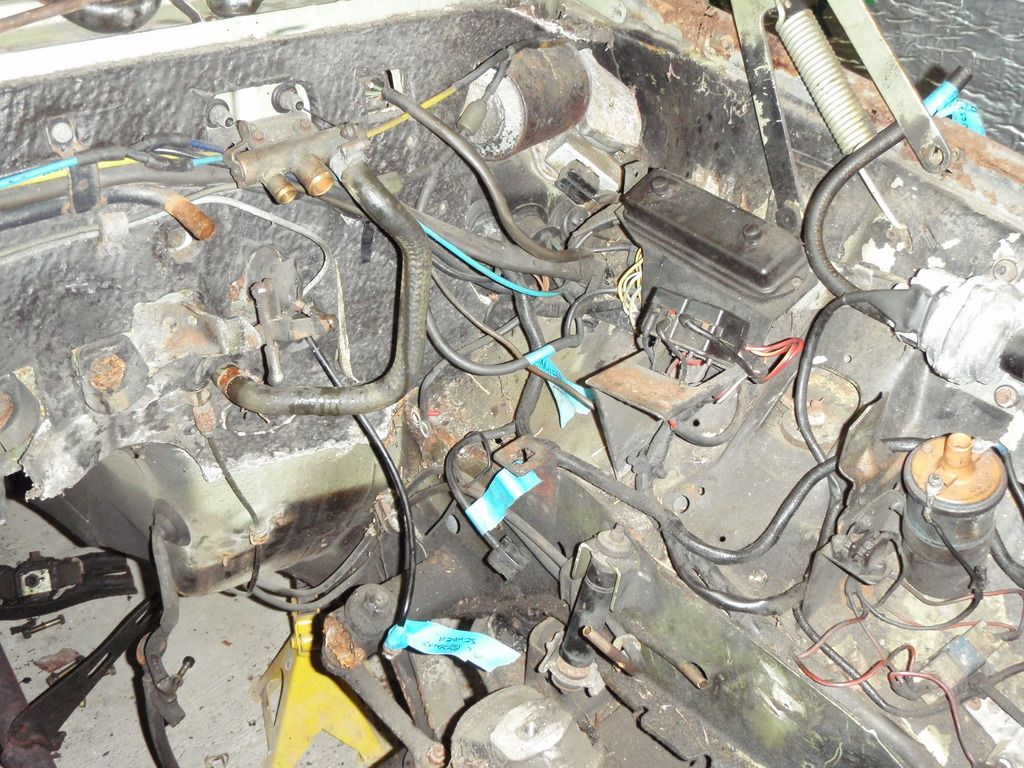
There's this photo of the resto from way back showing some detail of what appears to be an "electrical" centre bolted to the side of the inner wing- shows 3 relays plus what maybe a black fuse holder plus ballast resistors plus coil [ these may be just engine related. Unfortunately LHD- don't know if things swap over for RHD or not?
Hopefully someone with pictures will come along shortly.
 
Last edited:
Motor.jpg
 
I've asked the question in the W114/W115 facebook group and will also repeat it in the electronics section here, the danger of a very long project thread is losing stuff through the too rapid development and loss of focus.
 
Quick appeal to any W114/W115 owners here - could you take some photos of the fuse box area so I can see how it all fits together - I forgot to do this before it was stripped, and consequently I have a box of bits, wires and relays without any guide as to how it all goes back together!


You are welcome to look through the pictures of mainly rust on photo bucket library, they may be of help? I do have a lot more to upload which are still on my camera.
280CE Restoration by 87MARSHALL | Photobucket
 
Sam - that's a brilliant resource, thanks. Not least it shows the doors before the bolt removals - I never got round to that. The fusebox arrangement, surprisingly, is quite different.

The W114 / W115 facebook group is turning out to be very helpful indeed.
 
An example of the helpfulness- my horns should fit!

12523178_10153745361035700_1695166861460561987_n.jpg
 
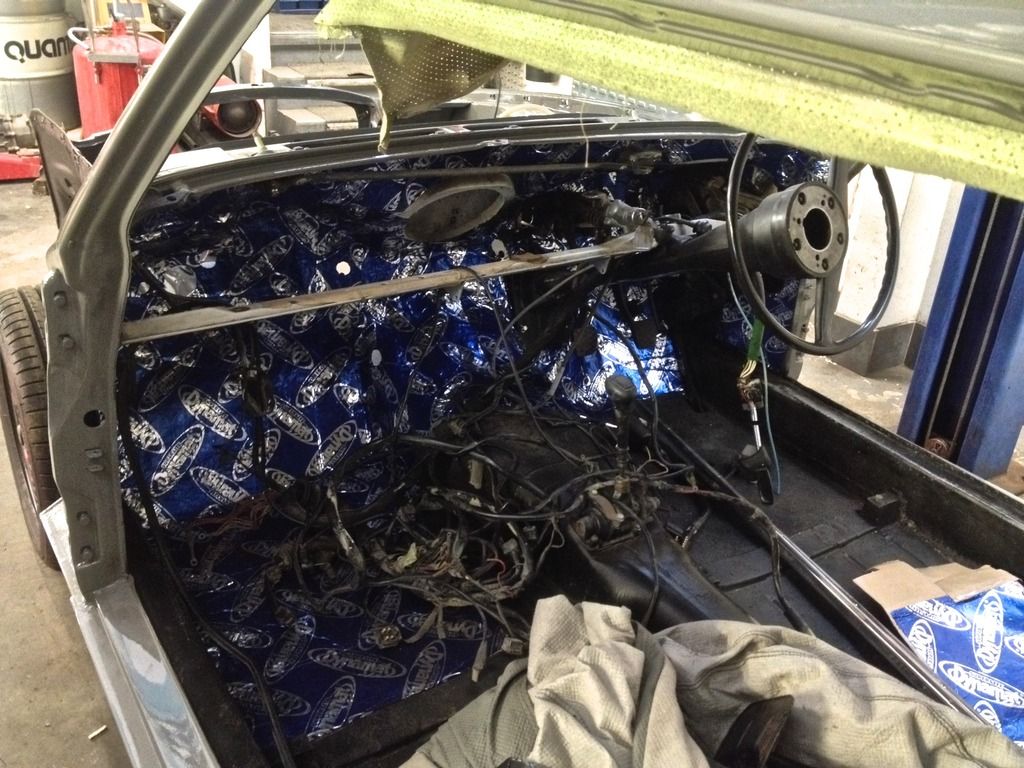
Been running around sourcing parts and trying to work out sensor bracket locations, with mixed success. I've sound-proofed the bulkhead area inside the car (the rest can wait until the interior goes in). With Tony2's help and Laurence's pick up we'll move the engine and gearbox up next week.

soundproofing2_zpstdhzgdpe.jpg
 
Charles having trolled over multiple MB sites now it would appear that a wiring diagram for the W114 250 CE is indeed a rare animal. However looking at the February 2016 edition of the offical Mercedes-Benz Club directory I came across the following on page 15 under the heading technical information on CD

CD5
Comprises the body manual for r107 w114 w115 and w116 models plus vacuum systems air conditioning ventilation and heating. The information includes wiring diagrams and schematics for the vacuum systems as well as fault diagnosis procedures.
The CD also includes the wiring diagrams for models with carburettor or D-JETRONIC fuel injection on chassis codes R107 [ 350] W108 W114 W115 AND W116
At a cost of a not unreasonable £15 inc vat plus postage for club members it might be worth a look?
 
Last edited:
That sounds great. I'll need to dig out a directory!
 
Engine carted up today on Laurence's pick up. Amazing what a difference a hefty lump makes to ride quality and side wind stability. The return journey was a lot more skittish!
 
Popped up to Norfolk to collect a few bits and pieces and to take some photos of Colin's engine bay etc. He took me out for a delightful run in his 250CE which was a real joy, they are lovely riding and handling cars.
 
I can report the heater is fearsomely good, the little mono speaker does a great job and with doors and windows all shut the car had little wind noise at 70mph (indicated). I think the decision to keep the 5 speed manual is the correct one - the diff is a bit noisy in 4th at motorway speeds, with the final drive at 1:1, the 5th on the manual is .87.

I must say I really enjoyed the ride (I pressed video by mistake rather than a photo at speed) and on the audio (the floor of the car is pretty blurred on the video) I am heard making rather childish whoops of delight!
 
Back to fuel system, I decided to order a fuel pump for the later W123 280E (also used on a lot of W124s and W201s) as that would give a slightly larger flow than needed and I can size the filter for that correctly too. So Bosch 0580464125 has been ordered.

I also started work on the seat runners, seat fore and aft adjusters and vacuum systems. The runners needed a good clean, de-grease and re-grease. The adjusters on both my front seats were missing the handle (the only downside of having to collect and deliver them in Germany without a chance to do the work first), so I removed the perfect adjusters from my existing seats and transplanted them, as I did with the vacuum systems.

Managed also to get through to MB Club UK and ordered my DVD.
 
Last edited:
Good news! My disc has arrived, a mere day after ordering.

Bad news! My Mac has no disc drive.

Even worse news! A trip to PC World or Maplins for a disc drive on the cards. How do I hate thee, let me count the ways...
 
Last edited:
Good news! My disc has arrived, a mere day after ordering.

Bad news! My Mac has no disc drive.

Even worse news! A trip to PC World or Maplins for a disc drive on the cards. How do I hate thee, let me count the ways...

Could you get the contents of the DVD transferred to a USB stick?
I assume the DVD will work on a MAC? ----- Data supplied is in the form of PDF's with Acrobat reader supplied on disc ?
Not sure of the MB DVD size which might dictate the size of USB stick necessary?
If you have a mate with a MAC and DVD drive/portable drive that might be possible? First to check the DVD will work with the Apple operating system and second to try copying to your usb stick in an APPLE compatible format.
 
I recalled there is a decent computer section at John Lewis Hey Wycombe so popped up there to find a respectable Samsung DVD drive for £35, which they had in stock (a miracle in the clicks and mortar era) but the long handled dustpan was out of stock.

A quick open reveals from useful stuff not on Bolinko and a fair amount that is.
 
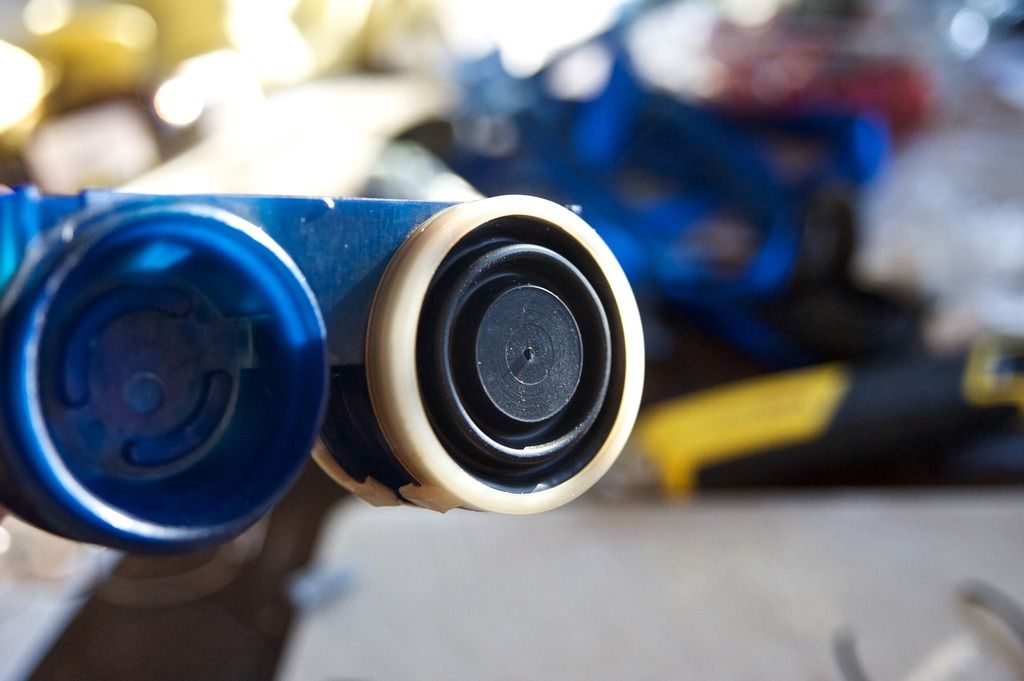
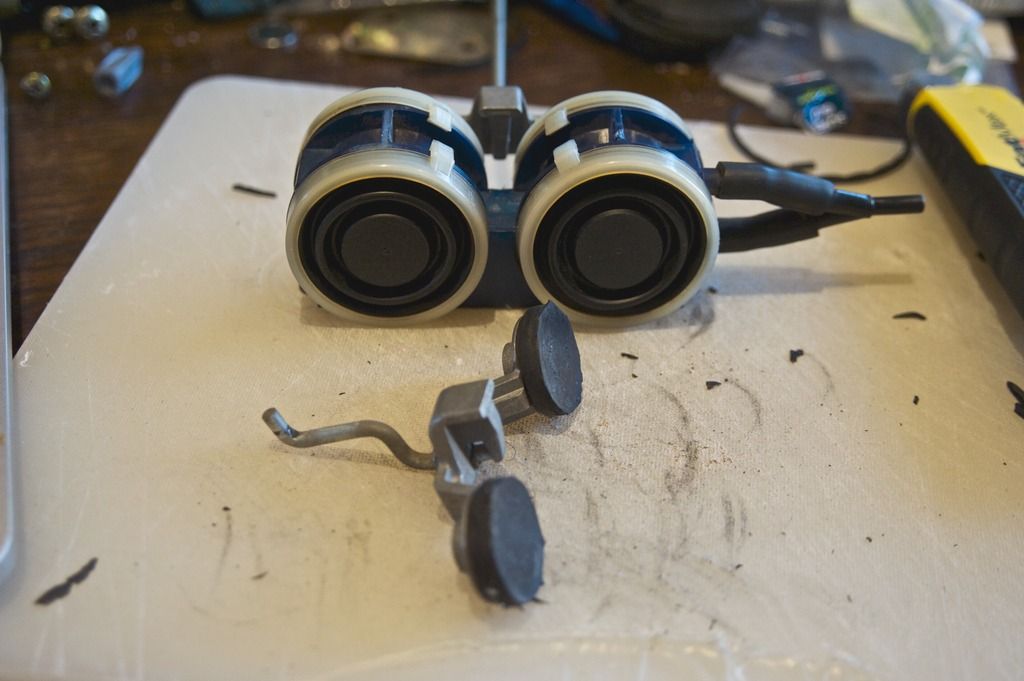
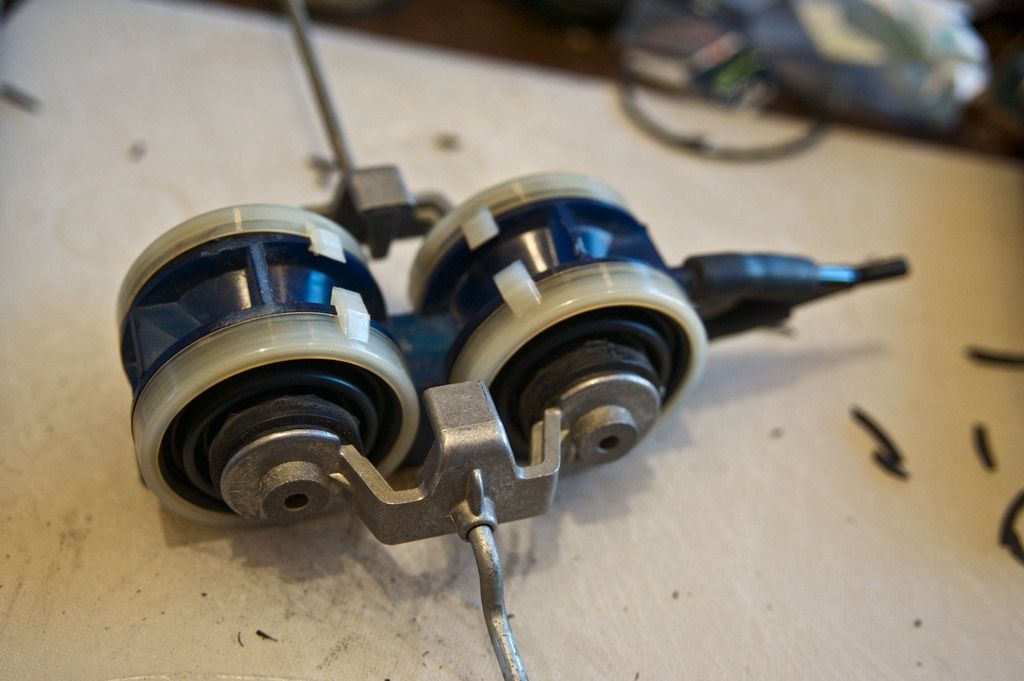
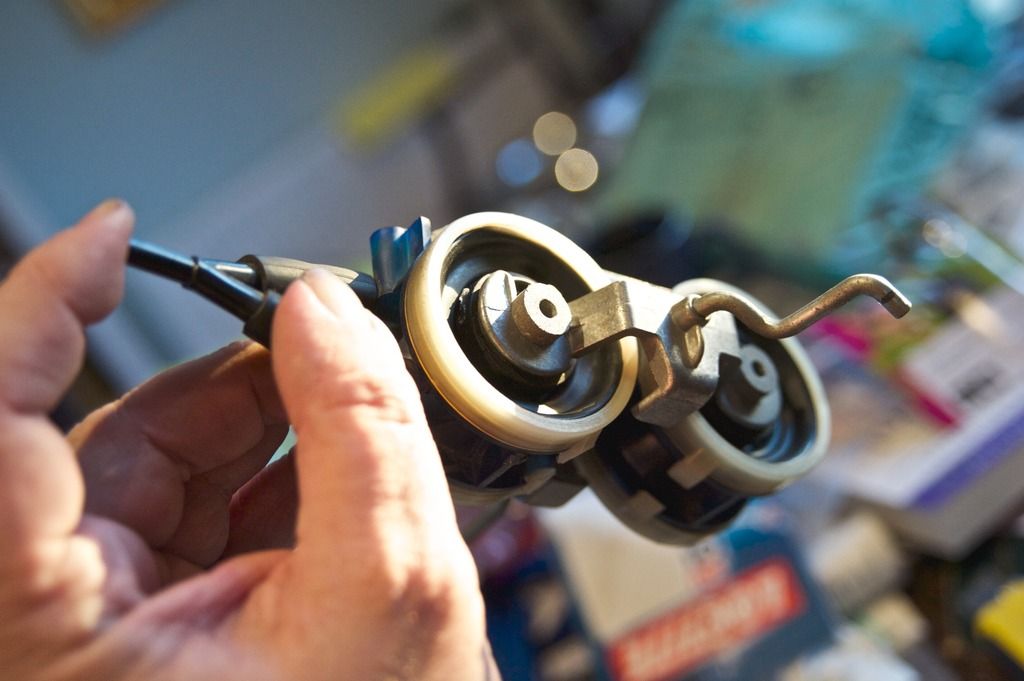
Bellow repair afternoon (the vacuum ones for my seat locks, not the helpful one in the North East of Scotland).

Using the helpful suggestions from http://www.mbclub.co.uk/forums/interior/198454-w114-280ce-looking-parts-seat-locks.html, I ordered in the rubber diaphragms in sufficient quantity to repair my pair of double bellow locks.

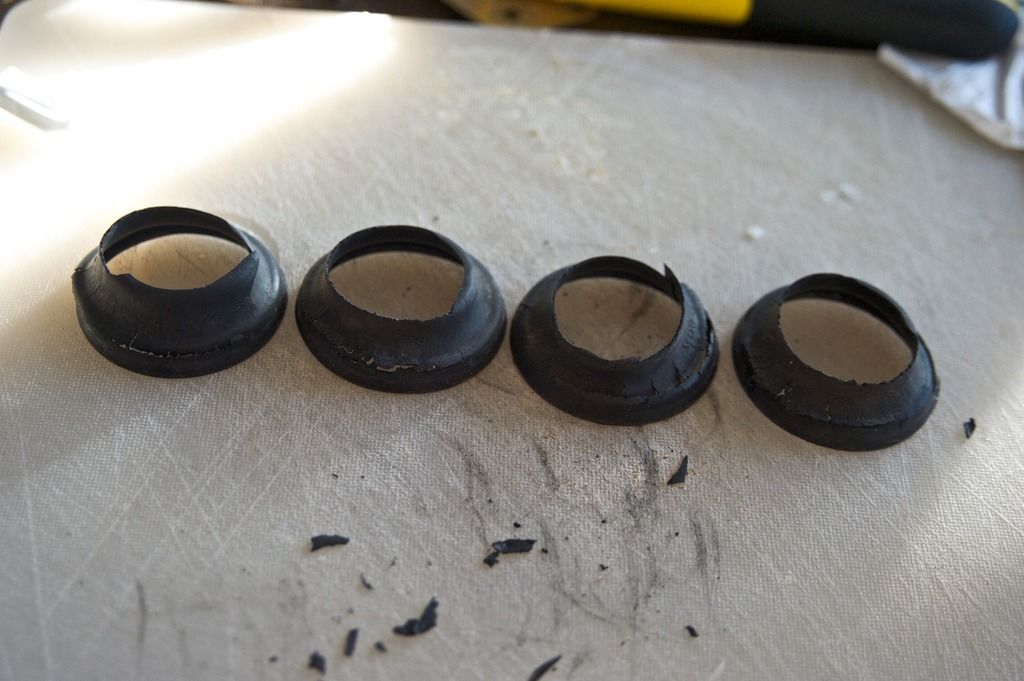
The existing rubber is perished and hopeless, coming away easily from the plastic bellow frame and the central plunger.

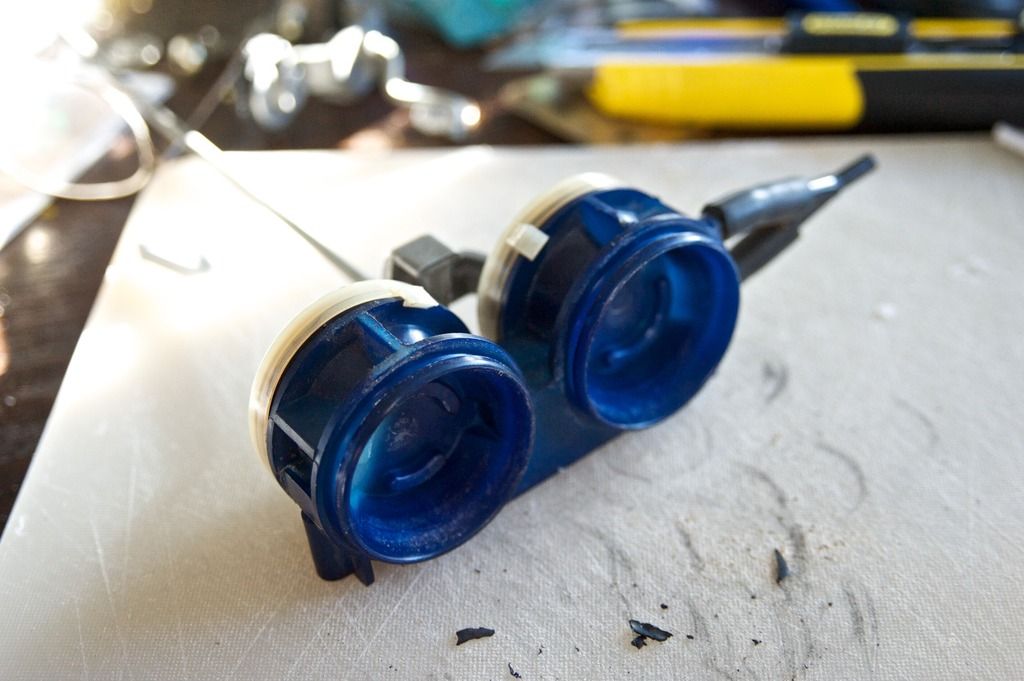
bellows_zpsrsscpov3.jpg


The plastic bellow frame

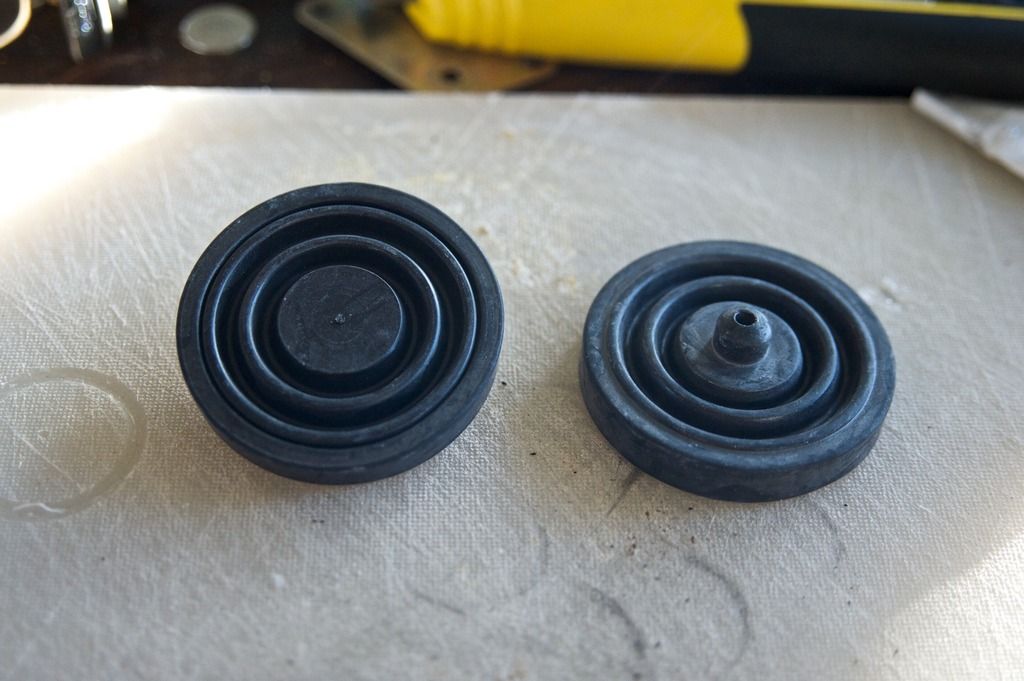
bellows2_zpso3ivx1g2.jpg


The replacement diaphragms - two sides, the one that fits is the left hand side that nestles in the larger side.

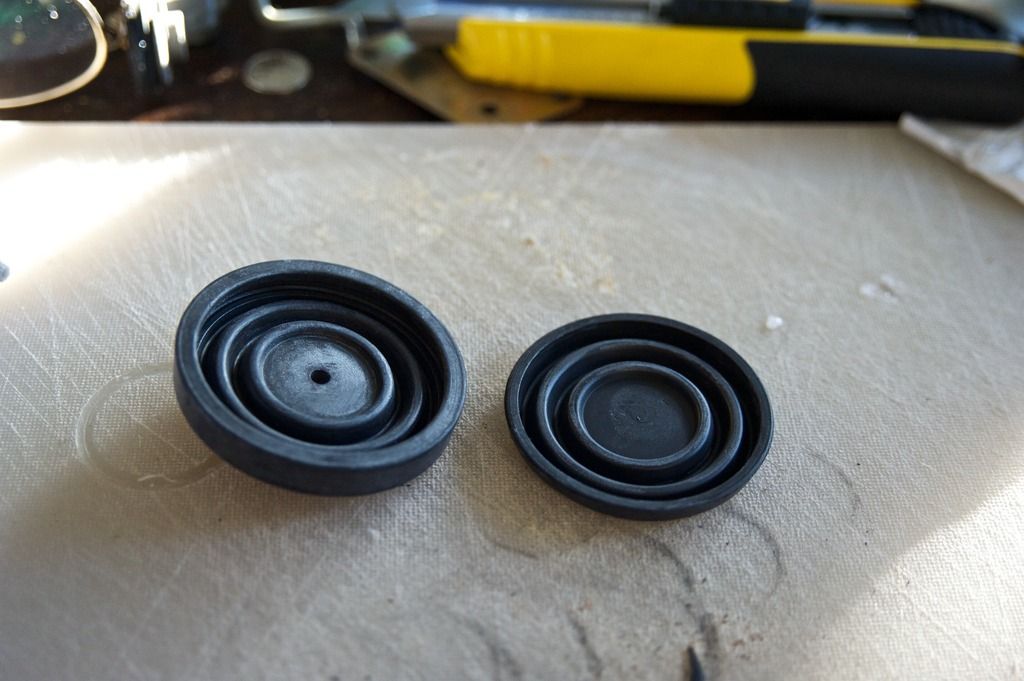
bellows3_zpsy2dijecj.jpg


Peeled apart the correct diaphragm is on the right.

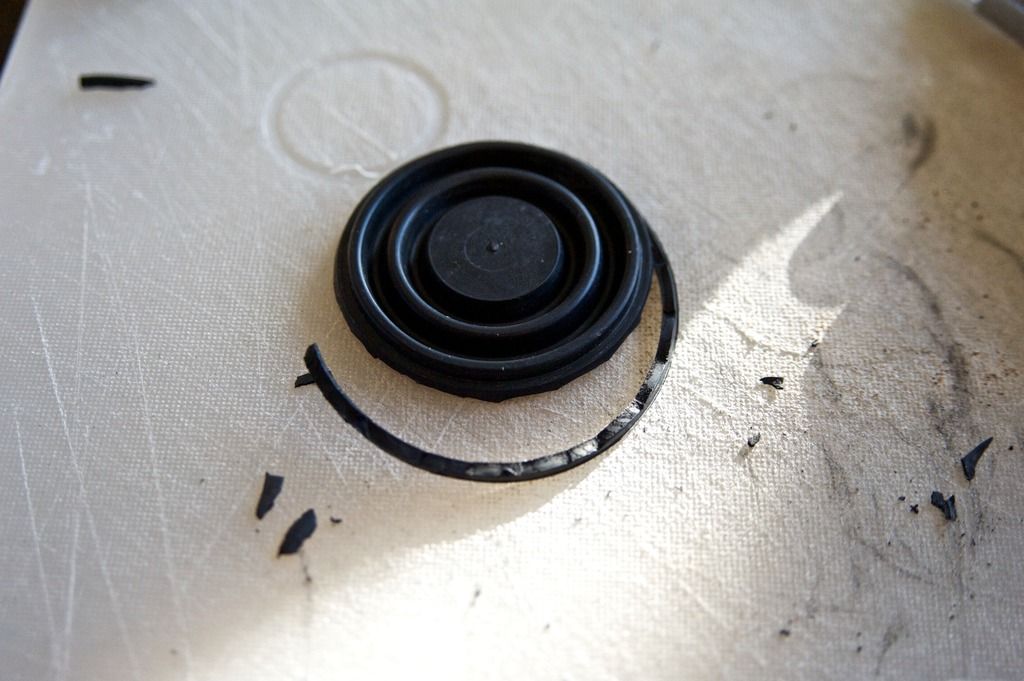
bellows4_zps7x68tbwh.jpg


Trimming off the surplus rubber around the edge is not easy, but it doesn't have to be perfect, the trim here about 2-3mm.

bellows5_zps02lb5abx.jpg
 
Last edited:
I then superglued the inside of the first rubber ridge and also the part of the plastic bellow frame it fits into.

I held it tight to the frame until it had adhered, then clamped it with the plastic clamp from the original setup.

bellows6_zpscmkpm2h1.jpg


Repeated on all the remaining three bellows, I then trimmed the old rubber from the edges of the centre plunger mechanism, leaving the centre in place but making sure it was thoroughly glued to the metal plunger mechanisms. The replacement bellows are shallower than the originals, which risks the mechanism not fully releasing when the vacuum is released so I thought a small thickening of bellow centre would help a bit.

bellows7_zps2urwom6e.jpg


The plunger mechanism was then glued to the centre of the bellows thus

bellows8_zpsihg5u67u.jpg


Then when set, a bit of testing. I sucked out the air, and left my finger over the vacuum pipe and lo, the bellows remained fully retracted until the finger removal let air back in.

bellows9_zpssqibxwrp.jpg
 
Last edited:

Users who are viewing this thread

Back
Top Bottom