• The Forums are now open to new registrations, adverts are also being de-tuned.

Mercedes W114 250 Coupe - help!

Above and beyond Graeme. I'm emailing ExtraEFi later about the set up as I believe the EDIS control unit is used but only for powering and firing the coilpacks, the MS2 taking over the calculations and sending the instruction to fire. I could be wrong though.
 
If you are using the EDIS controller as well as the coil pack that should make life a lot simpler. :thumb: It will contain similar switching power transistors a microprocessor and the VR sensor input.
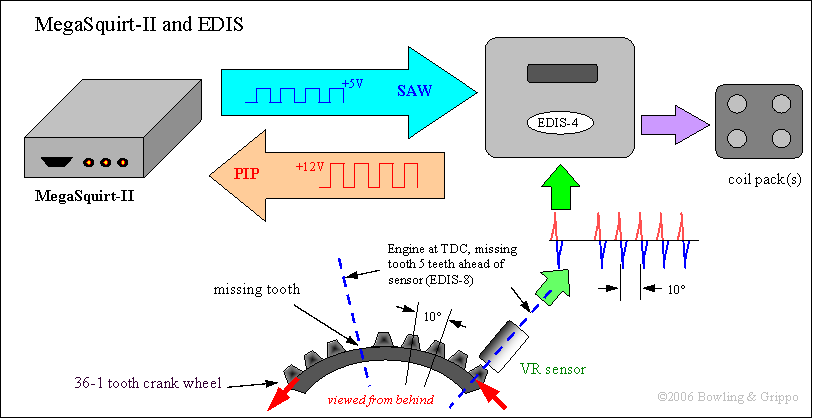
Ford EDIS technical information

EDIS_system.gif


https://www.autosportlabs.net/Ford_EDIS_technical_information
 
Last edited:
Someone posted that on the Facebook W114/5 page a month or so ago. Perhaps Arab grey for mine is an entirely appropriate colour!
 
Given up on Photobucket, so will only add photos as attachments. As my internet is still down (18 days and counting, thanks Talk Talk) I'm still borrowing my neighbour's wifi (with his permission) and that is too slow sometimes. So not many photos for a little while.

Gearbox, clutch, slave cylinder and piping all now in. I spoke to John about the countersunk bolts on the flywheel and he will have a really good test and improve fixings.

On the MS2 and EDIS I checked in with Phil at ExtraEFI who asked if I'd looked at the USB stick with all the info on. It's a thin black thing with visible connectors, completely unlike the good old USB things I've been used to, once I'd clocked this, all is now clear.
 

Attachments

  • gearbox (1).jpg
    gearbox (1).jpg
    228 KB · Views: 42
Last edited:
And posting from my IPhone is a real PITA. Much progress and many pictures but you'll have to wait....
 
I need my regular fix of info and pictures please.
 
If you'd like to ring the Apple Store in White City to make that point, I'd be most grateful...
 
Kemal at Apple called to say my MacBook is ready, would have been done earlier but some chap called Mike kept ringing them to hurry it along...
 
Progress, in batches, to keep Mike happy and the other technical souls intrigued.

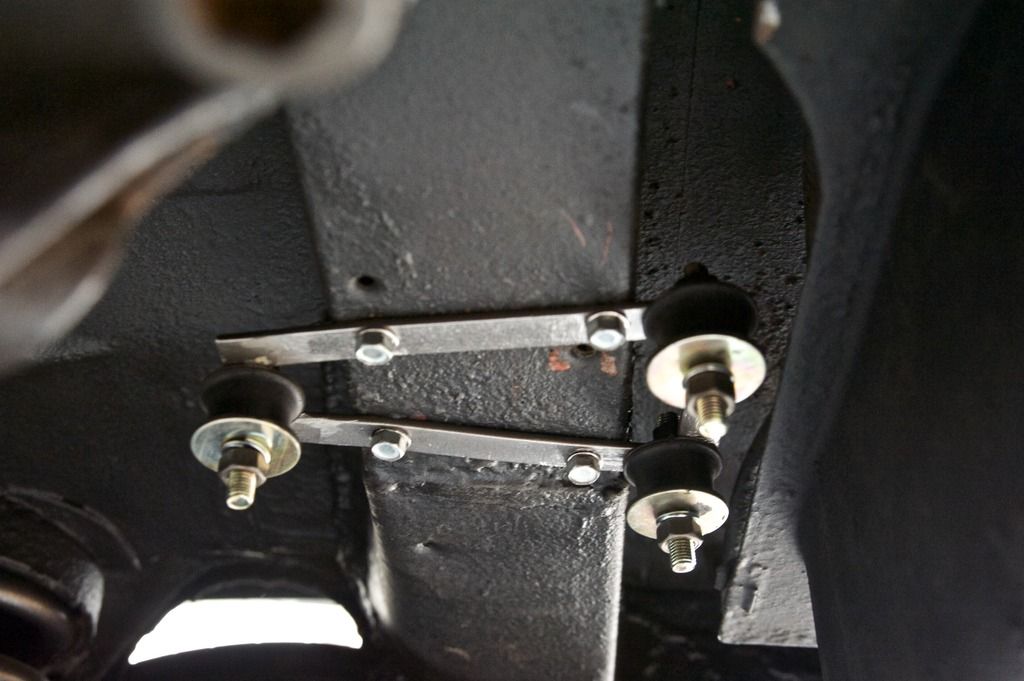
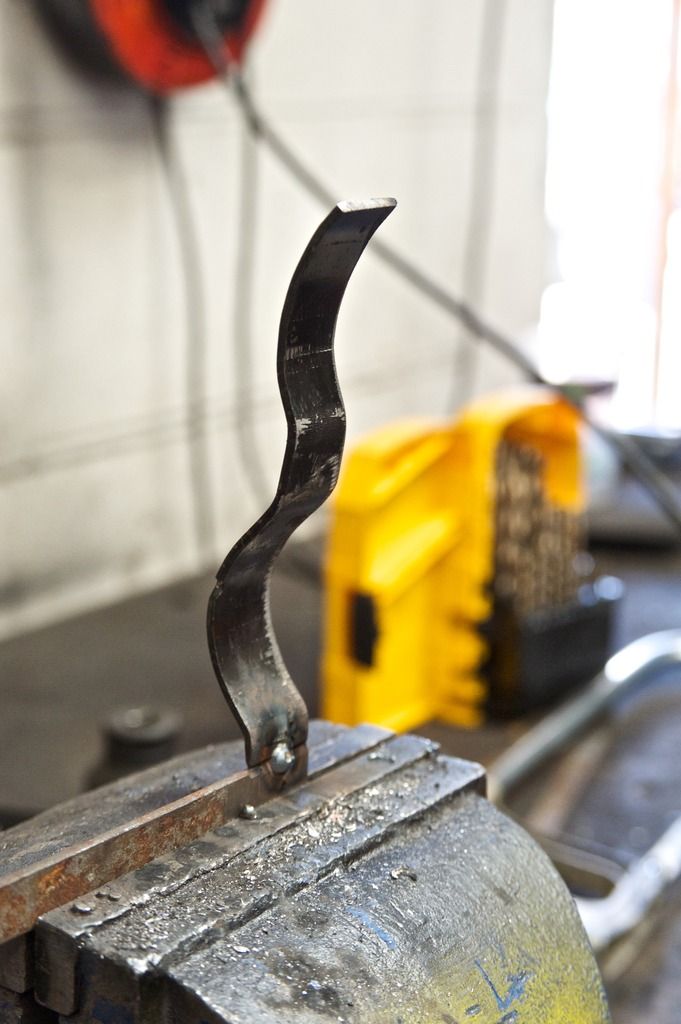
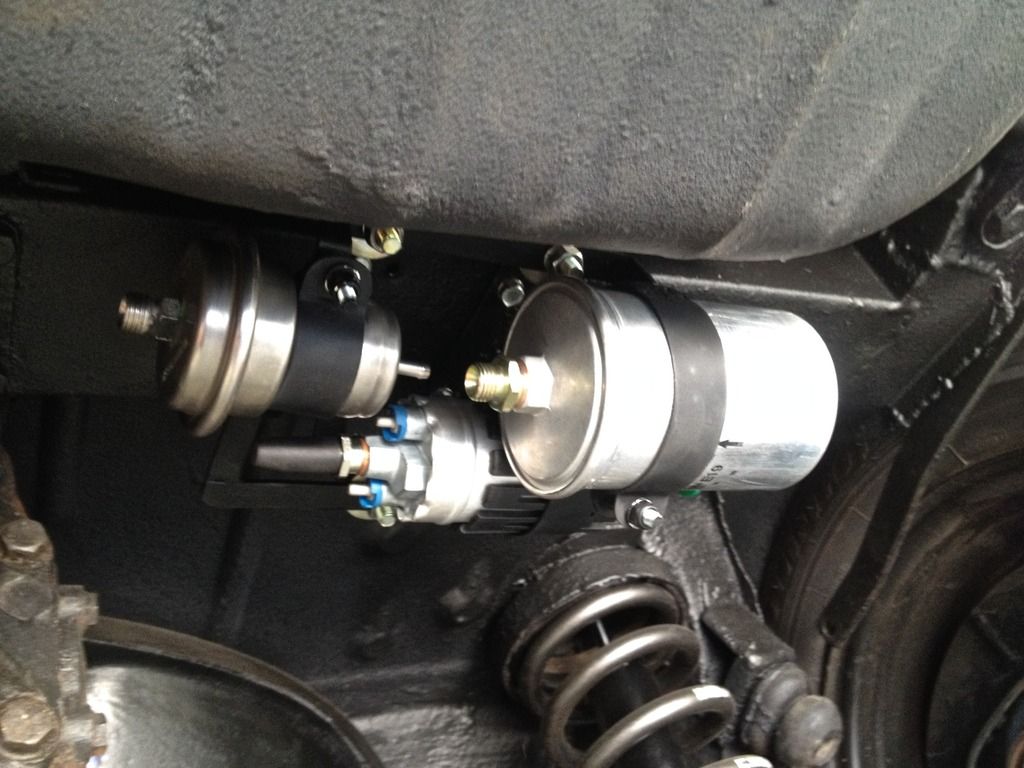
The fuel pump, filter and accumulator come from an M110 non D Jet set up (the original pump is 2 bar, I needed 3 bar and upwards for the new injectors). So a new bracket needed to be fabricated to fit it all securely.

The rubber bobbin mountings on steel bar.

bracket_zpsn3d3cpm9.jpg

The retaining brackets being bent to shape

bracket2_zpsqdlnbnxs.jpg


The final result

bracket3_zps5r9x8d1n.jpg
 
I feel better already so thanks Charles
 
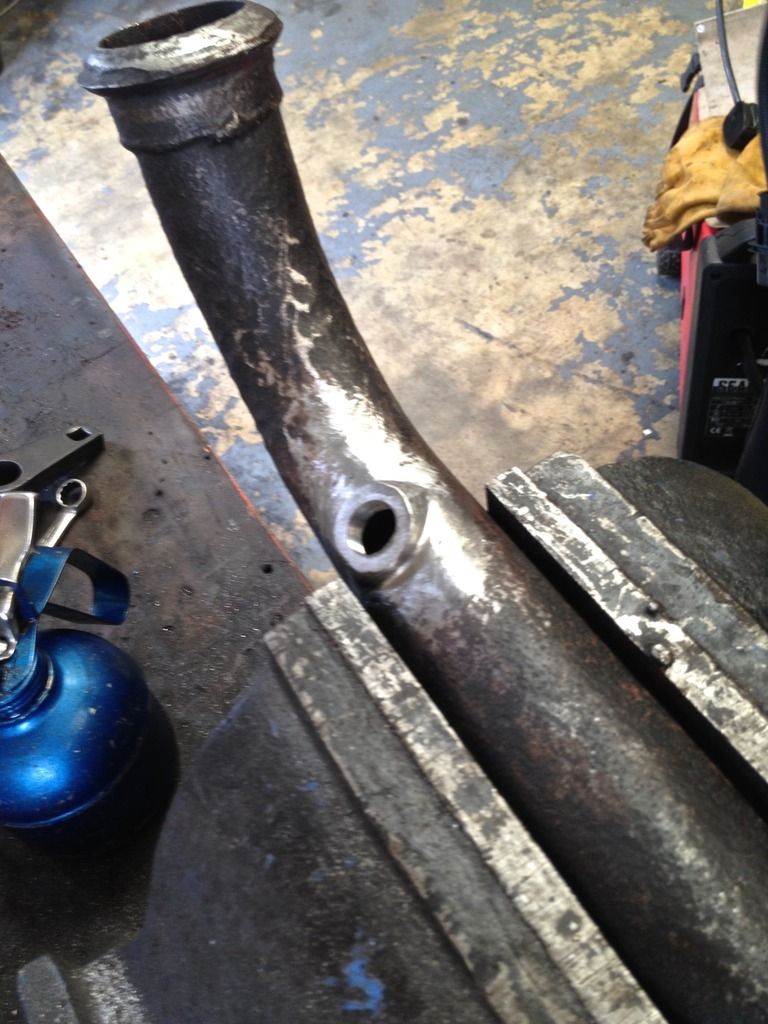
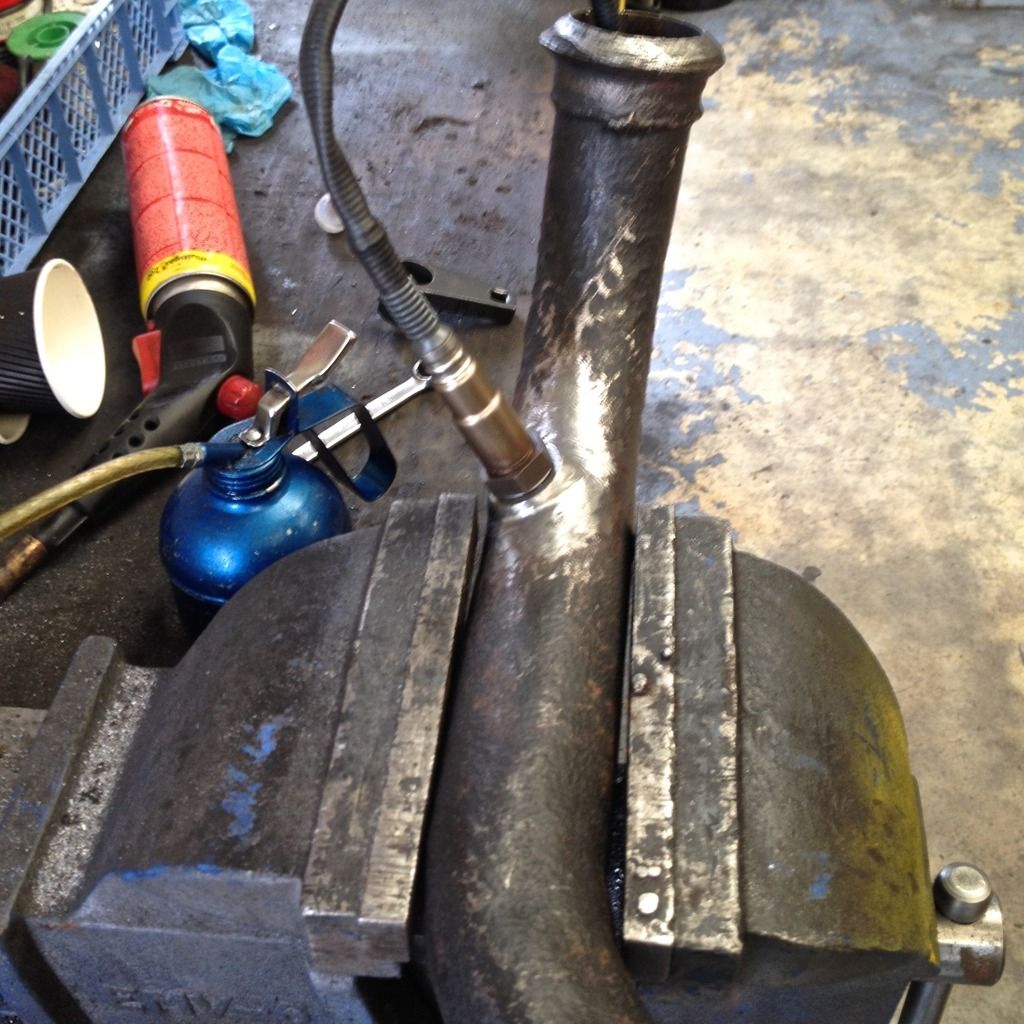
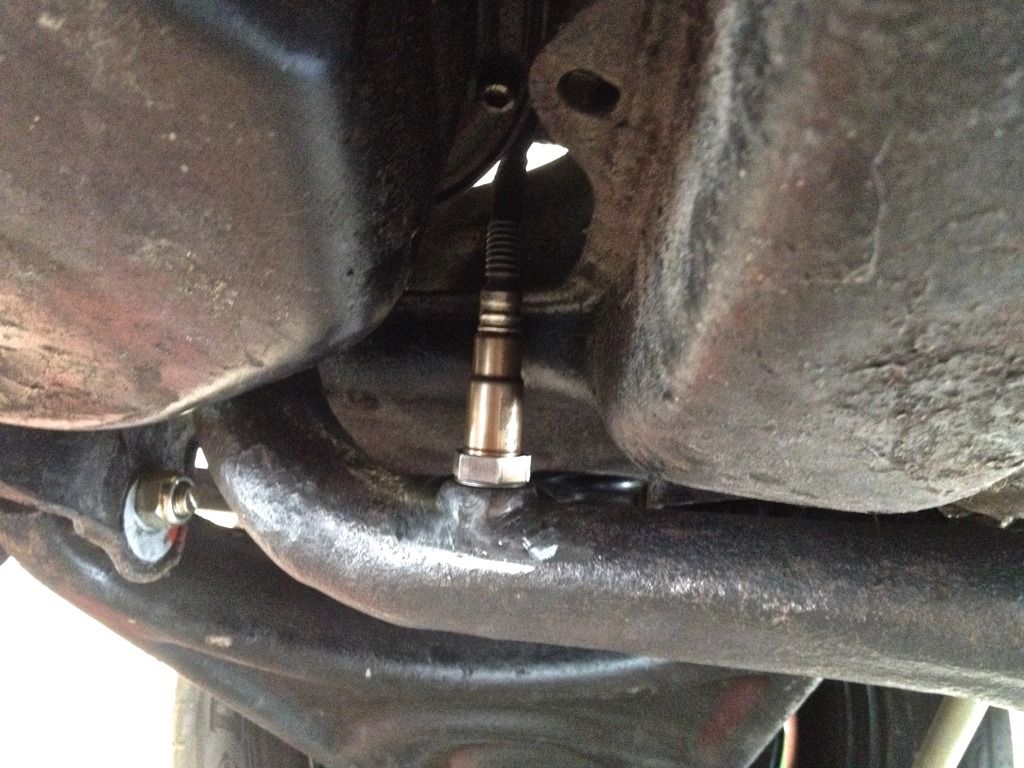
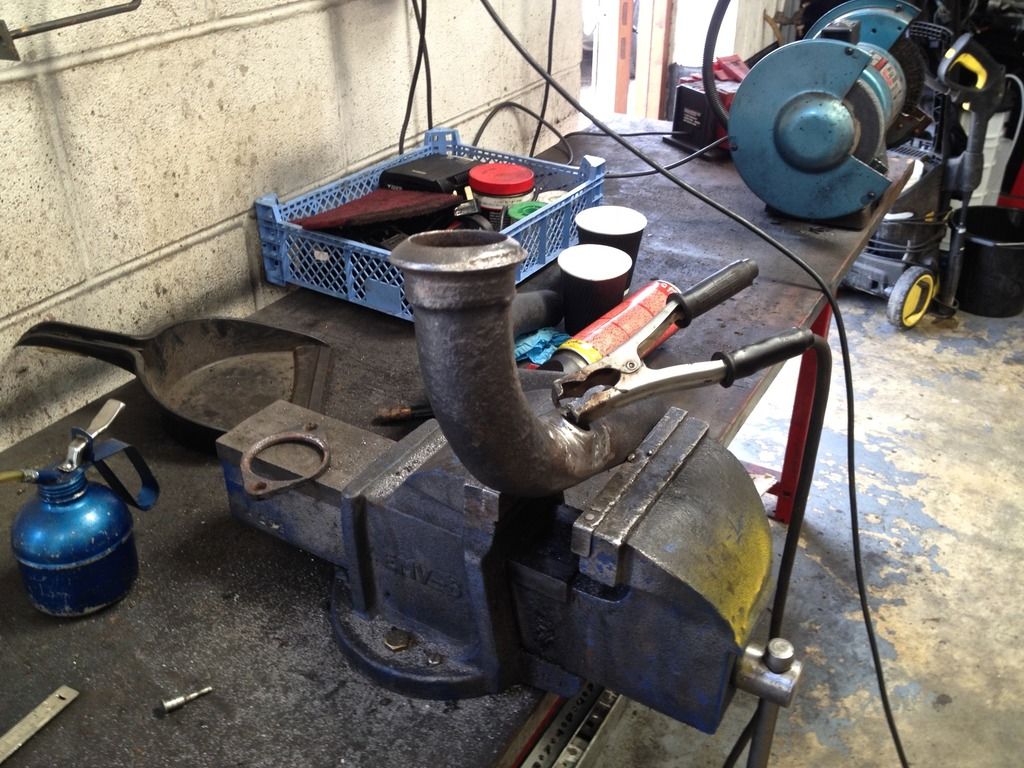
Fitting the Lambda sensor was much more fun. The instructions say it should be "about" 2 feet from the exhaust port and no more than 10 degrees each side away from vertical. John had to weld a nut into the downpipe.

lambda%20bung2_zpsomvtrrvo.jpg


It fits on the bench

lambda%20bung3_zpsxwvokz6c.jpg


And on the car!

lambda%20in%20situ_zpslvcshll8.jpg


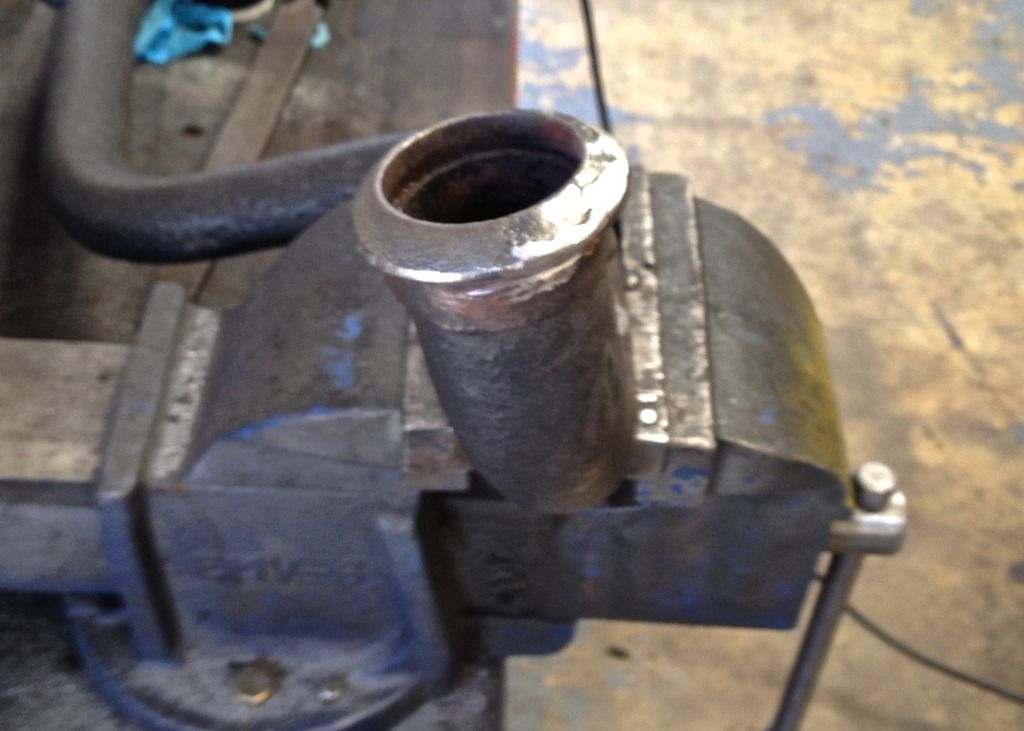
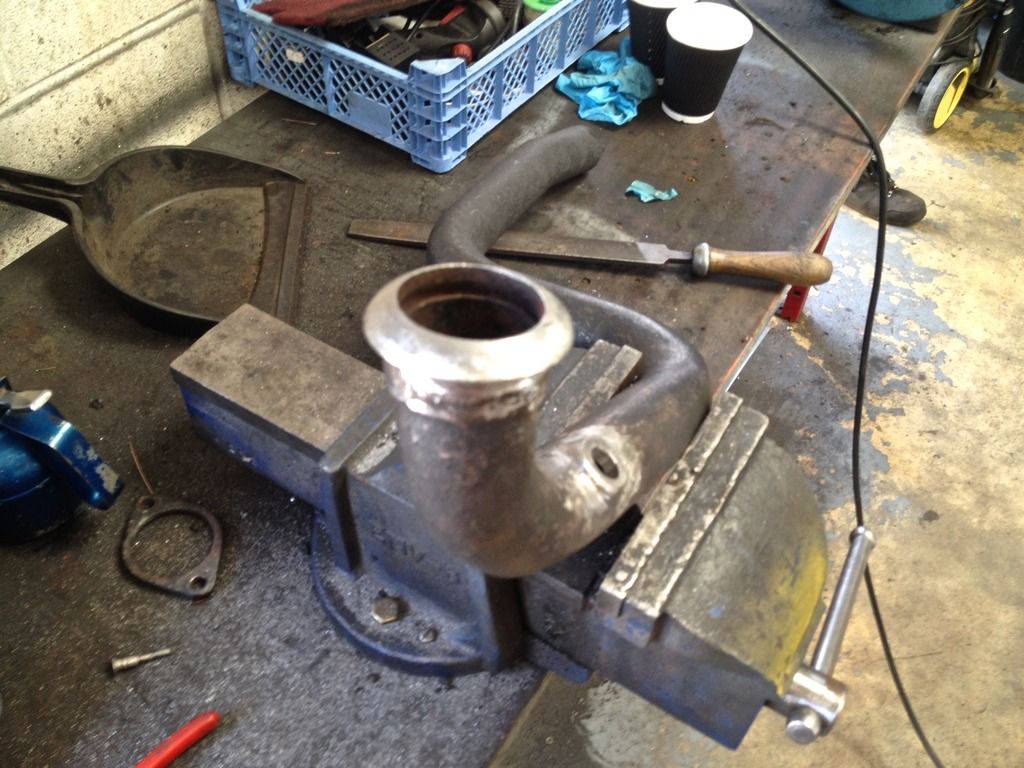
The rim of the downpipe was pretty corroded and we need a perfect seal to prevent any air getting in and causing the sensor to read incorrect levels.

downpipe%20weld_zpsodokoxq0.jpg


John welded in some extra metal

downpipe%20weld2_zpse1cpevf8.jpg


Then filed it down to where it should be

downpipe%20weld3_zpss1ezoutg.jpg


We'll seal in the downpipe when it is finally fitted, but that is coming on nicely. I'm told the centre section is now all in too. Tomorrow I may be able to have a look, but the car is off the ramp for a few days.
 
Last edited:
That's good Mike as I left my camera at Project Shop yesterday, so no photos to upload and even if I did my newly repaired MacBook is not showing anything on the screen, so no chance of them being uploaded anyway. Back to no email and having to use my phone. Grrr...
 
Now in for repairs, so probably another week before I get it back.
 

Users who are viewing this thread

Back
Top Bottom