Well chaps, the day has arrived and can report a resounding success!

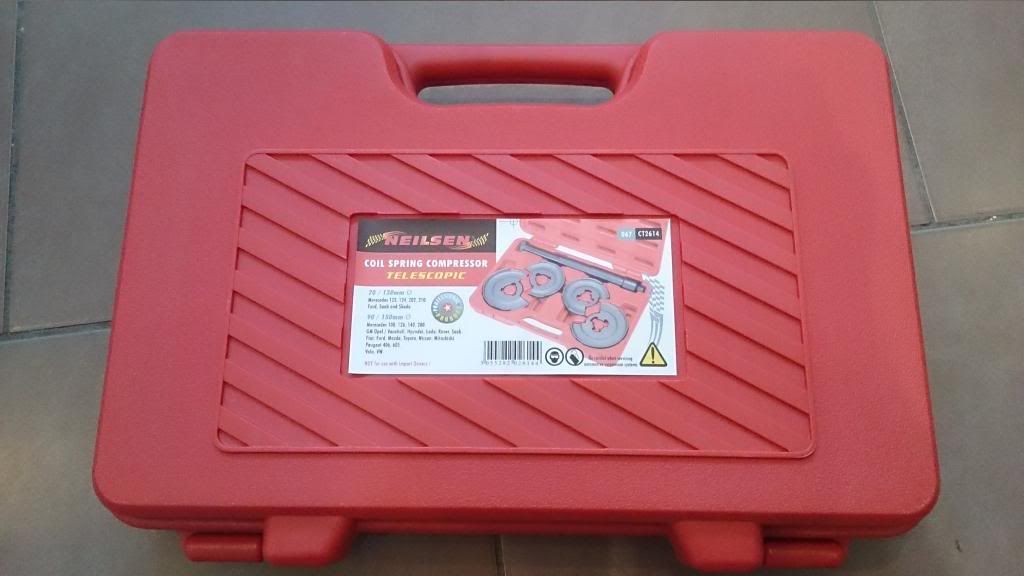
Spring compressor arrived £95 worth seems to be of OK quality for the money.
Closed box
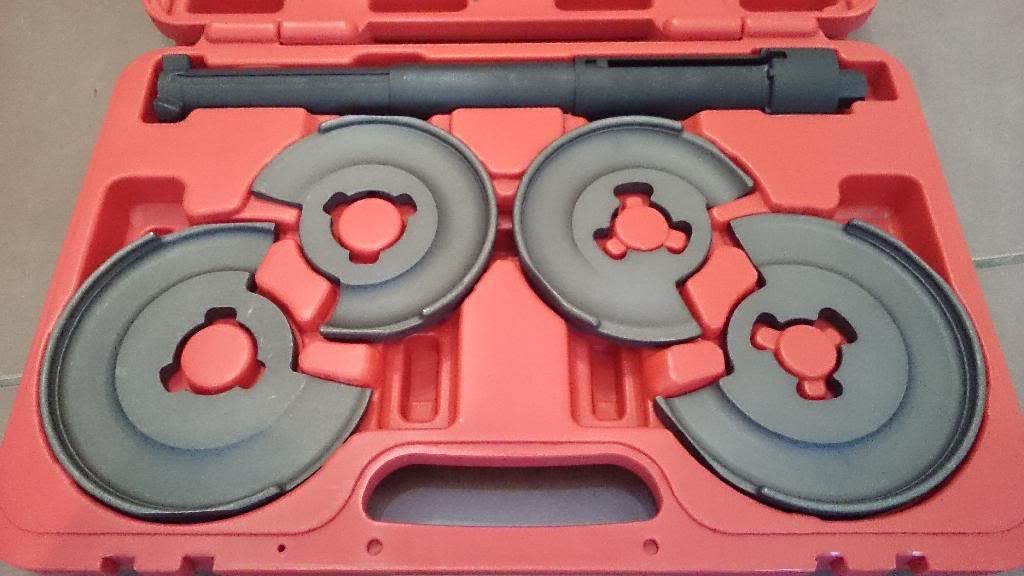
Open Box
Dry run on the new spring needed the smaller of the 2 cups
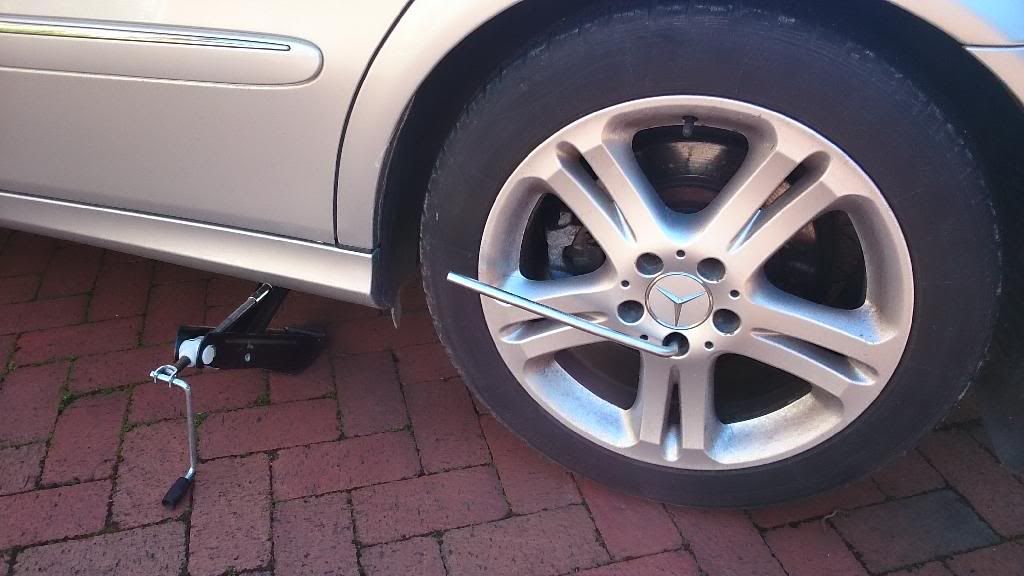
Lets make a start

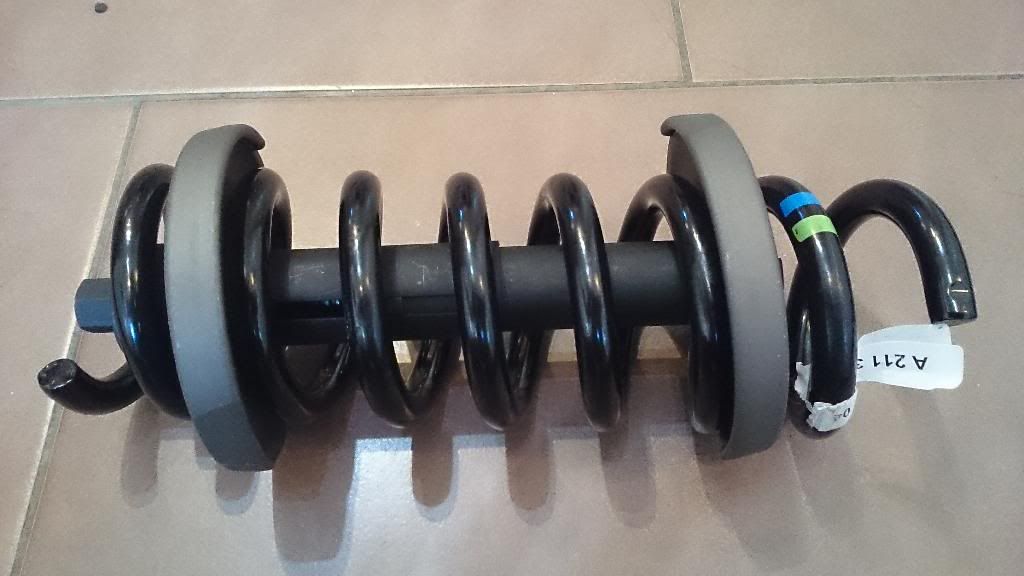
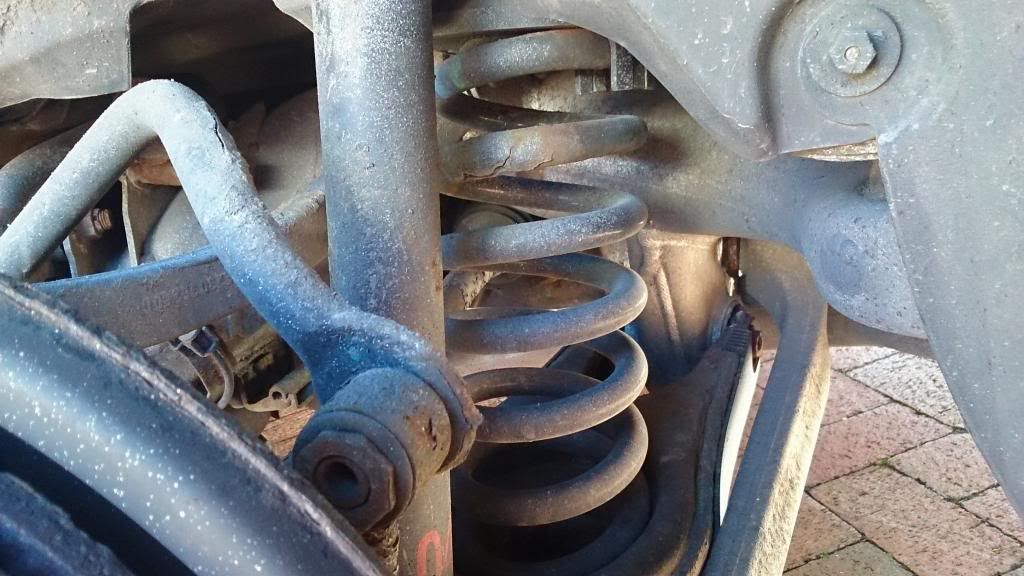
Horrible old spring. This is obviously the nearside, I started with this side in case the fuel filler pipe was in the way on the other side. Needed to hone my skills.
Inserted the compression tool after first removing the plastic cover from the bottom of the wishbone, which is held on with 2 plastic rivet things. I then had to jack up the wishbone to compress the spring to make it as parallel as I could to get the tool up the middle.
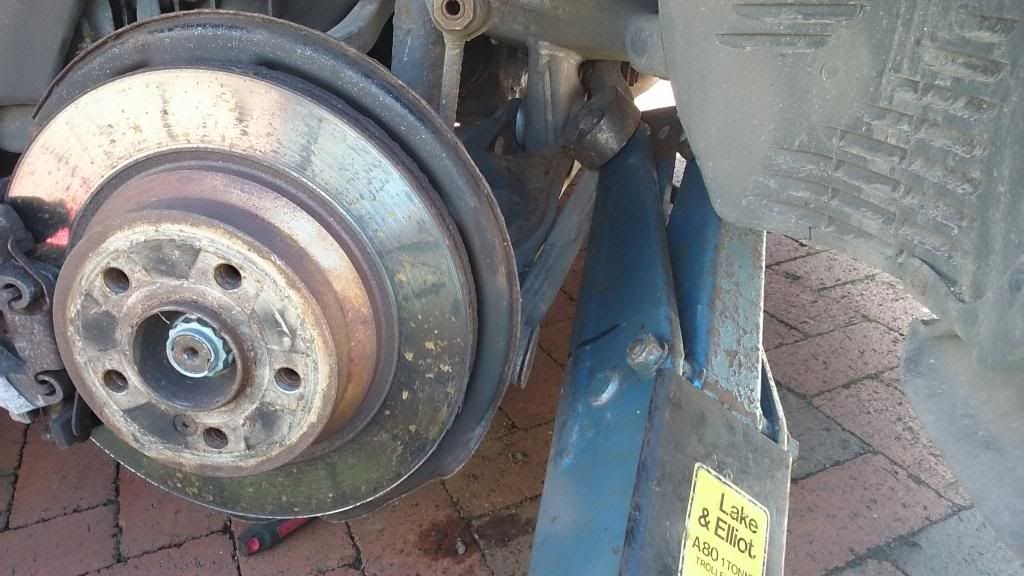
2 Plates in and the spring is compressed. I now remove the bolt from the bottom of the shock absorber and the bolt from the bottom of the anti roll bar drop link.
I then jack the wishbone down using my trolley jack. A bottle jack or scissor jack would probably be better for this.
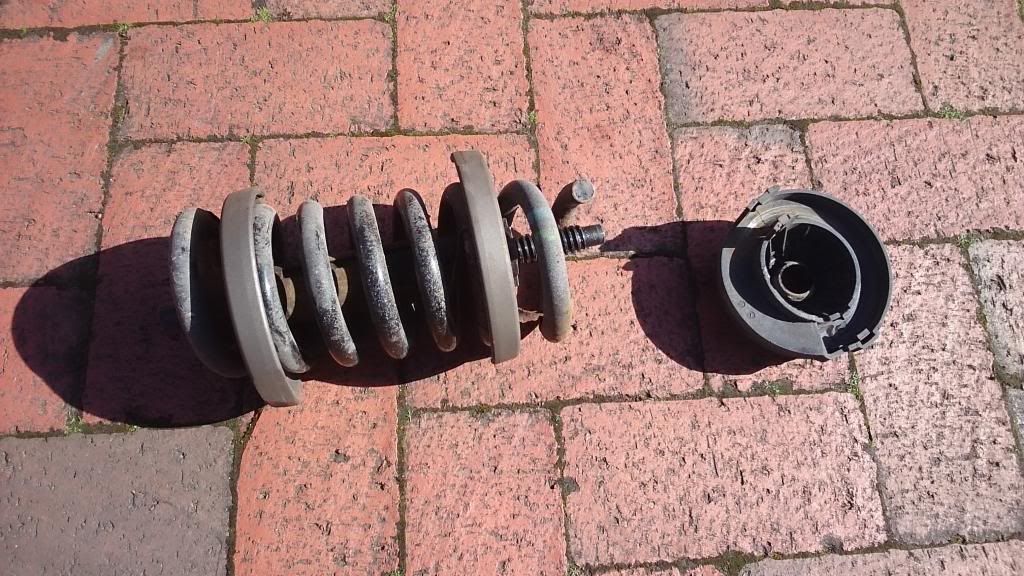
Spring is wiggled out compressed
Then released showing broken bit at bottom.
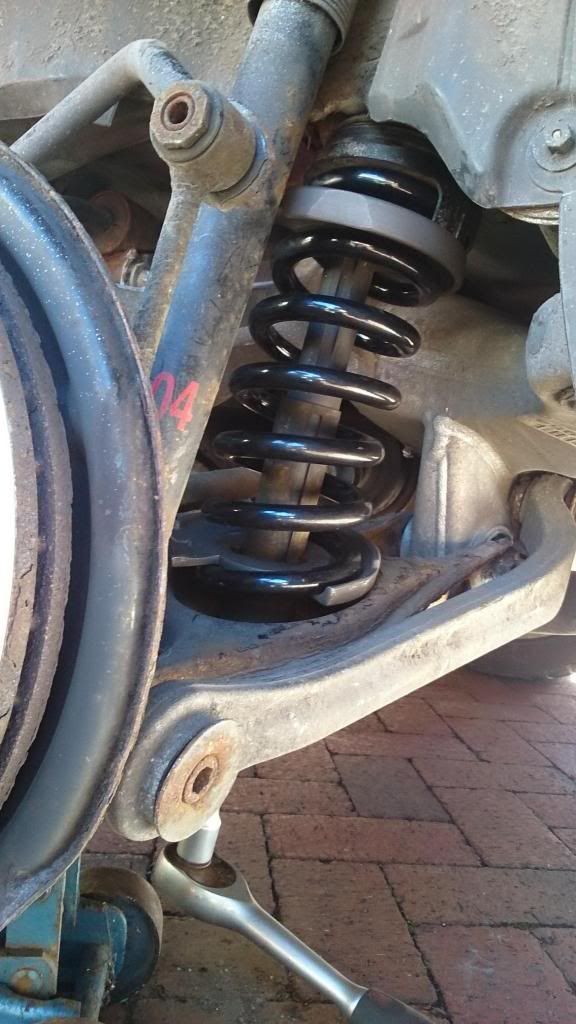
The bottom cup is cleared of all grit and debris and the new spring is compressed and fitted
The positioning of the compression plates is critical as on this attempt I managed to get the bottom one trapped between the spring and the wishbone which prolonged the job.
I then moved to the offside and repeated the process, the fuel filler pipe is miles out of the way and did not impede this side one bit.
In all a relatively easy job - but all the time I was acutely aware of the stored energy in the comressed spring and kept my pinkies well clear as far as possible.