L
Larkone
Guest
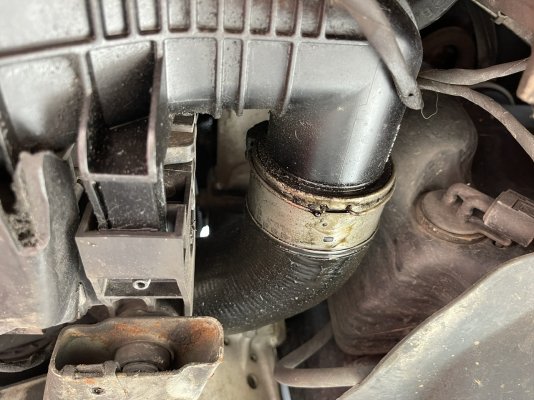
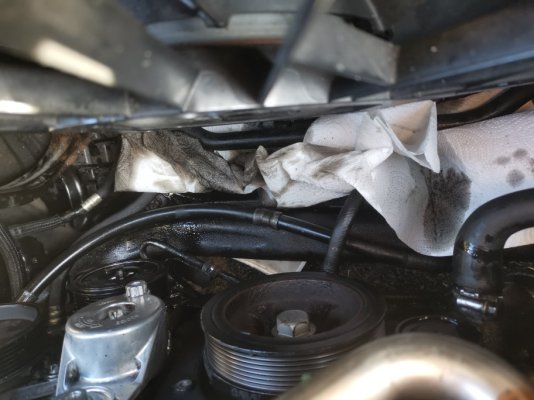
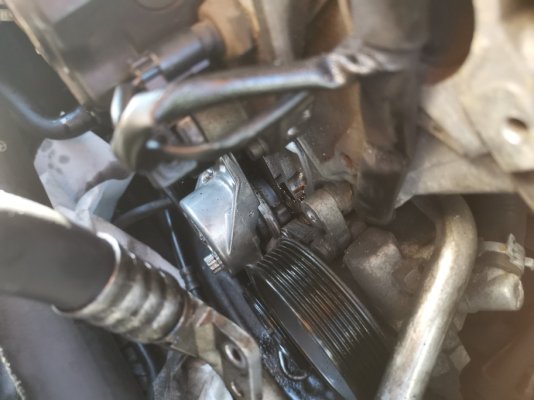
Had exactly the same split on mine recently, noticed by the oil mist around it. However no codes and no noticeable drop in performance. Hope it fixes your issue
Follow along with the video below to see how to install our site as a web app on your home screen.
Note: This feature may not be available in some browsers.
")
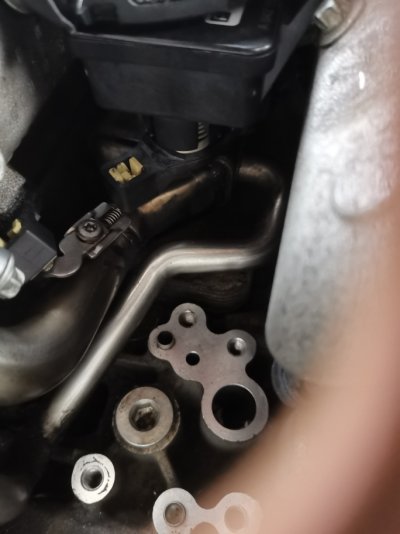
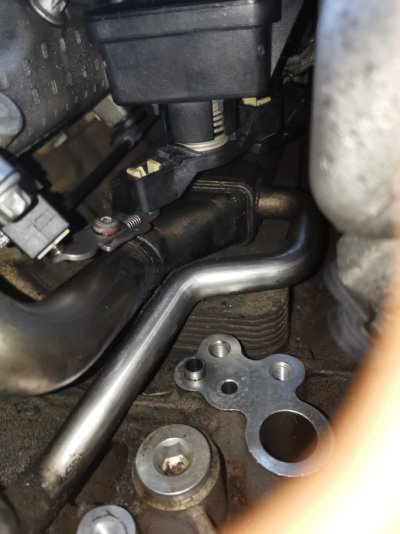
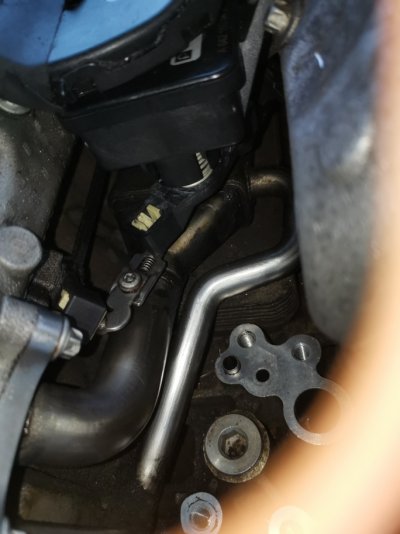
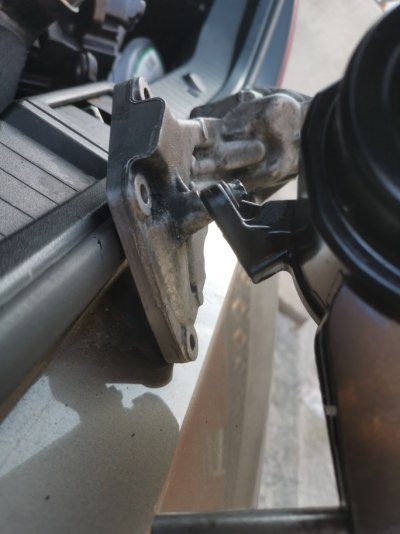
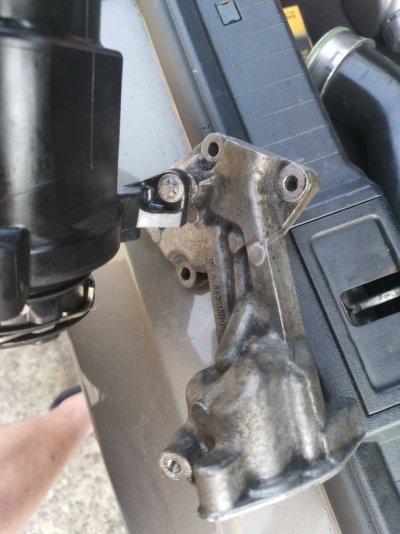
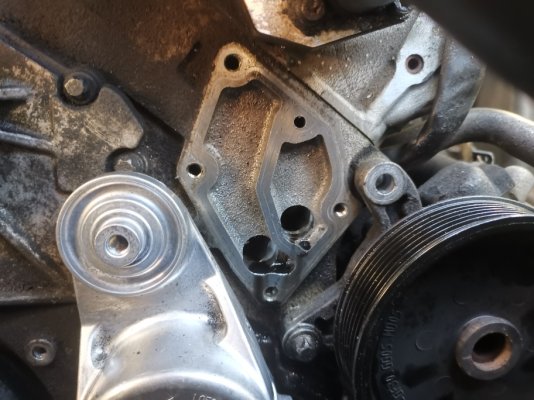
Yes this is the camshaft breather, it has a 90 degree bend that points upward then the pcv diaphram assy pushes into it, then the pipe off that goes into the side of the maf, will get pics tomorrow.Good job! What was tricky about the driver's side hose?
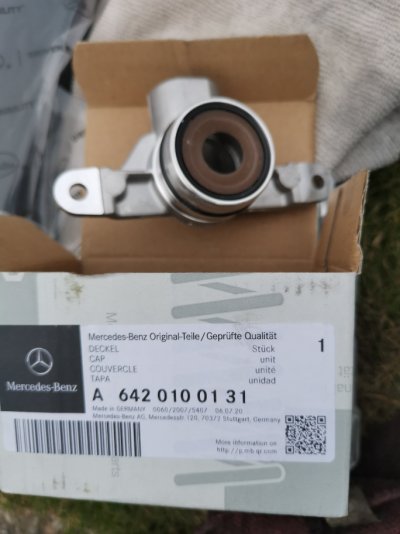
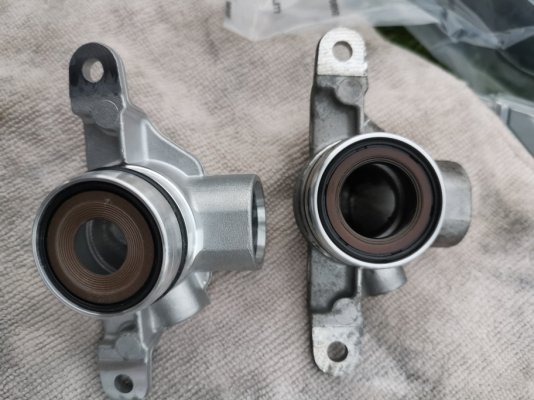
By the way, is that part in the first and second pics above the thing that the PCV connects to? I think they're only about £35-40 from MB and the seal can be an issue. Thinking of changing mine, too.
You must have spent a fortune!!
Have you tried using this hand/camera trick this guy uses? Took him 9 minutes to do the whole thing, piece of piss!


We use essential cookies to make this site work, and optional cookies to enhance your experience.