• The Forums are now open to new registrations, adverts are also being de-tuned.

Mercedes W114 250 Coupe - help!

Looking from rear of car the right hand lights are piggybacked off the lefthand rear cluster as is the numberplate light- it occurs to me that this might be reversed for RHD drive cars?? brake light power should be black with red tracer earth will be brown. Lighting then goes back to a 9 way plug brake power still black/red tracer back to brake light switch [ defective?] then black /red / purple back to fuse 6?

see that wiring diagram I posted?


Hard luck on the fuel rail dimensions but better to find out now!
 
Last edited:
The wiring is the same for RHD - it piggybacks off the left side light. I think my rear cluster is different - it was made in 77 and it has a different internal configuration. John has tested the wiring in and it is live when it needs to be. We found a similar issue with the replacement fuse box, so restoring the original cluster might help.
 
Charles if you look at the wiring for the W114 280 from 76 this will give you a clue. As you surmise the wiring is entirely different on the later cars with the brake lights supplied entirely separately from fuse 3-- designed to tie in with the cruise control

http://www.mb115.com/program/ETM/75_280.pdf page 9 and 10 for earthing detail

Not wishing to confuse matters you understand- just might help interpret the new cluster wiring?
 
Last edited:
Very helpful thanks Graeme. Fortunately my old clusters are good, with the new surround, rubber seal and lens their age can easily be disguised. The car is early but transitional - every week we find out new things - last weeks, the radiator grill on the very early cars was aluminium not plastic!

We also discovered today that the light switch only allows you to engage the fog lamp (pulling out the switch) when lights are on. All done within the mechanics of the switch.
 
Last edited:
Big moving day tomorrow. Doors and wings to go up to go on the car, plus headlights (and if I can remember, the rear light clusters). Just had a video from John showing the instrument cluster lights and dimmer working perfectly.

Lots still to do, but I can see the end in sight.
 
Lots still to do, but I can see the end in sight.

What will we all do when this Project is complete???
 
I'll be marketing my body organs on Ebay to pay for it all.
 
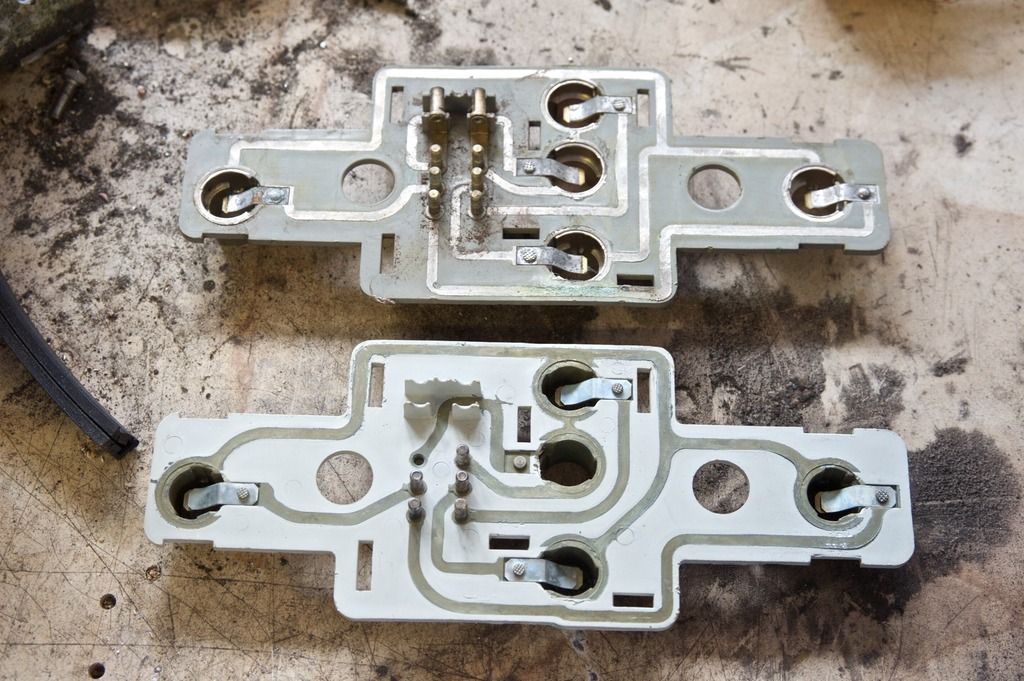
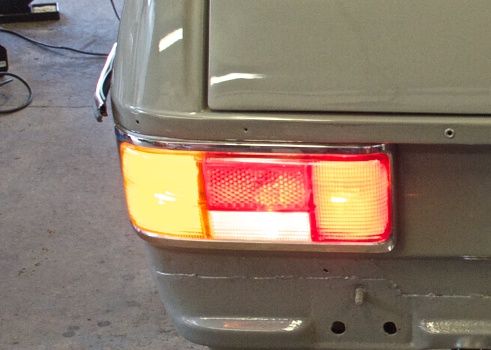
Back to the car. These are the circuit boards for the rear lights. The top is the original, you'll note six pins and a circuit connection for the main lights (plus the connectors for the number plate lights). The lower is the one I bought and had on the car - note only 5 pins and no connection. A wrinkle, I also have an intermediate cluster with six pins but no connection. MB, making life difficult. A quick swap of circuit boards and all is now lit up.

w114rearlightcircuit_zpsfwadaw5u.jpg


w114rearlight2_zpscsoq4dht.jpg


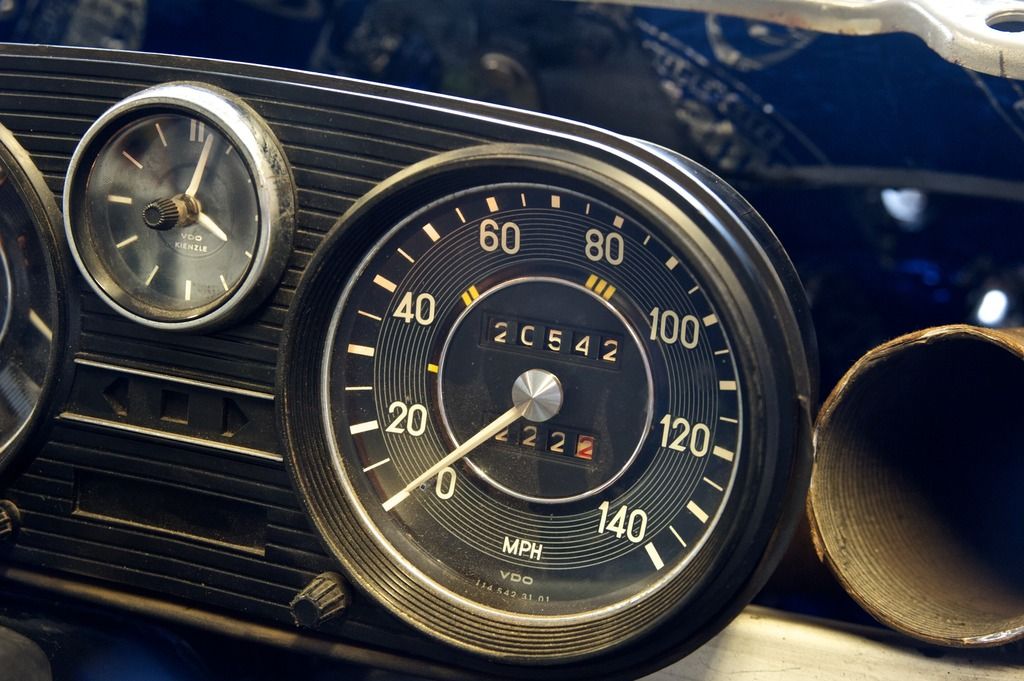
Instrument lighting in operation

w114instrumentlight_zpshopq3wrn.jpg


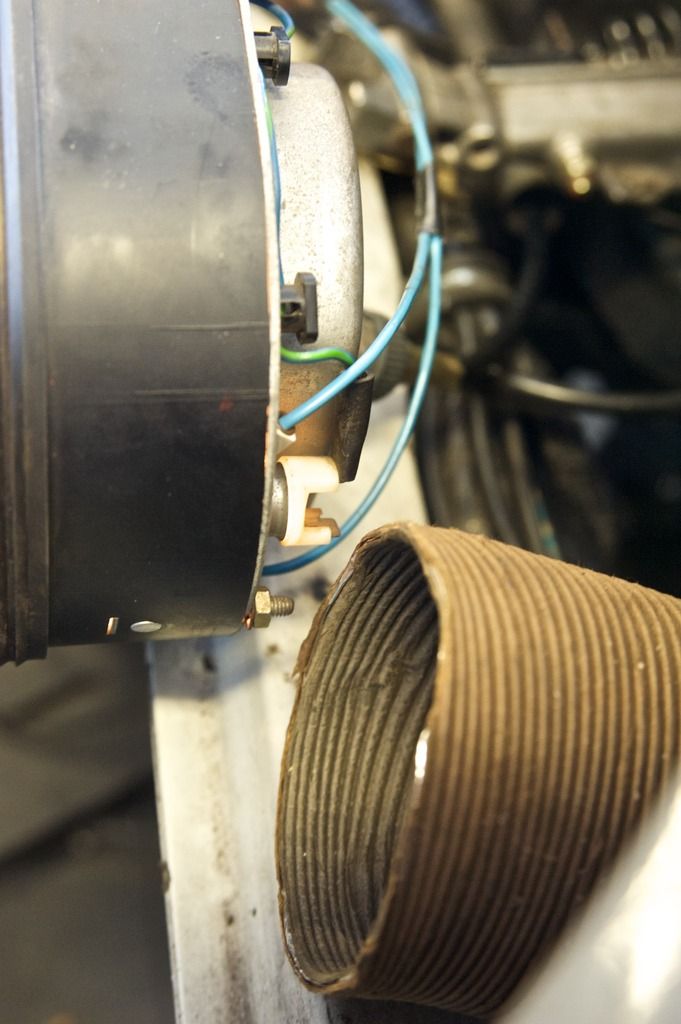
The heater control panel has a fibre optic connection (blue wire)- drawing the light from the instrument cluster bulb . MB, making life different (and a pain if the cluster bulb goes)

w114fibreoptic_zpsky01k1k8.jpg


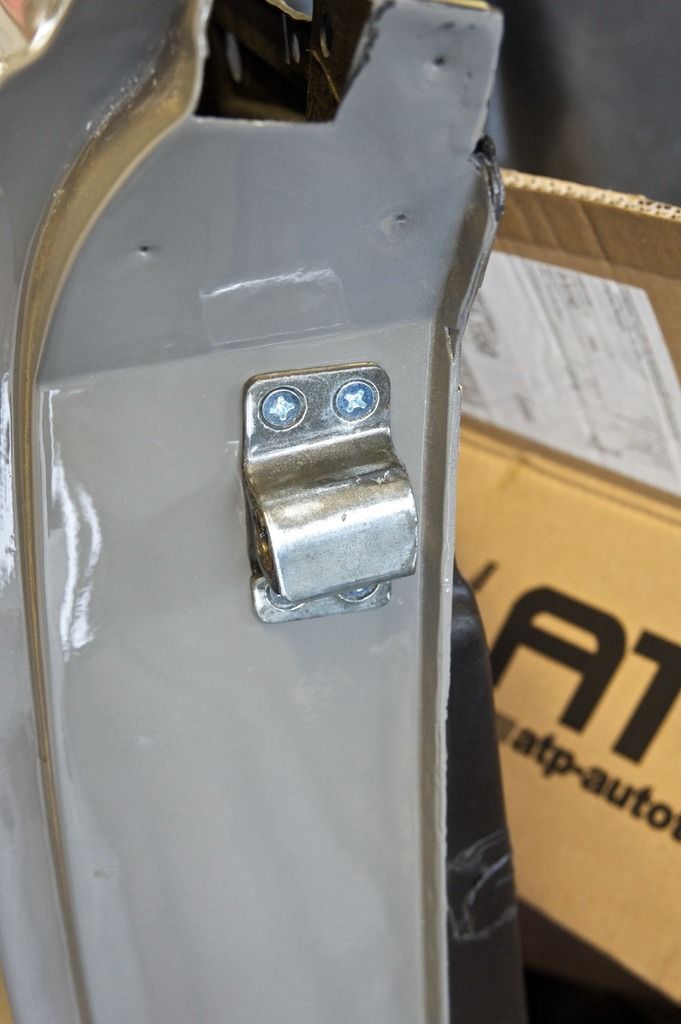
Door mechanisms starting to go on.

w114doorshut_zps3anq53qn.jpg


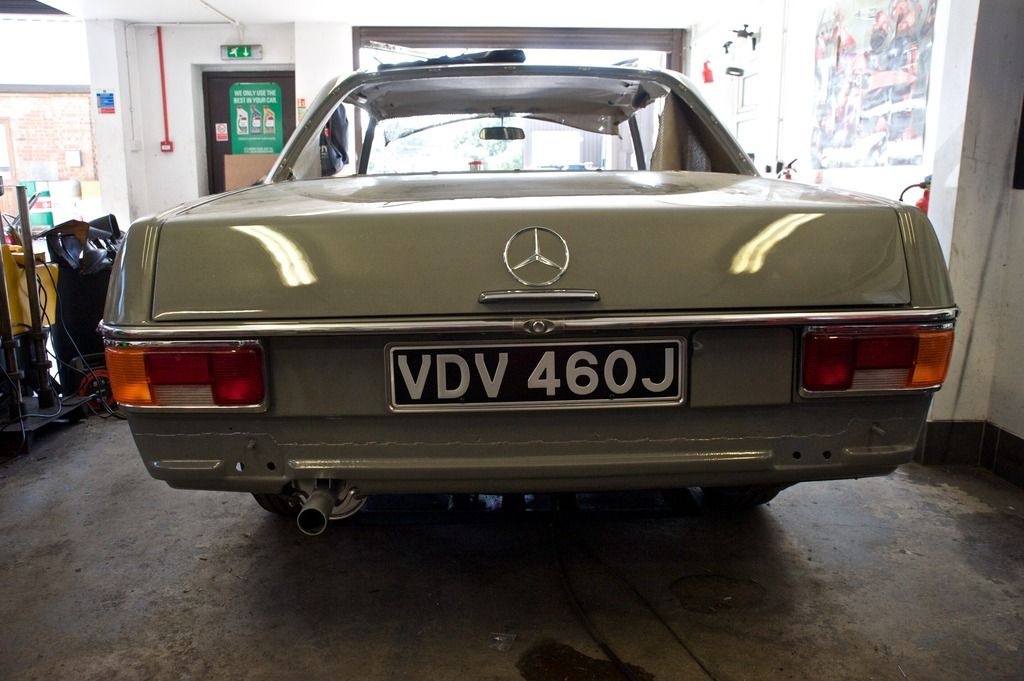
Then, for the piece de la resistance this week, rear trim and number plate fitted. Brunnhilde is officially a Venereal Disease Vector.

w114reg_zps05wqooc9.jpg
 
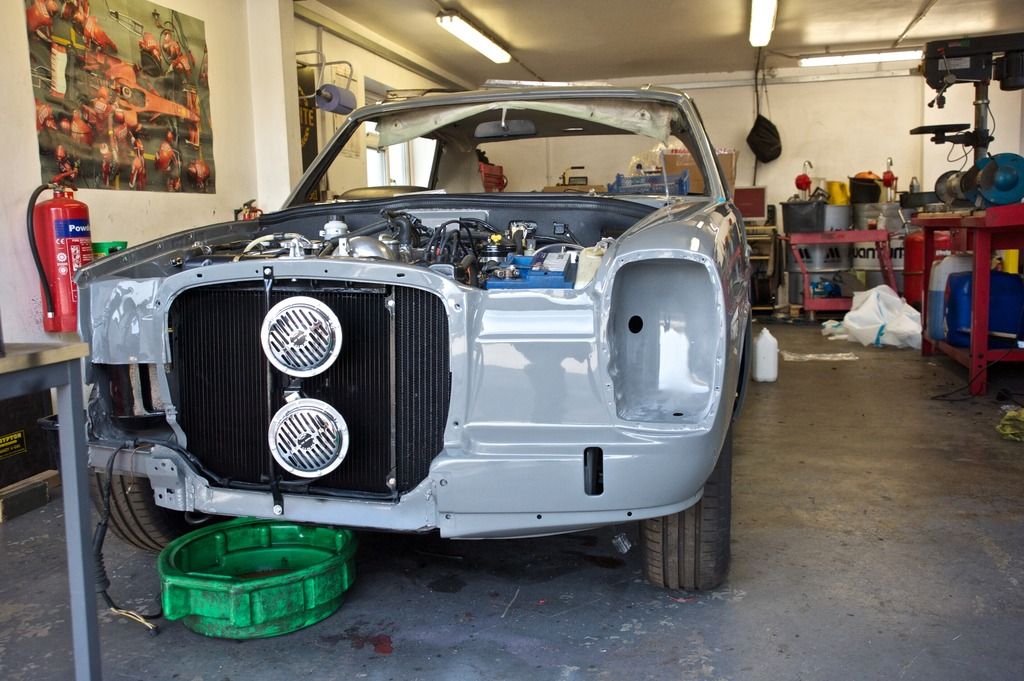
A poor vid of the sound of my horns (and me doing my finest Mutley impression). They are delightfully loud.

[YOUTUBE]yTQzC5GN9Uk[/YOUTUBE]
 
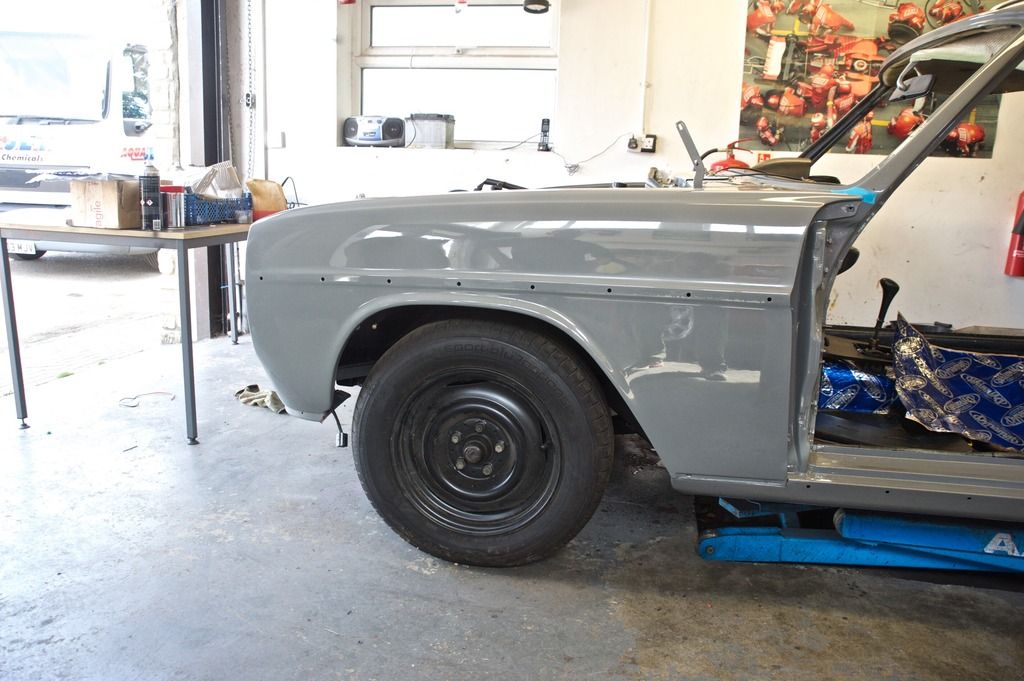
Took up the n/s wing for a test fitting, lines up beautifully. But then it was a genuine MB NOS wing.

w114wing_zpsupfcjrgc.jpg


w114wing2_zpske5fgci1.jpg


Cooling system has been pressure tested. At 15 bar the O rings on the duo valve weep slightly, but not a lot.

Fuel rail is being rebuilt at no cost by the machine shop - they had measured off the O ring rather than the template I provided. I've given them a fuel rail off a W124 so they have definitive measurements and can see how it works.

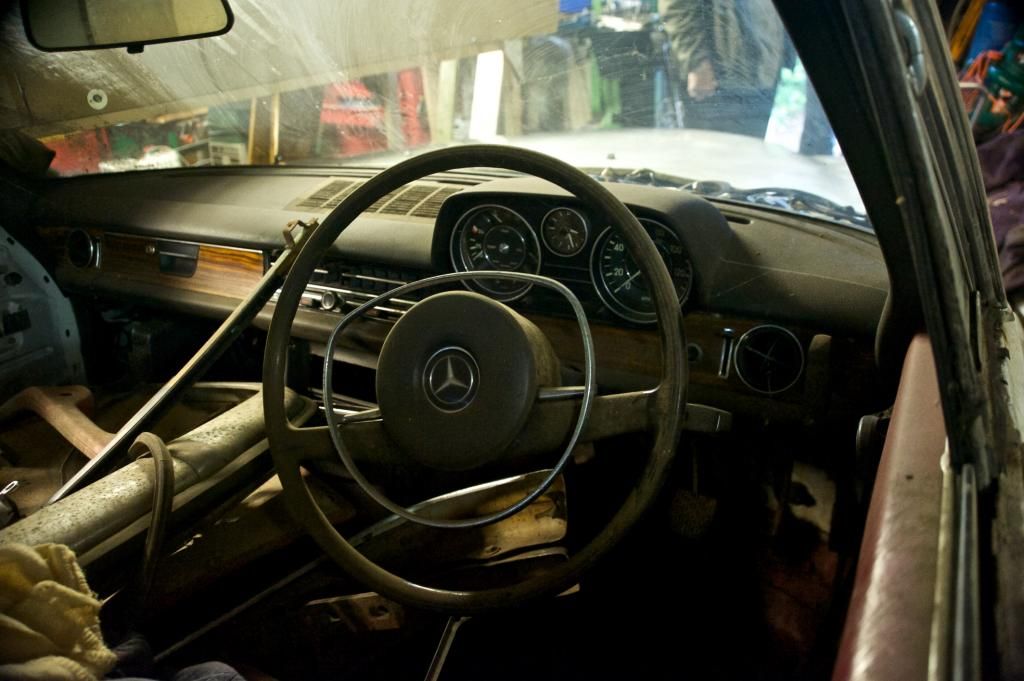
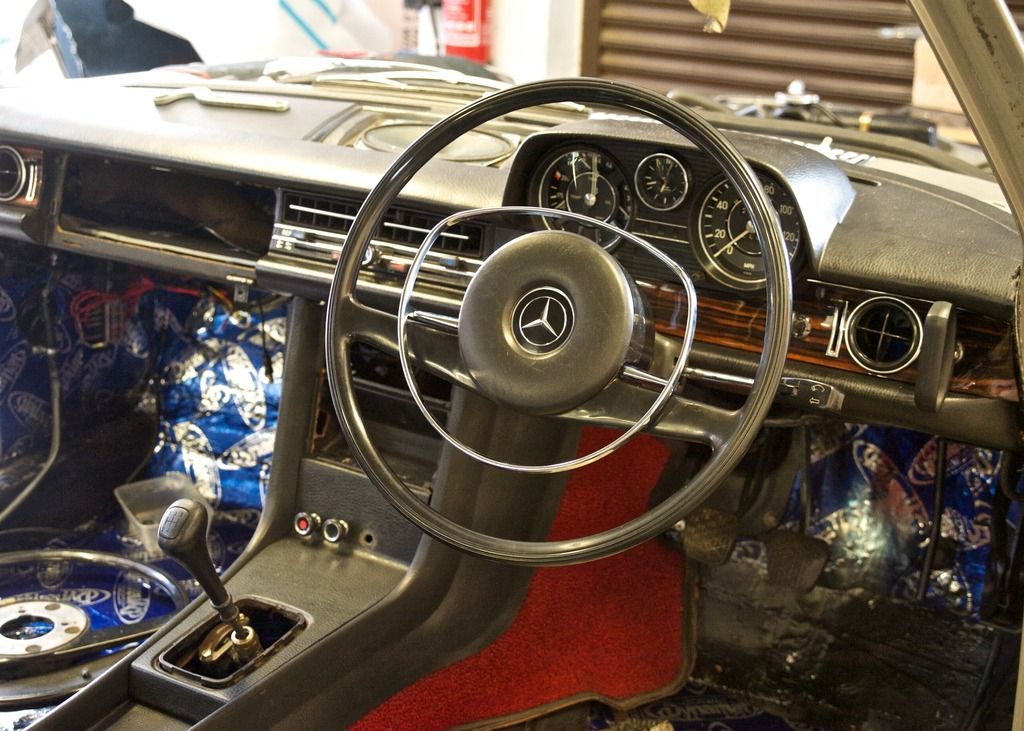
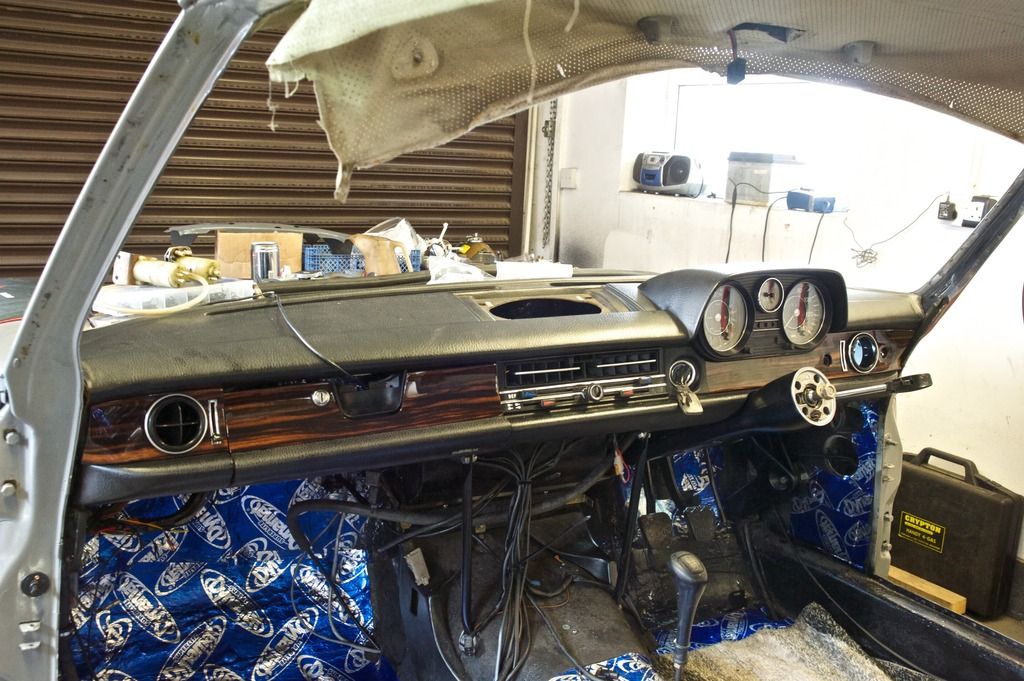
Dash is now back in but the fabrication has pushed the heater up a bit so it was a lot more fun than it needed to be.
 
Last edited:
A 'light' moment late this afternoon, I turned the steering wheel to centre it and exclaimed how really light it was, even without the steering pump running. John pointed out, laconically, the car was in the air on a scissor ramp which might have something to do with it!
 
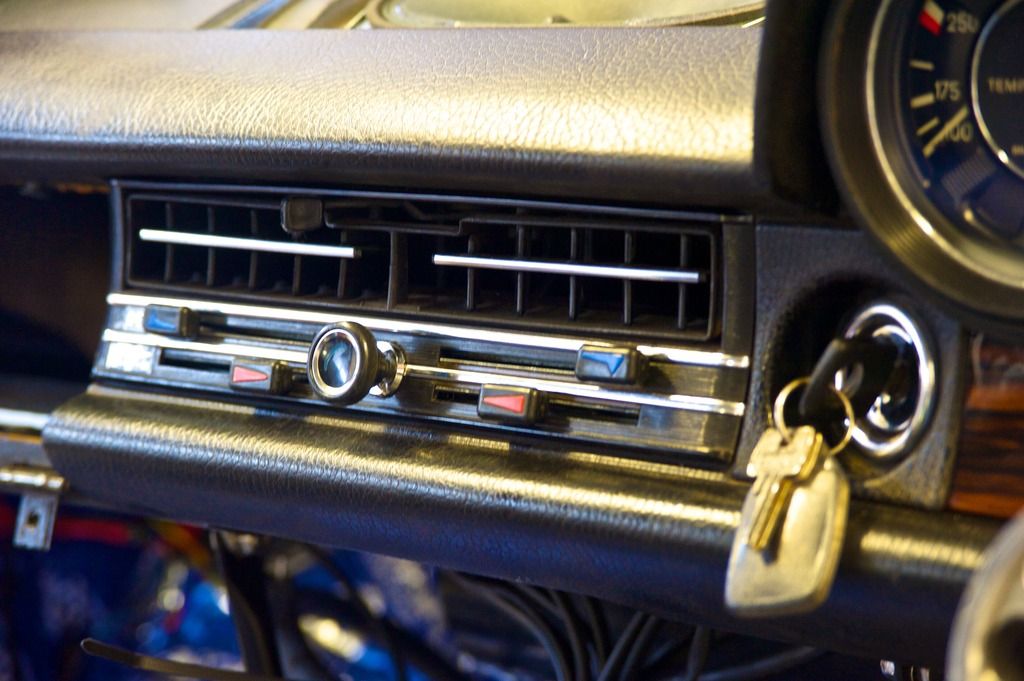
Heater fans and controls all cleaned, checked, and working perfectly.

[YOUTUBE]Sup_LvWLxB8[/YOUTUBE]
 
A few more

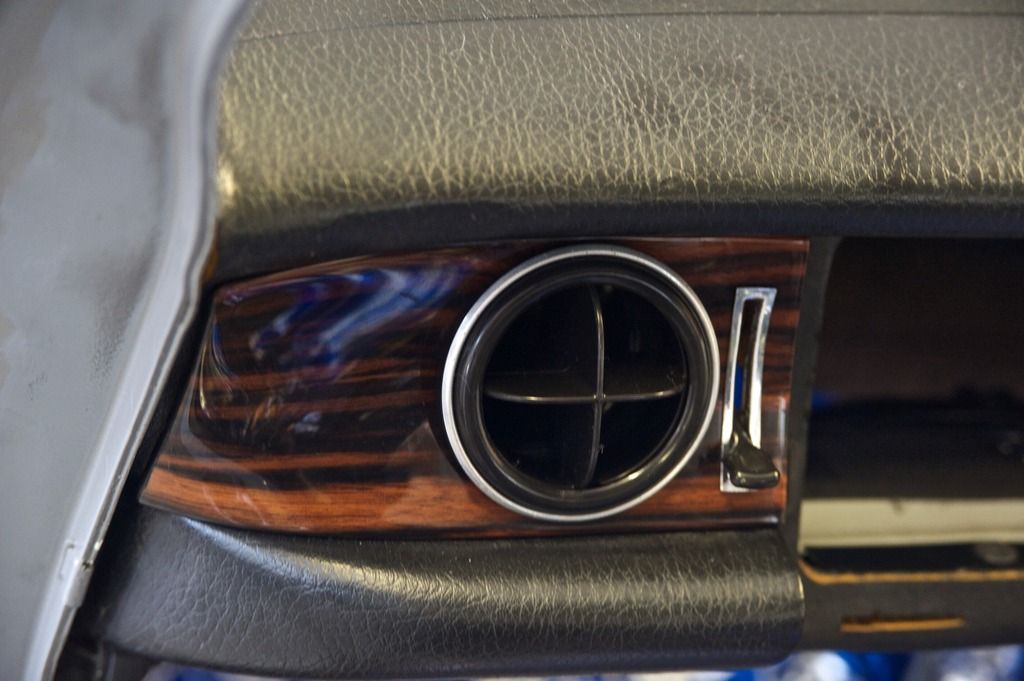
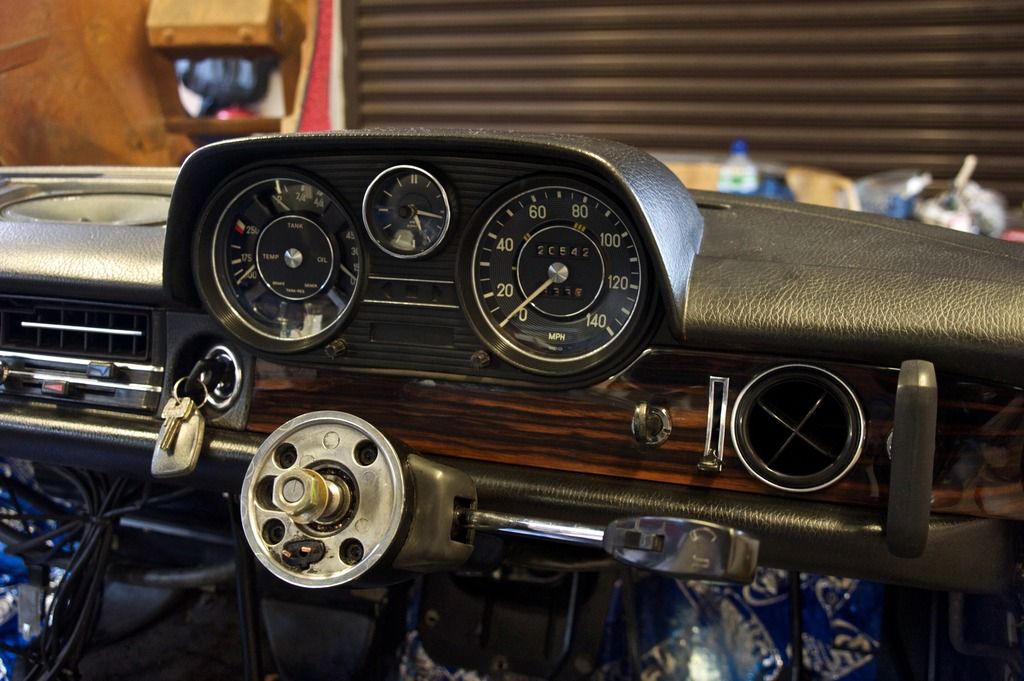
Glove box needs attaching and some fiddling, but you can see the run of veneer across the dash. Great job Silvercrest!

dashed_zpsefb47c7s.jpg


dashed2_zpsdju3lo2w.jpg


dashed4_zpseb1vn3aq.jpg


Heater controls in and working

dashed3_zpsdfrxwkiq.jpg


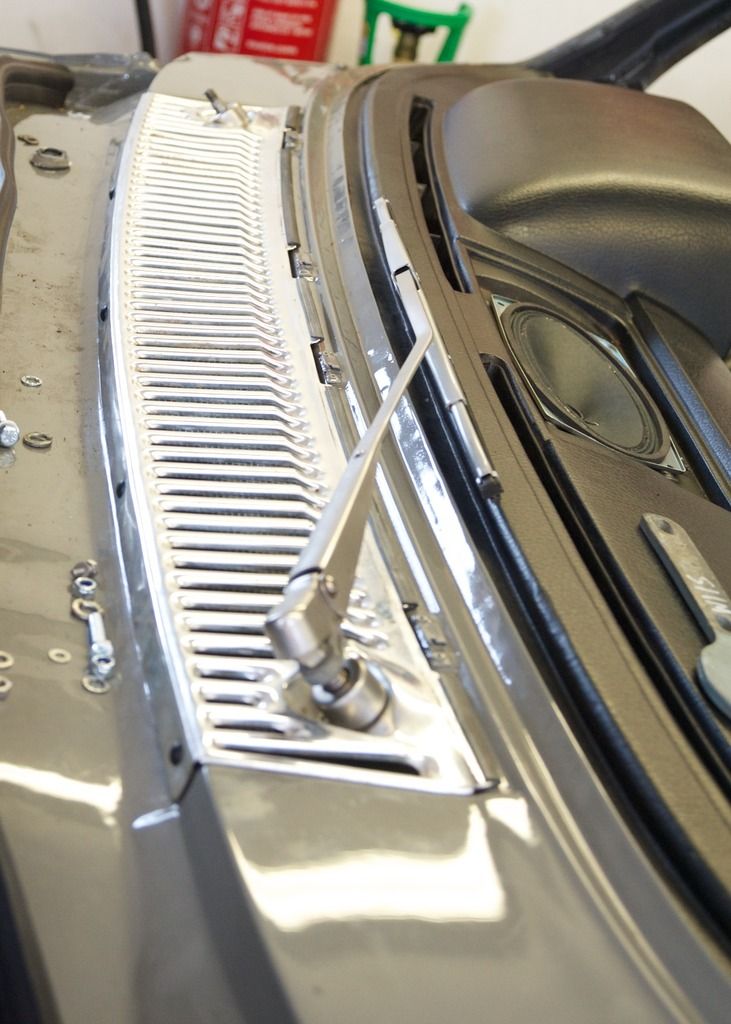
With the heater controls checked, the air intake grill can go on. Wiper needs a screen ideally...

grilled_zpshllfv5ol.jpg
 
The veneer looks great Charles, I thought it looked good when you showed me before, looks even better on the car.
 
Silvercrest does a great job :thumb:
 
Silvercrest, oddly, are literally just around the corner from me, about 500 yards as the crow flies. I went there at the start of last year to get it done, the wood veneer is old Ebony Macassar. The original is Zebrano, a wood that has got little figure in it, Ebony have similar linear grain but much more beauty and figure. They had a Bentley owner in at the same time having his wood totally re-done in Ebony Macassar, so when I mentioned what I was after, the boss waved me into his client room, had the sample veneers sent in and said he didn't want the Bentley guy to see his old stock, as he only had little bits left and by far not enough to do a car that large, and new veneer is nowhere near as good as the wood is harvested too soon. It was done beautifully and I am really pleased with it.
 

Users who are viewing this thread

Back
Top Bottom