• The Forums are now open to new registrations, adverts are also being de-tuned.

Mercedes W114 250 Coupe - help!

The MERC EPC uses JAVA which doesn't run on Imacs or android devices AFAIK Only way is to use it within an Windows emulation programme as has been said VIRTUAL PC is another emulation programme that has been mentioned.

I am 99.9% sure that I have seen it running on Virtual Box (just cannot remember where). Other emulators are available from well known stockists :ˆ)
 
Live blog of progress

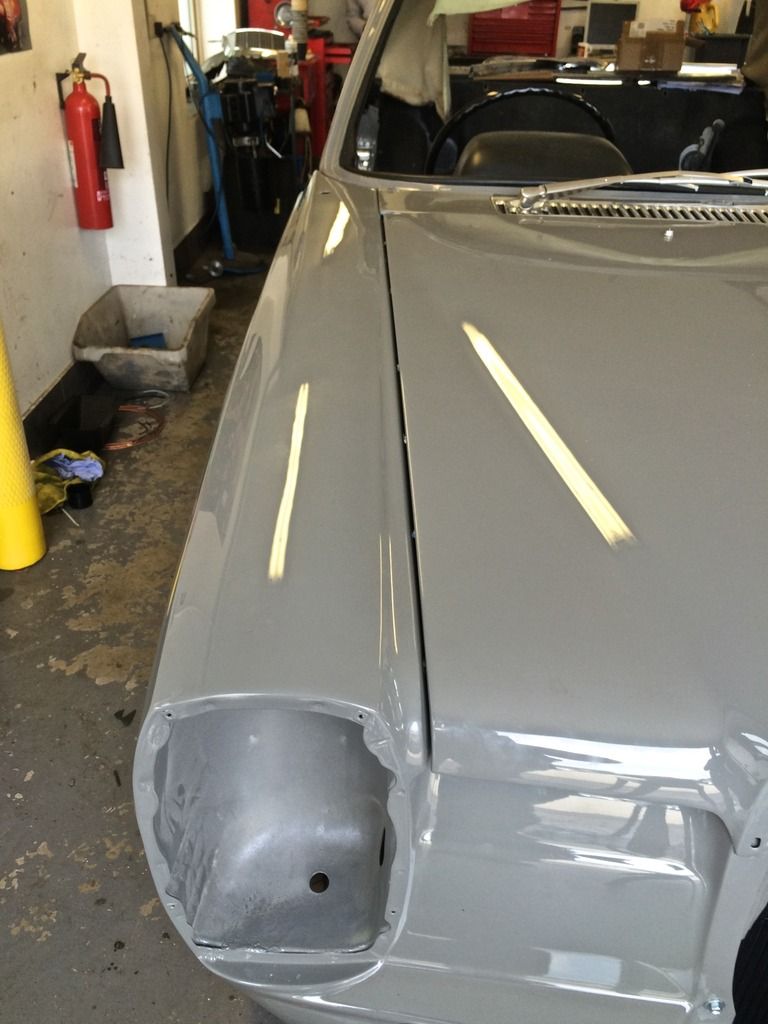
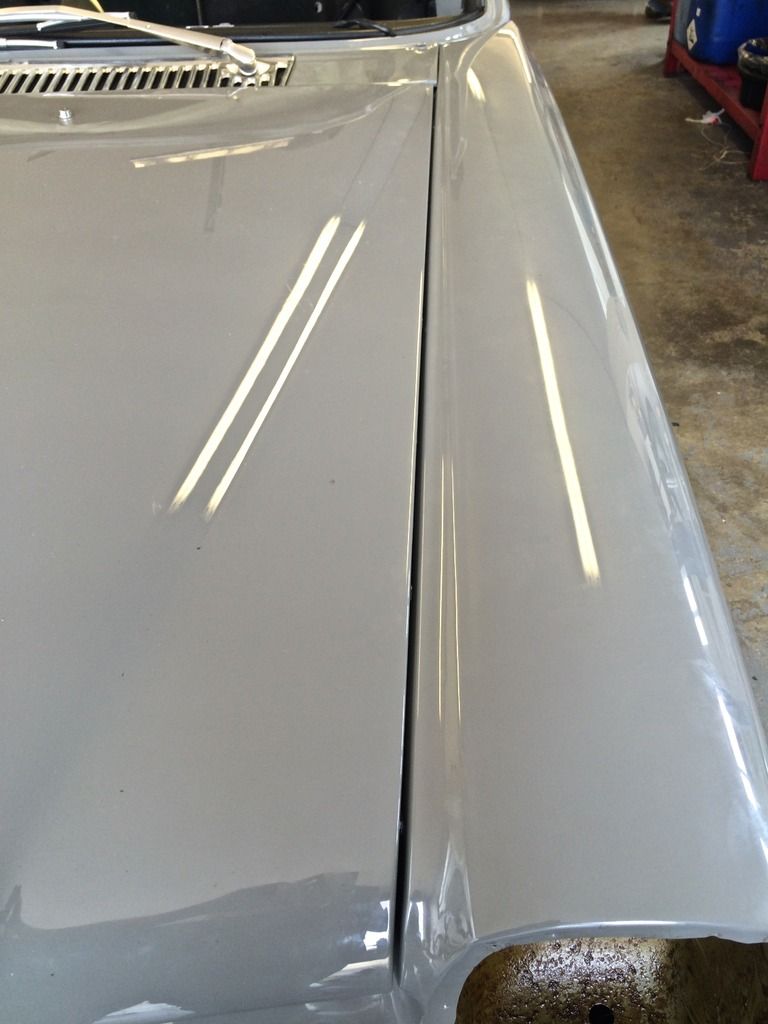
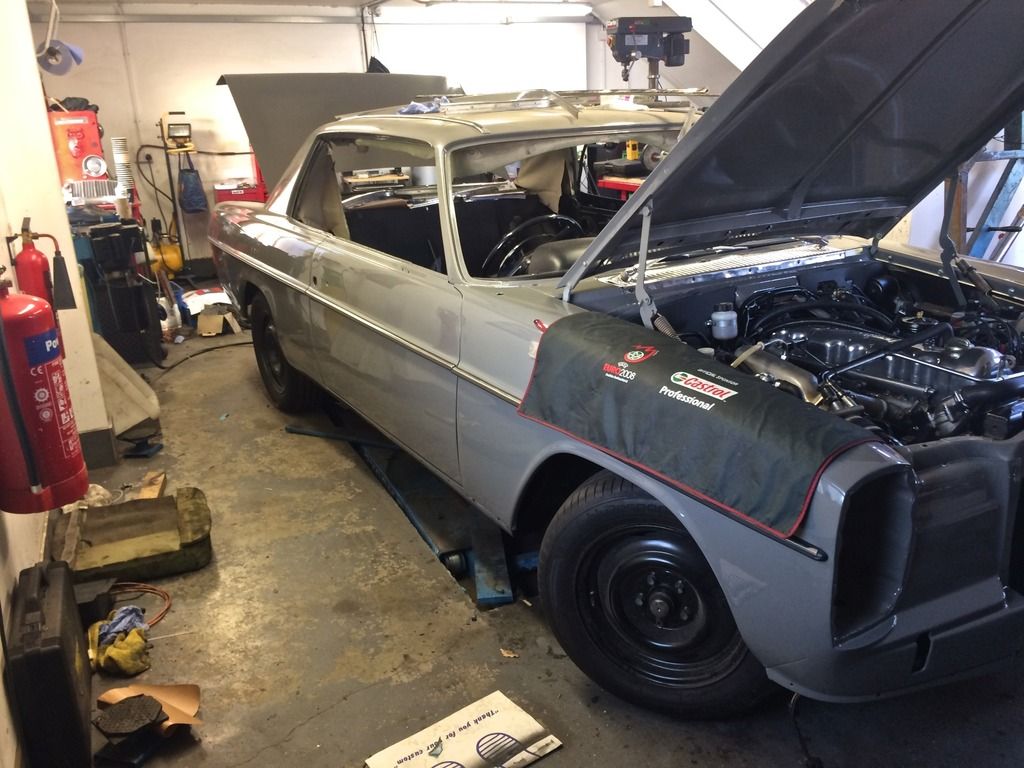
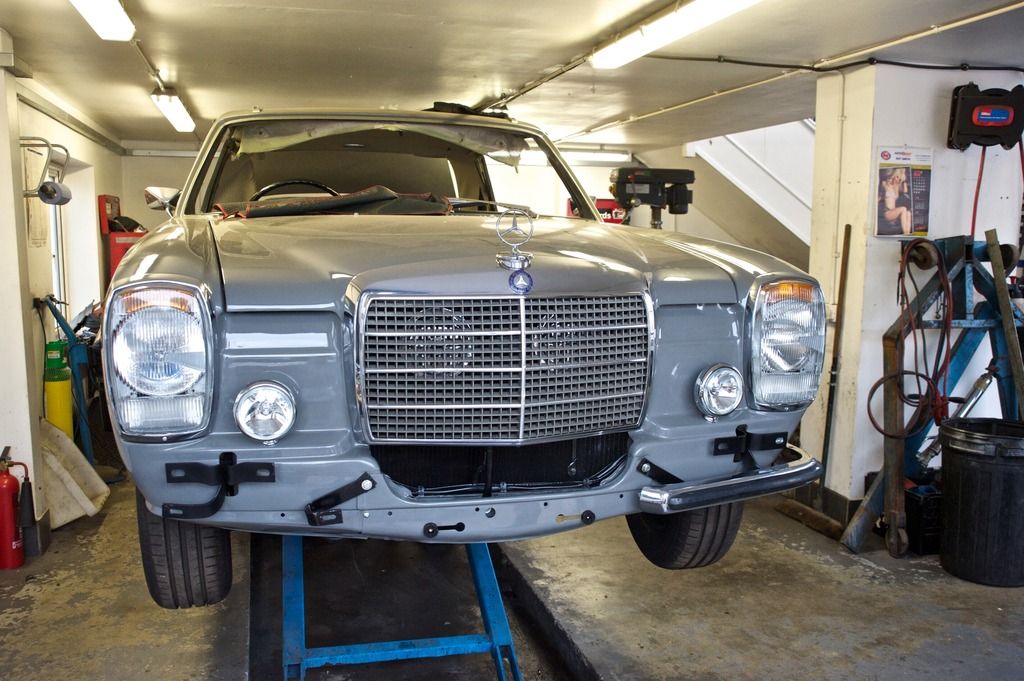
Wings and bonnet now fitted to correct levels of panel fit and looking good. The visible bolts will be slightly less visible when painted.

w114frontwing_zpseikkqqfj.jpg


w114frontwing2_zpspqphugs4.jpg


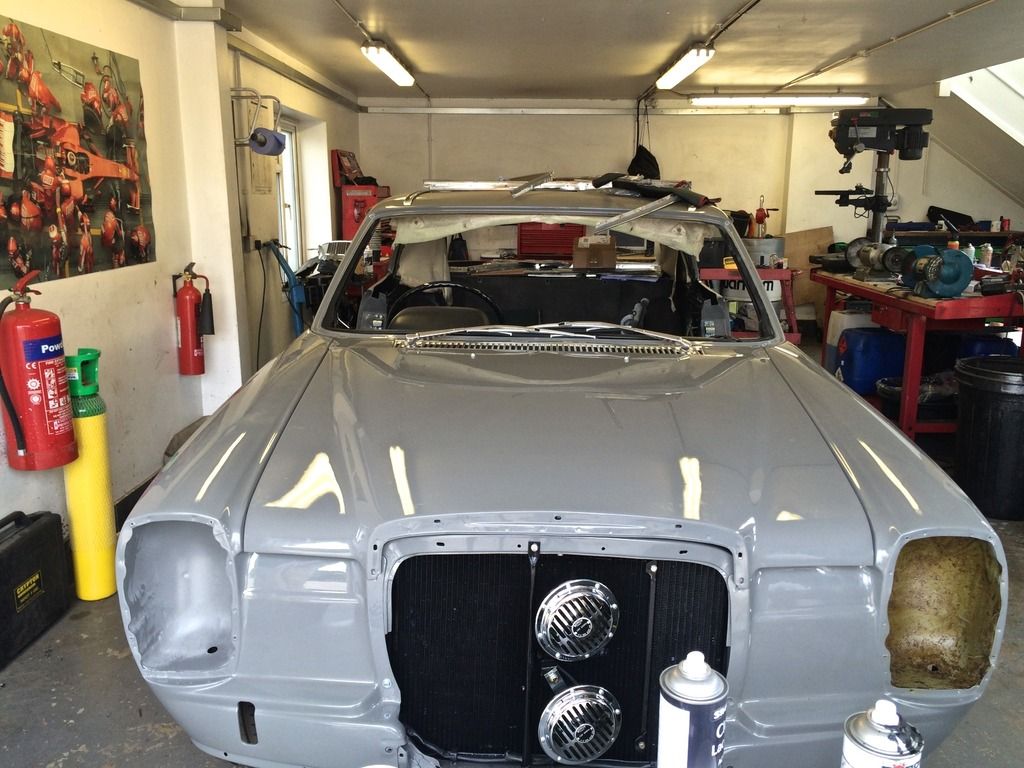
The brown stuff in the headlight recess on the right side of the photo is not accelerated genuine new old stock Benz rust, but cavity wax.

w114frontwing3_zpsubjil9sr.jpg


The bonnet release catch works perfectly and the bonnet is now on springs. Unlike the later cars though the bonnet cannot be held vertically so when the Mercedes Benz radiator grill goes on it is going to get right in the way.

Owing to the imminent delivery today of something I was expecting tomorrow, I can get back up there to help on Wednesday.
 
Last edited:
Looking excellent! Wish mine looked like that! Well Jel as they say in Essex.


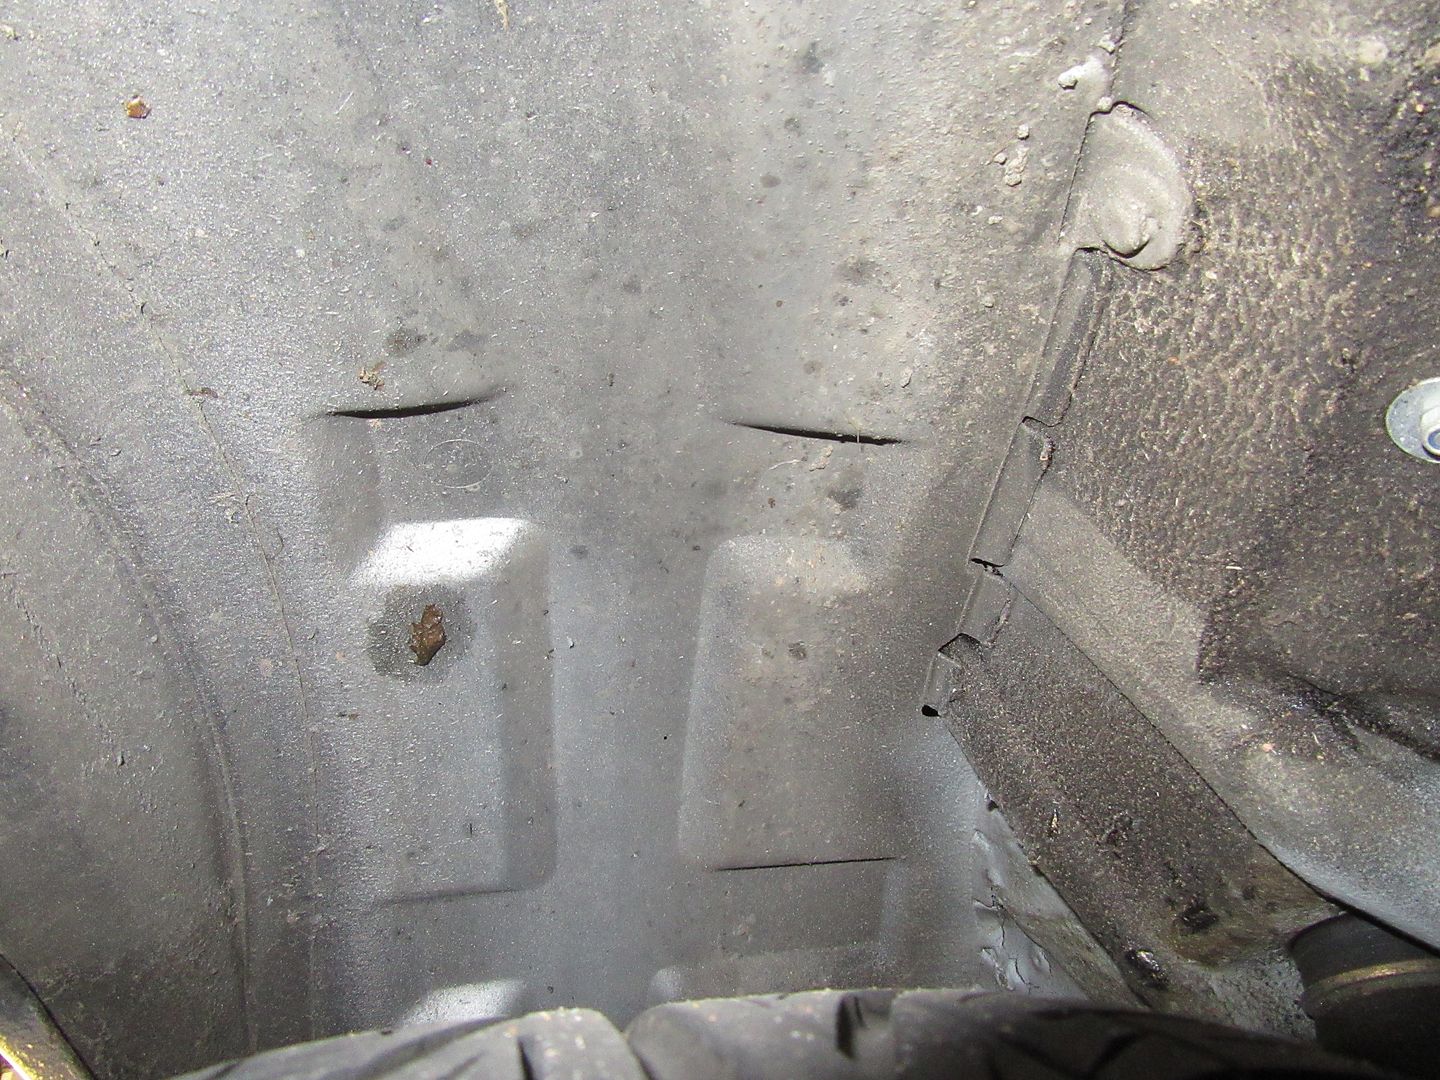
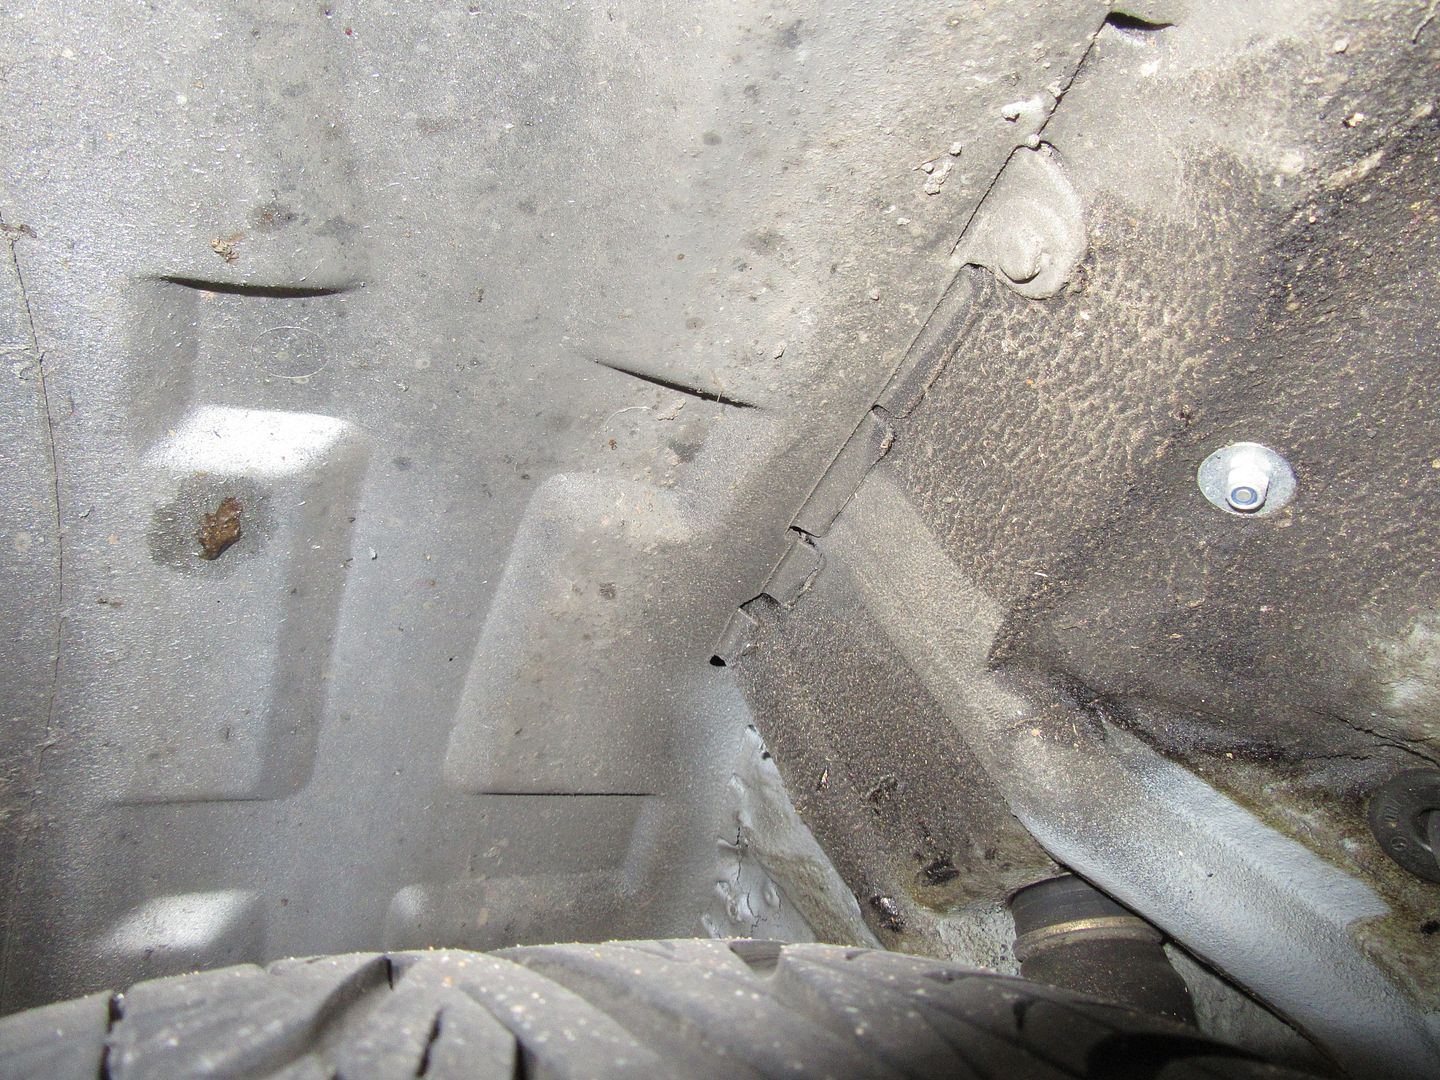
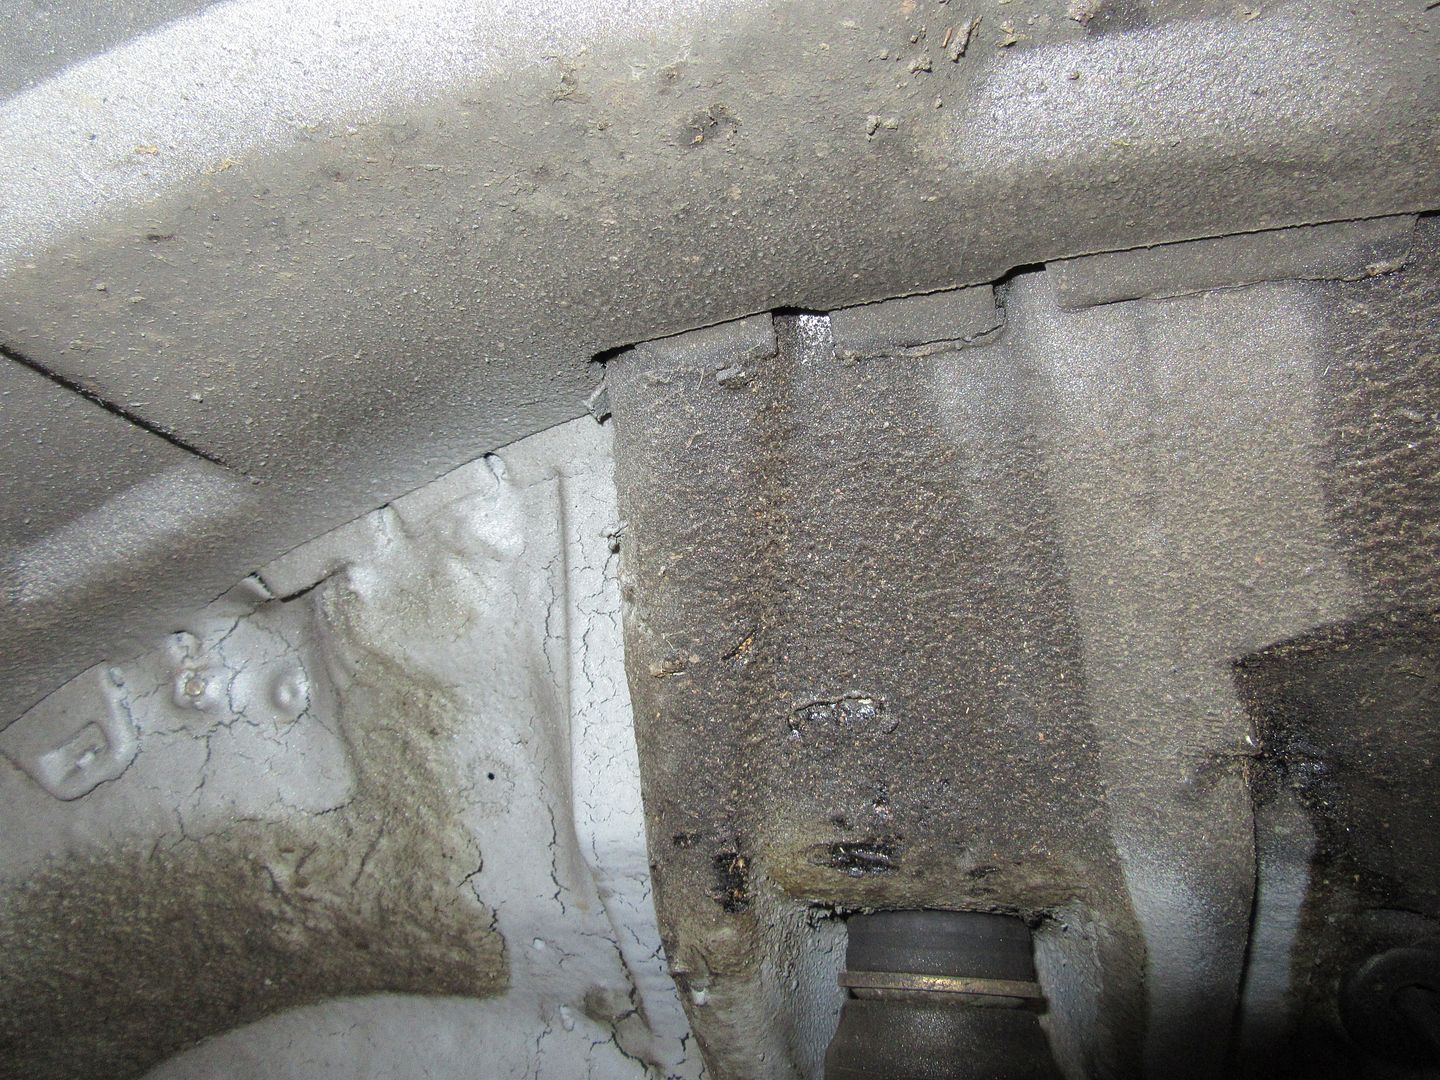
Probably no help whatsoever. Very difficult to get a decent comprehendible shot of anything with the wheel in place.

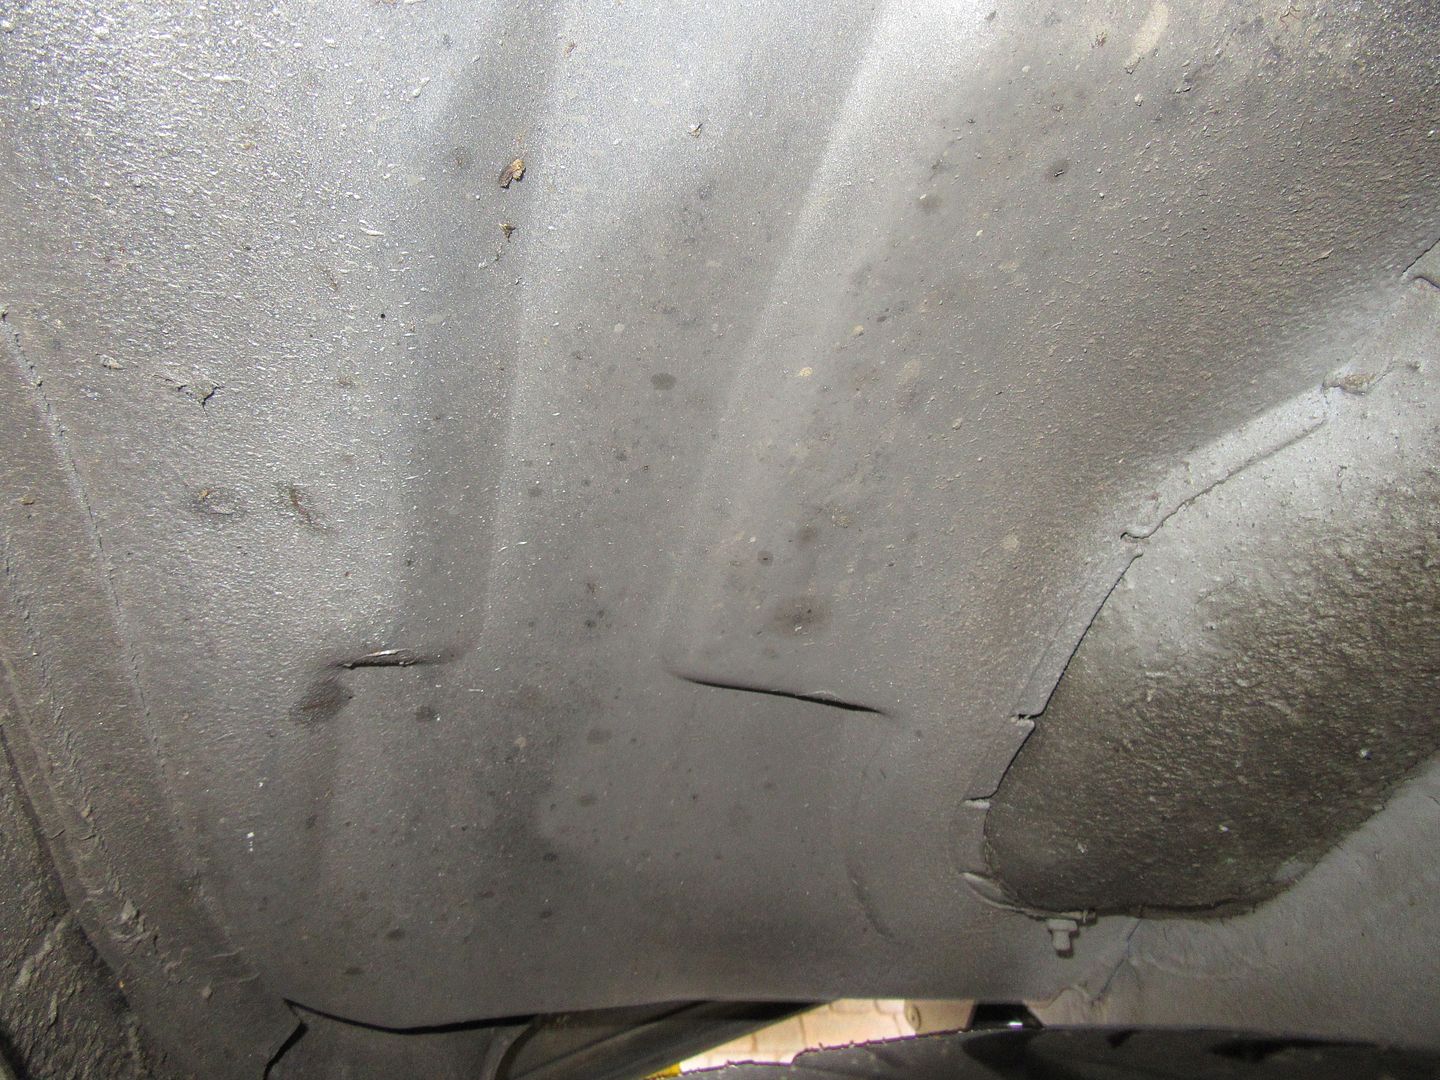
However: At the rear the liner is 8" wide maintaining that width for 19"^ up the inner arch. At the top of it's curve it's 10" widening slightly to 10.5" where it's level with the front bumper. All measurements taken from the inner surface of the outer wing > inwards and including the squashy rubber seal. Pic #4 is the best shot of the front lower where it meets the wing and the inner-wing. I can imagine these parts are not cheap so it may be a risk but they're just plastic so can be trimmed to suit even and if they don't fit perfectly would give a degree of protection not offered at the mo.

BTW, the paint cracks in #3 are the result of using rubberised chlorinate paint over uncured underseal. Nothing to worry the pedants :rolleyes:


.
 
Last edited:
Thanks Derek, trying to find them online last night was frustrating as Inchcape's site is down again and only one supplier in Germany, a site I never trust as it appears on every part search with faintly dubious prices. Nothing with any of the usually reliable sources.

Fun yesterday with the fuel rail, so tight now is the injector mounting that our original approach of fitting on to the injectors in situ isn't getting anywhere, so plan B this morning.

Doors are all hinged and lockable (from the inside - I shall take the outer handles etc up there today). To my mild frustration, the new door I bought lacks a window guide channel and I only have one for the other door. Hunting for that is proving equally annoying.
 
Last edited:
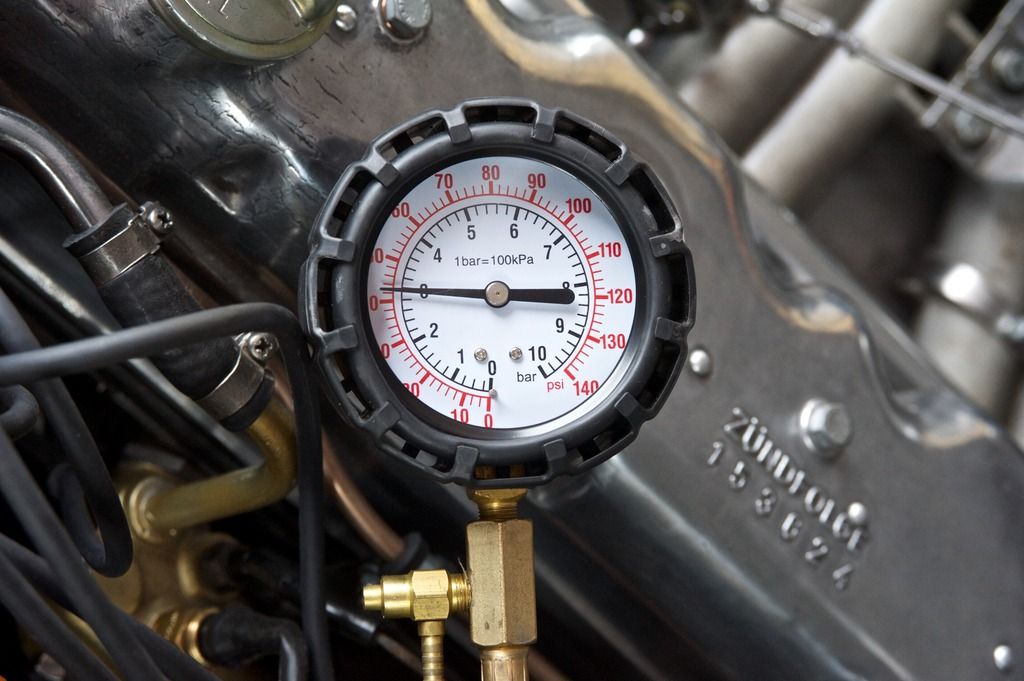
Got in to find the fuel rail fitted. Plumbed in the pressure gauge, fired the fuel pump direct (via the Megasquirt it correctly stops pumping if no CPS found within 4 seconds) and after a little fiddle with the pressure regulator, we have the correct pressure (tweaked it a tiny amount more after this).

fuelinmyrail_zpsdq21ku3l.jpg


Showing how quickly the rail pressurises

[YOUTUBE]5XQWJ1dEztU[/YOUTUBE]

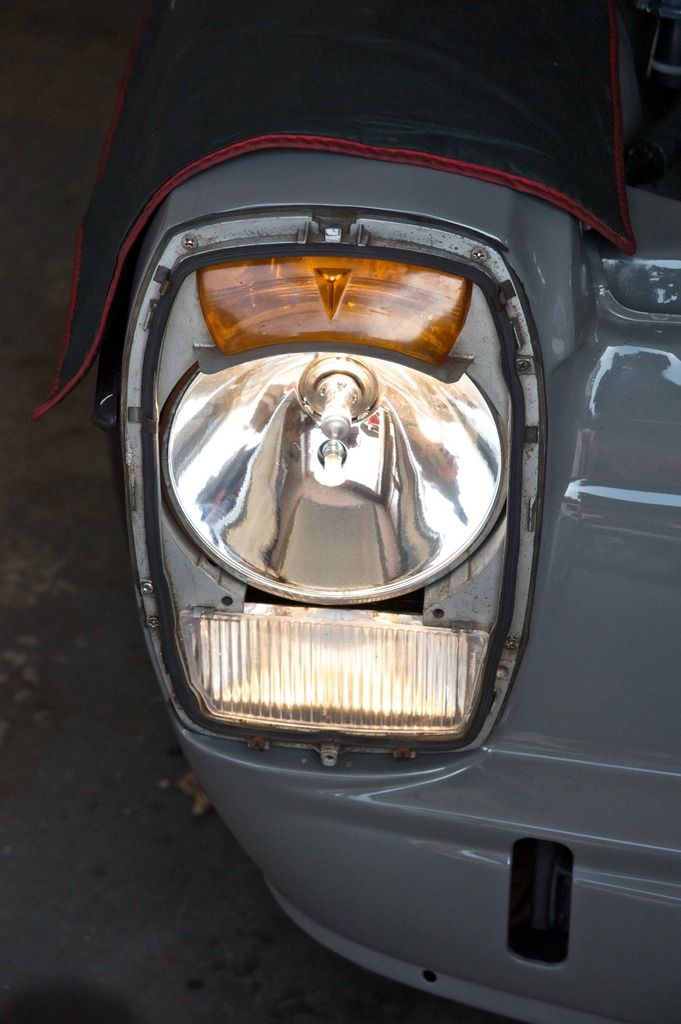
Got the lights all refurbished and re-bulbed (?) and when fitted, all were tested and found to work.

lettherebelight2_zpsgn5mrcoj.jpg


Looks so much happier with the eyes in!

lightup_zpselbzsffv.jpg


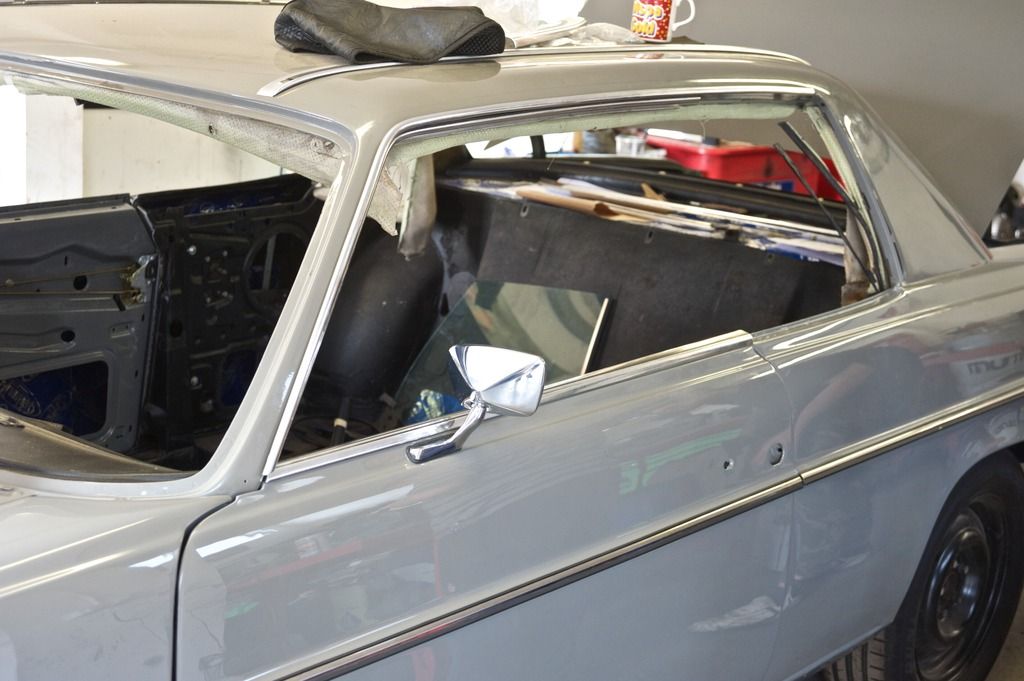
Door mirrors fitted and a trial fitting of the chrome door and window trim to get it all correctly positioned before sealing it in (the original holding method is by screw - I'm keen to reduce the number of holes to a minimum).

trialtrim_zpszugbzcnx.jpg
 
Last edited:
Now look Charles, you're starting to make me jealous!

I'll bet you're close to walking on air after seeing it slowly coming to life, can hardly wait till the upholstery & those yellow driving lights are fitted...
 
Won't be waiting long for the former, but the yellow driving lights, sadly now out of budget and it would mean drilling two more holes in the bodywork. Anyway, the wiring for them has been done at least.
 
Seems about right.

Certainly any sensible financial analysis would demonstrate me to be entirely certifiable.
 
Money does help with a lot of it though. I think had I known how much it would cost when I started it, I wouldn't have. Not complaining, but once you decide to do something to a high standard don't start with an unknown quantity. Anyway, all bar a tiny amount of the cost is now sunk, so I can only look forward to getting it finished and enjoying it.
 
A slightly frustrating week, lots of progress being made but yet to get it firing - today it fired on a couple of cylinders then died. Bit more fault-finding to be done. Then we found we had two passenger door handles but no drivers side. The window channel guide supplied from Germany turned out to be too flaccid.

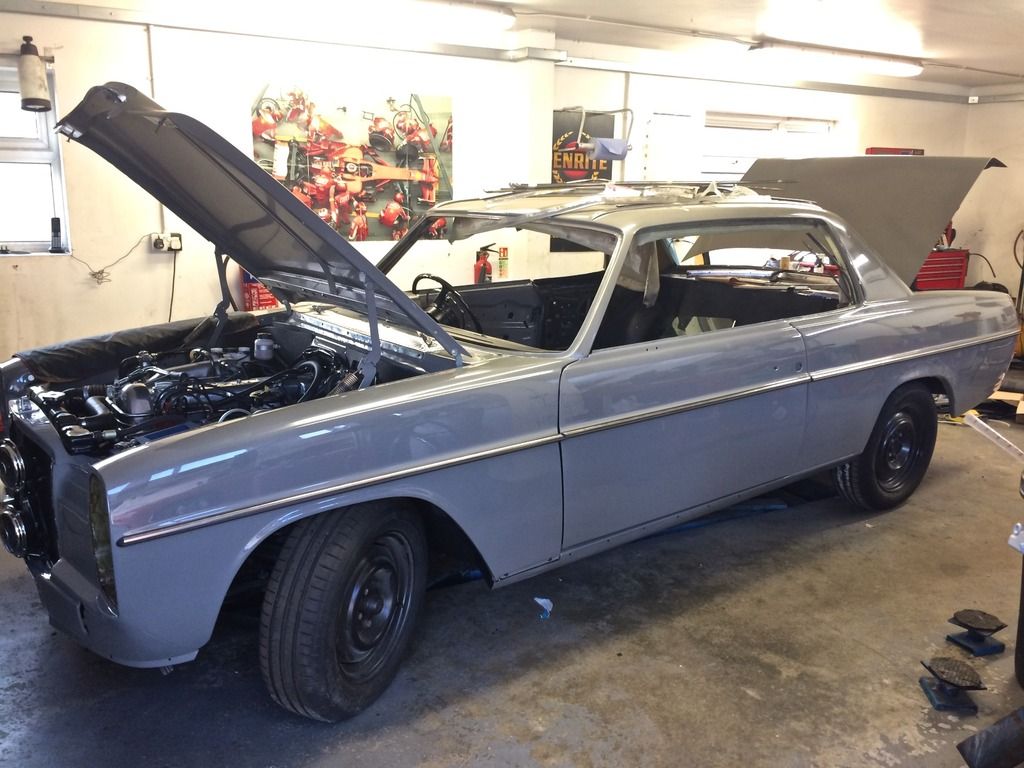
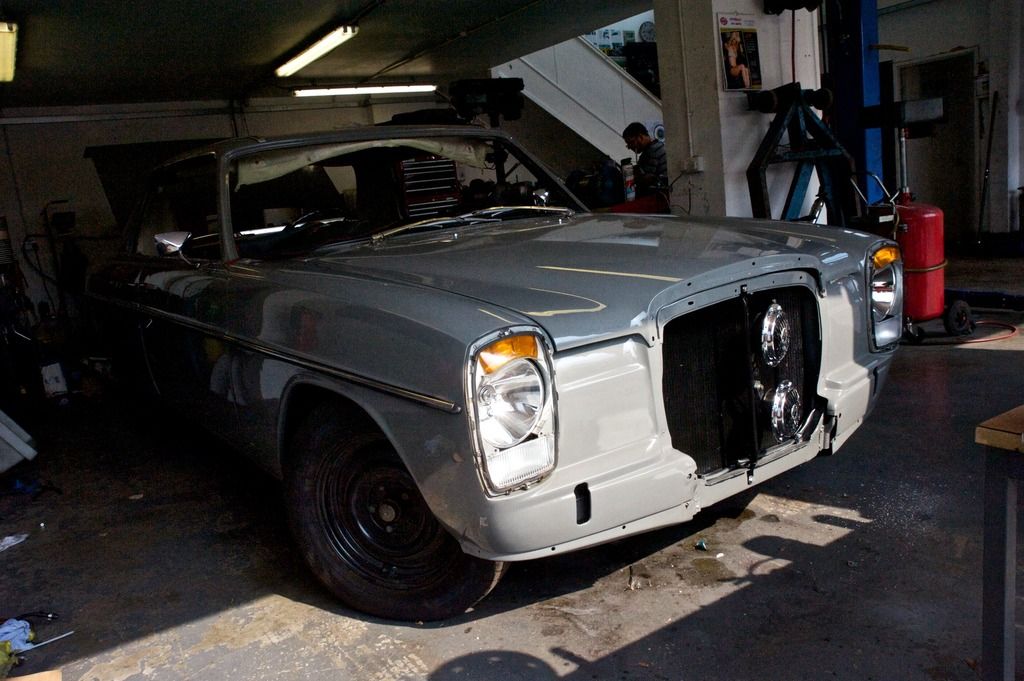
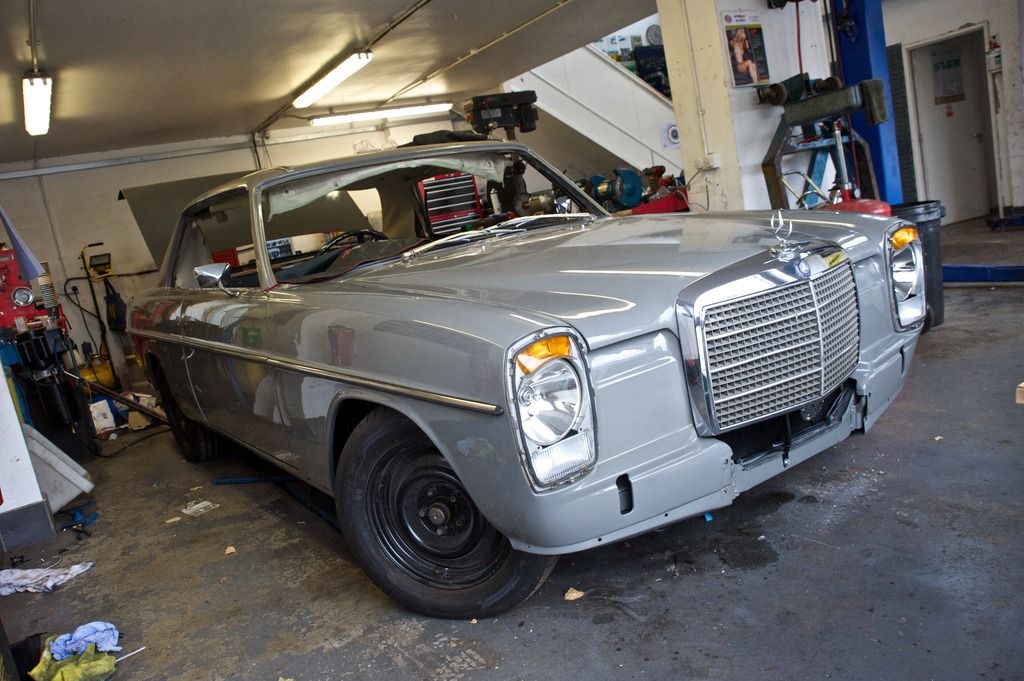
On the upside, it's coming together on the outside.

almost%20there_zpsunjyiw0u.jpg
 

Users who are viewing this thread

Back
Top Bottom