I had a lucky break this bank holiday - from Sat afternoon until Mon afternoon I had the house all to myself, so out came the compressor and spanners...
First stage was to rub down my new wings (Eurocarparts Premiums, which were so good they didn't need any fettling to fit properly

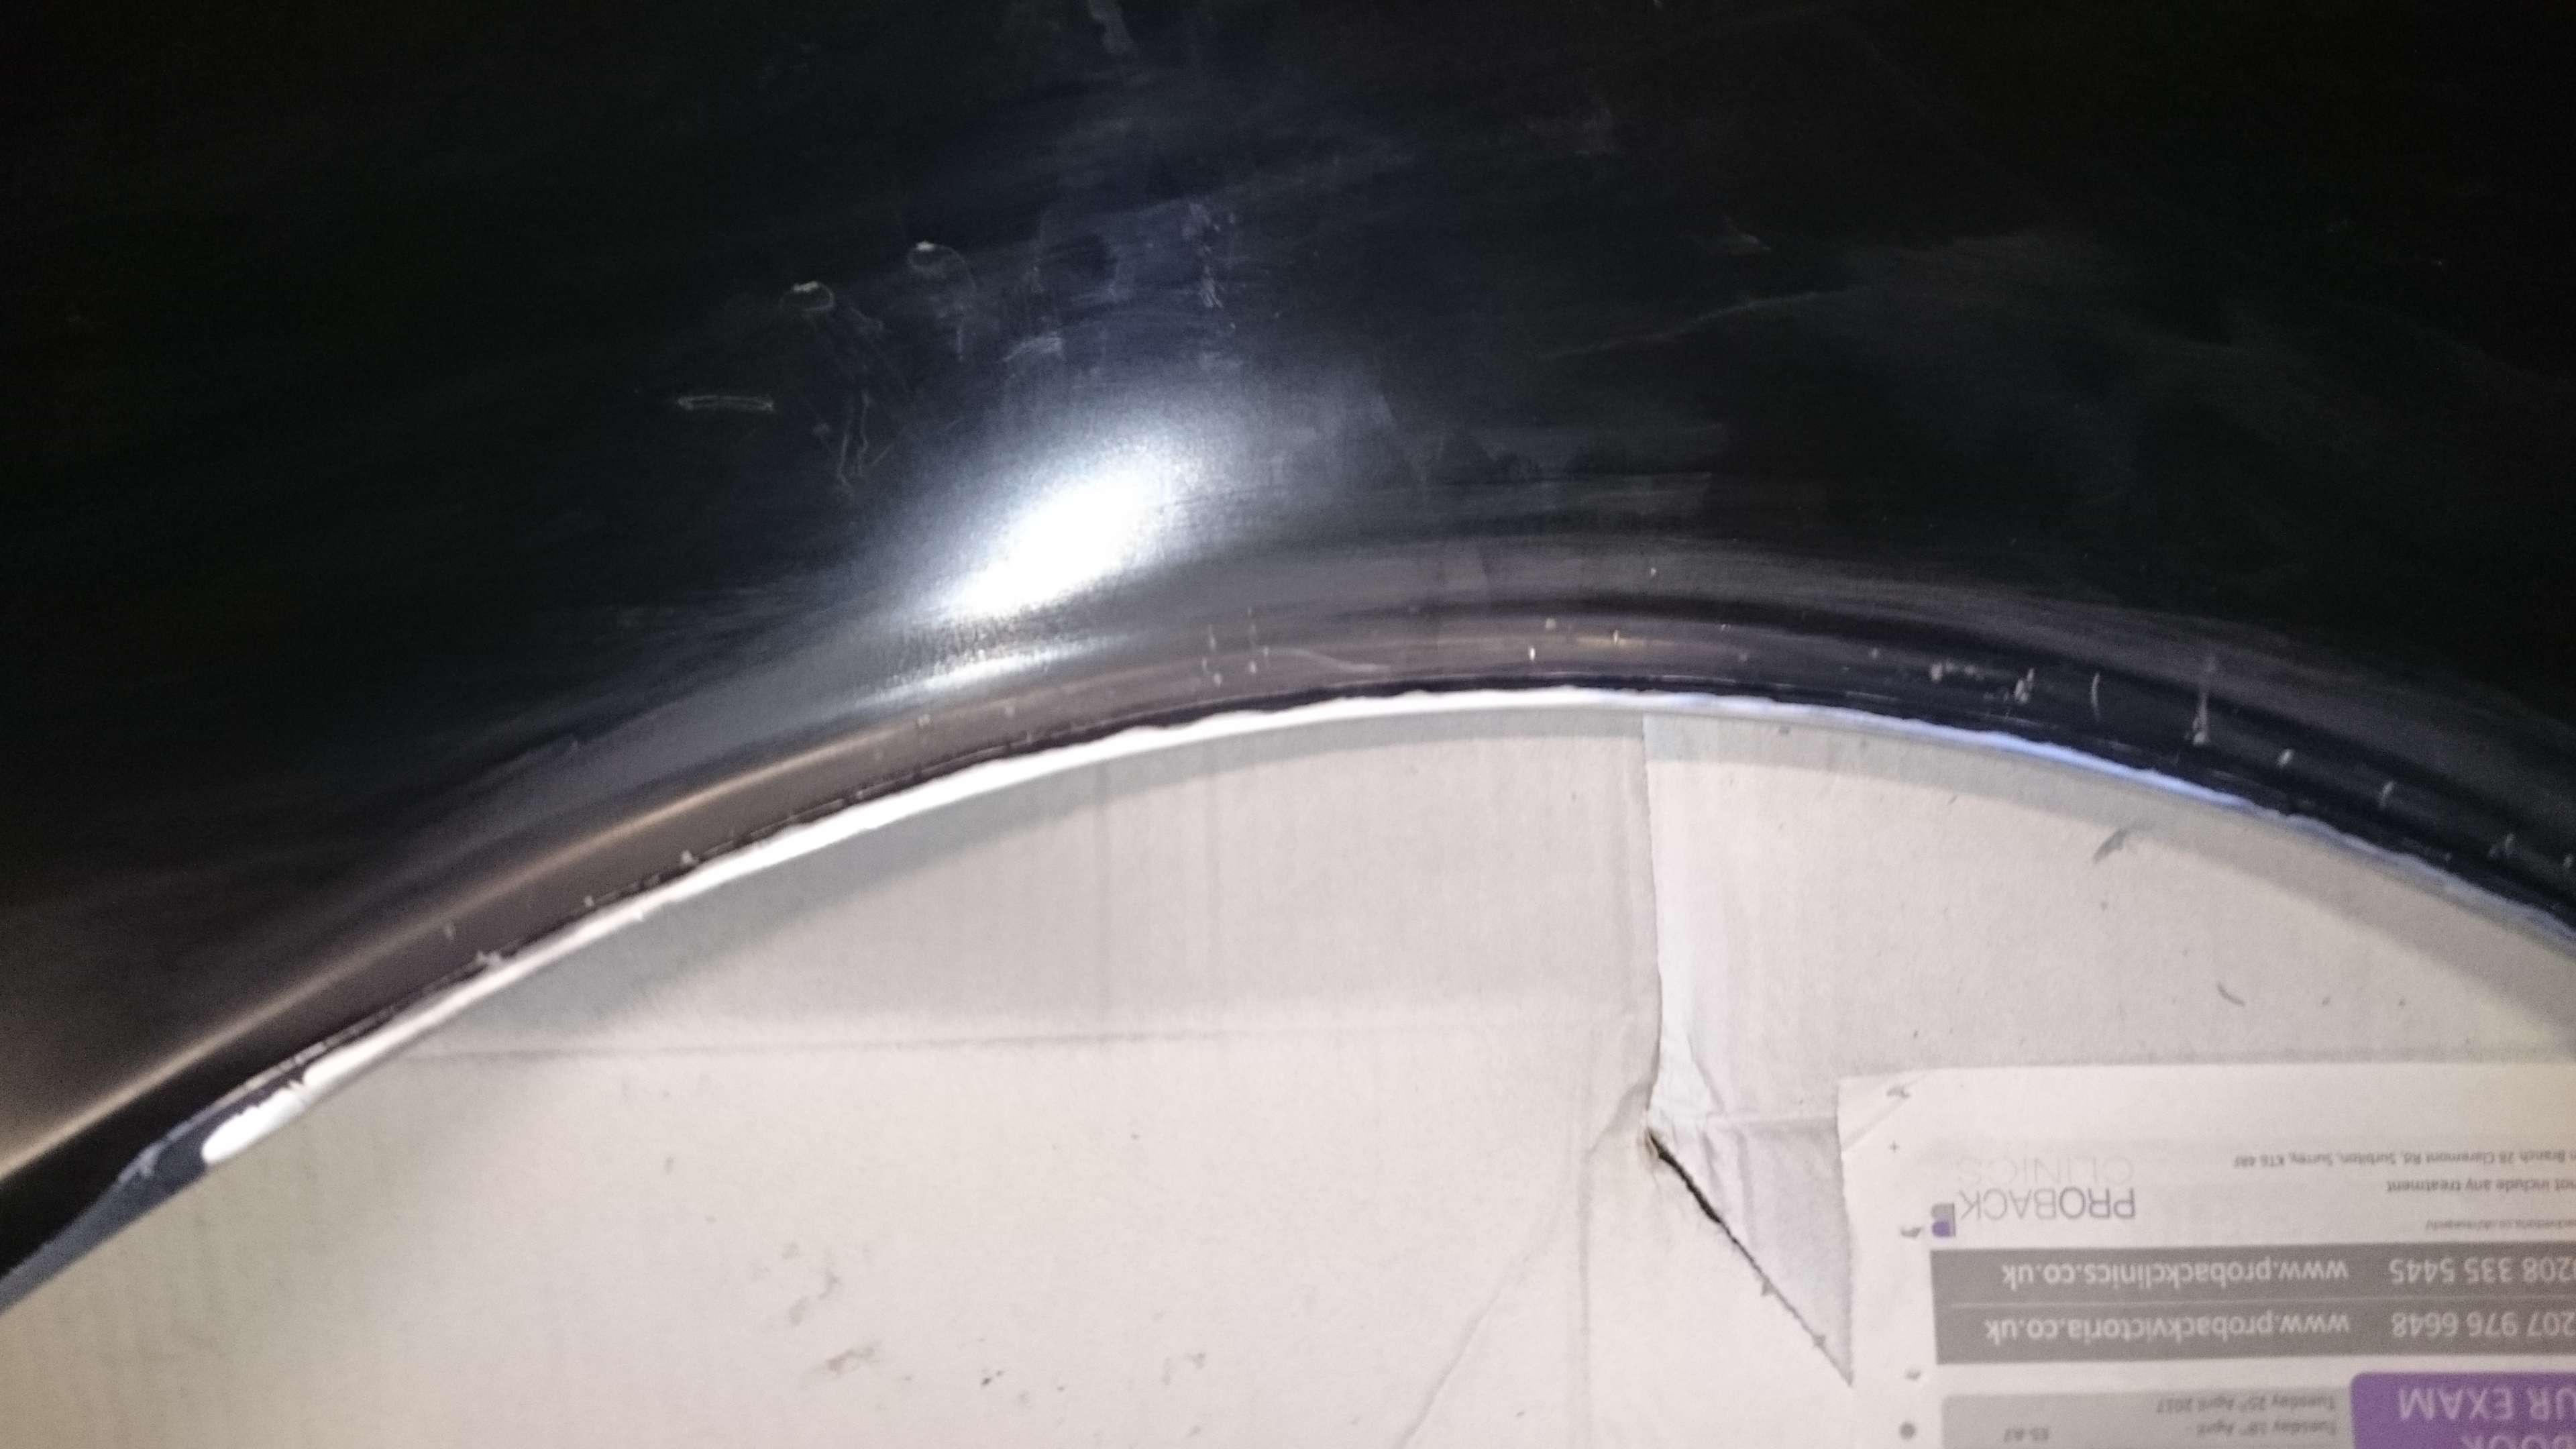
) and create the proper AMG wheelarch lip:
I did this by bending the lip in slightly increasing stages with an edge setting tool from Machinemart, followed by carefully finshing it off with a round-headed panel beating hammer.
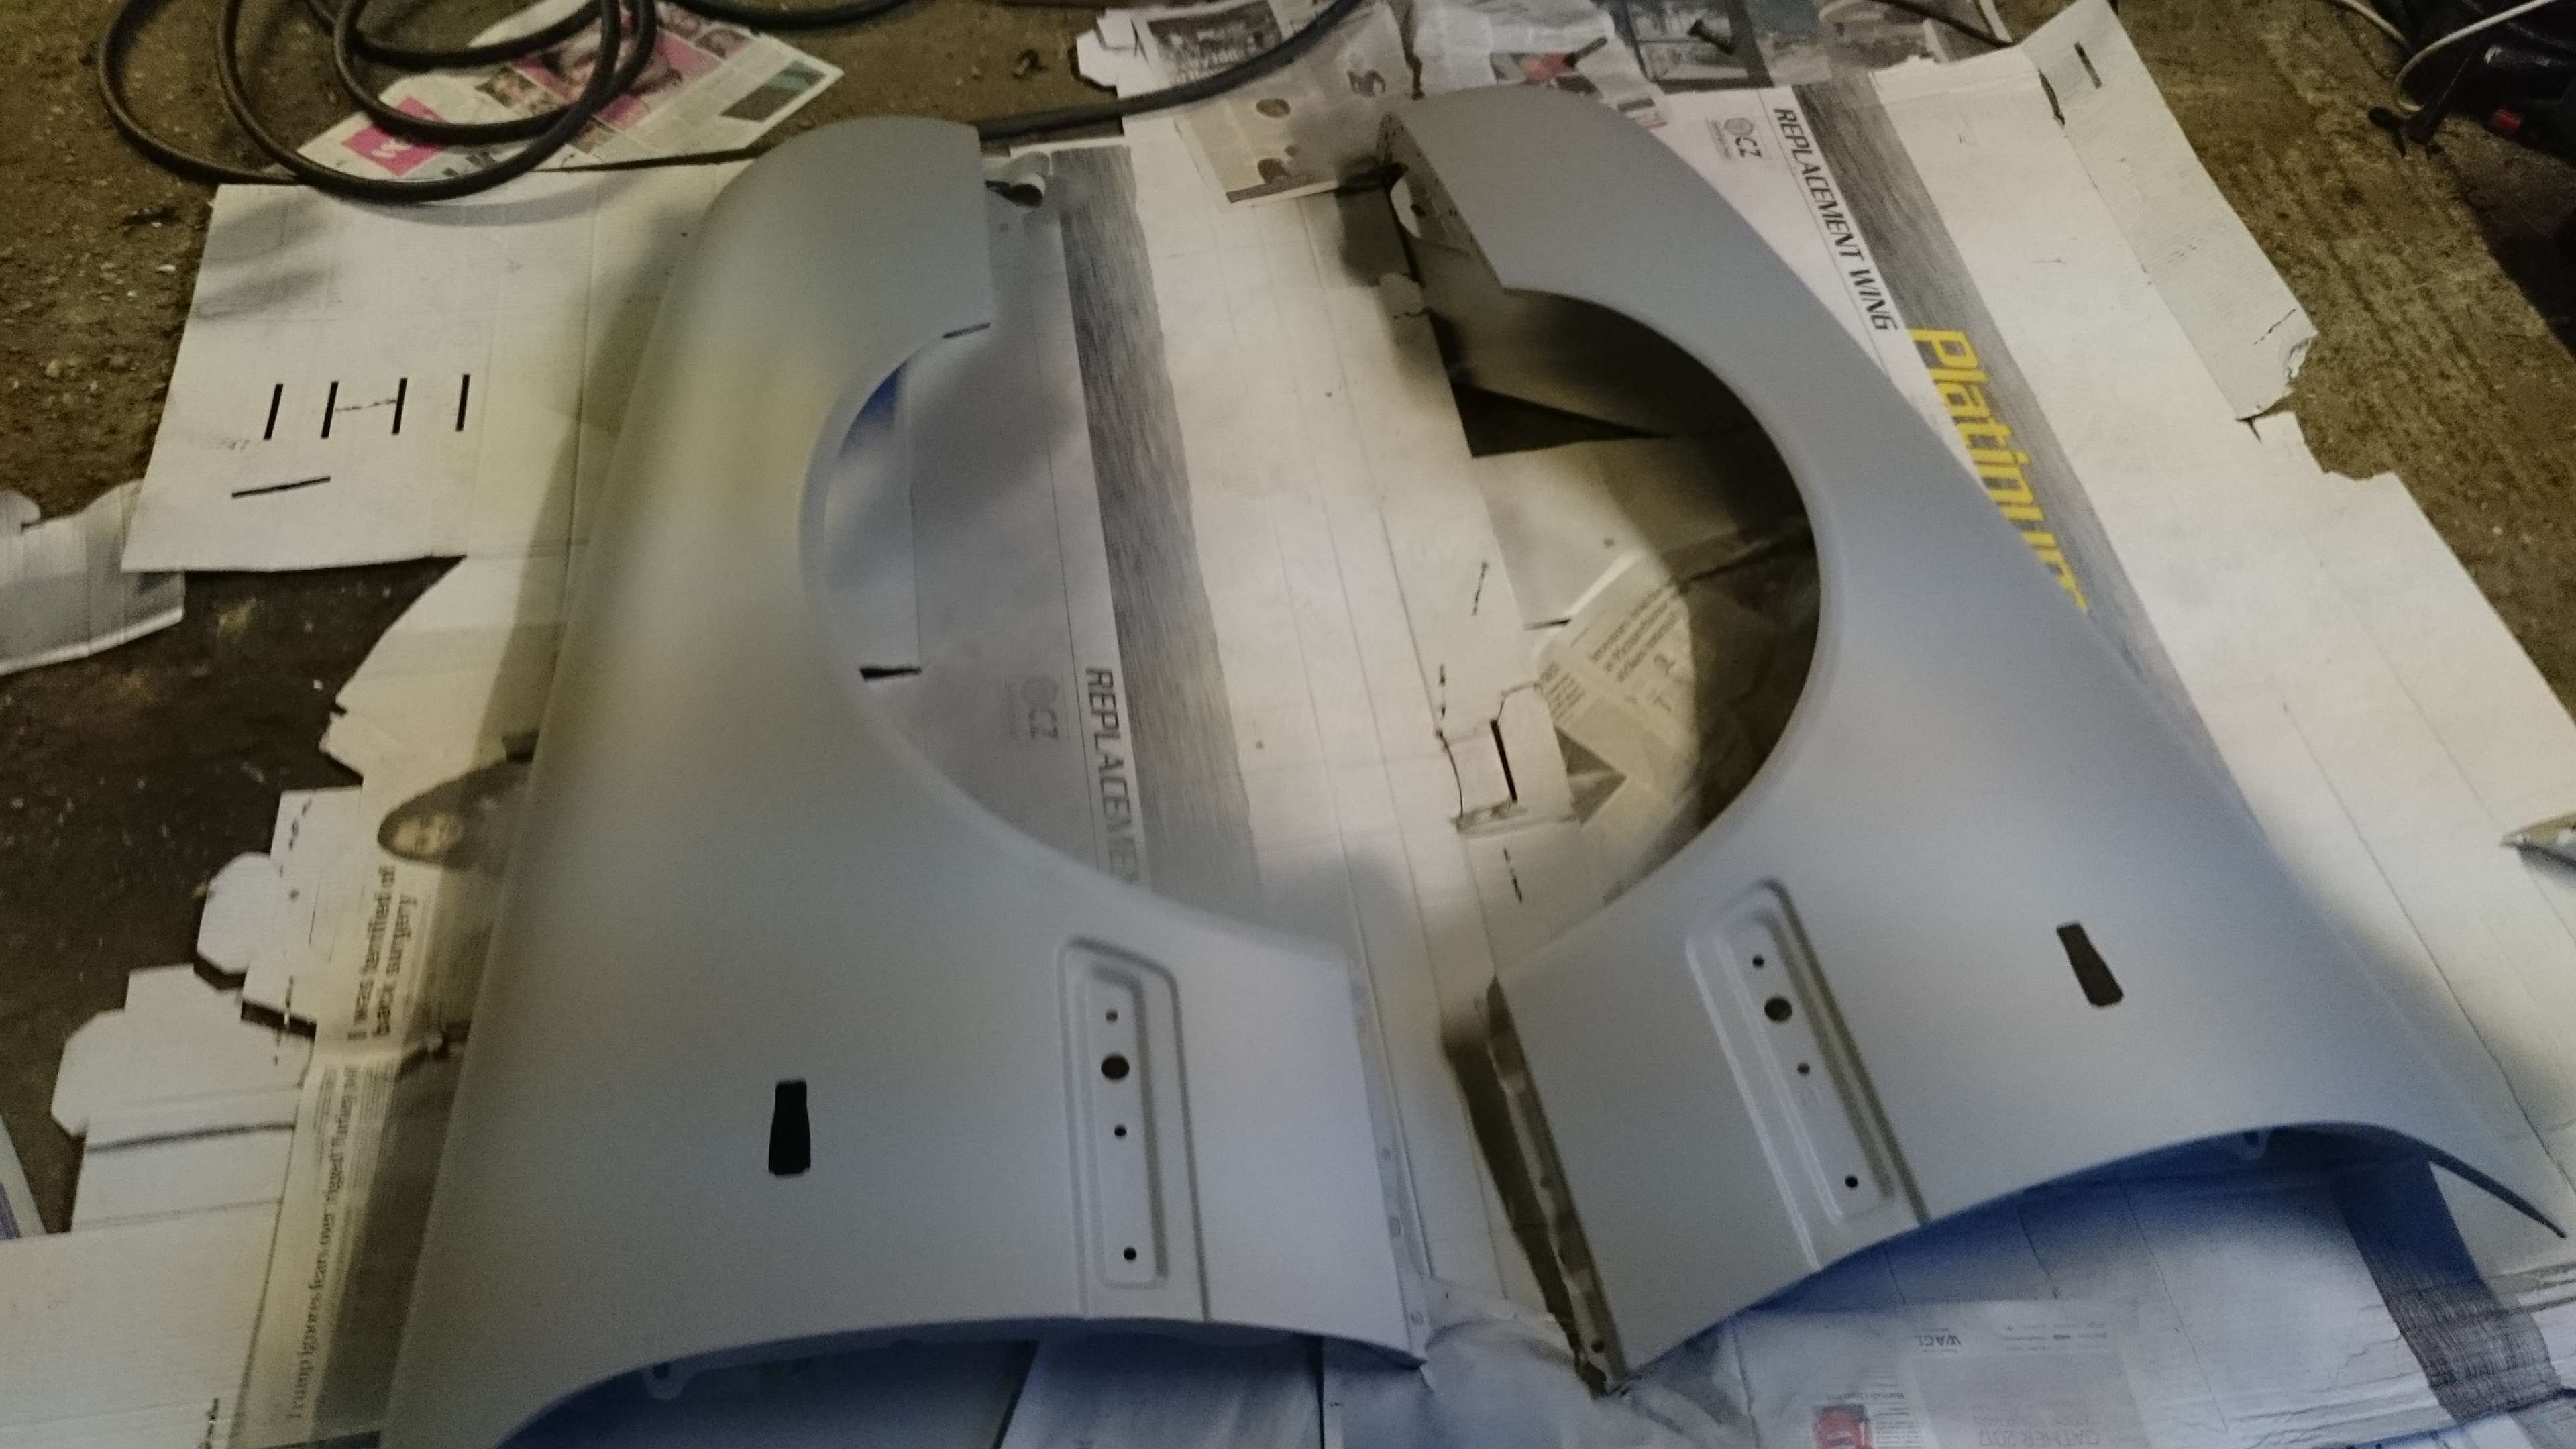
Next came the primer - a standard cellulose high-build primer thinned 1:1 applied over 3 coats with a block rub down between.
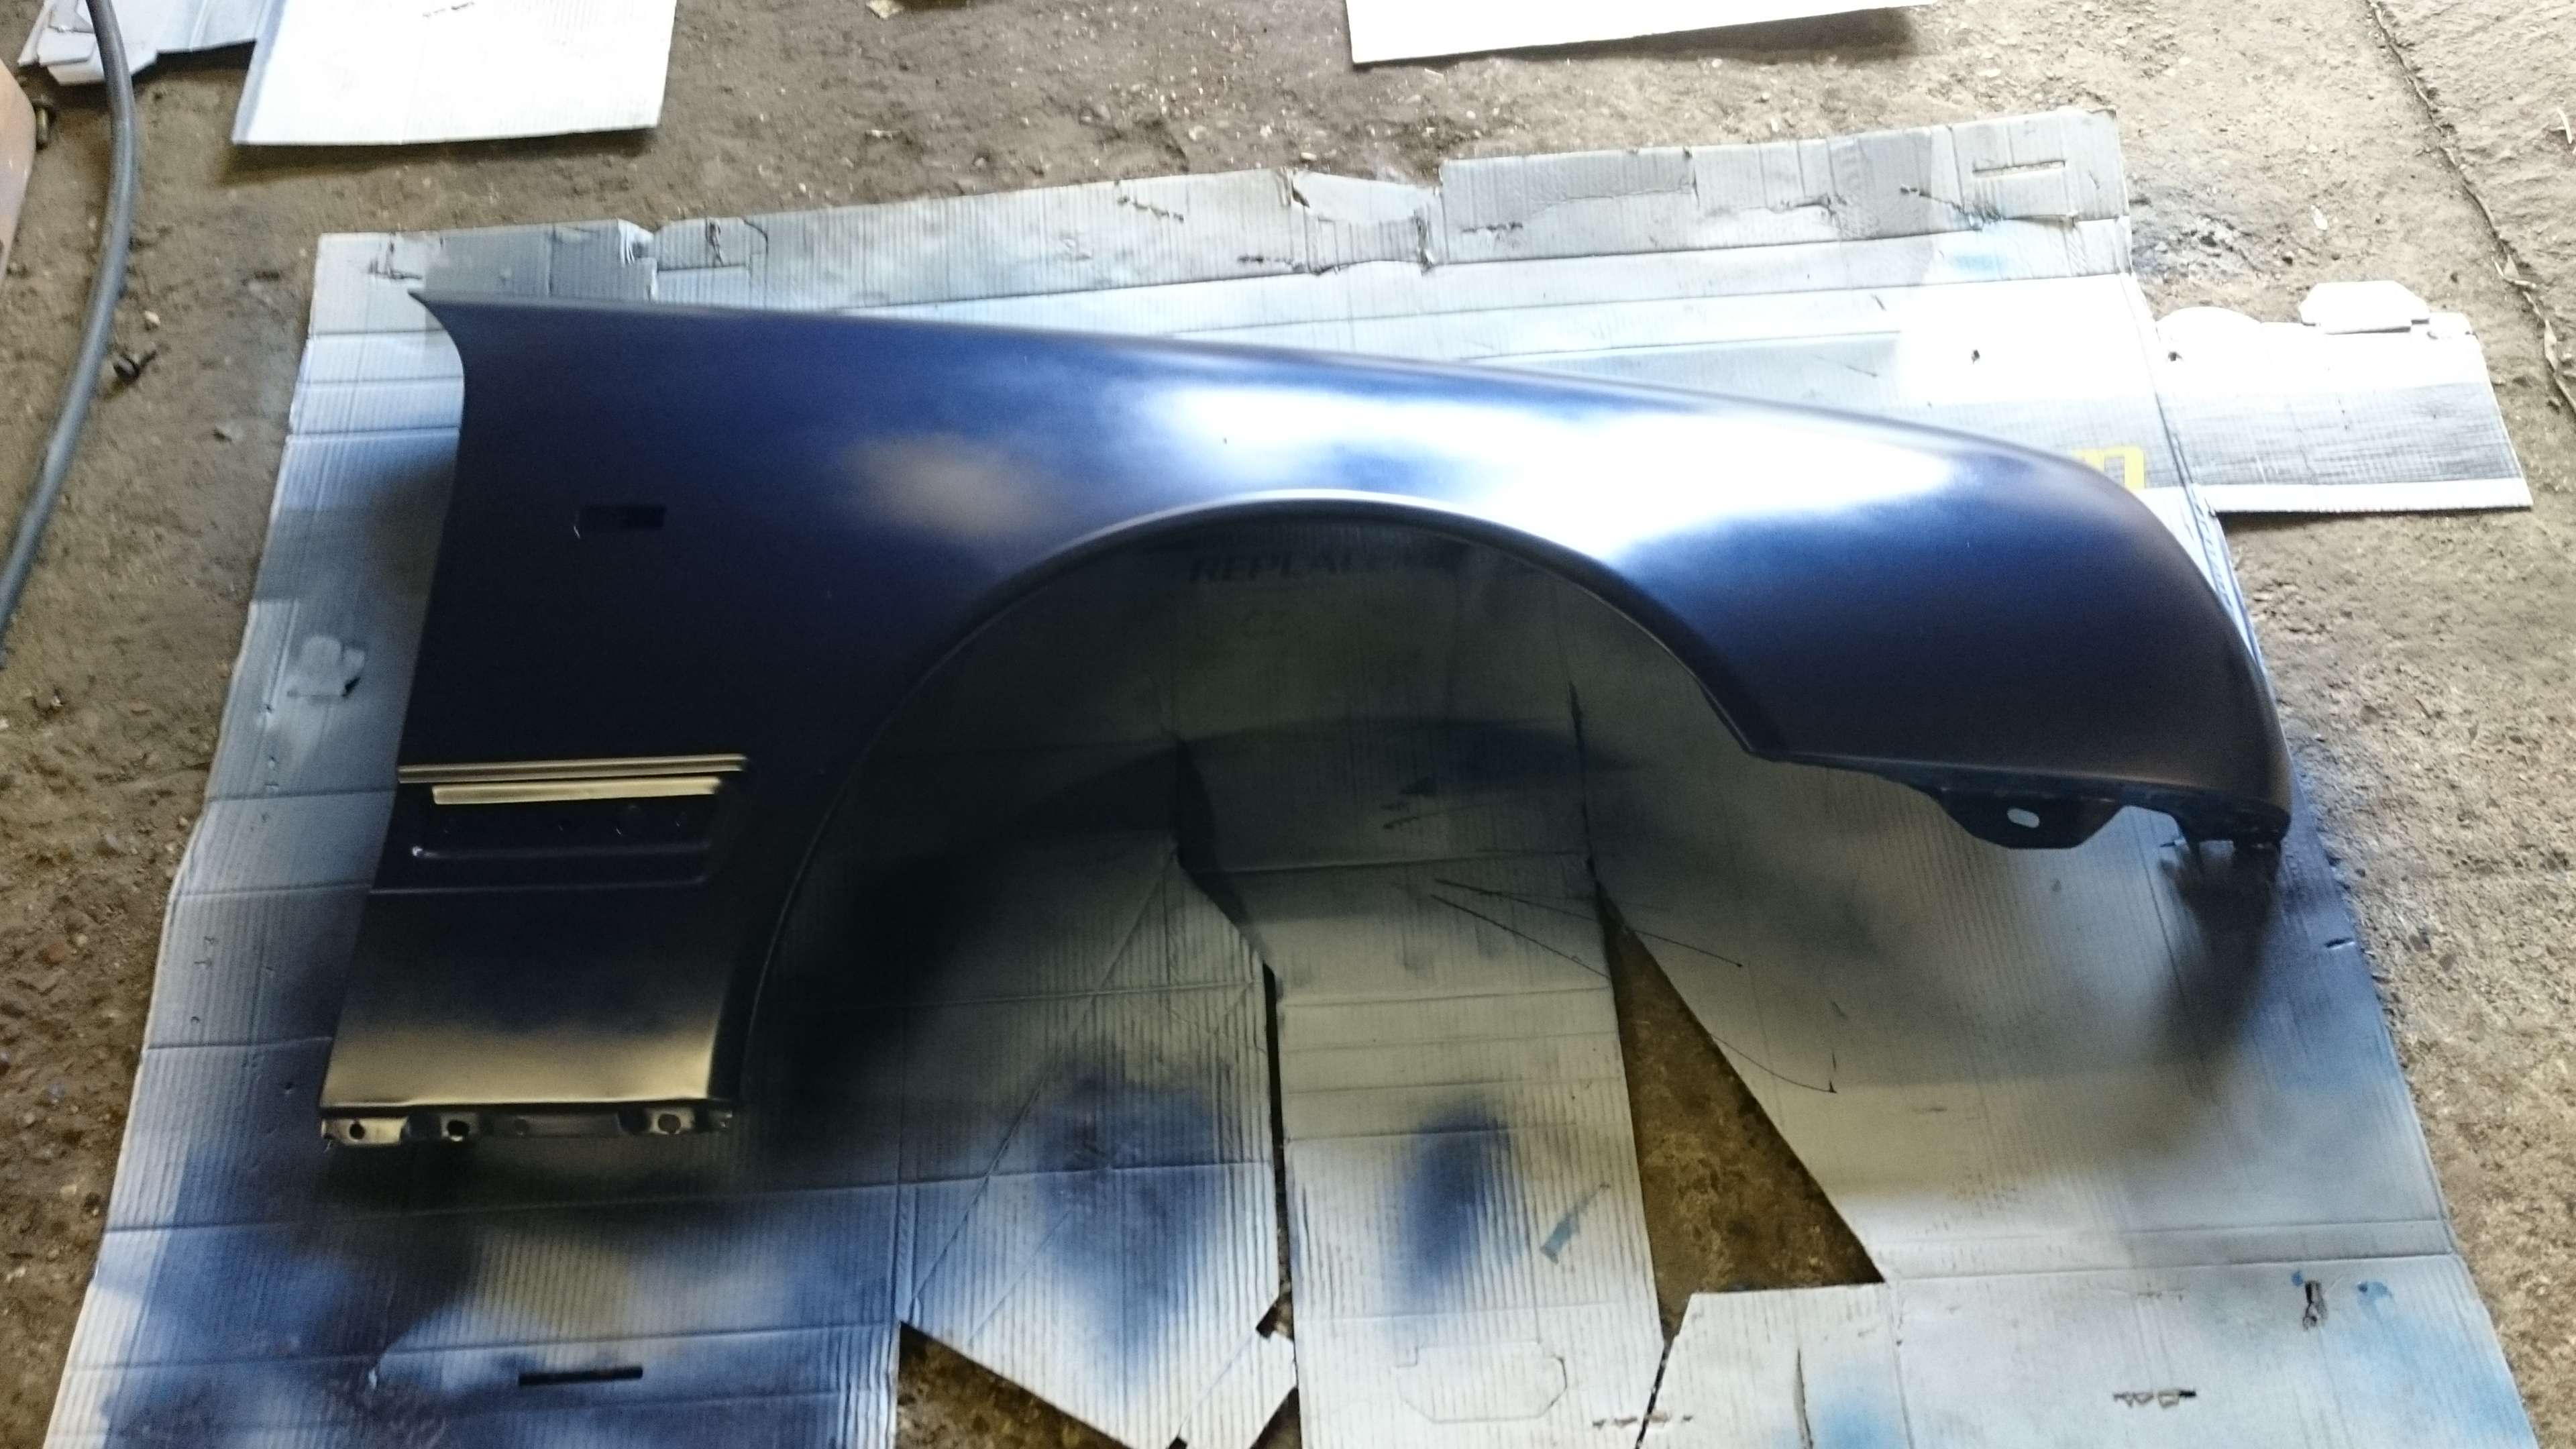
Next came the water-based base coat, done in 3 coats. That took about 6 hours to do thanks to the extended drying time.
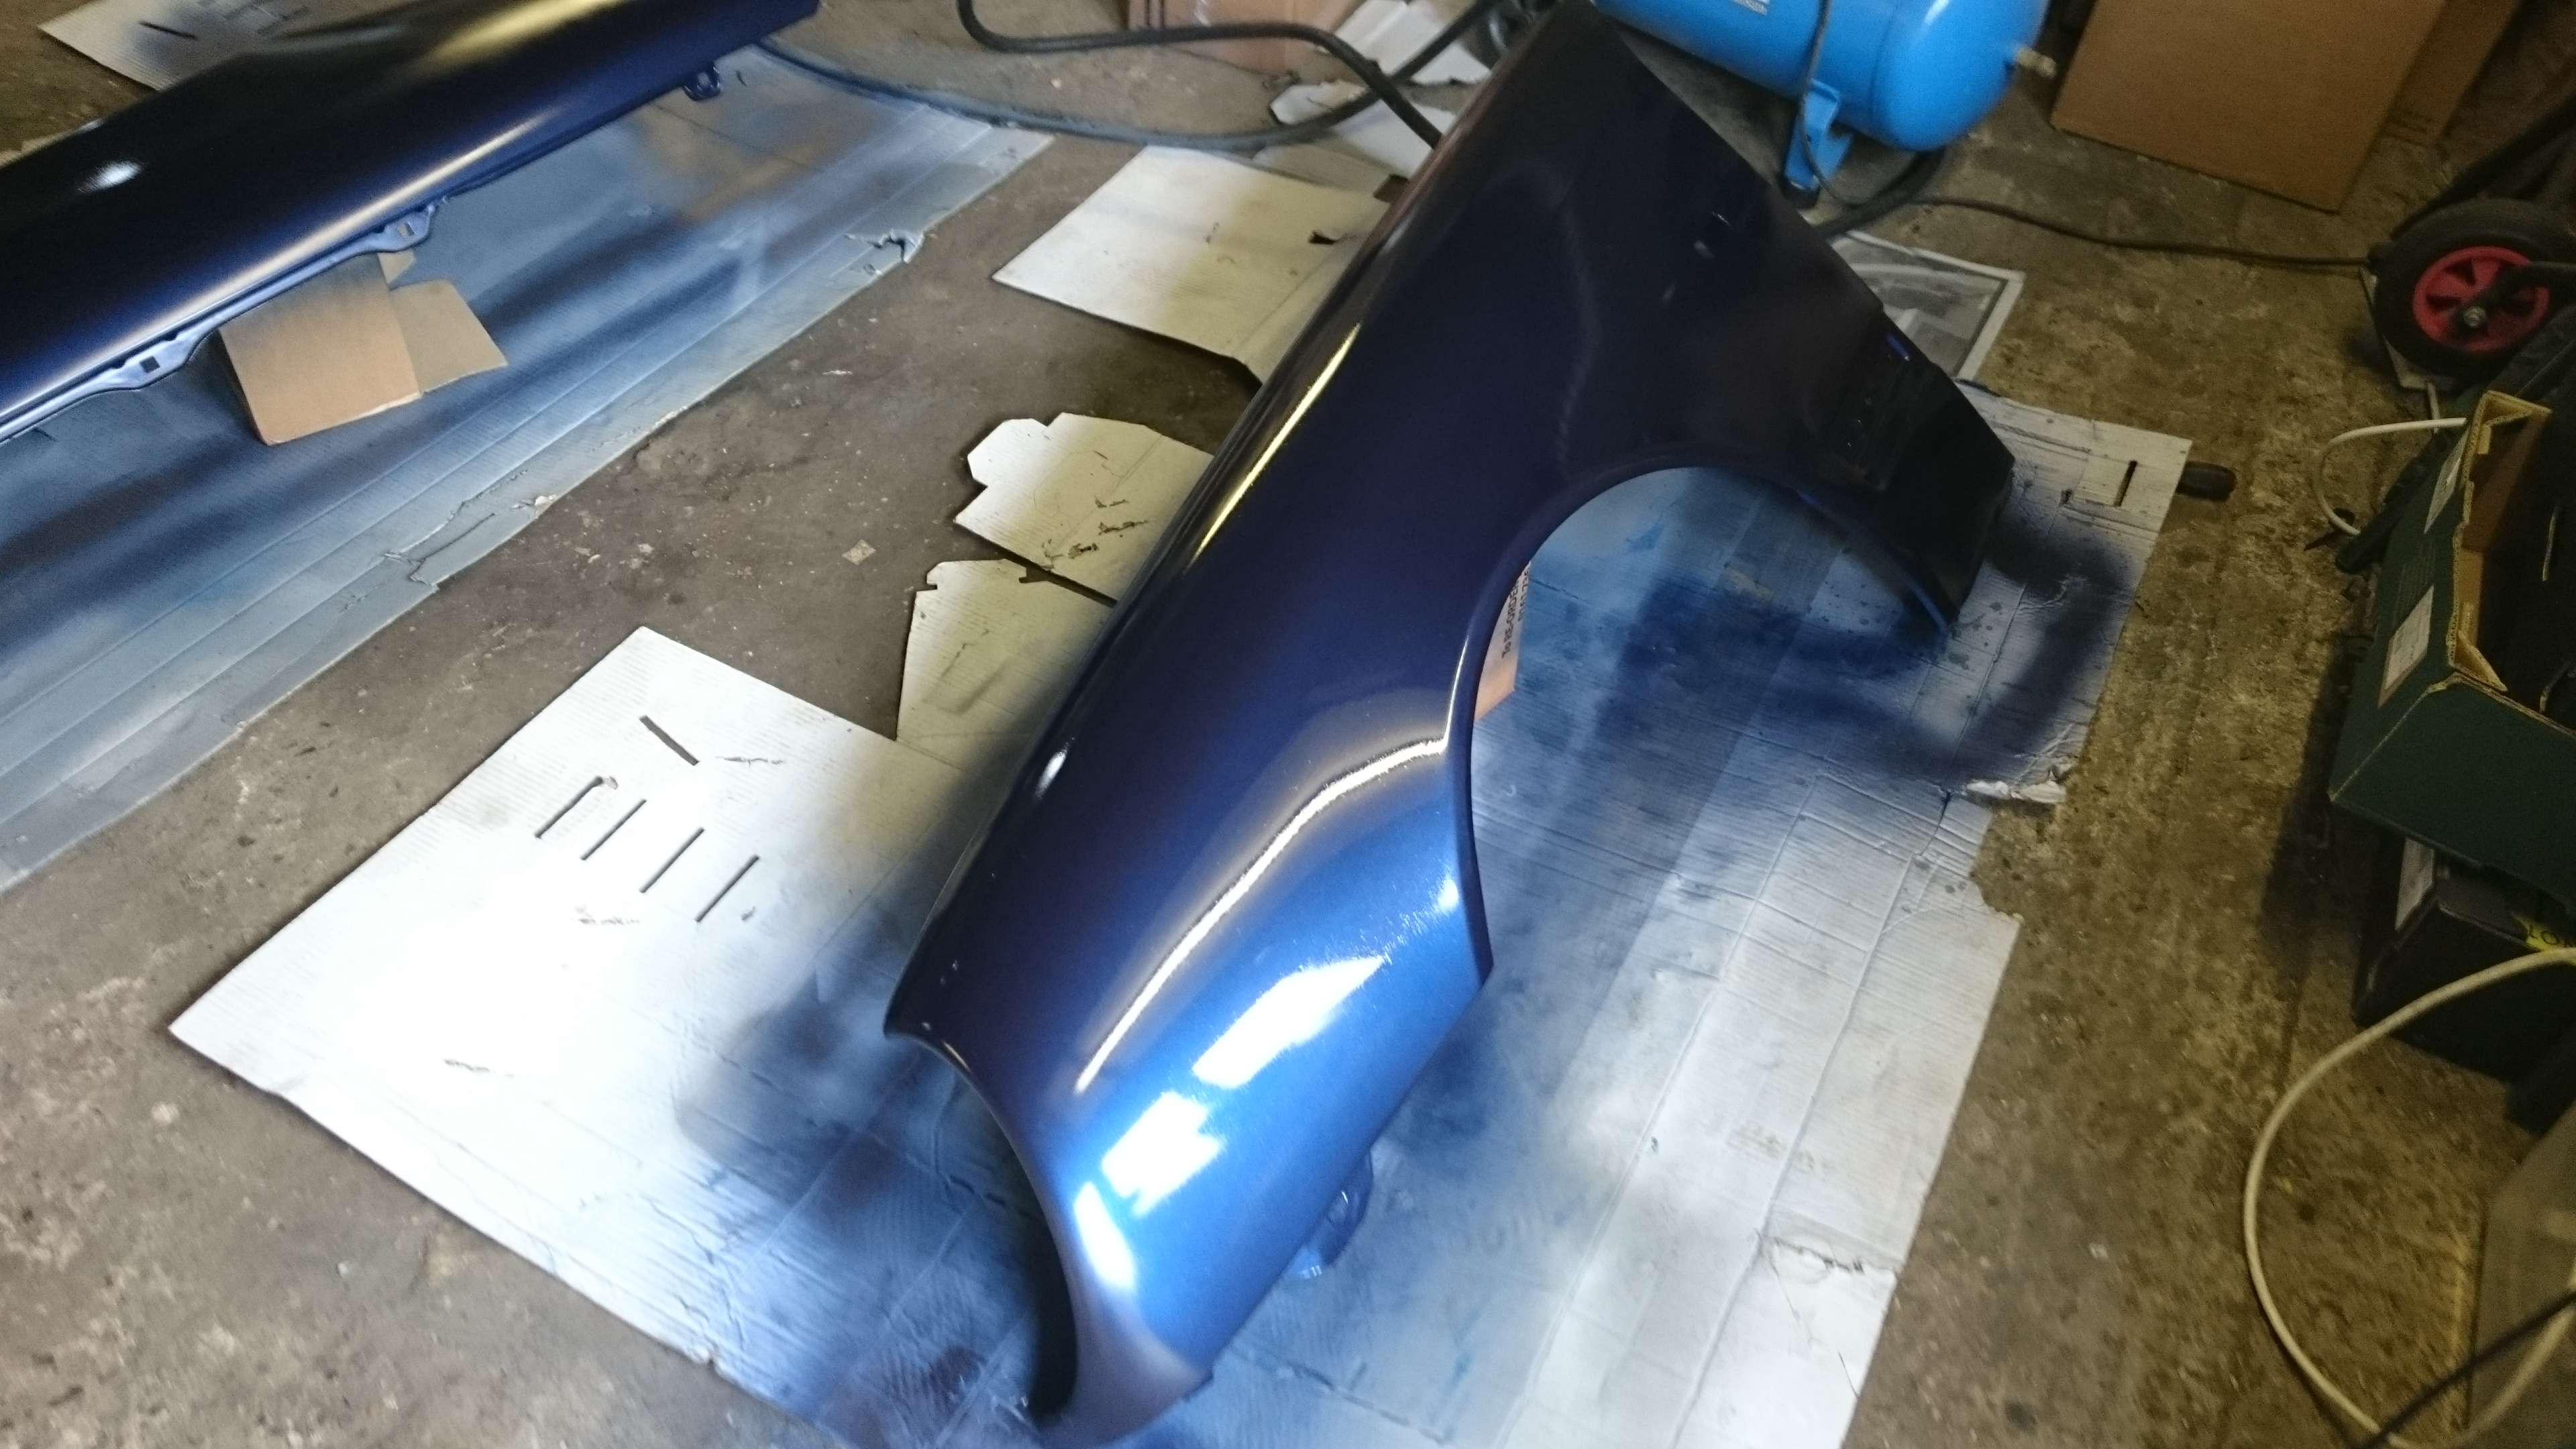
And finally came a '1 pack' lacquer - basically the same as what came in rattle cans but it went on a lot smoother. Unfortunately this is where it went a bit wrong - I did this bit on Sun morning when it was especially windy, so lots of dust, etc got blown into the final coat. Annoying, but hopefully I should be able to sand it down once the lacquer's cured properly.
And finally a good coat of smoothrite inside the wings (after primer) to try and keep the rust at bay. I'll be adding a coat of underseal too once it's thoroughly cured.
So then came time to change the front wings. This was a lot more hassle than expected...
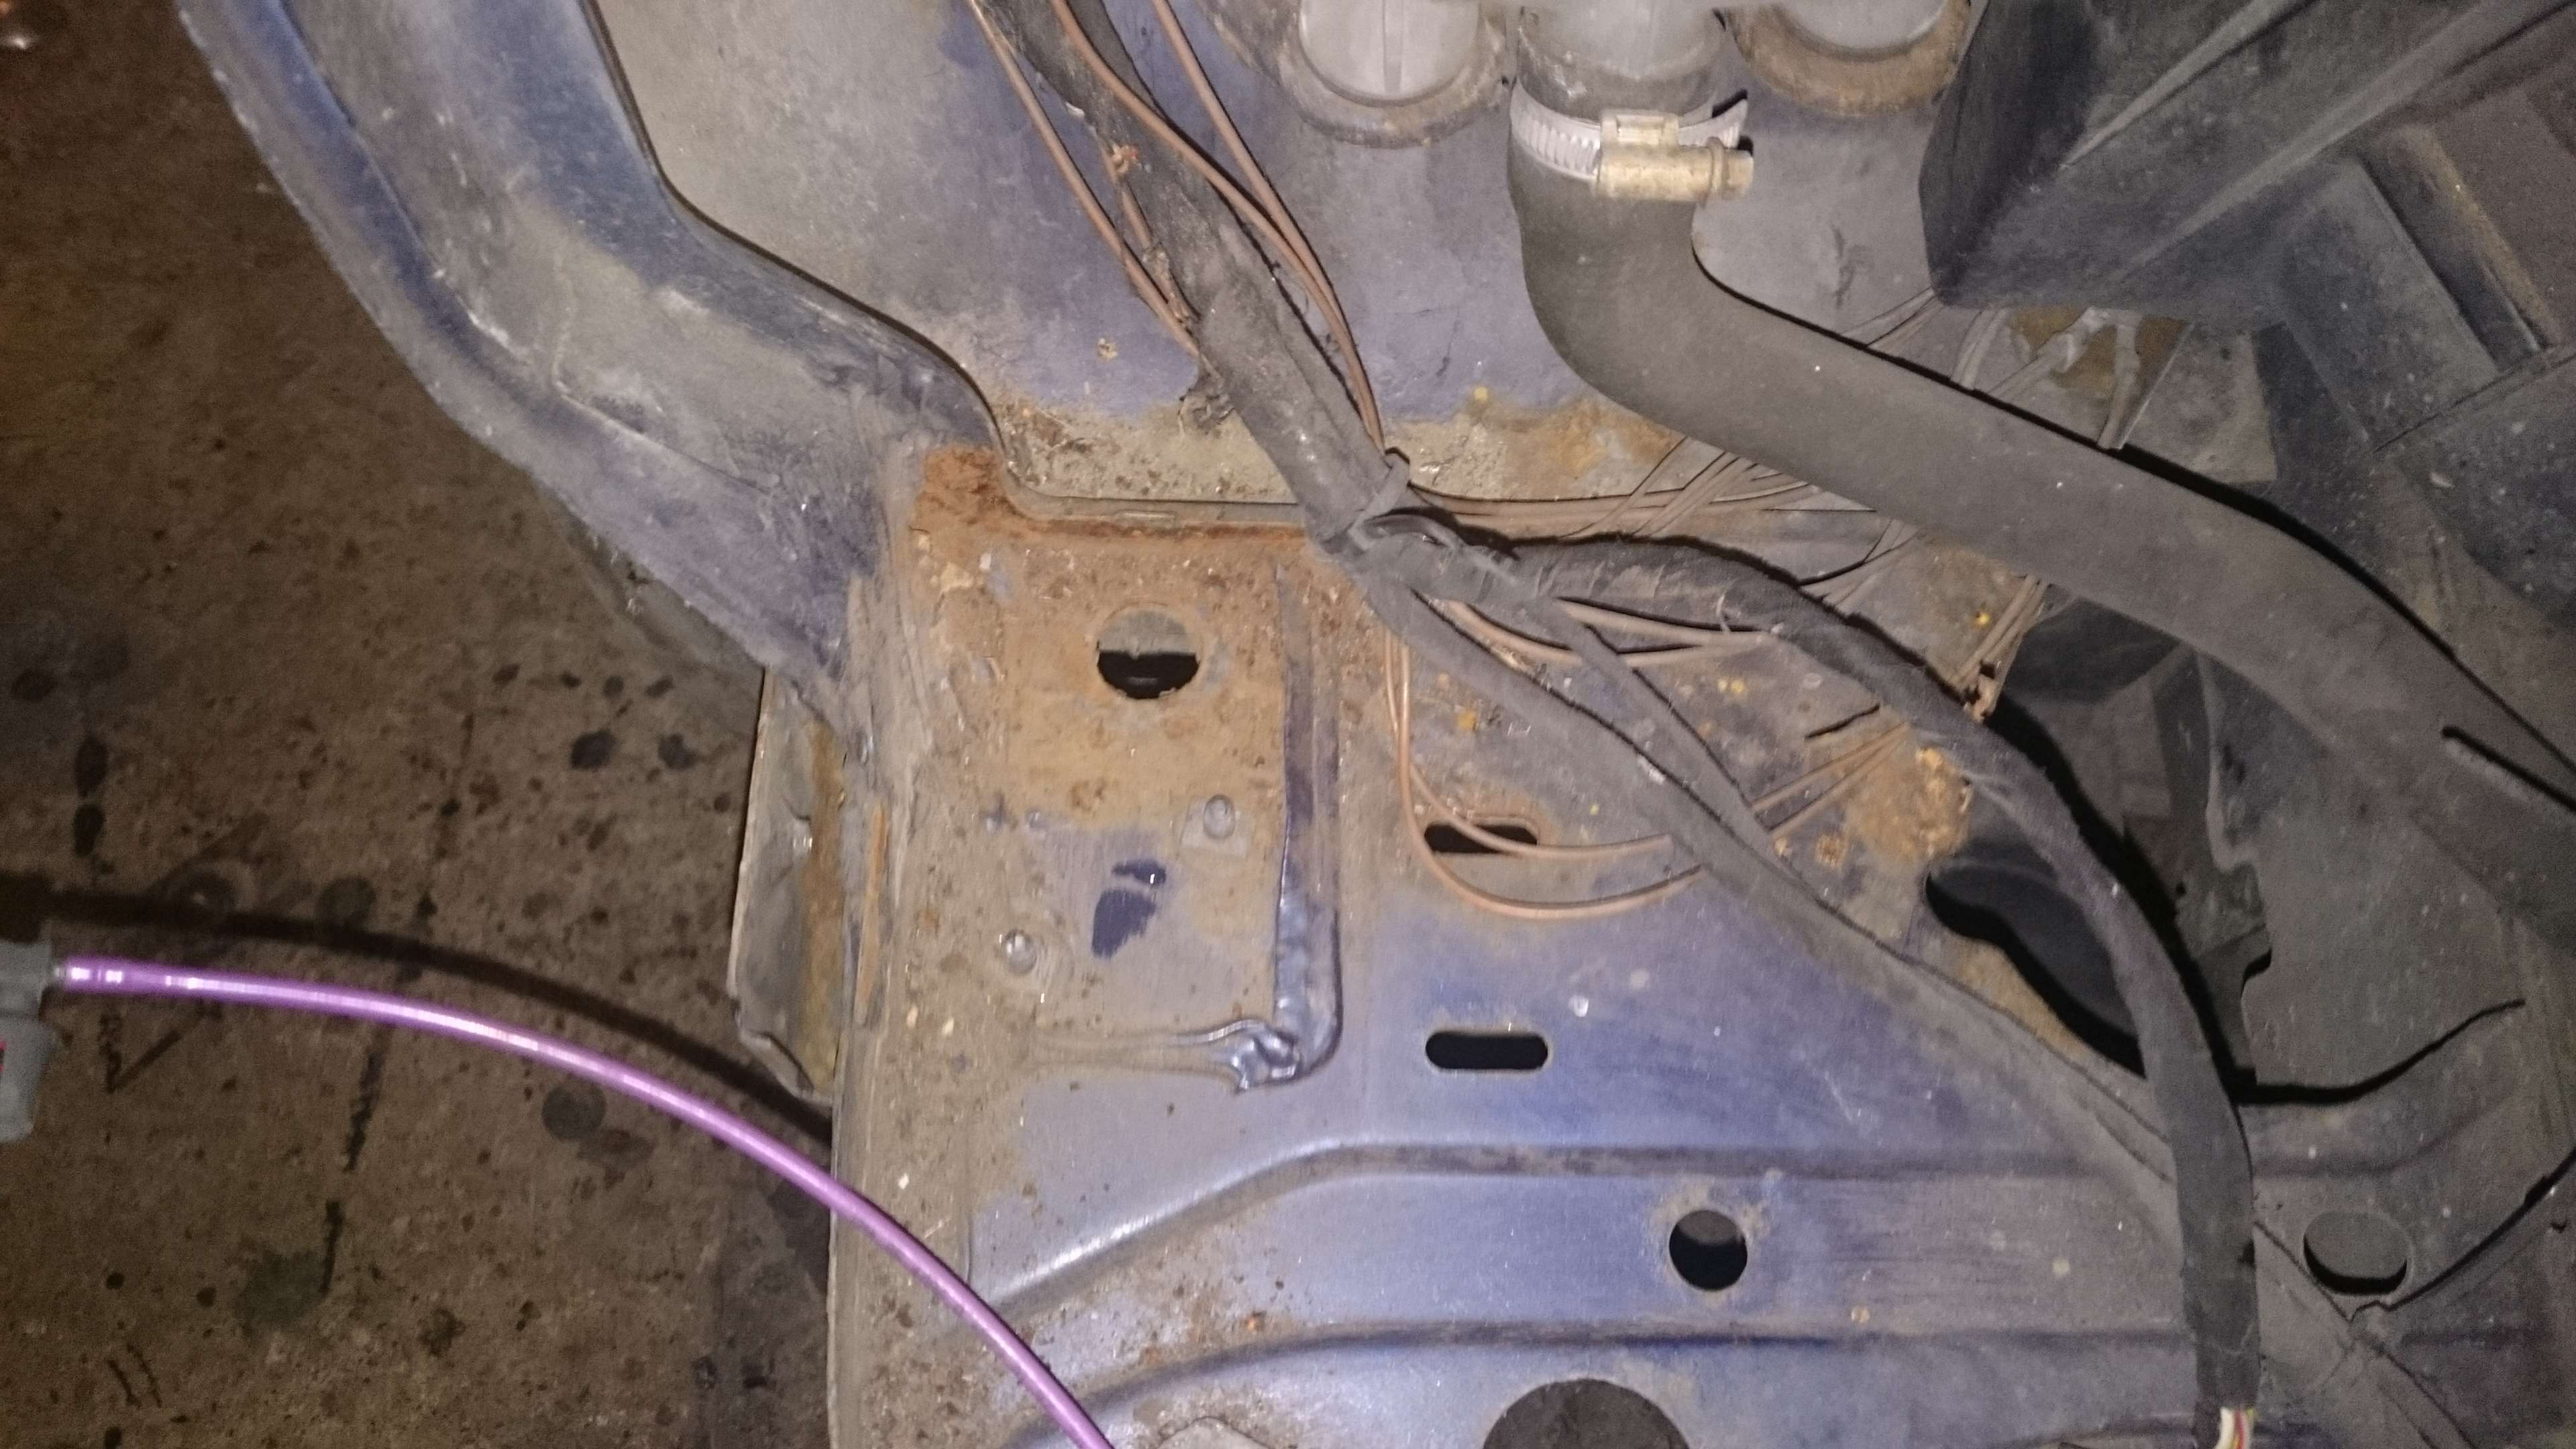
Presumably it was because I'd got a pre-facelift AMG bodykit, but taking the wings off differed greatly from the 'standard' procedure. There was no clearance to get to the front wing bolsts, so the front bumper had to come off. Still, the frontcrossmember was in good nick:
I decided I might as well take the headlights out to check the condition of the metal underneath since I'd gone to all that bother - once again quite good:
It'll need some work once I've taken out the wheelarch liners from underneath, but for the moment a quick coat of rust eater followed by blue smoothrite on the crossmember and under the headlights will keep it together for a while.
I then polished the headlights in 10 minutes using rubbing compound followed by t-cut followed by standard car polish, results were pretty good. I also took off the rubber surround to make sure I didn't damage that whilst polishing.
And then came the rear bolts. Nowhere near enough clearance to undo the bolts without removing the sideskirts; even if I had there was no way I was going to get the wings back on again, so the sideskirts had to come off...
And that's where the 'standard procedure' really fell apart. I undid the bolts underneath and tried just pulling the sideskirts upwards, but nothing budged. After an hour's prying and pulling, I managed to pull a self-tapper through the sideskirt at the rear, but luckily didn't crack anything.
In fact the early sideskirts don't just pull upwards and off, there are dozens of self-tappers hidden underneath a vinyl stick-on strip on the door step:
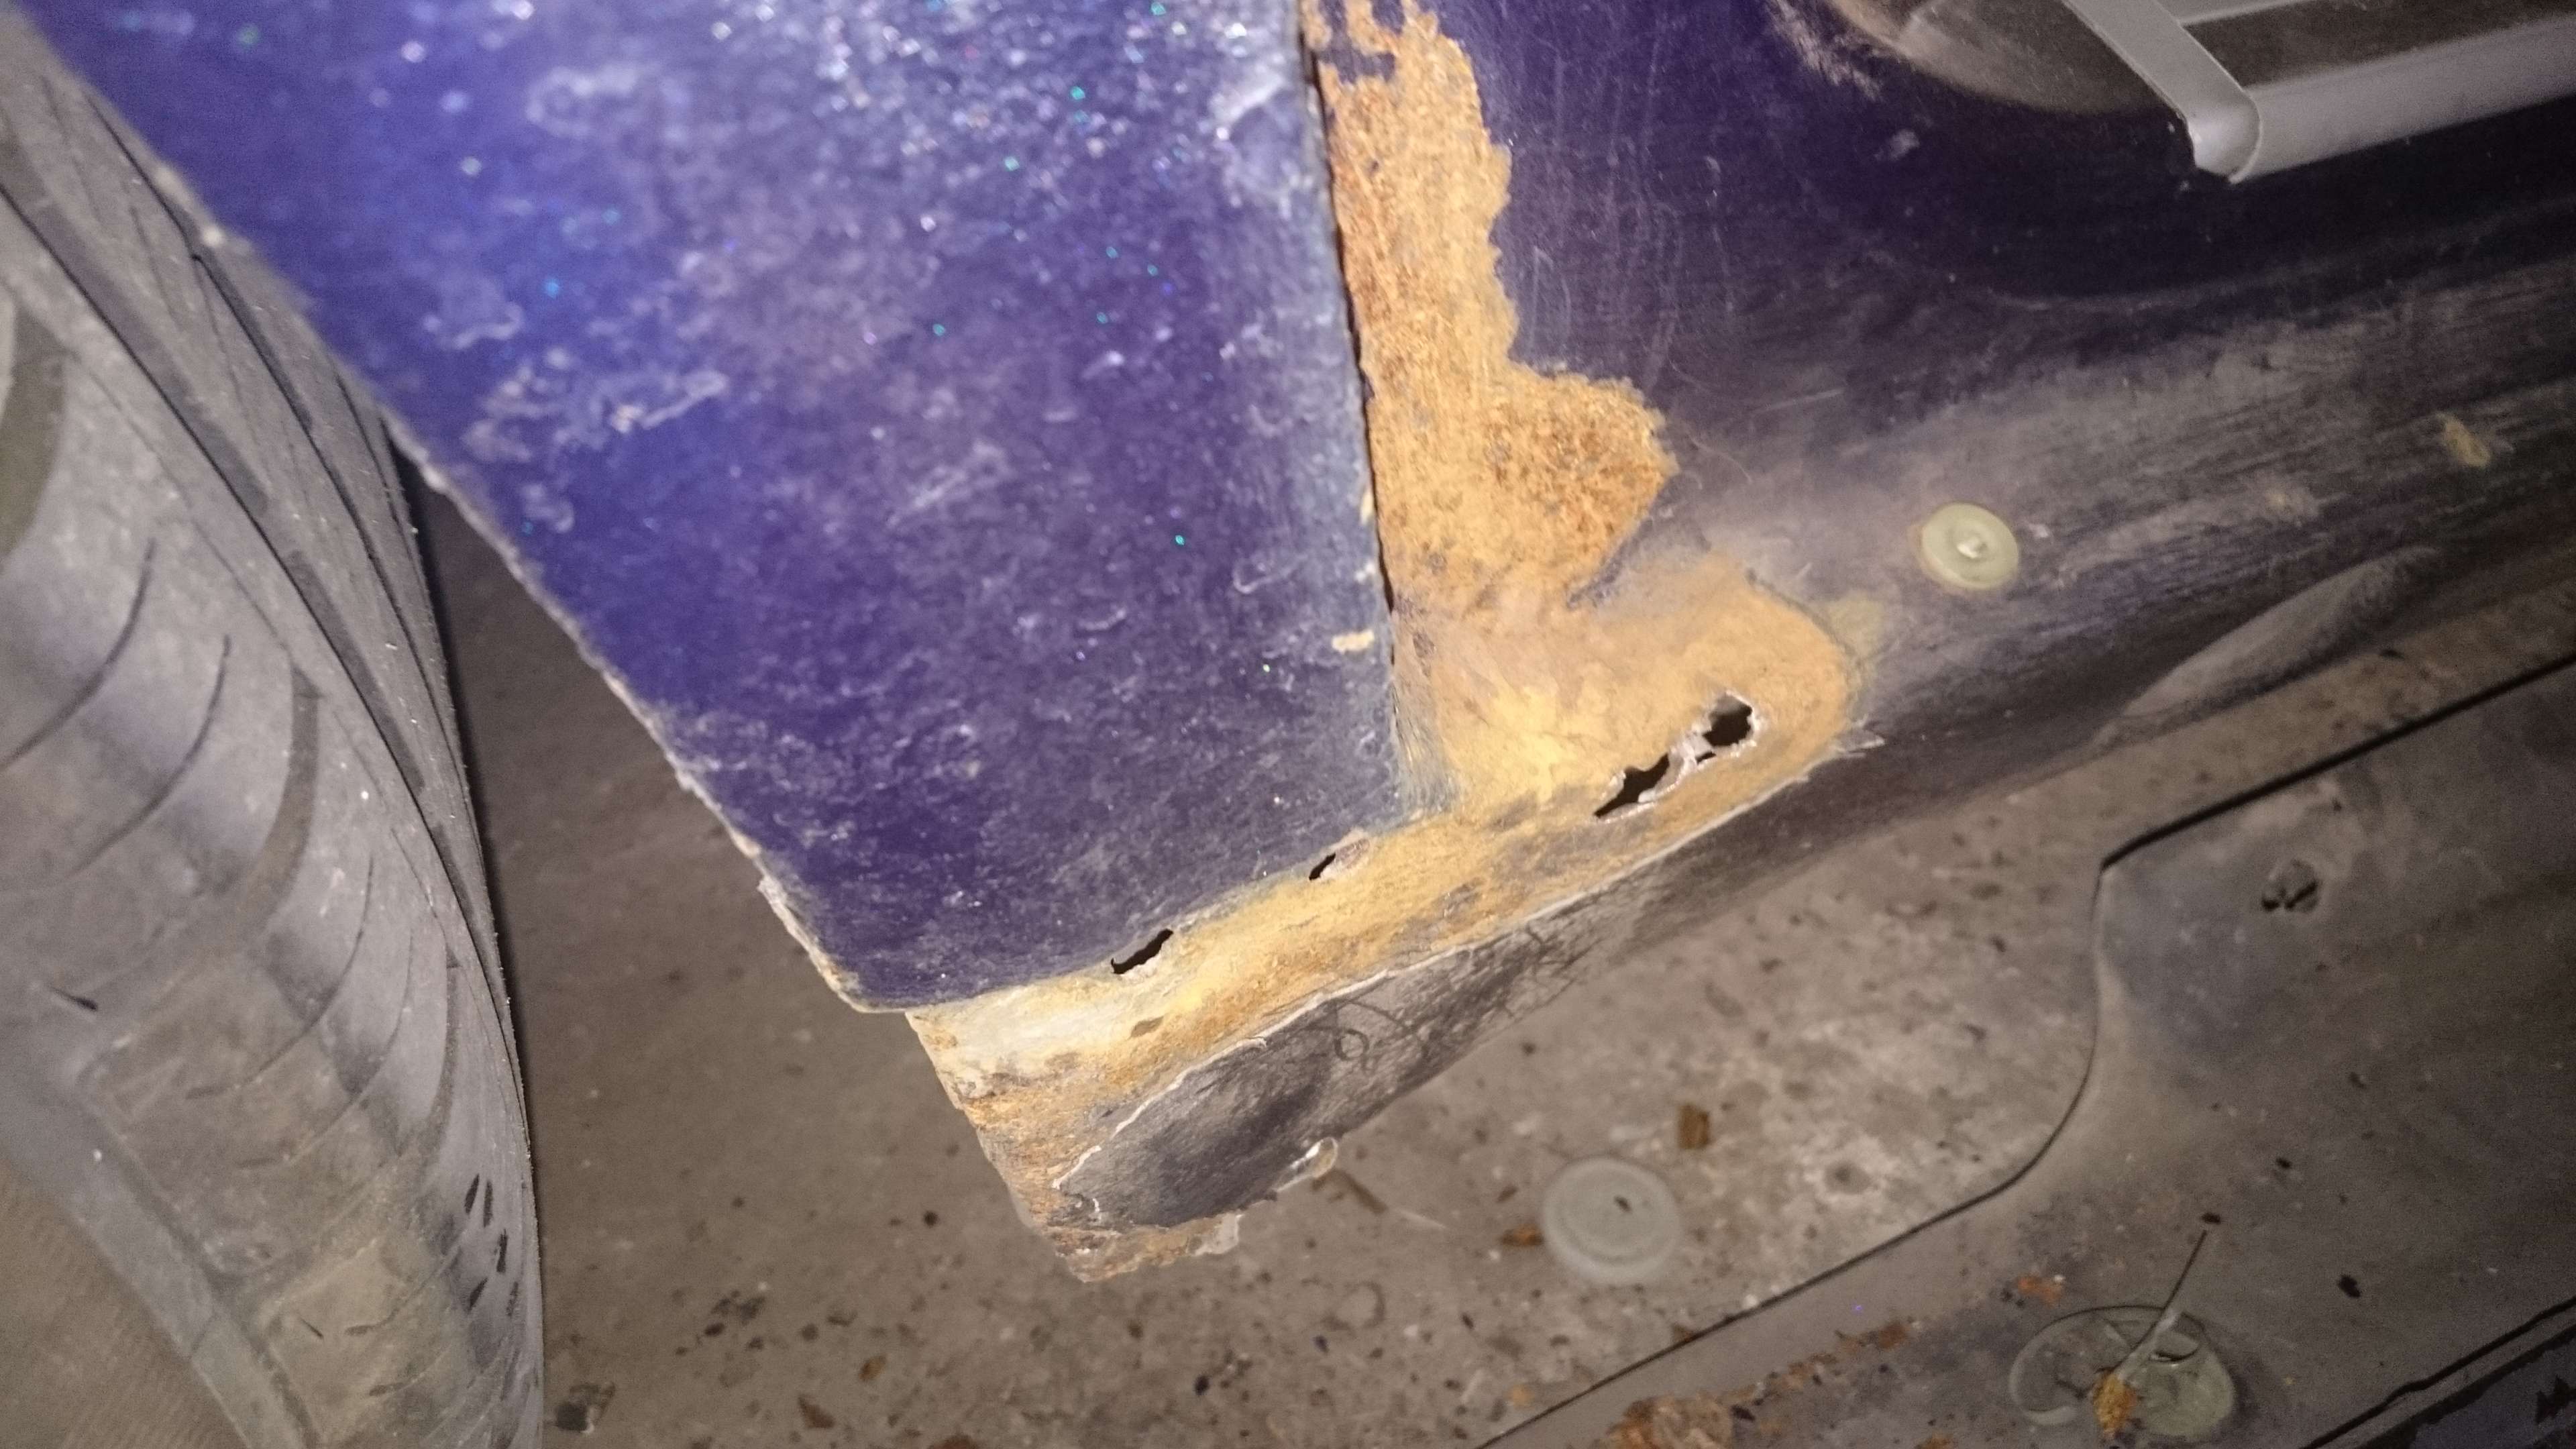
Finally I was able to remove the sideskirts, so had a good run along the sill with a hammer and screwdriver on the rust scabs - nothing serious, except for at the o/s/r where the wheelarch meets the sill. Bit of plating needed, but for a W210 this is remarkably good

The sideskirts will need to come off again when I weld that so I haven't undersealed or painted the sills yet, so that's another one to do.
The wings went straight on, but getting the side bolts to line up with the bumper was a struggle, and I must have deformed the sideskirts a little with all the bending and prying because it was the devil's own job trying to get them to line up again when I replaced them.
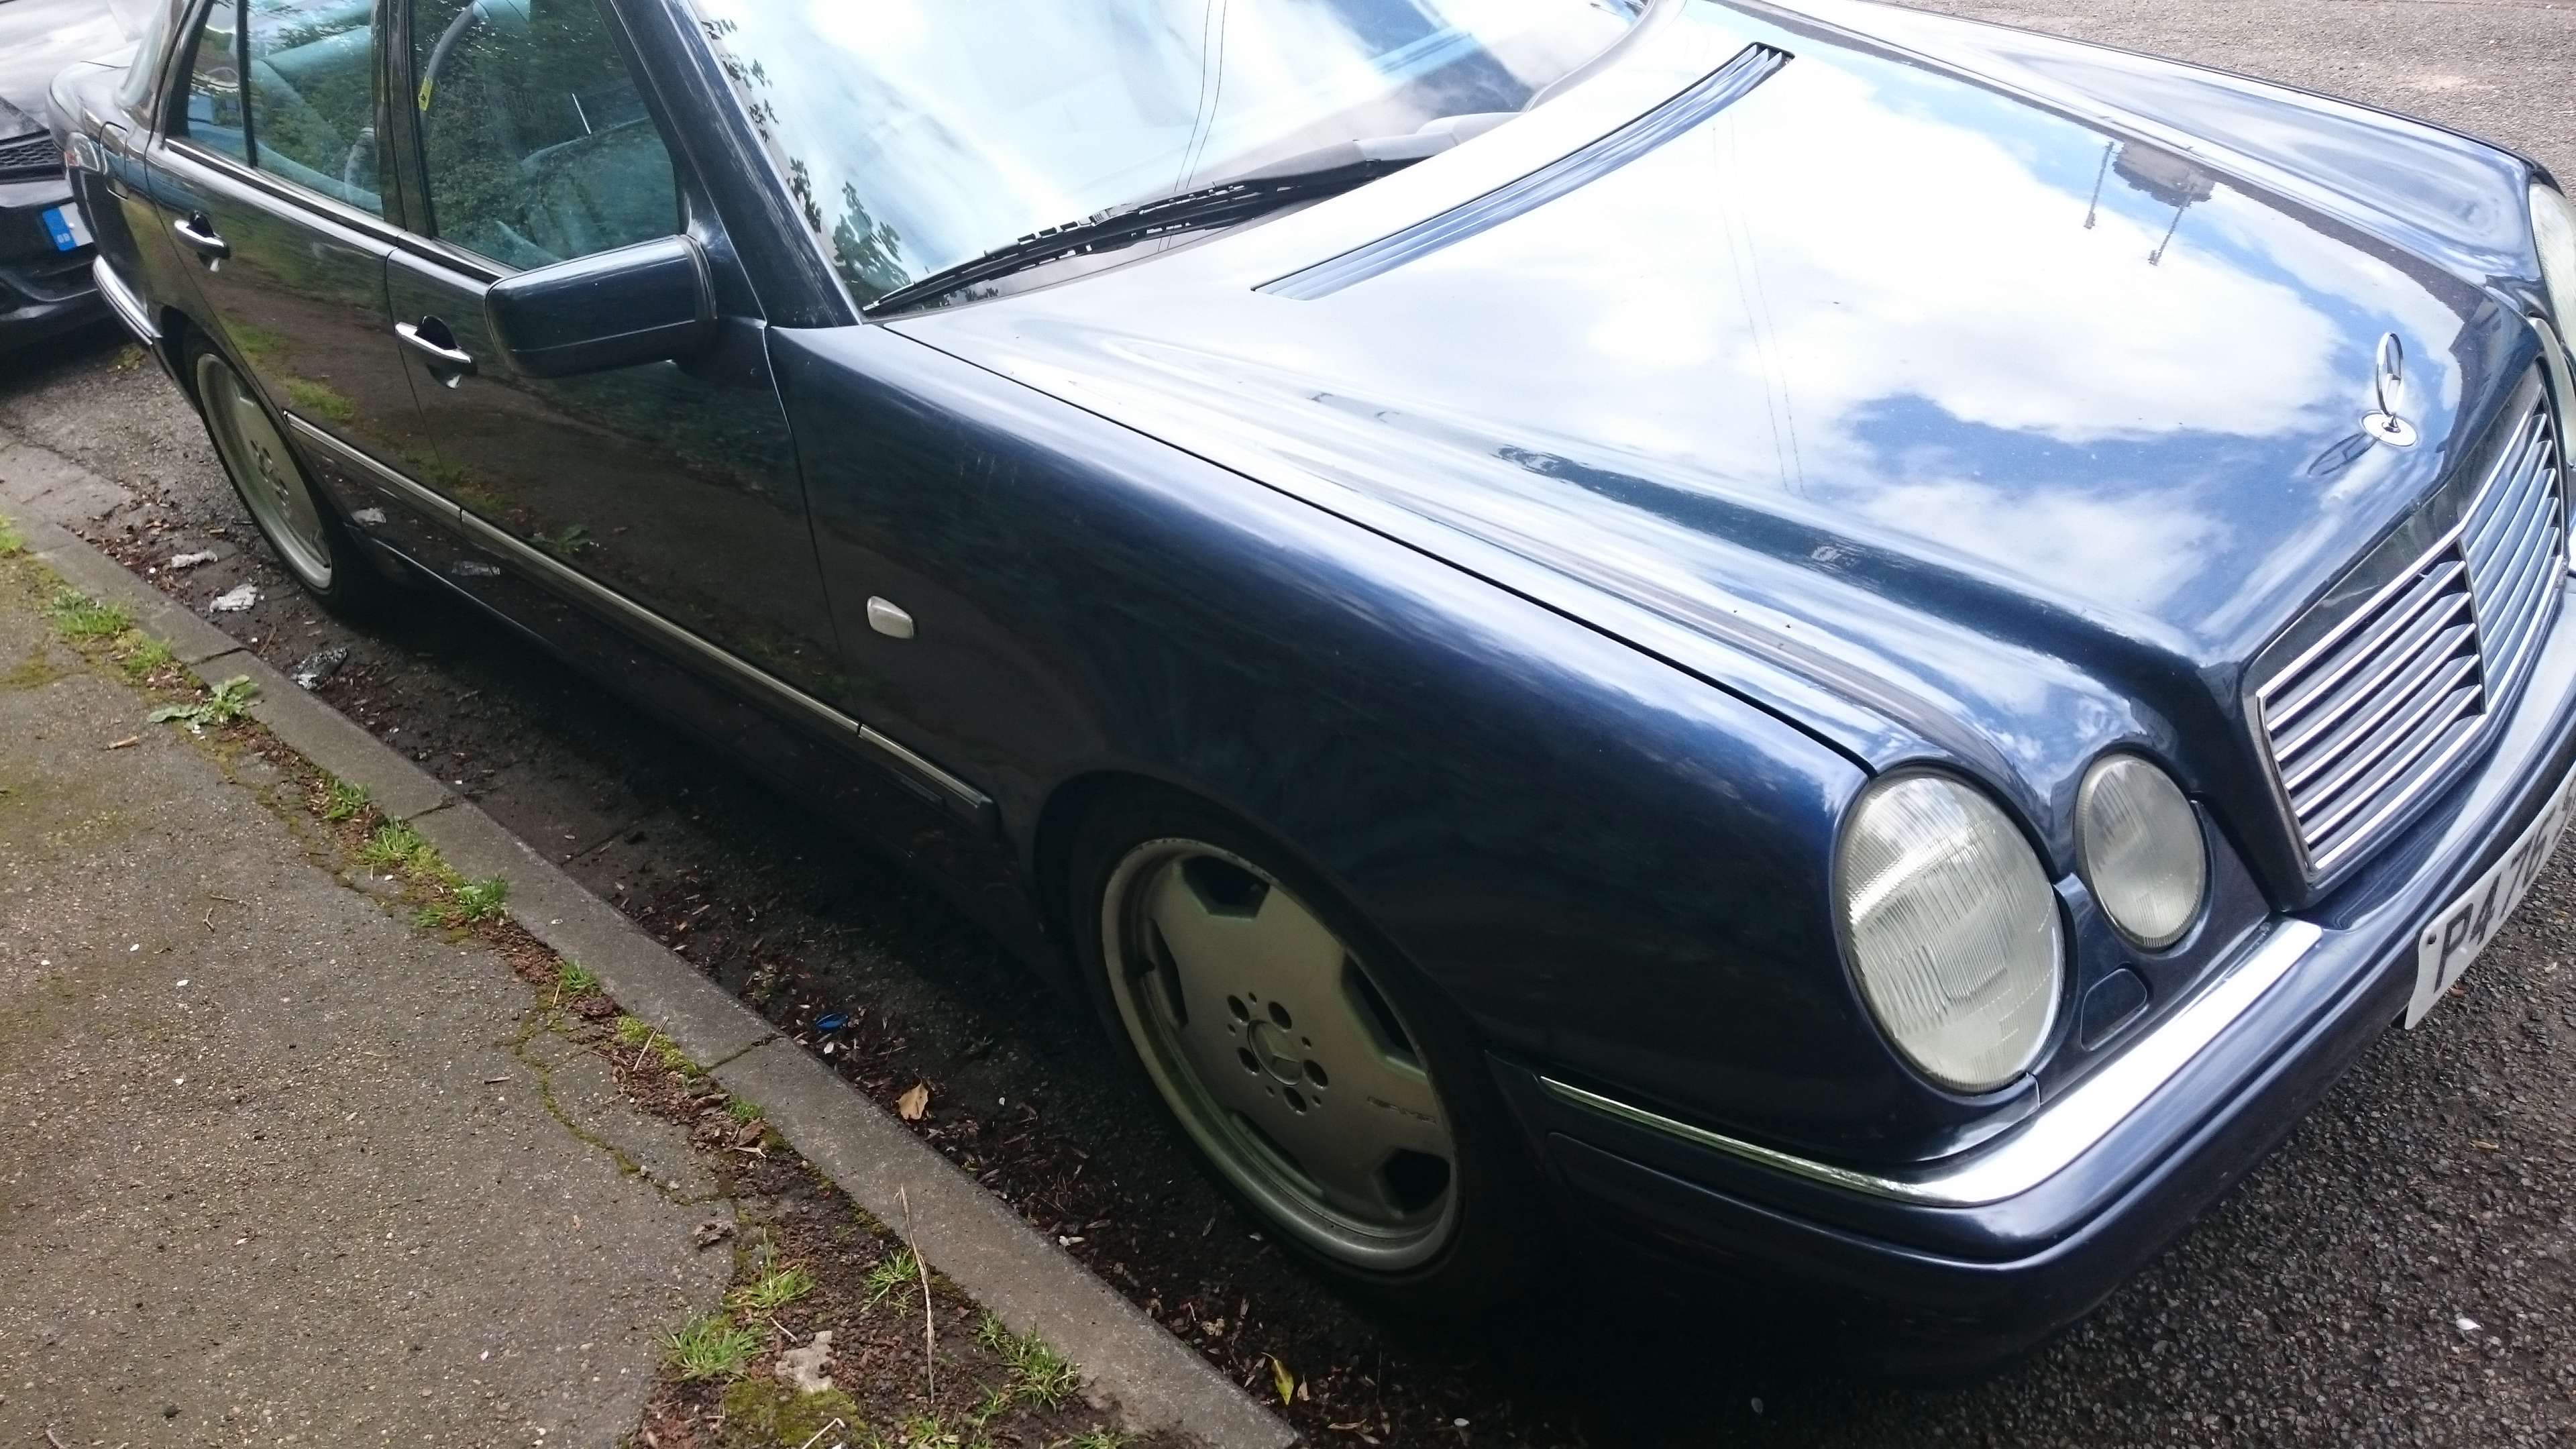
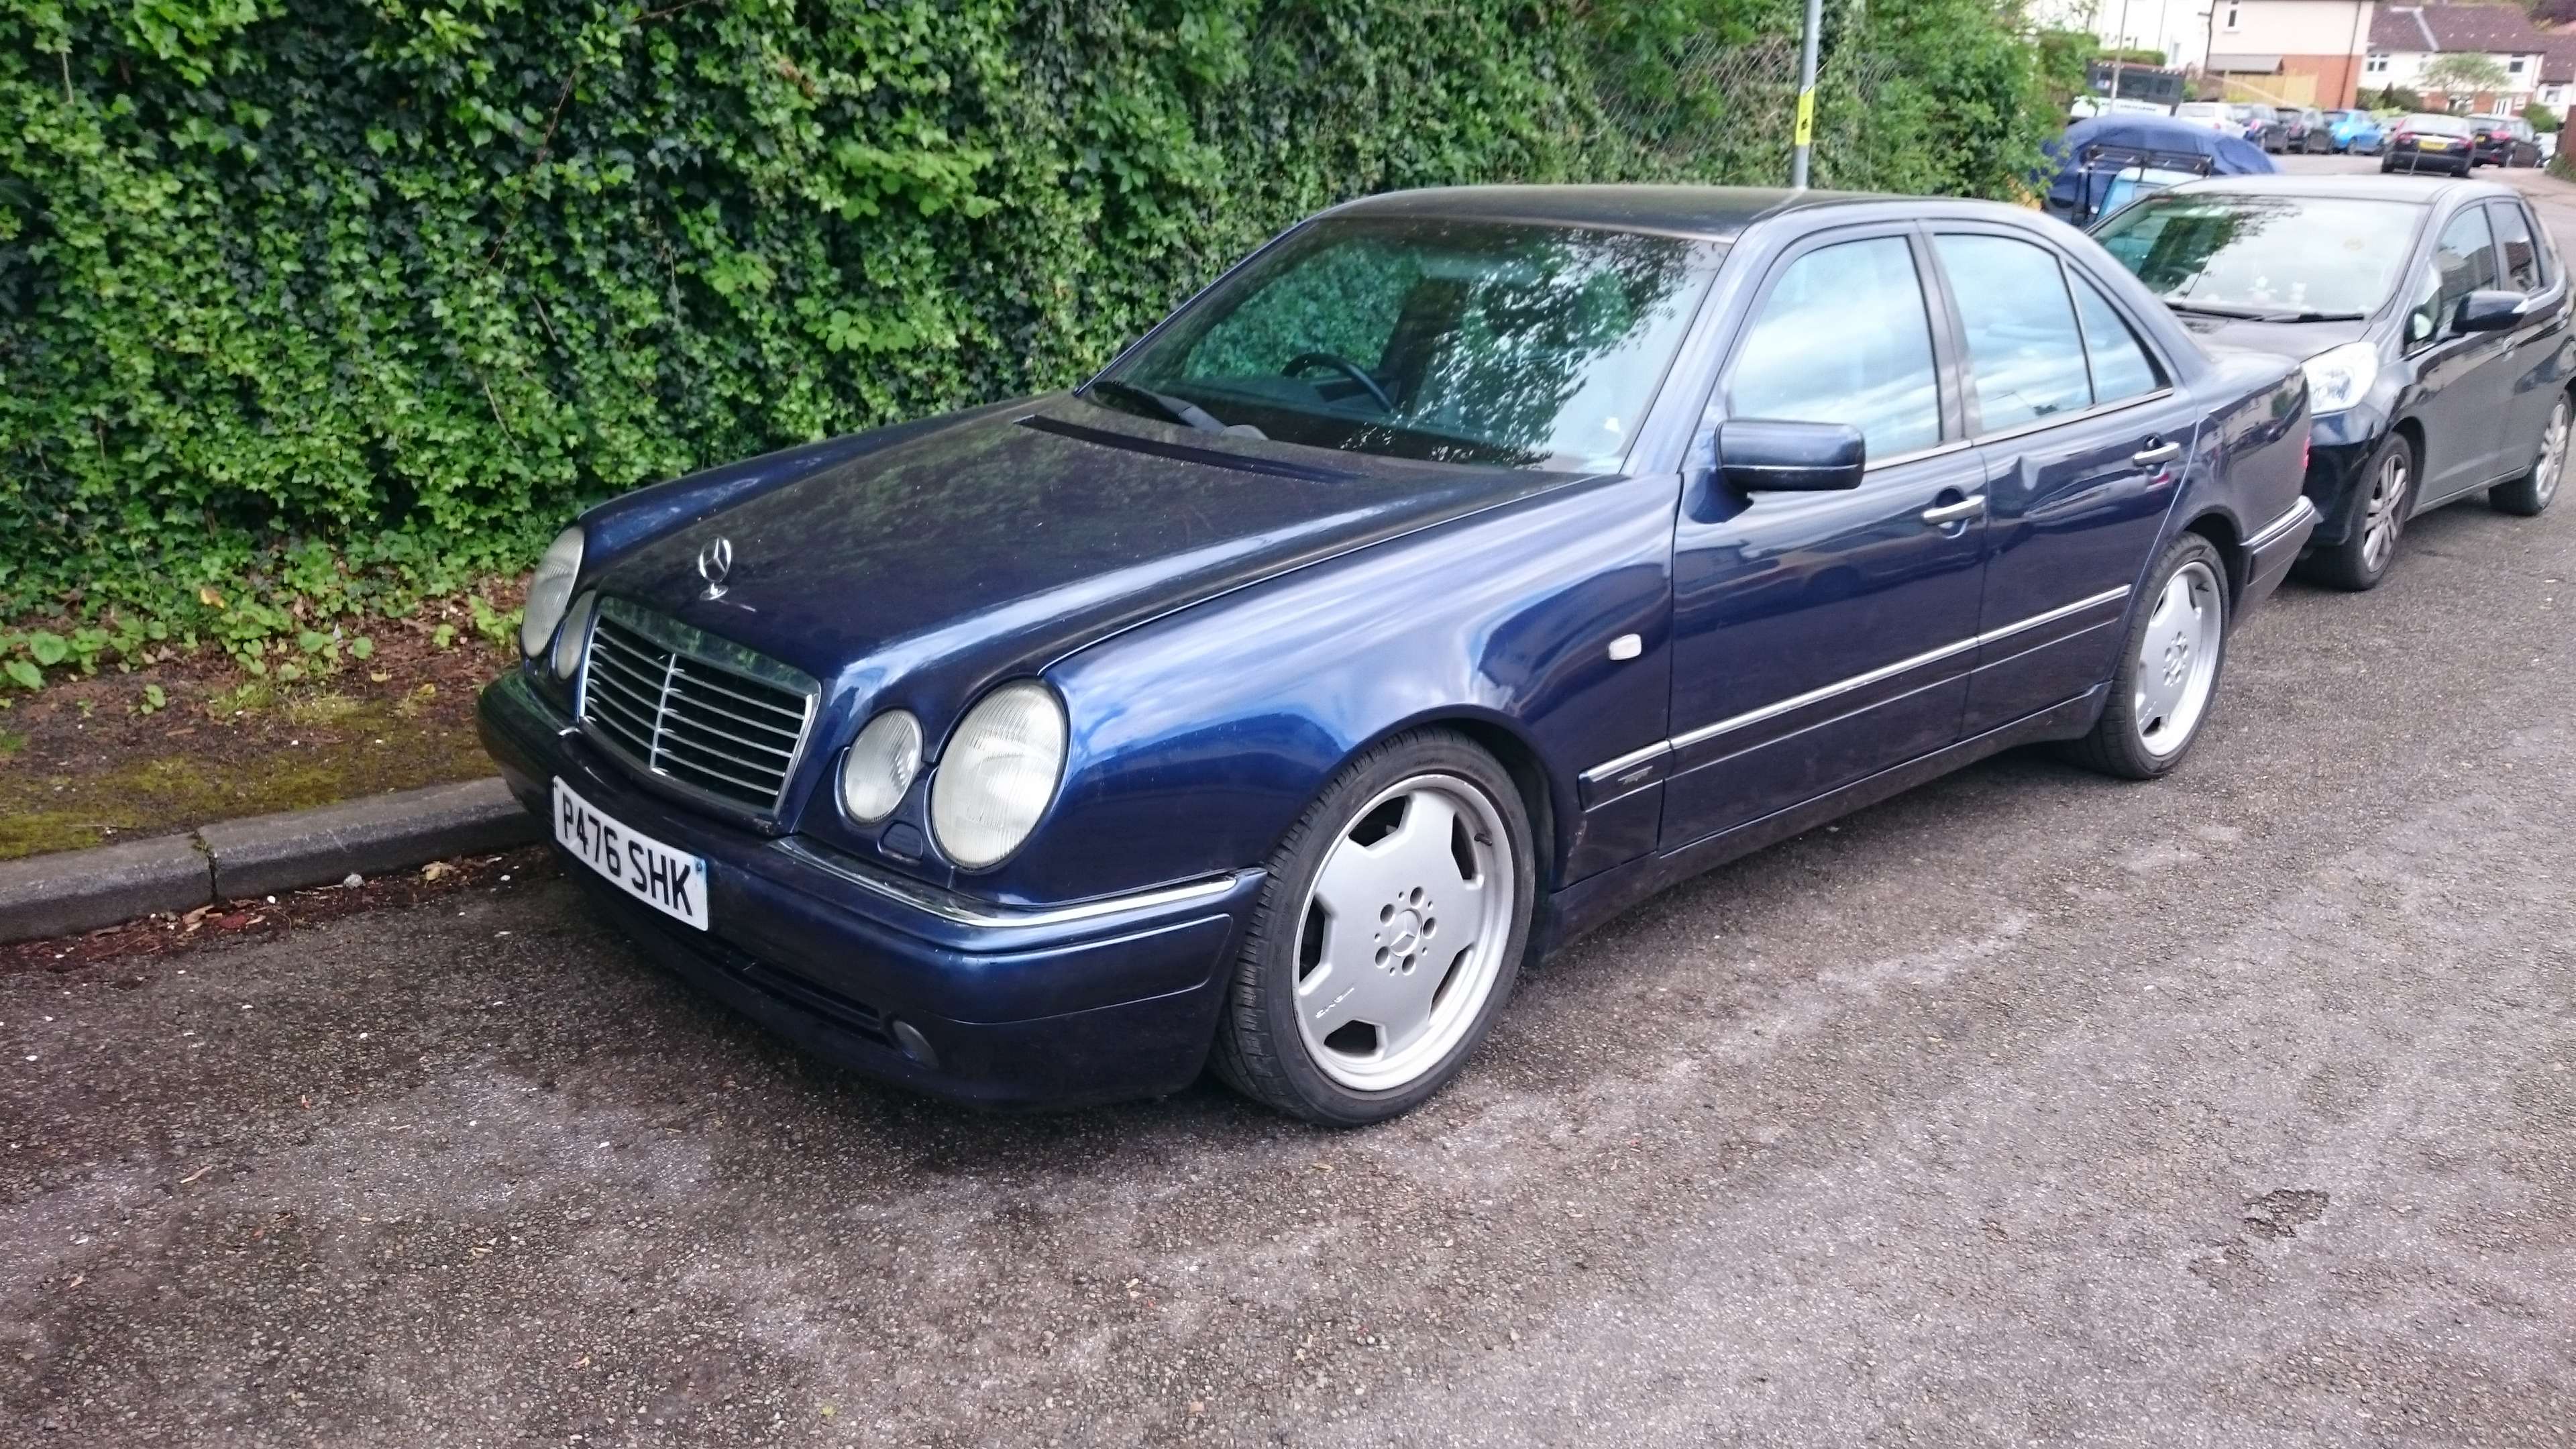
All of which meant I ran out of time so had to refit everything without welding my spring hangers, but the final results were worth all the hassle:

