• The Forums are now open to new registrations, adverts are also being de-tuned.

OM642 PCV Upgrade

It costs around £99 from a Mercedes dealership. Might get that one, has anyone had any luck from the ebay one, they don't seem to have any branding on them?
 
It looks like your green o-ring might have perished too, from the look of the 'leaks' near it...
 
Ah ok, I misread Teddy's post. I'll take a closer look took tomorrow and see if I can find any other potential leak areas and get it sorted when I change the pcv. Thank you both :)
 
The green O-ring is in this intercooler pipe, see pic. From the look of the vapour marks, it looks like it needs changing. It's about 1/2 labour at an indie, if you are not sure how to do it yourself.

The air going through this pipe is under pressure, so if the o-ring isn't good, it will cause a splatter/spray of the oily vapour like in the pic.

Obviously disregard is this has been changed and the oily residue is old!

Cheers,

Ed
 

Attachments

  • 20200929_150428.jpg
    20200929_150428.jpg
    1.3 MB · Views: 45
Thank you, valuable information for all! I'll definitely pick up an o-ring tomorrow, and have a go at doing it.
 
That’s the old style pcv tube buddy
The old style orange seal on the PCV has a reputation for being sucked into the turbo (not good to feed turbos solids) which is why there was a new design.
The green O-ring is in this intercooler pipe, see pic. From the look of the vapour marks, it looks like it needs changing. It's about 1/2 labour at an indie, if you are not sure how to do it yourself.

The air going through this pipe is under pressure, so if the o-ring isn't good, it will cause a splatter/spray of the oily vapour like in the pic.

Obviously disregard is this has been changed and the oily residue is old!

Cheers,

Ed

And follow the rest of the intercooler pipework for misting at joints as there are other o-rings further along that can also leak like that. I had to replace two just behind the rad. Doing that certainly improved the pickup because I was no longer losing pressure. Use a wipe of silicone grease when fitting to avoid tearing them.
 
Hmmm... but I got a quote from MB parts for £15 for the hose, but they said it would take a few days to get it from germany.

How can the PCV cost €25 and the hose cost €17, but together they cost €150?!
Can I ask how you sourced the PCV for only 25 euro? Do you have a link? I assume you have to go genuine MB or is there a manufacturer that supplies them so the same thing?
 
I didn't - I bought it from MB and had to pay the £140 or whatever it was.

There's a slightly different design for the 265BHP version engines.
 
Okay, so I've just fitted the 'upgraded' PCV for my E350 CDI. I fitted part A6420102491. This is for the 265bhp engine, not the 231bhp engine that has a plastic body for the PCV valve.
A6420102491 is the upgraded PCV/breather hose, with the new integrated orange seal with 'tabs' permanently clipped on to the PCV hose end. This is only updated in EPC for the ML, S-class and possible R class.
The 'upgrade' ONLY relates to the orange seal on the end where it connects to the batwing I believe, and eliminates the risk of the previous 'push on' seal getting sucked into the turbo.

The part fitted like a glove, and looks identical in every way to the part that was removed, except for the end seal.
I truly believe Merc have messed up here and neglected to flow this 'upgraded' PCV to the E-class, whilst they have flowed it out to the other Class of Mercs that use the exact same PCV and part numbers.

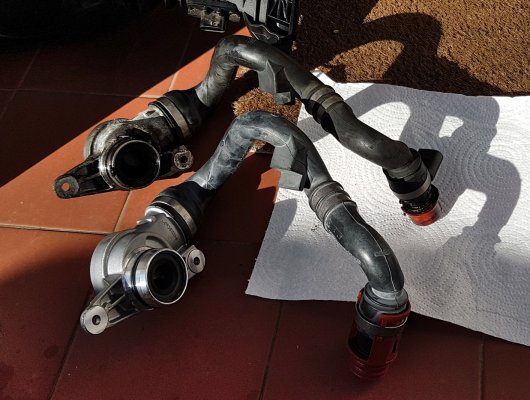
Side-by-side of the removed PCV and the new 'ML350 CDI' PCV
PCV side by side.jpg


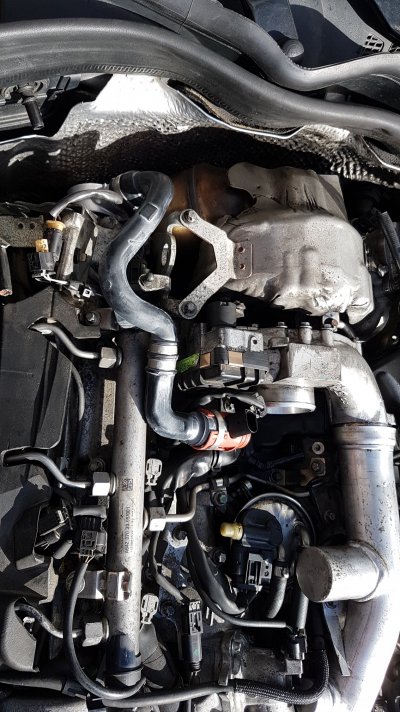
New PCV partially fitted down the back of the engine. I thought there was plenty of room to make this swap, but I did unbolt the bracket you can see to the left to allow me to get a hand and tools in more easily.
ML350 PCV partially fitted.jpg


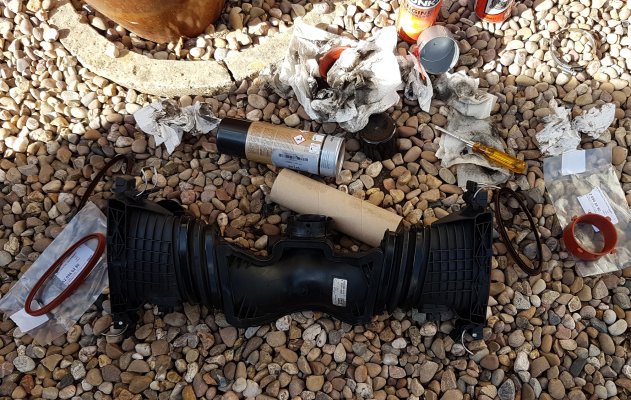
I cleaned up all the batwing and took the opportunity to replace the orange turbo inlet seal and the two orange eliptical air filter seals (the existing ones were either filthy, or brown!). I also inspected the air filters, which look pretty clean, so it will be another 12 months before I look at those again, but I did vac off from underneath (very important that way round) the big bits of debris that had got through (leaves, dandilion flowers etc).
Batwing cleanup and all new seals.jpg


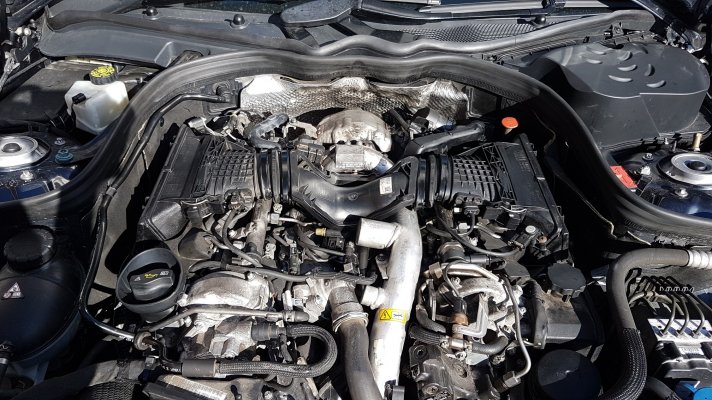
All reassembled and cleaned up a little bit, including removing and cleaning the rubber oil filler catch collar, which had every sort of filth and detritus collecting around it. I thought better to do this now, that risk a load of it falling in come oil fill time.
reassembled.jpg


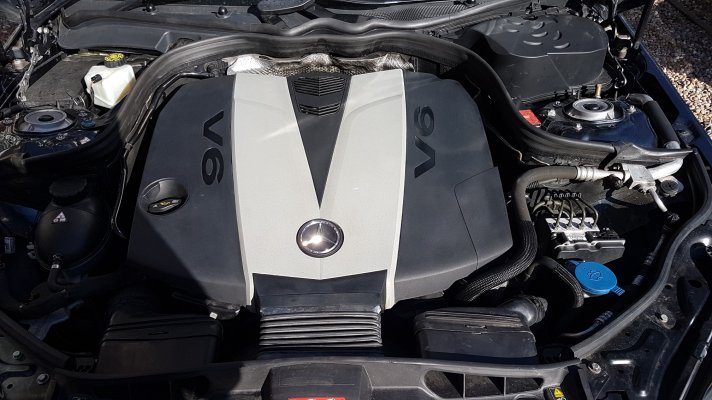
Engine cover back on and cleaned up.
I need to do an engine bay detail at some point. It's on the never ending list!
engine cover.jpg
 

Users who are viewing this thread

Back
Top Bottom