• The Forums are now open to new registrations, adverts are also being de-tuned.

CL500 respray

Thanks for a great thread. Looks fantastic.

CL's are relatively cheap these days!!
 
Hi folks, thanks for the comments, been busy again playing with the CL....

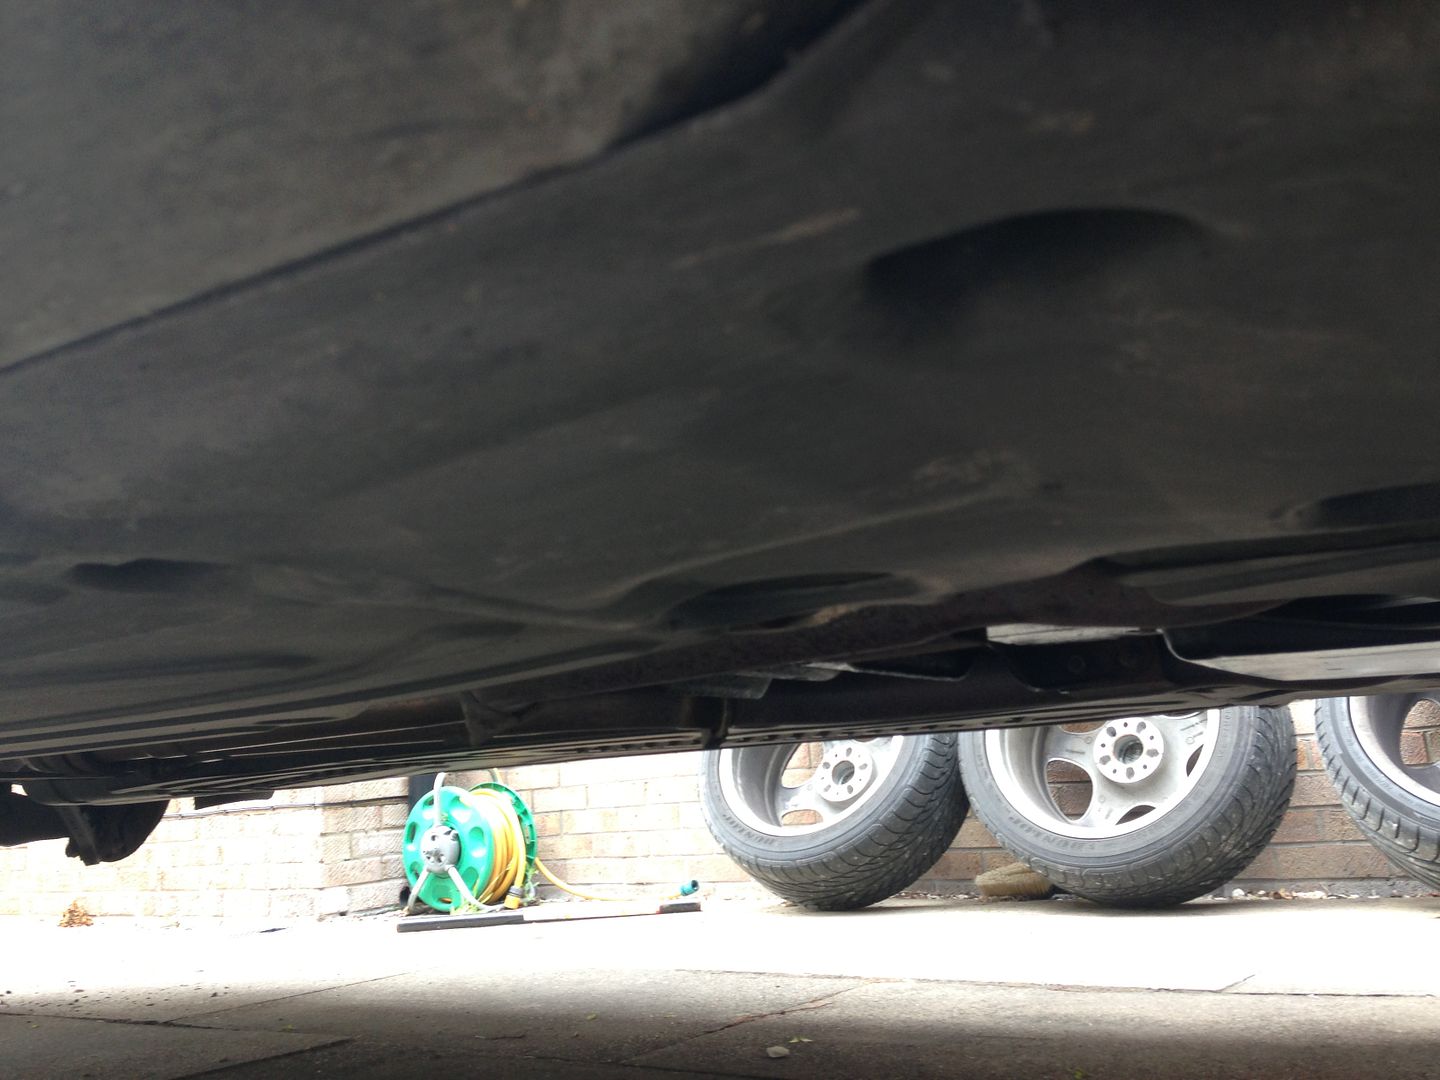
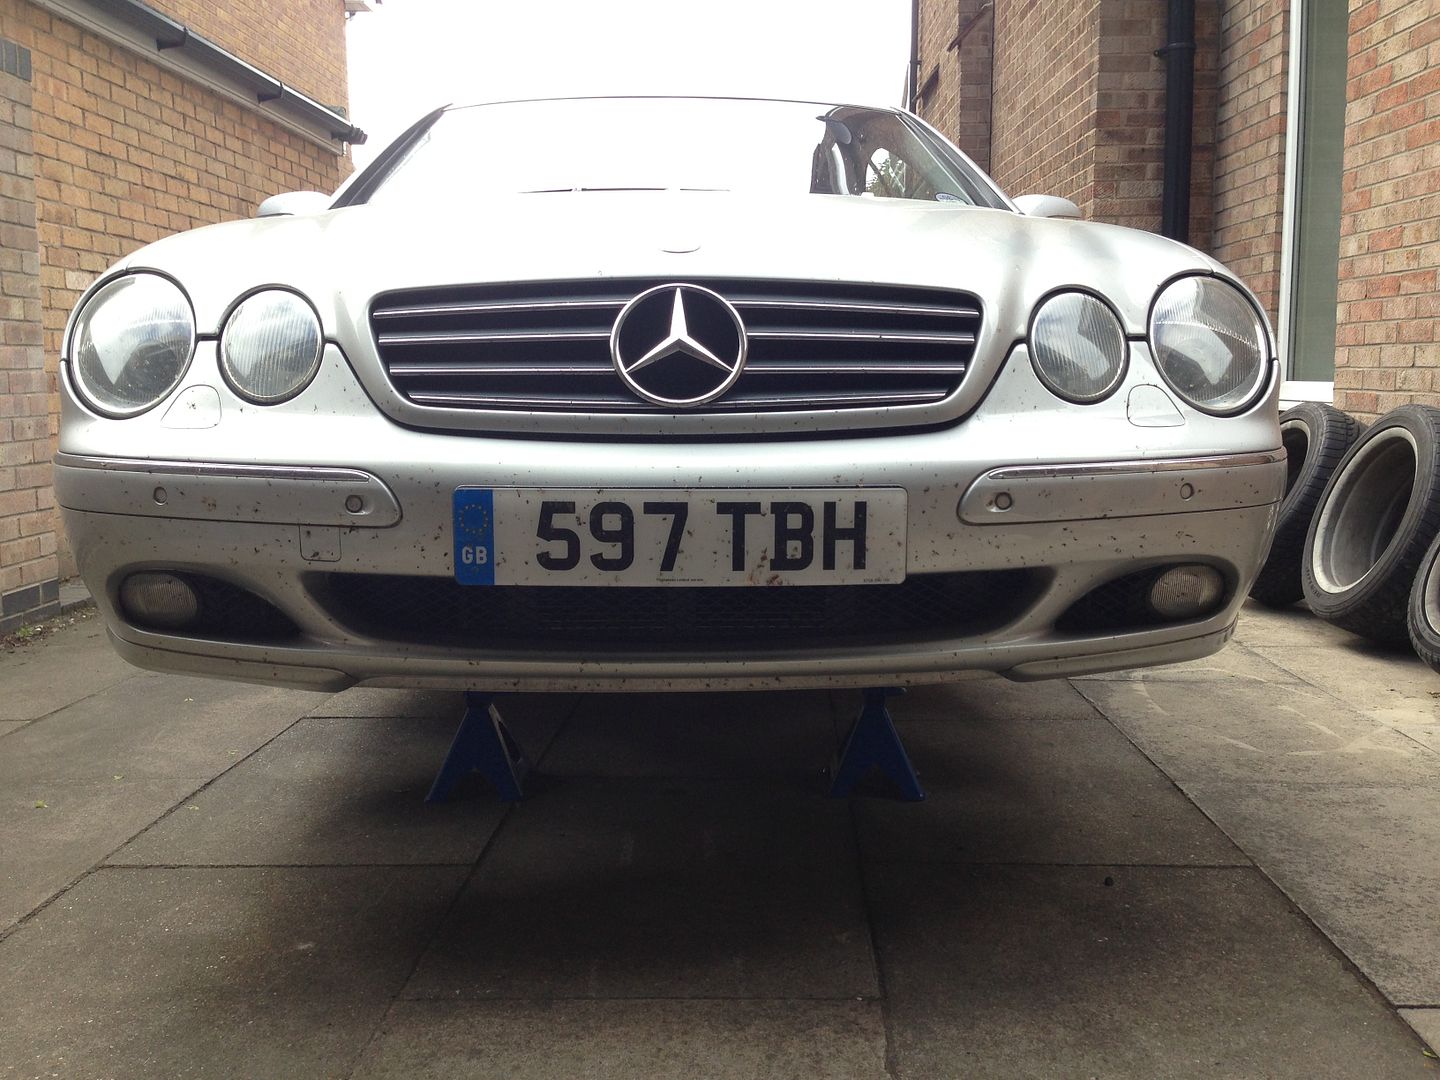
I'd noticed some rust and corrosion under the edges of the plastic shields that give the car a flat bottom so decided to sort it now the weather was getting better (yeah right!!!) as although my garage is big enough I wanted to jet wash off the underside....

First job was to get it up on axle stands, used the suspension mounts to the body for the stands as I needed the jacking points clear to be able to get the plastic bottom off.... it was rock solid like this


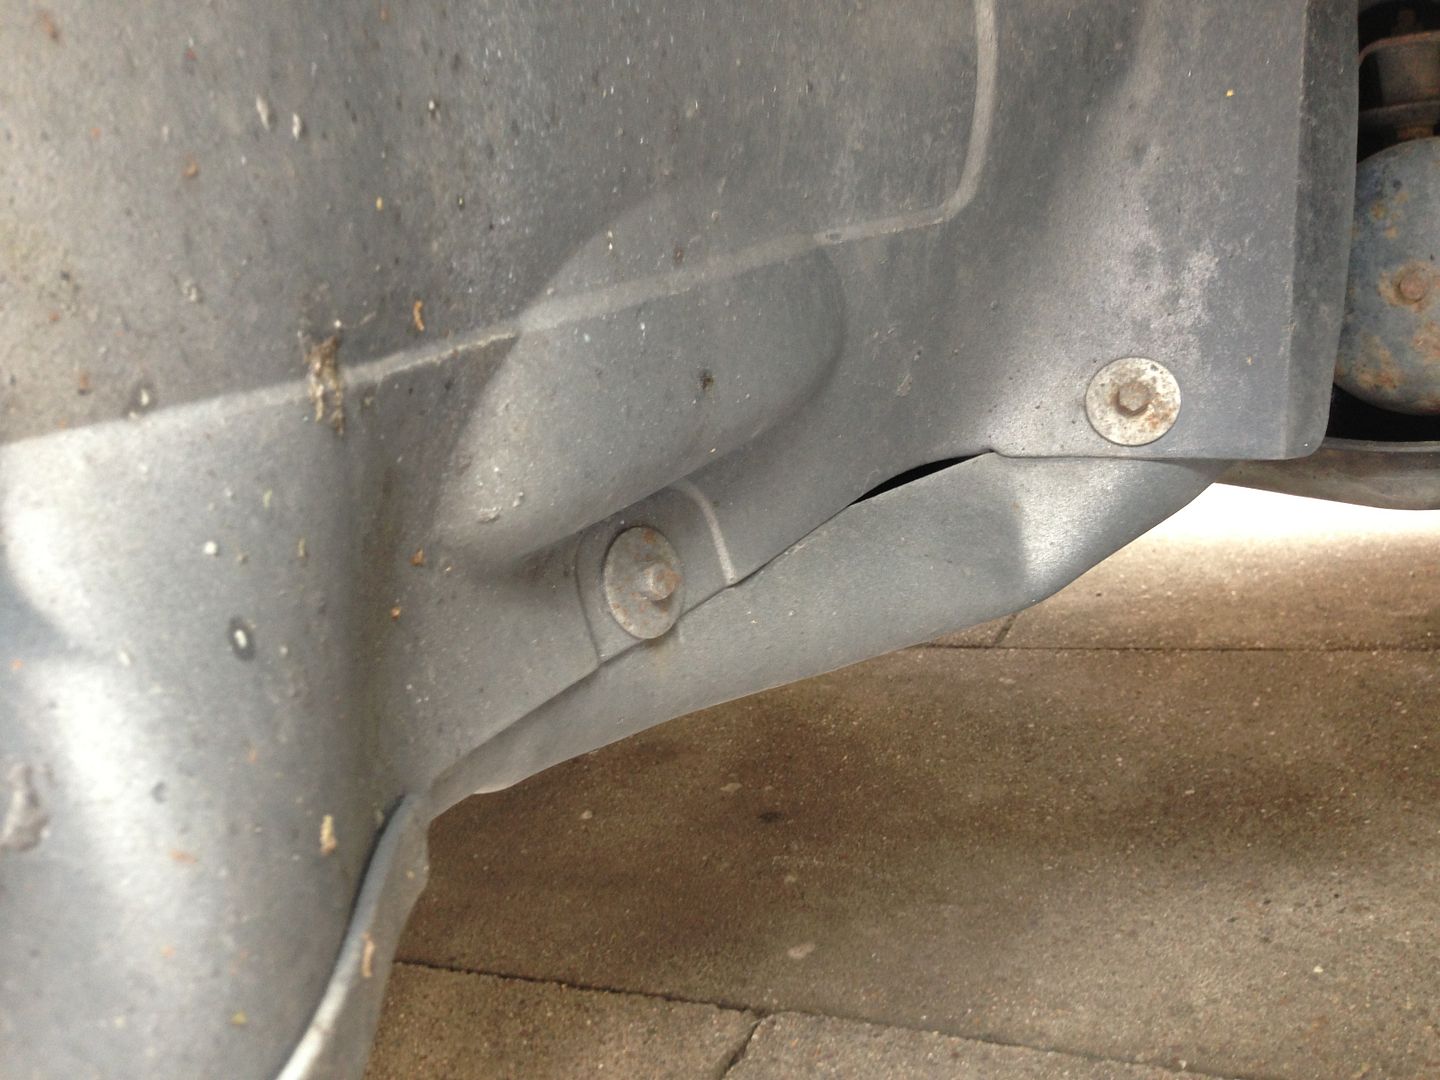
These are the plastic shields, there are 13 of them in total including the arch liners, they are all held on with plastic nuts onto studs welded to the floor pan and arches, loads of WD40 was needed as the studs tend to rust and expand inside the plastic nut, it then sheers off as you undo them, I managed to get most of them off OK with some heat from a hot air gun...


The rear edge of the drivers front wheel arch to floor lining has been hit by something in the past and badly bent, it stayed this shape when I took it off but some serious heat from a hot air gun got it back into shape


I also planned on doing a few other jobs whilst the car had its wheels off and was at a decent height, new discs and pads all round and paint the callipers and also modify the centre console to accept an up to date multi-function 7" touch screen sat nav/radio/iPod/Bluetooth hands free thingy!! and finally a full carbon fibre wrap over all the internal wood... nothing like giving yourself a challenge!!....

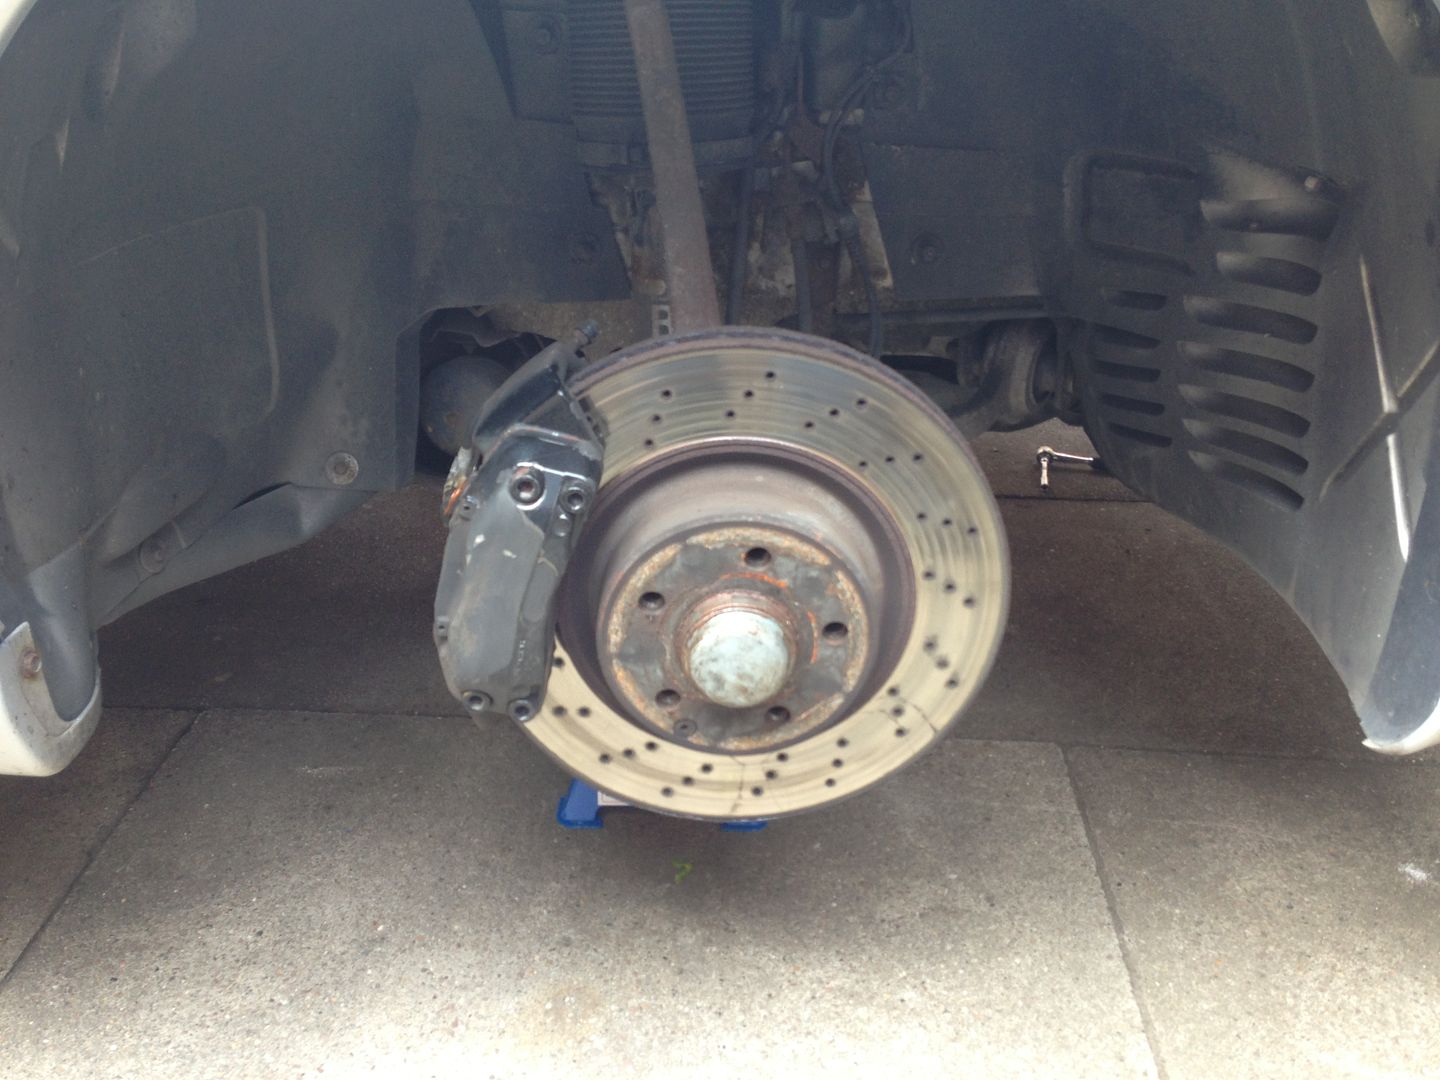
Front disc were well past their best


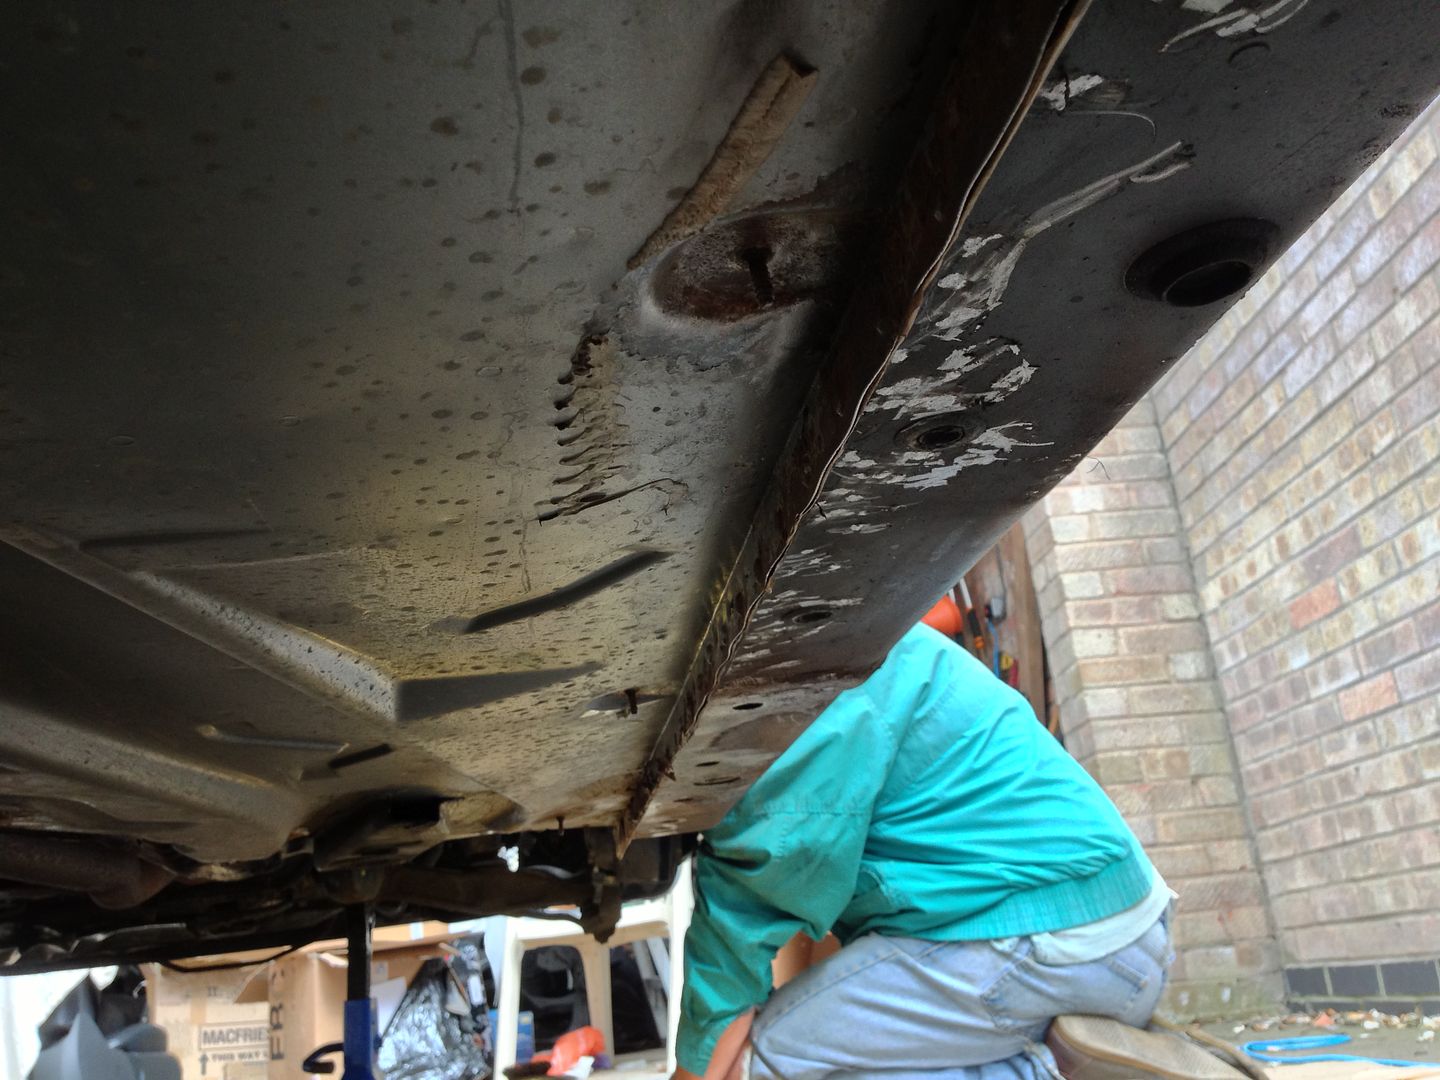
After getting all the shields off and a good jet washing I was pleasantly surprised, the main rust areas were the two cill seams there was no underseal at all on them, or the rest of the floor, the rust was only surface and was scraped off then wire brushed with an angle grinder attachment, there was some rust in the wheel arches and around all the studs that had been welded to the floor and arches to hold the plastic on, the rest of the floor and underside was fine..... apart from one bit just behind the driver’s seat where it looks like some idiot had jacked the car on the cill and it had slipped on the jack and split the floor, rust had set in around the split so I took the driver’s seat out and the carpet and cut back to good metal and welded in a repair section.

The driver’s side cill and floor, the black stuff on the cill was put there when I did the respray to hold back the rust until I had time to do it properly, otherwise no rustproofing at all anywhere!!!


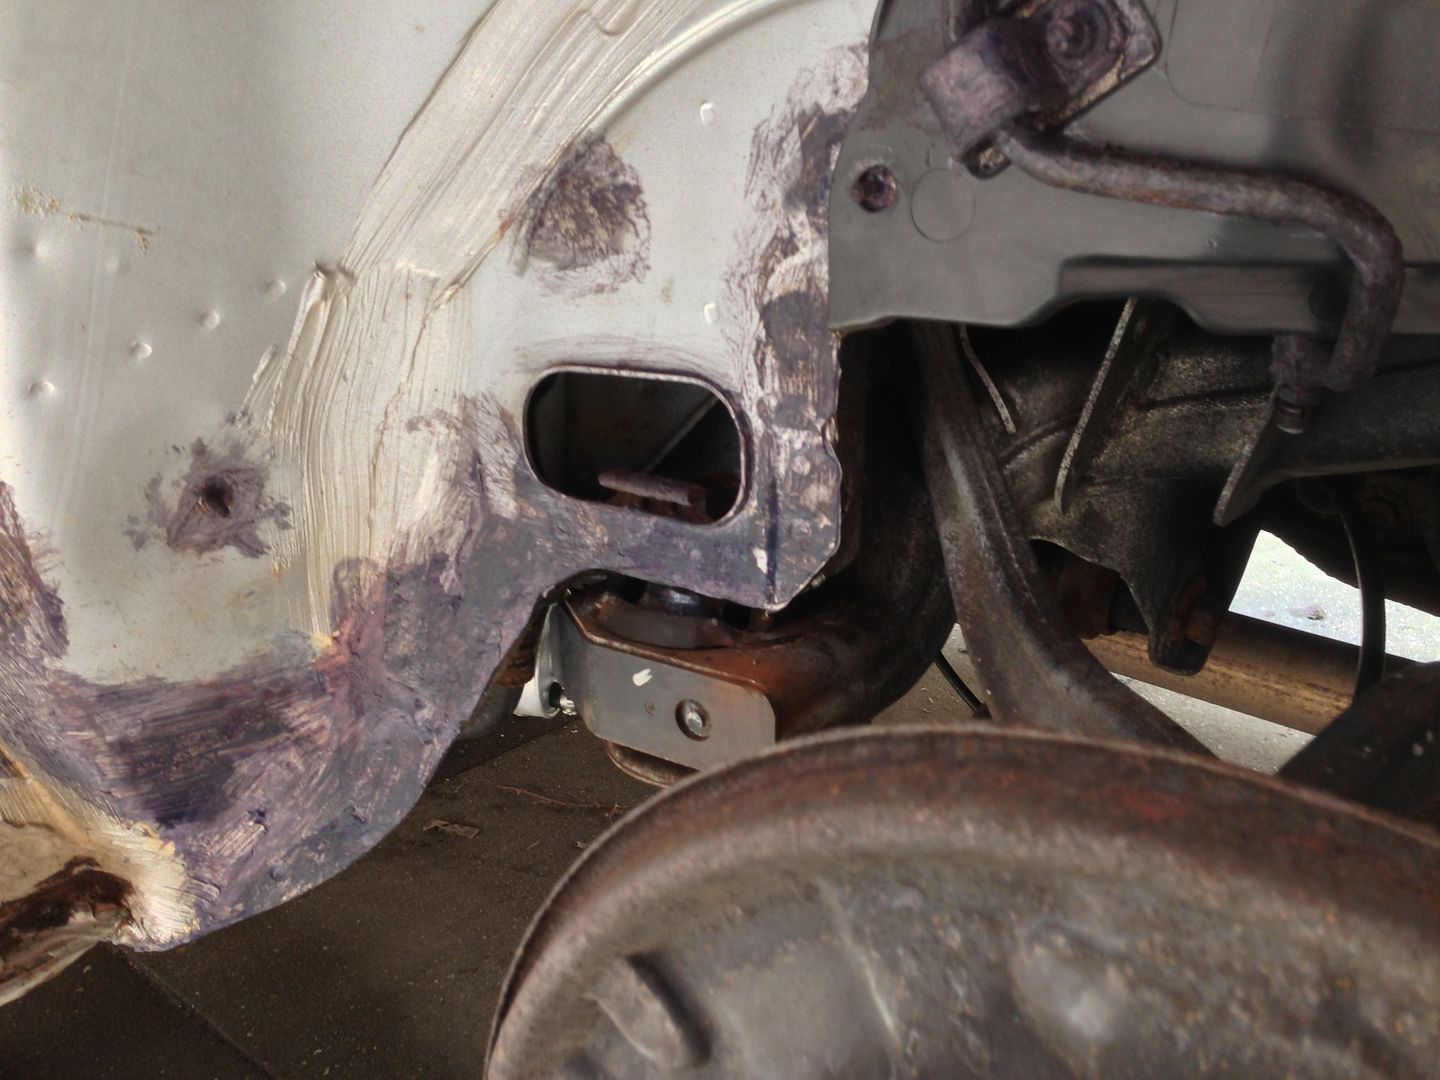
A front arch, just a bit where the shield doesn't reach, all ground out and treated here with rust convertor


And a rear arch, much the same story


This was the split in the floor, cut out back to good metal here


And a patch welded in, then sealed and etch primed before underseal


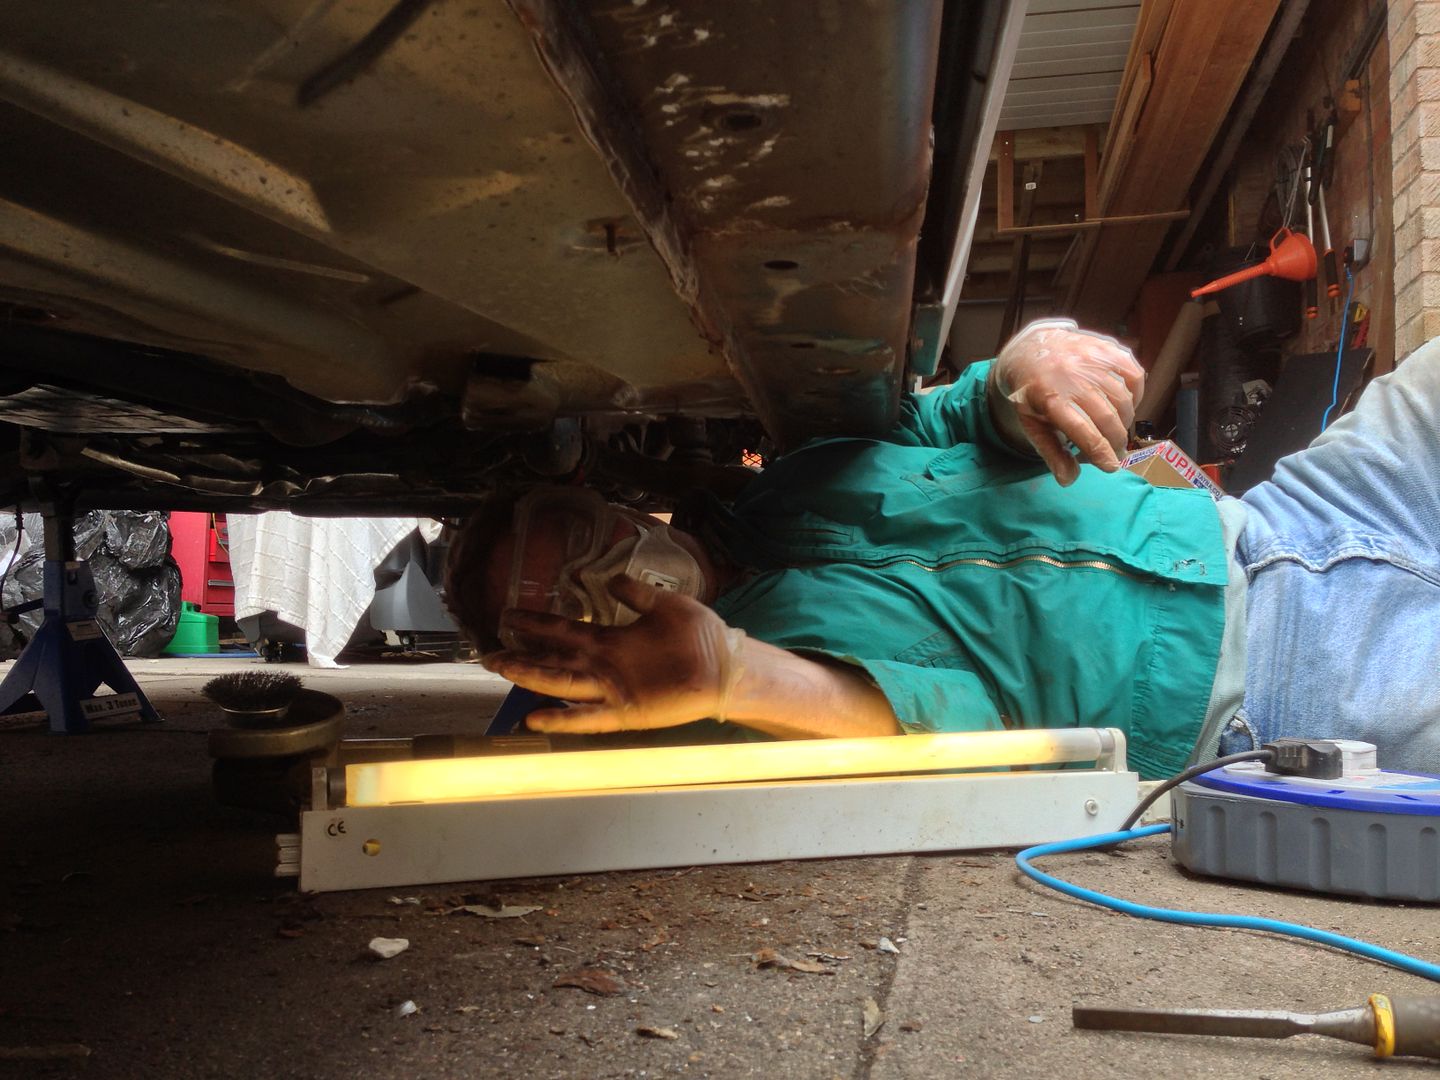
This is my brother who came to help out for a couple of days, he was a star and spent a lot of time under the car attending to all the rust, he also had several impromptu acupuncture sessions as bristles from the wire brush in the angle grinder came flying out at 15,000rpm, so be warned and wear good eye and ear protection if you do the same....


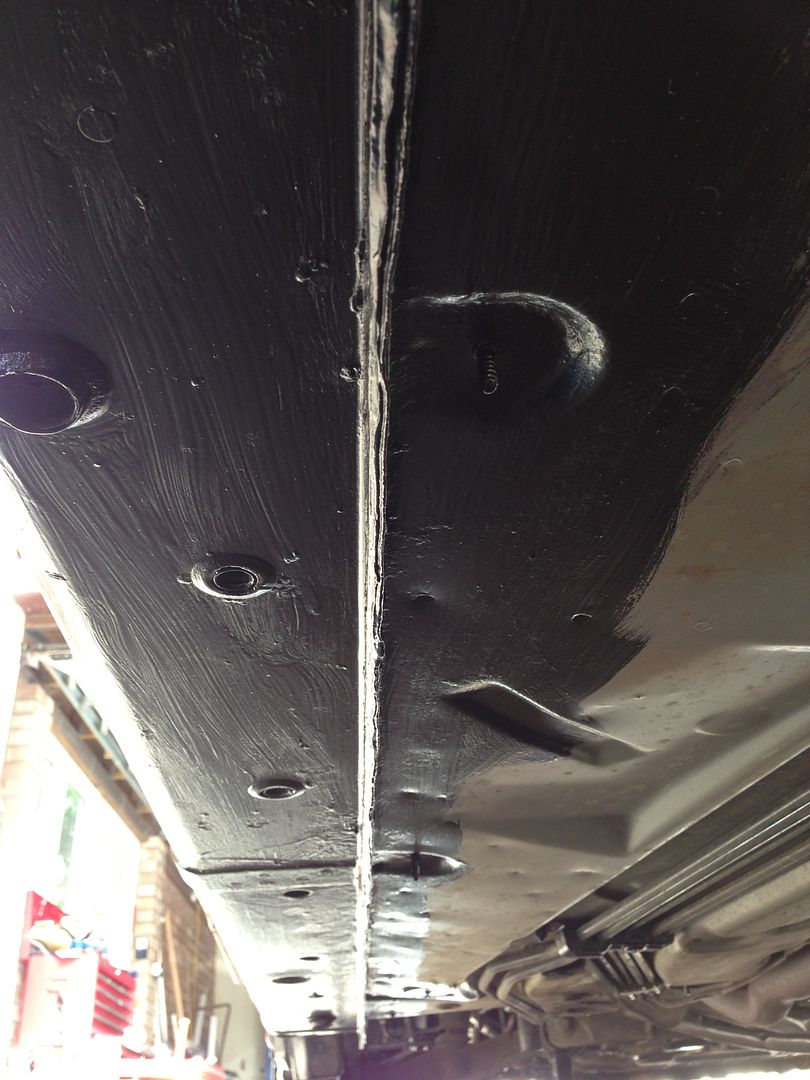
We then used the Dynotrol 3 stage rust treatment, first a rust convertor, then a thin coat of ML3125 to penetrate into the seams, followed by a liberal coating of 4941, this stuff is superb, been using it for years, I always paint it on as I find you can get better coverage and work it into corners easier, it dries to a rubberised feel, and sticks like the proverbial.... Then injected the cills with more ML3125 to soak into the cill seam.


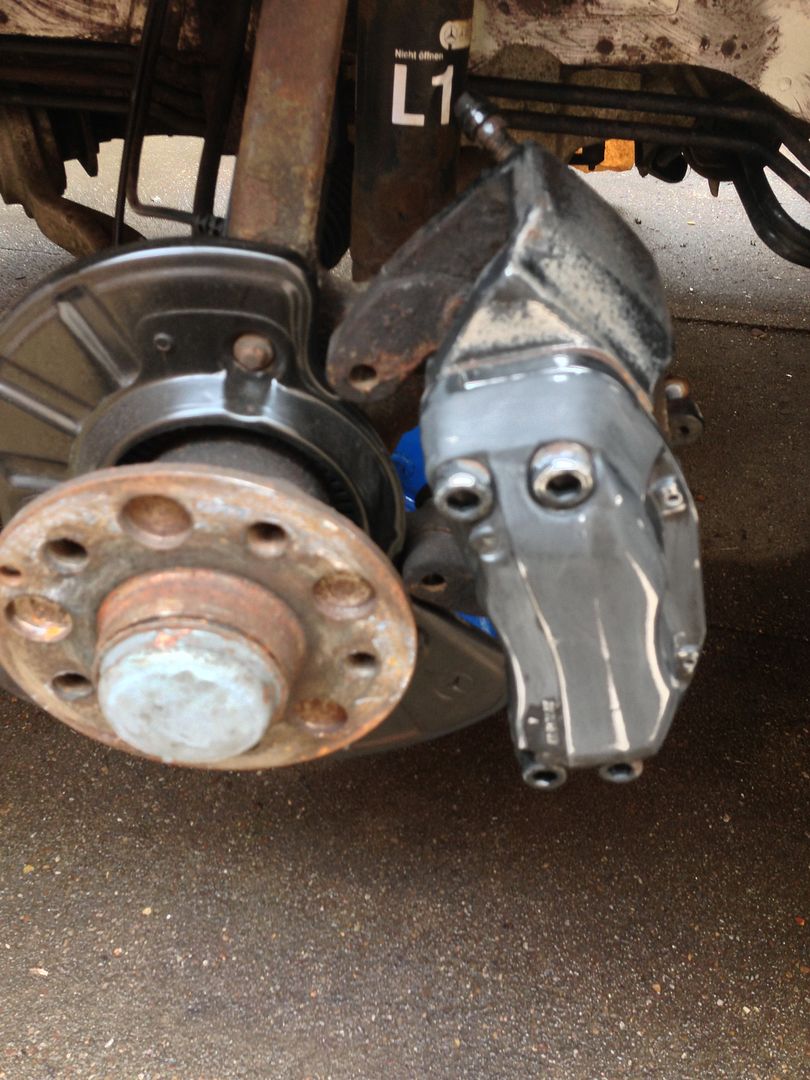
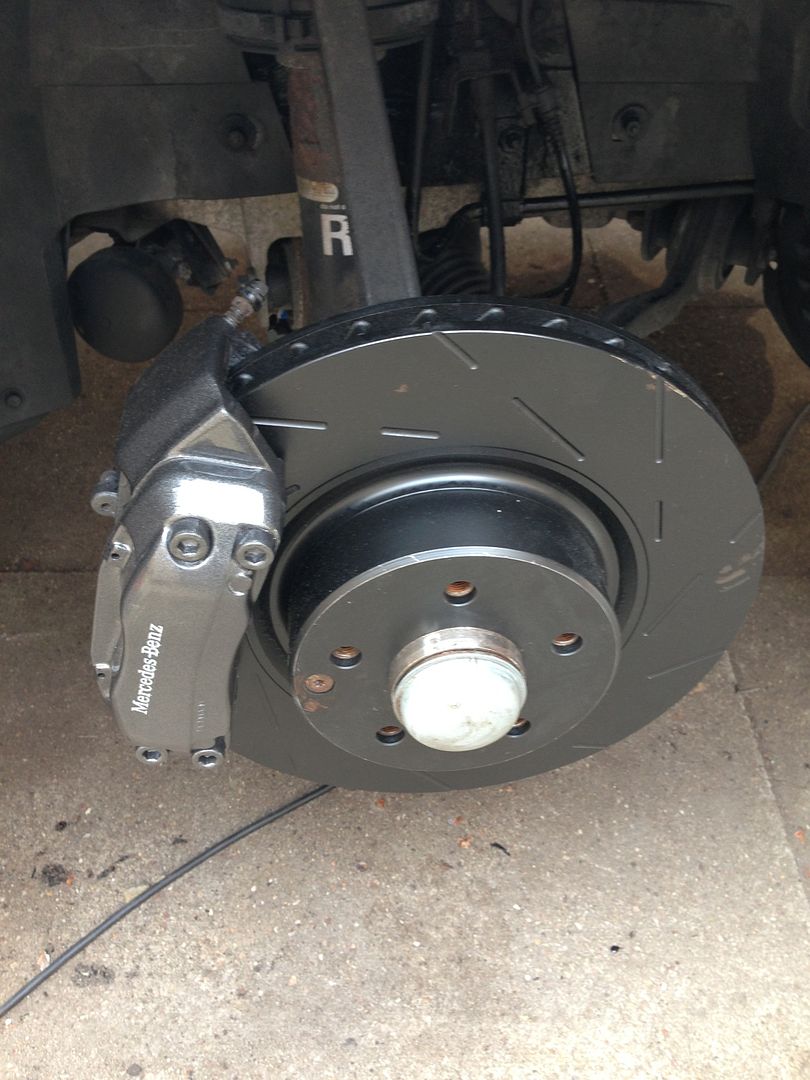
That was the rust taken care of so then onto the brakes, decided on EBC Ultimate discs and Red Stuff Pads as I've used them before and they are excellent. They are grooved discs, unlike the ones on there that were drilled and showed signs of cracking around the holes and had badly scored...

I wanted the callipers to look different but subtle so decided on metallic gunmetal with silver decals, tried decals in the past and they never last long so went about it a different way....

The callipers were in pretty good condition, the paint had worn off them a bit in places, here they are sanded ready for paint


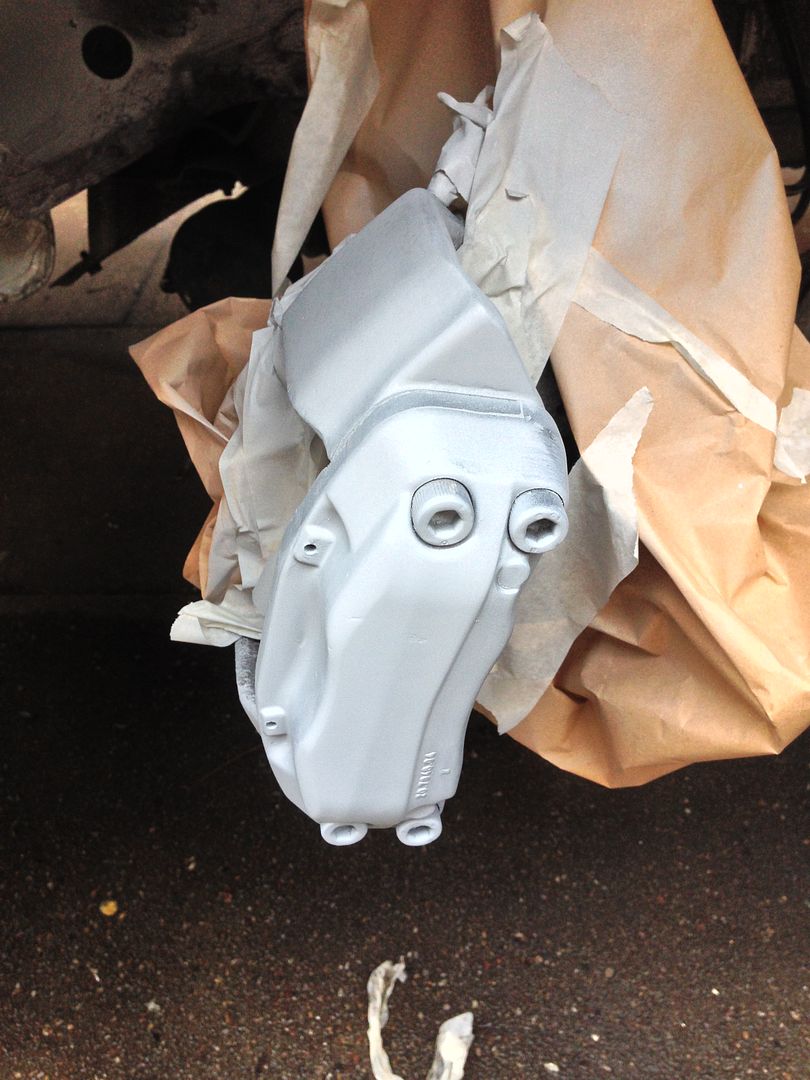
Sprayed with a couple of coats of silver


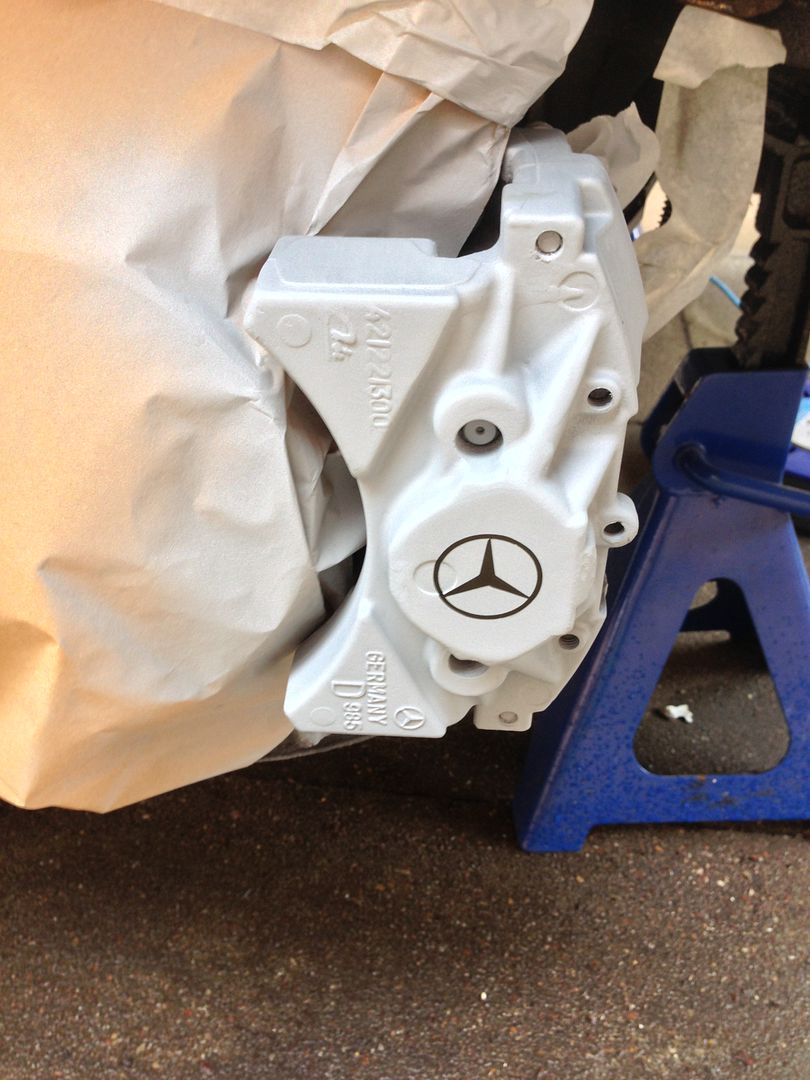
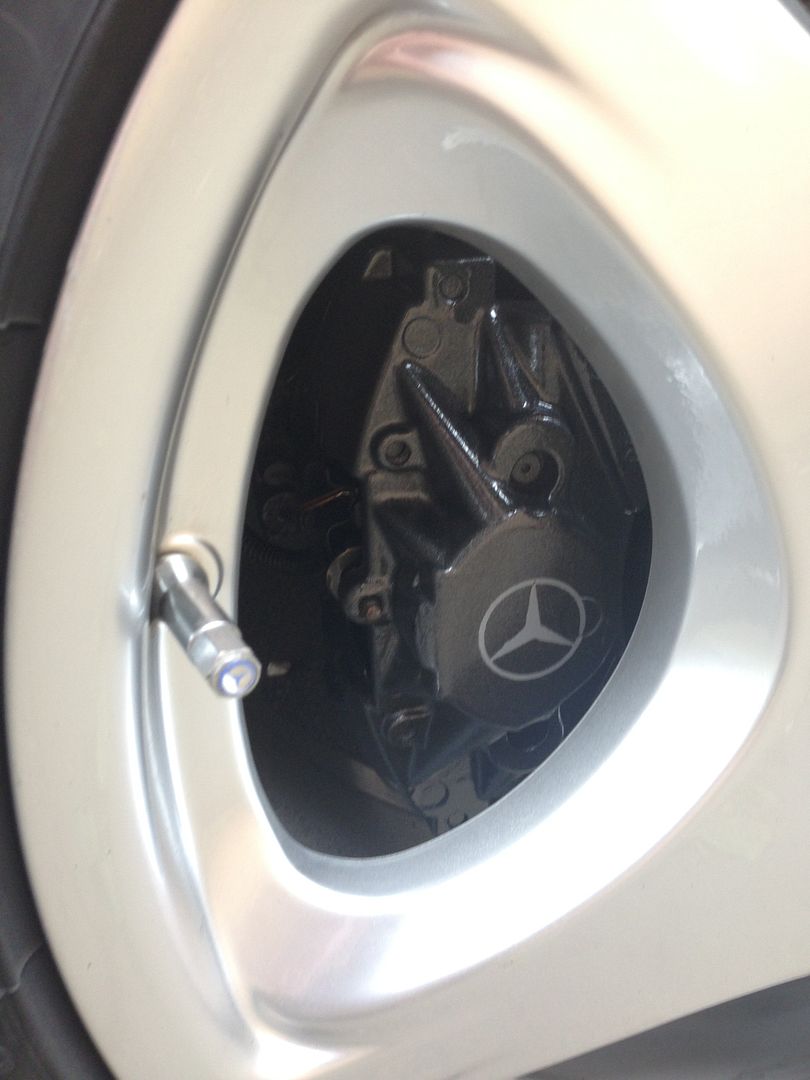
Then stuck the decals on, decided on "Mercedes Benz" on the front callipers and the logo on the rear as it fits the calliper nicely,


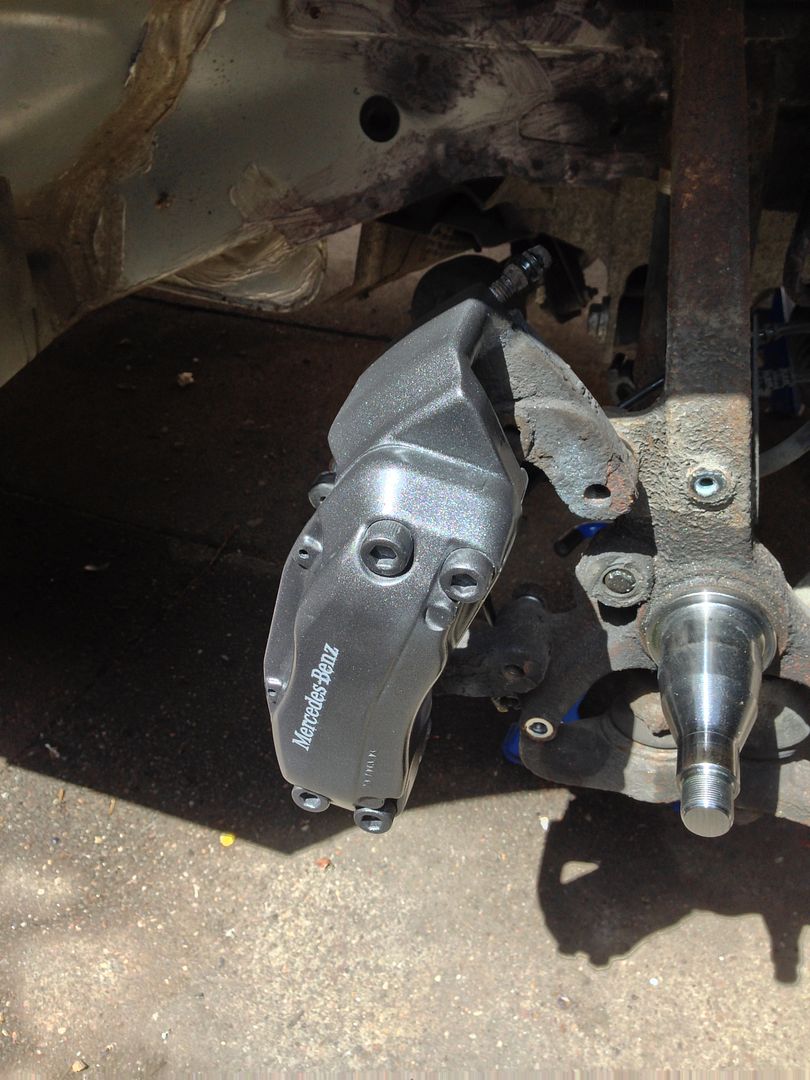
Then sprayed with the metallic gunmetal, removed the decals to reveal the silver.


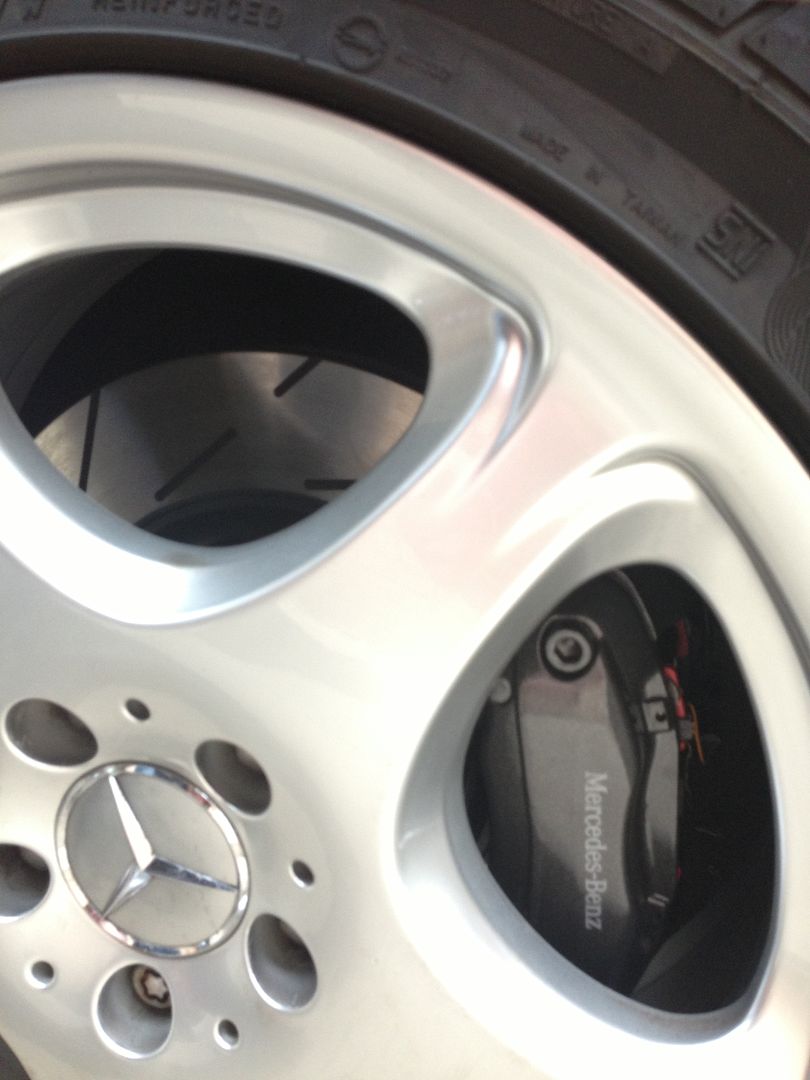
Then lacquered over all of it, all three paints were high temp... I do like the look of them, fitted the new discs and pads as well as new front back plates as the old ones had been damaged, also fitted one front hub seal as it was just starting to let grease out, new wear sensors finished off the job....


EBC Ultimate discs come black to help corrosion, this wears off the face when used


Wheels cleaned and back on, and after a drive where the black finish has been worn off the disc..


Continued....
 
Then onto my favourite bit, modifying and updating the interior.... I have modified quite a few cars now to take a double din unit, and do enjoy it....

This is the starting point, a bare centre console wood trim, for those that don't know it is made of aluminium then covered in wood and finally veneer
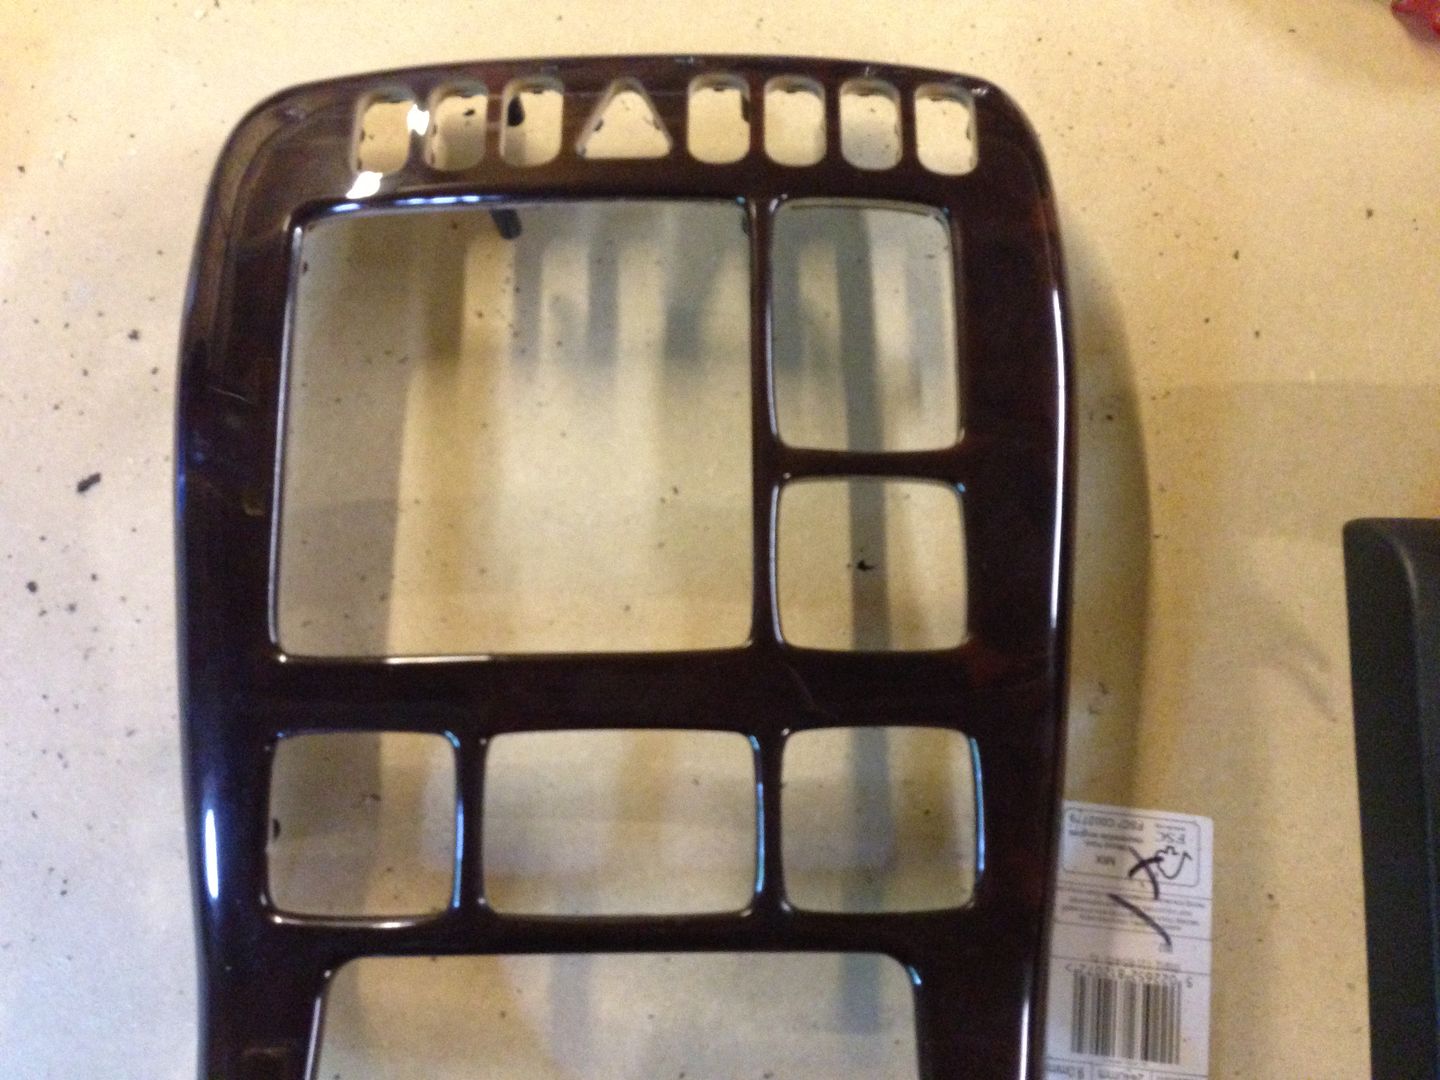


The original command unit is a two and a half din and fills three holes, I bought a cheap two din surround to help with the sizing

Cut out the console and trimmed the surround to fit


Glued the surround in place, I used hot glue as its good for this type of thing


Then cut some wood to give me an edge to work to as the console has a compound curve and the surround didn't.


Used glass fibre paste to build up the surround, the tape on the wood stops it sticking to it and makes it easier to remove.


Removed the wood
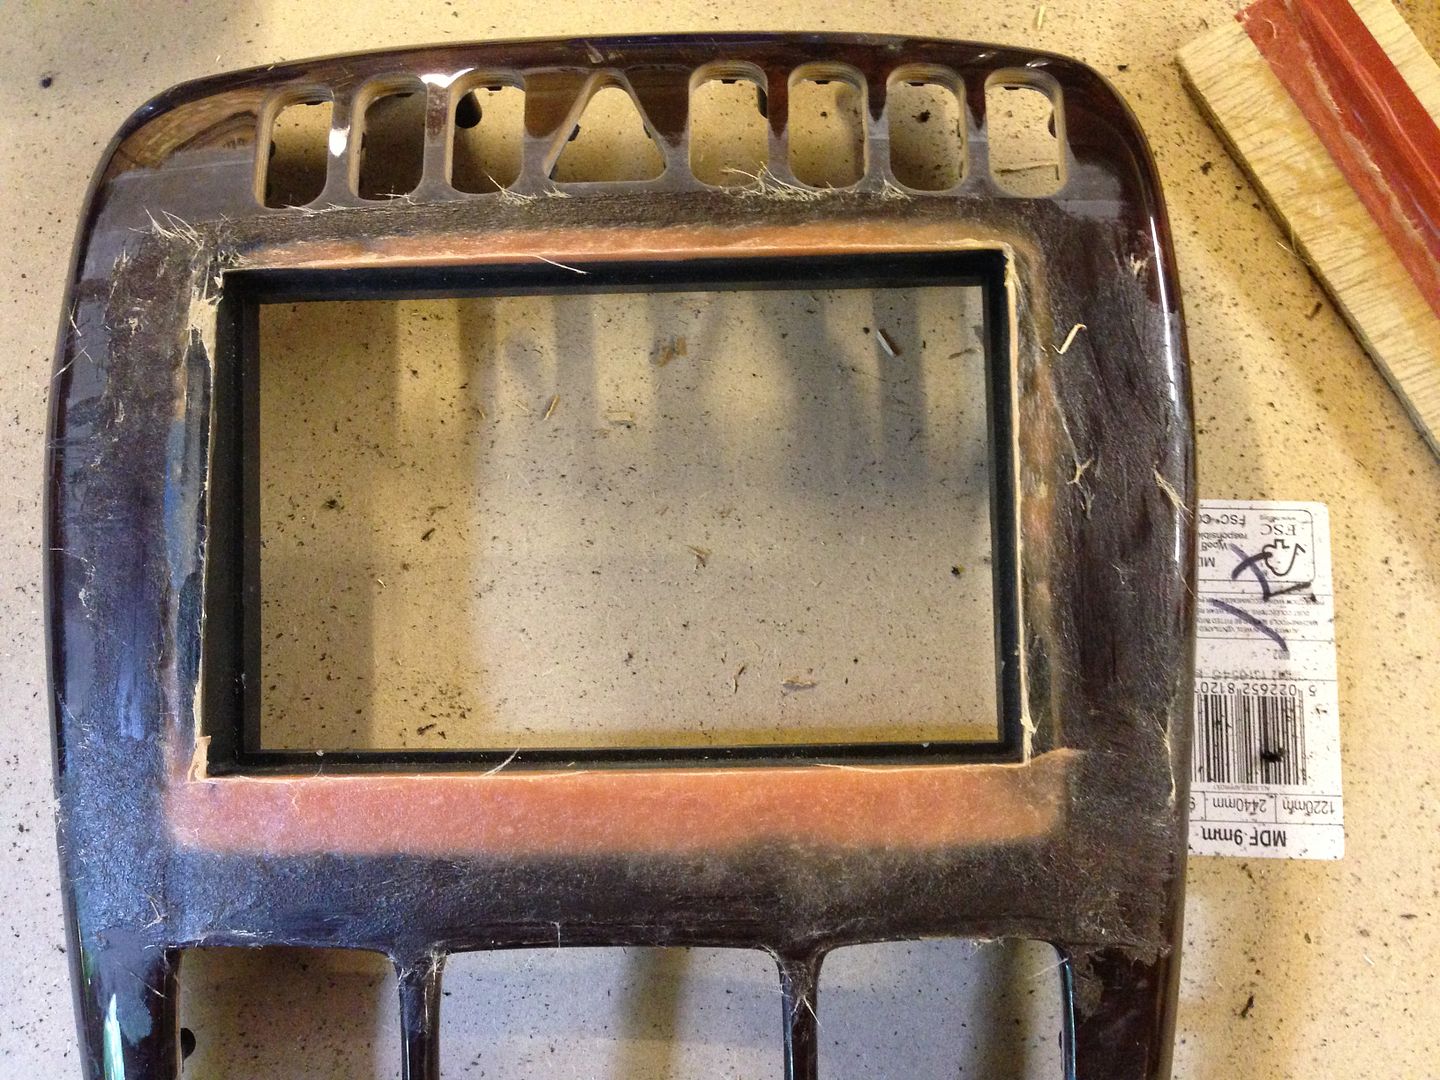


Then it's just a bit of bodywork to sort it out, a quick dose of filler


Then some high build primer,
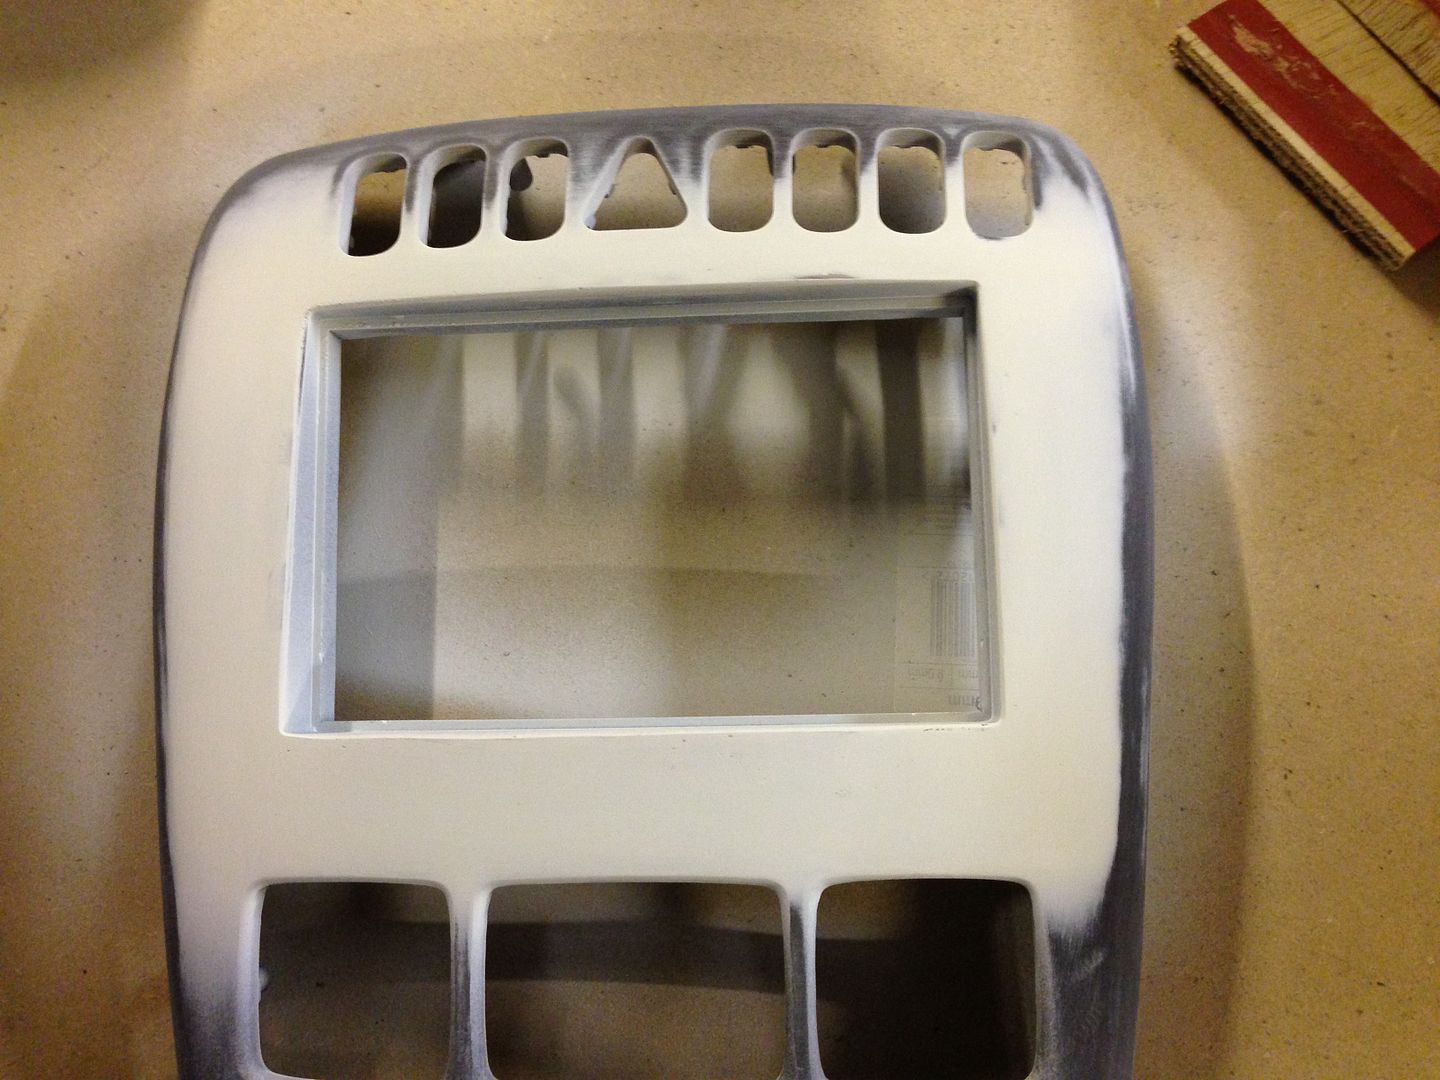


Flatted off and then some satin black, it's not really necessary to paint it before wrapping but it helps to be able to check what it will look like when finished... The tricky bit is working out the best position and angle for the head unit so that it looks good but also doesn't give too many reflections on the screen when in use, I modified the original mount for the command unit and welded it to the mound for the head unit so it is very secure and the angle has worked out just as I hoped it would..
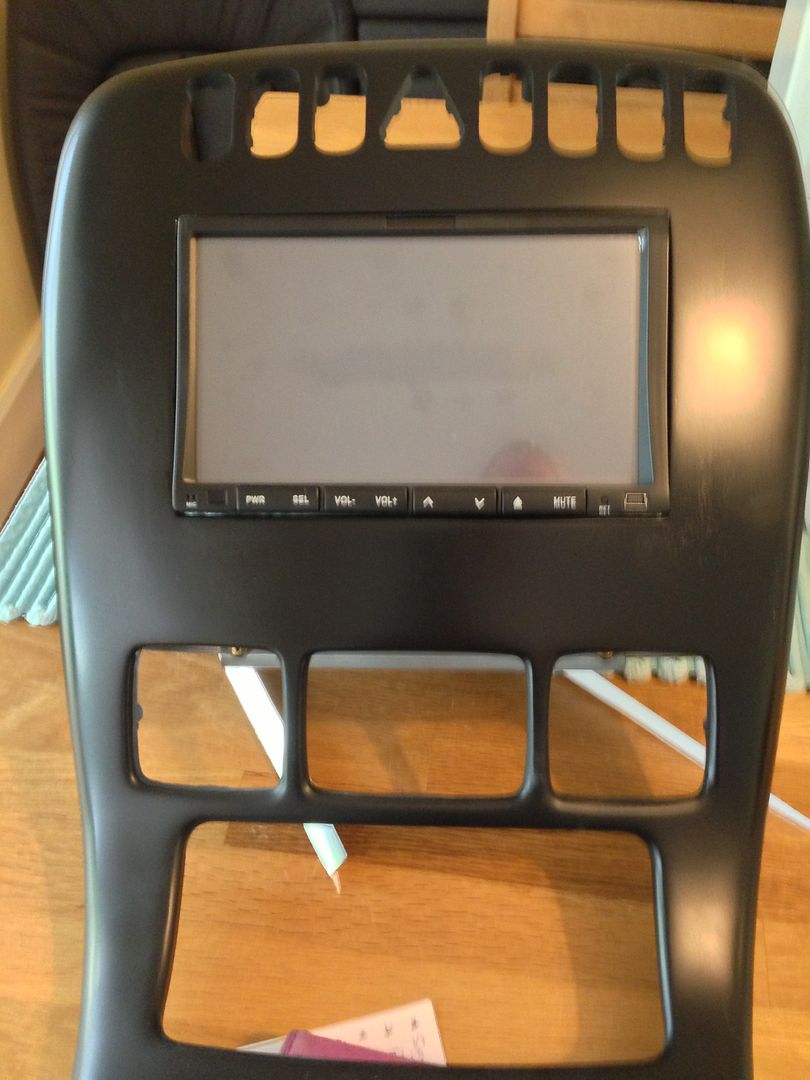


I installed a night vision rear view camera as well so all the boot had to come out for the wiring, also took the door trims and rear side trims out, the back seat and rear centre cubby box, not much left inside now!!!

Found a pin out for the 2.5 command head unit from 2000 but unfortunately mine was nothing like it, most of mine was controlled by can bus, no reverse feed, or even a lights on feed so had to do a fair bit of tracing and wiring to get the head unit to work, is now working as it should, dims at night, automatically switches to rear camera as you select reverse, stays on when you switch off until you open the door... It did claim to have built in can bus feeds for the steering wheel controls and I did try to use this but the difference in voltage on the can bus from the steering wheel buttons is very small and the unit couldn't cope, but not too worried, it's hardly a reach to turn the sound down!!!!

I've got a Kenwood 7" head unit in my Volvo that I use every day, it cost nearly £1000 a few years ago, as the Merc is a weekend toy I didn't want to spend loads so thought I'd get one of the cheap ones from China via eBay for the Merc, this was the one I got

Erisin ES1006GEN 7" HD 3G WiFi Car DVD player TV GPS iPod SD Color illumination | eBay

Not bad for £164.00 !!!! it has

HD Digital Touch Screen, Colour Illumination, Dual Zone, GPS Navigation, Real Clock, Change Background image and Icon Position at will, Analogue TV, Radio RDS, Bluetooth hands-free, A2DP Bluetooth, Front and Rear View Camera input, IPOD Audio Input and Control, Games, Calendar, Calculator, Compass, virtual 6 Disc, Wi-Fi & 3G Internet Ready, USB, SD

It all works very well, takes a smidge longer than the Kenwood at responding to buttons but the only thing I can really complain about is that it totally mutes the radio when giving driving instructions, then waits a second before the radio comes back on... the Kenwood just reduces the volume of the radio as it plays instruction... Oh and you can't leave a DVD in the machine all the time as it won't switch to radio unless you eject it... hardly an issue!!!!

It also arrived very well packed and turned up within three days via airmail from China....

It comes with a built in microphone but I fitted an external one in the place Mercedes fit the original, just behind the rear view mirror, the hands free works very well, made a few calls and the quality seems good even at speed.

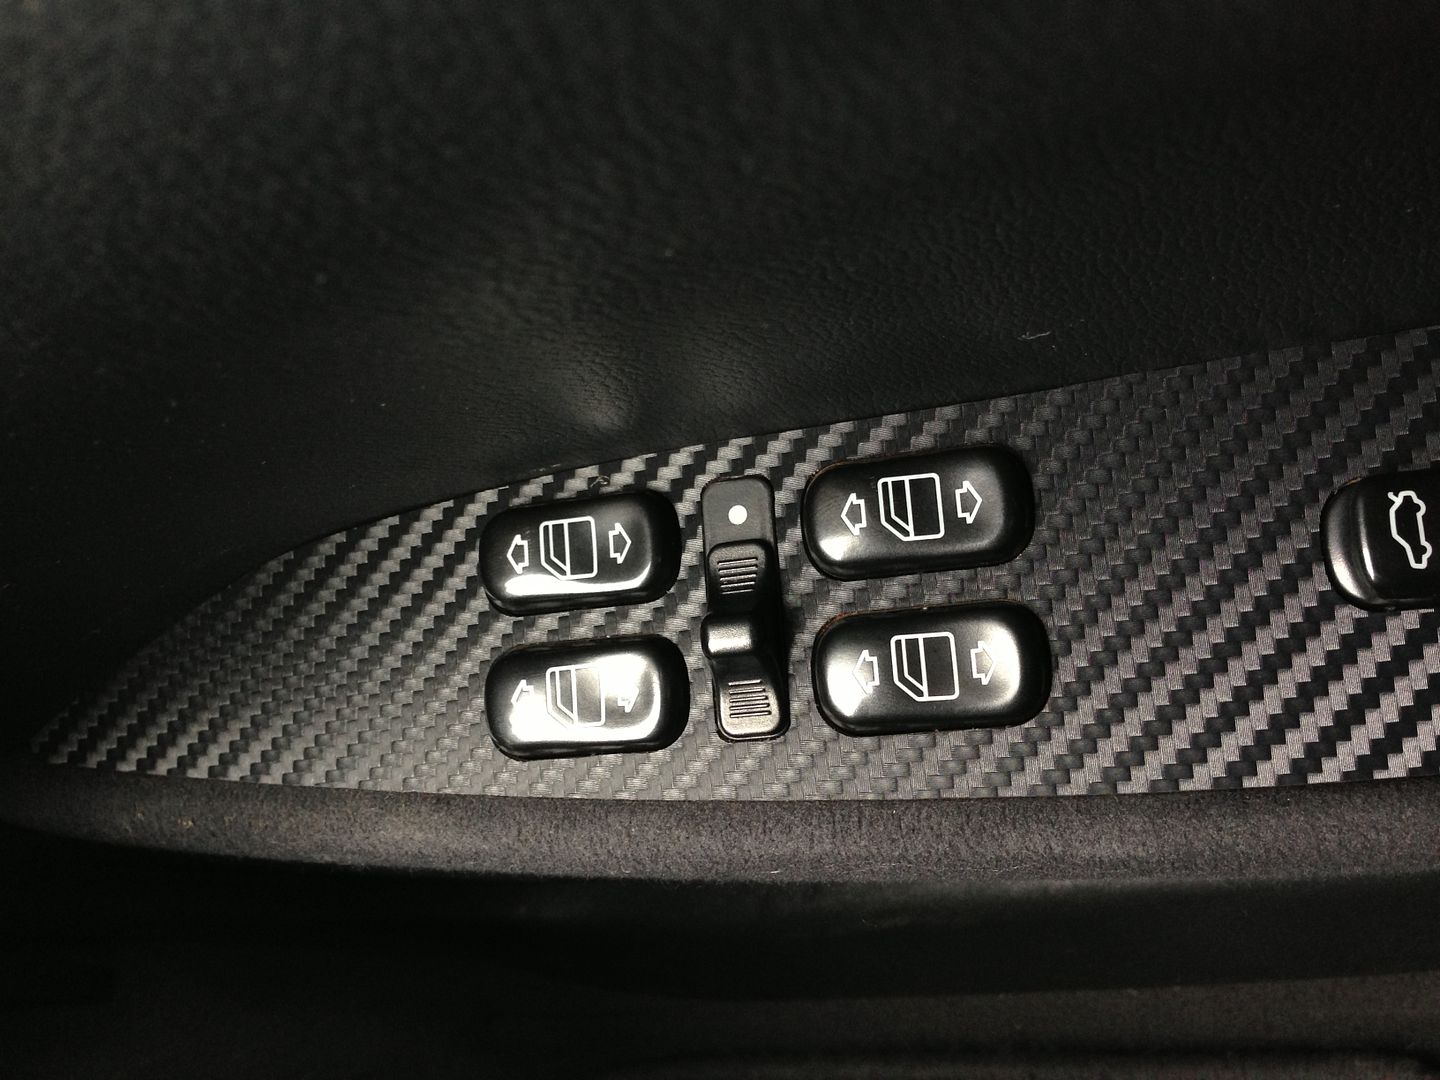
I removed all the wood trim from the door cards and trim to fully wrap it, you get a much better job than leaving them in situ, the heat the interior can get to will slightly shrink the wrap and you will see an edge....

I've found the other secret is to use primer on edges and areas where you have to cut it to size exactly and can't wrap it round, most of the Merc switches are such a tight fit you have to cut the wrap on the surface and not wrap it round as the buttons then stick in the hole!!

The primer is water based and will come off with remover should you wish to revert to original, bit difficult in my case with the modified console...

You can see the primer on these pieces
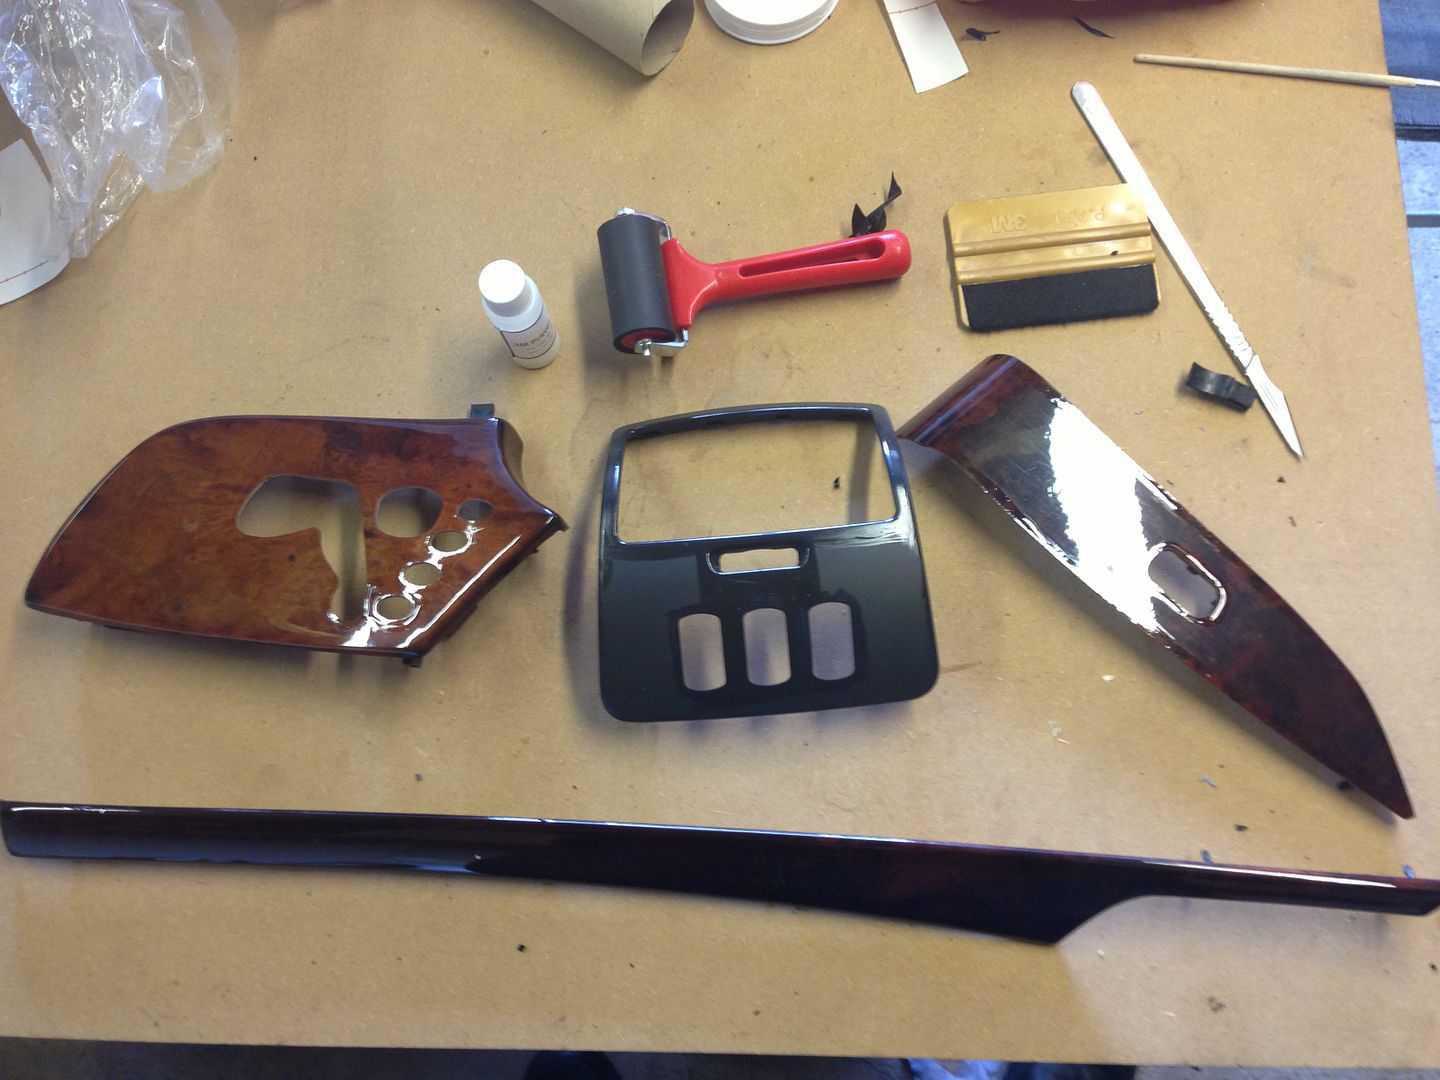


Then it was just a case of wrapping that nasty REAL Wood with some FAKE Carbon fibre!!!??! I used 3M Di-Noc Carbon Fibre Vinyl Sheet, there are cheaper ones and also a lot of fake ones around, they are nowhere near as good as the real thing, it's worth the bit extra...

Not going to go into the process here as it's been done to death but if you decide to have a go then just be patient at first and learn how the stuff works...

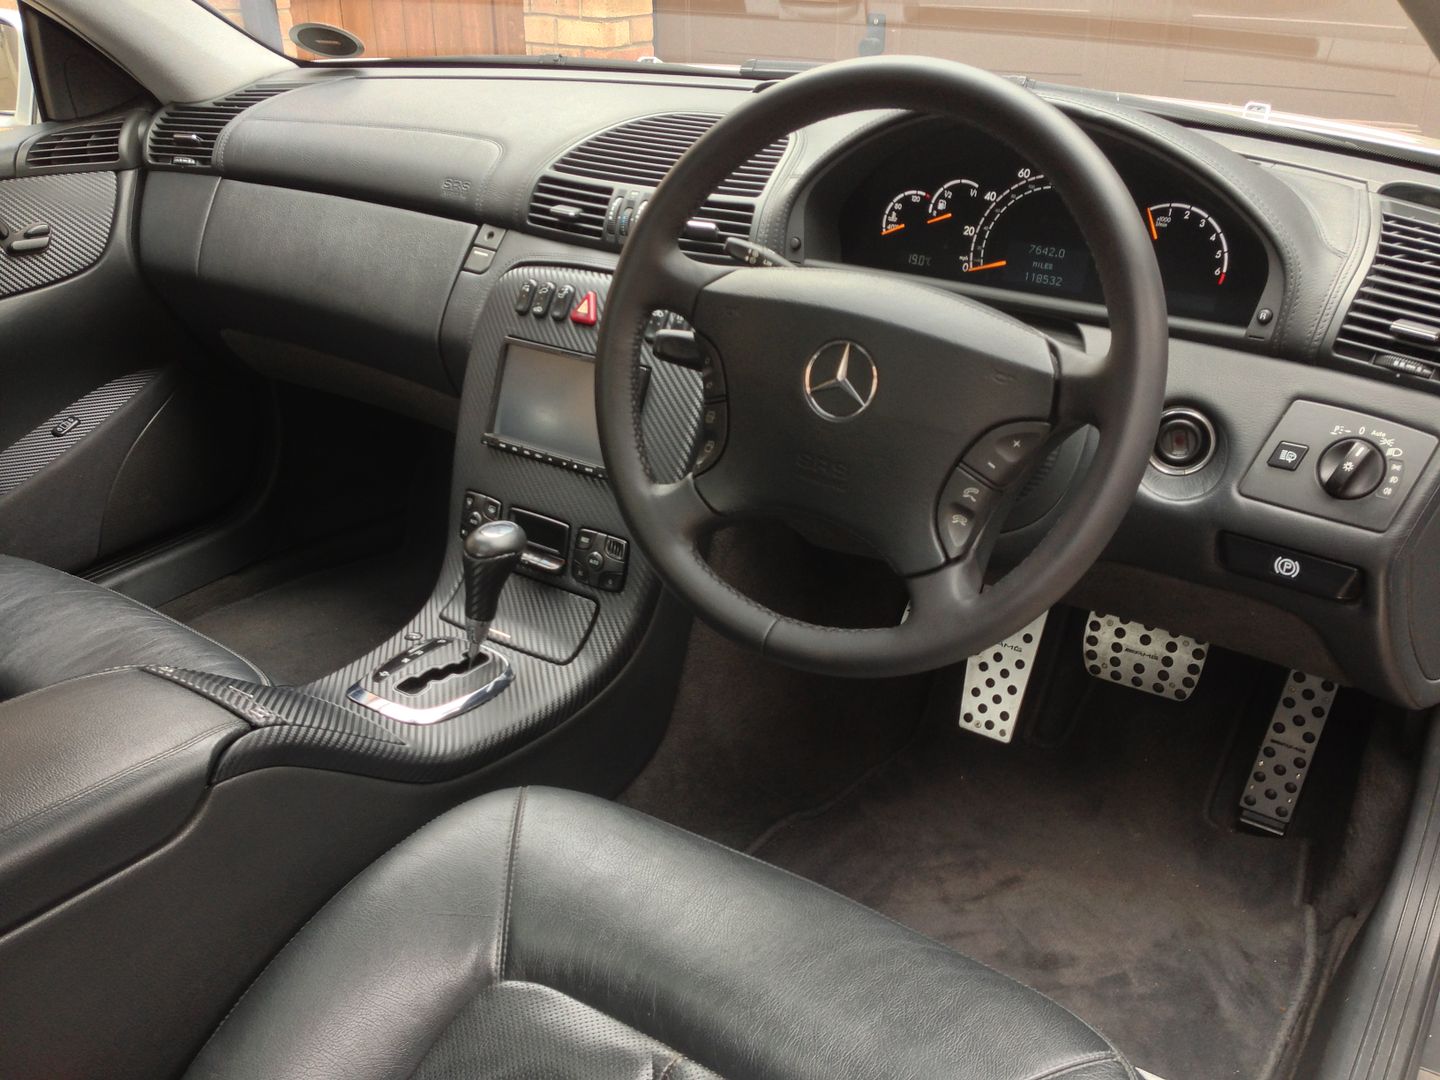
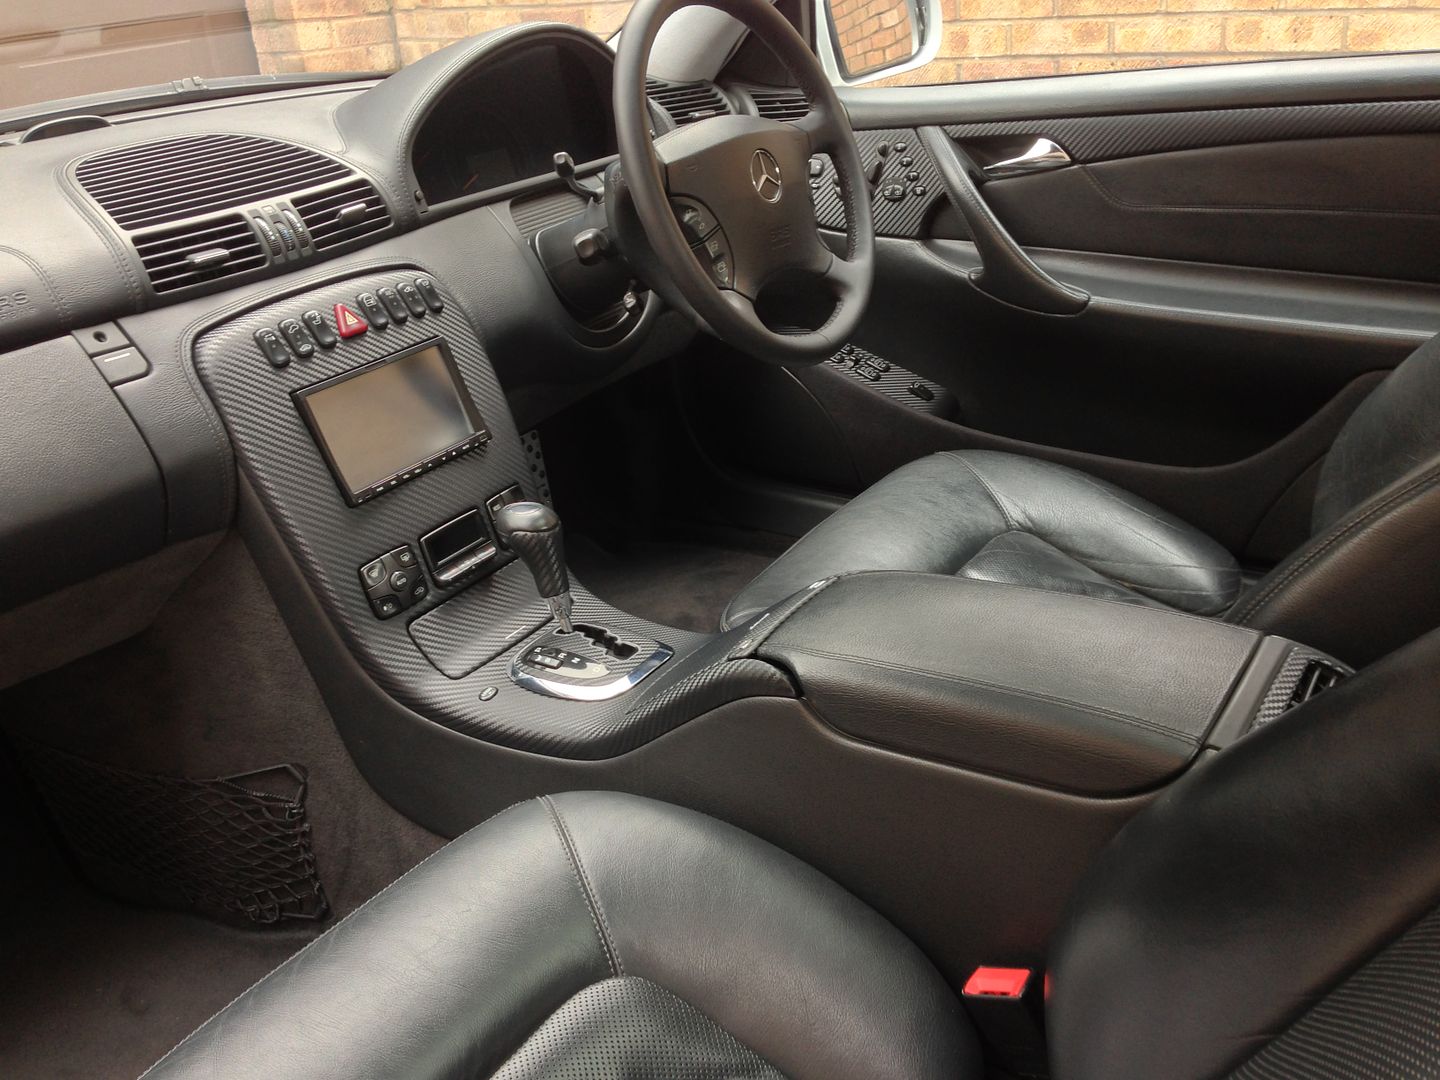
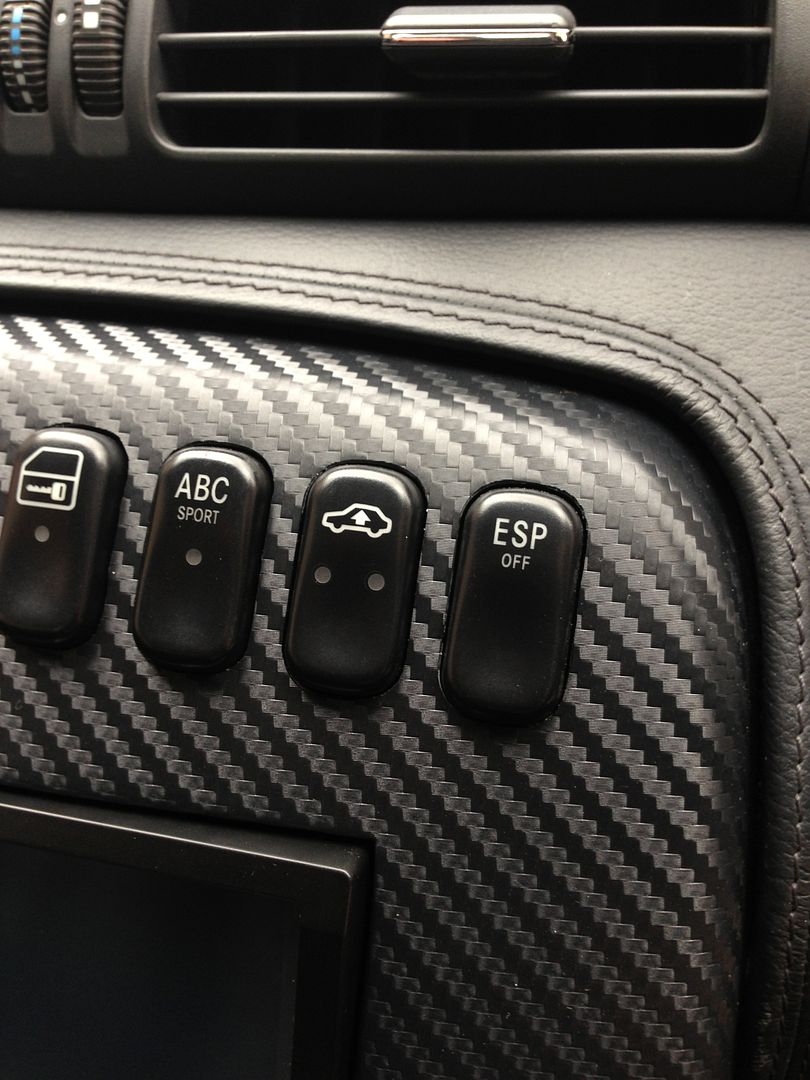
Here are some after shots when it was all back together and I'm pleased to say it's all working just as it should and no squeaks or rattles from anywhere

Centre console, I also had a go at the oddments bin lid and the switch plate above it, they were covered in leather on mine, primered the whole thing and the wrap stuck like poo to a blanket and didn't pucker when heated to set the shape so I'm hopeing it will work long term, the chrome elements were removed before wrapping, then refitted to give that factory look
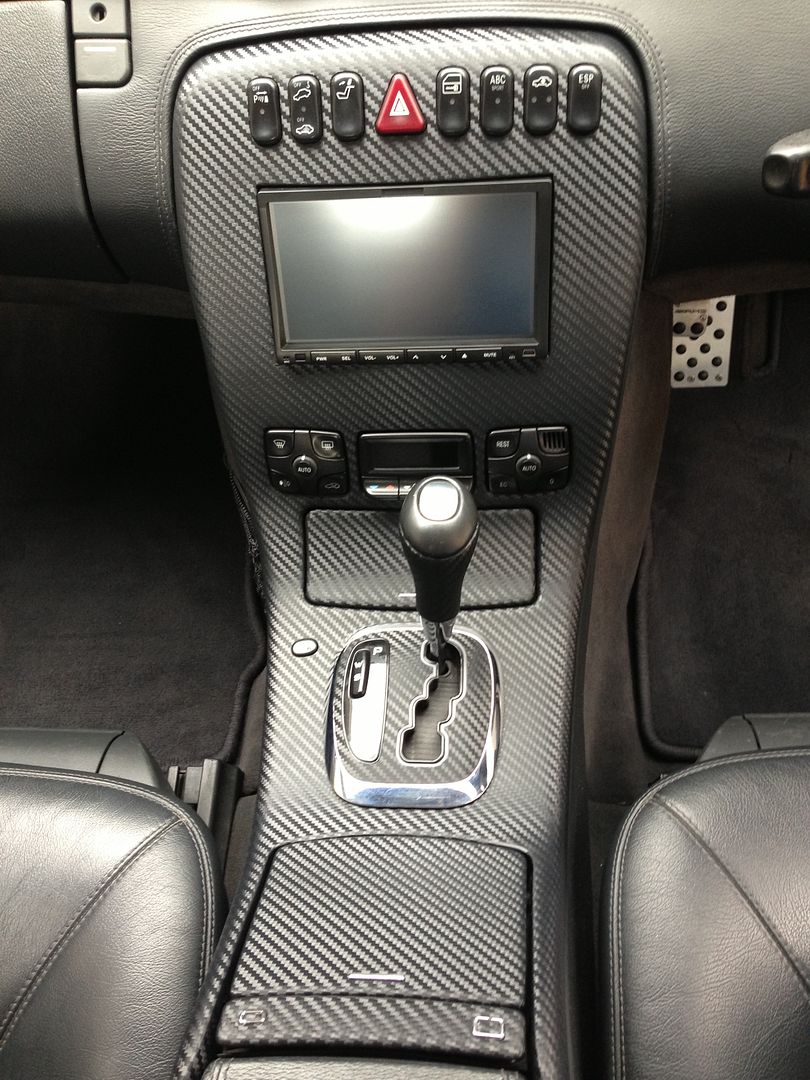


Some detail shots,

Gear knob looks good


These are the bits that were leather covered
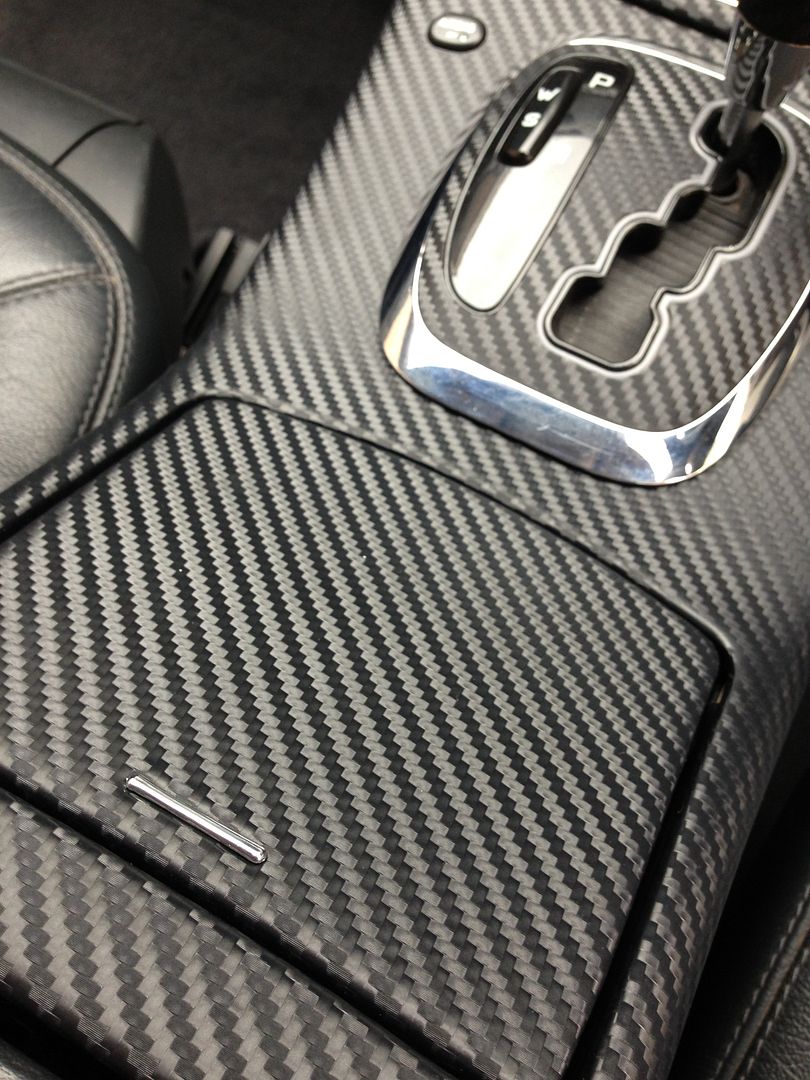


That chrome bit in the ashtray is backlit so really wanted to keep it
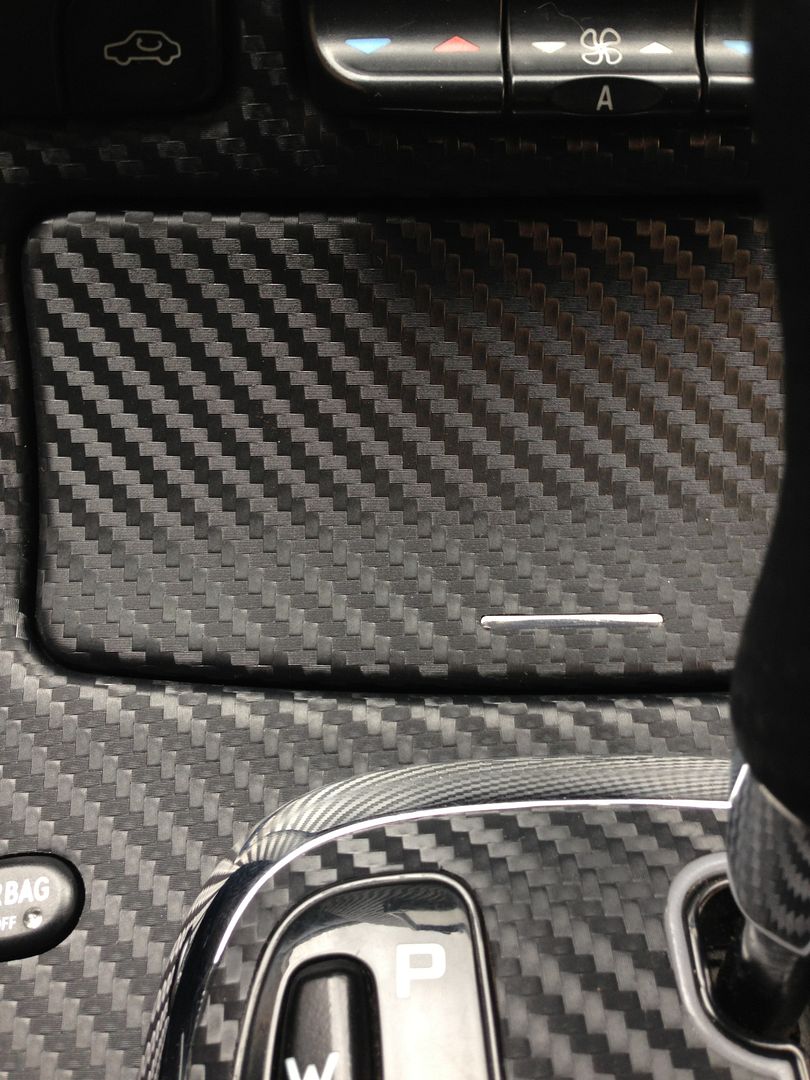


Passenger side and the centre have the carbon running the same way, from the top to bottom running forward


Drivers side is the other way, keeps it looking neat...
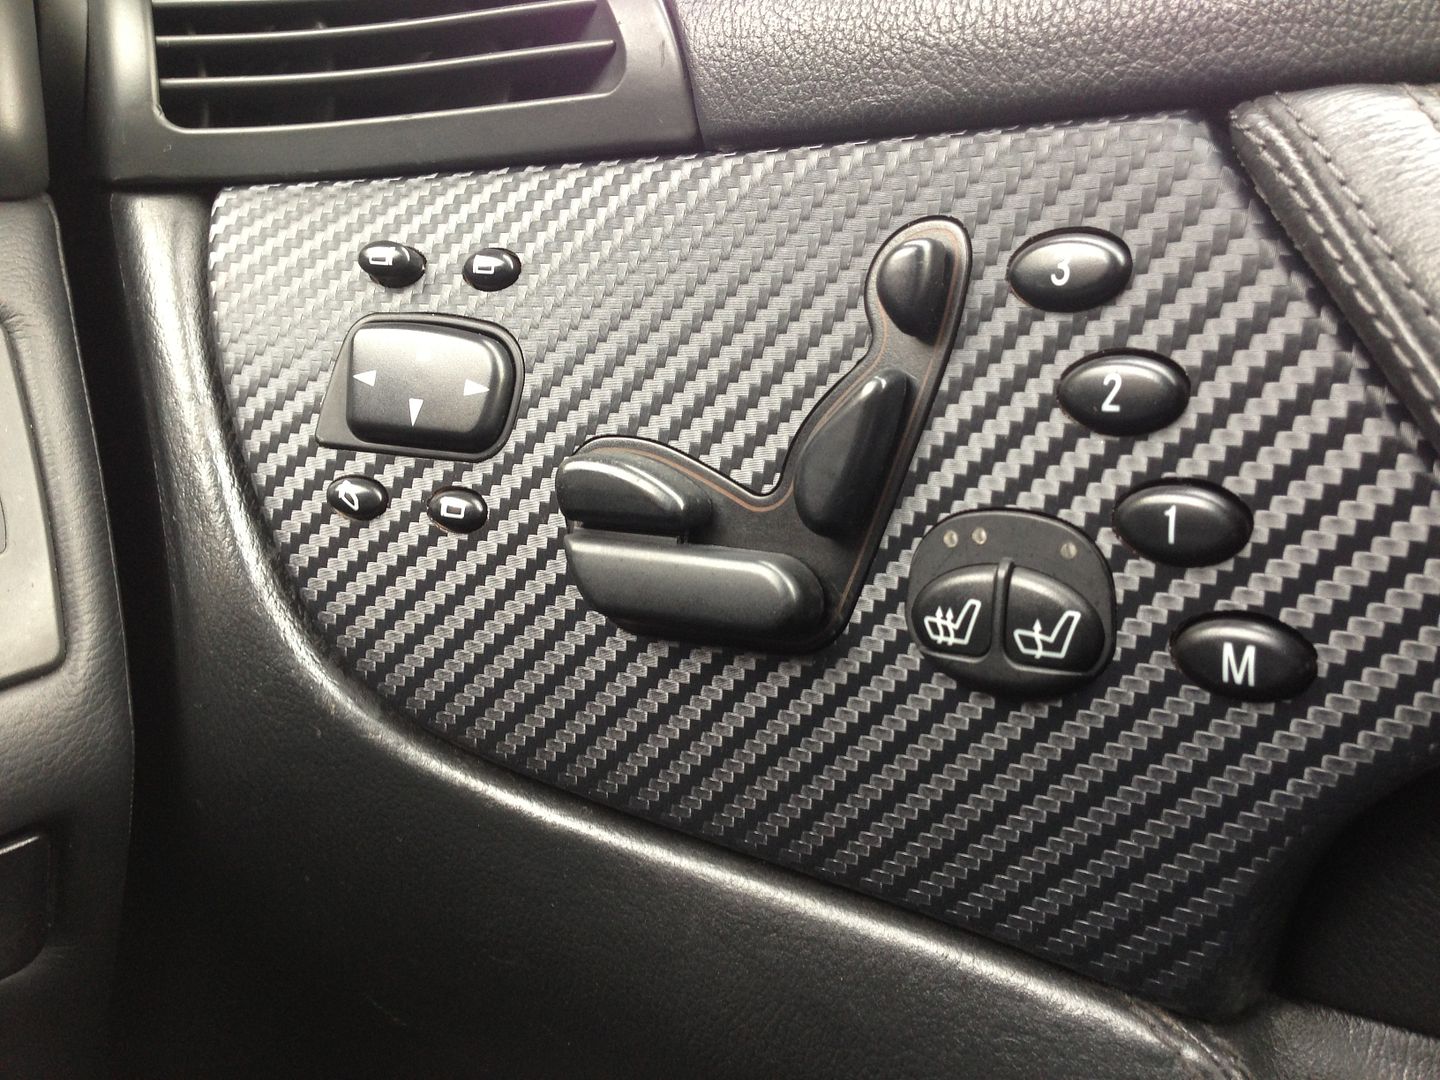


Rear vent


Rear cubby box, wooden top slotted so it can retract, lots of cutting here...


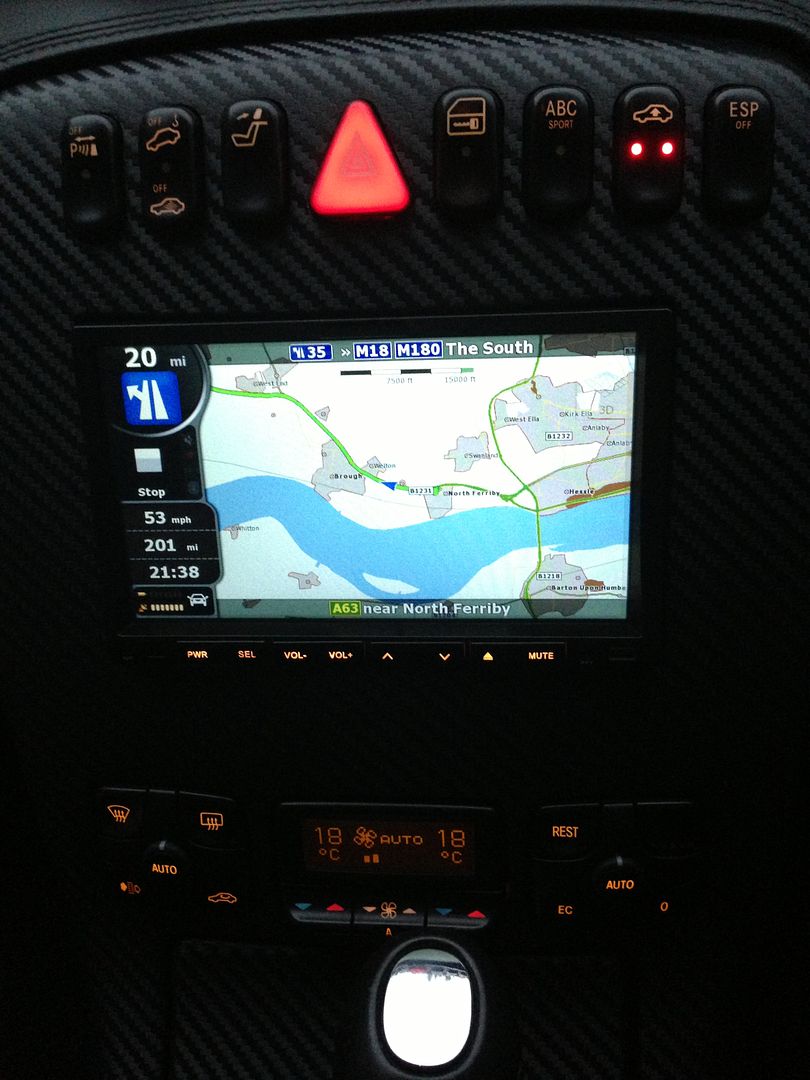
Oh and one last thing the head unit has is twelve different backlight colours for the buttons, they are also mixable so you can get the exact shade to match the car.... bit difficult to photo but the colours are spot on to the naked eye.... and no I wasn't doing 53mph when I took this photo it was in display mode....
 
Wow, looking great - what a lot of work you've put into it!

The headunit is certainly cheap as chips, considering how much fuel the CL would take, looks like good value for money given this is your weekend car...
 
Wow, looking great - what a lot of work you've put into it!

Thanks, glad you like it

The headunit is certainly cheap as chips, considering how much fuel the CL would take, looks like good value for money given this is your weekend car...

Yes I'm pleasantly surprised by just how good it is for the price, the screen has excellent resolution, and it does what it says on the tin!!

Awesome!!!!

Cheers...

Great job, need to drop my car of to you for a bit. :-)

What do you want doing?? I do take commissions....
 
Hi

All those interior shots were a bit closeup so took a couple of wider ones, I do think the carbon goes well with the perforated leather in mine


And some awful news......

My ABC pump is leaking, it's a drop every five minutes whilst running, so not a massive amount but enough to mean it needs sorting, so next job is to get it out, it looks like it's coming from behind the front pulley so it's not the pipes..... No lights on yet and it's still working as it should so hopefully nothing else has been effected.....
 
Amazing thread and an amazing amount of work you've done. I hope your ABC prob isn't too bad.
 
Great work, not my cup of tea though.
 
Amazing thread and an amazing amount of work you've done. I hope your ABC prob isn't too bad.

Thanks, see below for the pump issue

Love it, top work

Cheers

Great work, not my cup of tea though.

Oh yes I know what you mean, it's very Marmite!!!

good lookin with carbon

Thanks..


Hi all... the saga continues

I found a company in Germany who specialises in the ABC system and offers rebuilds of all the components at reasonable prices, my pump worked OK but was leaking from the front seal, they are

Exclusiv-automobile

http://www.exclusiv-automobile.de

Before removing the pump I flushed through the system with 6ltrs of oil, I did change the oil some time ago so it wasn't too bad but decided it wouldn't hurt to do it again...

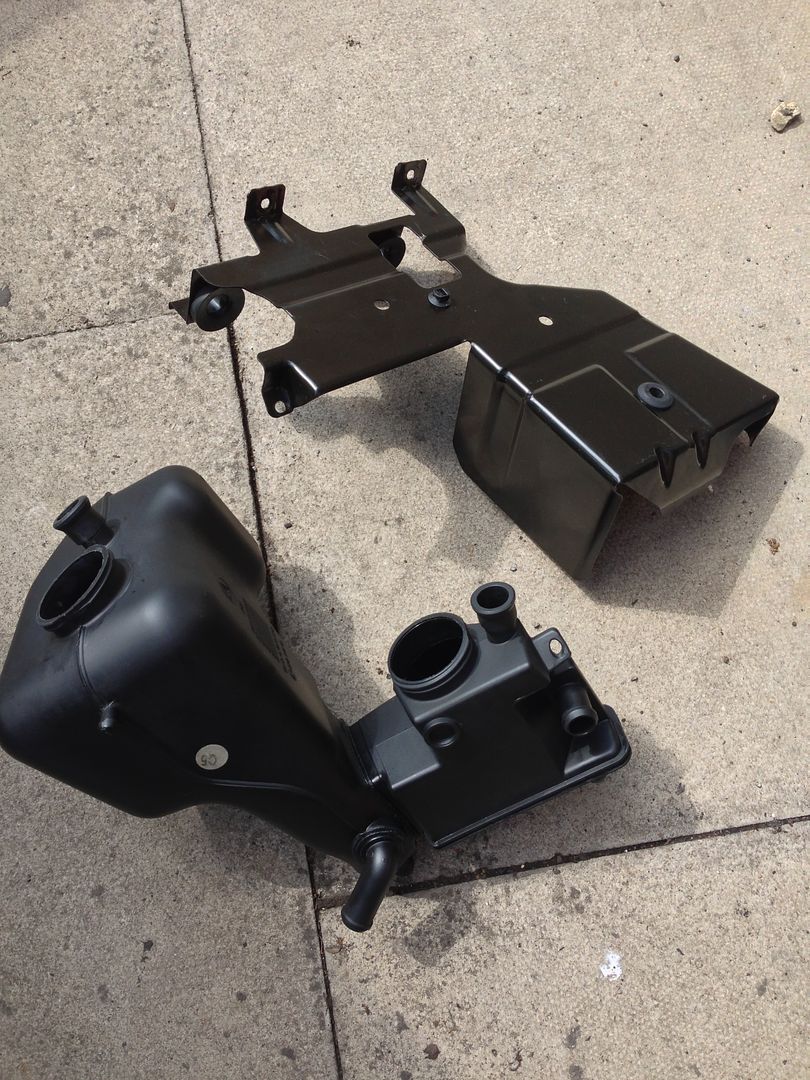
I took the pump off, it's a bit of a pain to do due to access, but not too bad. Most of the bolts are star drive so you need some star drive sockets, the two banjo bolts are 22mm and 19mm, I took off the air inlet pipe and the radiator fan to help with space, then I siphoned out the reservoirs and removed them.

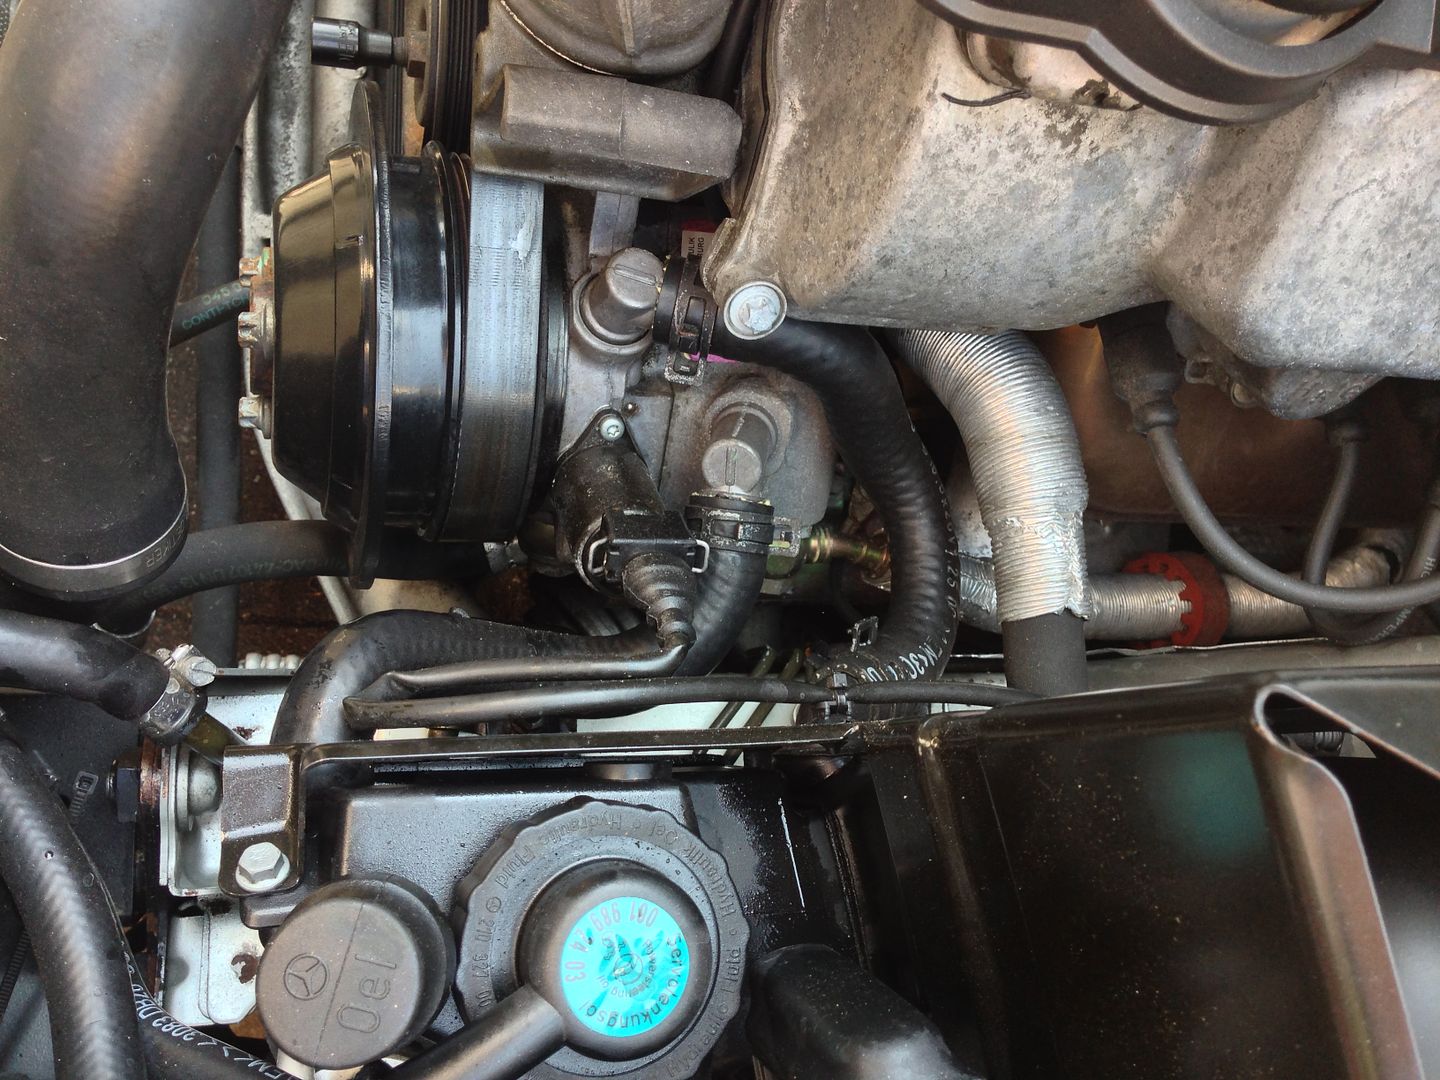
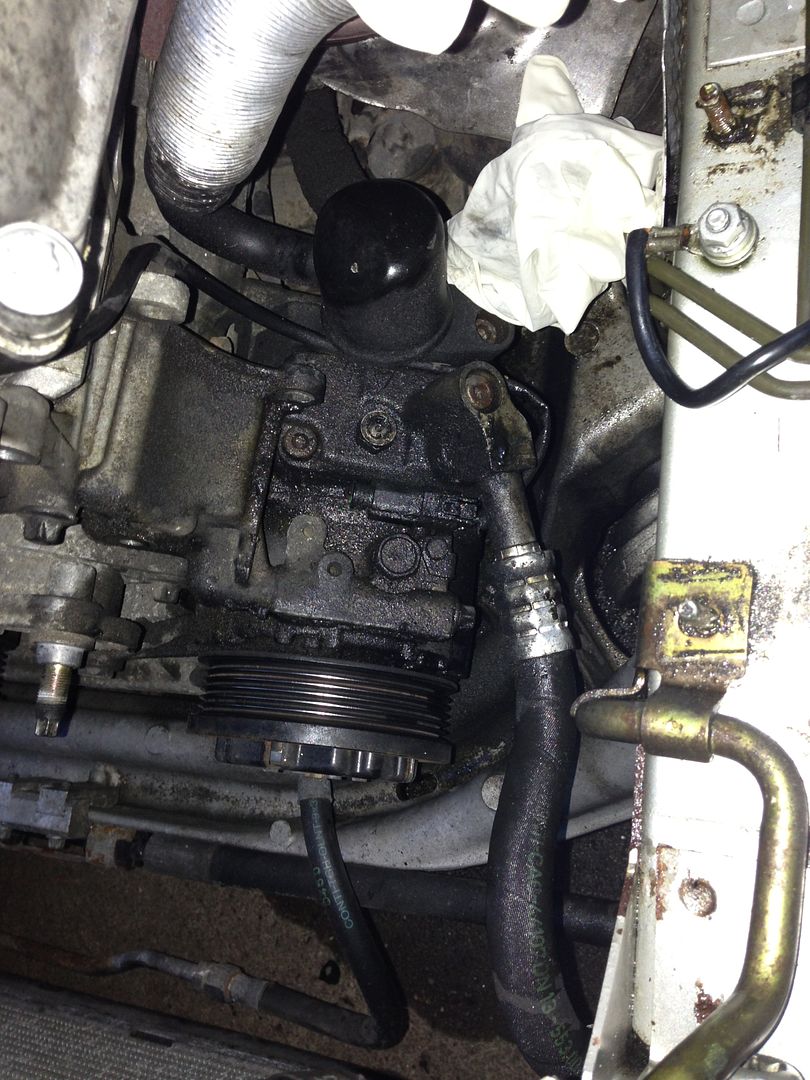
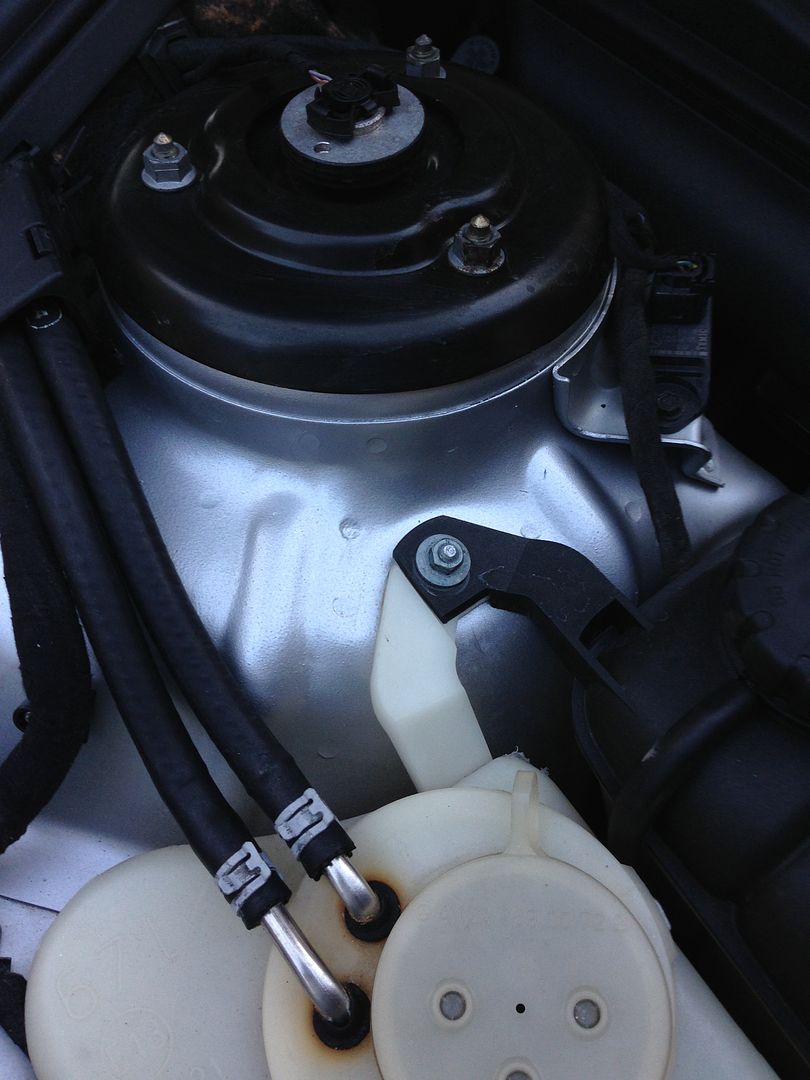
This is the pump in situ.


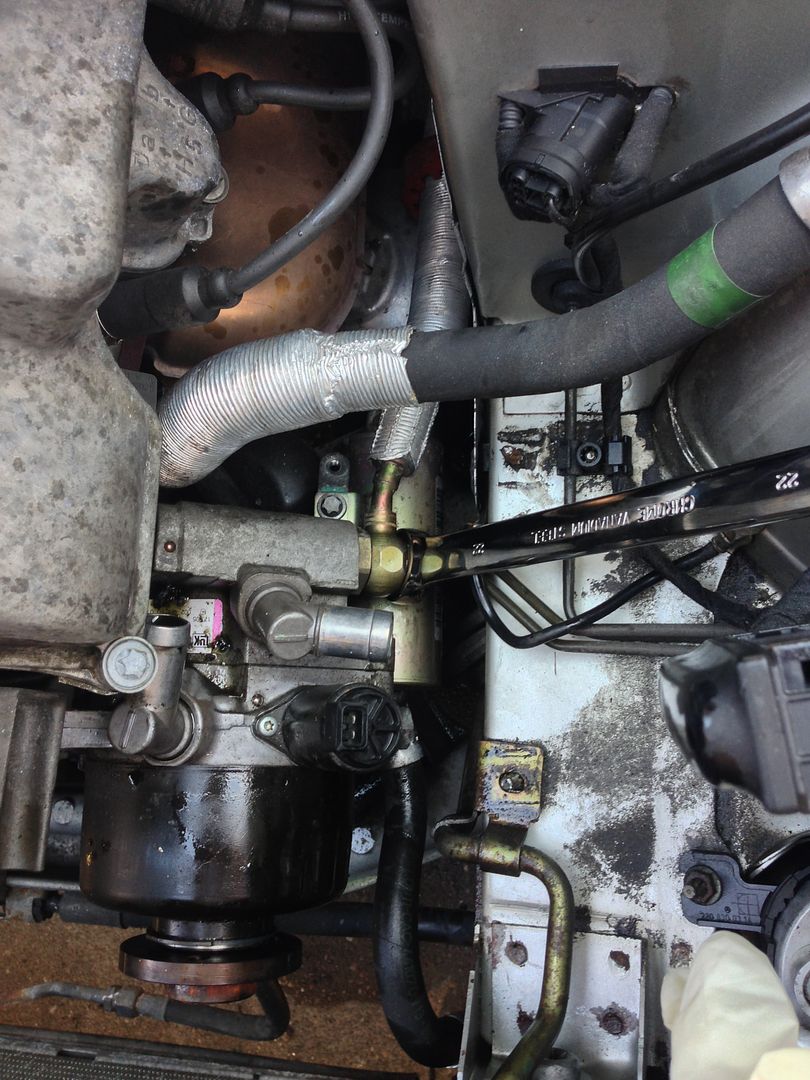
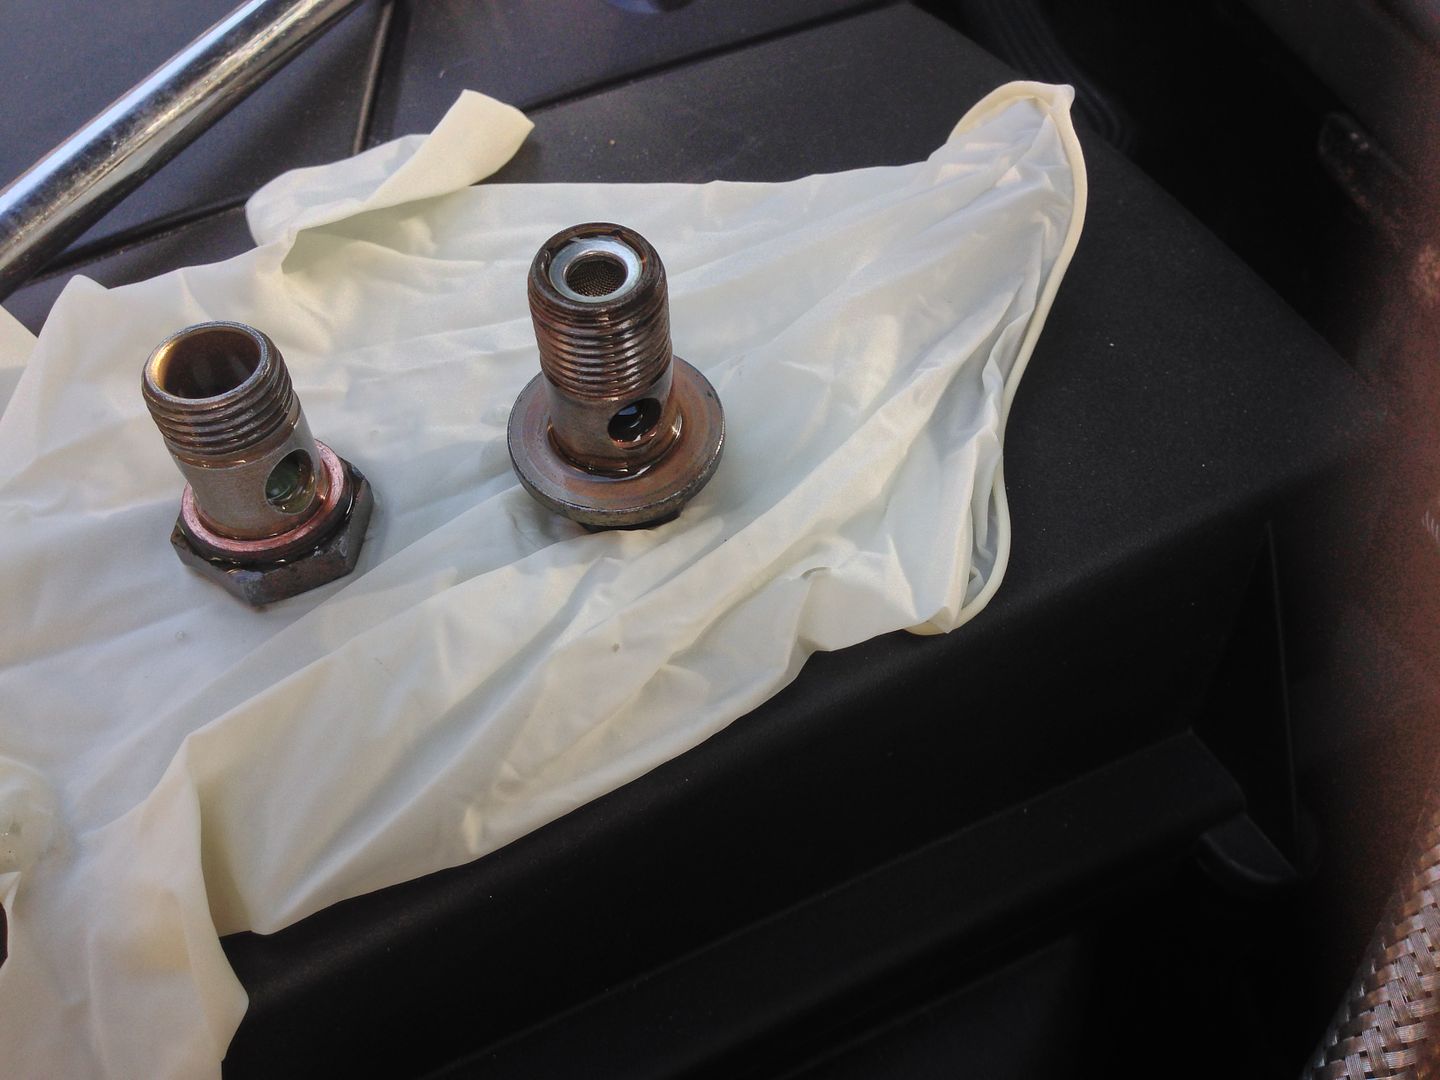
This is the 22mm banjo for the power steering outlet from the pump


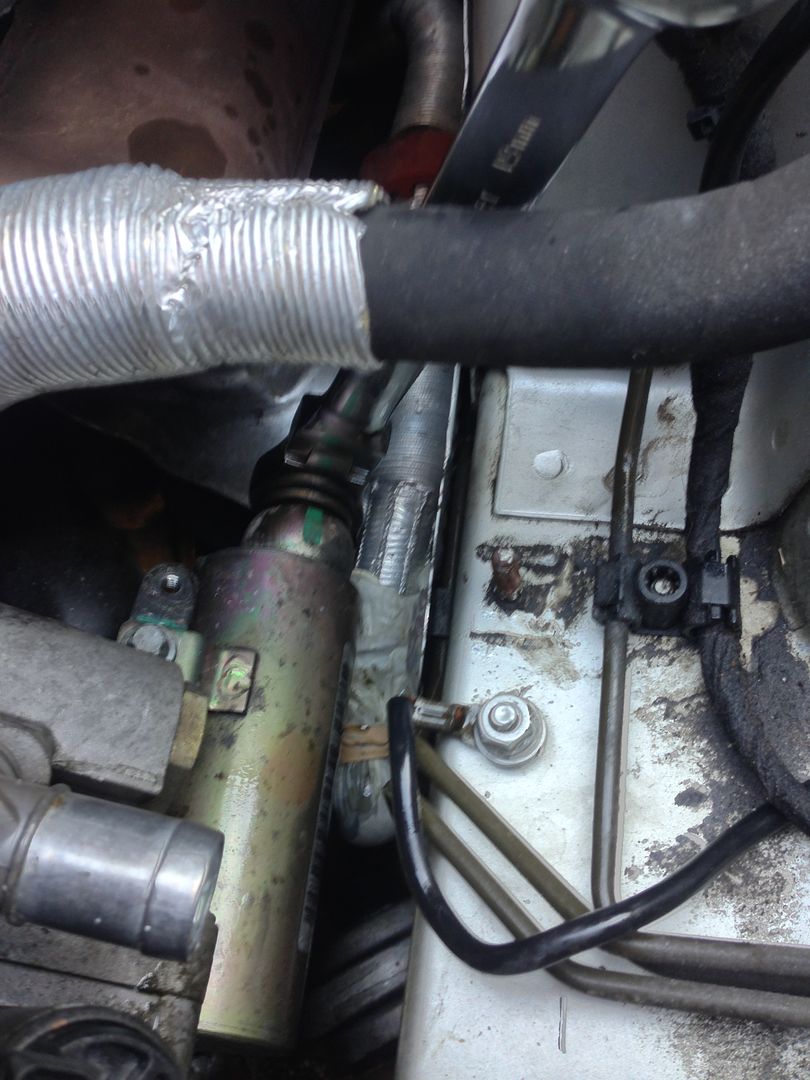
This is the 19mm banjo for the suspension, this bolt doesn't have crush washers, it uses two rubber "O" rings on the fitting itself, this is bolted to a resevoir at the bottom of the pump, I got the pump out with it in place, but you can remove it to get more room.


These are the two banjo bolts, the suspension one has a mesh filter to catch metal should the pump destroy itself, luckily mine was clean


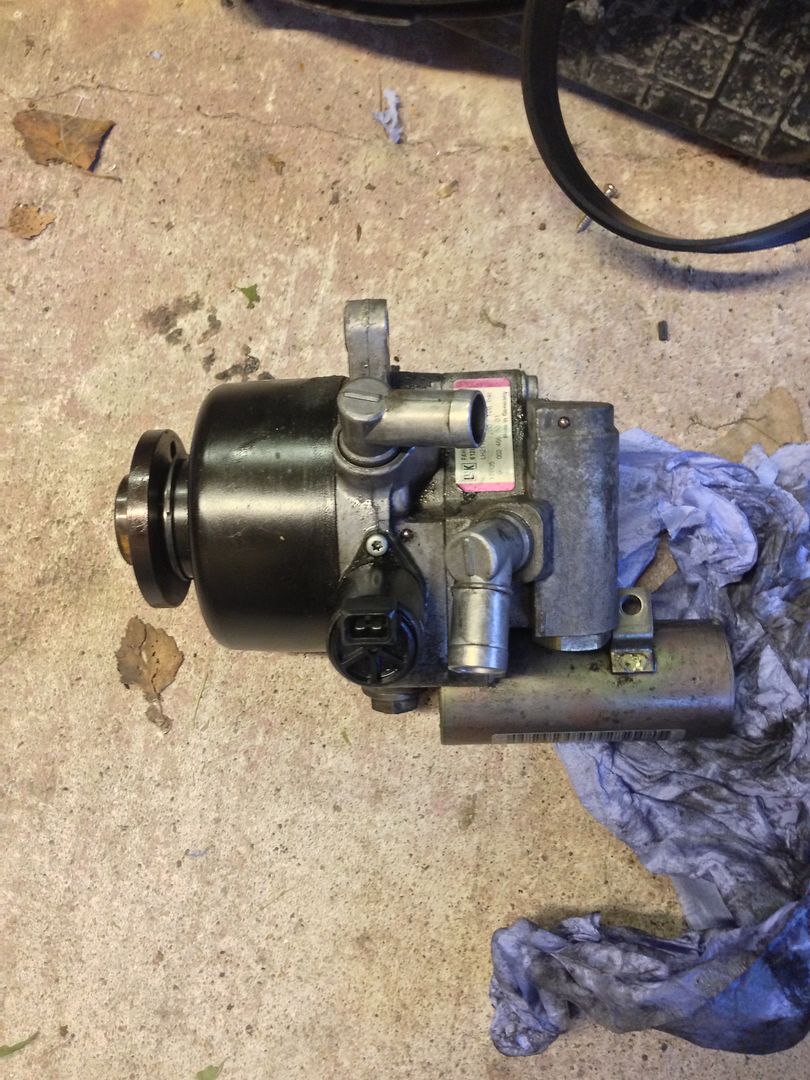
Here it is off the car,


I wrapped it up well and sent it off, it cost £17 to post it to them in Germany, it took just over a week from sending it to getting it back, the price was £285 incl postage and it has a two year warranty.

Whilst it was away I spent some time cleaning up the mess the leak had left, looks like it was leaking for sometime looking at the state of the aircon pump, the engine undertray was filthy as well but it was only in the last week that there was a puddle when you stopped!!!

Before


After


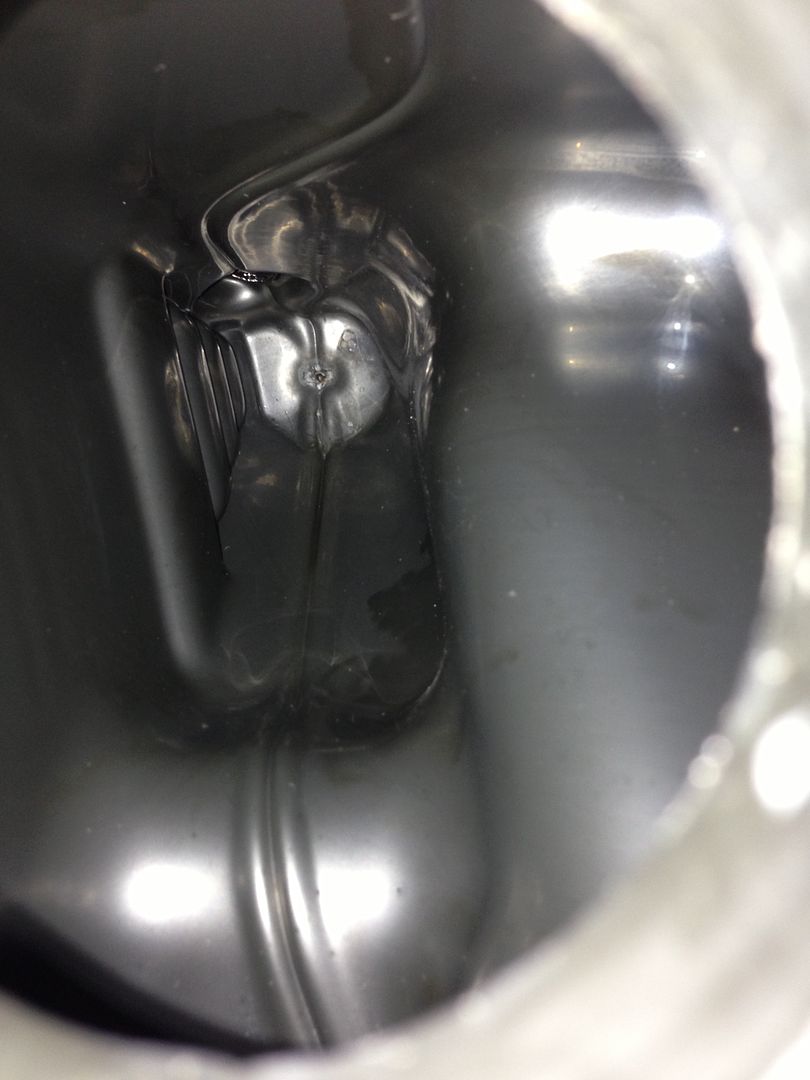
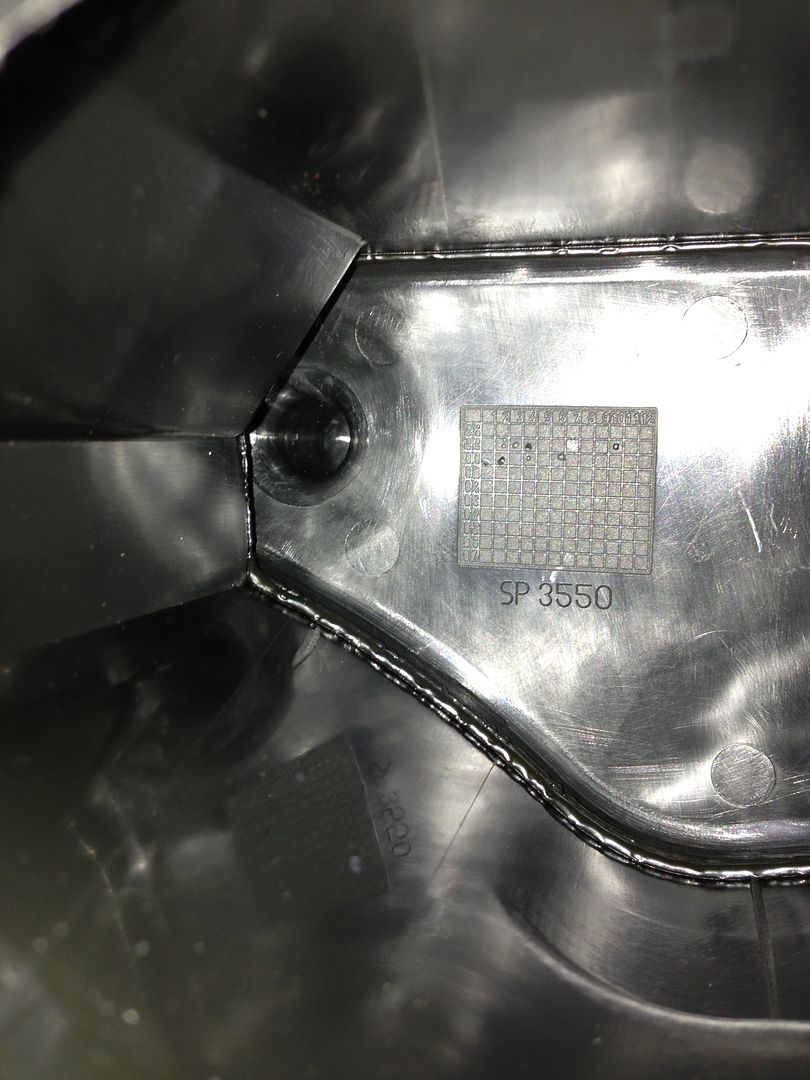
I also took apart and cleaned out the reservoirs


The insides


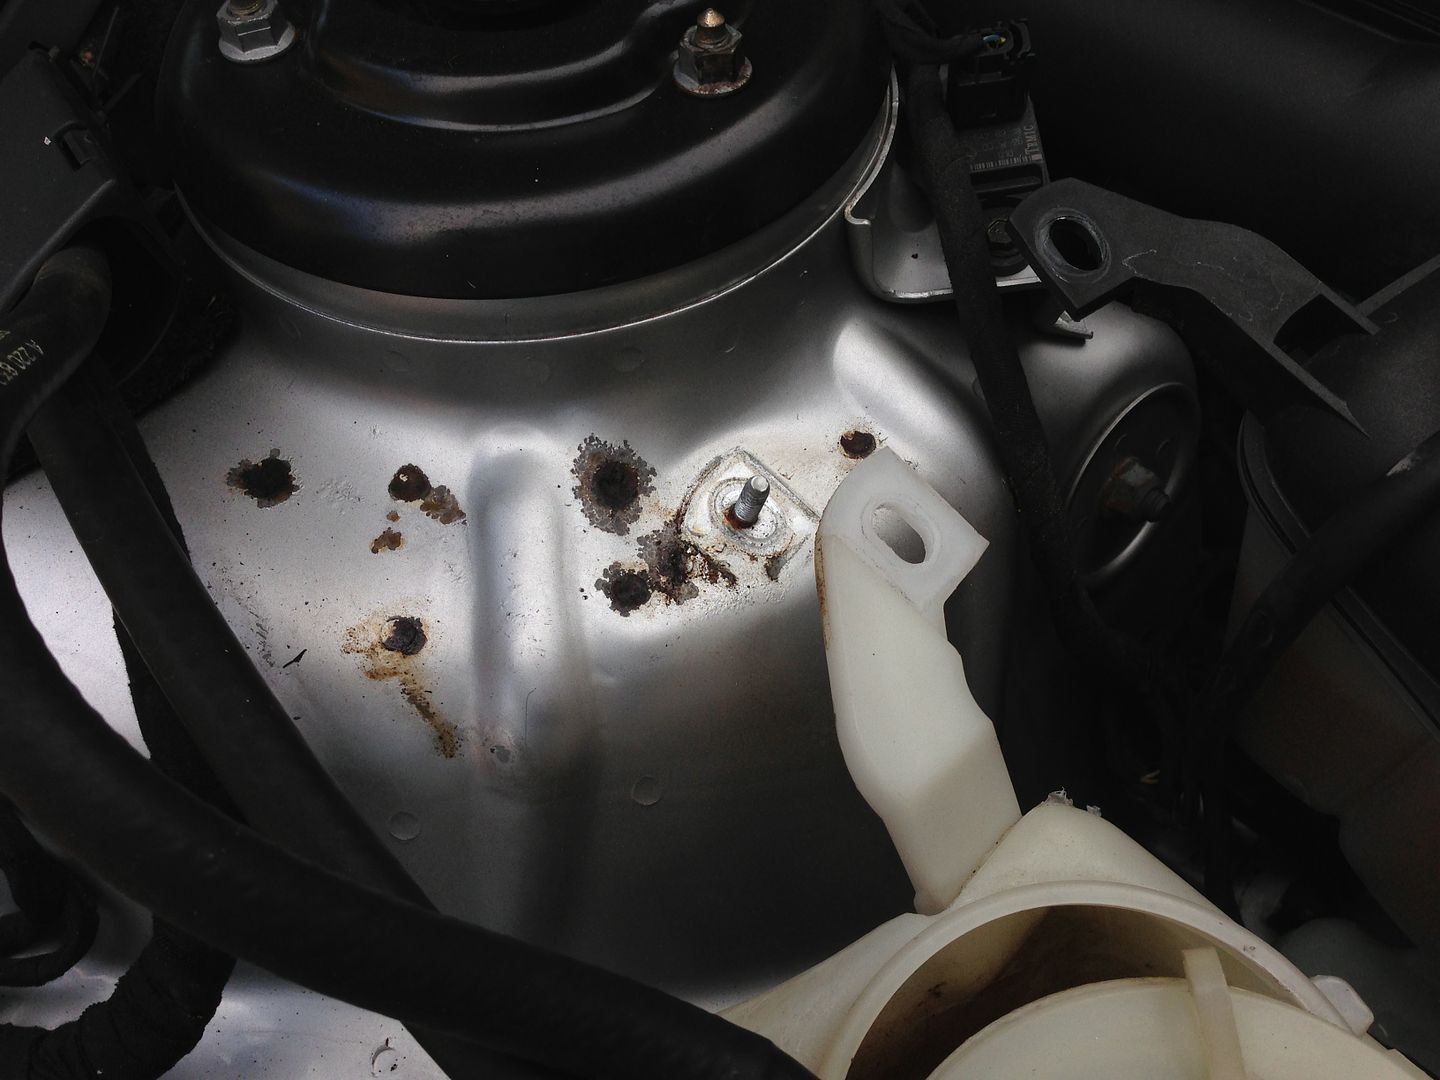
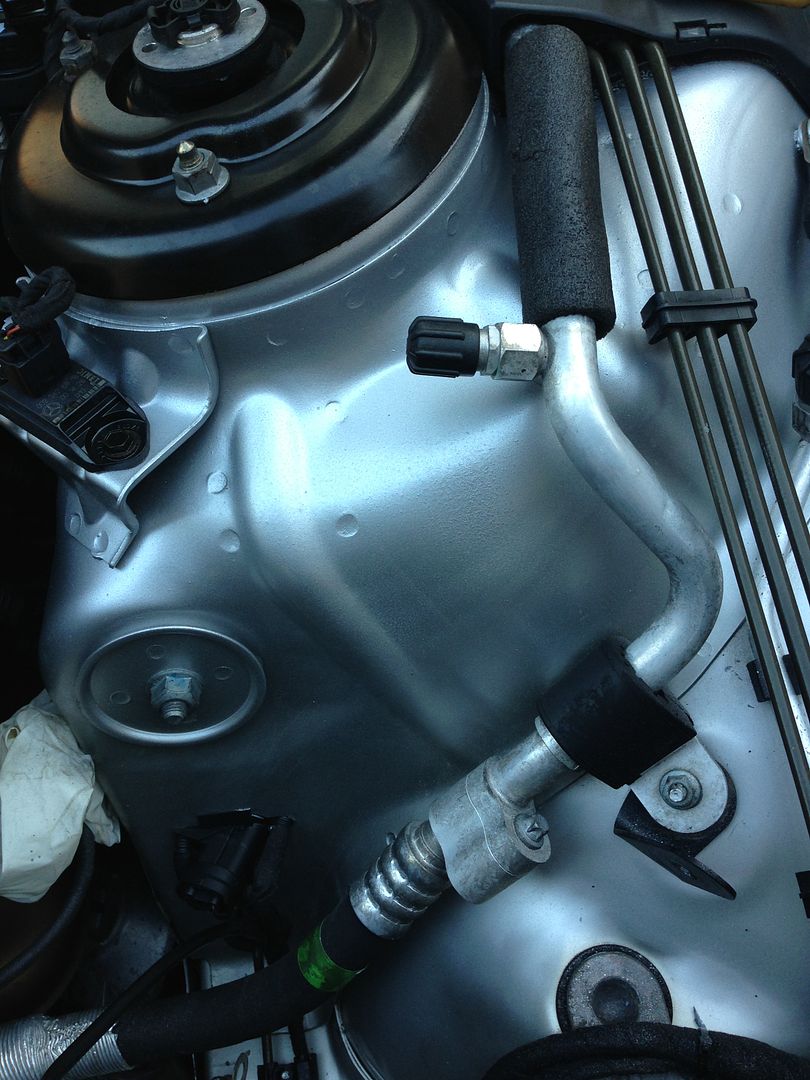
Also did a bit of engine bay detailing.... oh alright getting rid of more rust around the spot welds on the turrets... stripped out various bits then treated the rust and sprayed it with silver smoothrite, it's virtually the exact same colour, looks different in the pics as the light changed but it really is a good match...

Before, but after removing some bits


After


Didn't take a before of the other side but it was pretty much the same, now looks like this


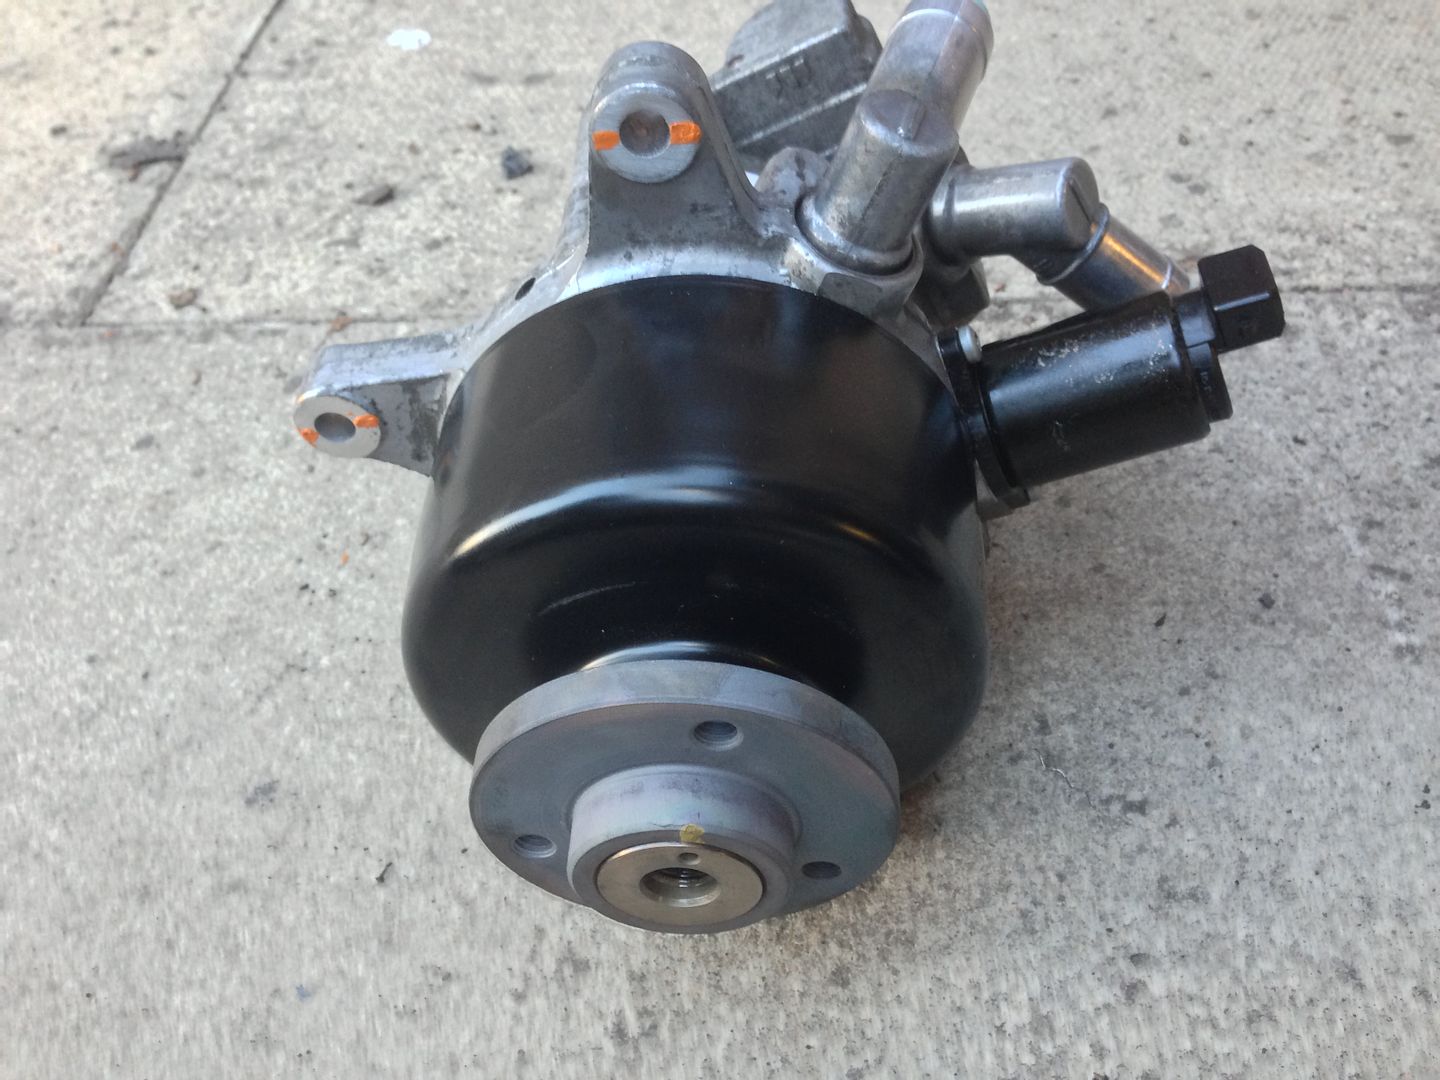
Got the pump back looking like this, had new bolts holding it together and you can see how the front pulley has been seriously heated to get it back on.


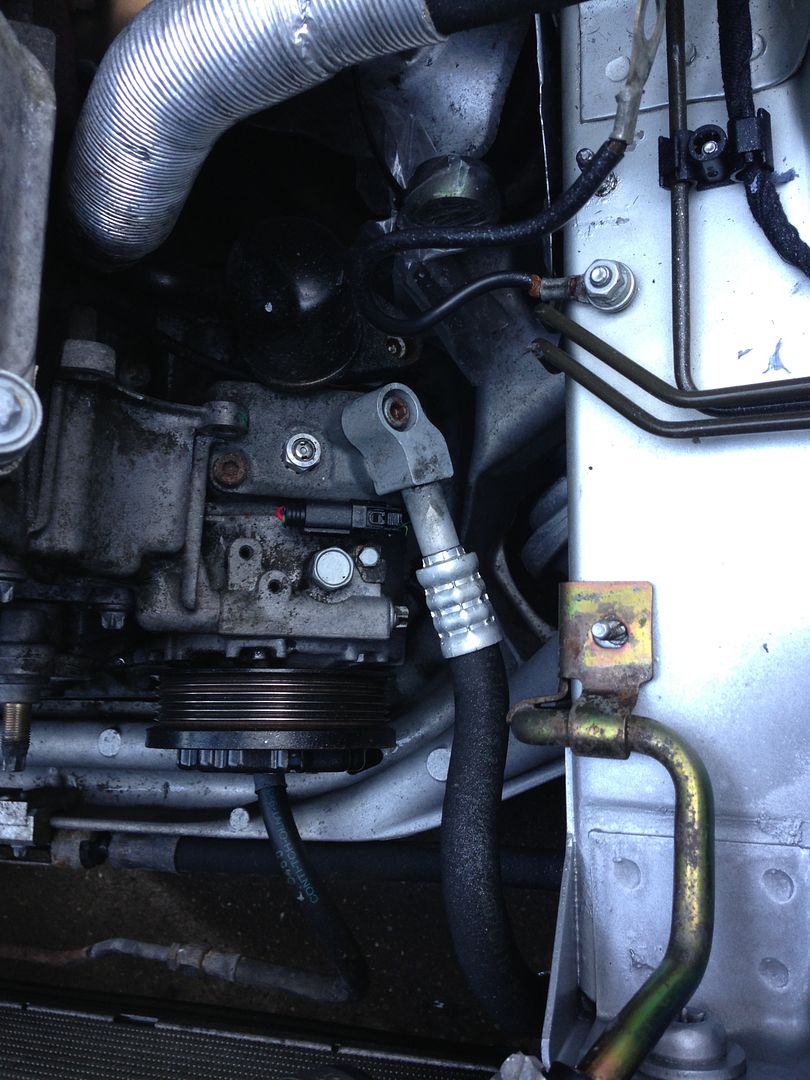
Refitted it, which again was a bit fiddly but wasn't too bad, refitted the reservoirs and all the other bits, it came with instructions to just fill up the oil and start the engine, if the ABC warning comes up then pressurise the reservoir with an air line and start the engine again, I had to do this, I wrapped the end of my airline with tape until it fitted into the dipstick hole and gently pulled the trigger till the plastic reservoir expanded a bit, my good lady started the engine and it immediately worked, no light came on... I used the raise/lower button 30 times to pump out any air then flushed it through with 6ltrs of clean oil, now the oil looks like new, I also changed the filter.

Took it for a test drive and I do have to say the ride is much smoother than it was and the steering is better as well, I guess the old pump wasn't working at it's best after 13years of use....

Checked for leaks.... None.... yippy.... then refitted the undertrays after cleaning then all up....
Prices

Pump rebuild £285
Postage £17
New crush washers and o rings £10
New filter £20
12ltrs oil £100

So not too bad when you hear of some of the prices people pay for a new pump and I've got two years warranty rather than one from Merc...

Just booked the next outing for it, in September we are driving to Venice, going to stop at Cologne for the first night (Oh look, that's very near the Nurburgring... might have a lap or two!!) then down to Munich for two nights, may go via Stuttgart and take the old girl home, then onto Venice for two nights and then work our way home, maybe stopping at the Lakes... got the hotels and time off booked so all set..... It's about a 3000mile trip so I have a few things to do before we go, one being new rear tyres... oh fun!!
 
Once again great work. Have a great trip to Italy.
 
Well done! I envy your ability to do these jobs. Have a great and safe trip :)
 
Love this car, it looks great, fantastic work, do you fancy doing my CLS dash :D
 
Hi all,

Thanks for the comments guys,

Last few things done before the week away, got two "as new" rear tyres from ebay, 265/40/18 Goodyear F1, was going to buy new but had a look on the bay to see what tyres are available in that size, saw these two that had done less than 1000 miles, seller had loads of feedback at 100%, said he was selling them as just after he bought them new he was offered a set of 19's, he'd paid £220 each for them and I won them at £122 for the pair!!, turned up very quickly and they were as described, over 7mm of tread and no marks at all on the sidewalls.. so a few pennies saved there...

Changed all the steel brake pipes on the Merc, they were starting to go rusty, was a bit of a pain to do and a bit annoying that they used such cheap pipes on what was a very expensive car, still they are all in copper now and have new stainless braided flexes. Also changed the fluid for Dot 5.1 the feel of the brakes has improved greatly with that lot and the new discs and pads all round...

It's had a good clean and polish and is sat in the garage waiting for the off on Saturday morning...

I'll try to remember to take some pics....
 
Incredible respray, beautiful interior . and I just love the CLs!
 

Users who are viewing this thread

Back
Top Bottom